Articles
How To Install Cement Siding
Modified: January 19, 2024
Learn how to install cement siding with our informative articles. Get step-by-step instructions and expert tips for a successful installation.
(Many of the links in this article redirect to a specific reviewed product. Your purchase of these products through affiliate links helps to generate commission for Storables.com, at no extra cost. Learn more)
Introduction
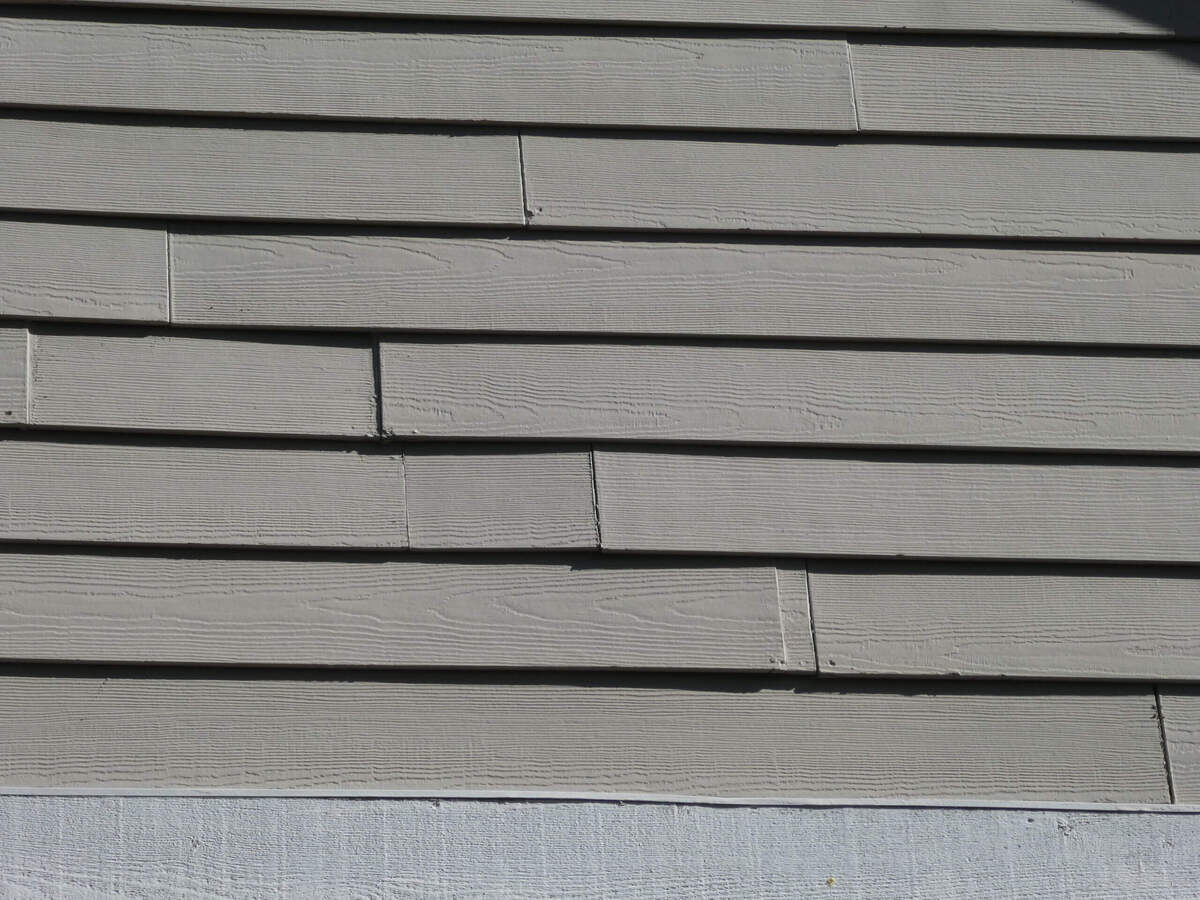
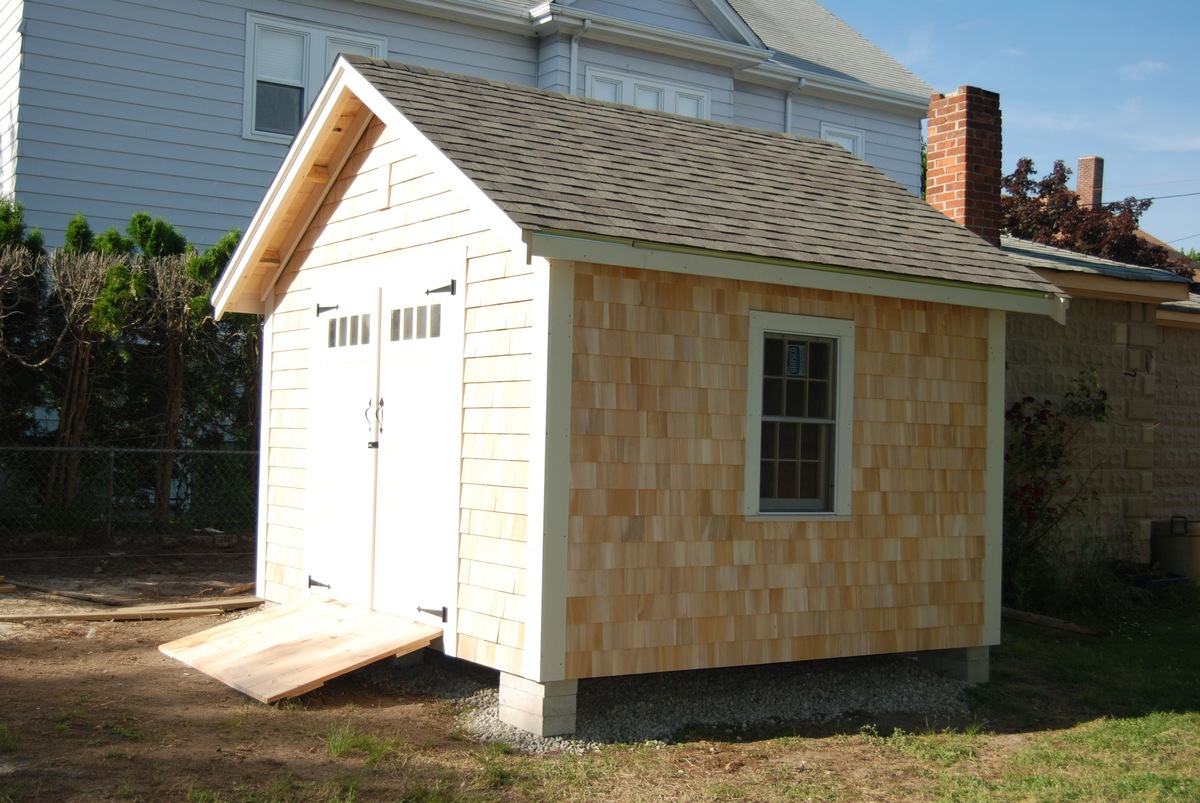
Cement siding, also known as fiber cement siding, is a durable and attractive option for homeowners looking to enhance the curb appeal and longevity of their homes. Made from a mix of cement, sand, and cellulose fibers, this type of siding offers the look of traditional wood siding without the added maintenance and vulnerability to rot and pests. Whether you are a DIY enthusiast or a seasoned professional, this article will guide you through the process of installing cement siding and help you achieve a professional-looking result.
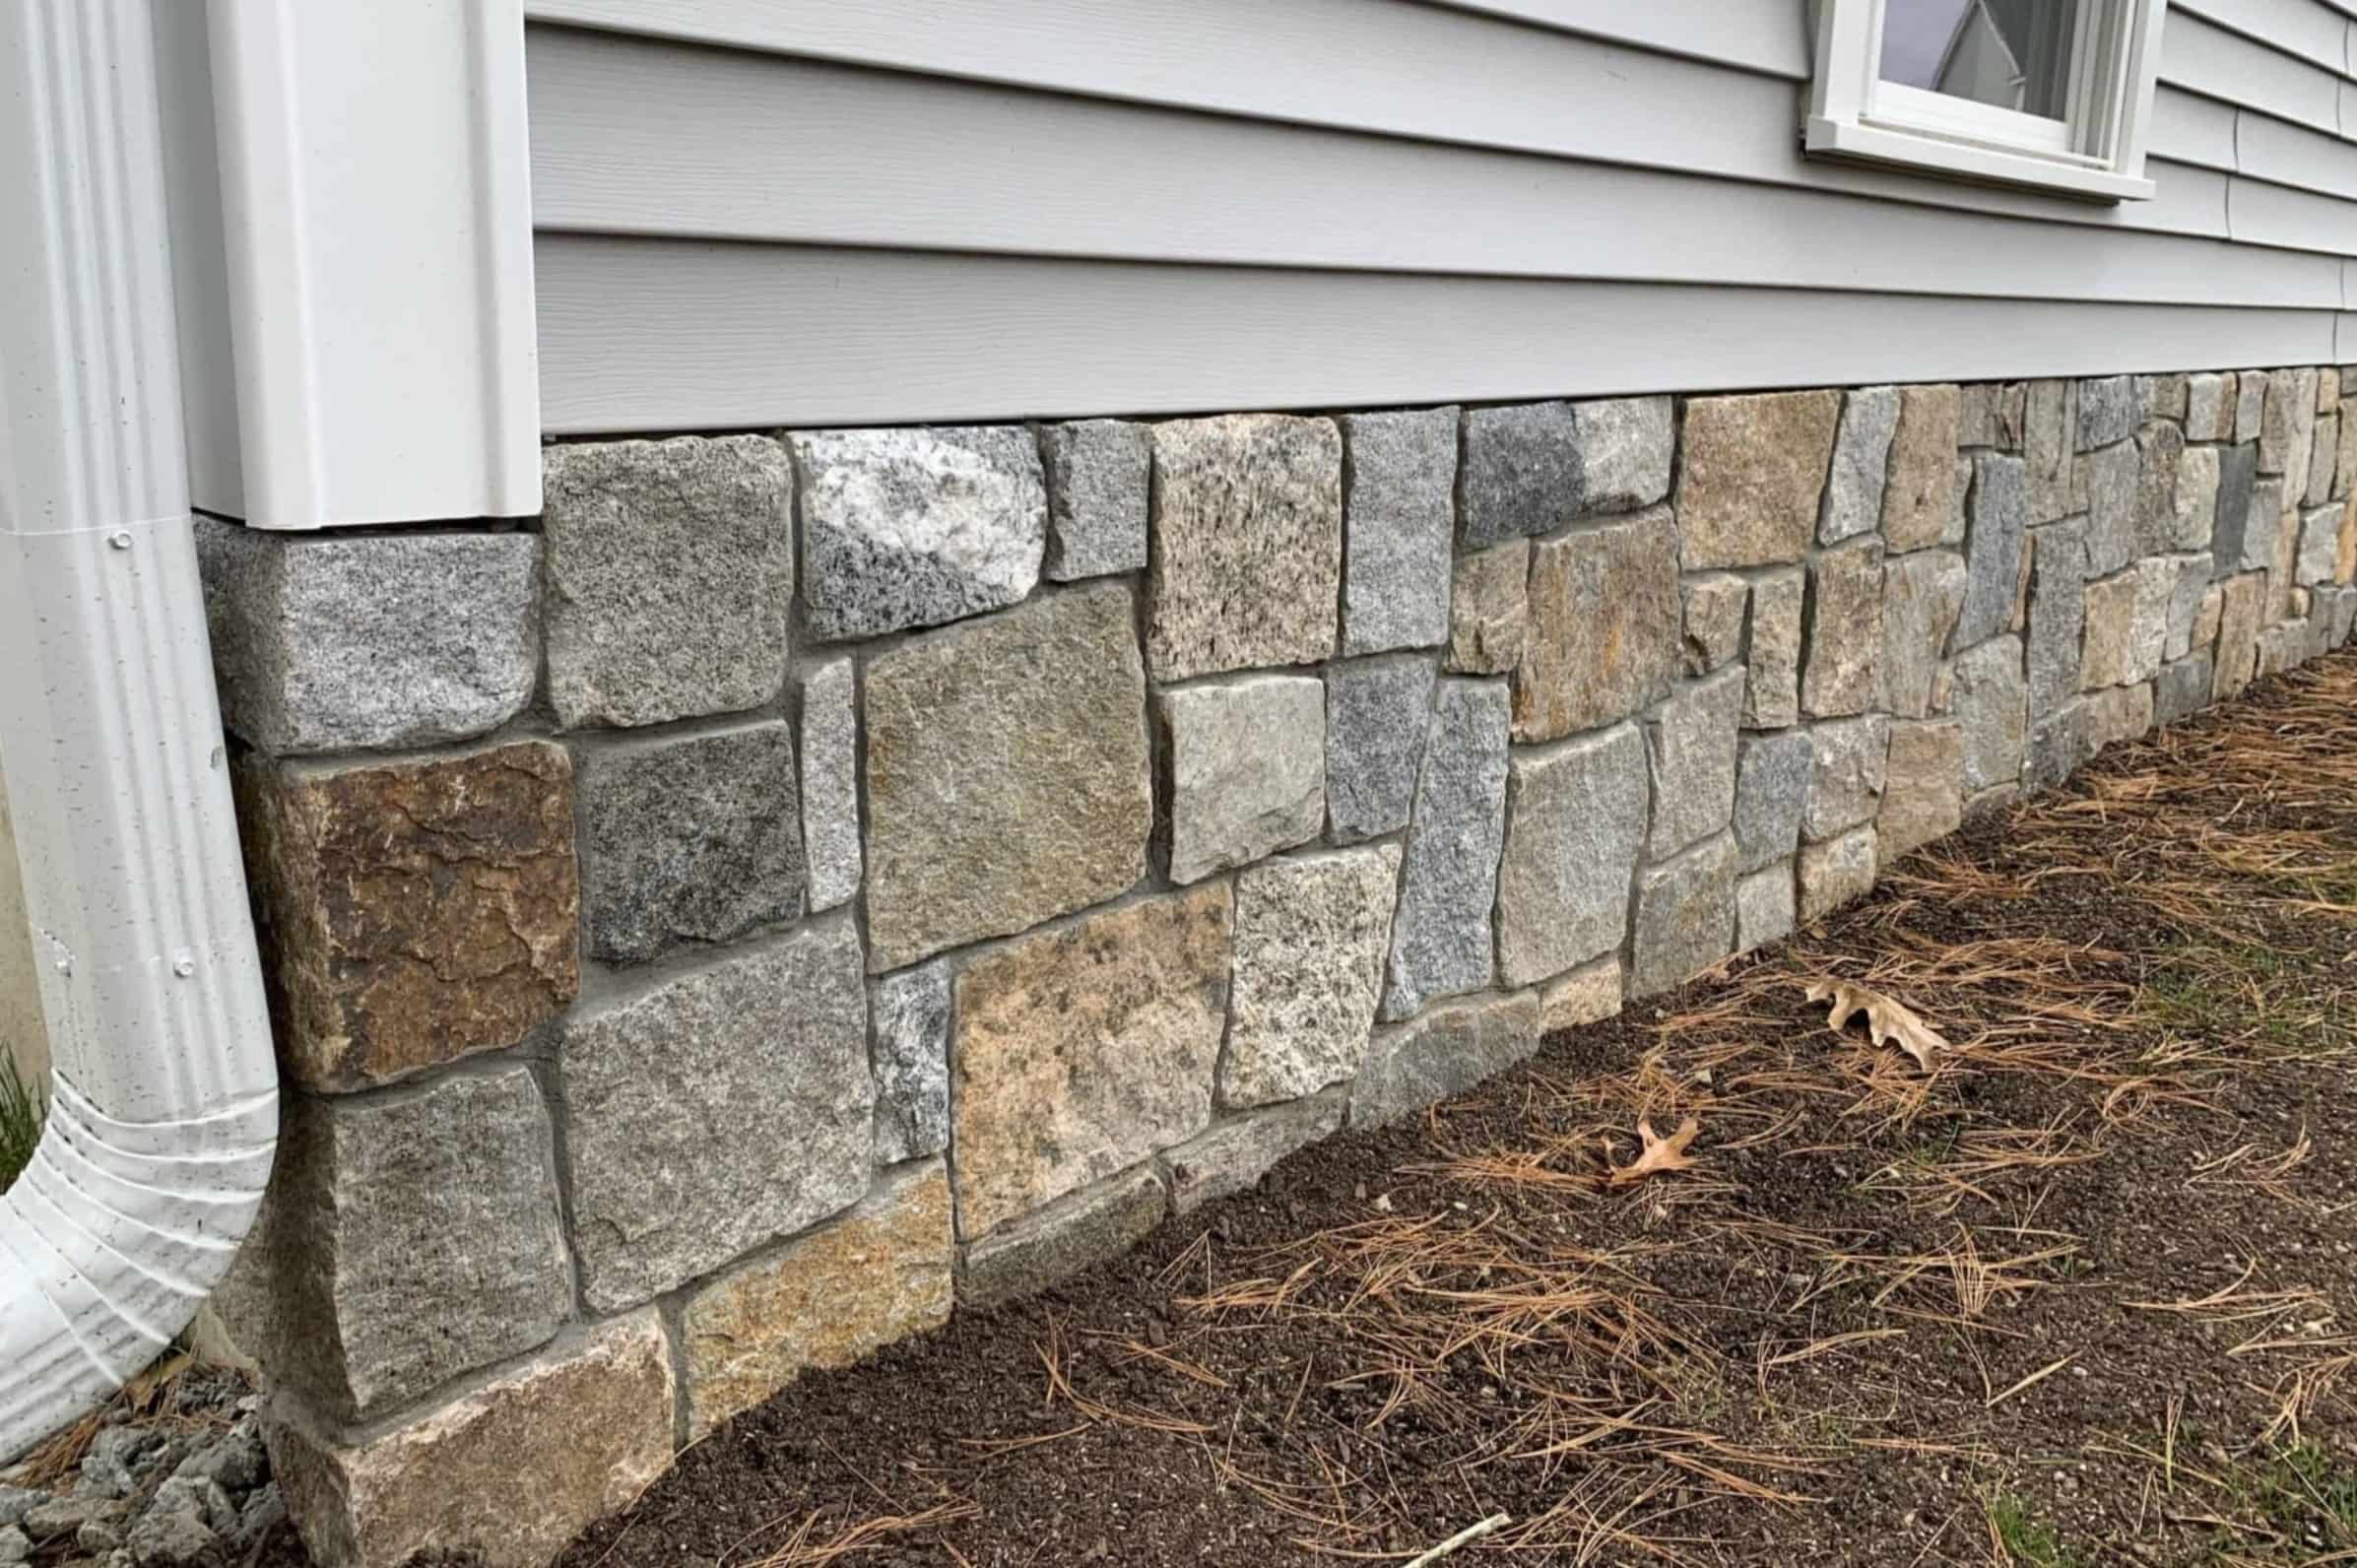
Installing cement siding not only improves the aesthetic appeal of your home but also provides long-term protection against the elements. With its resistance to moisture, fire, and pests, cement siding offers superior durability and can withstand harsh climates and weather conditions. By following this step-by-step guide, you can ensure a proper installation that will enhance both the appearance and value of your home.
Before diving into the installation process, it is important to gather all the necessary materials. This will ensure a smooth and efficient installation without any delays. Let’s take a look at the materials you will need for the project.
Key Takeaways:
- Installing cement siding offers a durable and attractive option for homeowners, providing long-term protection against the elements. Proper preparation, precise installation, and finishing touches are essential for a successful and professional-quality result.
- From gathering materials to caulking and sealing, each step in the installation process contributes to the overall appearance and integrity of the cement siding. Attention to detail, safety, and quality materials are key to a successful project.
Read more: What Is Cement Siding
Materials Needed
Before you begin the installation process, gather the following materials to ensure a successful project:
- Cement siding panels
- Starter strips
- J-Channel
- Corner trim
- Nails or screws
- Caulk
- Primer
- Paint
- Measuring tape
- Level
- Hammer or drill
- Saw
- Pry bar
- Safety goggles
- Gloves
- Ladder or scaffolding
It is essential to use high-quality materials to ensure the longevity and durability of your cement siding installation. Choose a reputable brand for the best results and consult with a professional if you have any doubts about the materials you have chosen.
Once you have gathered all the necessary materials, you are ready to begin the installation process. In the next section, we will guide you through the first step: preparing the surface.
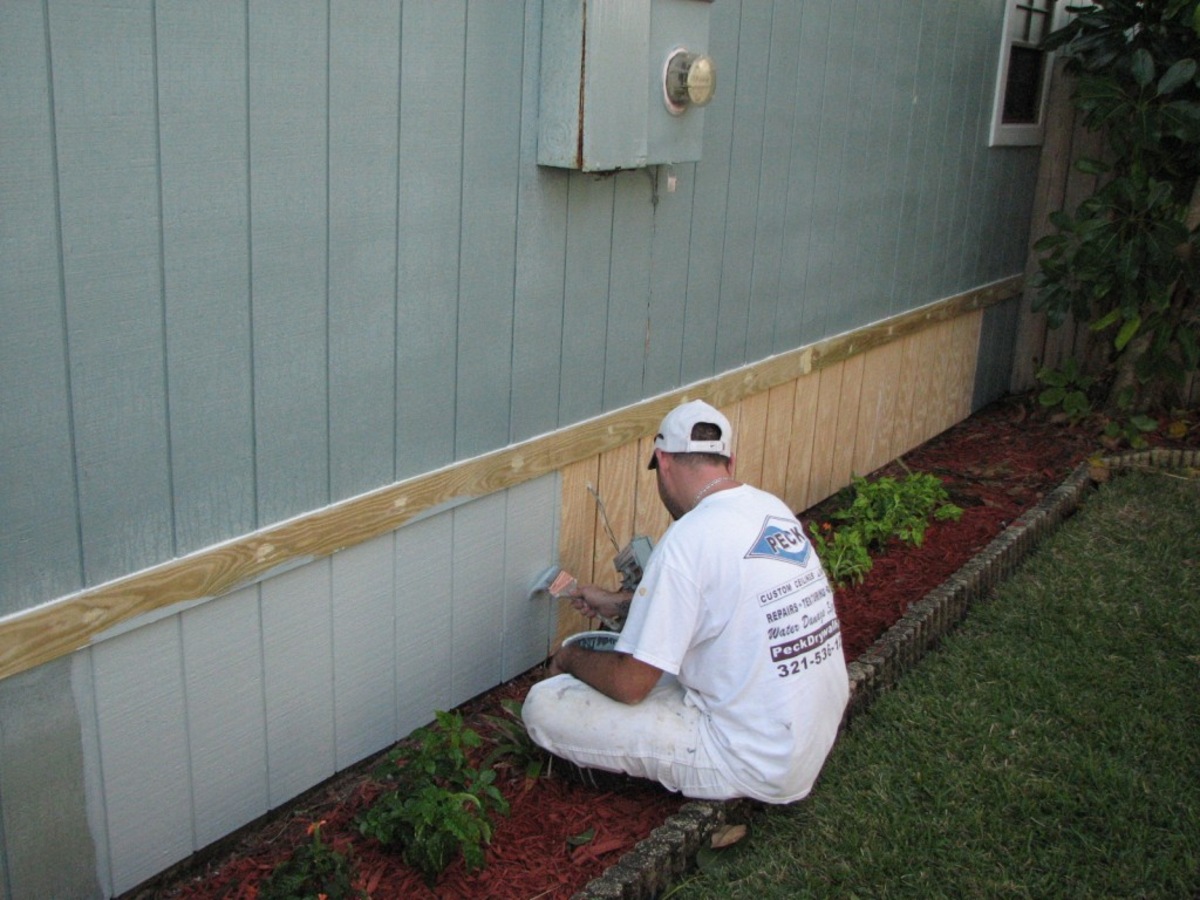
Step 1: Preparing the Surface
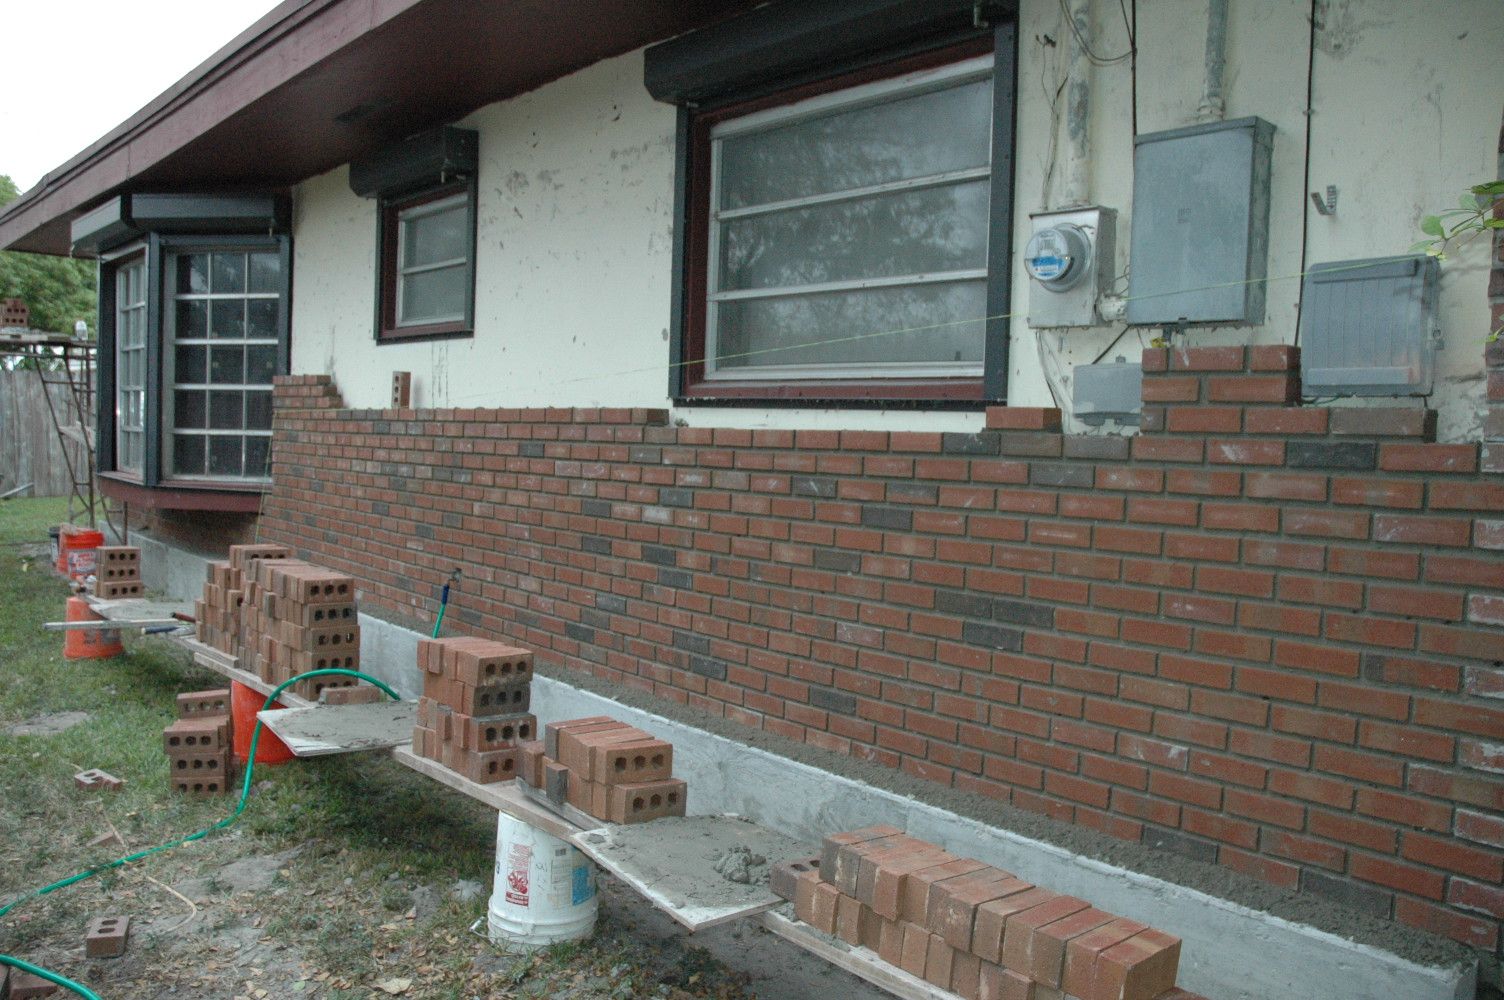
Before installing cement siding, it is crucial to properly prepare the surface to ensure a secure and long-lasting installation. Follow these steps to prepare the surface:
- Clean the existing surface: Remove any existing siding, trim, or debris from the area where you will be installing the cement siding. If there is old paint or caulk, scrape it off using a pry bar or scraper to create a smooth surface.
- Inspect for rot or damage: Carefully inspect the underlying structure for any rot or damage. Replace any compromised areas to provide a solid foundation for the cement siding.
- Install a moisture barrier: To protect against moisture infiltration, install a layer of moisture barrier, such as building paper or a house wrap, over the sheathing. This will help prevent water damage and promote proper ventilation.
- Add insulation (optional): If desired, you can install insulation before applying the moisture barrier. This can improve energy efficiency and provide additional soundproofing.
- Create a level base: Use a level to ensure the surface is even and level. If necessary, add furring strips or shims to create a flat base for the cement siding installation.
Taking the time to properly prepare the surface will help ensure a smooth installation and maximize the performance of your cement siding. Once you have completed these steps, you are ready to move on to the next step: installing the first row of cement siding.
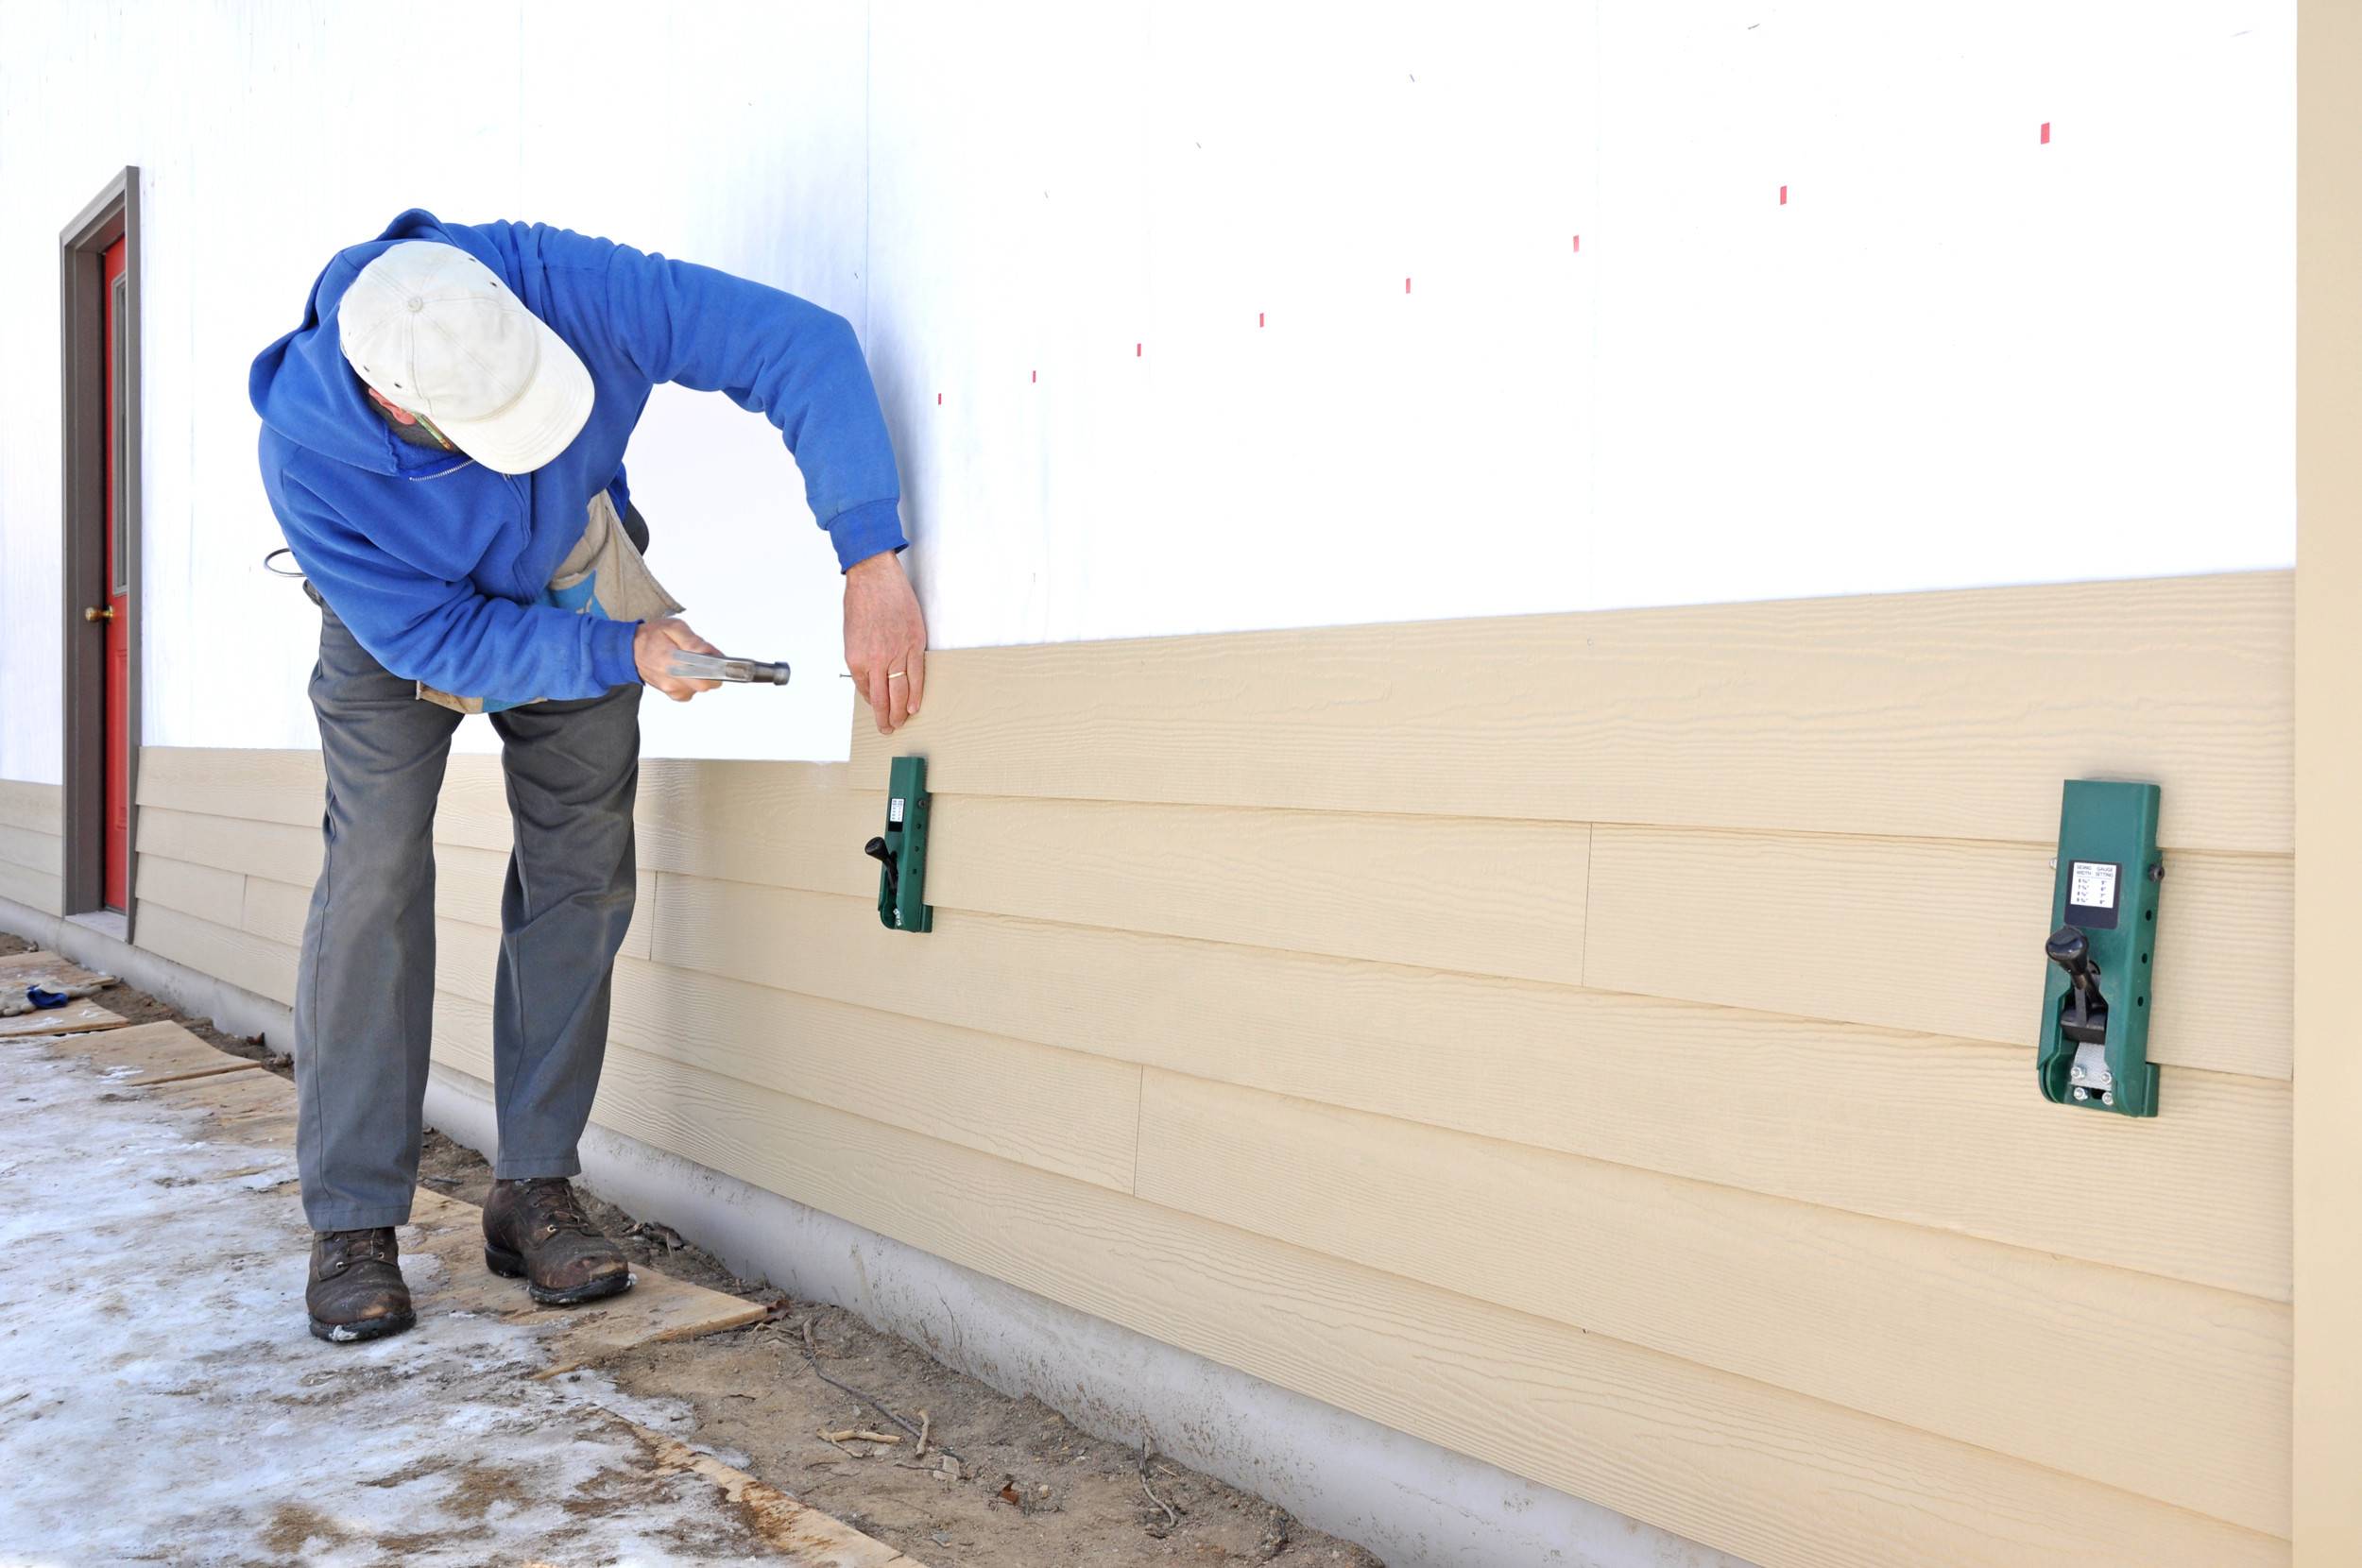
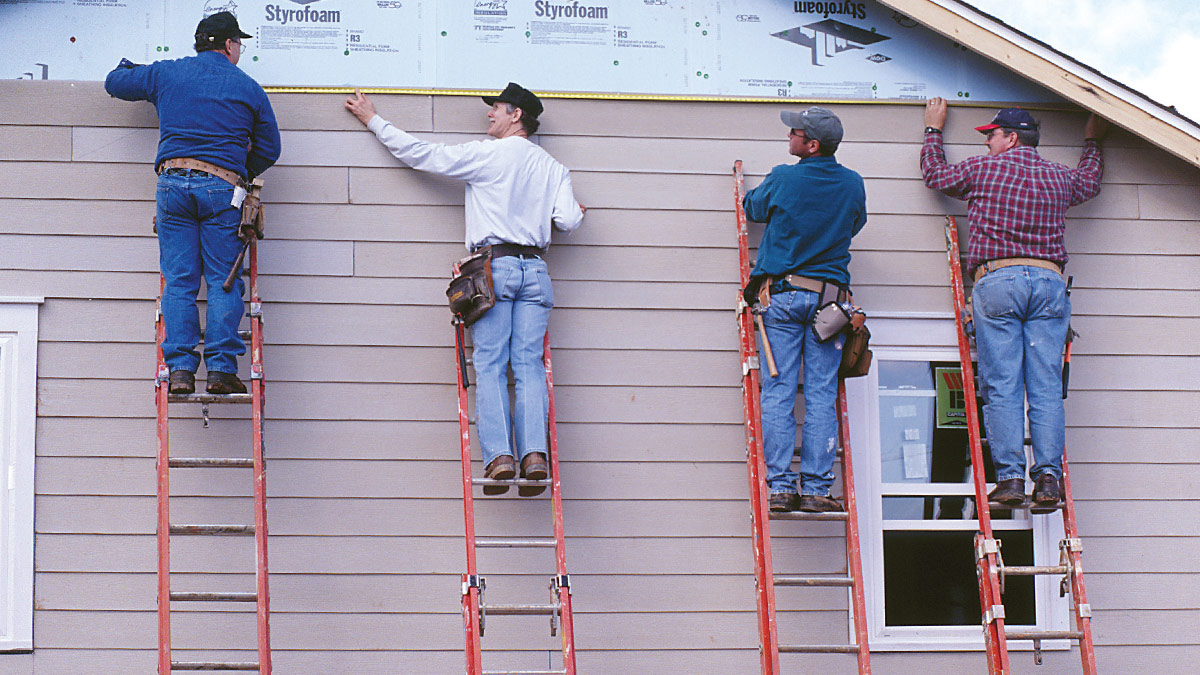
Step 2: Installing the First Row
Now that you have prepared the surface, it’s time to start installing the cement siding. Follow these steps to install the first row:
- Measure and mark: Start by measuring the length of the wall and determining the position of the first panel. Leave a small gap at the bottom for water drainage and expansion. Mark the position of the first panel using a pencil or chalk line.
- Attach starter strips: Attach starter strips along the marked line. These strips will provide a solid base for the first row of cement siding panels. Use nails or screws to secure the strips to the surface.
- Cut the first panel: Measure the length of the first panel and mark the dimensions on a cement siding panel. Use a saw to cut the panel to the correct size.
- Install the first panel: Position the first panel on the starter strip, aligning it with the marked line. Ensure it is level using a level tool. Once in position, secure the panel to the wall using nails or screws, keeping a small gap between each fastener for expansion.
- Continue with subsequent panels: Repeat the cutting and installation process for the subsequent panels, ensuring they are properly aligned and level. Use a pry bar to create spacing between each panel for expansion.
- Trim the last panel: When you reach the end of the row, measure and cut the final panel to fit. Ensure it has the necessary spacing for expansion and attach it securely to the wall.
By following these steps, you will have successfully installed the first row of cement siding panels. This establishes a solid foundation for the rest of the installation process. In the next step, we will guide you through installing subsequent rows of cement siding.
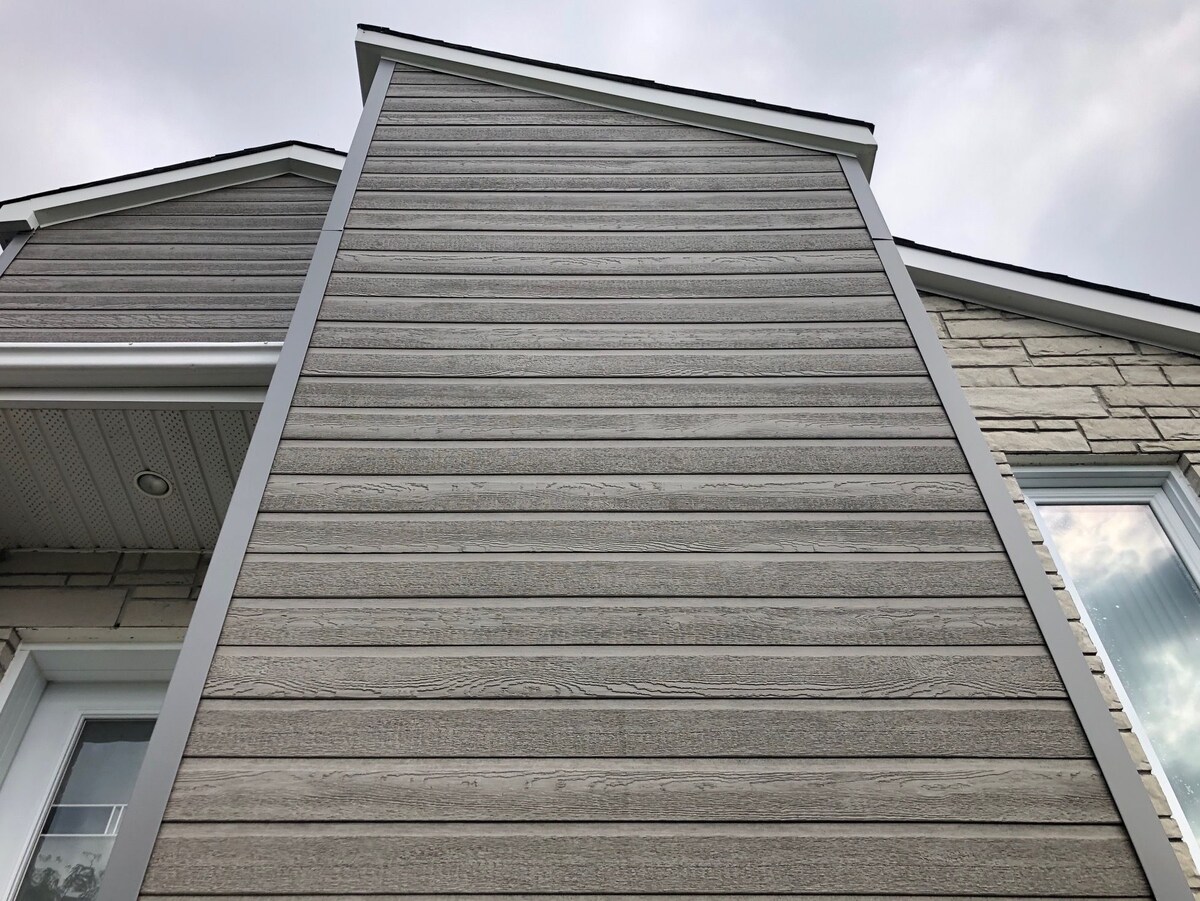
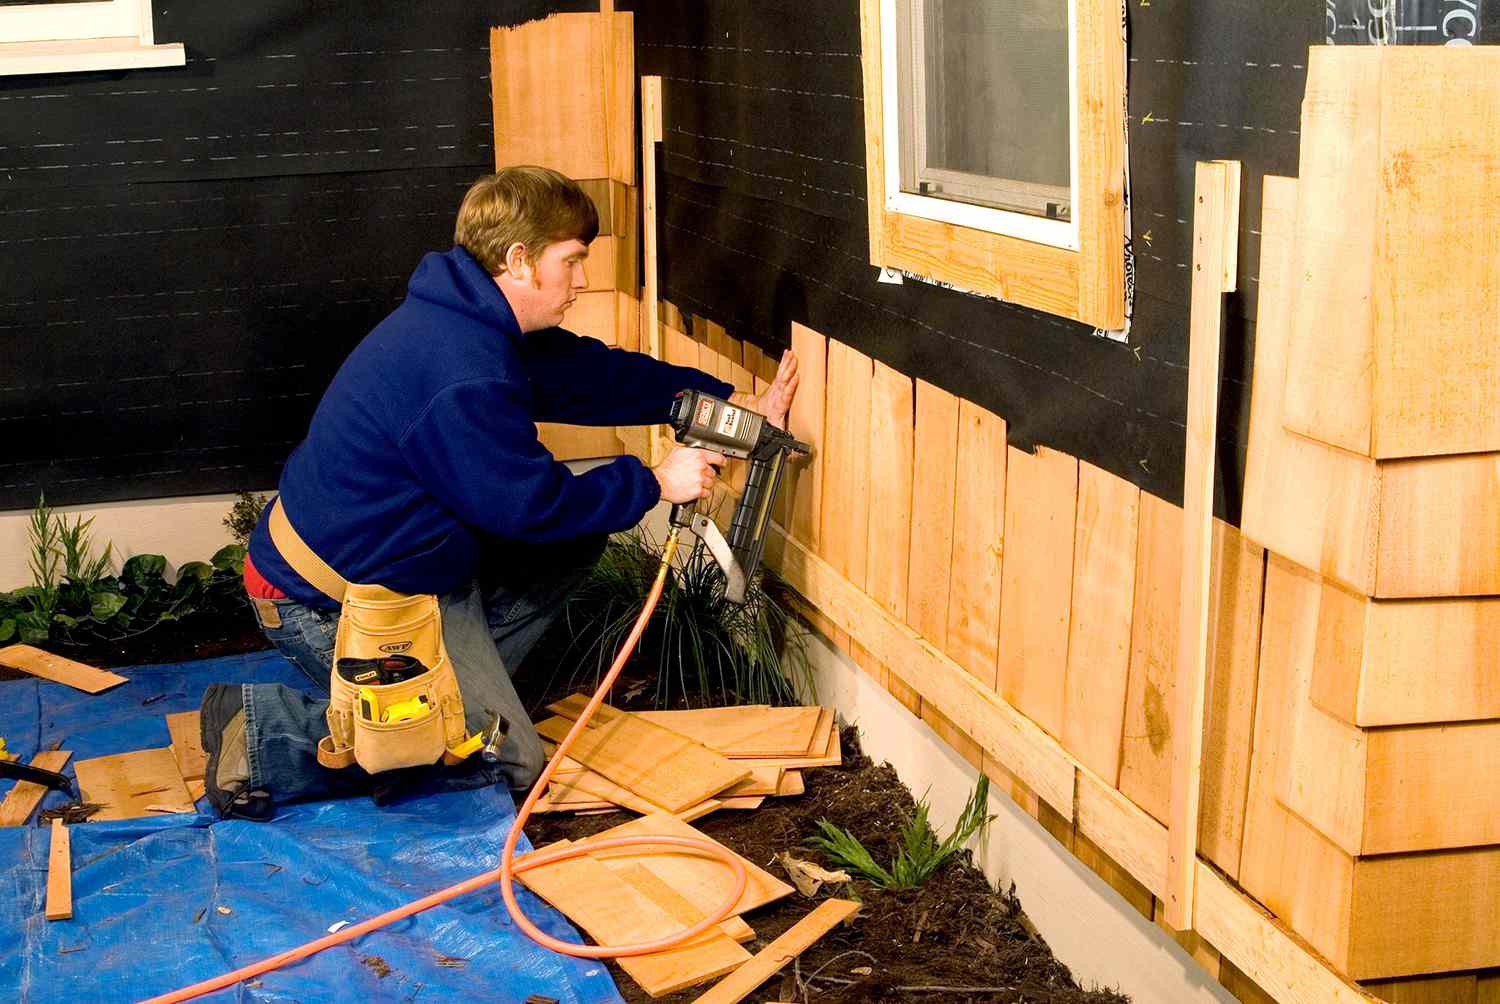
Step 3: Installing Subsequent Rows
With the first row of cement siding panels installed, it’s time to move on to installing the subsequent rows. Follow these steps for a seamless installation:
- Measure and mark: Measure the height of the first row of panels and mark the same height on the wall following the desired horizontal line for the next row.
- Attach J-Channel: Install J-Channel along the marked line for the second row. This provides a channel to secure the bottom edge of the siding panels. Secure the J-Channel to the wall using nails or screws.
- Cut and install panels: Measure the height of the remaining space between the first row and the J-Channel. Cut the cement siding panels to the appropriate height, ensuring a small gap for expansion. Install the panels on the wall, starting from one end and working your way across. Use nails or screws to secure them.
- Overlap the joints: Make sure to overlap the joints of each panel by at least 1 inch. This will create a strong and secure connection between the panels, preventing water infiltration.
- Continue with additional rows: Repeat the process of installing J-Channel and cement siding panels for each subsequent row, following the desired pattern or design. Ensure each panel is level and properly aligned with the previous row.
- Trim the top row: When you reach the top row, measure and cut the panels to fit the remaining space. Install them securely and leave a small gap for expansion.
By following these steps, you will successfully install subsequent rows of cement siding panels, creating a cohesive and visually appealing surface. In the next step, we will guide you through cutting and fitting the siding panels around windows and doors.
When installing cement siding, be sure to use corrosion-resistant nails and leave a 1/8 inch gap between the siding and any adjacent materials to allow for expansion and contraction.
Read more: How To Install Vertical Hardie Board Siding
Step 4: Cutting and Fitting Around Windows and Doors
When installing cement siding, it is important to ensure a proper fit around windows and doors for a polished and professional appearance. Follow these steps to cut and fit the siding panels around windows and doors:
- Measure the dimensions: Begin by measuring the dimensions of the window or door opening. Take accurate measurements of the width and height.
- Mark the cuts: Transfer the measurements onto the cement siding panel, marking the areas that need to be cut to fit around the window or door. Use a straightedge or a level to ensure the lines are straight and accurate.
- Cut the panels: Using a saw, carefully cut along the marked lines. Take your time to ensure clean and precise cuts.
- Test the fit: Place the cut panels around the window or door to test the fit. Make any necessary adjustments by trimming the panels further until they fit snugly.
- Secure the panels: Once the panels fit properly, secure them to the wall using nails or screws. Ensure that they are level and aligned with the surrounding panels.
- Apply caulk: To prevent water infiltration, apply a bead of caulk along the edges of the cut panels, sealing them to the window or door frame. This will create a watertight seal and enhance the durability of the installation.
By following these steps, you can achieve a precise fit around windows and doors, ensuring an aesthetically pleasing and weather-resistant installation. In the next step, we will guide you through applying corner and J-channel trim for a finished look.
Step 5: Applying Corner and J-Channel Trim
To add a finished look to your cement siding installation, it’s important to apply corner and J-channel trim. These elements not only enhance the aesthetic appeal but also provide protection and stability. Follow these steps to apply the trim:
- Measure and cut the trim: Begin by measuring the length of the corners and J-channel areas. Use a saw to cut the trim pieces to the appropriate lengths.
- Install corner trim: Apply a layer of caulk along the corner where the siding panels meet. Place the corner trim over the caulk and secure it to the wall using nails or screws. Ensure that the corner trim is level and properly aligned.
- Install J-channel trim: Install the J-channel trim around the windows and doors. Apply a layer of caulk along the perimeter of the window or door opening. Place the J-channel trim over the caulk and secure it to the wall using nails or screws. Ensure that it is level and properly aligned.
- Trim the excess: Cut any excess trim pieces to fit accurately around corners or along the J-channel. Use a saw or utility knife to make precise cuts.
- Seal with caulk: Once the trim pieces are installed, apply a bead of caulk along the edges and joints to create a watertight seal. Smooth the caulk using a caulk tool or your finger for a neat and finished look.
By following these steps, you can add the finishing touches to your cement siding installation. The corner trim and J-channel trim will give your siding a professional appearance while providing added protection against the elements. In the next step, we will discuss the importance of caulking and sealing the installation.
Step 6: Caulking and Sealing
Caulking and sealing are essential steps in the cement siding installation process to ensure a watertight and durable result. Follow these steps to properly caulk and seal your siding:
- Inspect the siding: Before caulking, carefully inspect the entire siding installation for any gaps, cracks, or areas that may require additional sealing. Check around windows, doors, corners, and trim pieces.
- Choose a high-quality caulk: Select a high-quality silicone or acrylic latex caulk that is specifically formulated for exterior use. Ensure that the caulk matches the color of your siding for a seamless finish.
- Apply caulk to gaps and joints: Using a caulk gun, apply a generous amount of caulk to any gaps, joints, or areas that require sealing. Work steadily and evenly along the surface, pressing the caulk firmly into the gaps.
- Smooth the caulk: Once applied, use a caulking tool or your finger to smooth and shape the caulk, ensuring a neat and uniform appearance. Smooth the caulk in one continuous motion to create a clean finish.
- Remove excess caulk: Wipe away any excess caulk with a damp cloth before it dries. This will help maintain the clean lines and finished look of your siding installation.
- Allow time to dry: Allow the caulk to dry completely according to the manufacturer’s instructions. This will ensure that it forms a strong and durable seal.
Caulking and sealing the gaps and joints in your cement siding installation is vital to prevent water infiltration, improve energy efficiency, and prolong the lifespan of your siding. Take the time to complete this step thoroughly, as it will help maintain the integrity of your installation for years to come.
Step 7: Painting and Finishing Touches
The final step in the installation of cement siding is painting and adding the finishing touches. Painting not only enhances the overall appearance but also provides an added layer of protection for the siding. Follow these steps to paint and add the finishing touches to your cement siding:
- Choose the right paint: Select a high-quality exterior paint specifically formulated for cement siding. Consider the desired color, finish, and durability of the paint.
- Clean the surface: Before painting, make sure the surface is clean and free of any dust or debris. Use soap and water or a mild detergent to wash the siding. Rinse thoroughly and allow it to dry completely.
- Prime the siding: Apply a coat of primer to your cement siding, following the manufacturer’s instructions. This step helps to improve paint adhesion and ensure an even finish.
- Paint the siding: Once the primer is dry, it’s time to apply the paint. Use a brush, roller, or sprayer, depending on your preference and the size of the project. Apply the paint evenly, working from top to bottom and following the manufacturer’s instructions regarding drying times and additional coats.
- Allow time to dry: Allow the paint to dry completely before adding any additional finishing touches. This can take several hours or even overnight, depending on the paint’s drying time.
- Add final touches: Once the paint is dry, add any final touches to complete the installation. This may include installing trim pieces, addressing any remaining caulking needs, or cleaning up any paint splatters or drips.
By following these steps, you can ensure a beautiful, finished look for your cement siding installation. Taking the time to properly paint and add the finishing touches will not only enhance the overall appearance but also provide added protection, ensuring your siding lasts for years to come. Congratulations on completing your cement siding installation!
Read more: How To Repair Cement Board Siding
Conclusion
Installing cement siding is a rewarding project that can enhance the beauty and durability of your home. By following the steps outlined in this guide, you can achieve a professional-quality installation and enjoy the benefits of cement siding for years to come.
From preparing the surface to applying the finishing touches, each step is crucial in ensuring a successful installation. Take the time to gather the necessary materials, properly prepare the surface, and install the cement siding panels with precision and care.
Throughout the process, be mindful of important details such as properly measuring and cutting the panels, fitting them around windows and doors, and applying corner and J-channel trim. These details contribute to the overall appearance and integrity of the installation.
Don’t forget the importance of caulking and sealing to create a watertight seal and protect against moisture infiltration. This step, along with painting the siding, adds an extra layer of protection and enhances the aesthetic appeal of your home.
Remember, safety should always be a priority. Use appropriate safety gear, such as goggles and gloves, and exercise caution when working at heights. If you are unsure about any aspect of the installation, consult with a professional to ensure a successful and safe project.
By following these steps and techniques, you can enjoy a beautiful, durable, and low-maintenance cement siding installation that adds value and curb appeal to your home. Take pride in your accomplishment and enjoy the benefits of your newly installed cement siding!
Frequently Asked Questions about How To Install Cement Siding
Was this page helpful?
At Storables.com, we guarantee accurate and reliable information. Our content, validated by Expert Board Contributors, is crafted following stringent Editorial Policies. We're committed to providing you with well-researched, expert-backed insights for all your informational needs.


0 thoughts on “How To Install Cement Siding”