Articles
How To Install Clapboard Siding
Modified: August 28, 2024
Learn how to install clapboard siding with our informative articles. Step-by-step instructions and expert tips to help you achieve a professional finish.
(Many of the links in this article redirect to a specific reviewed product. Your purchase of these products through affiliate links helps to generate commission for Storables.com, at no extra cost. Learn more)
Introduction
Installing clapboard siding is a great way to enhance the exterior of your home. Not only does it provide a classic and timeless look, but it also offers protection against the elements. This versatile type of siding is commonly used on traditional and colonial-style homes, adding charm and character to the overall design. Whether you are a seasoned DIY enthusiast or a beginner looking to embark on your first home improvement project, this article will guide you through the process of installing clapboard siding step by step.
Before we dive into the nitty-gritty details, it’s essential to understand what clapboard siding is. Clapboard, also known as bevel siding, is a type of wood siding that is made by beveling the edges of individual boards. This creates a sloping profile that allows the boards to overlap, providing a tight seal against moisture, wind, and other elements. Clapboard siding can be made from various types of wood, including cedar, pine, and spruce, each with its own unique characteristics and qualities.
Installing clapboard siding requires careful planning, precise measurements, and the right tools and materials. While it may seem like a daunting task, with proper guidance and the right approach, you can achieve professional-looking results. In this article, we will walk you through each step of the installation process, providing valuable tips and tricks along the way to ensure success.
So, if you’re ready to transform the look of your home and take on a rewarding DIY project, let’s get started on installing clapboard siding!
Key Takeaways:
- Proper preparation, precise measurements, and careful installation are crucial for achieving a professional-looking clapboard siding. Following the step-by-step guide ensures a visually appealing and durable home exterior.
- Regular maintenance, prompt repairs, and attentive care are essential for preserving the longevity and beauty of clapboard siding. Diligent upkeep will ensure the timeless charm and protective benefits for years to come.
Read more: What Is Clapboard Siding Made Of
Step 1: Gather Materials and Tools
Before you begin the installation process, it’s important to gather all the necessary materials and tools. Having everything on-hand will save you time and ensure a smooth workflow. Here is a list of the items you will need:
- Clapboard siding boards – Make sure to calculate the required amount based on the square footage of your walls. It’s always good to have a few extra boards in case of mistakes or future repairs.
- Starter strip – This strip serves as the foundation for the first row of clapboard siding and ensures a level installation.
- Nails or screws – Choose fasteners that are recommended for exterior use and that are appropriate for the type of wood you are using.
- Hammer or nail gun – A hammer is a classic choice, but a nail gun can save you time and effort.
- Tape measure – Accurate measurements are crucial for a proper installation, so make sure you have a reliable tape measure.
- Miter saw or circular saw – These tools will allow you to make clean and precise cuts on the clapboard siding boards.
- Safety goggles and gloves – Protect your eyes and hands while handling the materials and using power tools.
- Caulk and caulk gun – Caulk will be used to seal any gaps or joints in the siding and provide extra weatherproofing.
- Paint and paintbrushes – If you plan on painting the clapboard siding, make sure you have the appropriate paint and brushes.
Once you have gathered all the necessary materials and tools, organize them in a convenient and easily accessible manner. This will help streamline the installation process and keep everything within reach as you work.
It’s always a good idea to familiarize yourself with the manufacturer’s instructions and recommendations for the specific products you are using. This will ensure that you follow the correct installation methods and use any additional materials or techniques as recommended.
Now that you have everything you need, you’re ready to move on to the next step: preparing the workspace for the clapboard siding installation.
Step 2: Prepare the Workspace
Preparing the workspace is a crucial step to ensure a smooth and efficient clapboard siding installation process. By taking the time to prepare the walls and surroundings, you’ll create an environment that promotes accurate measurements, clean cuts, and a professional finish. Here’s what you need to do:
- Clean the walls: Start by removing any dirt, debris, or old siding from the walls that will be covered with clapboard. Use a pressure washer or a scrub brush and detergent to thoroughly clean the surface. Make sure the walls are dry before proceeding.
- Inspect for damage: Carefully examine the walls for any signs of damage, such as rot, mold, or pest infestations. If you notice any issues, it’s important to address them before installing the clapboard siding. Repair or replace damaged sections of the wall as needed. This will ensure that the new siding will have a solid and stable foundation.
- Apply a vapor barrier: Depending on your climate and local building codes, you may need to install a vapor barrier on the walls before the clapboard siding. This barrier helps prevent moisture from penetrating the walls and causing damage. Follow the manufacturer’s instructions for proper installation.
- Mark the layout lines: Use a chalk line or a straightedge and pencil to mark the desired layout lines for the clapboard siding. This will ensure that the boards are installed evenly and at the correct height. Take into account any trim or architectural details that may affect the placement of the siding.
- Protect adjacent surfaces: If there are any windows, doors, or other surfaces near the area where you’ll be installing the siding, protect them from damage or paint splatters. Cover them with plastic sheeting or masking tape to safeguard them during the installation process.
- Set up a work area: Dedicate a space near the installation area to set up your tools, materials, and a workbench if needed. This will keep everything organized and easily accessible as you work.
- Put on safety gear: Prioritize your safety by wearing appropriate gear, including safety goggles, gloves, and sturdy shoes. This will protect you from potential injuries and ensure a worry-free installation process.
By following these steps to prepare the workspace, you’ll be setting yourself up for success in the clapboard siding installation process. With a clean, well-prepared surface and the necessary precautions in place, you’ll be ready to move on to the next step: measuring and cutting the clapboard siding.
Step 3: Measure and Cut the Clapboard Siding
Accurate measurements and precise cuts are key to a successful clapboard siding installation. In this step, we will guide you through the process of measuring and cutting the siding boards to ensure a perfect fit. Follow these steps:
- Measure the wall: Start by measuring the height and length of the wall where you will be installing the clapboard siding. Measure from the base to the top for the height and from edge to edge for the length. Take measurements at multiple points to ensure accuracy, as walls can sometimes have slight variations in size.
- Add an appropriate overlap: Clapboard siding typically has a recommended overlap, which allows the boards to interlock and create a watertight seal. Consult the manufacturer’s guidelines to determine the appropriate overlap for your specific siding. Add this overlap measurement to your initial measurements to account for the extra length needed for each board.
- Transfer measurements to the siding boards: Use a measuring tape to transfer the measured dimensions onto the clapboard siding boards. Mark the boards with a pencil or chalk at the appropriate lengths and heights.
- Make the cuts: With the measurements marked on the boards, it’s time to make the cuts. Use a miter saw or circular saw to cut the boards to the desired lengths. Ensure that your cuts are clean and straight for a professional finish. It’s a good idea to wear safety goggles and gloves while operating power tools.
- Check the fit: Once the cuts are made, hold the boards up against the wall to check the fit. If any adjustments are needed, make the necessary cuts to ensure a snug fit along the wall. It’s better to double-check and make minor adjustments now than to discover misalignments during the installation process.
- Label and organize the boards: As you cut the siding boards, label them with corresponding numbers or letters to keep track of their placement on the wall. Organize the boards in the order of installation to maintain a smooth workflow.
Remember to work with caution and precision during the measurement and cutting process to achieve the best results. Take your time to ensure accuracy, and double-check your measurements before making any cuts. With your clapboard siding boards ready, you’re now prepared to move on to the next step: installing the starter strip.
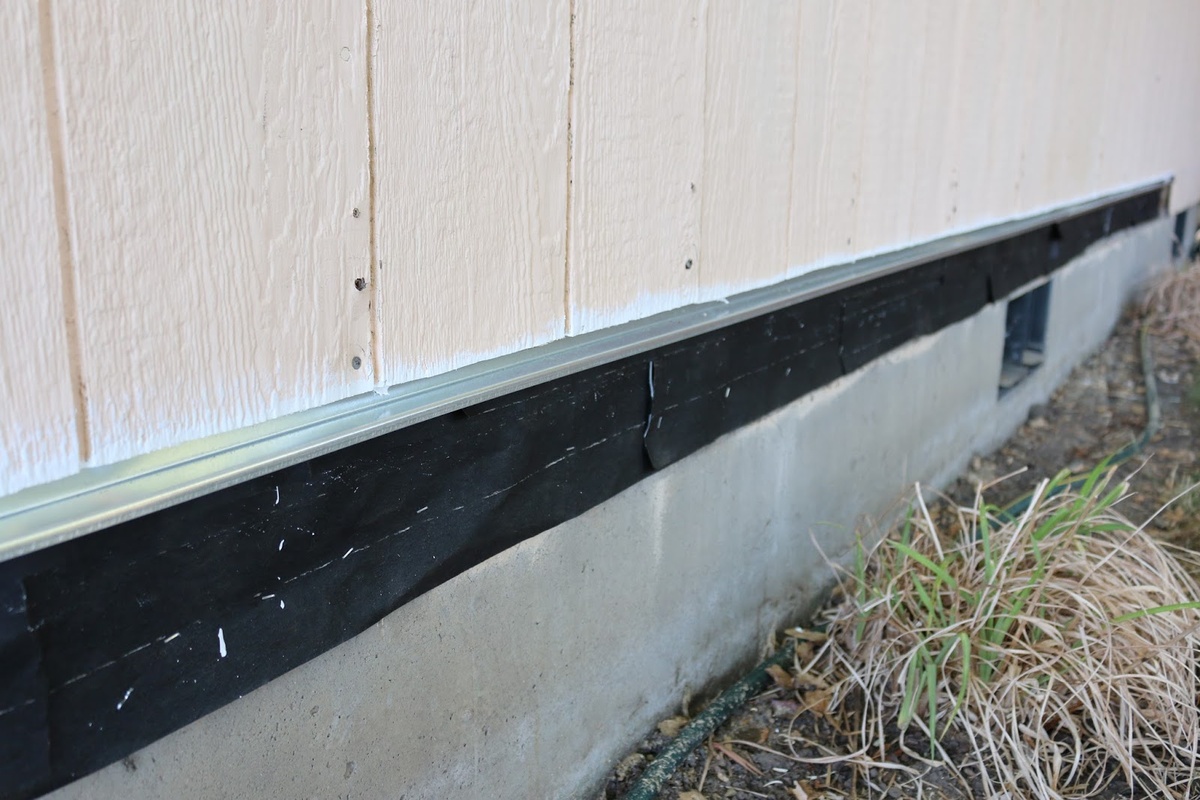
Step 4: Install the Starter Strip
Before you begin installing the clapboard siding, it’s crucial to properly install the starter strip. The starter strip provides a solid foundation for the first row of siding boards and ensures a level installation. Follow these steps to install the starter strip:
- Cut the strips: Measure and cut the starter strip according to the length of the wall. Use a saw to make clean and accurate cuts.
- Position the strip: Position the first starter strip at the bottom of the wall, aligning it with the layout lines previously marked. Place the strip horizontally and ensure it’s level by using a level tool. Adjust as needed to achieve a straight and level line.
- Secure the strip: Once the starter strip is in the correct position, attach it to the wall using nails or screws. Drive the fasteners into the strip at regular intervals, ensuring a secure hold on the wall.
- Repeat for additional strips: If the wall is longer than the length of a single starter strip, you will need to install multiple strips. Repeat the process of measuring, positioning, and securing the starter strips until the entire length of the wall is covered.
- Overlap the strips: If you need to install multiple starter strips, make sure to overlap the ends by the recommended amount specified by the manufacturer. This overlap helps ensure a seamless transition between the strips and provides stability to the overall installation.
- Check the alignment: Once the starter strips are installed, double-check the alignment using a level tool. Ensure that all the strips are level and straight along the entire length of the wall.
By installing the starter strip correctly, you establish a solid foundation for the clapboard siding. The starter strip ensures that the first row of siding boards is level and properly aligned, setting the stage for a professional-looking installation. With the starter strip in place, you’re ready to move on to the next step: installing the first clapboard board.
Read more: How To Install Brick Siding
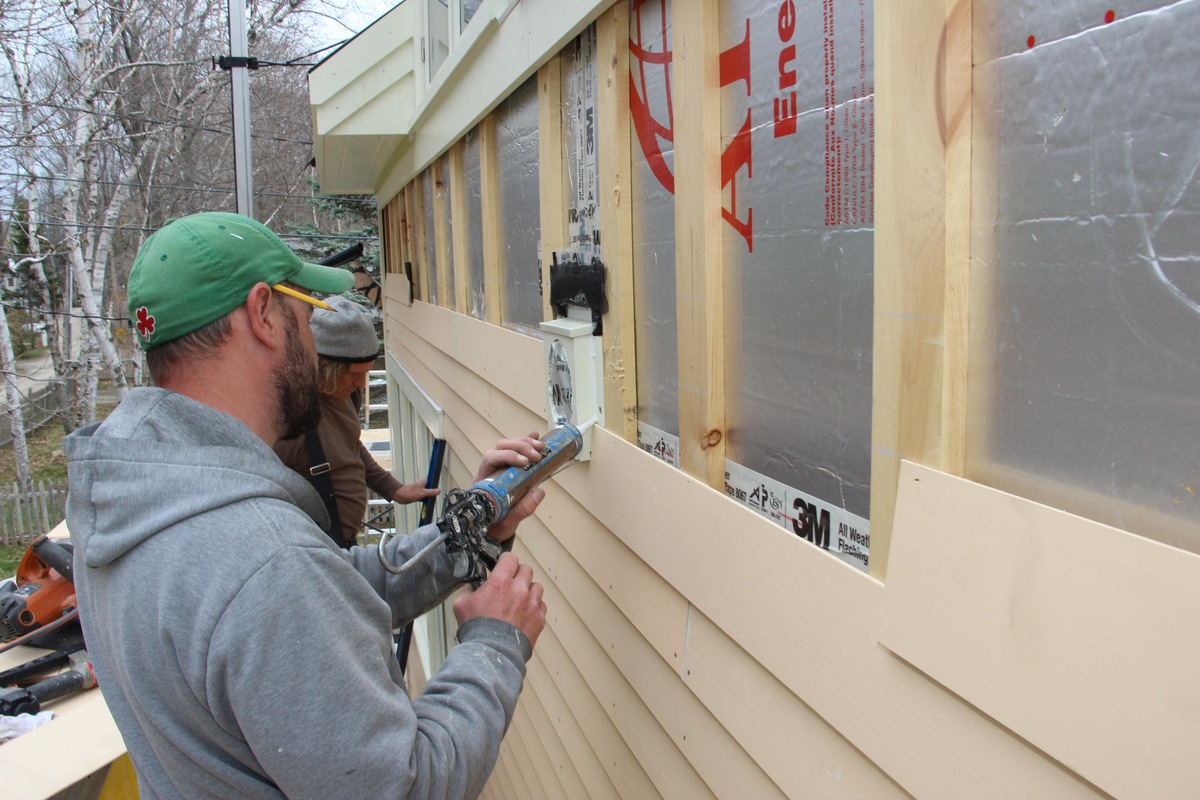
Step 5: Install the First Clapboard
With the starter strip secured in place, it’s time to install the first clapboard board. This initial board sets the tone for the entire installation, so it’s essential to ensure proper alignment and a sturdy attachment. Follow these steps to install the first clapboard:
- Measure and cut the first board: Measure the height needed for the first clapboard board, taking into account any recommended overlap required by the manufacturer. Cut the board to the appropriate length using a miter saw or circular saw.
- Apply siding nails or screws: Position the first clapboard board onto the starter strip, aligning it with the layout lines previously marked. Attach the board to the wall using siding nails or screws. Drive the fasteners through the siding, making sure they penetrate into the wall’s structural sheathing. Space the fasteners evenly, leaving a small gap between the board and the wall to allow for expansion and contraction.
- Confirm level and alignment: Use a level tool to ensure that the first clapboard board is level along its length. Adjust as needed by tapping the bottom of the board with a hammer or placing shims behind it to achieve perfect alignment.
- Check for proper overlap: Verify that the first clapboard board overlaps the starter strip correctly. Consult the manufacturer’s guidelines for the recommended overlap measurement. This overlap ensures a tight fit and proper water drainage.
- Secure the edges: Nail or screw the edges of the first clapboard board to the wall, ensuring a secure hold. Drive fasteners through the top edge of the board, angling them slightly downwards to prevent water from seeping behind the siding.
- Check with a level and plumb line: After securing the first clapboard board, check its alignment and vertical plumb using a level and plumb line. Make any necessary adjustments to maintain a straight and vertical installation.
By properly installing the first clapboard board, you establish a solid foundation for the rest of the siding installation. Take your time to ensure accurate measurements, secure attachments, and proper alignment. With the first clapboard board in place, you can move on to the next exciting step of continuing the installation of the clapboard siding.
When installing clapboard siding, be sure to use stainless steel or hot-dipped galvanized nails to prevent rusting and staining of the siding over time.
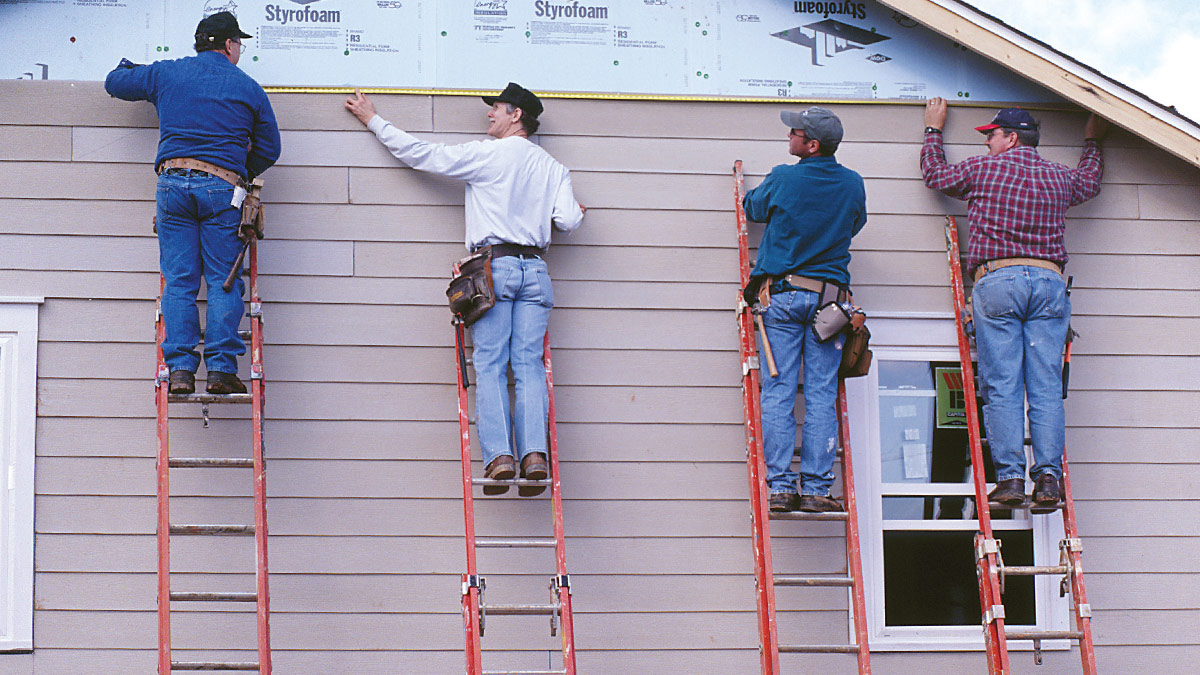
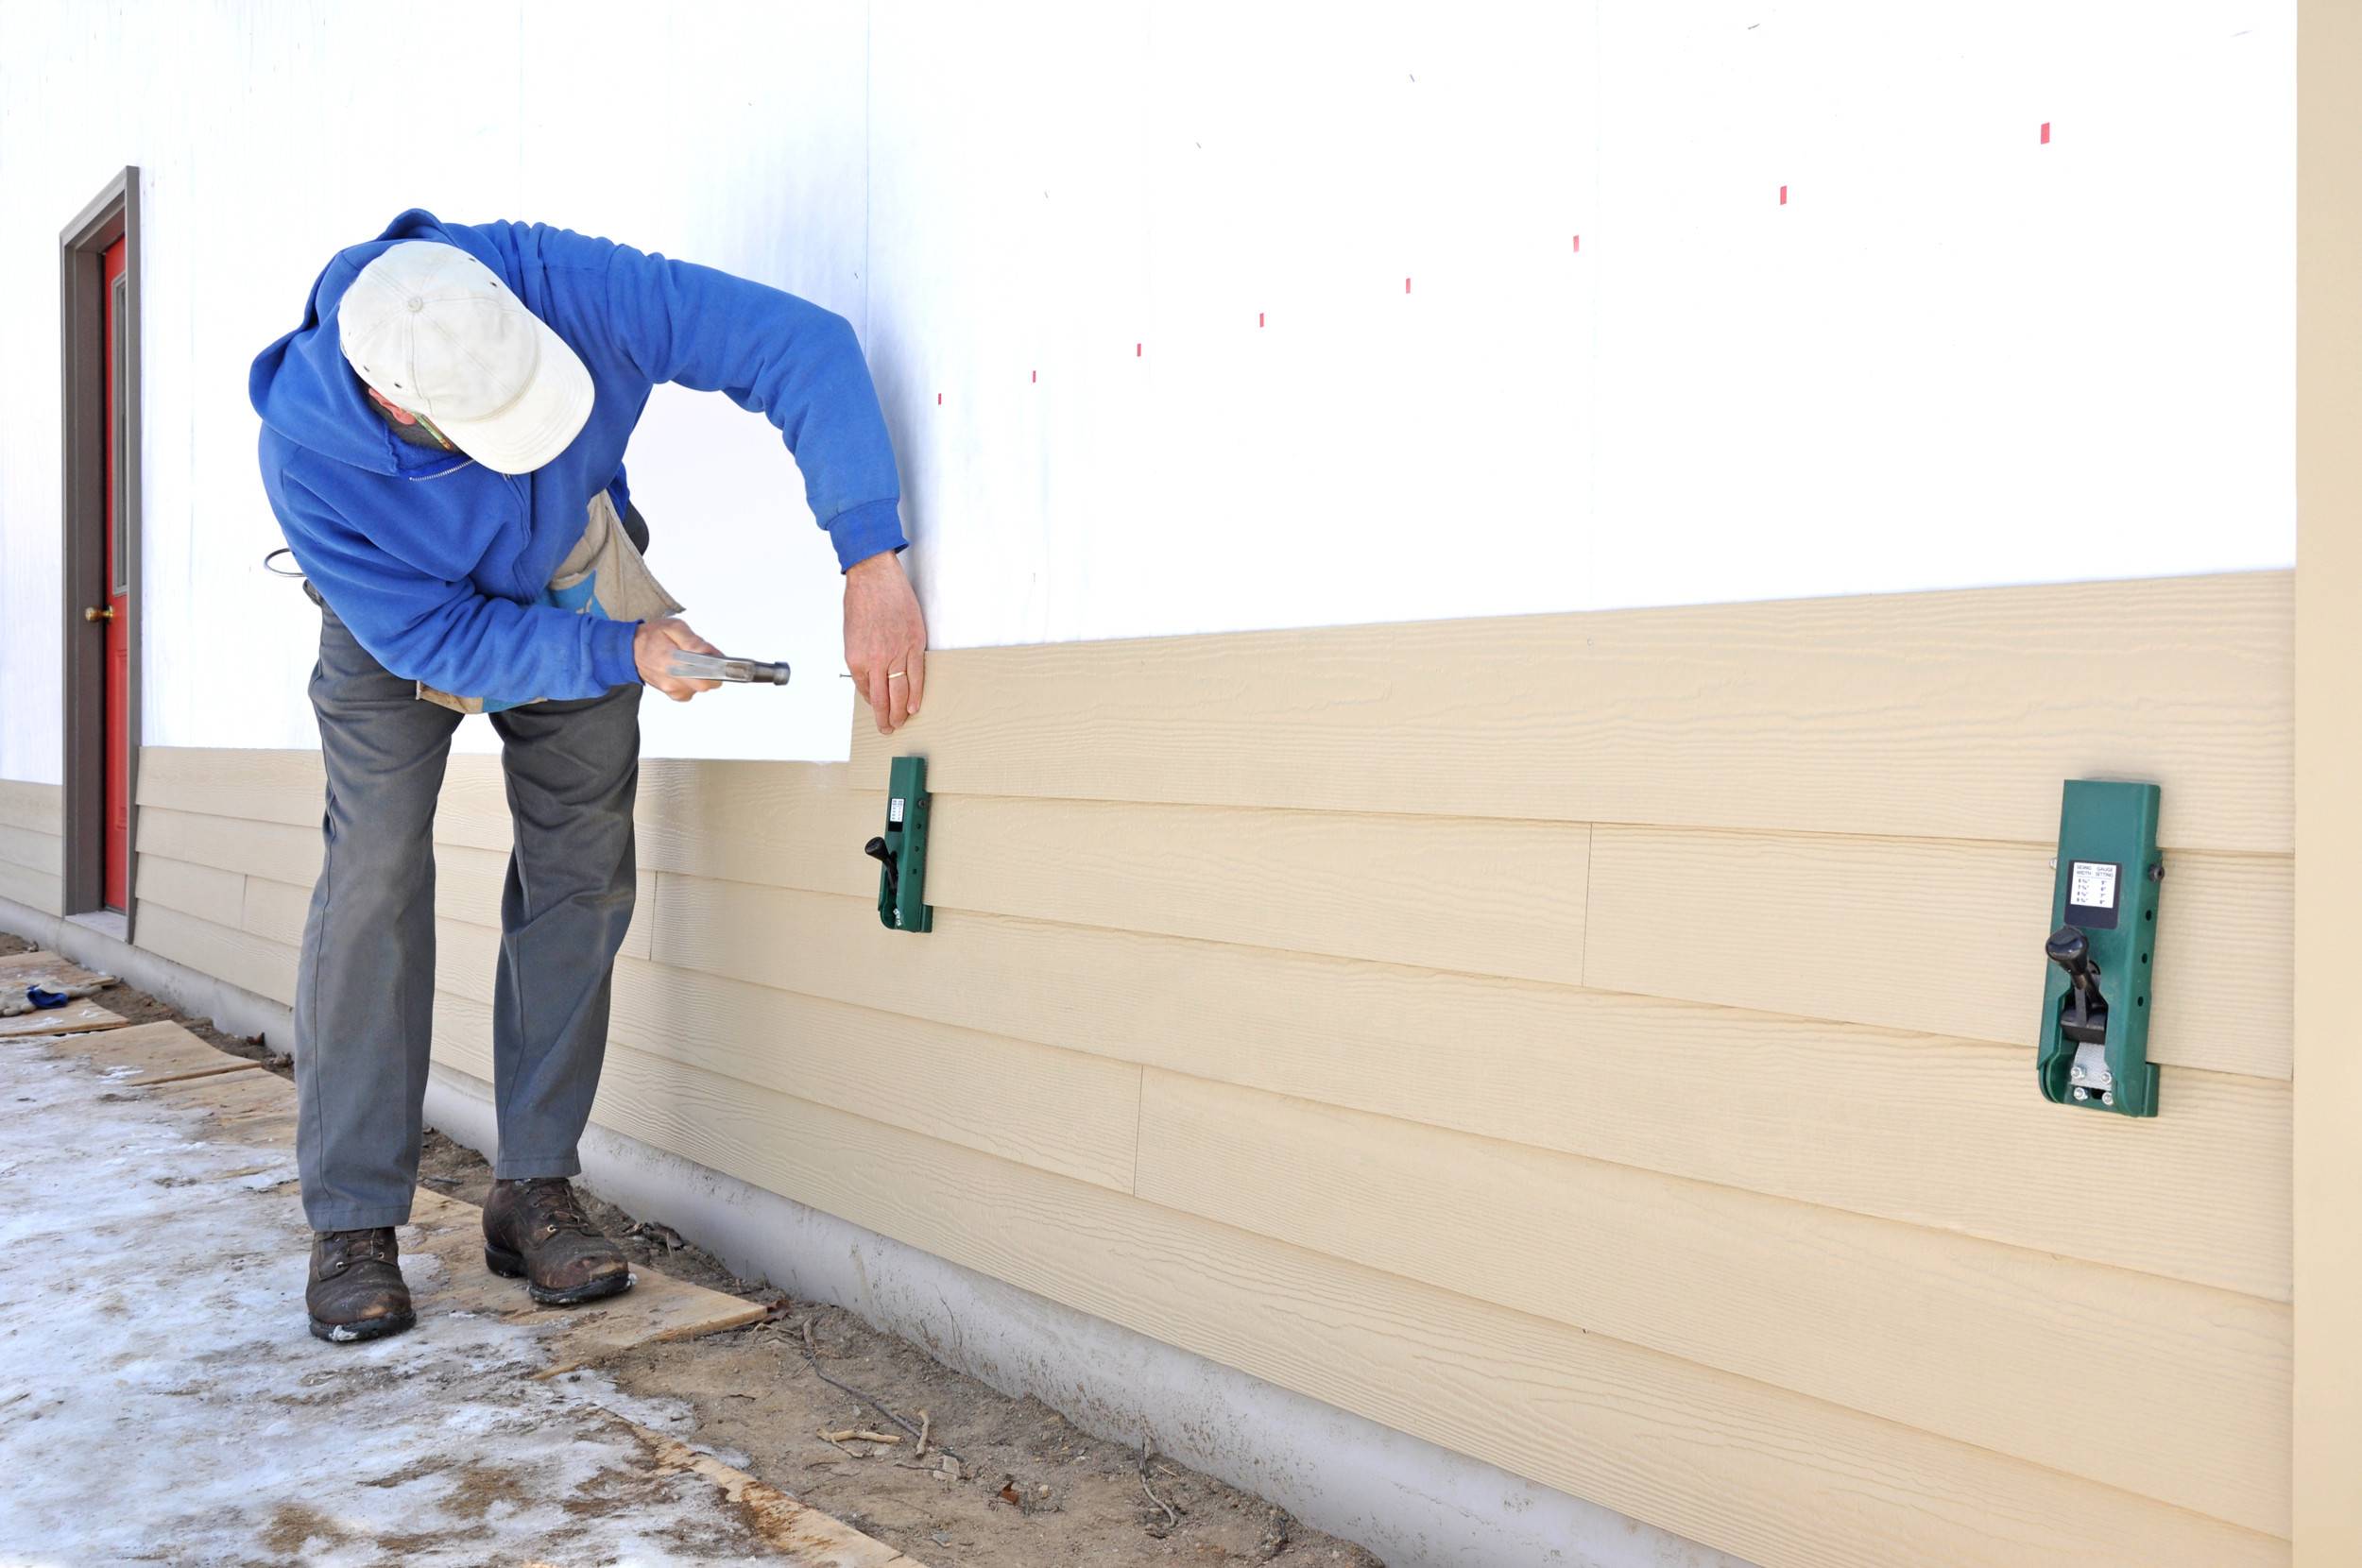
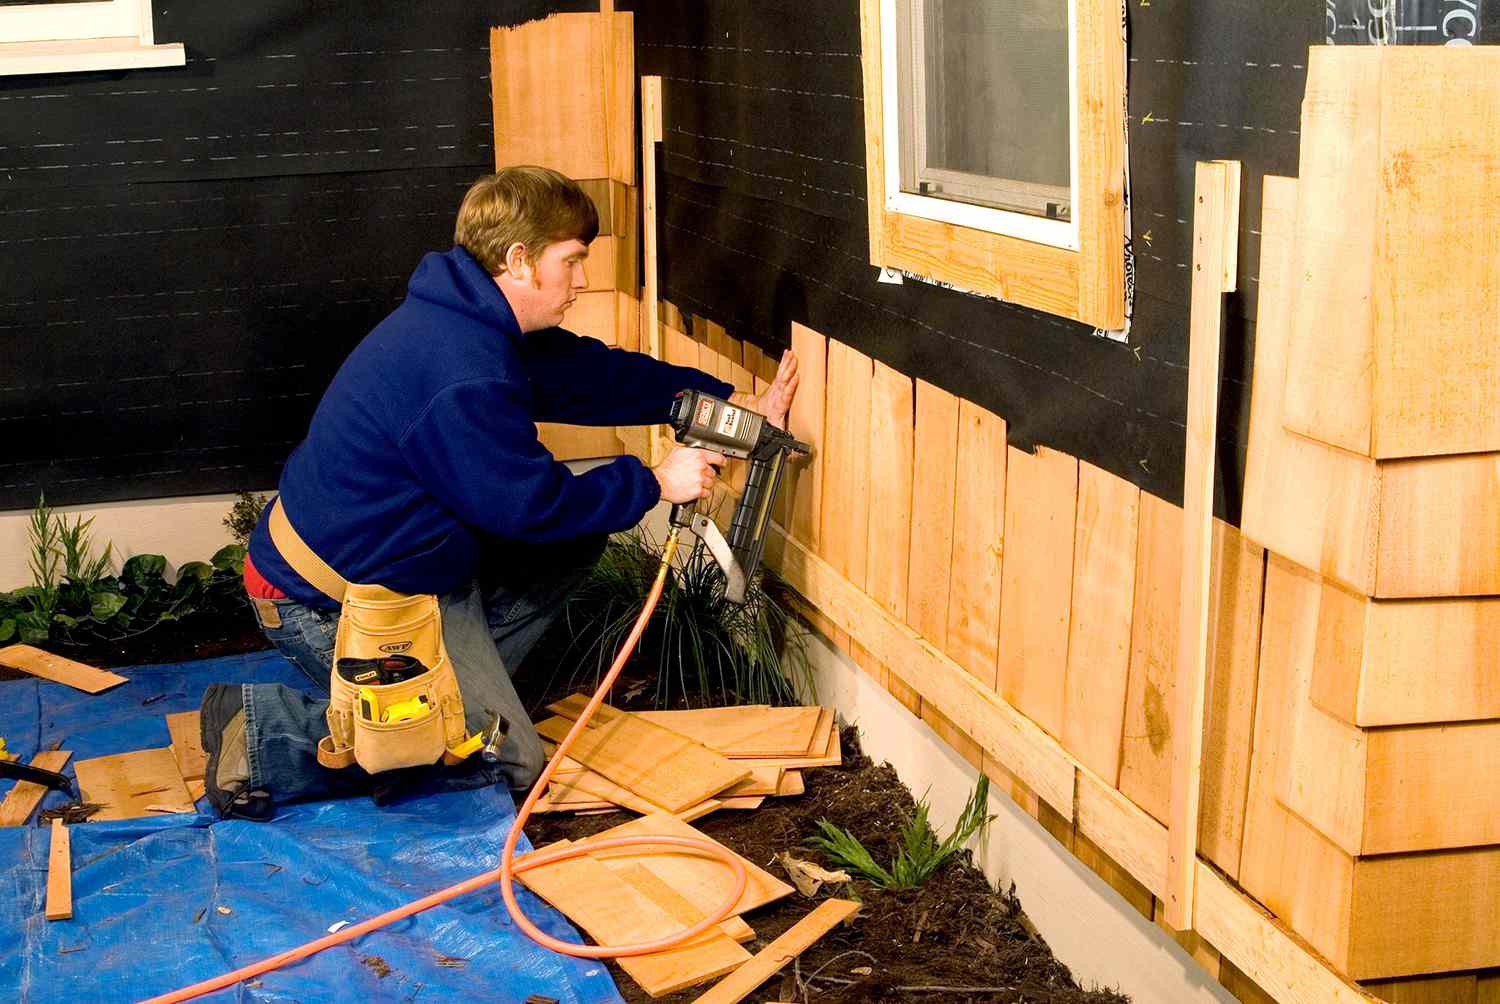
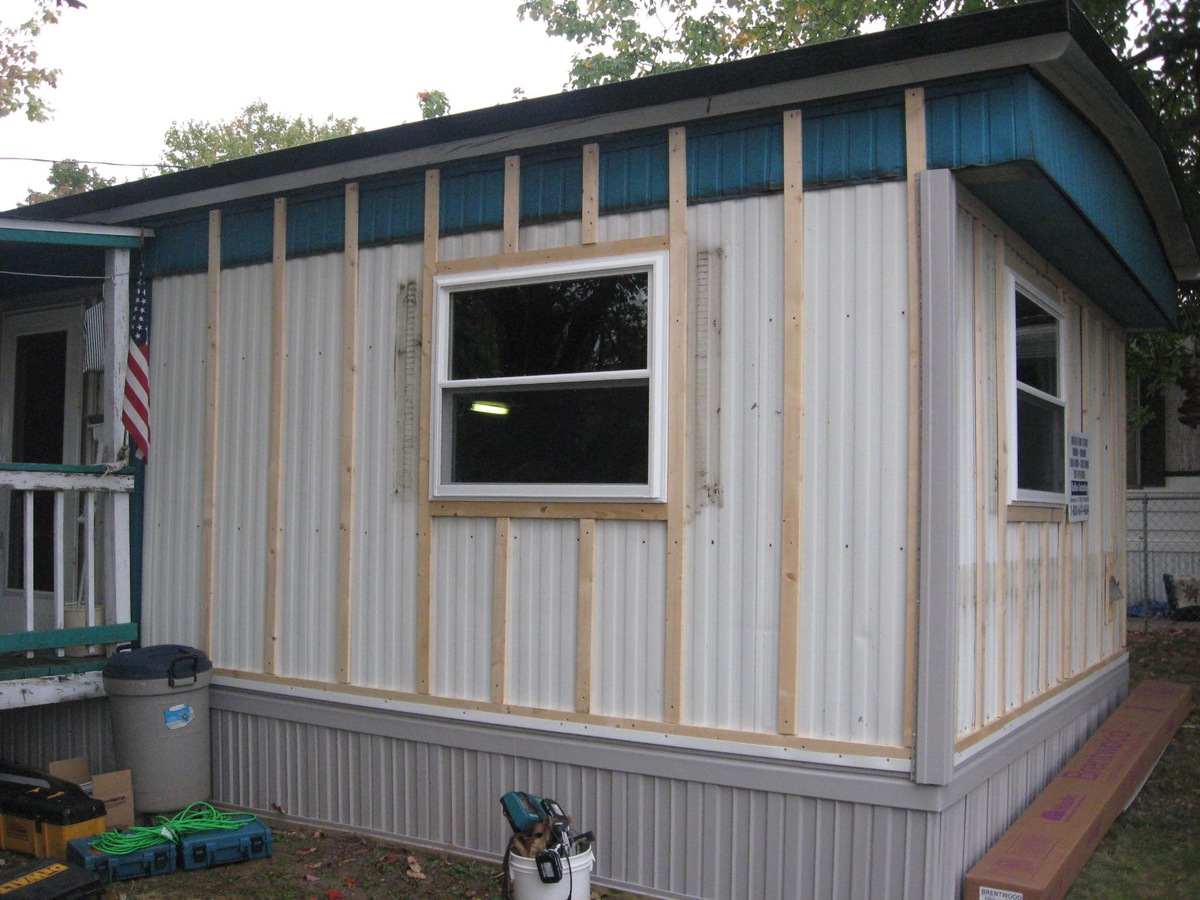
Step 6: Continue Installing Clapboard Siding
Now that you have successfully installed the first clapboard, it’s time to continue the installation process and add more boards to complete the siding. Follow these steps to ensure a seamless and professional-looking clapboard siding installation:
- Measure and cut the next clapboard boards: Measure the height needed for each clapboard board, taking into account any overlap required. Cut the boards to the appropriate length, ensuring clean and accurate cuts.
- Place the next board: Position the next clapboard board on top of the previous one, aligning it with the layout lines and overlapping the end of the previous board. Check for a level installation by using a level tool.
- Attach the board: Secure the clapboard board to the wall using siding nails or screws. Drive the fasteners through the top edge of the board, angling them slightly downwards to prevent water infiltration. Space the fasteners evenly along the length of the board.
- Confirm alignment and overlap: Continuously check the alignment and overlap of each clapboard board as you install them. Ensure that each board is level and overlaps the previous one by the recommended measurement specified by the manufacturer.
- Apply necessary trim: Depending on your design preferences and architectural details, you may need to install trim pieces around windows, doors, or corners. Measure, cut, and install the trim pieces according to the specific requirements of your project, making sure they integrate seamlessly with the clapboard siding.
- Continue the pattern: Follow the same process of measuring, cutting, and installing clapboard boards, working your way up the wall. Take your time to ensure a uniform and visually appealing pattern. Keep checking for level, alignment, and proper overlap.
- Trimming around obstacles: If you encounter obstacles such as pipes, vents, or electrical fixtures, carefully measure and cut the clapboard boards to fit around them. Use a jigsaw or appropriate cutting tool to make precise and clean cuts.
- Work in sections: It’s often helpful to complete the installation of clapboard siding in sections, working methodically from bottom to top. This approach allows you to maintain control over the installation and make any necessary adjustments as you progress.
Take your time during the installation process, ensuring accurate measurements and precise cuts. Regularly check the alignment, level, and overlap of each clapboard board to achieve a polished and professional finish. As you continue installing the clapboard siding, you will see your home”s exterior transform with each added board.
Next, we will move on to Step 7, where we will discuss how to trim and finish the edges of the clapboard siding to enhance its appearance and provide a clean, polished look.
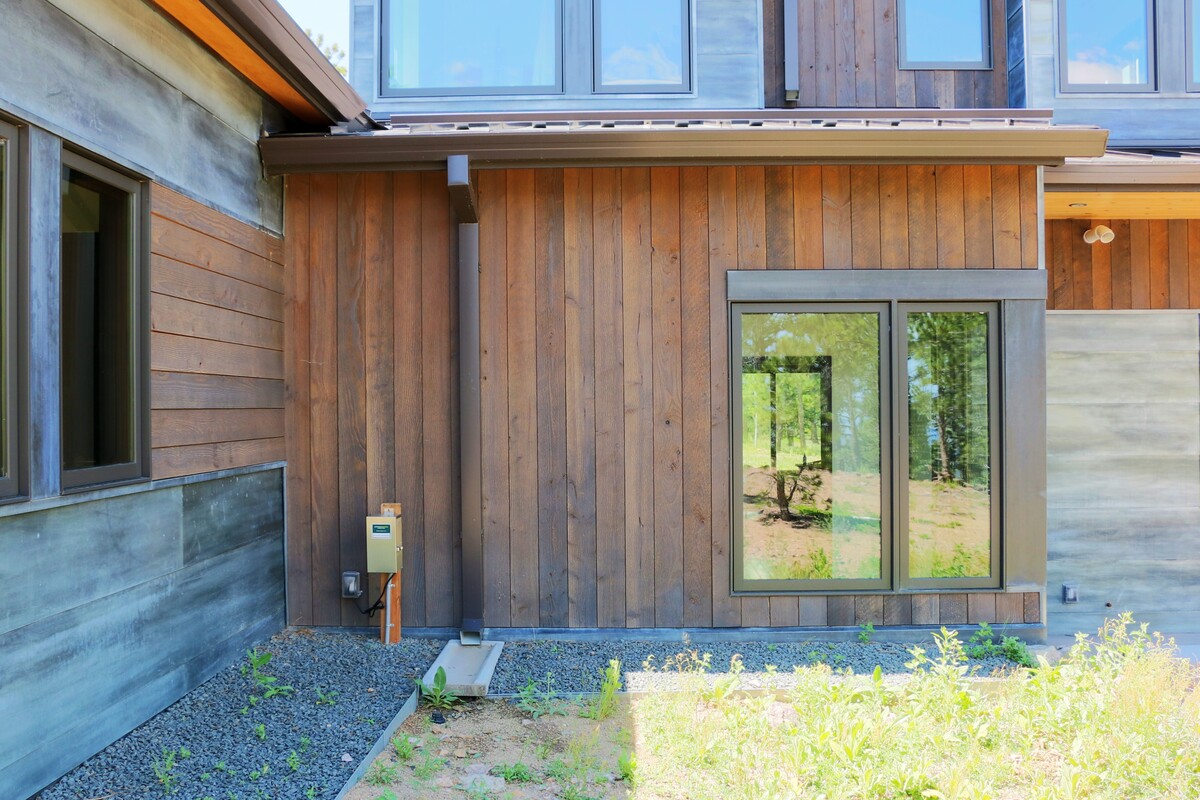
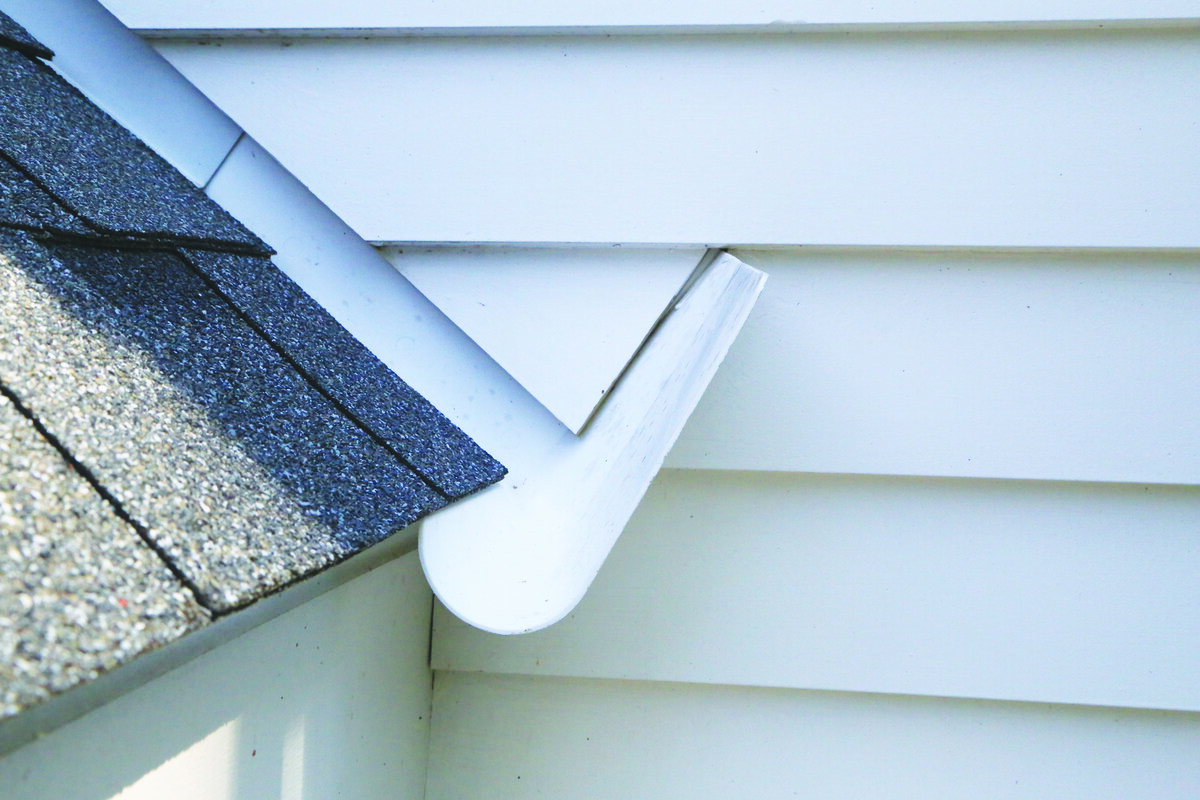
Step 7: Trim and Finish the Edges
Trimming and finishing the edges of the clapboard siding is an important step that adds a polished and professional touch to the overall installation. It also helps protect the edges of the siding and ensures a clean and attractive final result. Follow these steps to trim and finish the edges:
- Measure and cut the trim pieces: Measure the length needed for the trim pieces along the edges of the siding. Use a miter saw or circular saw to cut the trim to the appropriate length. Ensure that your cuts are clean and accurate.
- Position the trim: Place the cut trim pieces along the edges of the siding, fitting them snugly against the siding boards. Ensure that the trim is level and straight. For corners, miter the trim pieces at a 45-degree angle and secure them to the wall using nails or screws.
- Secure the trim: Nail or screw the trim pieces into place, ensuring a secure hold. Use corrosion-resistant fasteners to prevent rust and maintain the longevity of the trim.
- Fill nail or screw holes: If necessary, fill any exposed nail or screw holes in the trim pieces with wood filler. Smooth the filler with a putty knife and allow it to dry. Sand the filled holes for a seamless appearance.
- Caulk the edges: Apply a bead of high-quality exterior caulk along the edges where the trim meets the siding and where two trim pieces meet at a corner. This helps seal any gaps, prevents water penetration, and enhances the overall appearance.
- Paint or stain the trim: If desired, paint or stain the trim pieces to match or complement the clapboard siding. Use exterior-grade paint or stain that is intended for use on wood surfaces. Apply multiple coats as needed, following the manufacturer’s instructions.
- Inspect and make any necessary touch-ups: Once everything is in place and the caulk and paint/stain are dry, inspect the edges and trim for any imperfections or areas that require touch-ups. Make any necessary adjustments to ensure a flawless and professional finish.
Trimming and finishing the edges of the clapboard siding not only enhances the aesthetic appeal of your home’s exterior but also provides added protection against moisture and weathering. Take your time to ensure precise measurements, clean cuts, and secure attachments. A excellent trim and finish will truly elevate the overall appearance of your clapboard siding installation.
With the edges trimmed and finished, we are nearing the end of the installation process. In the next step, we will discuss how to caulk and paint the clapboard siding to provide additional protection and a beautiful final look.
Step 8: Caulk and Paint the Clapboard Siding
Caulking and painting the clapboard siding is the final step that not only adds a decorative touch but also provides additional protection against moisture and damage. Caulking seals any gaps or joints in the siding, while painting adds a layer of protection and enhances the aesthetic appeal. Follow these steps to caulk and paint the clapboard siding:
- Prepare the surface: Ensure that the clapboard siding is clean and dry before caulking and painting. Remove any dirt, dust, or loose debris from the siding’s surface using a brush or hose.
- Caulk the gaps: Using a caulk gun, apply a bead of exterior-grade caulk into the gaps between clapboard boards and at the joints where the trim meets the siding. Smooth the caulk with your finger or a caulk smoothing tool to create a neat and even surface. Allow the caulk to dry according to the manufacturer’s instructions.
- Prime the siding (optional): If you’re painting the clapboard siding a different color or if the wood is untreated, it’s recommended to apply a coat of primer. The primer helps seal the wood, improves paint adhesion, and enhances the durability of the paint job. Follow the primer manufacturer’s instructions for application and drying times.
- Choose and apply the paint: Select a high-quality exterior paint that is specifically formulated for clapboard siding. Consider factors such as climate, color preference, and the type of finish desired (e.g., matte, satin, or semi-gloss). Apply the paint evenly using a paintbrush, roller, or sprayer. Work from top to bottom, following the wood grain, and ensure thorough coverage. Apply additional coats as needed, allowing adequate drying time between coats.
- Pay attention to details: While painting, pay attention to details such as edges, corners, and trim pieces. Use a smaller brush or a trim brush to ensure precise and neat paint application in these areas.
- Allow the paint to dry: Allow the paint to fully dry according to the manufacturer’s instructions. This may take several hours or even days, depending on the paint type, weather conditions, and humidity levels.
- Inspect and touch up: Once the paint is dry, carefully inspect the clapboard siding for any missed spots, drips, or imperfections. Make any necessary touch-ups or corrections using a small brush or touch-up paint. This will ensure a flawless and professional finish.
Caulking and painting the clapboard siding not only improves its durability and weather resistance but also adds the final touch to the overall appearance of your home’s exterior. Take your time during this step, as proper caulking and painting techniques will contribute to a long-lasting and visually appealing result.
With the clapboard siding caulked and painted, you have completed the installation and finishing process. In the next and final step, we will discuss some important tips for maintenance and care of your clapboard siding to keep it looking great for years to come.
Read more: How To Install Siding On House
Step 9: Maintenance and Care Tips
Proper maintenance and care are essential for ensuring the longevity and continued beauty of your clapboard siding. By following these maintenance tips, you can keep your siding in excellent condition for years to come:
- Clean regularly: Regularly clean your clapboard siding to remove dirt, dust, and debris. Use a soft-bristle brush or a low-pressure hose to gently scrub the surface. Avoid using abrasive materials or harsh chemicals that could damage the siding.
- Inspect for damage: Conduct regular inspections of your clapboard siding to identify any signs of damage or deterioration. Look for cracks, rot, mold, or pest infestations. Promptly address any issues that you discover to prevent further damage. It’s also important to inspect the caulk and paint for signs of wear and tear.
- Repair or replace damaged sections: If you notice any damage during your inspections, such as cracked or rotted boards, it’s crucial to repair or replace them promptly. Remove the damaged section and replace it with a new clapboard board that matches the existing siding. Secure it in place and ensure proper alignment.
- Repaint or touch up as needed: Over time, the paint on clapboard siding may fade or chip. Keep an eye out for any areas that require repainting or touch-ups. Clean the area, sand any rough spots, and apply fresh paint to protect the wood and maintain the appearance of your siding.
- Monitor moisture levels: Clapboard siding is susceptible to moisture damage. Ensure proper drainage by keeping gutters and downspouts clean and clear of debris. Direct water away from the siding to prevent excessive exposure to moisture. Additionally, monitor the siding during wet seasons and address any moisture issues promptly.
- Trim vegetation near the siding: Overgrown vegetation, such as shrubs or trees, can cause damage to clapboard siding. Trim back any branches or foliage that comes into contact with the siding to prevent scratching, moisture buildup, and potential pest issues.
- Protect from direct sun exposure: Clapboard siding that is constantly exposed to direct sunlight may experience fading or discoloration over time. Consider using sun-shading devices such as awnings or planting shade-providing trees to protect the siding from excessive sun exposure.
- Follow manufacturer’s guidelines: Always refer to the manufacturer’s guidelines and recommendations for maintenance and care of your specific clapboard siding. They may provide specific instructions or product recommendations to ensure optimal performance and longevity.
By following these maintenance and care tips, you can preserve the beauty and durability of your clapboard siding. Regular inspections, prompt repairs, and proper cleaning and upkeep are key to maintaining its longevity and overall appearance.
Congratulations! You have successfully completed the installation, finishing, and maintenance steps for clapboard siding. By diligently following these steps, you can enjoy the timeless charm and protective benefits that clapboard siding offers for years to come.
Remember, if you have any doubts or encounter complex issues during installation or maintenance, it’s always best to consult a professional for guidance and assistance.
Conclusion
Installing clapboard siding is a rewarding home improvement project that can enhance the appearance and protection of your home’s exterior. By following the step-by-step guide provided in this article, you’ve learned how to gather materials and tools, prepare the workspace, measure and cut the clapboard siding, install the starter strip and the first clapboard, continue the installation process, trim and finish the edges, caulk, and paint the siding, and implement maintenance and care tips.
Throughout the installation process, you learned the importance of careful measurements, precise cuts, and proper alignment. By taking the time to prepare the workspace and follow each step diligently, you have created a solid and visually appealing foundation for your clapboard siding.
Applying caulk and paint not only adds an attractive finish but also provides extra protection against the elements. Proper maintenance and care, including regular inspections, repairs, and cleaning, will help ensure the longevity and continued beauty of your clapboard siding. By following these guidelines, you can keep your siding in excellent condition for years to come.
Remember, if you ever feel uncertain or encounter complex issues during the installation or maintenance process, it’s always best to consult a professional for guidance and assistance.
Congratulations on completing the installation and finishing of your clapboard siding! Enjoy the timeless charm and durability it brings to your home’s exterior.
Frequently Asked Questions about How To Install Clapboard Siding
Was this page helpful?
At Storables.com, we guarantee accurate and reliable information. Our content, validated by Expert Board Contributors, is crafted following stringent Editorial Policies. We're committed to providing you with well-researched, expert-backed insights for all your informational needs.


0 thoughts on “How To Install Clapboard Siding”