
Articles
How To Install Batten Board Siding
Modified: December 7, 2023
Learn how to install batten board siding with our informative articles. Step-by-step instructions and expert tips for a successful installation.
(Many of the links in this article redirect to a specific reviewed product. Your purchase of these products through affiliate links helps to generate commission for Storables.com, at no extra cost. Learn more)
Introduction
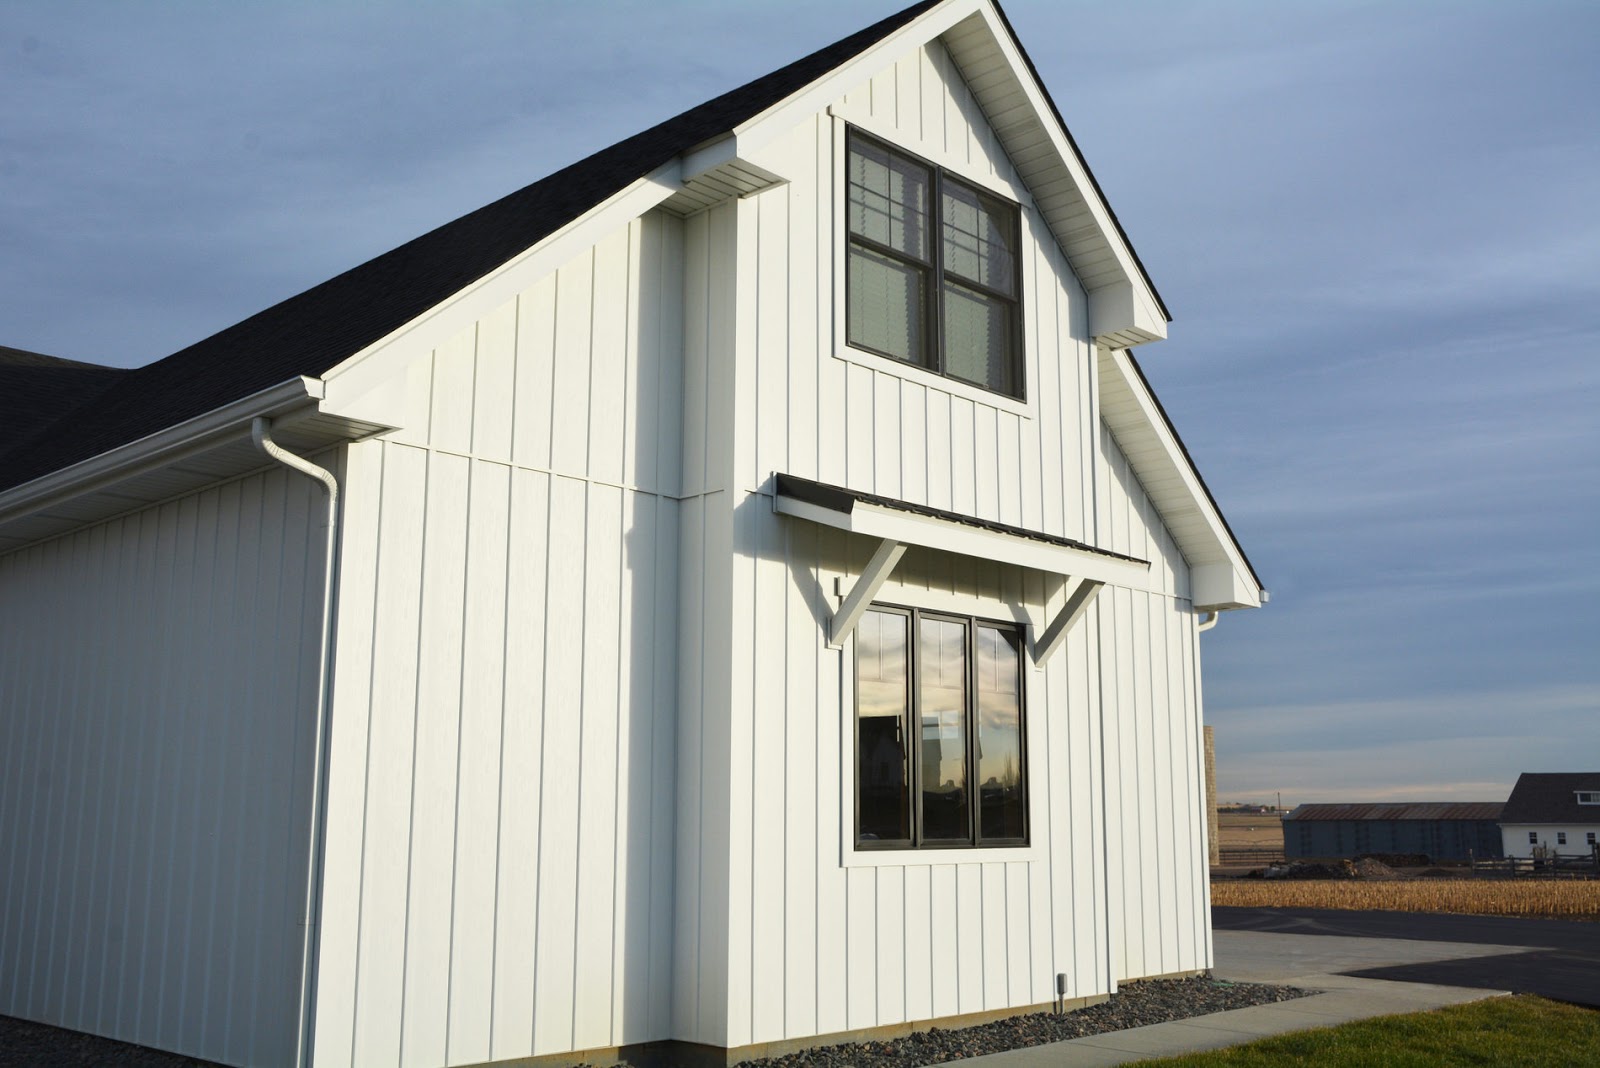
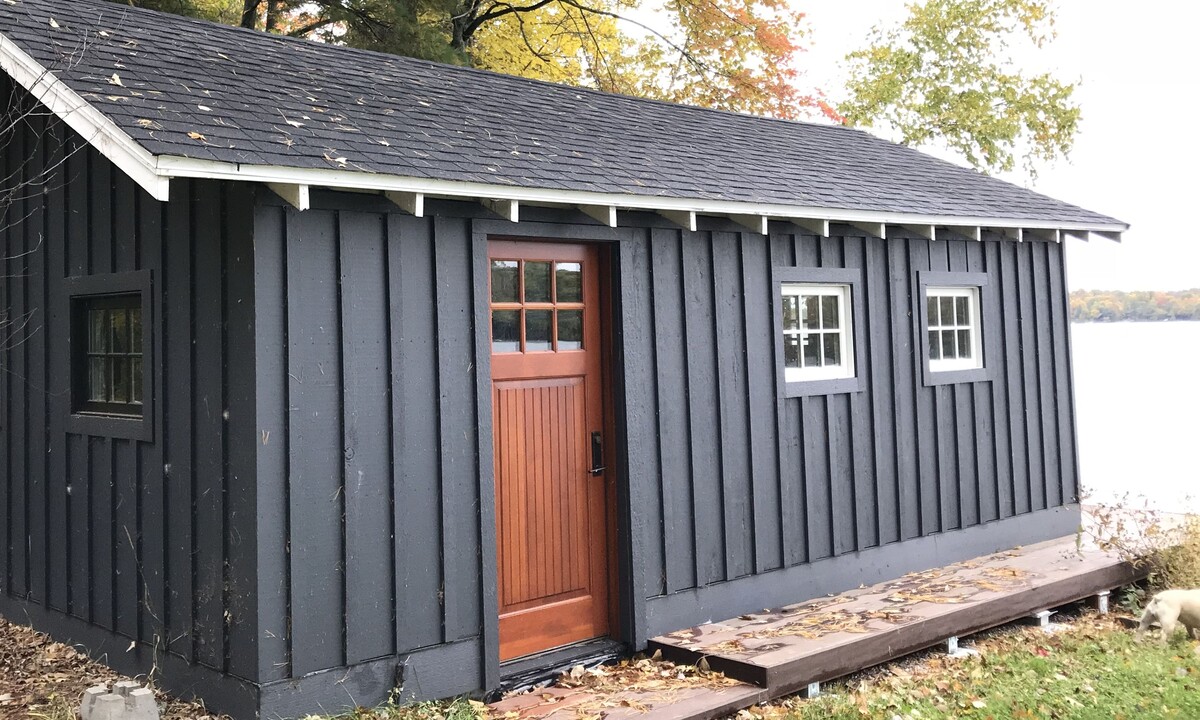
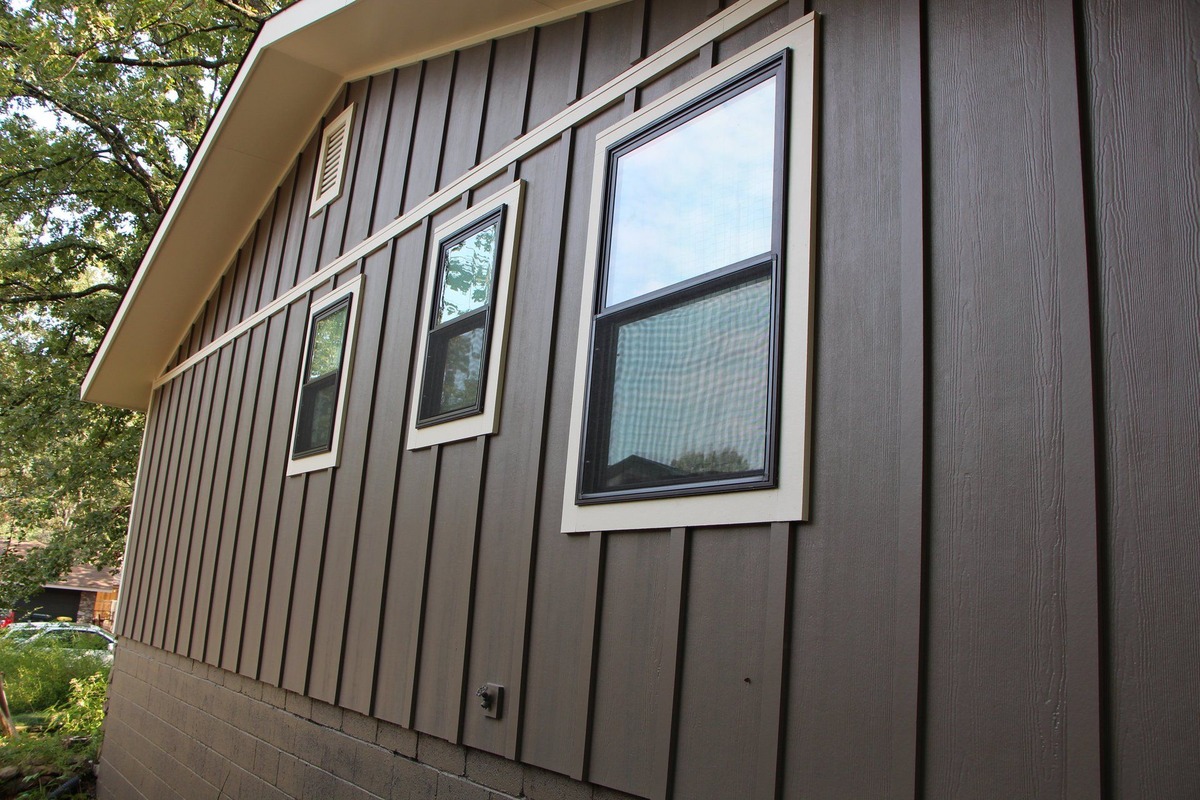
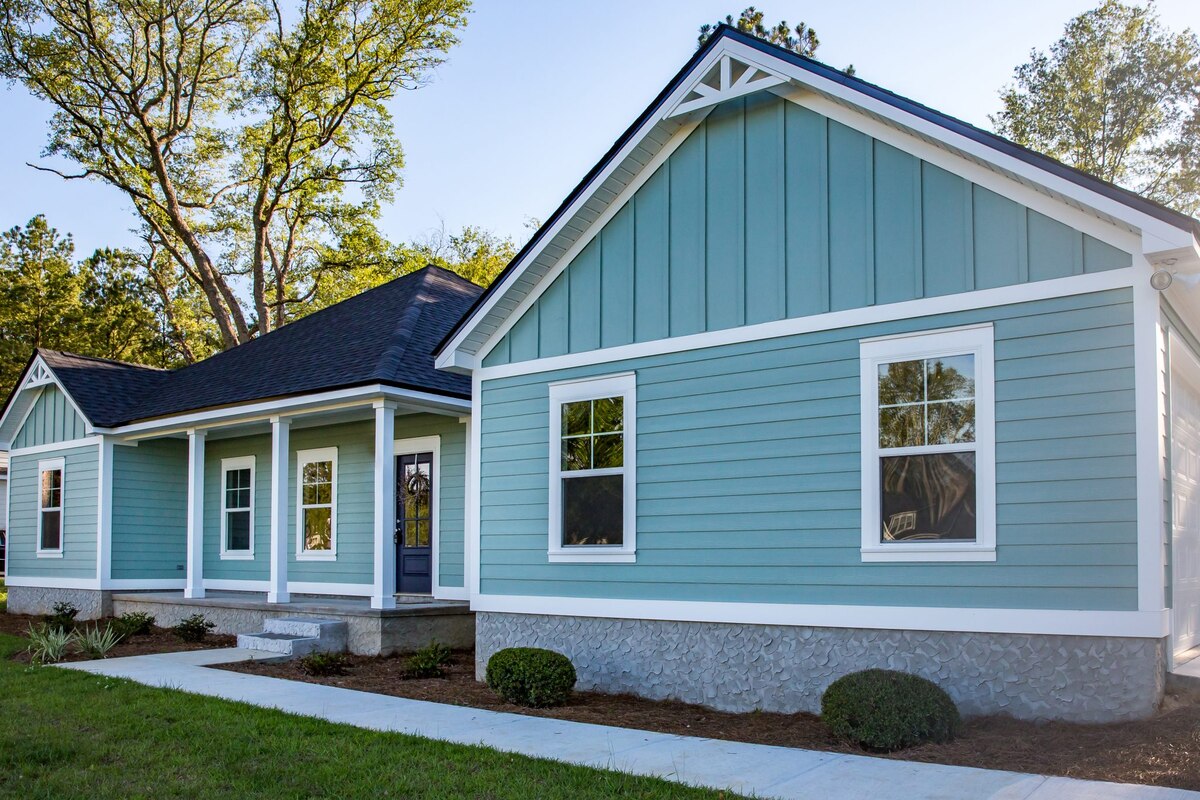
Welcome to our step-by-step guide on how to install batten board siding. Batten board siding, also known as board and batten siding, is a popular choice for homeowners who want to add a touch of rustic charm to their homes. This type of siding consists of wide vertical boards with narrower strips, called battens, running over the seams. It not only adds visual interest to the exterior of a building but also provides an extra layer of protection.
Installing batten board siding may seem like a daunting task, but with the right tools, materials, and guidance, it can be a rewarding DIY project. In this article, we will walk you through each step, from preparing the wall to adding the finishing touches. So, grab your tools and let’s get started!
Before we dive into the installation process, it’s important to gather the necessary materials. Here’s a list of what you’ll need:
Key Takeaways:
- Transform your home’s exterior with rustic charm by installing batten board siding. Follow the step-by-step guide for a rewarding DIY project that adds visual interest and extra protection to your property.
- Prioritize proper preparation, accurate measurements, and attention to detail for a successful batten board siding installation. Enhance your home’s visual appeal while creating a durable barrier against the elements.
Materials Needed
- Vertical boards
- Batten strips
- Nails or screws
- Hammer or screwdriver
- Tape measure
- Miter saw or circular saw
- Level
- Chalk line
- Primer
- Paint or stain
- Paintbrush or roller
- Caulk
- Putty knife
- Sanding block
- Extension ladder
- Protective gloves and goggles
Make sure you have all of these materials before starting the installation process. It’s always best to be prepared and have everything on hand to avoid delays.
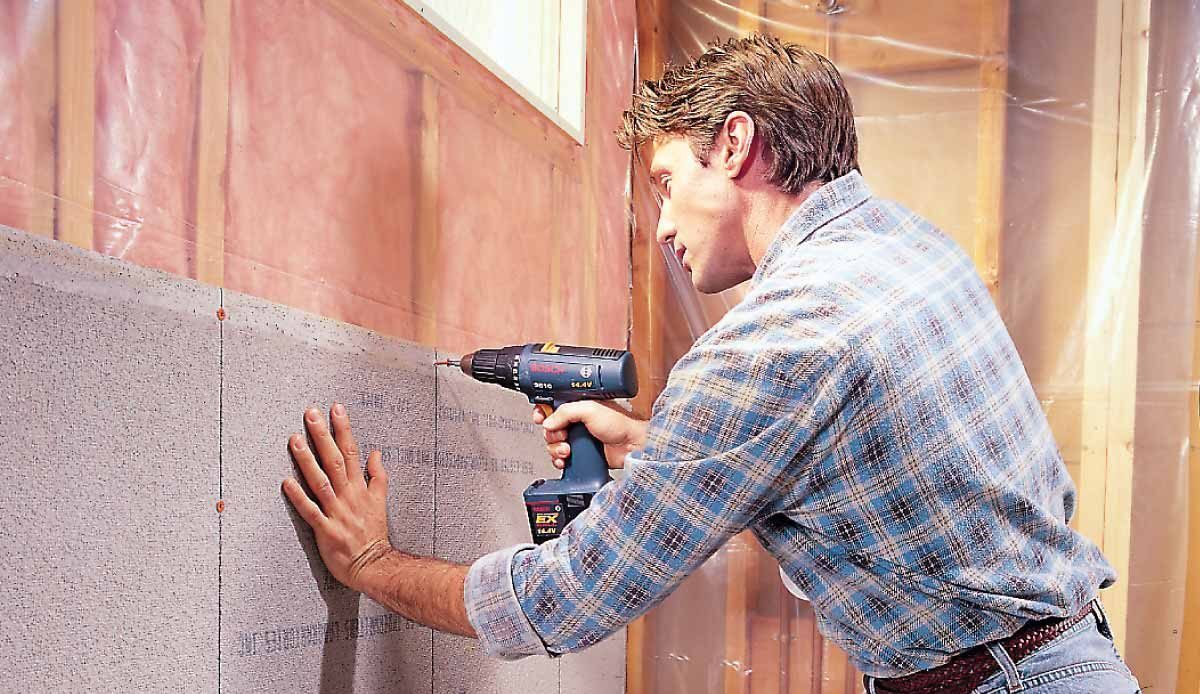
Step 1: Prepare the Wall
Before you begin installing batten board siding, it’s crucial to properly prepare the wall surface. This will ensure a smooth and secure installation. Follow these steps to prepare the wall:
- Clean the wall: Start by cleaning the wall thoroughly to remove any dirt, debris, or loose paint. Use a stiff brush or pressure washer to achieve a clean surface. Allow the wall to dry completely before moving on to the next step.
- Inspect for damage: Carefully inspect the wall for any signs of damage, such as rot or cracks. If you notice any issues, address them before proceeding with the installation. Repair or replace any damaged sections of the wall to ensure a solid foundation for the siding.
- Apply primer: Priming the wall is an essential step to promote better adhesion and provide an extra layer of protection. Apply a coat of primer that is compatible with both the wall material and the paint or stain you will use. Allow the primer to dry according to the manufacturer’s instructions.
- Mark the layout: Use a chalk line to mark the desired layout of the batten boards on the wall. This will help you visualize the placement of each board and ensure a consistent and aesthetically pleasing look. Measure and mark the desired height of each board, taking into account the width of the boards and the spacing between them.
By thoroughly preparing the wall, you are setting the foundation for a successful batten board siding installation. Take your time during this step to ensure that the wall is clean, in good condition, and ready for the next phase.
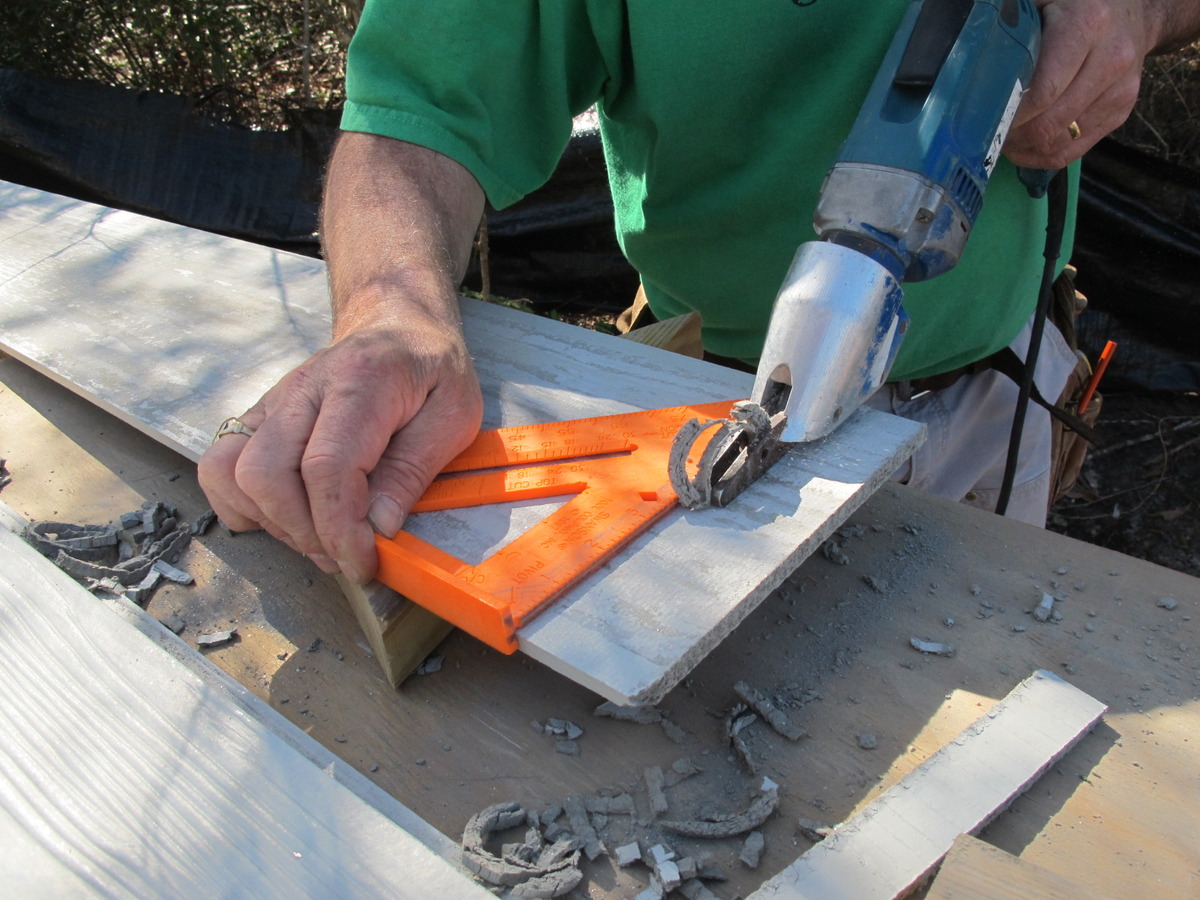
Step 2: Measure and Cut the Boards
Once the wall is properly prepared, it’s time to move on to measuring and cutting the batten boards. Here’s how to do it:
- Measure the length: Start by measuring the length of the wall where you’ll be installing the boards. Use a tape measure and record the measurement accurately. If the wall is longer than the length of the boards you have, you may need to join multiple boards together.
- Cut the boards: Using a miter saw or circular saw, carefully cut the boards to the desired length. Double-check your measurements before making any cuts to ensure accuracy. If you need to join multiple boards together, cut them at a 45-degree angle to create a clean and seamless joint.
- Measure the spacing: Determine the desired spacing between each board and mark it on the wall. This will depend on your personal preference and the overall aesthetic you want to achieve. Use a level or straightedge to ensure that the marks are straight and even.
- Cut the batten strips: Measure and cut the batten strips to the appropriate length. These strips will cover the seams between the batten boards. Cut them slightly longer than the spacing between the boards to allow for a proper fit.
- Sand the cut edges: After cutting the boards, it’s a good idea to sand the cut edges to smooth out any roughness. Use a sanding block or sandpaper to achieve a clean finish. This will help ensure a professional and polished look once the siding is installed.
Take your time during this step to measure and cut the boards accurately. Remember, precision is key to achieving a seamless and visually appealing installation.
Step 3: Install the First Board
With the boards cut and ready, it’s time to install the first board on the wall. Here’s how to do it:
- Position the board: Begin by positioning the first board at the bottom of the wall, aligning it with the chalk line or the markings you made during the preparation step. Make sure the board is level and plumb using a level.
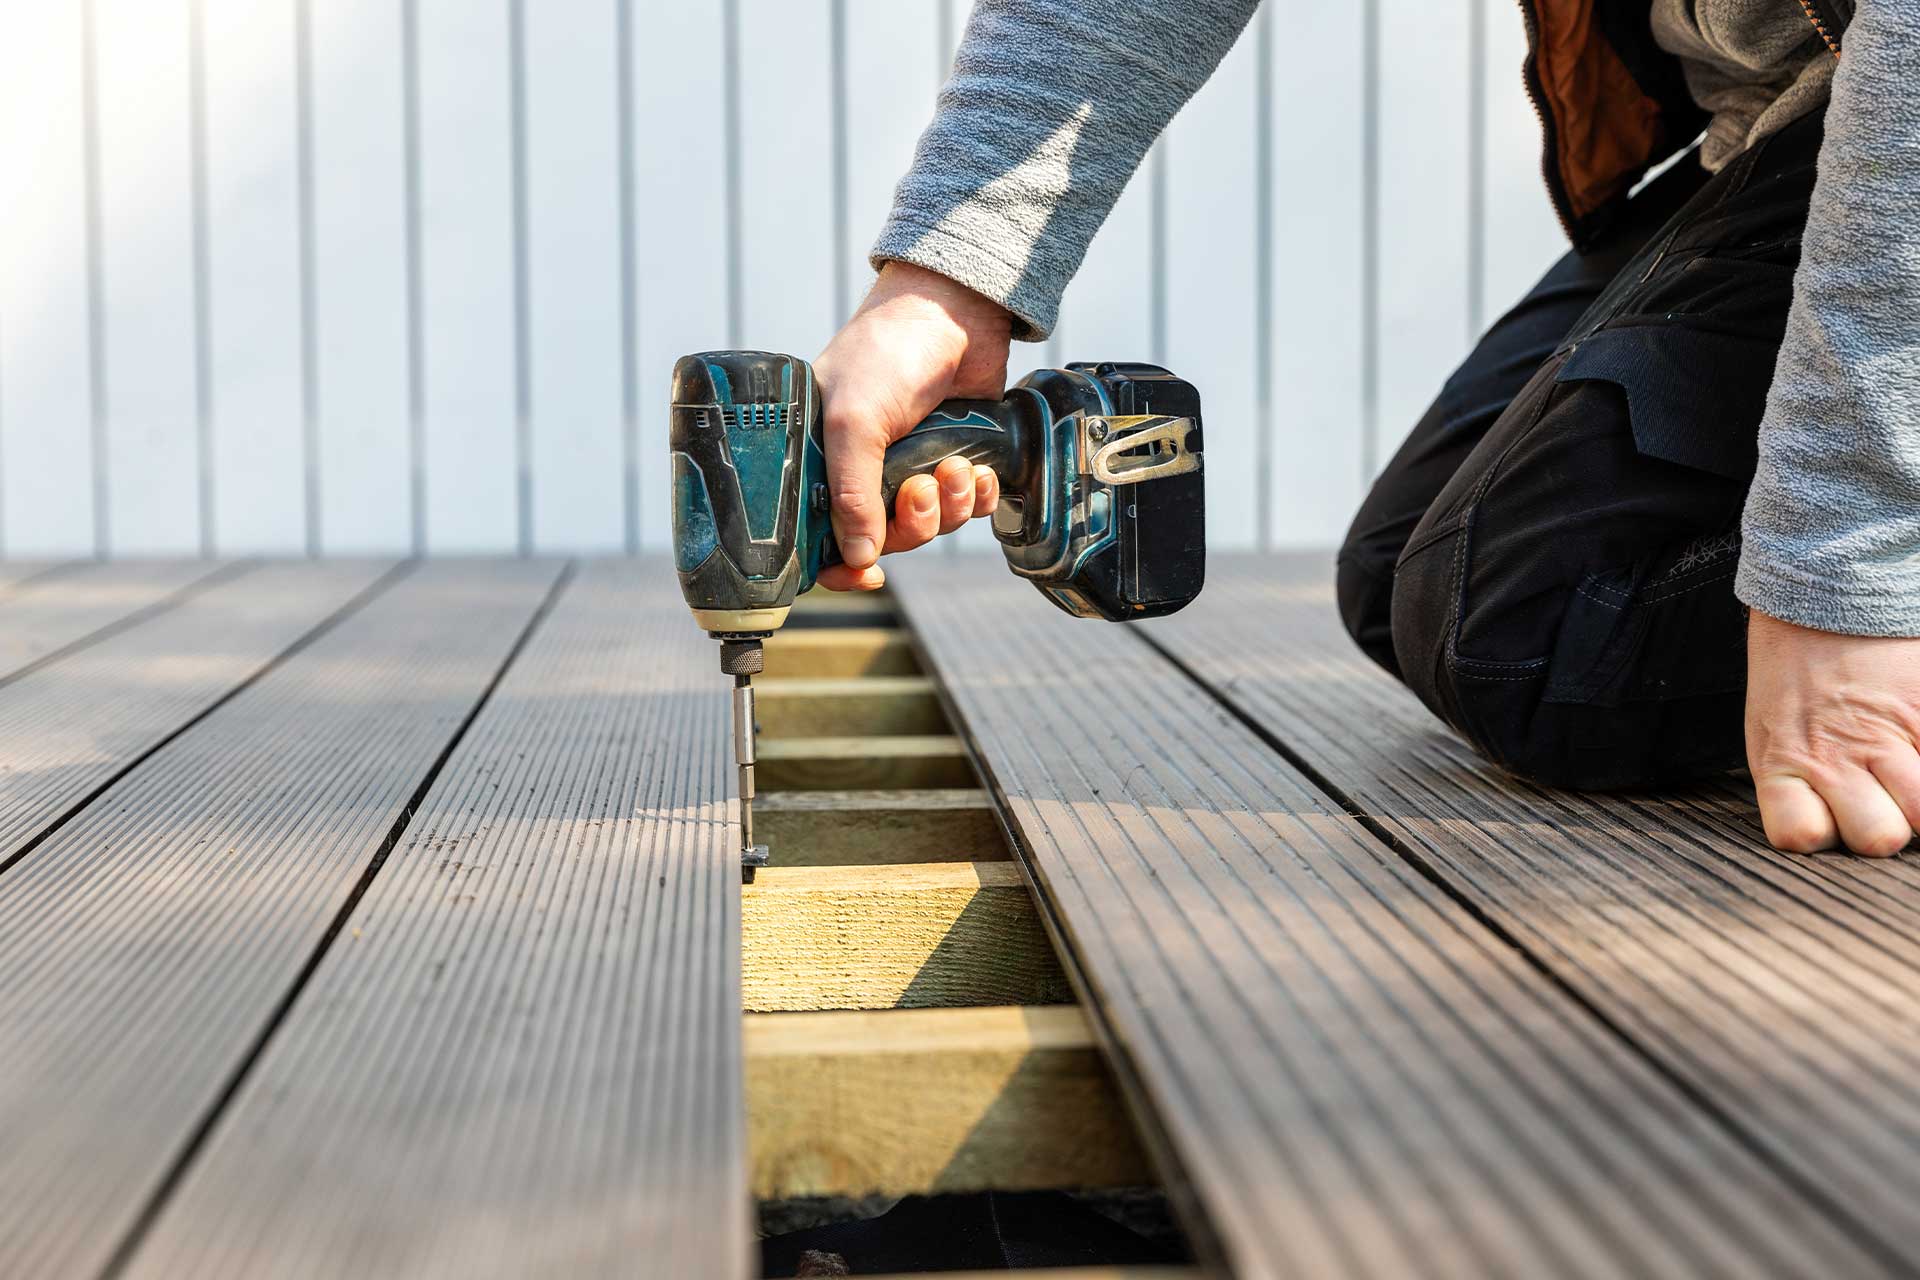
- Attach the board: Secure the board to the wall using either nails or screws, depending on your preference. Drive the fasteners through the board and into the studs or wall anchors for maximum stability. Place the fasteners approximately every 16 inches along the length of the board.
- Double-check the level: After attaching the first board, double-check that it is still level. Adjust as necessary to ensure a straight and proper alignment.
- Leave room for expansion: When attaching the board, leave a small gap, about 1/8 to 1/4 inch, between the edge of the board and any adjacent walls or trim. This will allow for natural expansion and contraction of the boards due to temperature and moisture changes.
- Continue with subsequent boards: Once the first board is securely in place, continue installing the remaining boards, following the same process. Remember to maintain the desired spacing between each board and check for levelness as you go.
By installing the first board correctly, you’ll set the tone for the rest of the siding installation. Take your time to ensure that it is level, properly aligned, and securely attached.
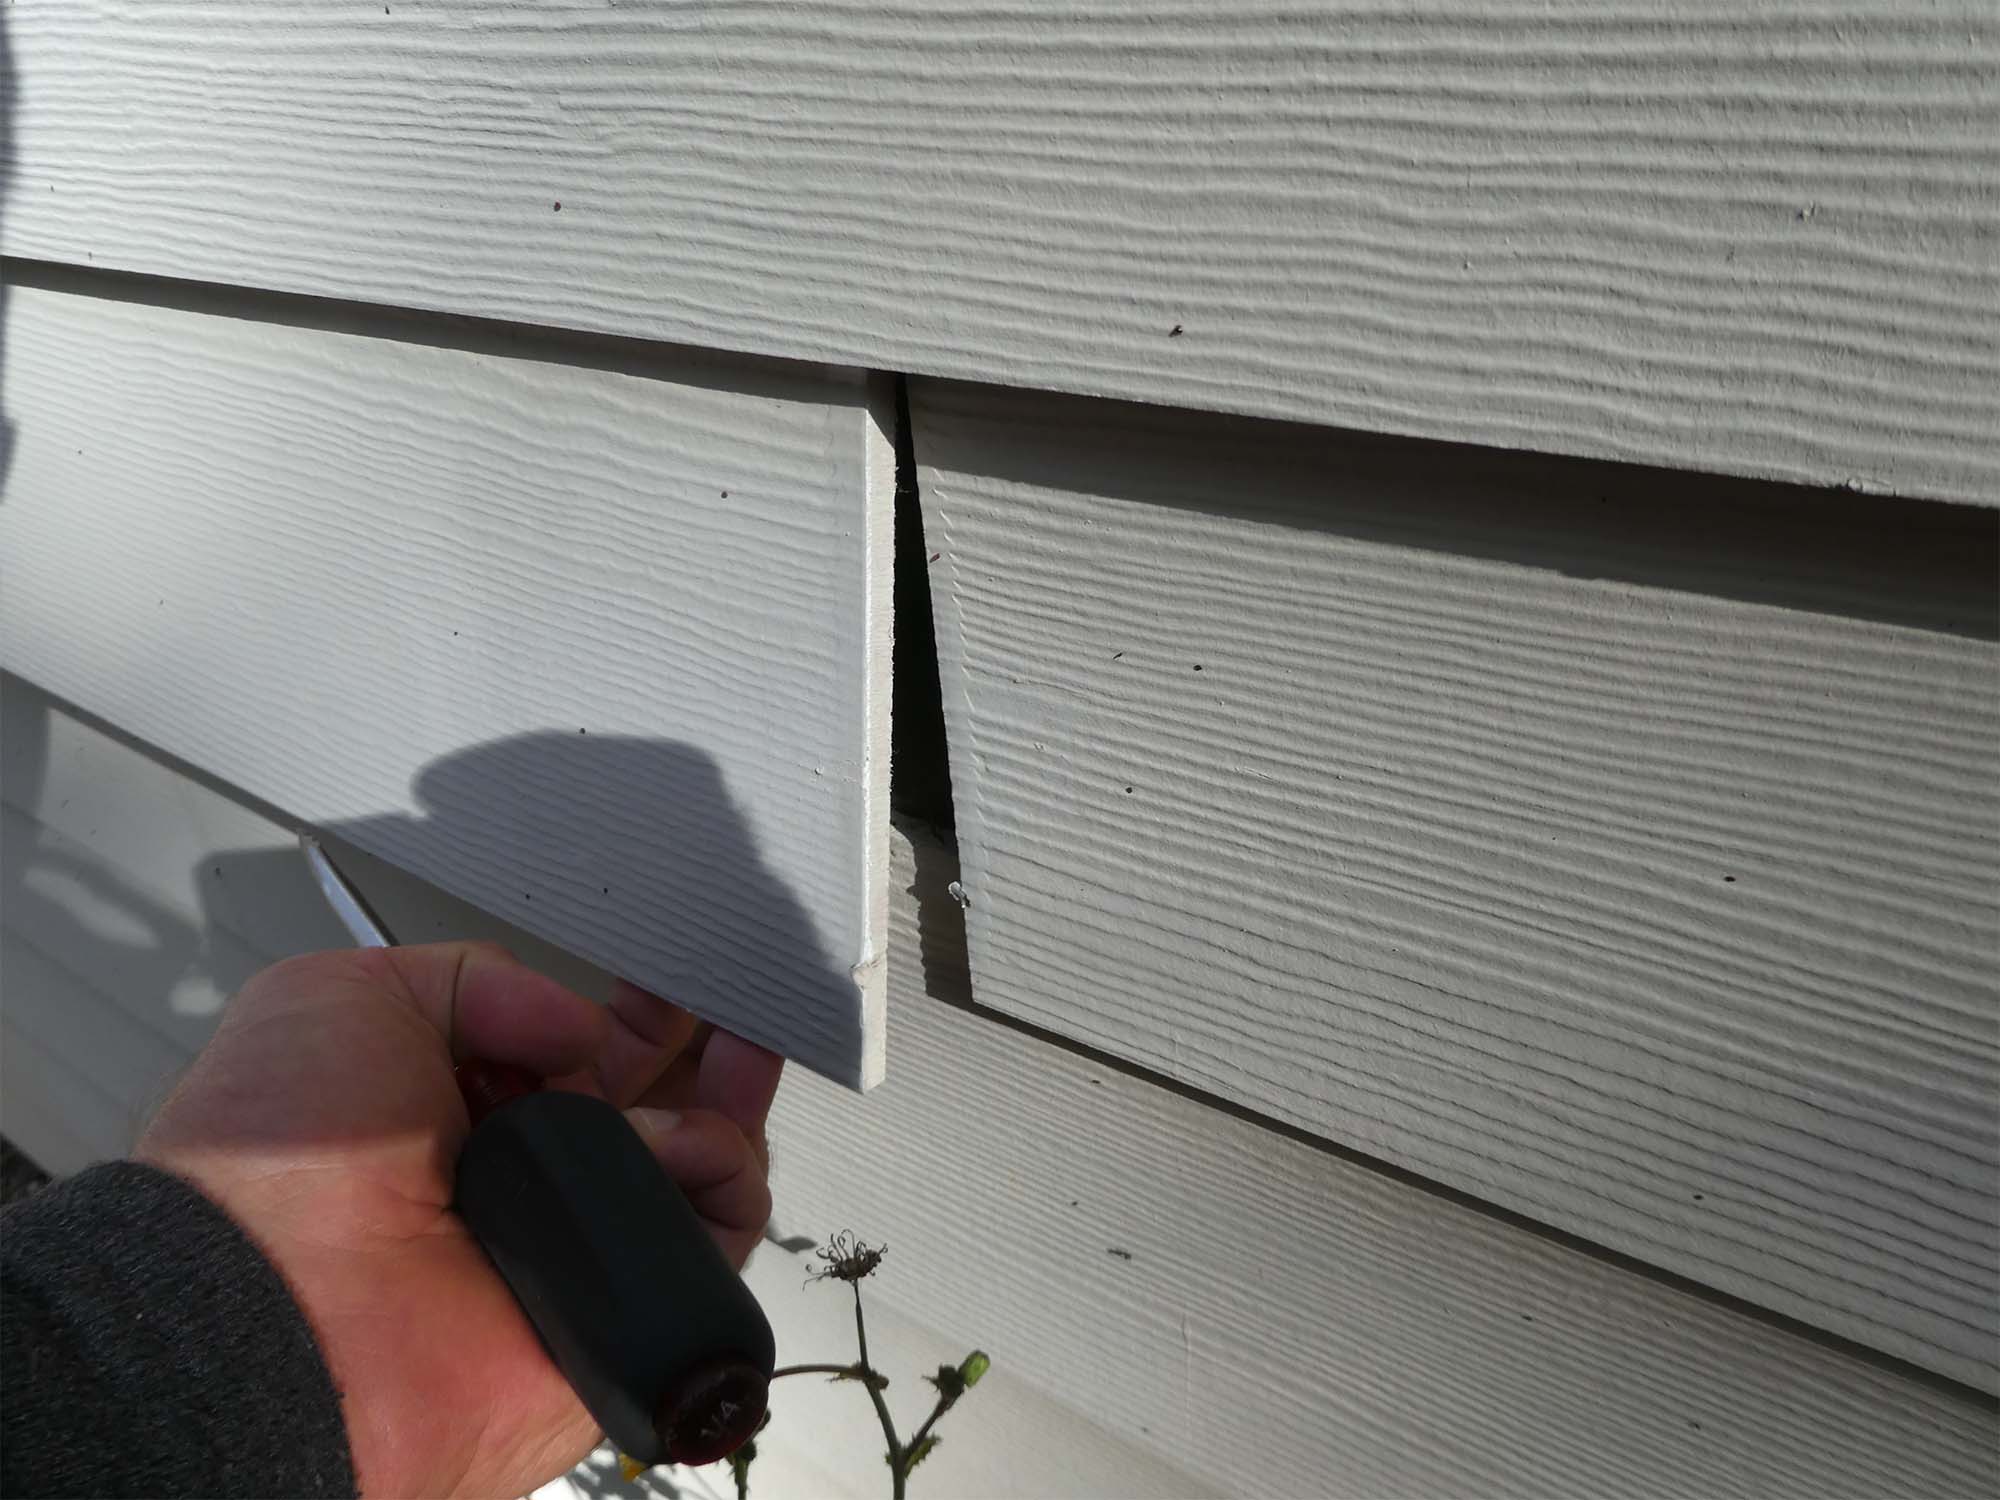
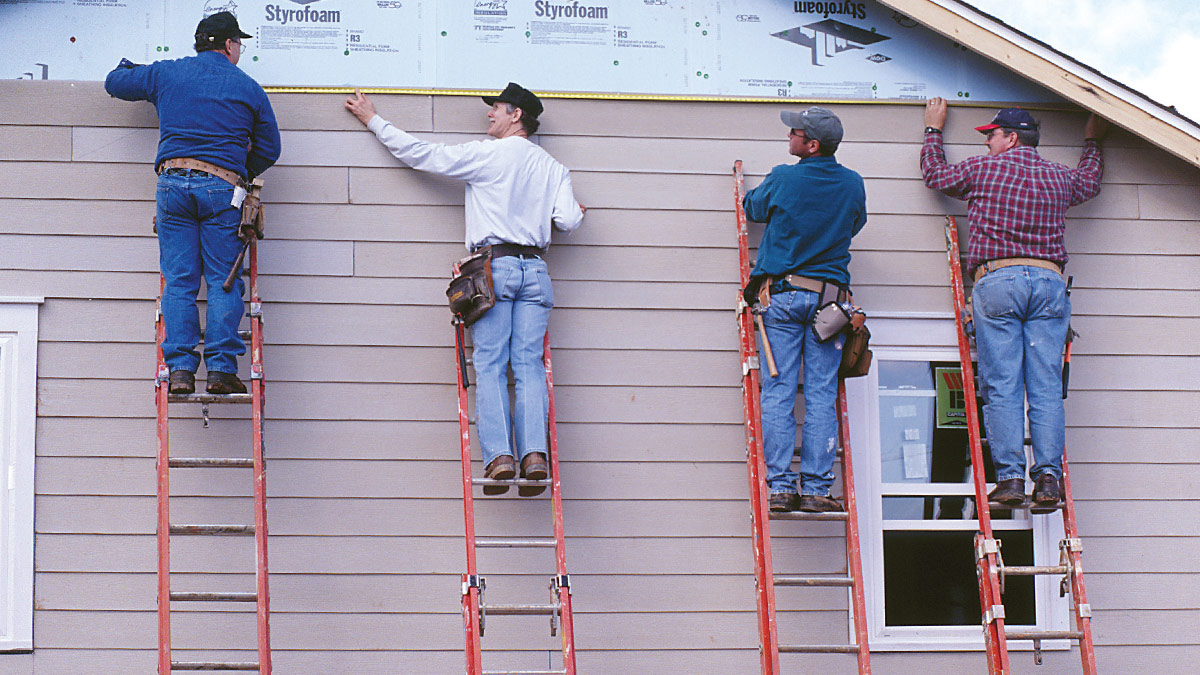
Make sure to properly space and level the furring strips before installing the batten board siding to ensure a professional and even finish.
Read more: What Is Batten Board Siding
Step 4: Attach the Remaining Boards
With the first board securely in place, it’s time to continue with the installation by attaching the remaining boards. Here’s how to do it:
- Align the boards: Position each subsequent board above the previous one, aligning it with the desired spacing and ensuring that it is level. Use a level or straightedge to double-check the alignment.
- Secure the boards: Attach each board to the wall using nails or screws, just like in the previous step. Drive the fasteners through the boards and into the wall studs or anchors, making sure to place them approximately every 16 inches along the length of the boards.
- Check for levelness: After attaching each board, check for levelness to ensure a straight and uniform appearance. Make any necessary adjustments to maintain a consistent alignment.
- Continue the process: Repeat the process of aligning and securing the remaining boards, moving upwards until you reach the desired height or the top of the wall. Remember to maintain the proper spacing between each board.
As you progress through this step, ensure that each board is securely attached and properly aligned. Taking the time to carefully install each board will result in a neat and visually appealing batten board siding.
Step 5: Trim the Edges
After attaching all the batten boards, it’s time to trim the edges to achieve a clean and finished look. Follow these steps to trim the edges:
- Measure the trim: Measure the length needed for the trim pieces that will be placed vertically along the edges of the siding. Cut the trim pieces to the appropriate length using a miter saw or circular saw.
- Align the trim: Position the trim pieces vertically along the outer edges of the batten board siding. Make sure they are flush with the top and bottom edges of the siding. Use a level or straightedge to ensure they are straight and even.
- Secure the trim: Attach the trim pieces to the wall using nails or screws. Drive the fasteners through the trim and into the wall studs or anchors. Place the fasteners at regular intervals to ensure a secure attachment.
- Check for levelness: After attaching the trim, double-check that it is level and properly aligned. Adjust as necessary to achieve a professional and polished appearance.
- Repeat for all edges: Repeat the process for all edges of the batten board siding that require trim. This includes the vertical edges and any corners that may be present.
Trimming the edges of the batten board siding adds the final touch and gives a refined look to the installation. Ensure that the trim pieces are cut accurately, aligned properly, and securely attached for a seamless finish.
Step 6: Finishing Touches
With the batten board siding and trim in place, it’s time to add the finishing touches to complete the installation. Follow these steps to give your siding that final touch:
- Apply caulk: Use a caulk gun to apply a bead of caulk along the seams where the batten boards and the trim meet. This helps seal any gaps and provides added protection against moisture and drafts.
- Smooth the caulk: Use a putty knife or your finger to smooth the caulk and create a seamless finish. Wipe away any excess caulk for a clean and tidy appearance.
- Paint or stain: Depending on the desired look and the material of the batten boards, you may choose to paint or stain them. Apply the paint or stain according to the manufacturer’s instructions, using a brush or roller. Allow it to dry completely before moving forward.
- Inspect the siding: Take a step back and inspect the installed batten board siding. Check for any loose boards, uneven gaps, or other imperfections. Make any necessary adjustments or repairs to ensure a flawless finish.
- Clean up: Finally, clean up the work area by removing any debris, packing up tools, and disposing of waste materials responsibly. A clean and organized space adds to the satisfaction of a completed project.
By paying attention to these finishing touches, you’ll ensure that your batten board siding installation not only looks great but also performs well and stands the test of time.
Conclusion
Congratulations! You have successfully learned how to install batten board siding, transforming the exterior of your home with a touch of rustic elegance. By following the step-by-step guide provided in this article, you have gained the knowledge and skills to undertake this DIY project with confidence.
Remember, the key to a successful batten board siding installation is proper preparation, accurate measurements, and careful attention to detail. Take your time at each stage of the process to ensure that the boards are level, aligned, securely attached, and trimmed neatly. Don’t forget to apply caulk, paint, or stain, and give your siding a thorough inspection before considering the project complete.
Installing batten board siding not only enhances the visual appeal of your home but also adds an extra layer of protection. The vertical boards and the battens create a stylish and durable barrier against the elements, improving the longevity and value of your property.
We hope that this guide has empowered you to take on this DIY project. Remember to prioritize your safety throughout the installation process by wearing protective gloves and goggles and using extension ladders where necessary.
Now it’s time to gather the materials, grab your tools, and embark on transforming your home’s exterior with the timeless beauty of batten board siding. Enjoy the process and revel in the satisfaction of a job well done!
Frequently Asked Questions about How To Install Batten Board Siding
Was this page helpful?
At Storables.com, we guarantee accurate and reliable information. Our content, validated by Expert Board Contributors, is crafted following stringent Editorial Policies. We're committed to providing you with well-researched, expert-backed insights for all your informational needs.

0 thoughts on “How To Install Batten Board Siding”