Articles
How To Install A Camera Doorbell
Modified: August 27, 2024
Learn how to install a camera doorbell with this informative article. Discover step-by-step instructions and expert tips to ensure a successful installation.
(Many of the links in this article redirect to a specific reviewed product. Your purchase of these products through affiliate links helps to generate commission for Storables.com, at no extra cost. Learn more)
Introduction
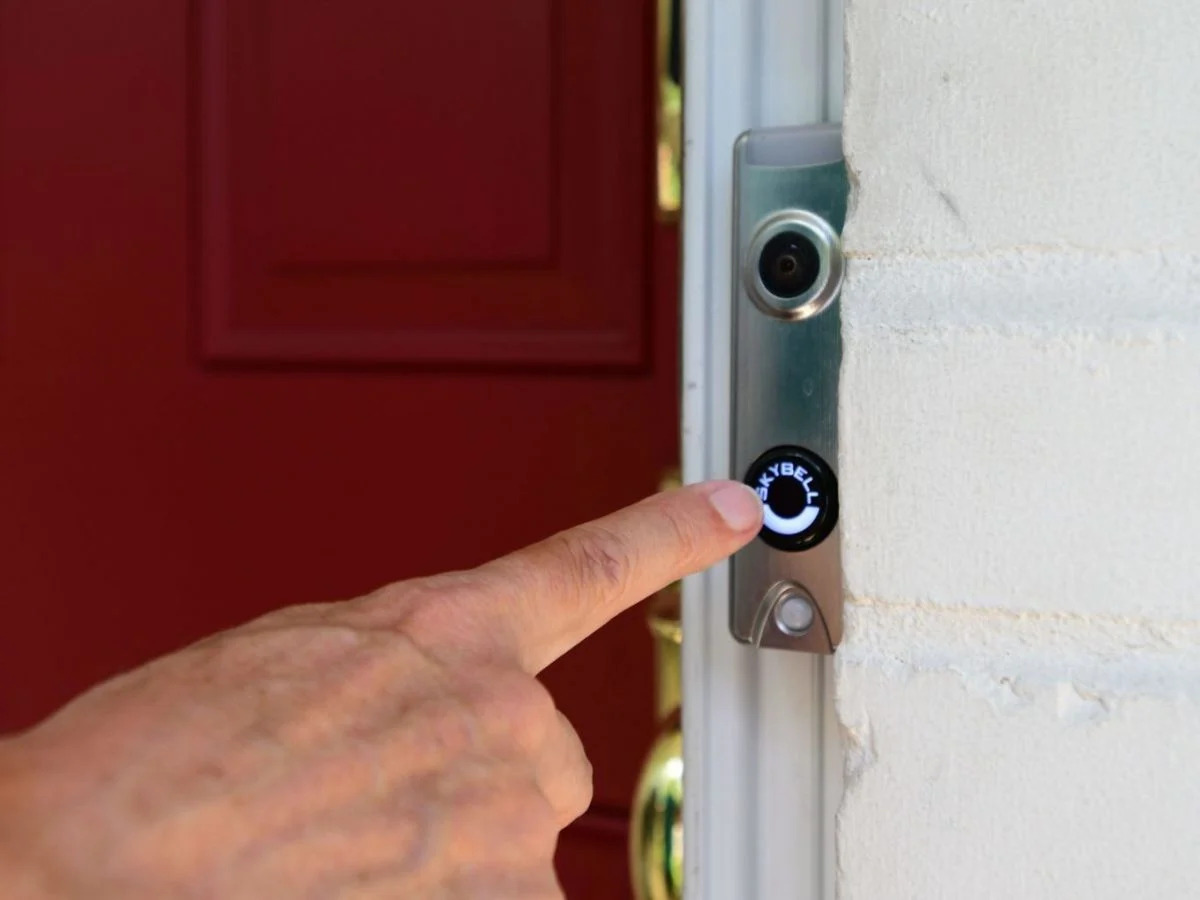
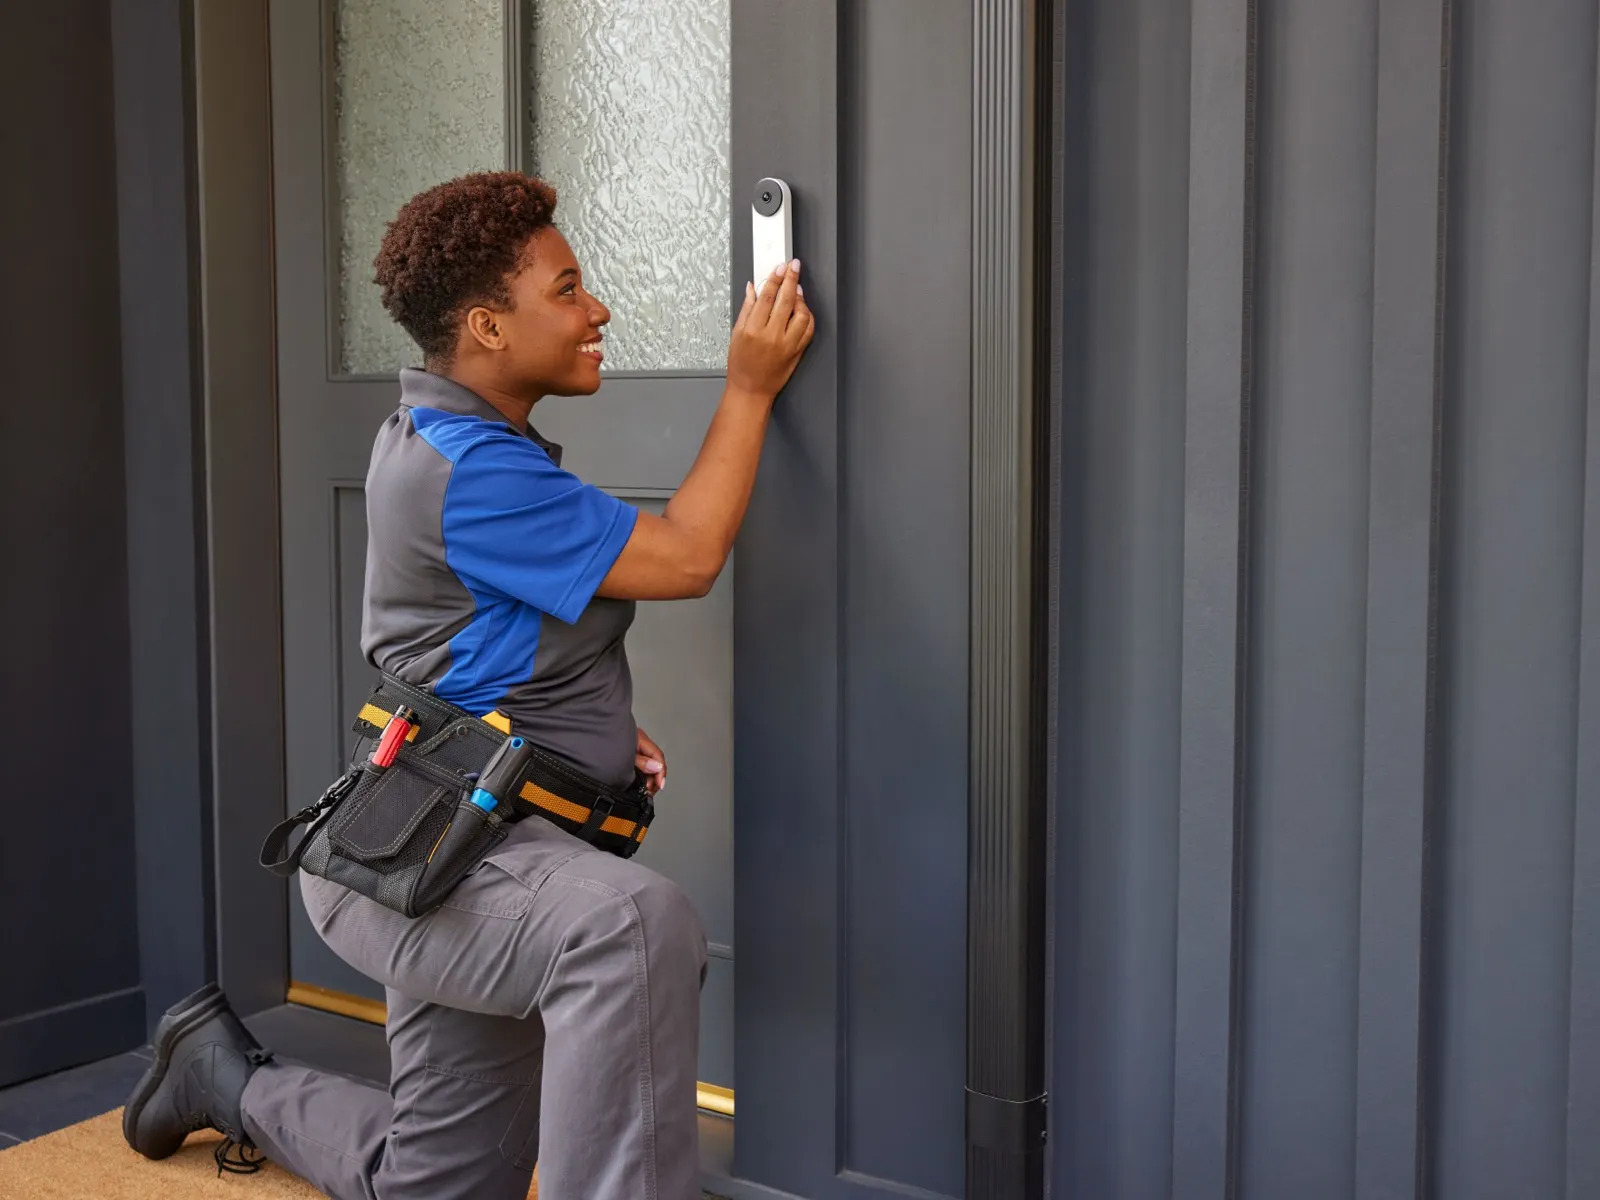
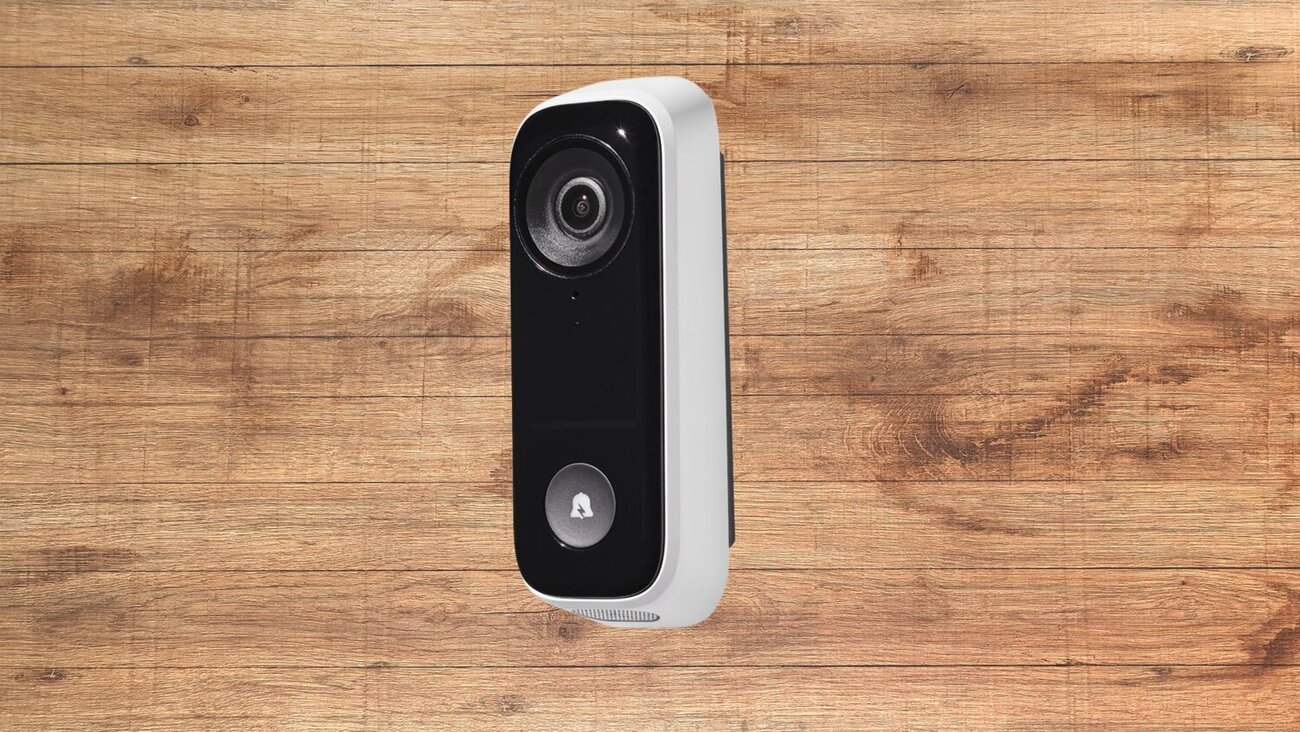
Welcome to our guide on how to install a camera doorbell. With the advancement of technology, camera doorbells have become increasingly popular for homeowners looking to enhance their home security. These innovative devices allow you to see and interact with who is at your doorstep, even when you are away. In this comprehensive guide, we will walk you through the step-by-step process of installing a camera doorbell, ensuring that you have the necessary knowledge and skills to get the job done right.
Before we begin, it’s essential to note that different camera doorbell models may have slight variations in installation procedures. Therefore, it’s crucial to refer to the manufacturer’s instructions that come with your specific device for any unique requirements or nuances. That being said, the general principles and steps outlined here will provide you with a solid foundation for installing most camera doorbells on the market today.
Installing a camera doorbell not only provides added security for your home, but it also offers convenience and peace of mind. You will be able to monitor your doorstep remotely, receive notifications when someone approaches or rings the doorbell, and even record video footage. So, let’s dive in and learn how you can install your camera doorbell yourself.
Key Takeaways:
- Enhance Home Security and Convenience
Installing a camera doorbell provides the ability to monitor your doorstep remotely, receive instant notifications, and record video footage, offering peace of mind and convenience for homeowners. - DIY Installation Made Easy
By following this comprehensive guide, homeowners can confidently install a camera doorbell themselves, saving time and money compared to hiring a professional installation service.
Read more: How To Install Doorbell Transformer
Step 1: Gather Required Materials
Before you start the installation process, it’s important to gather all the necessary materials to ensure a smooth and efficient installation. Here are the primary materials and tools you’ll need:
- Camera Doorbell Kit: This includes the camera doorbell unit, mounting bracket, screws, and other necessary components.
- Drill: A power drill will be required to create holes for mounting the doorbell.
- Screwdriver: You’ll need a screwdriver to secure the mounting bracket and attach the camera doorbell.
- Wiring Kit: Some camera doorbells require wiring, so make sure you have the necessary wiring kit specific to your device.
- Level: A level will help ensure that the camera doorbell is installed straight and aligned correctly.
- Electrical Tape: Electrical tape is useful for securing wires and ensuring a safe and tidy installation.
- Wire Connectors: These connectors are used to join wires together securely.
- Ladder or Step Stool: Depending on the location of your doorbell, you may need a ladder or step stool to reach and install the device.
Check the packaging of your camera doorbell kit to confirm if any additional materials are required. It’s always better to have everything ready before you start the installation process to avoid any interruptions or delays.
Once you have gathered all the necessary materials and tools, you are now ready to move on to the next step: choosing the location for your camera doorbell.
Step 2: Choose the Location
Choosing the right location for your camera doorbell is crucial for optimal performance and functionality. Here are a few factors to consider when selecting the location:
- Visibility: The camera doorbell should have a clear line of sight to capture a wide-angle view of your doorstep. Avoid obstructions such as trees, bushes, and walls that may block the camera’s view.
- Height: Install the camera doorbell at a height that allows for easy viewing and interaction. Typically, the recommended height is around 48-57 inches from the ground.
- Wiring Accessibility: If your camera doorbell requires wiring, ensure that the installation location has easy access to electrical wiring or an existing doorbell transformer.
- Coverage Area: Consider the coverage area of the camera doorbell. It should have a wide enough field of view to monitor your doorstep and surrounding areas effectively.
- Protection from the Elements: Choose a location that offers some protection from rain, direct sunlight, and extreme weather conditions. This will help prolong the lifespan of your camera doorbell.
Take some time to evaluate different potential locations around your front entrance. Consider the angles, lighting conditions, and general visibility from each spot. Once you have chosen the perfect location, you can proceed to the next step of preparing the doorbell for installation.
Step 3: Prepare the Doorbell
Before mounting the camera doorbell, it’s important to prepare it for installation. Following these steps will help ensure a secure and stable mounting:
- Read the Instructions: Carefully read the manufacturer’s instructions that came with your camera doorbell. Familiarize yourself with the specific requirements and recommendations for preparing the device.
- Detach the Faceplate: If your camera doorbell has a detachable faceplate, remove it to expose the mounting bracket and wiring terminals. Be gentle and use caution during this step to avoid damaging the device.
- Connect the Wiring (If Applicable): If your camera doorbell requires wiring, carefully connect the wires to the appropriate terminals on the back of the device. Make sure to follow the provided instructions for correct wiring configuration.
- Secure Loose Wires: If there are any loose or exposed wires, use electrical tape to secure and protect them. This will prevent any accidental damage or interference during the installation process.
- Inspect for Damage: Take a moment to inspect the camera doorbell for any visible signs of damage or defects. If you notice any issues, contact the manufacturer for assistance or consider returning the device for a replacement.
- Clean the Surface: Clean the installation area where the camera doorbell will be mounted. Remove any dirt, dust, or debris to ensure a smooth and secure attachment.
By properly preparing the camera doorbell, you are ensuring a solid foundation for installation and reducing the risk of any complications or issues in the future. Once the preparation is complete, you can proceed to the next step of mounting the doorbell.
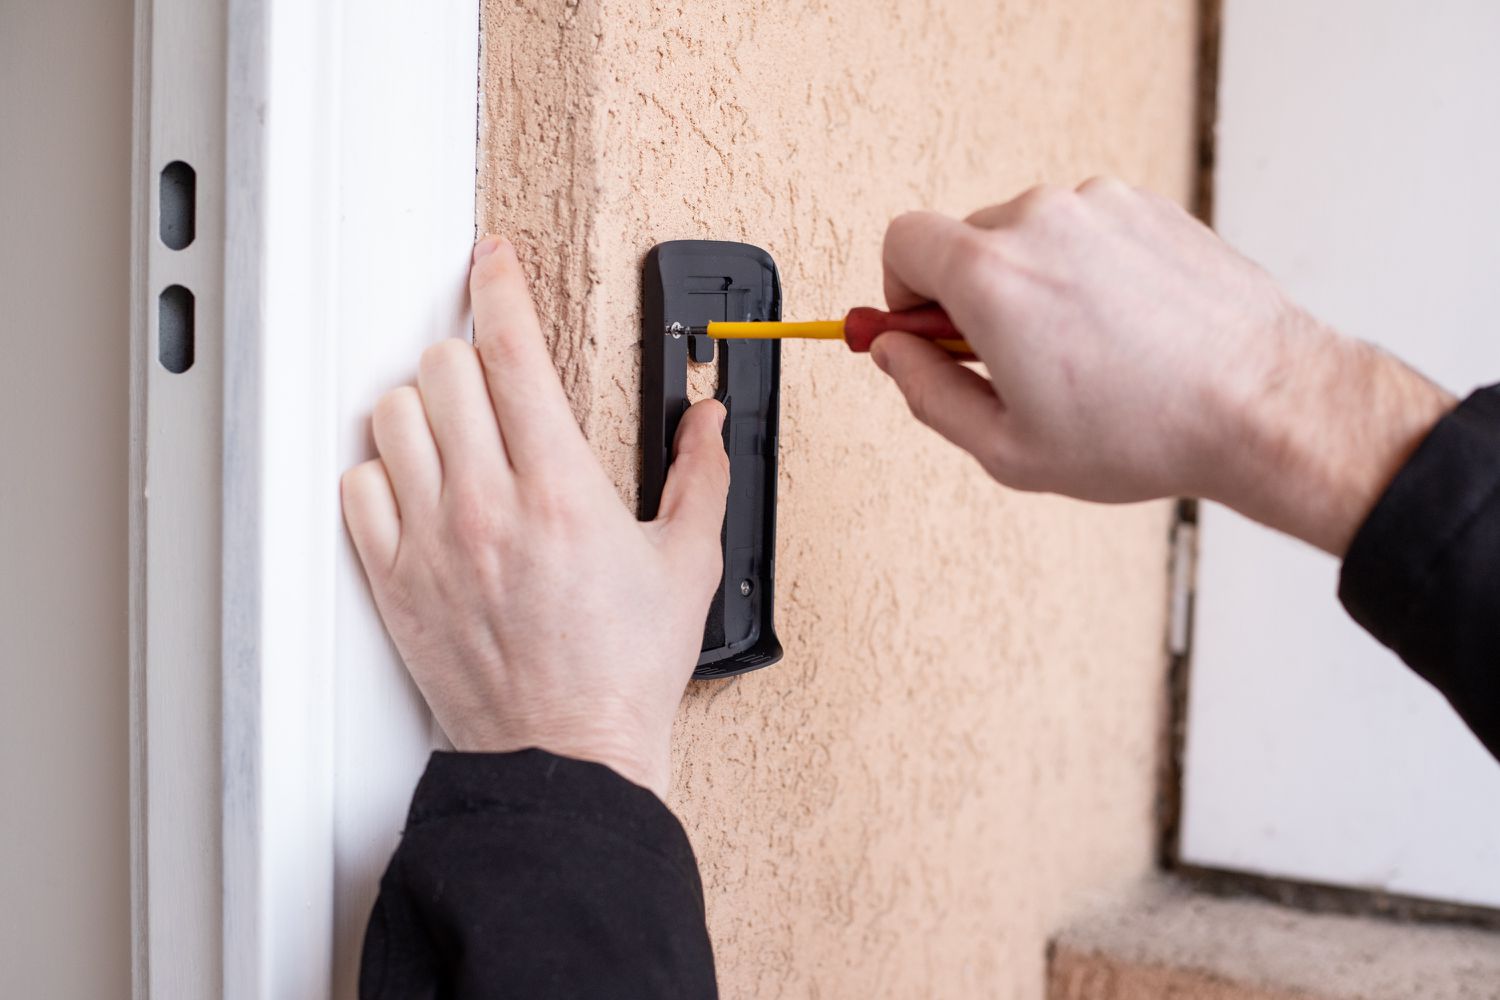
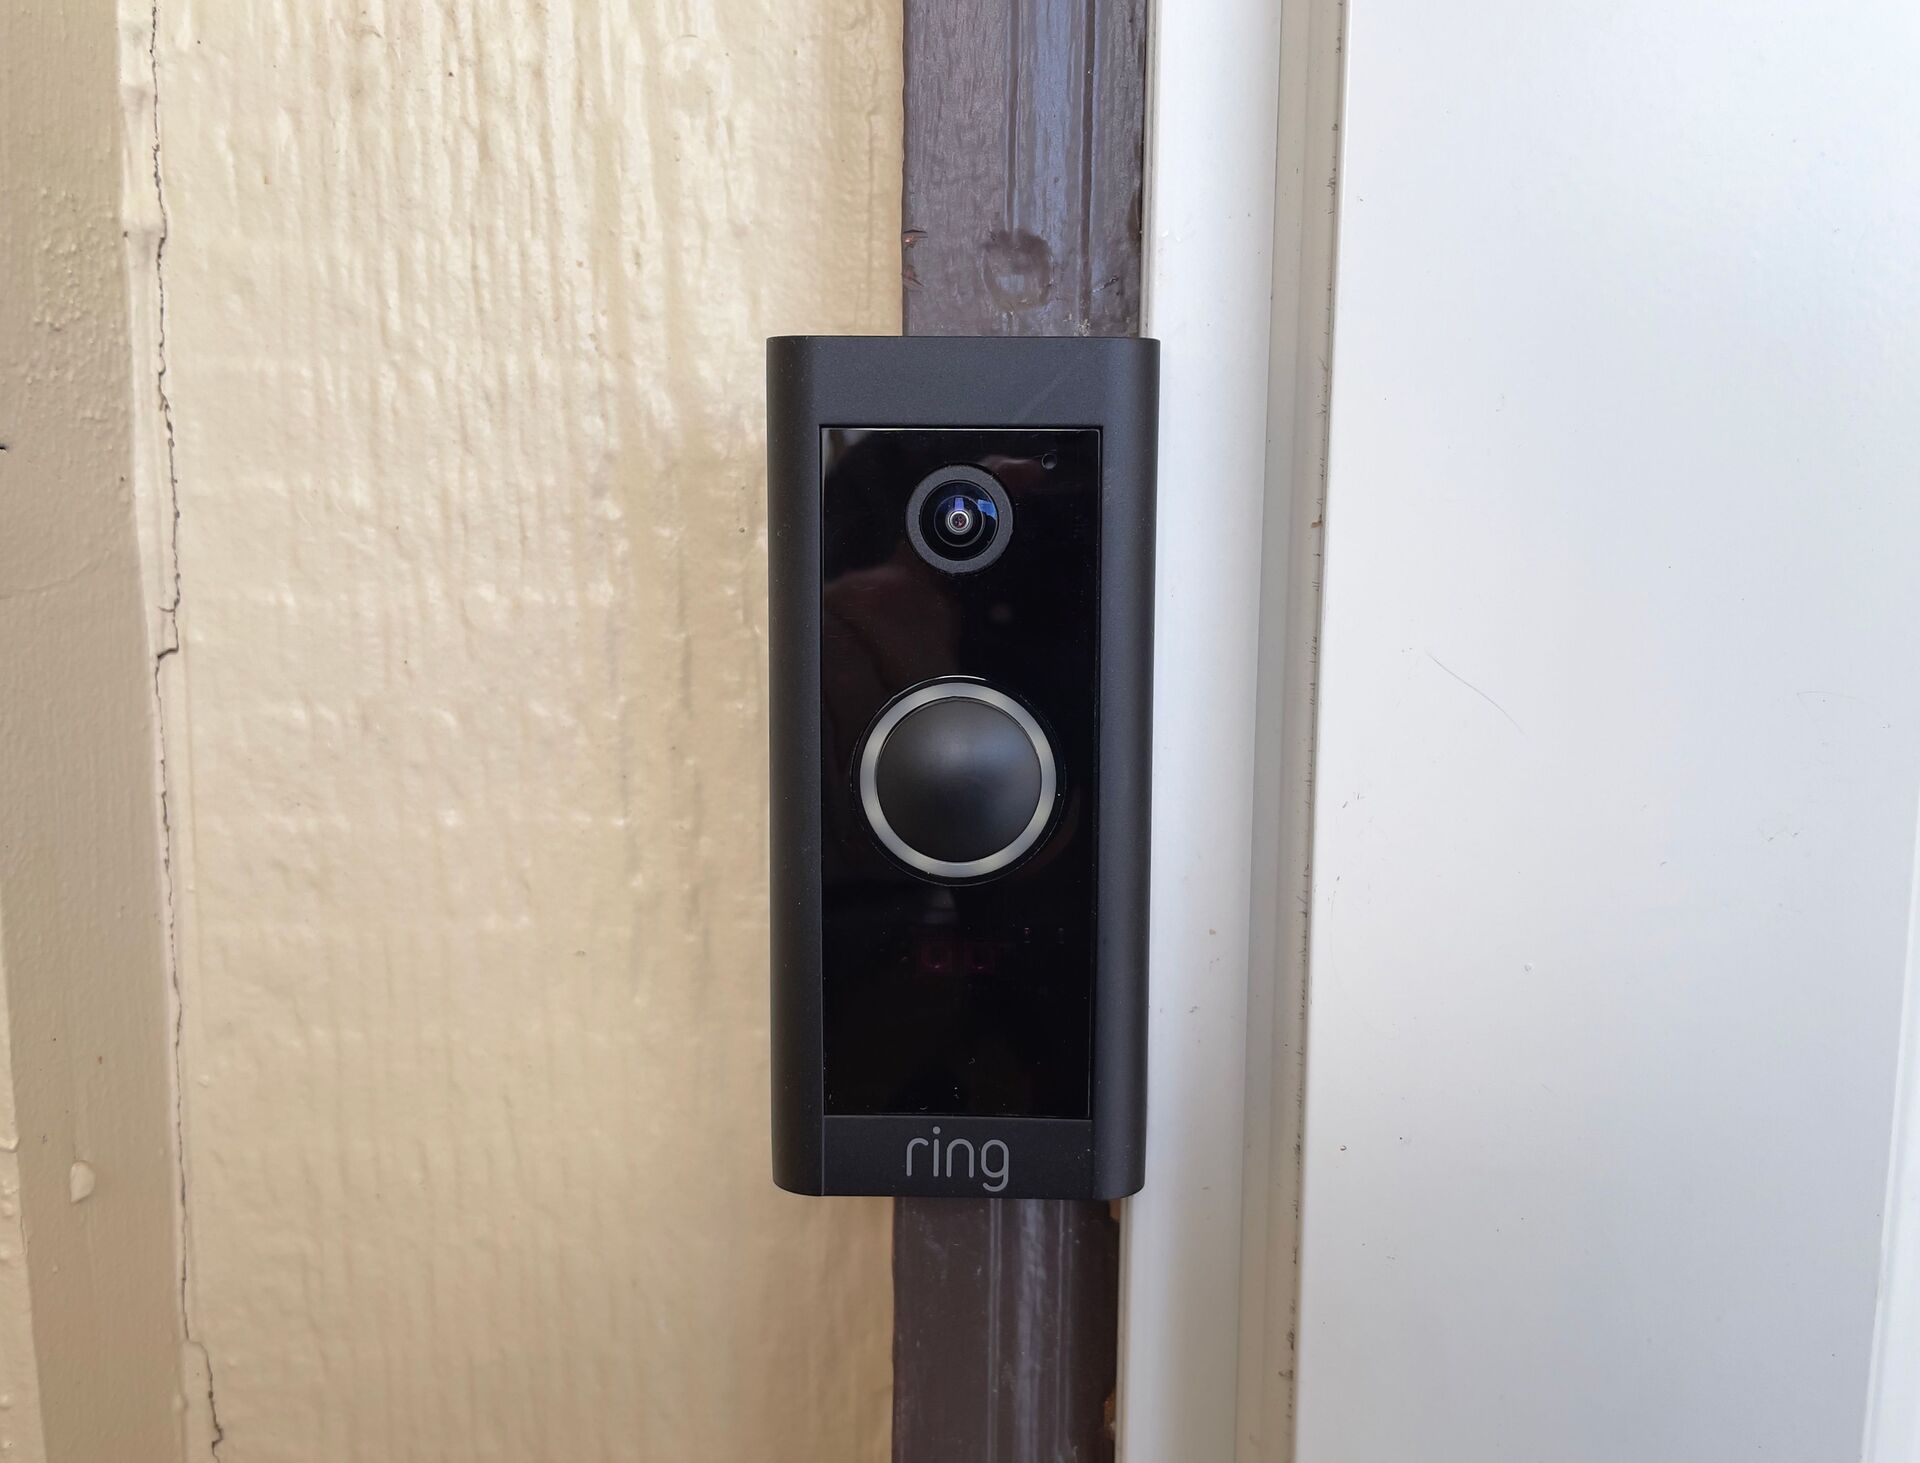
Step 4: Mount the Doorbell
With your camera doorbell properly prepared, it’s time to mount it in the chosen location. Follow these steps to securely attach the device:
- Position the Mounting Bracket: Hold the mounting bracket against the wall or door frame in the desired location. Use a level to ensure it is straight and aligned correctly.
- Mark the Screw Holes: Once you have determined the optimal position, use a pencil or marker to mark the screw holes on the mounting bracket. This will serve as a guide for drilling.
- Drill Pilot Holes: Using a drill and the appropriate drill bit, carefully drill pilot holes into the marked spots on the mounting bracket. Be sure to use a drill bit size that matches the screws provided with your camera doorbell kit.
- Attach the Bracket: Line up the screw holes on the mounting bracket with the pilot holes you drilled. Securely attach the bracket using the provided screws, ensuring a tight and stable fit.
- Test the Stability: Give the camera doorbell a gentle tug to ensure it is securely mounted. It should feel stable and not move or wiggle. If necessary, tighten the screws further for added stability.
Properly mounting the camera doorbell is crucial for its functionality and longevity. A securely mounted device will provide reliable performance and ensure that it stays in place even during harsh weather conditions.
Now that you have successfully mounted the camera doorbell, it’s time to move on to the next step: connecting the wiring (if applicable).
When installing a camera doorbell, make sure to follow the manufacturer’s instructions carefully and use the proper tools for the job. It’s also important to test the doorbell after installation to ensure it’s working properly.
Read more: How Much Is A Doorbell Camera
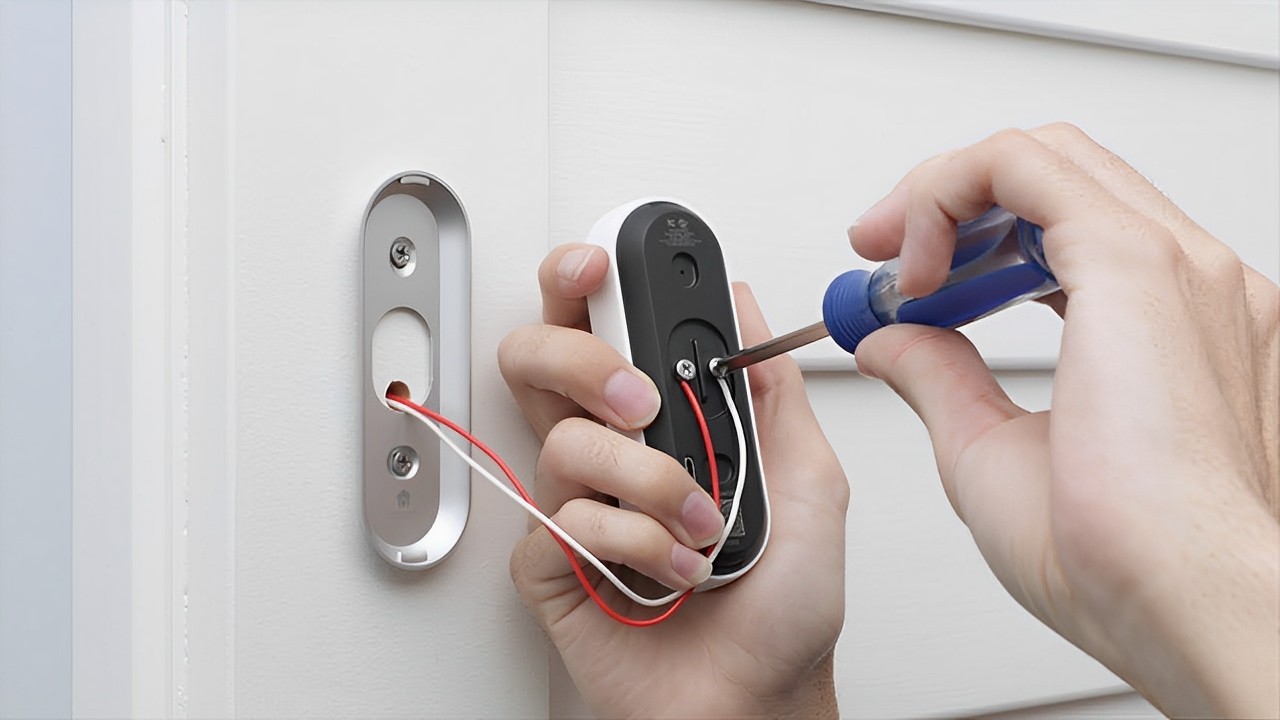
Step 5: Connect the Wiring
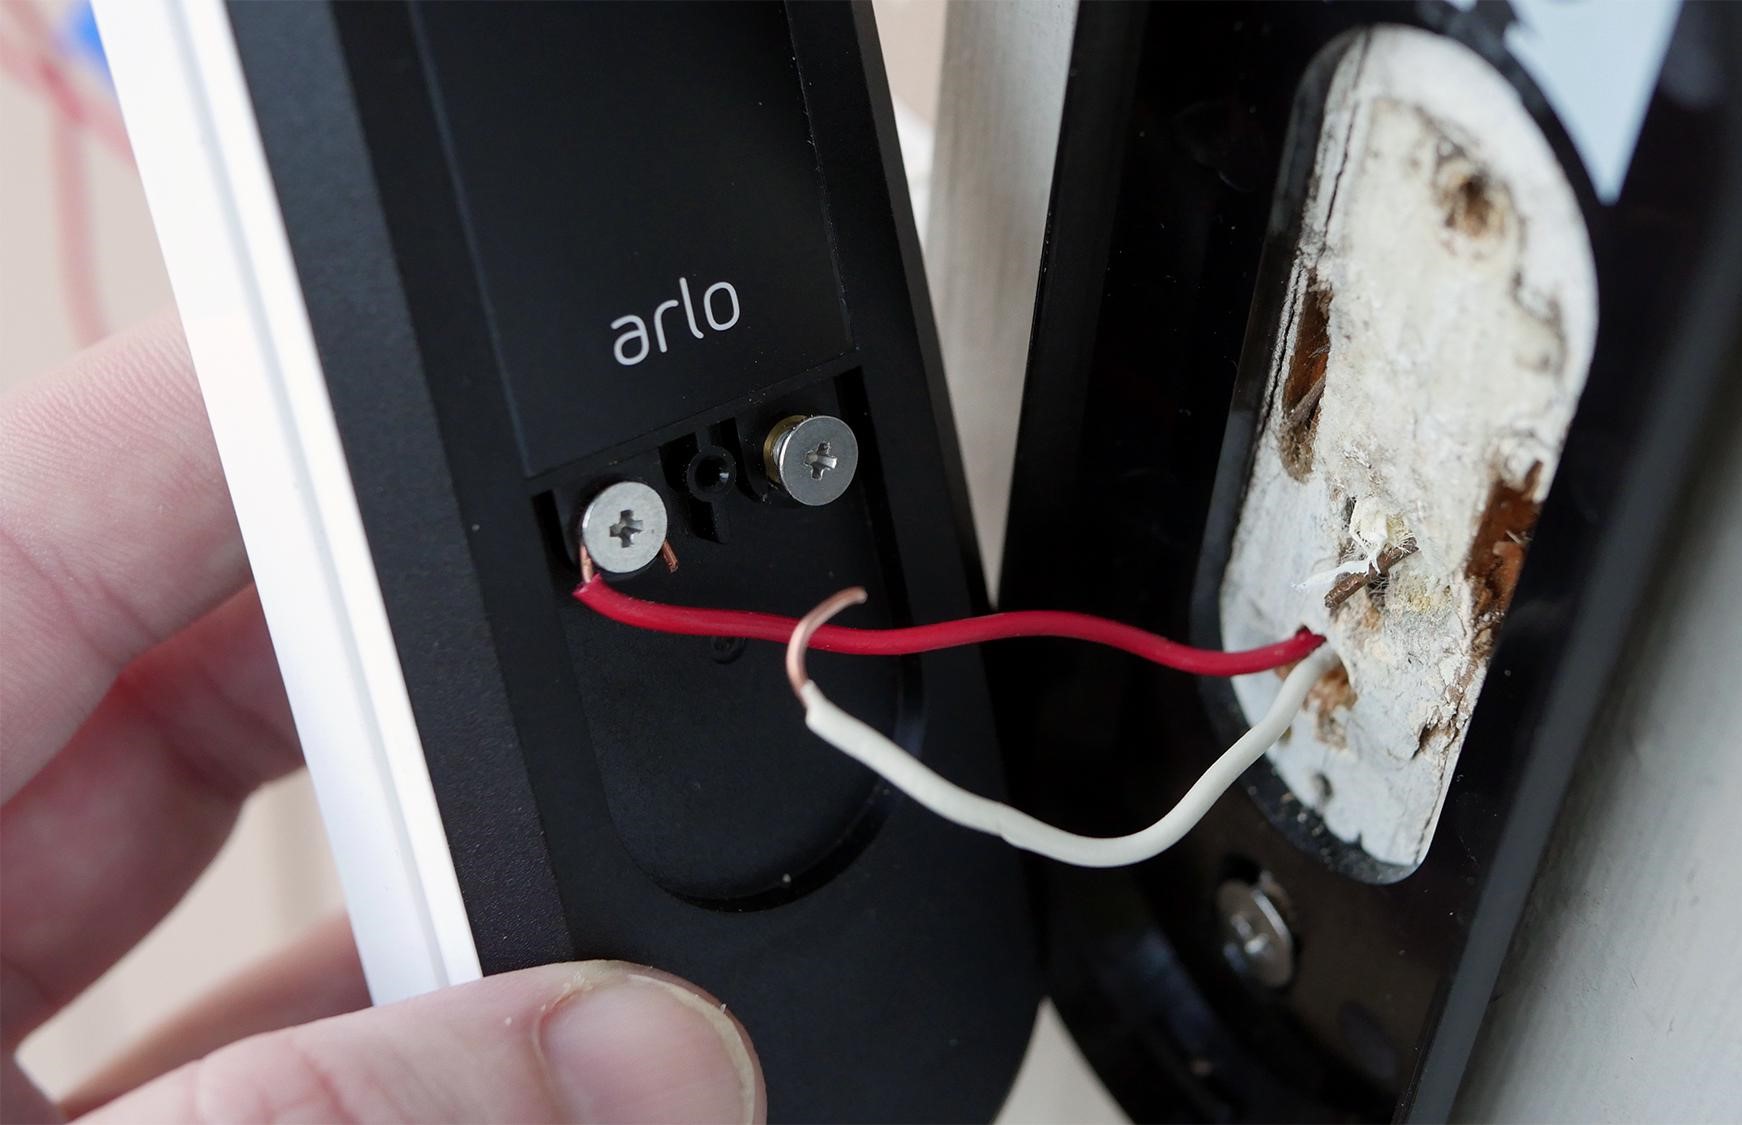
If your camera doorbell requires wiring, it’s essential to connect it properly to ensure the device functions correctly. Follow these steps to connect the wiring:
- Refer to the Instructions: Consult the manufacturer’s instructions that came with your camera doorbell for specific wiring guidance. Different models may have slight variations in wiring configurations.
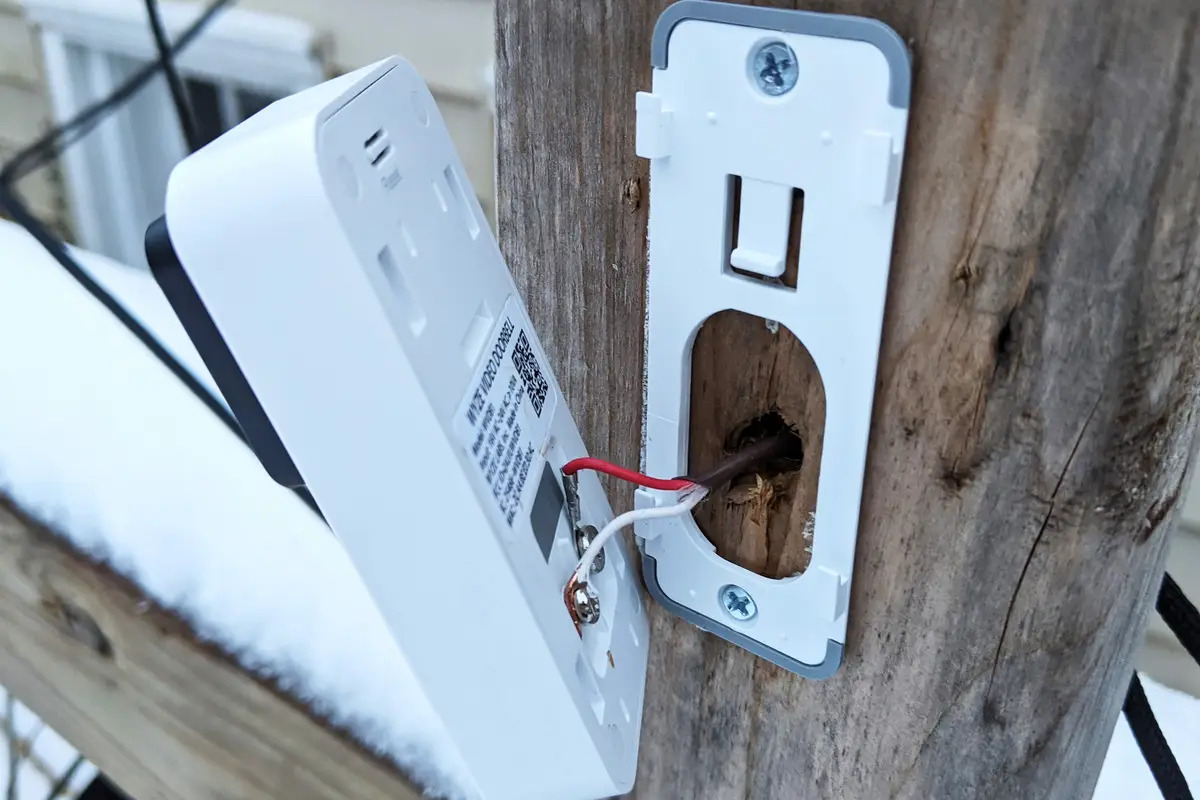
- Locate the Wiring Terminal: On the back of the camera doorbell or within the mounting bracket, you will find the wiring terminal. This is where you will connect the wires.
- Strip the Wire Ends: Using a wire stripper, carefully strip the insulation off the ends of the wires. Strip just enough to expose the bare wire for connection.
- Connect the Wires: Insert the stripped ends of the wires into the appropriate terminals on the camera doorbell or mounting bracket. Typically, there will be labeled terminals for positive (+) and negative (-) connections.
- Screw in the Wire Connectors: Once the wires are inserted, secure them by using wire connectors or wire nuts. Twist the connectors clockwise until they are tight and the wires are securely joined.
- Tuck the Wires: Once the connections are made, carefully tuck the wires into the mounting bracket or designated wire channels. Use electrical tape to secure any loose wires and prevent them from interfering with the device’s performance.
It’s important to ensure that the wiring connections are secure and that there are no exposed wires. Loose or exposed wires can lead to malfunctioning or unreliable performance of your camera doorbell. Take your time during this step to ensure a proper and secure connection.
With the wiring successfully connected, you are one step closer to completing the installation of your camera doorbell. Next, we will move on to Step 6: installing the camera doorbell itself.
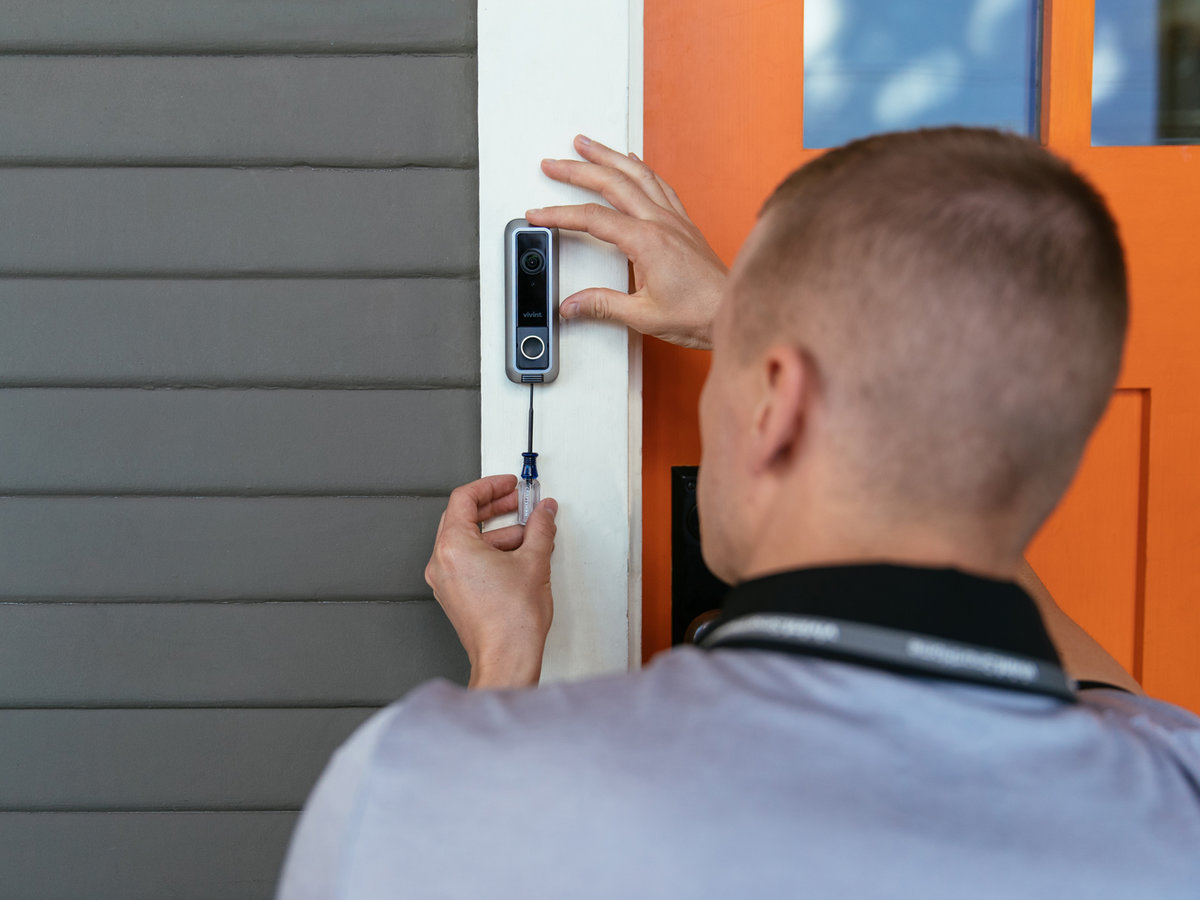
Step 6: Install the Camera Doorbell
Now that you have prepared the doorbell, mounted the bracket, and connected the wiring (if applicable), it’s time to install the camera doorbell itself. Follow these steps to complete the installation:
- Align the Doorbell: Line up the camera doorbell with the mounting bracket. Ensure that it is properly positioned and aligned with the screw holes on the bracket.
- Secure the Doorbell: Once aligned, gently press the camera doorbell against the mounting bracket, making sure it is flush and level. Use the provided screws to attach the doorbell to the bracket. Carefully tighten the screws until the doorbell is securely in place.
- Double-Check Alignment: After securing the doorbell, take a step back and double-check its alignment and positioning. Ensure that it looks level and that the camera lens is facing your desired coverage area.
- Tidy Up the Wiring: If you have any excess wiring, carefully tuck it behind the camera doorbell or the mounting bracket. Use electrical tape to secure any loose wires and ensure a neat and tidy installation.
It’s crucial to be gentle and avoid applying excessive force during the installation process. This will help prevent any damage to the camera doorbell or the mounting bracket. Take your time and make any necessary adjustments to ensure a secure and aesthetically pleasing installation.
With the camera doorbell successfully installed, you are now ready to move on to the final step: testing the doorbell to ensure it is functioning correctly.
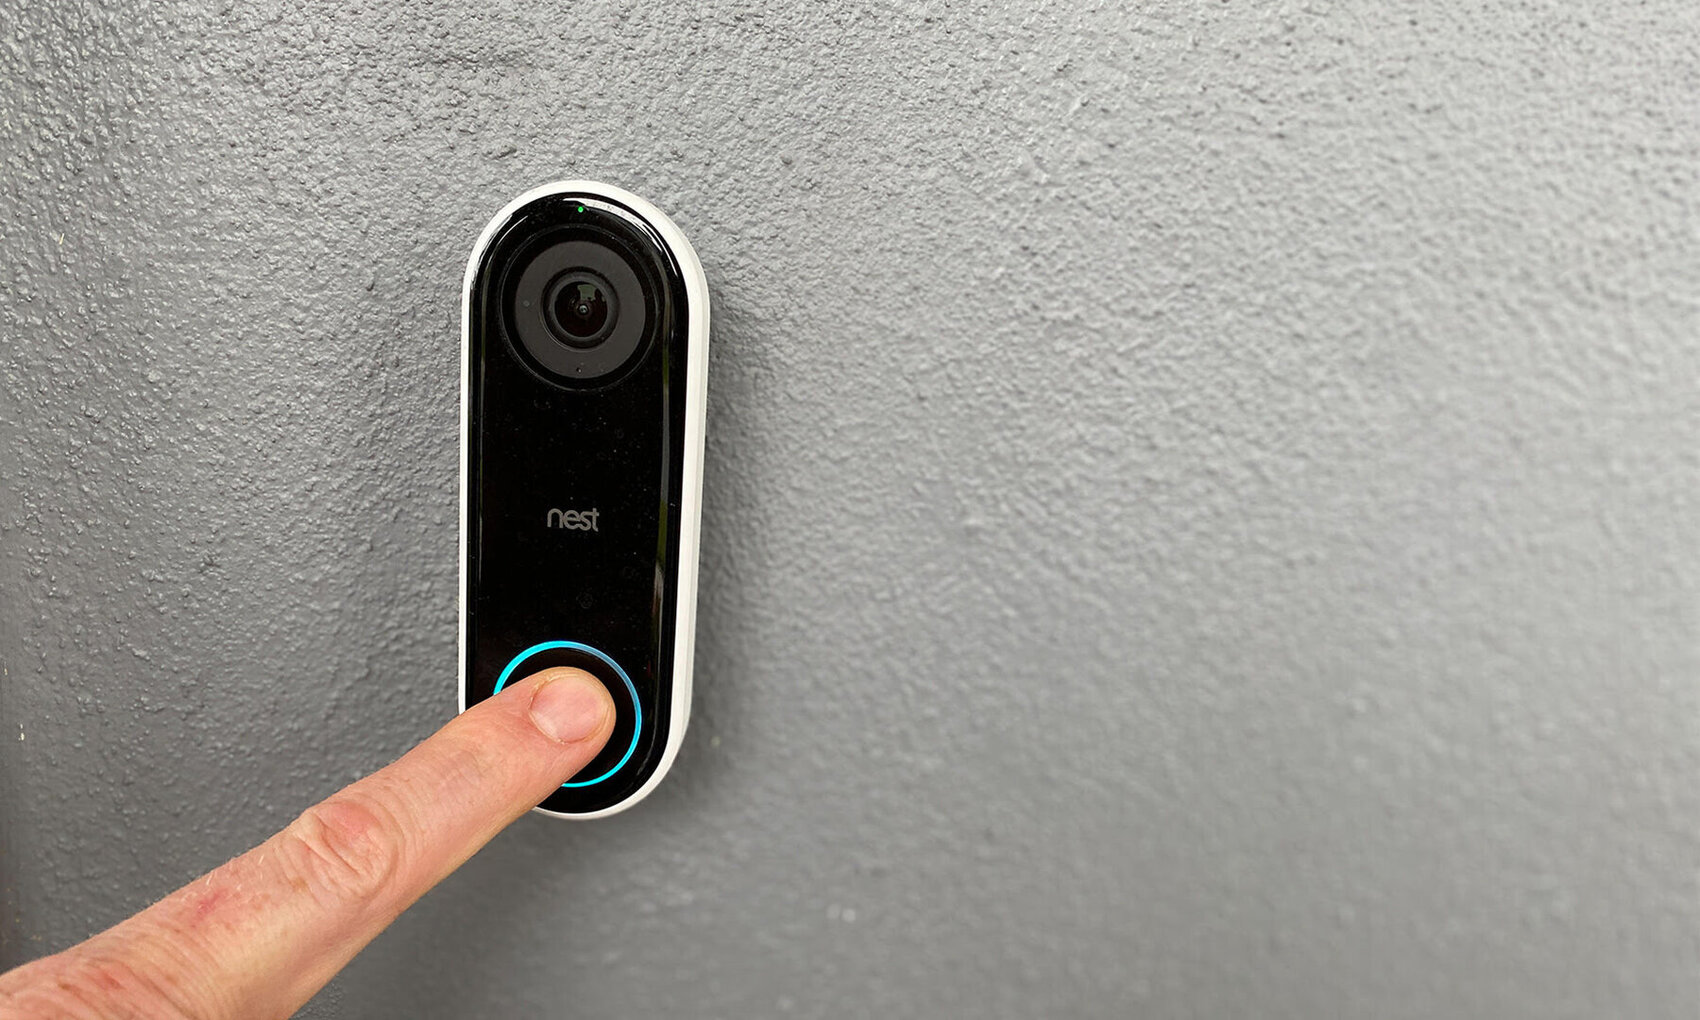
Step 7: Test the Doorbell
After completing the installation of your camera doorbell, it’s important to test it to ensure that it is functioning properly. Follow these steps to test your newly installed doorbell:
- Power On the Doorbell: If your camera doorbell requires power, ensure that it is properly connected to an electrical source or that the batteries are inserted correctly.
- Check the Wi-Fi Connection: If your camera doorbell is connected to your home’s Wi-Fi network, make sure you have a stable internet connection to ensure proper functionality.
- Download the App: If your camera doorbell has a dedicated mobile app, download it from the App Store or Google Play Store onto your smartphone or tablet.
- Follow the Setup Instructions: Open the app and follow the on-screen instructions to set up your camera doorbell. This typically includes creating an account, connecting the doorbell to your Wi-Fi network, and configuring any desired settings.
- Test the Notifications: Press the doorbell button or simulate a visitor approaching your front door. Verify that you receive push notifications on your smartphone or tablet. Open the app and ensure that you can view the live video feed from the camera doorbell.
- Check the Two-Way Audio: Test the two-way audio feature by speaking through the app and listening to the audio feed coming from the camera doorbell. Ensure that the audio is clear and there is no delay or distortion.
- Review the Recording Functionality: Explore the app and verify that the camera doorbell is recording video footage when triggered by motion or when the doorbell button is pressed. Check if the recordings are stored locally or in the cloud, and if there are any subscription plans or storage limitations.
By following these testing steps, you can ensure that your camera doorbell is fully operational and meets your expectations. If you encounter any issues during the testing process, refer to the manufacturer’s instructions or contact their customer support for troubleshooting assistance.
Congratulations! You have successfully installed and tested your camera doorbell. Now, you can enjoy the added security and convenience it brings to your home. If you’re satisfied with the results, take a moment to clean up any remaining installation materials and admire your handiwork!
Conclusion
Installing a camera doorbell can greatly enhance the security and convenience of your home. By following the step-by-step guide outlined in this article, you can successfully install a camera doorbell yourself, saving time and money compared to hiring a professional installation service.
We started by gathering the necessary materials and tools, ensuring that everything is on hand before beginning the installation process. Next, we discussed the importance of choosing the right location for your camera doorbell, considering factors such as visibility, height, wiring accessibility, coverage area, and protection from the elements.
We then moved on to preparing the camera doorbell for installation, ensuring that the faceplate is detached, the wiring is properly connected (if applicable), and the device is inspected for any signs of damage. The next step involved mounting the doorbell securely to the chosen location, using a level to ensure proper alignment and stability.
If your camera doorbell requires wiring, we discussed how to connect the wires correctly, using wire strippers and connectors to establish a secure connection. Finally, we installed the camera doorbell onto the mounting bracket, double-checked the alignment, and tidied up any excess wiring for a clean and professional-looking installation.
To ensure that your camera doorbell is functioning properly, we discussed the importance of testing. By powering on the doorbell, checking the Wi-Fi connection, downloading the necessary app, and following the setup instructions, you can verify the doorbell’s push notifications, two-way audio, and recording functionality.
By successfully completing these steps, you can enjoy the benefits of a camera doorbell, including the ability to monitor your doorstep remotely, receive instant notifications, and record video footage. It provides you with peace of mind and a heightened sense of security for you and your family.
Remember, while this guide provides a general overview of the installation process, it’s always important to refer to the specific instructions provided by the manufacturer of your camera doorbell. These instructions may include additional steps or considerations that are specific to your device.
With this comprehensive guide, you are now equipped with the knowledge and skills to tackle the installation of a camera doorbell on your own. So go ahead, enhance your home security, and enjoy the convenience of a camera doorbell!
Frequently Asked Questions about How To Install A Camera Doorbell
Was this page helpful?
At Storables.com, we guarantee accurate and reliable information. Our content, validated by Expert Board Contributors, is crafted following stringent Editorial Policies. We're committed to providing you with well-researched, expert-backed insights for all your informational needs.

0 thoughts on “How To Install A Camera Doorbell”