Articles
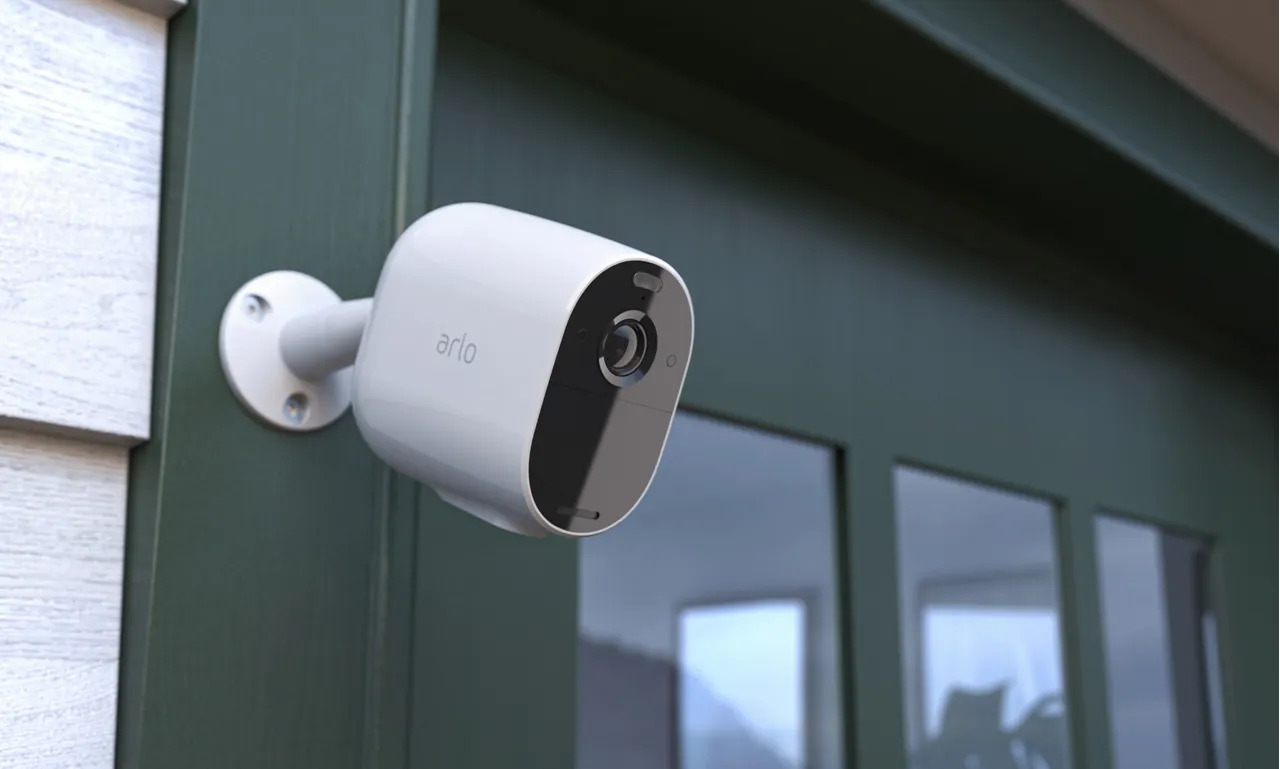
How To Install An Arlo Doorbell
Modified: August 16, 2024
Learn how to install an Arlo doorbell with this informative article. Get step-by-step instructions and expert tips to set up your doorbell in no time.
(Many of the links in this article redirect to a specific reviewed product. Your purchase of these products through affiliate links helps to generate commission for Storables.com, at no extra cost. Learn more)
Introduction
Welcome to your comprehensive guide on how to install an Arlo doorbell! Adding a doorbell to your home is a great way to enhance security and convenience. With Arlo’s advanced features and easy installation process, you’ll have a fully functional doorbell in no time.
An Arlo doorbell is a smart device that allows you to see and communicate with visitors at your door, whether you’re at home or away. It provides real-time video and audio feeds, motion detection, and integration with the Arlo app, giving you complete control and peace of mind.
In this article, we will walk you through the step-by-step process of installing an Arlo doorbell. From gathering the necessary tools to connecting it to the Arlo app, we’ve got you covered. So let’s dive in and get your Arlo doorbell up and running!
Key Takeaways:
- Installing an Arlo doorbell is a straightforward process that enhances home security and convenience. From gathering tools to testing functionality, this guide provides a comprehensive step-by-step installation walkthrough.
- By following the detailed instructions and safety precautions, you can confidently install and enjoy the advanced features of the Arlo doorbell. The integration with the Arlo app allows for customization and seamless monitoring of your home’s entryway.
Read more: How Long To Charge Arlo Doorbell Battery
Step 1: Gathering the Necessary Tools and Materials
Before you begin the installation process, it is essential to gather all the tools and materials you will need. Having everything ready will make the installation process smoother and more efficient. Here are the tools and materials you will need:
- Arlo doorbell kit (which includes the doorbell, mounting bracket, and wiring)
- Power drill
- Drill bit suitable for the mounting screws
- Flathead and Phillips screwdrivers
- Electrical tape
- Masking tape
- Wire strippers
- Wire nuts
- Stud finder
- Pencil
- Level
- Ladder or step stool (if needed)
It’s crucial to ensure that you have all the necessary tools and materials before starting the installation process. This will save you time and prevent interruption during the installation.
Once you have gathered everything, you’re ready to move on to the next step: preparing your doorbell installation location.
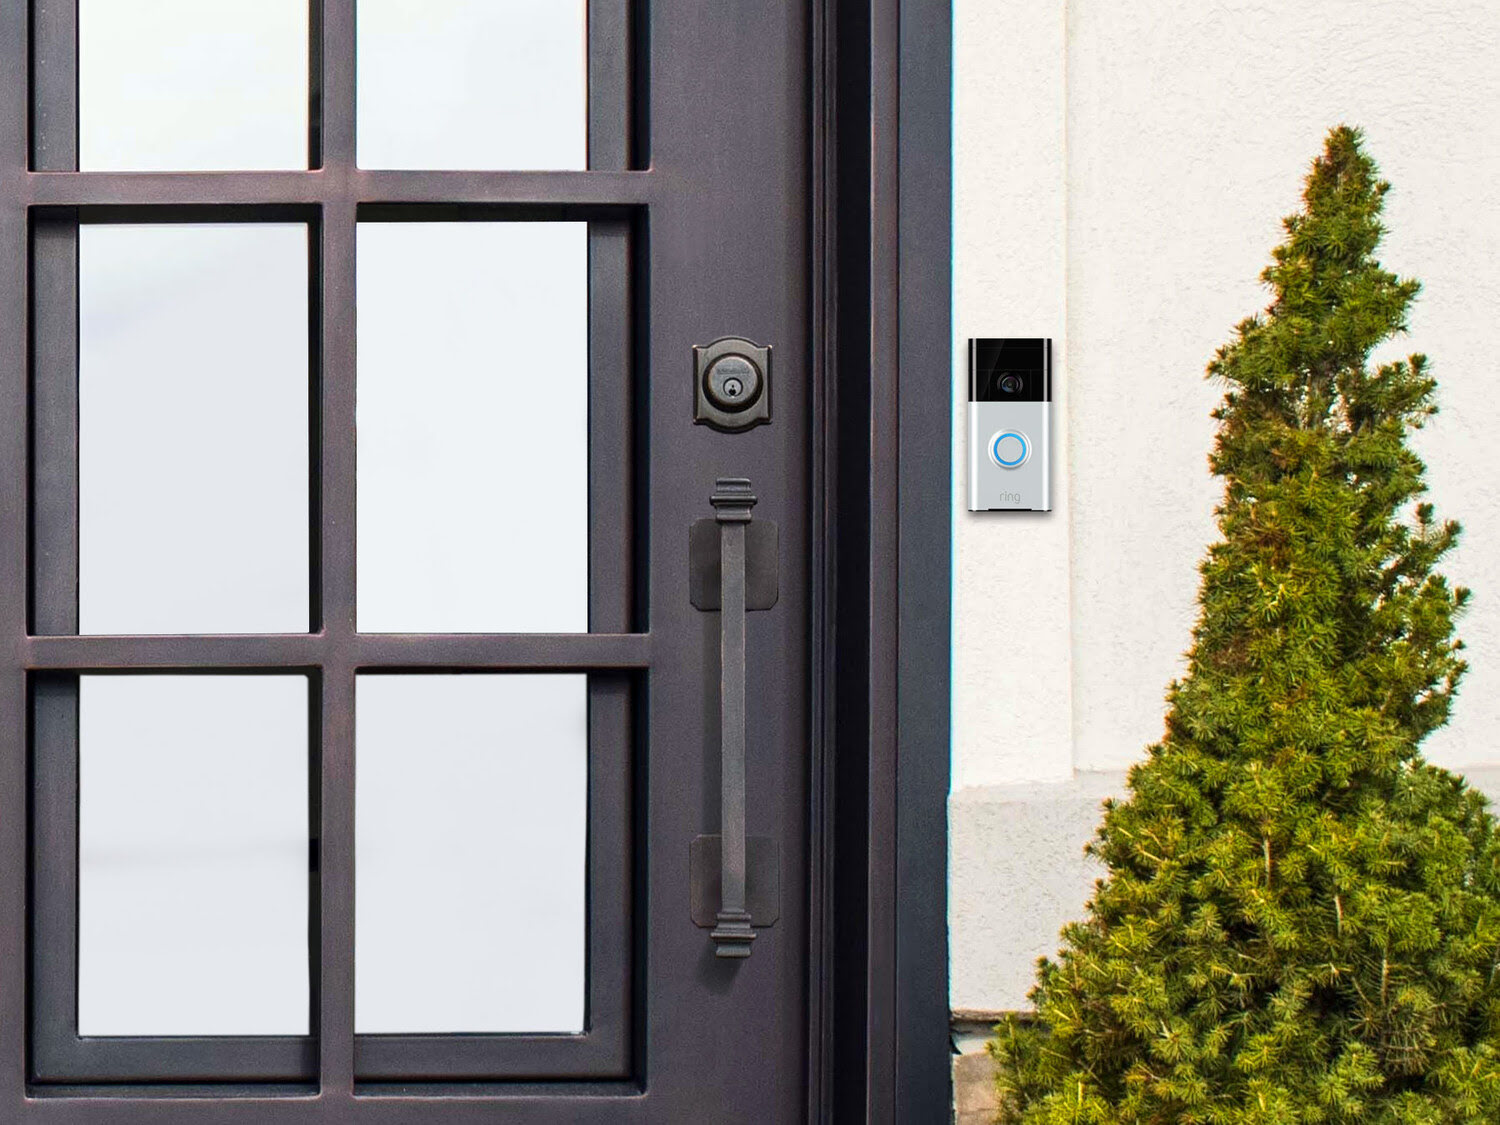
Step 2: Preparing Your Doorbell Installation Location
Choosing the right location for your Arlo doorbell is essential for optimal functionality and security. Before you start mounting the doorbell, take the time to assess your options and select the ideal spot. Here’s what you need to do:
- Start by identifying a flat and sturdy surface near your front door. It should be within reach of a power source and easily visible to visitors.
- Use a stud finder to locate the studs behind the selected area. Mounting the doorbell on a stud will ensure stability and durability.
- Once you have located the studs, mark their positions using a pencil. This will serve as a guide for the mounting process.
- Next, hold the doorbell bracket against the wall or doorframe, aligning it with the marked positions. Use a level to ensure that it is perfectly horizontal or vertical, depending on your preference.
- Once the bracket is in the desired position, use a pencil to mark the screw holes on the wall or doorframe. These marks will indicate where you need to drill.
- Remove the bracket from the wall and double-check that the marked positions align with the stud locations.
- Finally, use masking tape to mark the areas where you plan to drill. This will prevent the drill from slipping and damaging the surrounding surface.
By taking the time to prepare your doorbell installation location, you ensure a secure and aesthetically pleasing setup. Once the location is prepared, you can move on to the next step: mounting the doorbell bracket.
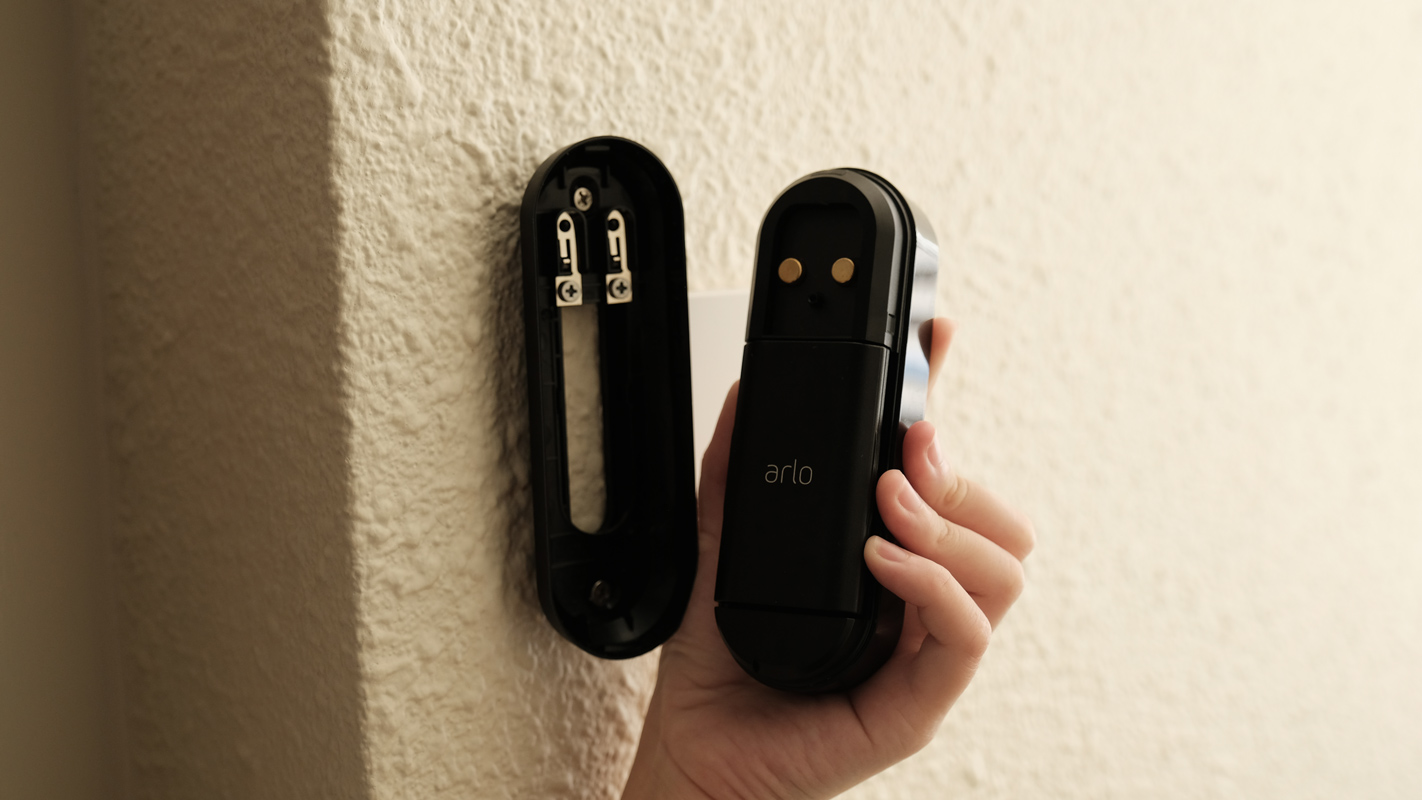
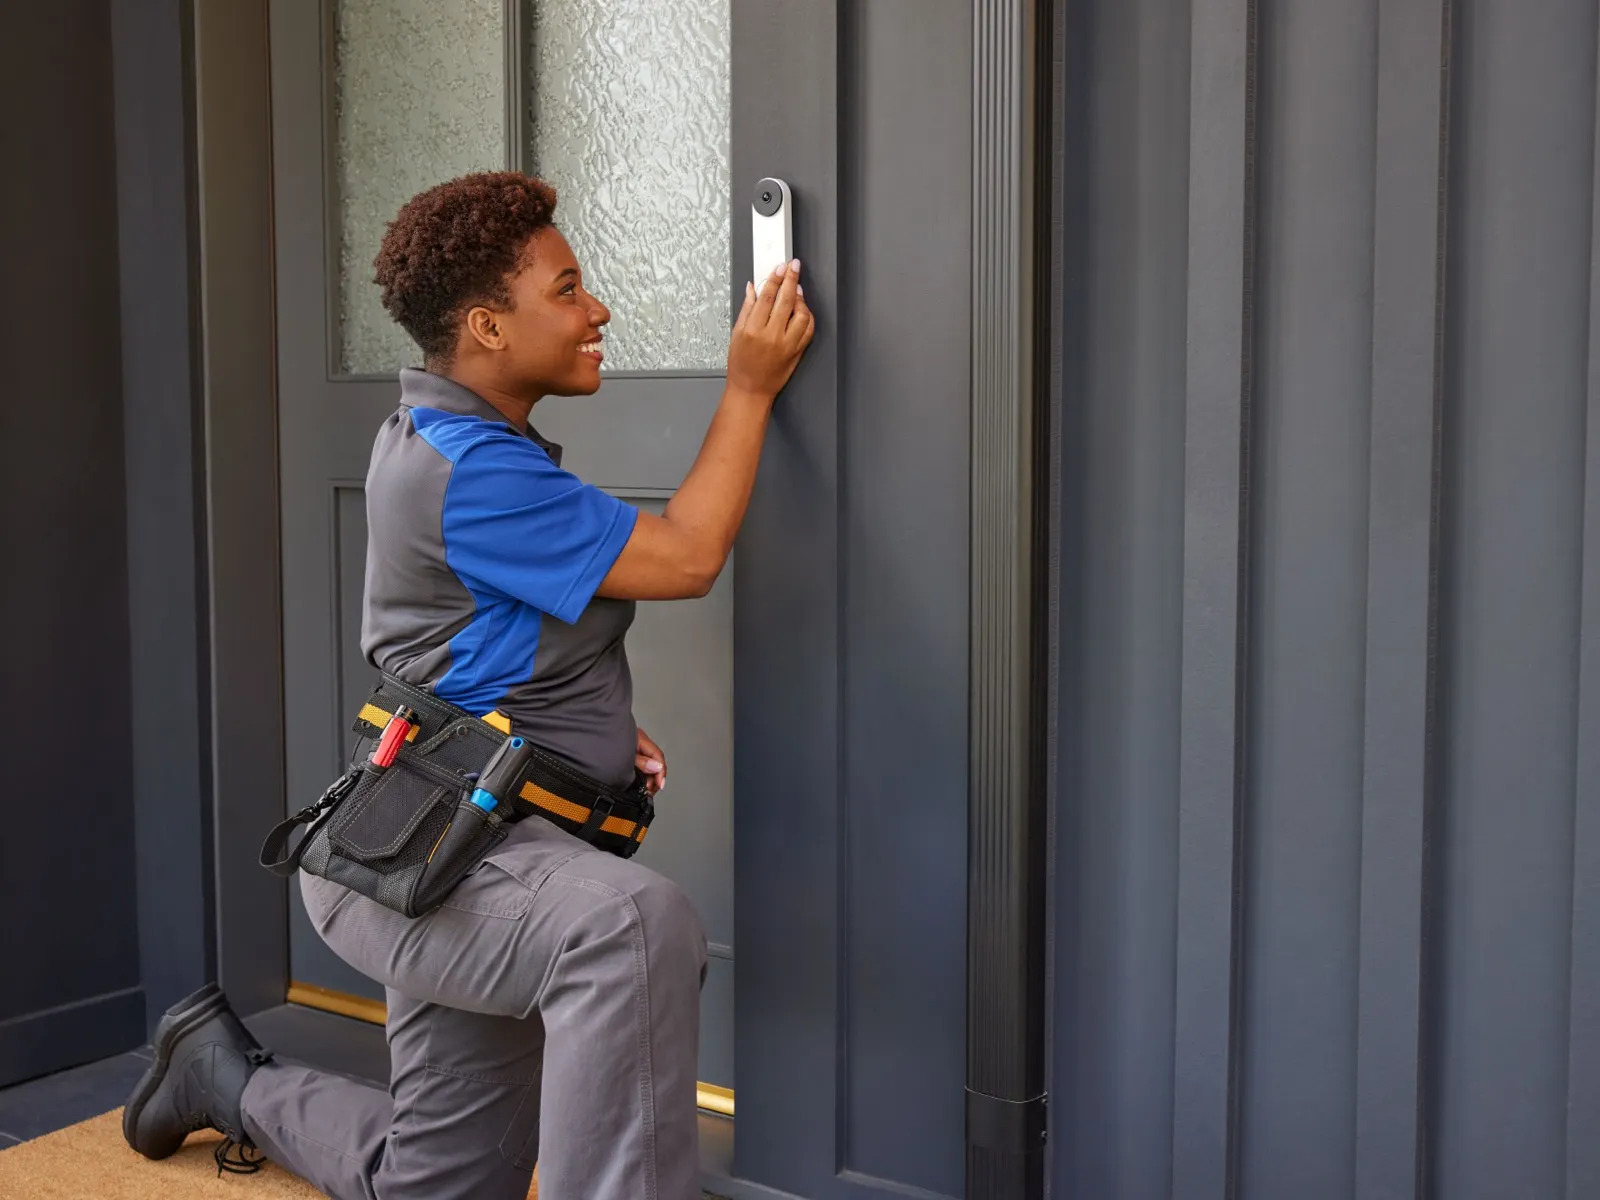
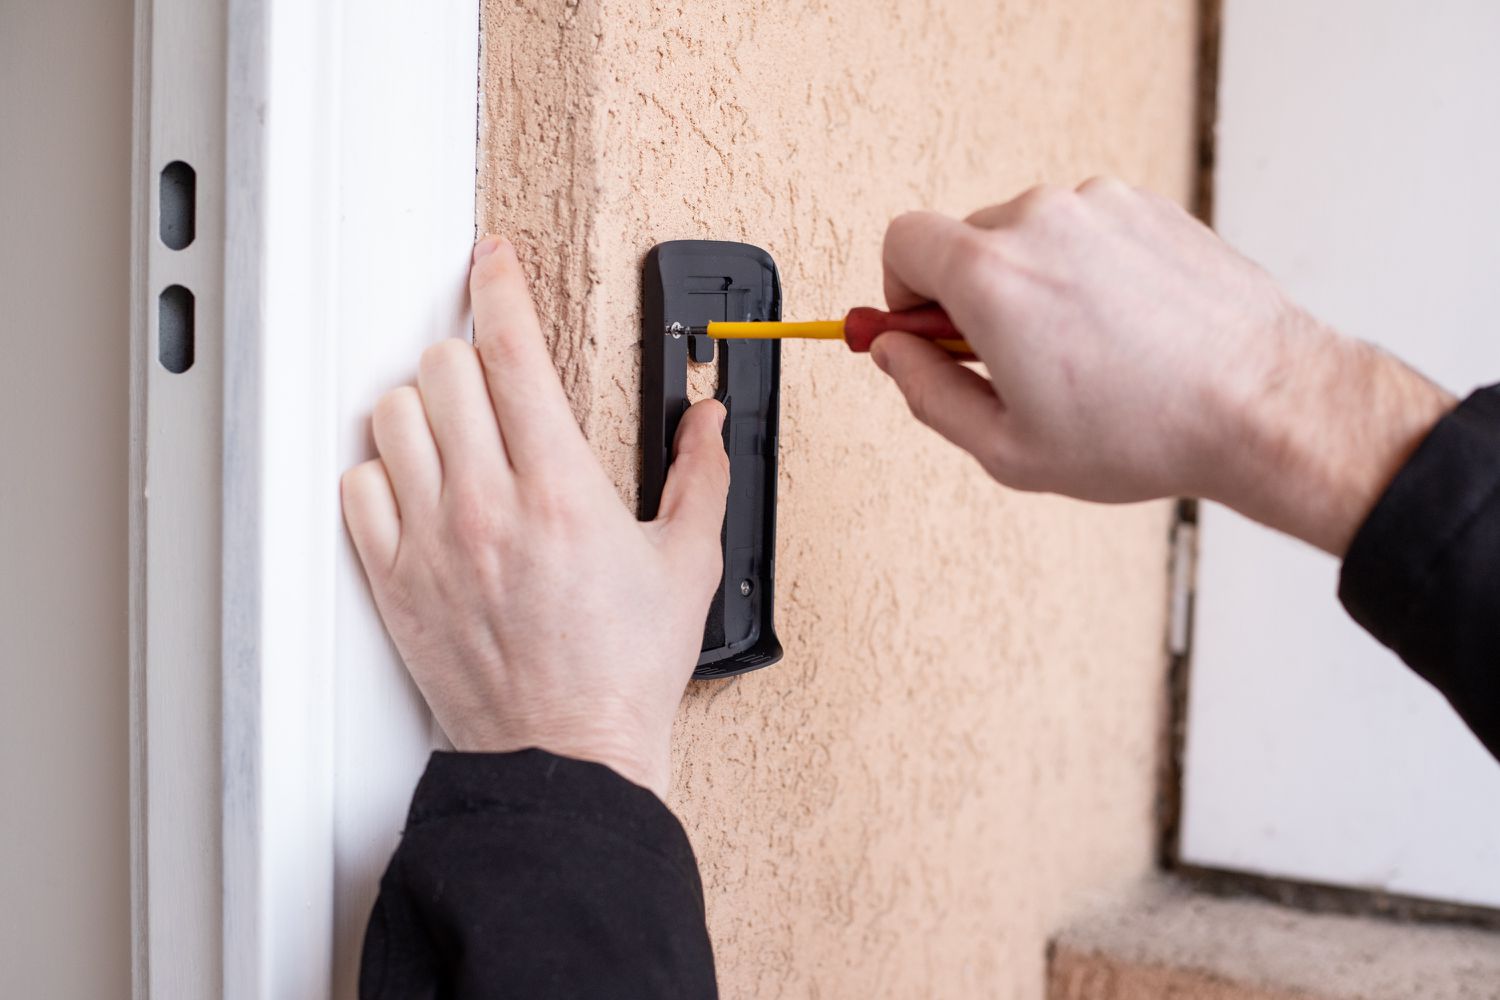
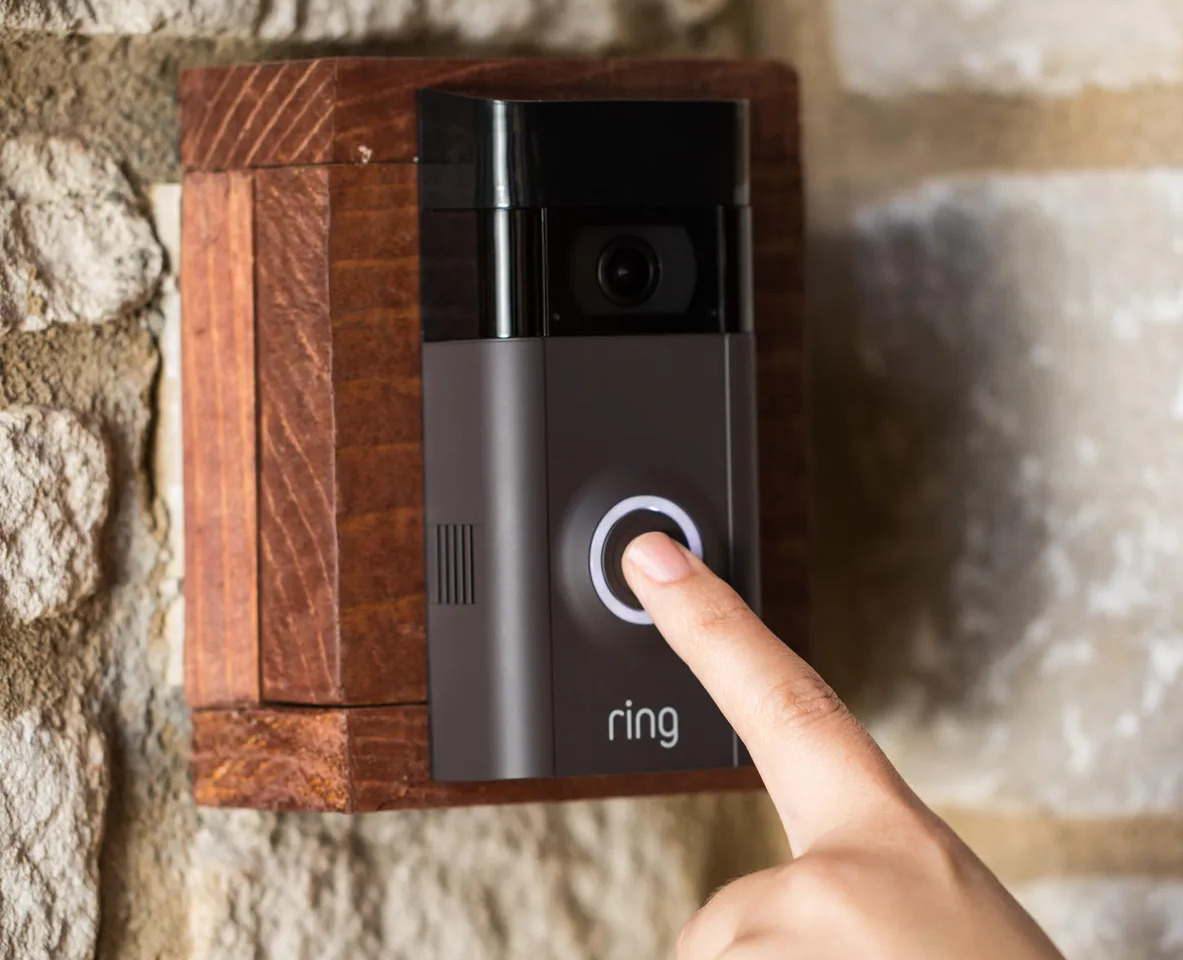
Step 3: Mounting the Doorbell Bracket
Now that you have prepared the installation location for your Arlo doorbell, it’s time to mount the doorbell bracket. Follow these steps to securely attach the bracket to the wall or doorframe:
- Align the doorbell bracket with the pencil marks you made earlier.
- Using a power drill and the appropriate drill bit, carefully drill pilot holes at the marked positions.
- Place the doorbell bracket against the wall or doorframe, aligning the screw holes with the pilot holes.
- Insert the provided screws into the holes and use a screwdriver to tighten them, securing the bracket in place. Ensure that the bracket is level and securely attached.
- Give the bracket a gentle tug to ensure it is stable and won’t come loose.
Once the doorbell bracket is securely mounted, you are ready to move on to the next step: wiring the Arlo doorbell.
Important note: If you are not comfortable with drilling or handling power tools, it is advisable to seek professional assistance for the installation process.
When installing an Arlo Doorbell, make sure to check the compatibility with your existing doorbell system and Wi-Fi network before beginning the installation process.
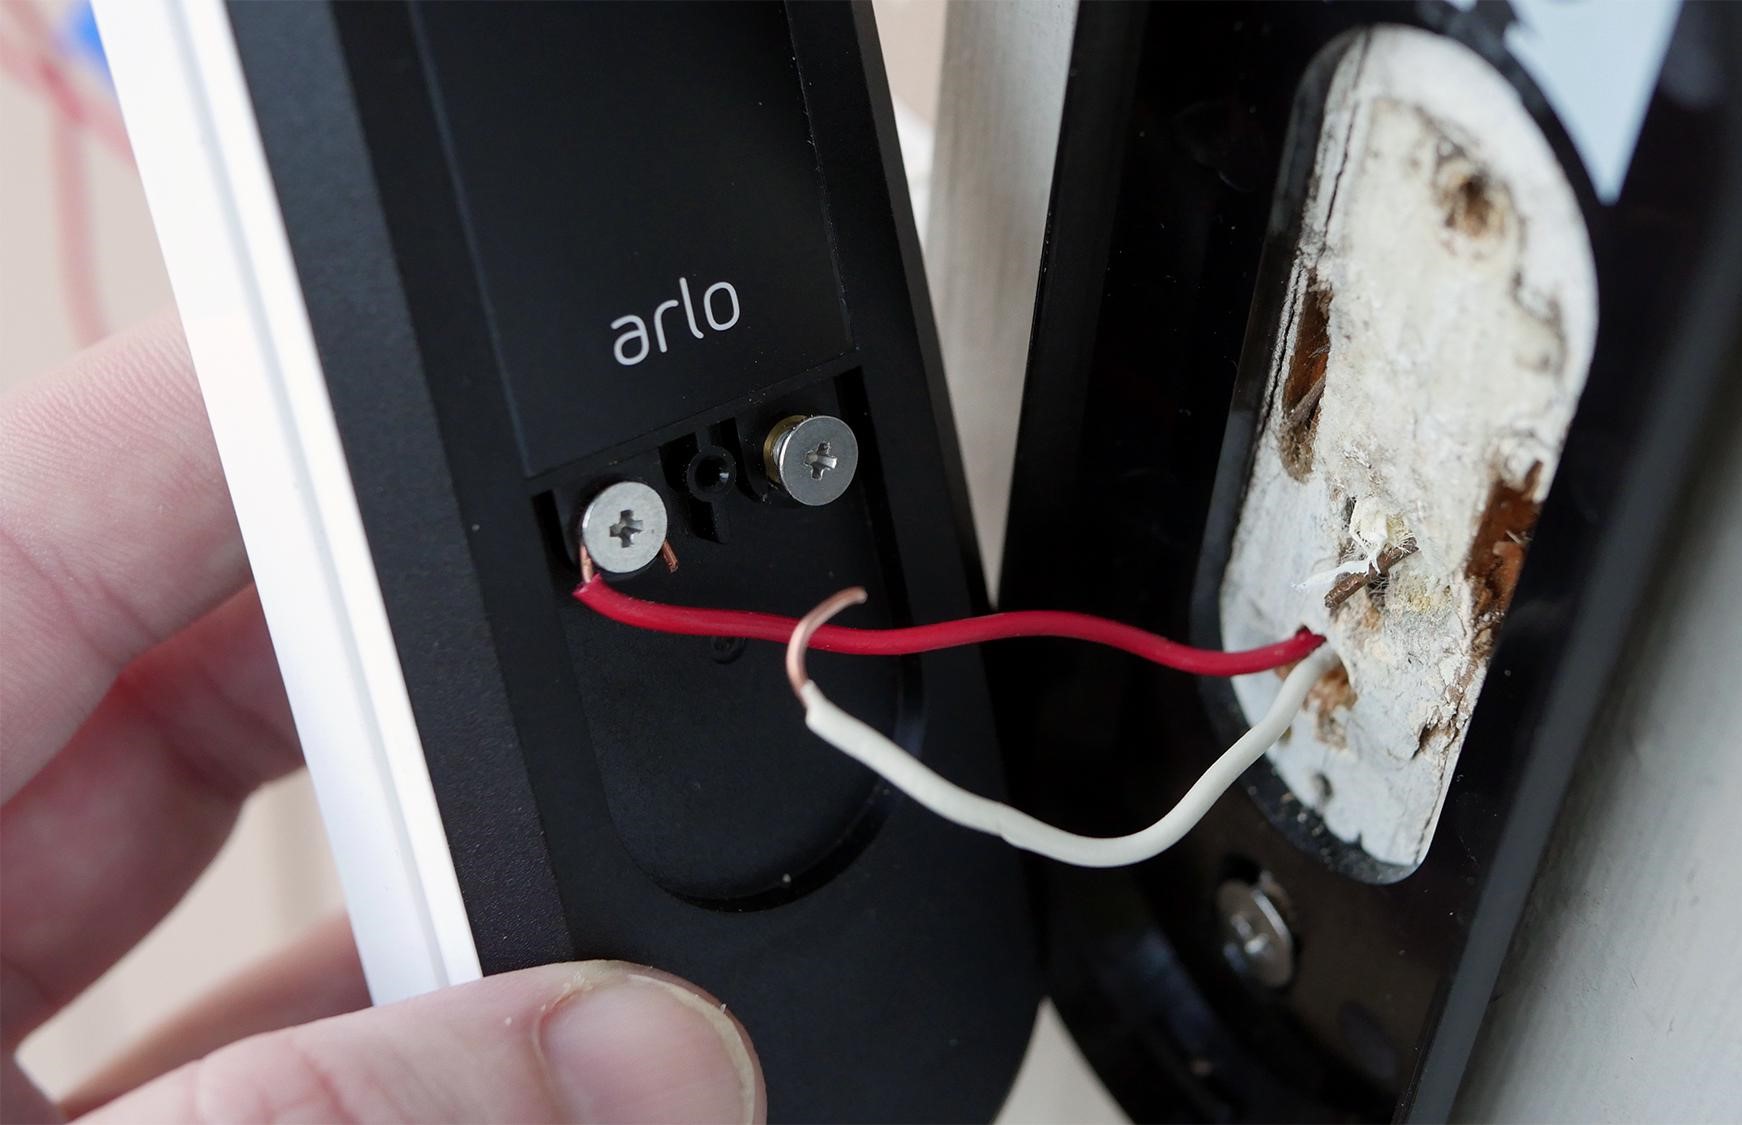
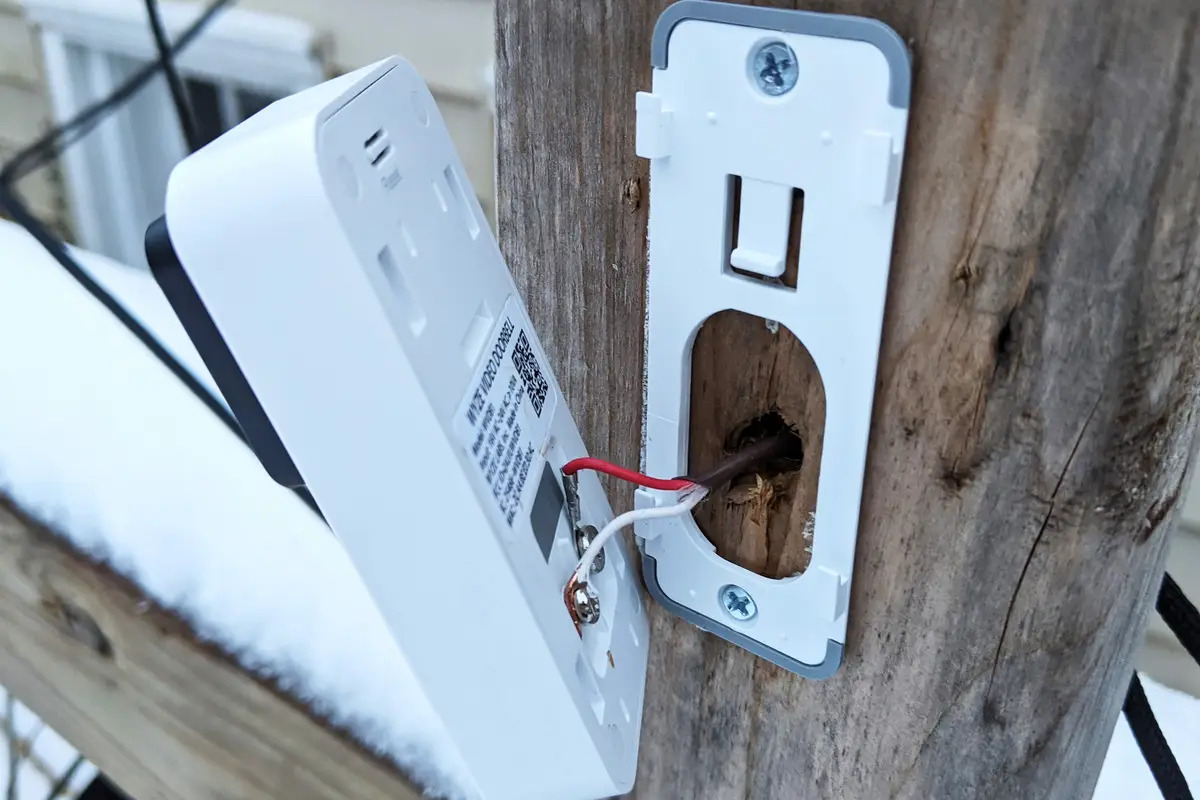
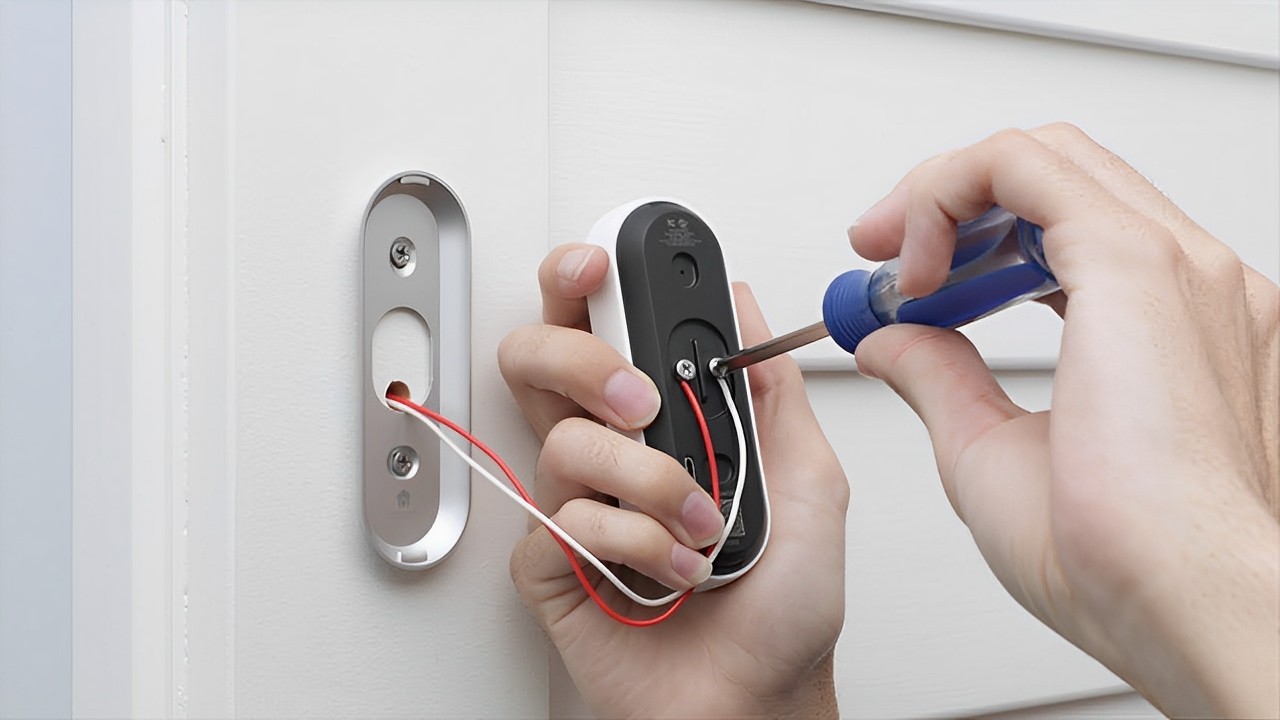
Step 4: Wiring the Doorbell
Now that you have successfully mounted the doorbell bracket, it’s time to wire your Arlo doorbell. Follow these steps to ensure a proper and secure wiring connection:
- Locate the wiring terminals on the back of the doorbell.
- Using wire strippers, strip off a small portion of the outer insulation from the two wires included in the Arlo doorbell kit.
- Insert one wire into the “Front” terminal and the other into the “Transformer” terminal. Make sure the wires are securely inserted.
- Tighten the terminal screws to ensure a firm connection. Ensure the wires are not loose or exposed.
- Use electrical tape to secure the wires to the bracket and prevent any accidental disconnections.
It’s essential to follow the manufacturer’s instructions for wiring the Arlo doorbell correctly. If you’re unsure about the wiring process, consult the user manual or seek professional assistance for guidance.
Once the doorbell is properly wired, you can move on to the next step: connecting the doorbell to the Arlo app.
Note: Before handling any wiring, always turn off the power supply to avoid electrical shock.
Read more: How To Reset Arlo Doorbell
Step 5: Connecting the Doorbell to the Arlo App
Now that you have wired your Arlo doorbell, it’s time to connect it to the Arlo app on your smartphone or tablet. Follow these steps to complete the setup process:
- Download and install the Arlo app from your device’s app store.
- Open the Arlo app and sign in to your Arlo account. If you don’t have an account, create one by following the on-screen prompts.
- Tap on the “+” symbol or “Add Device” option within the app to begin adding your Arlo doorbell.
- Select “Doorbell” from the list of available devices.
- Follow the on-screen instructions to put your Arlo doorbell into pairing mode.
- On the app, select your Wi-Fi network and enter the password to connect the doorbell to your home network.
- Once the doorbell is connected to the Wi-Fi, tap on “Finish” or “Done” to complete the setup process.
- You should now see live video feeds from your Arlo doorbell within the Arlo app.
Make sure to customize the settings according to your preferences, such as motion detection sensitivity, notification alerts, and other advanced features offered by the Arlo app.
With the Arlo doorbell successfully connected to the app, you can now move on to the final step: testing your Arlo doorbell installation.
Note: It’s crucial to have a stable and reliable Wi-Fi connection for seamless operation of your Arlo doorbell and app integration.
Step 6: Testing Your Arlo Doorbell Installation
After completing the installation and connecting your Arlo doorbell to the app, it’s important to test the functionality to ensure everything is working as expected. Follow these steps to test your Arlo doorbell:
- Stand outside your front door and press the doorbell button. This will trigger the doorbell’s motion sensor and send an alert to your smartphone or tablet through the Arlo app.
- Check your device to see if you receive a notification and if the app displays a live video feed of the doorbell’s camera.
- Test the two-way audio by speaking into your device’s microphone and listening for the sound coming from the doorbell’s speaker. This will allow you to communicate with visitors at your door.
- Adjust the motion detection sensitivity, notification settings, and any other features according to your preferences through the Arlo app.
- Repeat the testing process several times to ensure consistent performance and reliable detection.
If during the testing process you encounter any issues, refer to the Arlo app’s troubleshooting guide or consult the manufacturer’s support resources. They can provide additional assistance in resolving any problems you may encounter.
Congratulations! You have successfully installed and tested your Arlo doorbell. Enjoy the added security and convenience that it brings to your home.
Remember to periodically check for firmware updates for your Arlo doorbell and the Arlo app to ensure you have the latest features and improvements.
Conclusion
Installing an Arlo doorbell can significantly enhance the security and convenience of your home. By following the step-by-step guide outlined in this article, you can have your Arlo doorbell up and running in no time.
Throughout the installation process, we walked you through gathering the necessary tools and materials, preparing the installation location, mounting the doorbell bracket, wiring the doorbell, connecting it to the Arlo app, and testing its functionality.
Remember to prioritize safety during the installation process by turning off the power supply and seeking professional assistance if needed. Take the time to carefully follow the manufacturer’s instructions and ensure a secure and stable installation.
Once your Arlo doorbell is installed, you will have the ability to see and communicate with visitors at your door, even when you are not at home. The integration with the Arlo app allows you to customize settings, receive notifications, and access live video feeds from your doorbell’s camera.
By regularly testing and adjusting the settings, you can ensure that your Arlo doorbell is functioning optimally and providing you with the added security and convenience you desire.
Now that you have successfully installed your Arlo doorbell, sit back, relax, and enjoy the peace of mind that comes with knowing you have a reliable and advanced doorbell system in place.
Thank you for using this comprehensive guide. We hope you found it helpful and informative. If you have any questions or need further assistance, don’t hesitate to reach out to Arlo customer support for guidance.
Frequently Asked Questions about How To Install An Arlo Doorbell
Was this page helpful?
At Storables.com, we guarantee accurate and reliable information. Our content, validated by Expert Board Contributors, is crafted following stringent Editorial Policies. We're committed to providing you with well-researched, expert-backed insights for all your informational needs.
0 thoughts on “How To Install An Arlo Doorbell”