Articles
How To Remove Wyze Doorbell
Modified: August 26, 2024
Learn how to remove your Wyze Doorbell with this helpful guide. Follow the step-by-step instructions in this article for a hassle-free process.
(Many of the links in this article redirect to a specific reviewed product. Your purchase of these products through affiliate links helps to generate commission for Storables.com, at no extra cost. Learn more)
Introduction
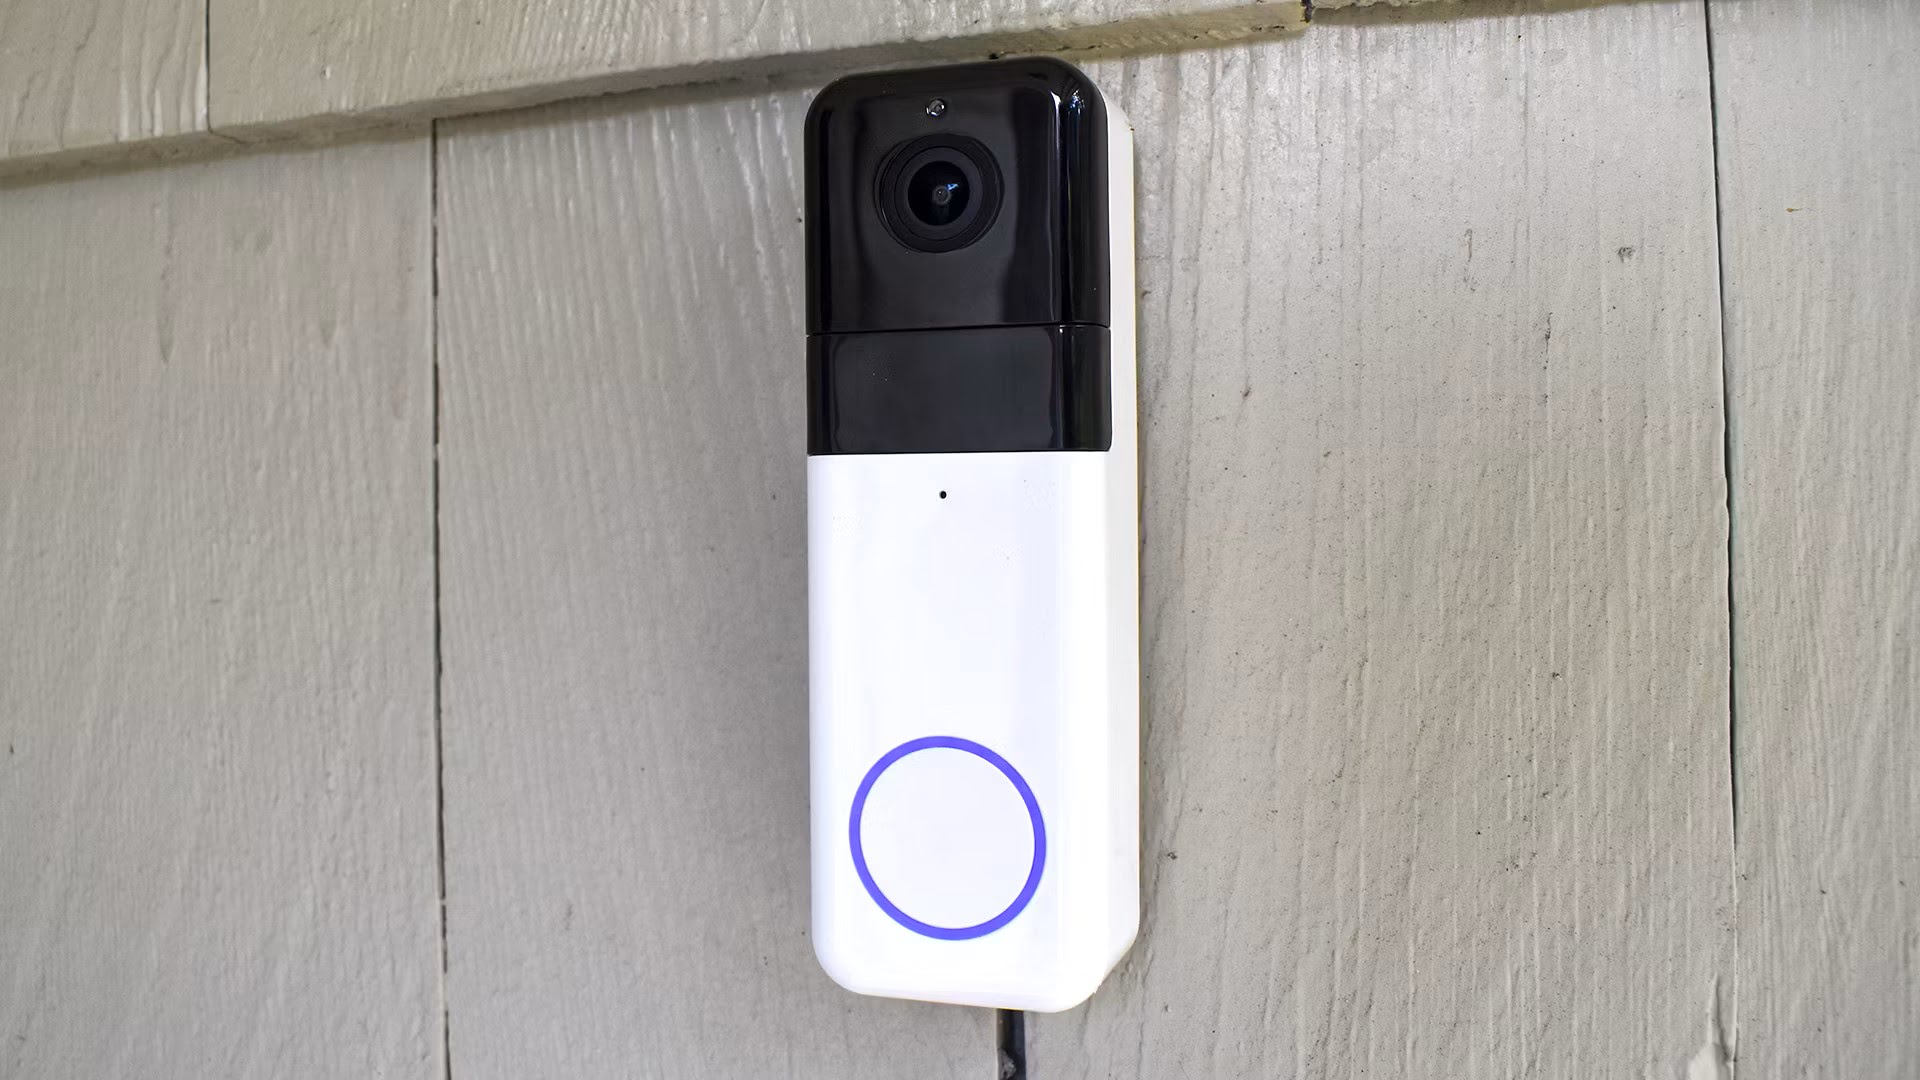
Welcome to our step-by-step guide on how to remove a Wyze Doorbell. The Wyze Doorbell is a popular smart home device that provides security and convenience by allowing you to monitor and communicate with visitors at your doorstep. However, there may be instances where you need to remove the doorbell, whether it’s for maintenance, upgrading to a new model, or moving to a new location. In this article, we will walk you through the process of safely and effectively removing the Wyze Doorbell from your home.
Before we begin, it’s crucial to note that the process of removing a Wyze Doorbell may vary slightly depending on the specific model and wiring configuration. Therefore, we recommend referring to the manufacturer’s instructions and consulting with a professional if you have any doubts or concerns. With that said, let’s get started with the preparation stage.
Key Takeaways:
- Safely remove a Wyze Doorbell by following step-by-step instructions, from preparation and turning off power to disconnecting wiring and troubleshooting. Prioritize safety and consult manufacturer’s instructions for specific models.
- Successfully remove and reinstall a Wyze Doorbell with confidence, ensuring proper preparation, wiring disconnection, cover plate installation, and troubleshooting. Prioritize safety and follow manufacturer’s instructions for optimal results.
Read more: How To Install Wyze Doorbell
Step 1: Preparation
Before you start removing your Wyze Doorbell, it’s important to gather all the necessary tools and materials. Here’s a list of items you’ll need:
- Phillips screwdriver: This will be used to remove screws and disassemble the doorbell.
- Masking tape: It can be handy for temporarily securing wires and preventing them from accidentally falling into the wall cavity.
- Wire strippers: These are useful for safely removing the insulation from the doorbell wires.
- Electrical tape: It will help to insulate and secure any exposed wires.
- Wiring diagram: If available, the wiring diagram will assist you in identifying and disconnecting the correct wires.
Once you have all the tools and materials prepared, make sure to turn off the power supply to the doorbell circuit. This will help prevent any electric shocks or accidents while handling the wires and doorbell components.
Now that you have everything ready, let’s proceed to the next step – turning off the power.
Step 2: Turning off the Power
Before you begin removing the Wyze Doorbell, it is crucial to turn off the power to the doorbell circuit to ensure your safety. Follow these steps to turn off the power:
- Locate the circuit breaker or fuse box in your home. It is typically found in the basement, garage, or utility room.
- Identify the circuit breaker or fuse that controls the power to your doorbell. If you are unsure, consult the electrical panel directory or use trial and error by switching off individual breakers until the doorbell turns off.
- Switch off the circuit breaker or remove the fuse that corresponds to the doorbell circuit.
Once you have turned off the power, it is important to verify that the doorbell is no longer receiving power. You can do this by pressing the doorbell button and ensuring that nothing happens. If the doorbell still activates, double-check that you have switched off the correct circuit breaker or fuse. If the issue persists, it is recommended to consult a professional electrician.
With the power successfully turned off, you can proceed with confidence to the next step – removing the existing doorbell.
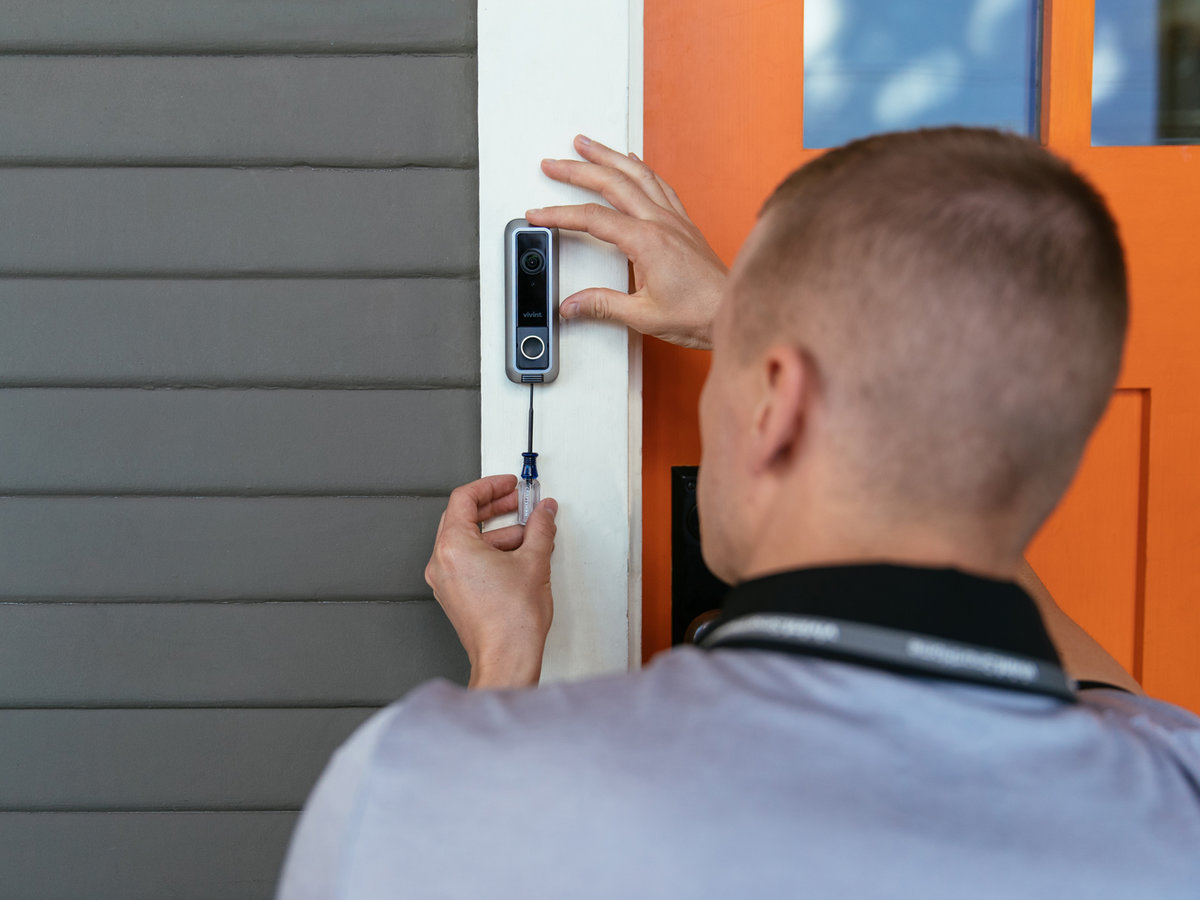
Step 3: Removing the Existing Doorbell
Now that you have ensured the power is turned off, it’s time to remove the existing Wyze Doorbell from your home’s entrance. Follow these steps to safely remove it:
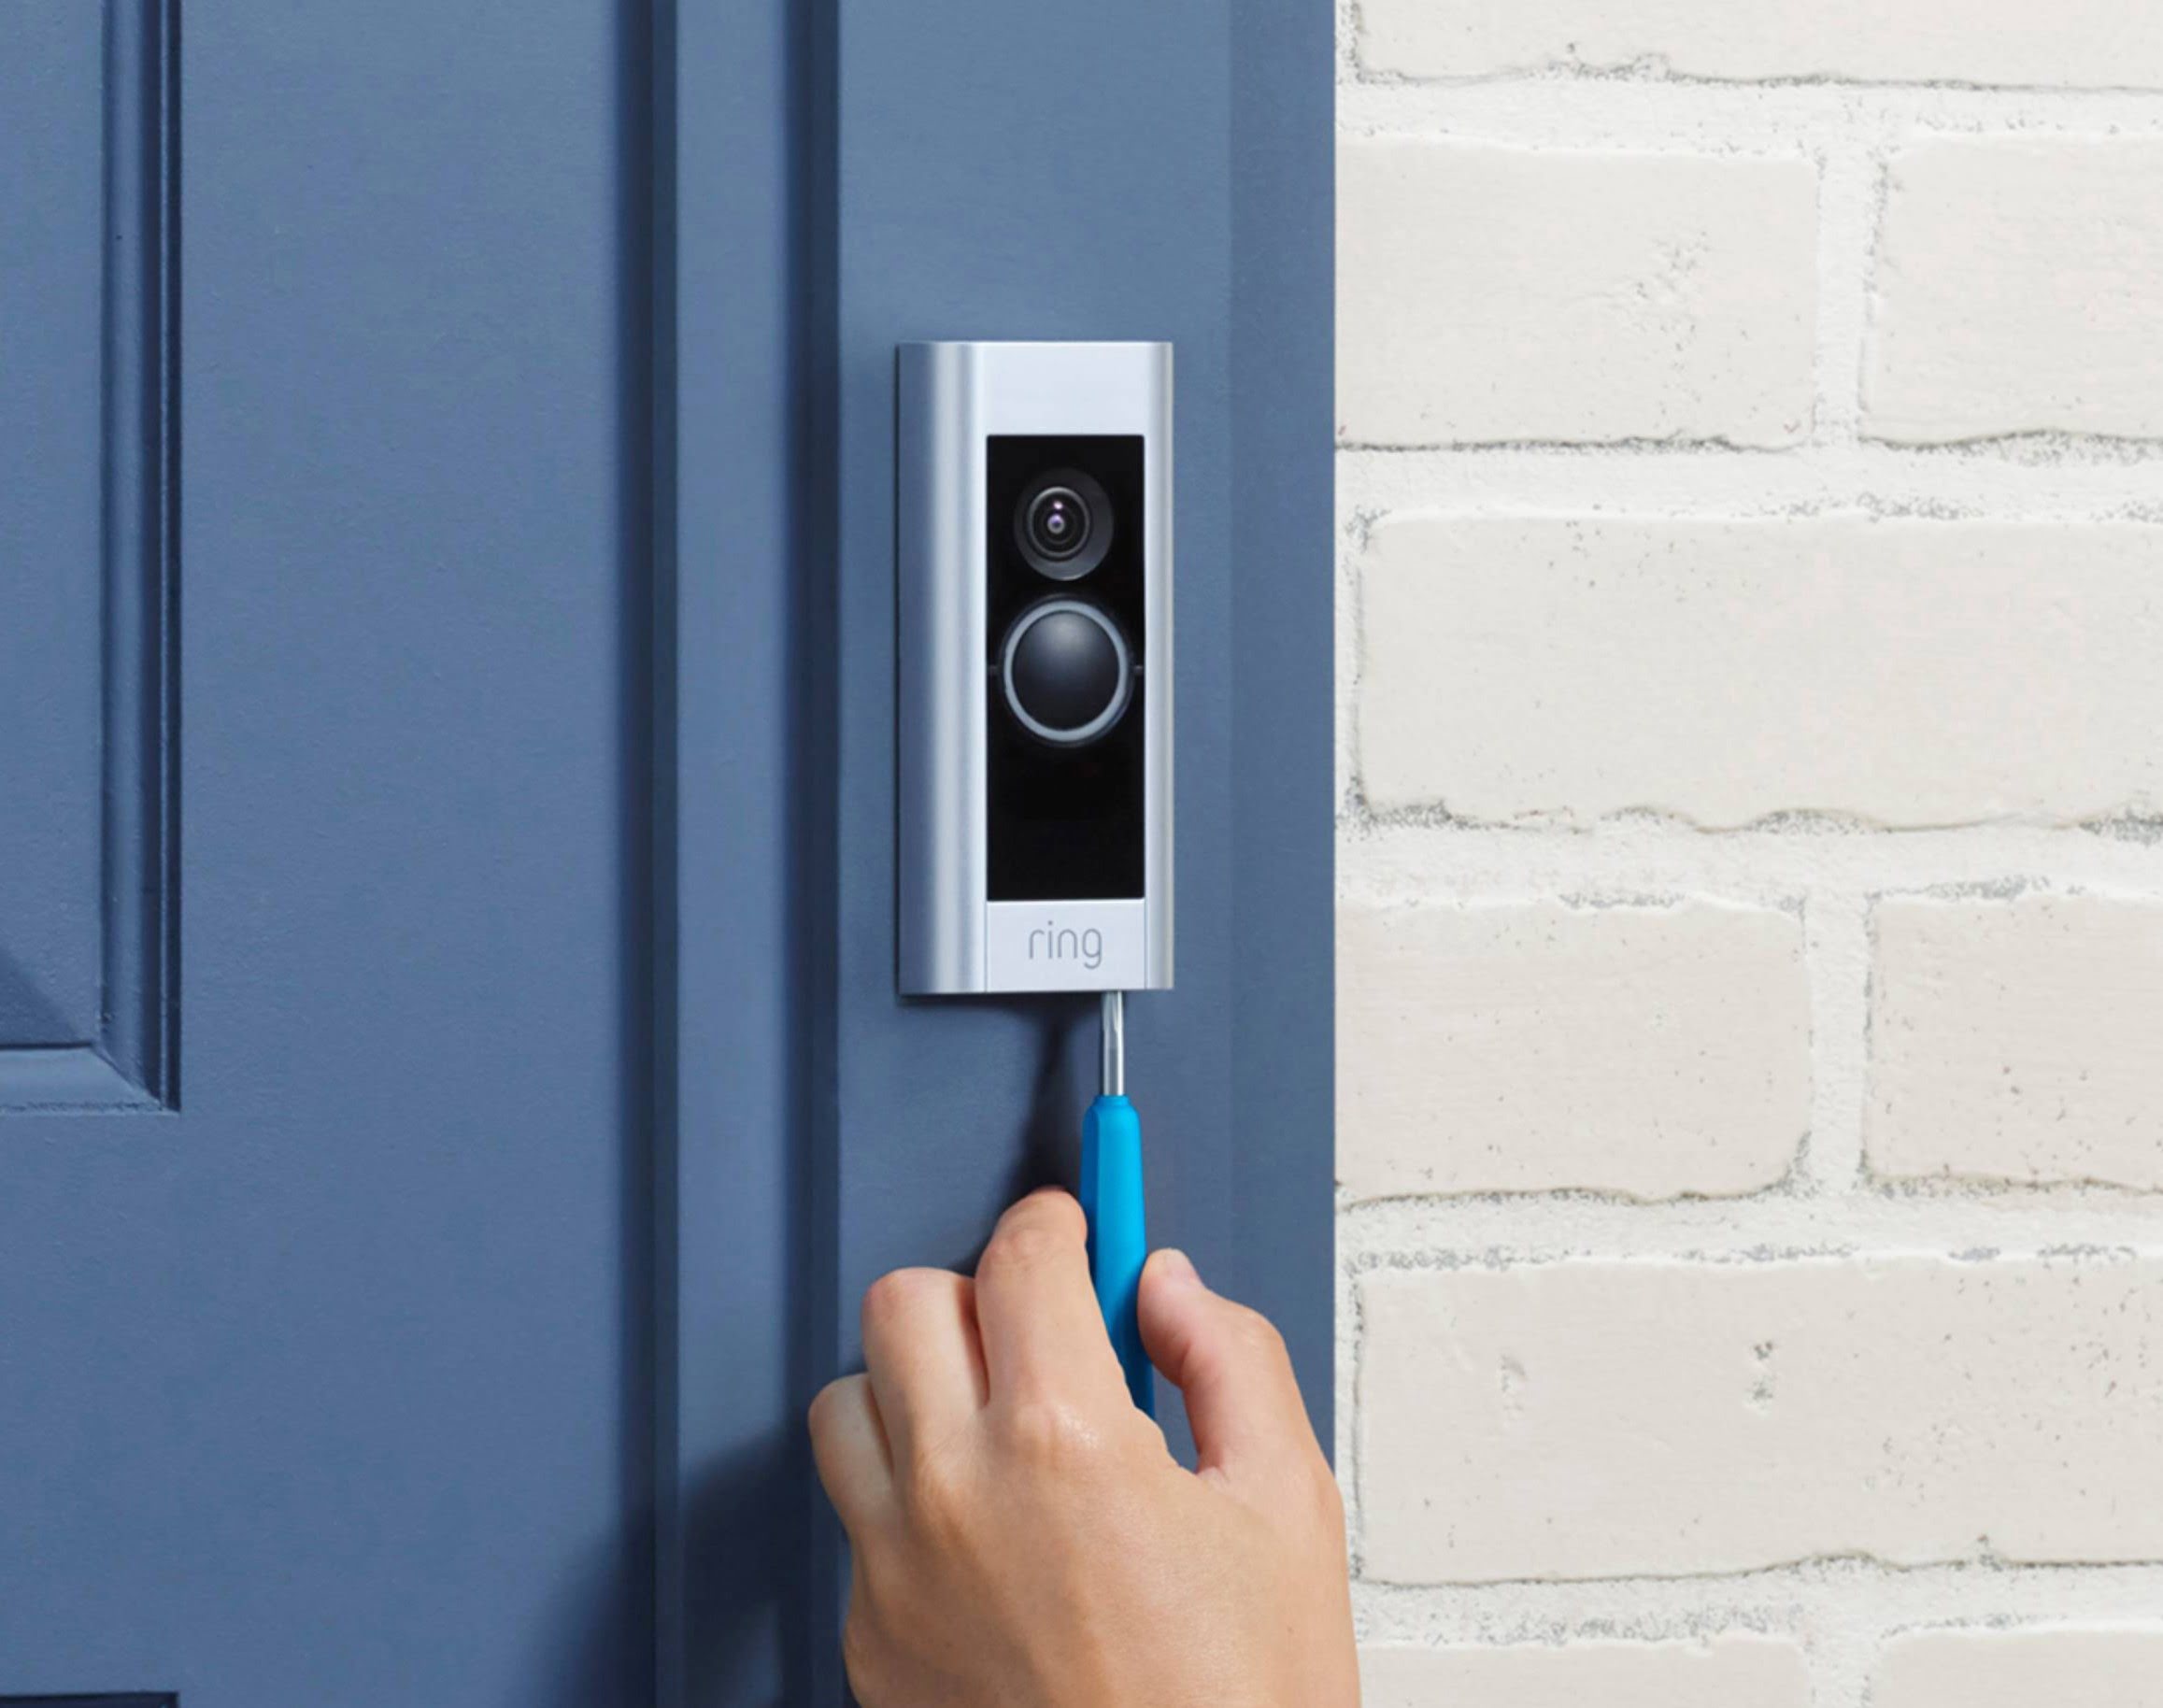
- Locate the screws that hold the doorbell in place. They are typically found at the top and bottom of the device.
- Using a Phillips screwdriver, carefully unscrew these screws and set them aside. Be cautious not to drop them or misplace them.
- Once the screws are removed, gently pull the doorbell away from the wall or doorframe. It may be attached with adhesive or clips, so exert a steady but gentle force.
- If the doorbell is still attached by adhesive, use a putty knife or plastic prying tool to carefully separate it from the wall or doorframe. Apply pressure evenly to avoid damaging the surface.
- Once the doorbell is free from its mounting location, place it in a safe and secure location, keeping the screws and any additional components together for future use or disposal.
With the existing doorbell successfully removed, you are now ready to disconnect the wiring. Proceed to the next step for guidance on disconnecting the wiring safely and effectively.
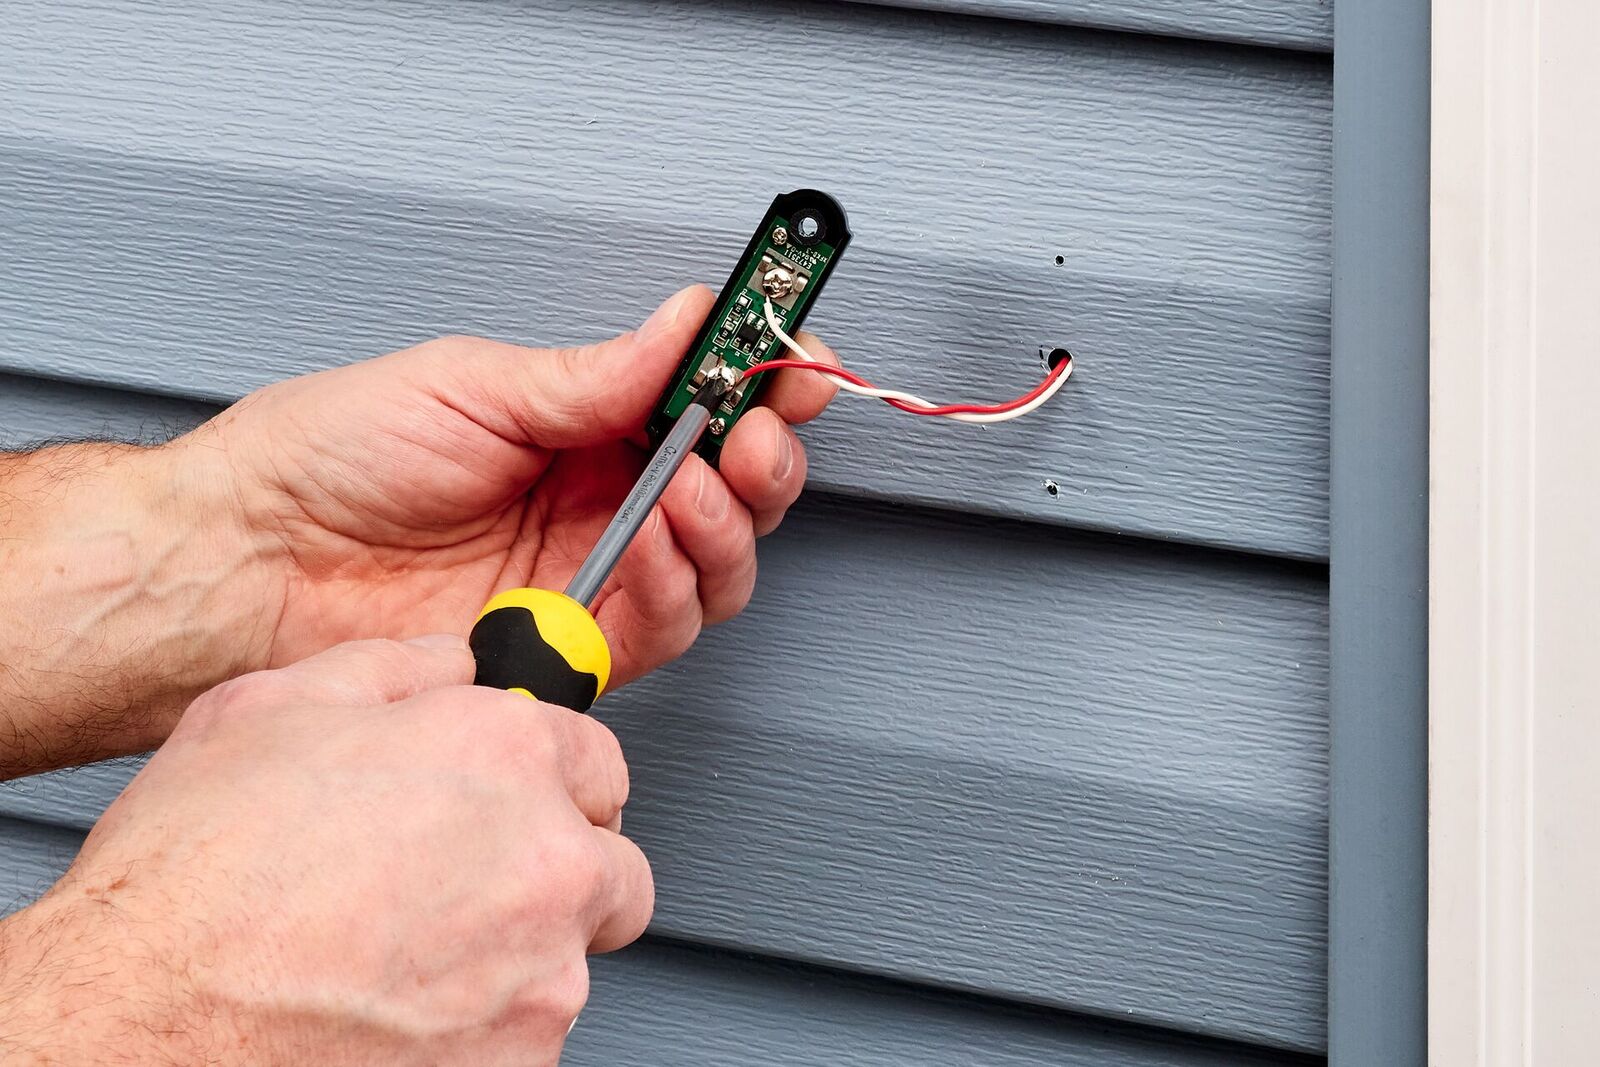
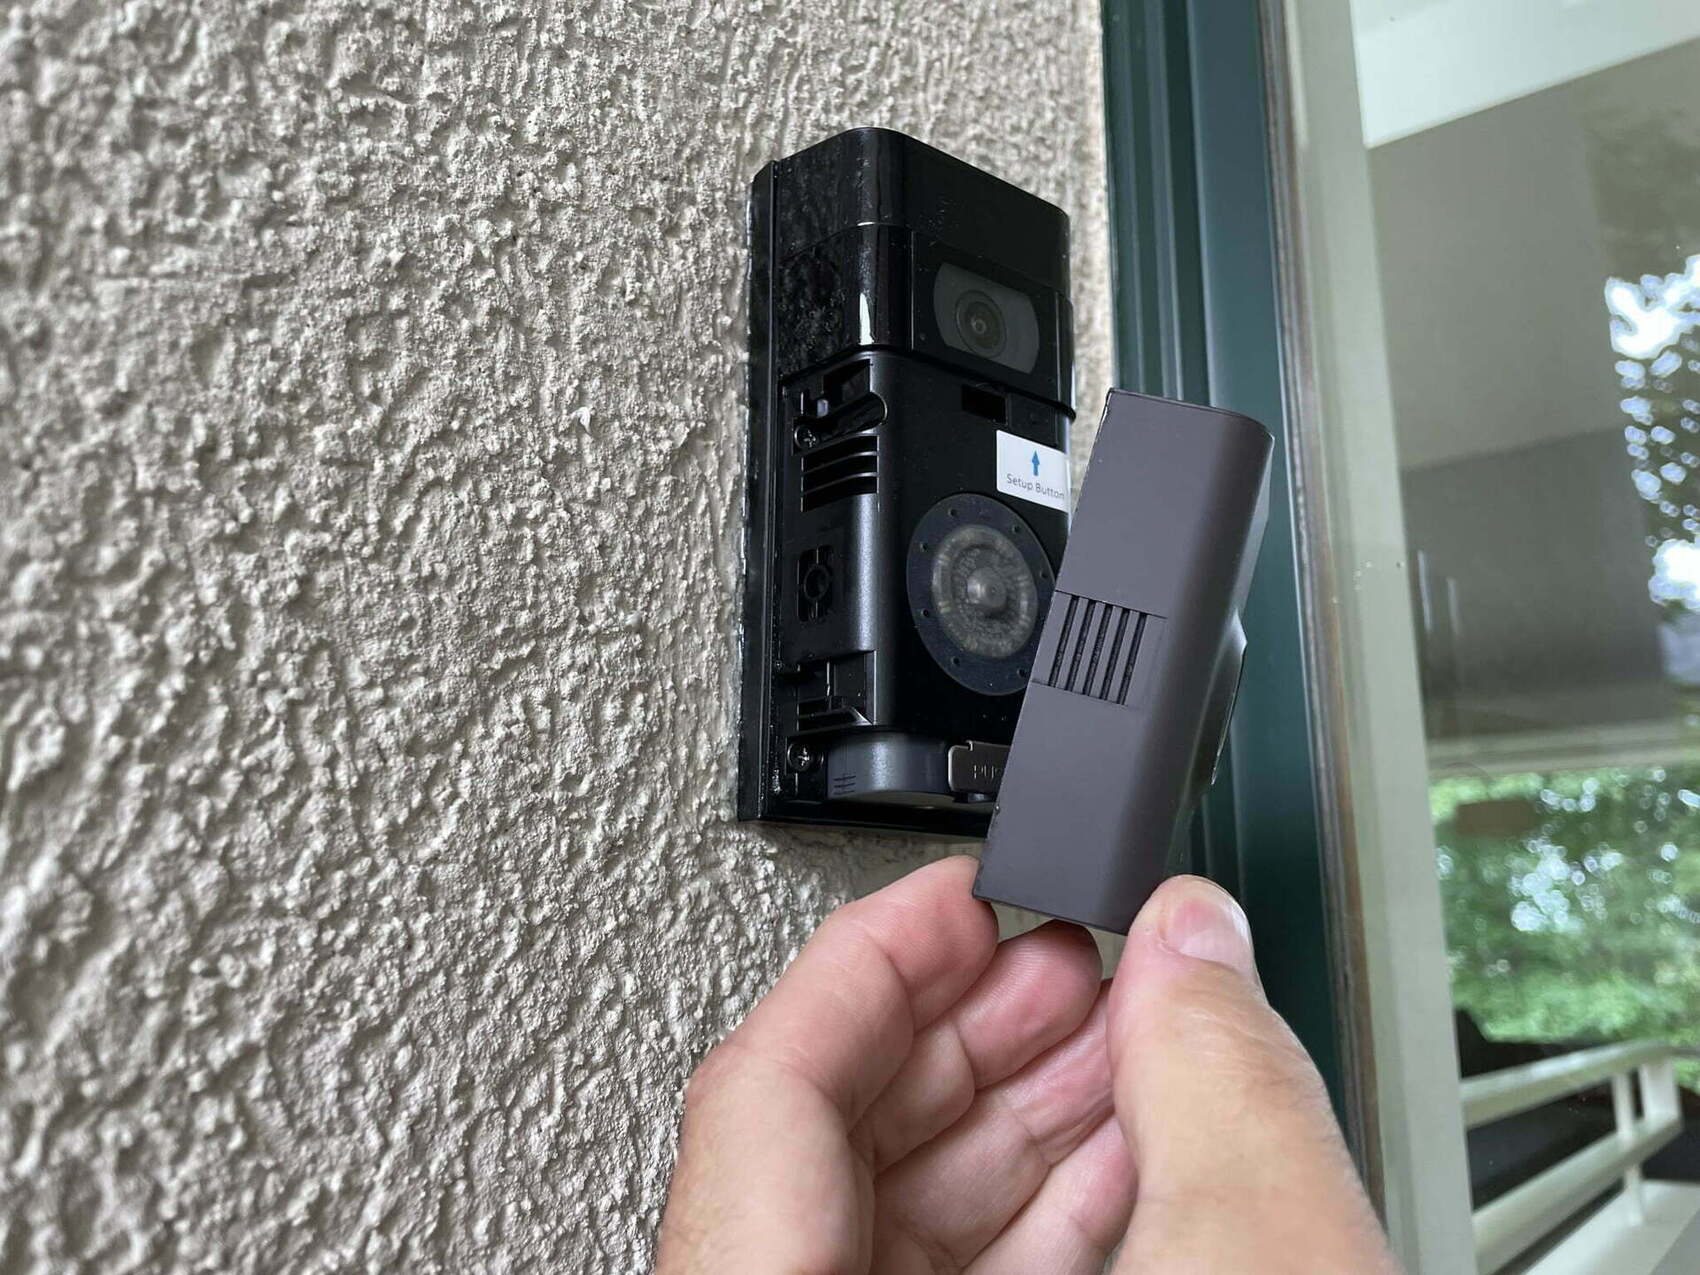
Step 4: Disconnecting the Wiring
With the Wyze Doorbell removed from its mounting location, the next step is to disconnect the wiring. Follow these steps to do so safely and effectively:
- Locate the wiring connections behind the doorbell, usually exposed once the device is removed.
- Identify the various wires connected to the Wyze Doorbell. They typically include two power wires (positive and negative) and possibly additional wires for chime integration or other features.
- Using wire strippers, gently strip away a small portion of the insulation from each of the wires. This will expose a section of bare wire for easier disconnection.
- Once the wires are exposed, use a small screwdriver or needle-nose pliers to carefully disconnect the wiring terminal connectors. Apply gentle pressure to release the connectors and separate the wires from the doorbell.
- If the wires are tightly connected, you may need to wiggle them back and forth slightly while applying pressure to detach them from the terminals.
As you disconnect each wire, it is crucial to take note of their respective positions and connections. You can use a pen and paper or take pictures for reference to ensure correct reinstallation or when connecting a new doorbell in the future.
Once all the wires are disconnected, securely tape each wire end individually with electrical tape to prevent any accidental contact or short circuits. This will help ensure safety throughout the remaining steps of the removal process.
With the wiring safely disconnected, you can proceed to the next step – installing a new cover plate.
Read also: 8 Amazing Wyze Doorbell for 2025
Step 5: Installing a New Cover Plate
Now that the wiring is safely disconnected, you can proceed to install a new cover plate over the area where the Wyze Doorbell was previously mounted. The cover plate not only provides a clean and finished look, but it also keeps the wiring protected. Here’s how to install a new cover plate:
- Choose a cover plate that matches the design and dimensions of your previous doorbell or complements your home’s aesthetic. You can find a variety of cover plates at hardware stores or online retailers.
- Position the cover plate over the mounting area, ensuring that it aligns with any existing screw holes or adhesive backing.
- If the cover plate requires screws, use a screwdriver to secure it in place by inserting the screws through the cover plate and into the screw holes on the wall or doorframe.
- If the cover plate has an adhesive backing, carefully peel off the protective film from the adhesive side and press the plate firmly onto the mounting area.
- Ensure that the cover plate is level and securely attached before proceeding to the next step.
The new cover plate will not only enhance the appearance of your entrance but also protect the wiring behind it. With the cover plate installed, you can now move on to the exciting step of installing the Wyze Doorbell itself.
Step 6: Installing the Wyze Doorbell
With the new cover plate in place, it’s time to install the Wyze Doorbell itself. Here’s how to do it:
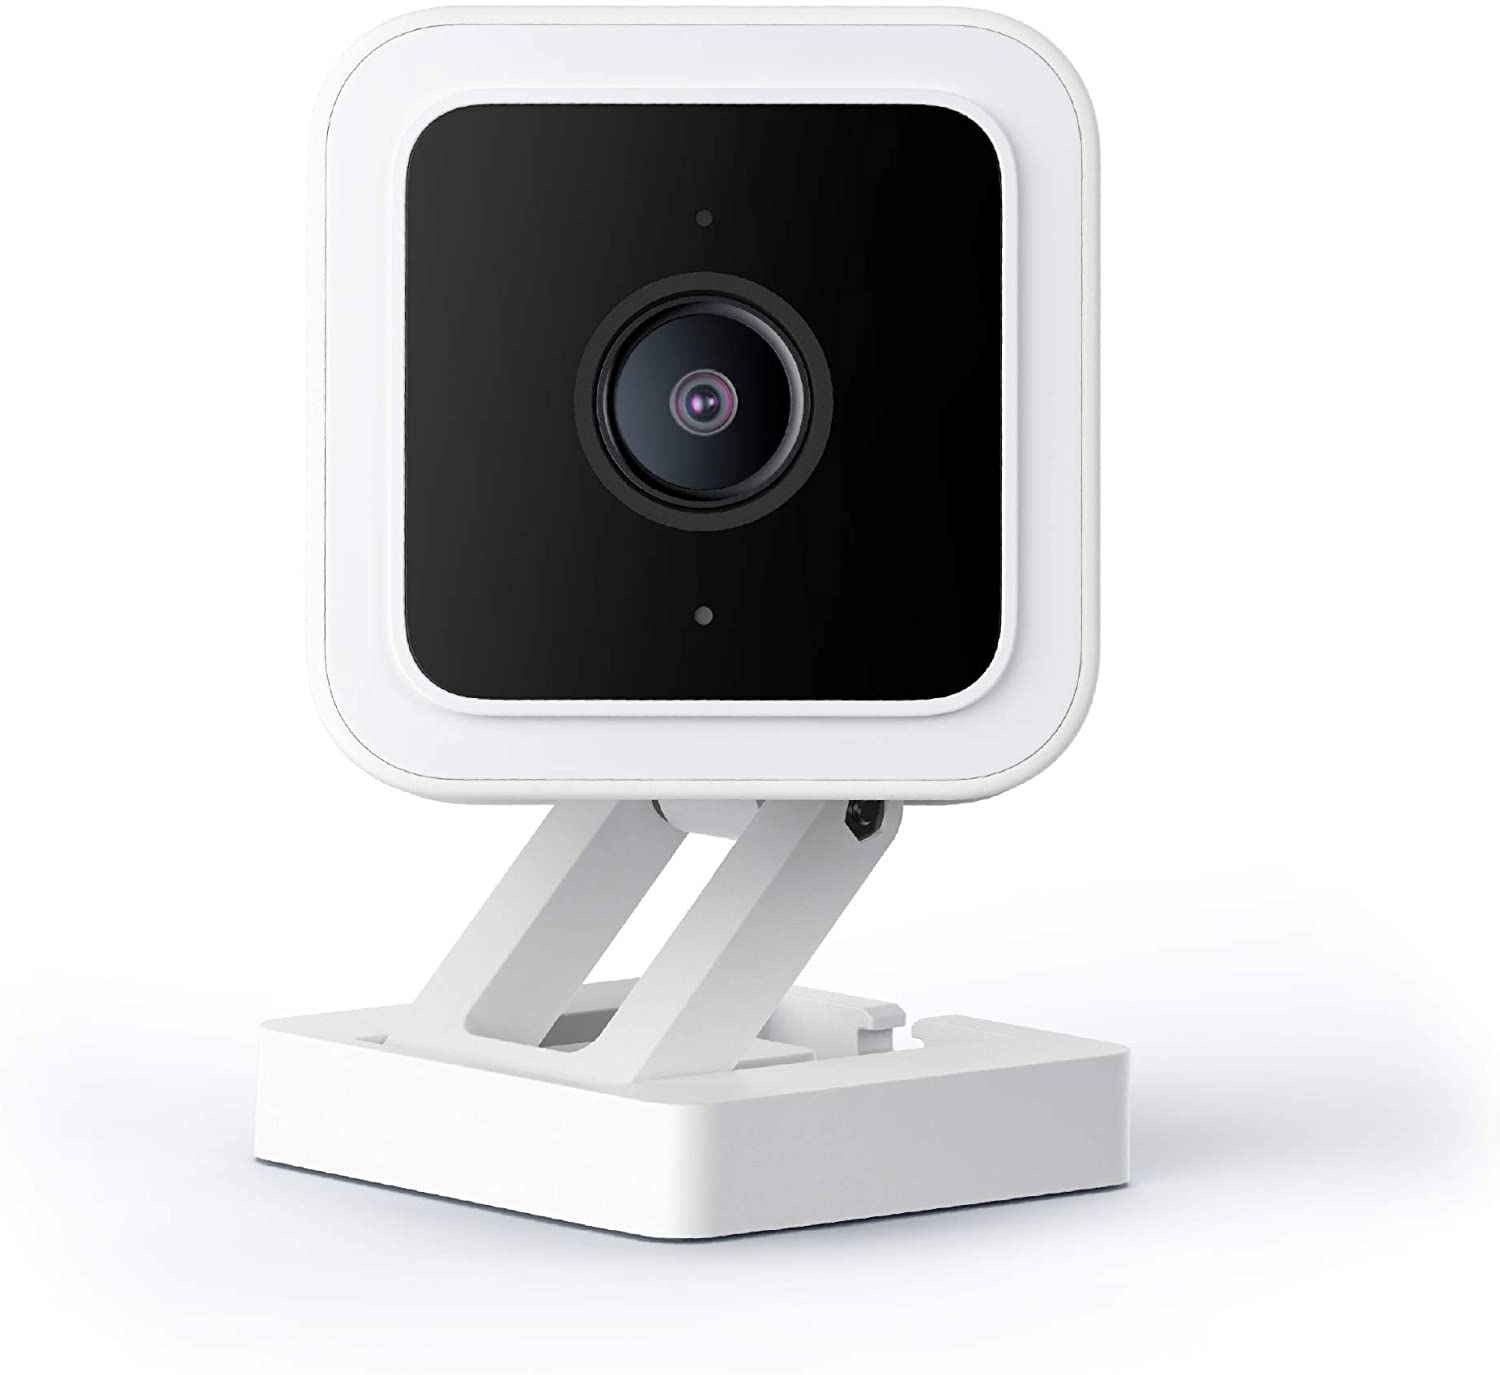
- Take the Wyze Doorbell out of its packaging and familiarize yourself with its components.
- Carefully position the Wyze Doorbell over the cover plate, ensuring that the mounting holes on the device align with the screw holes or adhesive backing on the cover plate.
- If the doorbell requires screws, insert them through the mounting holes on the device and into the screw holes on the cover plate. Use a screwdriver to securely tighten the screws.
- If the doorbell has an adhesive backing, remove the protective film and press the device firmly onto the cover plate.
- Ensure that the Wyze Doorbell is level and securely attached to the cover plate.
Once the Wyze Doorbell is successfully installed, you can proceed to the next step – connecting the wiring.
Note: It’s essential to follow the manufacturer’s instructions for installing the Wyze Doorbell correctly, as the exact process may vary depending on the specific model and features of the device.
When removing the Wyze Doorbell, make sure to turn off the power to the doorbell at the circuit breaker to avoid any electrical hazards. Then, carefully follow the manufacturer’s instructions for removing the doorbell from its mounting bracket.
Step 7: Connecting the Wiring
Now that the Wyze Doorbell is securely installed, it’s time to reconnect the wiring. Follow these steps to connect the wiring properly:
- Refer to your notes or pictures taken during the disconnection process to identify which wire goes where.
- Take each wire end that was previously taped with electrical tape and remove the tape.
- Match each wire to its corresponding terminal on the Wyze Doorbell. Typically, there will be labeled terminals for positive (+) and negative (-) power wires.
- Once you have identified the correct terminals, insert each wire end into its respective terminal and tighten the terminal screw or secure the wire using any provided connectors. Ensure a secure connection.
- If there are additional wires for chime integration or other features, consult the manufacturer’s instructions for the appropriate terminals and connections.
Double-check that all connections are secure and tight. This will help prevent any issues such as intermittent power supply or poor audio/video quality. It is essential to ensure a proper and reliable connection before proceeding further.
With the wiring successfully connected, you can move on to the next step – mounting the Wyze Doorbell.
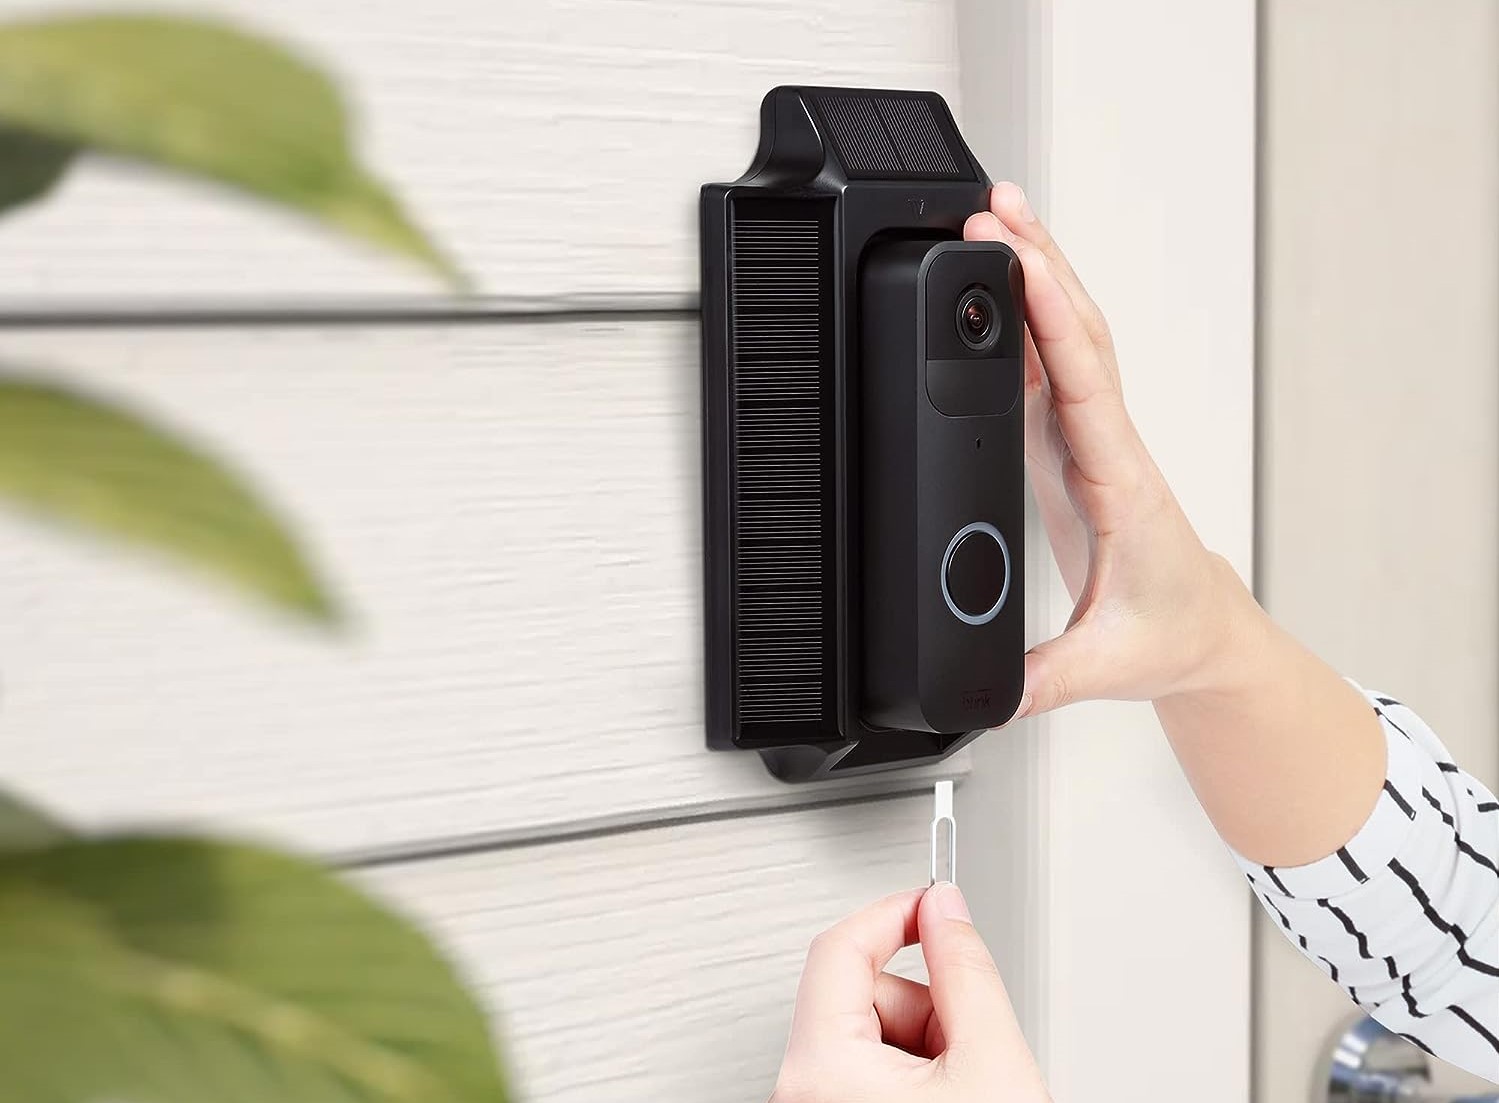
Step 8: Mounting the Wyze Doorbell
Once the wiring is securely connected, it’s time to mount the Wyze Doorbell to its final location. Follow these steps to properly mount the doorbell:
- Select a suitable location for the Wyze Doorbell. It should provide a clear view of the area you want to monitor and be within range of your Wi-Fi network.
- Hold the Wyze Doorbell against the wall or doorframe, making sure it is level and aligned with any existing screw holes or adhesive backing.
- If the doorbell requires screws, insert them through the mounting holes on the device and into the wall or doorframe. Use a screwdriver to securely tighten the screws.
- If the doorbell has an adhesive backing, remove the protective film and press the device firmly onto the wall or doorframe.
- Ensure that the Wyze Doorbell is level and securely mounted. Give it a gentle tug to ensure it is firmly in place.
Proper mounting is crucial for optimal functionality and stability of the Wyze Doorbell. It should be secure and positioned correctly to capture clear video and audio of the desired area.
With the Wyze Doorbell securely mounted, you can now move on to the next step – powering on the doorbell.
Read more: How To Remove Arlo Doorbell
Step 9: Powering on the Doorbell
With the Wyze Doorbell securely mounted, it’s time to power it on and ensure it is functioning properly. Follow these steps to power on the doorbell:
- If you turned off the power supply during the earlier steps, now is the time to turn it back on. Locate the circuit breaker or fuse that controls the doorbell circuit and switch it back on.
- Once the power is restored, the Wyze Doorbell should automatically power on. Look for any indicator lights or display on the doorbell to confirm that it is receiving power.
- If necessary, consult the manufacturer’s instructions for any additional steps or settings required to power on the doorbell. Every model may have unique requirements.
After powering on the doorbell, it may take a few moments for it to establish a connection to your Wi-Fi network. Follow the manufacturer’s instructions to complete the setup process, which may include connecting the doorbell to your smartphone or smart home hub.
Once the setup process is complete, the Wyze Doorbell should be ready to use. You can proceed to the next step to configure the doorbell and set your desired preferences.
Step 10: Configuring the Wyze Doorbell
After powering on the Wyze Doorbell, the next step is to configure it and customize its settings according to your preferences. Follow these steps to configure the doorbell:
- Download and install the Wyze app on your smartphone or mobile device from the App Store or Google Play Store.
- Open the Wyze app and create a new account or log in to your existing account.
- Follow the on-screen instructions to add the Wyze Doorbell to your app. This typically involves scanning a QR code or entering a unique identification code.
- Once the doorbell is added to your app, you can customize various settings such as motion detection sensitivity, notification preferences, and recording options.
- Explore the app’s features and settings to familiarize yourself with the different functionalities of the Wyze Doorbell. You can set up zones for customized motion detection, adjust the doorbell’s volume, and manage storage options for recorded footage.
During the configuration process, it’s important to connect the Wyze Doorbell to your home’s Wi-Fi network. Follow the app’s instructions for the Wi-Fi setup, ensuring you have the correct network credentials available.
Once the Wyze Doorbell is successfully configured, you can start enjoying its features, such as live video streaming, two-way audio communication, and the ability to receive alerts and notifications when someone is at your door.
Congratulations! You have now successfully configured the Wyze Doorbell. However, if you encounter any issues or have difficulty with the configuration process, refer to the manufacturer’s instructions or contact their customer support for assistance.
Step 11: Troubleshooting
While installing and configuring the Wyze Doorbell, you may encounter some common issues or face difficulties. Here are a few troubleshooting tips to help you resolve them:
- Check the power supply: Ensure that the power to the Wyze Doorbell is turned on and stable. Verify that the circuit breaker or fuse controlling the doorbell circuit is not tripped or malfunctioning.
- Verify Wi-Fi connectivity: Make sure your home’s Wi-Fi network is functioning properly and that the Wyze Doorbell is connected to a stable and strong Wi-Fi signal. Check the signal strength in the Wyze app and consider moving your Wi-Fi router closer to the doorbell if needed.
- Reset the doorbell: If you are encountering persistent issues, try resetting the Wyze Doorbell by pressing and holding the reset button for about 10 seconds. This will restore the device to its factory settings, allowing you to start the setup process from scratch.
- Update the firmware: Check for any available firmware updates for the Wyze Doorbell in the app’s settings. Updating the firmware can often resolve compatibility issues and improve performance.
- Troubleshoot connectivity: If you experience intermittent connectivity or issues with the live video feed, double-check your network settings, including router configurations and any firewalls or VPNs that might be causing interference.
- Consult the manufacturer’s support: If you have tried troubleshooting steps and are still experiencing issues, reach out to the Wyze support team for further assistance. They can provide specific guidance and troubleshooting tailored to your situation.
Remember, troubleshooting steps may vary depending on the specific issue and the model of the Wyze Doorbell you are using. It’s always recommended to refer to the manufacturer’s documentation or contact their support for detailed troubleshooting steps.
By following these troubleshooting tips, you can address common issues and ensure that your Wyze Doorbell is functioning optimally, providing you with enhanced security and peace of mind.
Conclusion
Congratulations! You have successfully learned how to remove a Wyze Doorbell. Whether you were upgrading to a new model, moving to a new location, or performing maintenance, following these step-by-step instructions has allowed you to safely and effectively remove the doorbell from your home. By properly preparing, turning off the power, removing the existing doorbell, disconnecting the wiring, installing a new cover plate, installing the Wyze Doorbell, connecting the wiring, mounting the doorbell, powering it on, configuring it, and troubleshooting any issues, you have gained the knowledge and skills to complete the task.
Remember, each step is essential for a successful removal process. Always prioritize safety by turning off the power before working with the wiring and following the manufacturer’s instructions for your specific Wyze Doorbell model. If you encounter any difficulties or have questions, don’t hesitate to consult the manufacturer’s documentation or contact their customer support for assistance.
Removing a Wyze Doorbell may seem daunting, but with the right tools, knowledge, and a systematic approach, it can be accomplished smoothly. Whether you are replacing the doorbell or simply temporarily removing it, following these steps will help you achieve your goal.
Thank you for taking the time to learn how to remove a Wyze Doorbell with us. We hope this guide has been helpful, and we wish you success with your doorbell removal project!
Frequently Asked Questions about How To Remove Wyze Doorbell
Was this page helpful?
At Storables.com, we guarantee accurate and reliable information. Our content, validated by Expert Board Contributors, is crafted following stringent Editorial Policies. We're committed to providing you with well-researched, expert-backed insights for all your informational needs.


0 thoughts on “How To Remove Wyze Doorbell”