Home>Articles>How To Leave A Gap In A Sewer Lift Pump Electrical Cord
Articles
How To Leave A Gap In A Sewer Lift Pump Electrical Cord
Modified: January 6, 2024
Learn how to easily create a gap in your sewer lift pump electrical cord. Find step-by-step instructions and expert tips in this informative article.
(Many of the links in this article redirect to a specific reviewed product. Your purchase of these products through affiliate links helps to generate commission for Storables.com, at no extra cost. Learn more)
Introduction
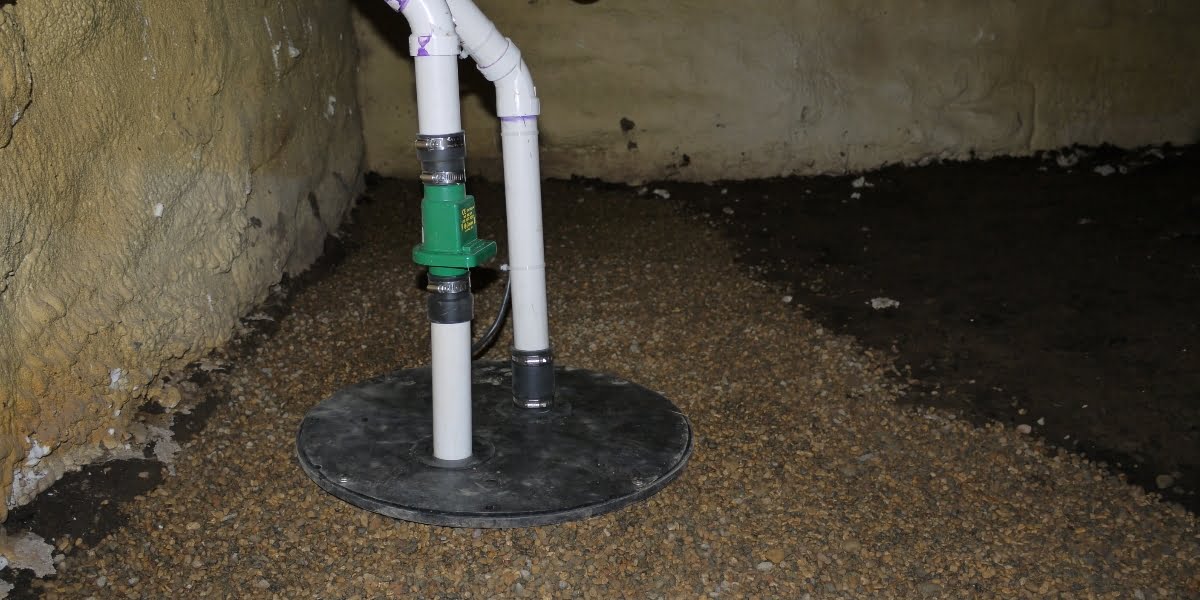
When it comes to sewer lift pumps, ensuring proper electrical connections is crucial for their effective operation. However, there may be occasions when you need to leave a gap in the sewer lift pump electrical cord. This could be for various reasons, such as adding an extension cord, relocating the pump, or making repairs. But how do you go about creating this gap without compromising the safety and integrity of the electrical system?
In this article, we will guide you through the process of safely leaving a gap in a sewer lift pump electrical cord. We will provide step-by-step instructions and highlight the necessary tools and materials you will need for the task. By following these guidelines, you can ensure a smooth and hassle-free process, while maintaining the necessary safety precautions.
Before we dive into the details, it’s important to note that working with electrical cords can be dangerous if not done correctly. Always exercise caution, wear appropriate safety gear, and if you are unsure about any step, consult a professional electrician. With that said, let’s proceed with the first step of the process – gathering the necessary tools and materials.
Key Takeaways:
- Safely leaving a gap in a sewer lift pump electrical cord involves precise steps, from gathering tools to insulating exposed wires and testing the connection. Prioritize safety and follow guidelines for a smooth process.
- Properly fastening and protecting the cord ends is crucial for maintaining the integrity of the electrical connection, ensuring long-lasting reliability, and safeguarding against potential hazards. Test the connection for functionality and prioritize safety throughout the process.
Step 1: Gather the necessary tools and materials
Before you can begin the process of leaving a gap in a sewer lift pump electrical cord, it’s important to gather all the necessary tools and materials. Having everything on hand will ensure a smooth and efficient workflow. Here are the essential items you will need:
- Wire cutters or a utility knife.
- Electrical tape.
- Wire connectors or wire nuts.
- Heat shrink tubing or electrical insulation sleeves.
- A soldering iron and solder (optional, depending on your preferred method of connecting the wires).
- A voltage tester or multimeter to check the connection.
- Safety goggles and gloves for protection.
By having these tools and materials ready, you can confidently proceed with the task without any interruptions. Safety goggles and gloves are particularly important as they provide protection from potential hazards such as sparks or electric shock.
Once you have gathered all the necessary tools and materials, you are ready to move on to the next step – locating the desired gap in the sewer lift pump electrical cord.
Step 2: Locate the desired gap in the sewer lift pump electrical cord
After gathering the necessary tools and materials, the next step is to locate the desired gap in the sewer lift pump electrical cord. This gap will allow you to separate the cord into two sections, providing the necessary space for your specific needs. Here’s how to do it:
- Identify the area where you want to create the gap in the cord. This could be near the pump itself or at a certain distance from it, depending on your requirements.
- Before proceeding further, make sure the sewer lift pump is disconnected from the power source and turned off. This is crucial for your safety.
- Inspect the electrical cord and locate a suitable point where you can safely cut it. You want to choose an area that allows for easy access and does not interfere with any existing connections or wiring. It’s important to avoid cutting the cord in a way that compromises its overall integrity.
- Once you have identified the desired gap point, mark it with a pen or pencil. This will serve as a reference for when you cut the cord.
Remember, precision is key when locating the gap in the sewer lift pump electrical cord. Take your time to ensure the chosen area is ideal and will meet your intended purpose. Once you have marked the spot, you can proceed to the next step – ensuring safety precautions before working on the electrical cord.
Step 3: Ensure safety precautions before working on the electrical cord
Prior to working on the electrical cord of the sewer lift pump, it is crucial to take certain safety precautions to protect yourself from potential hazards. Here are the steps to ensure your safety:
- Always wear safety goggles to protect your eyes from any flying debris or sparks that may occur during the cutting and insulation process.
- Wear gloves to provide insulation and protection against electric shock.
- Ensure that the sewer lift pump is completely disconnected from the power source before you start working on the cord. This will prevent any electrical accidents or injuries.
- Keep a fire extinguisher nearby in case of any unexpected fire caused by electrical sparks.
- If possible, work on a stable and non-conductive surface to minimize the risk of electric shock.
By following these safety precautions, you can minimize the risk of accidents and ensure a safe work environment. It is important to prioritize safety at all times when working with electrical components.
Once you have taken the necessary safety measures, you are ready to proceed with the next step – cutting the electrical cord at the desired gap point.
Step 4: Cut the electrical cord at the desired gap point
Now that you have ensured your safety, it’s time to cut the electrical cord at the previously marked gap point. This step will create the necessary separation and allow you to work with the two sections of the cord individually. Follow these instructions to cut the cord:
- Double-check that the sewer lift pump is disconnected from the power source.
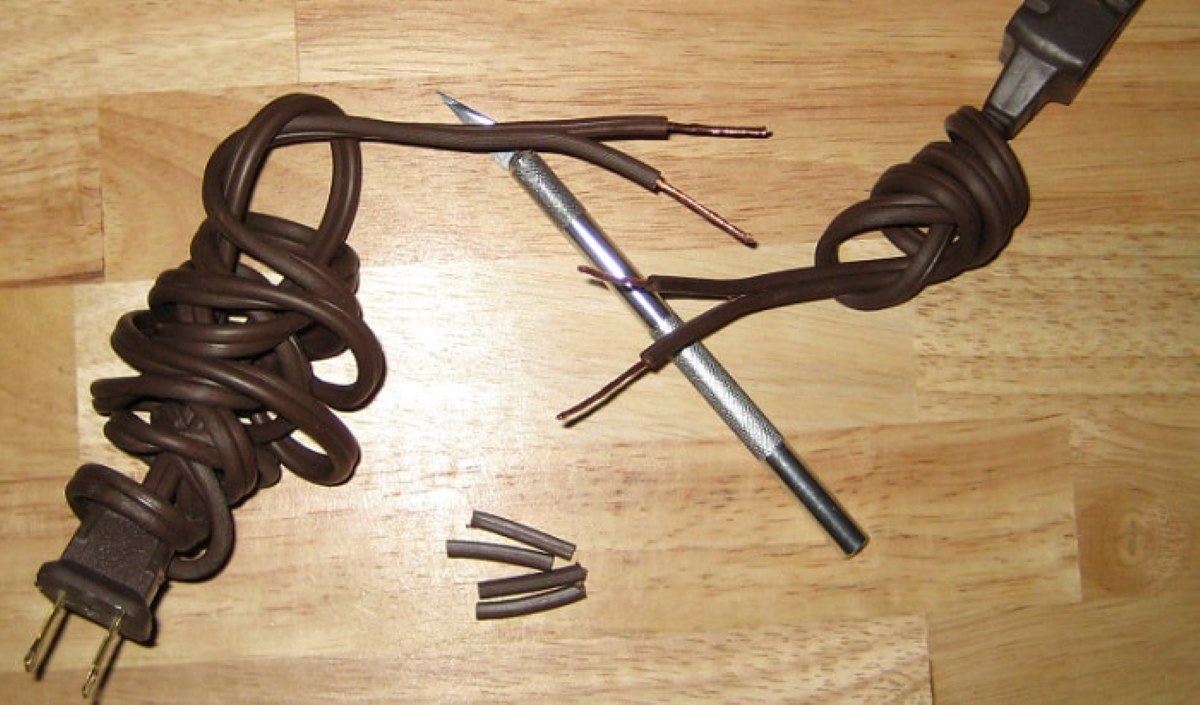
- Using wire cutters or a utility knife, carefully cut through the cord at the marked gap point. Make sure to cut cleanly and avoid damaging the internal wire strands.
- Once the cut is complete, you will have two separate sections of the electrical cord: the section connected to the pump and the section that has been disconnected.
It’s important to note that some electrical cords may have multiple wires inside. In such cases, make sure to cut all the wires simultaneously to maintain the integrity of the cord.
After cutting the cord, you will have successfully created the desired gap. Now, it’s time to move on to the next step – insulating the exposed wires to ensure safety and proper functionality.
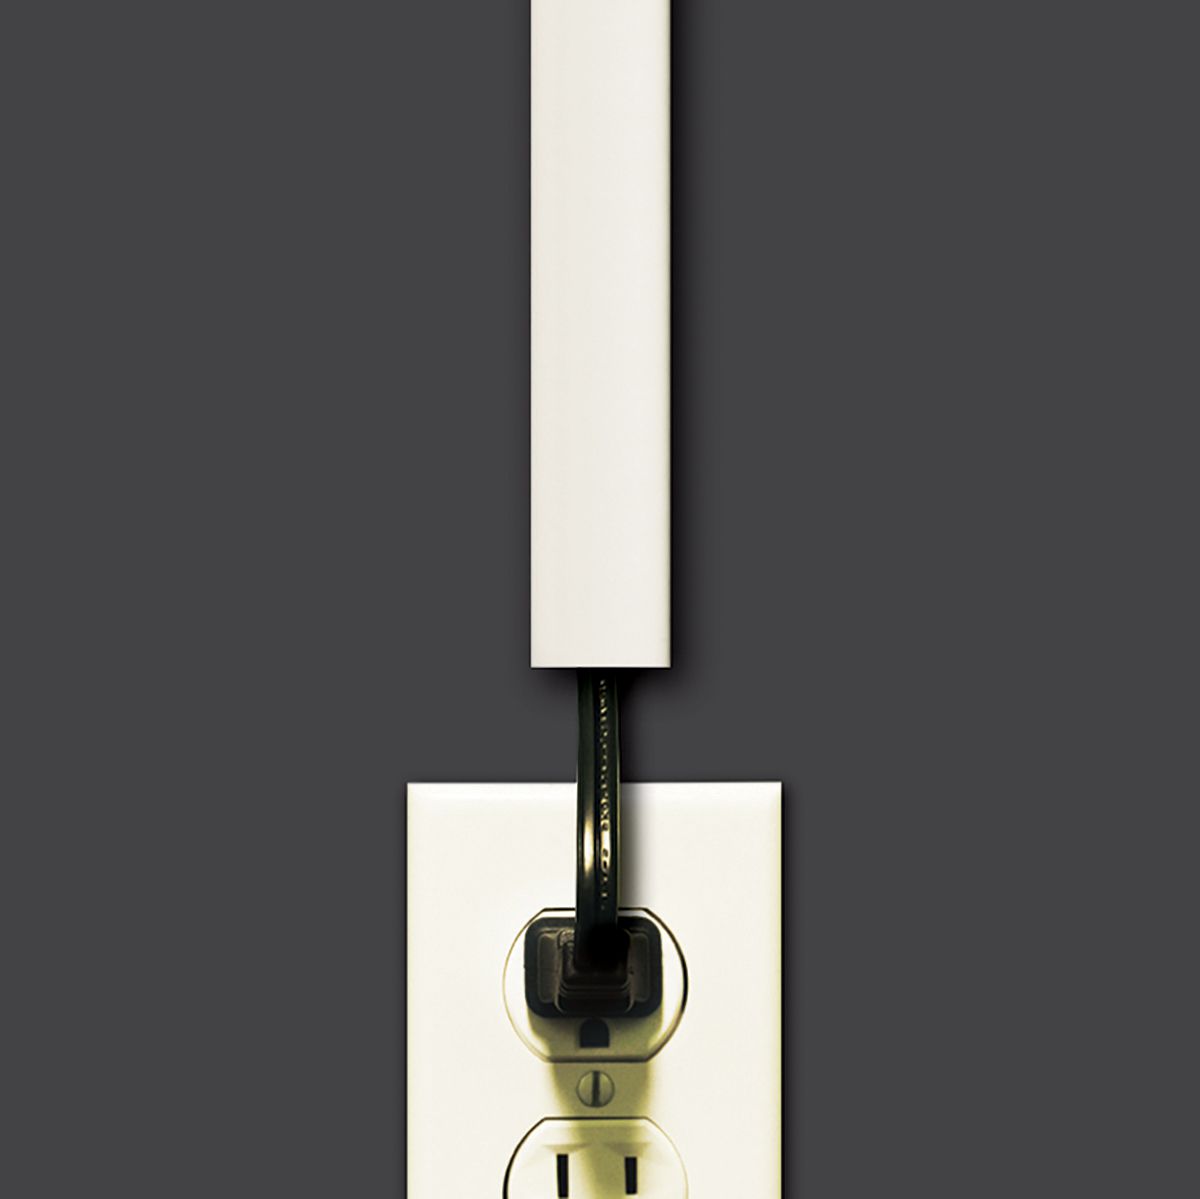
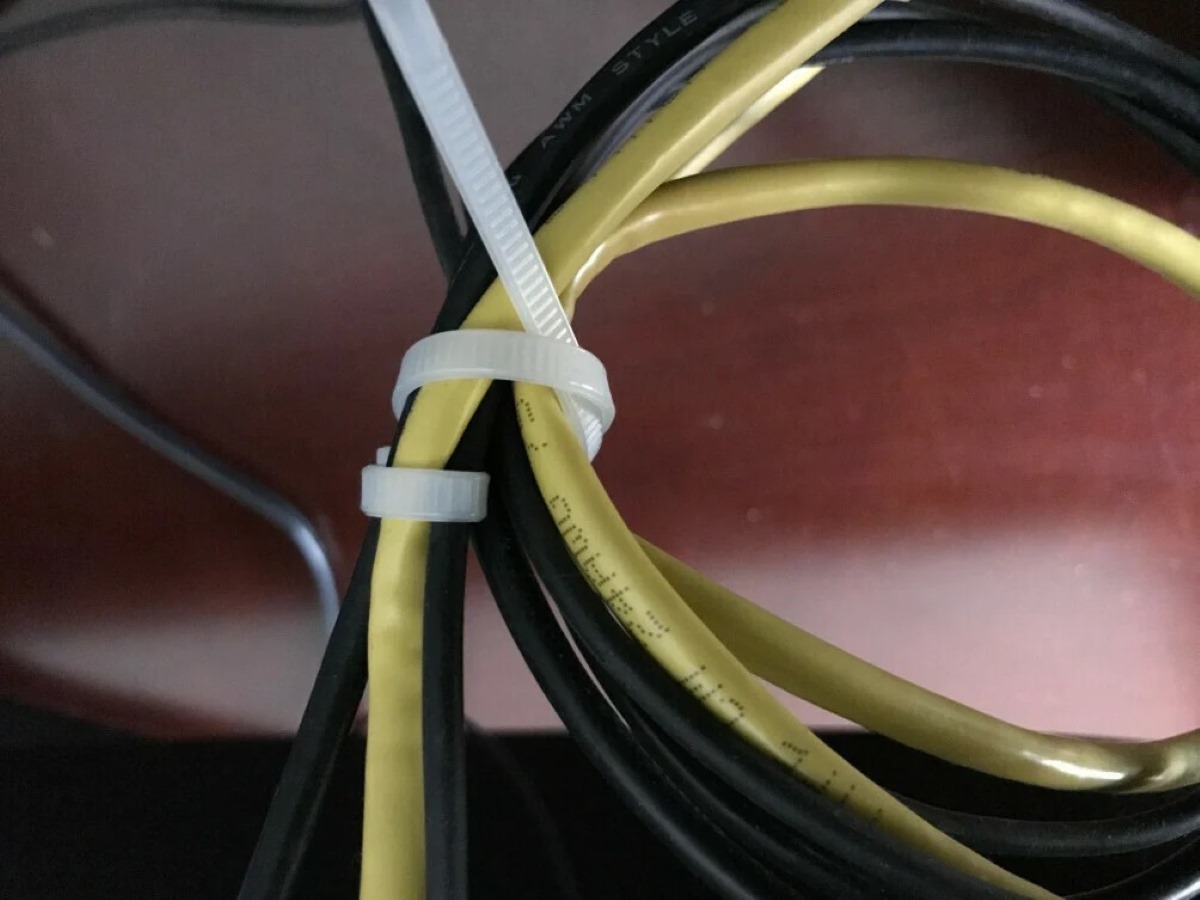
When installing a sewer lift pump electrical cord, leave a small loop or coil in the cord near the connection point to allow for movement and prevent strain on the wires. This will help to avoid damage and ensure proper functioning of the pump.
Read more: How To Tie An Electrical Cord
Step 5: Insulate the exposed wires
Once you have cut the electrical cord at the desired gap point, it’s important to properly insulate the exposed wires to ensure safety and maintain the electrical integrity. Insulating the wires will protect against any potential shorts or electrical hazards. Follow these steps to insulate the exposed wires:
- Using electrical tape, wrap each exposed wire individually. Start at the cut end and securely wrap the tape around the wire, making sure to cover it completely. Repeat this process for all the exposed wires.
- After wrapping the wires with electrical tape, use heat shrink tubing or electrical insulation sleeves for an added layer of protection. Slide the tubing over each wire and use a heat source, such as a heat gun or flame from a lighter, to shrink the tubing and create a tight seal around the wires.
- Ensure that the insulation is tightly sealed and covers the entire exposed portion of the wires. This will prevent any potential electrical hazards and maintain the integrity of the connection.
Insulating the exposed wires is crucial to prevent accidental contact, short circuits, and potential electrical shocks. By following these steps, you can ensure the safety and longevity of the sewer lift pump electrical cord.
Now that the exposed wires are properly insulated, it’s time to move on to the next step – securely fastening and protecting the cord ends.
Step 6: Securely fasten and protect the cord ends
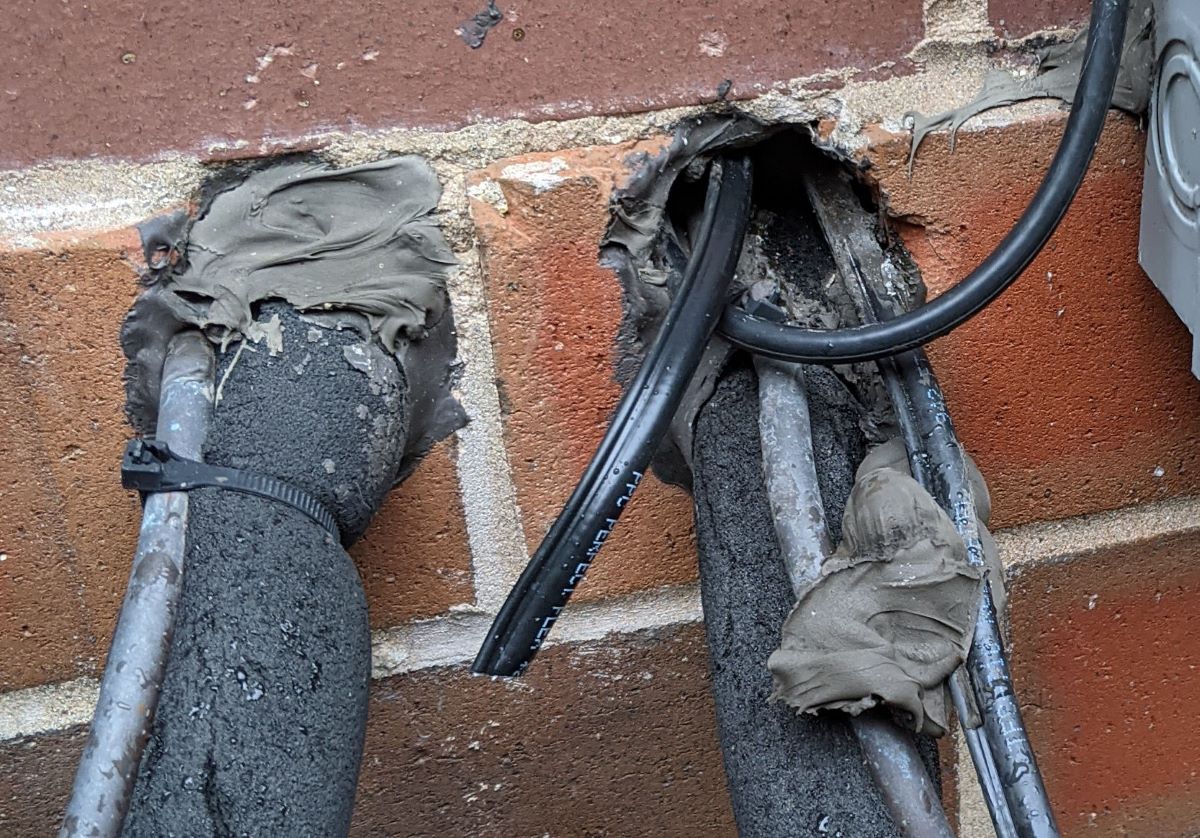
After insulating the exposed wires, it’s important to securely fasten and protect the cord ends to ensure long-lasting reliability. This step will maintain the integrity of the connection and provide added protection against moisture, dust, and other potential hazards. Follow these steps to securely fasten and protect the cord ends:
- If the sewer lift pump cord came with connectors, simply use wire connectors or wire nuts to join the corresponding wires. Match the colors of the wires and connect them securely, following the manufacturer’s instructions.
- If your sewer lift pump cord does not have connectors, you may need to strip the insulation from the wires to create a clean connection. Use wire strippers to remove a small portion of insulation from each wire end, revealing the bare wires.
- If you prefer a more permanent connection, you can use a soldering iron and solder to join the wires. Apply heat to the bare wires and melt solder onto them, creating a strong and reliable bond. Be cautious when working with hot tools and ensure proper ventilation.
- Once the wires are securely connected, use electrical tape or heat shrink tubing to cover the splices and provide further protection. Wrap the tape tightly around the joined wires or slide the tubing over the connection and shrink it using a heat source.
By securely fastening and protecting the cord ends, you are safeguarding the electrical connection and ensuring its longevity. The added protection will also prevent any potential damage or interference with the functionality of the sewer lift pump.
With the cord ends securely fastened, it’s time to move on to the next step – testing the electrical connection.
Step 7: Test the electrical connection
After securely fastening and protecting the cord ends, it is essential to test the electrical connection to ensure that it is functioning properly. Performing this test will help you identify any issues or faults before completing the installation process. Follow these steps to test the electrical connection:
- Reconnect the sewer lift pump to the power source.
- Using a voltage tester or multimeter, carefully and safely test the connection for voltage. Ensure that the tester or multimeter is set to the appropriate voltage range.
- Place one probe of the voltage tester or multimeter on one wire end and the other probe on the corresponding wire end.
- Check the reading on the voltage tester or multimeter. It should indicate the expected voltage level for the specific system.
- If the reading matches the expected voltage level, the electrical connection is functioning properly.
- If there is no voltage or the reading is significantly different from the expected level, there may be an issue with the connection. Double-check the connections, ensure they are secure, and retest the voltage. If the issue persists, consult a professional electrician for further assistance.
By testing the electrical connection, you can verify its functionality and ensure that everything is in working order. This step provides peace of mind and helps prevent any potential problems down the line.
Once you have successfully tested the electrical connection, you can proceed to the final step – completing the installation and cleaning up.
Step 8: Complete the installation and clean up
After testing the electrical connection and ensuring its functionality, it’s time to complete the installation of the sewer lift pump and clean up any mess created during the process. This final step will tidy up the area and ensure that the pump is ready to operate smoothly. Follow these steps to complete the installation and clean up:
- If you have made any adjustments to the pump’s position during the process, carefully position it back into its designated space. Ensure that it is securely placed and aligned as intended.
- Tidy up the area by removing any debris, tools, or excess materials that were used. Properly dispose of any waste materials according to local regulations.
- Check the overall installation for any loose connections or other potential issues. This includes verifying that all electrical connections are still secure and properly insulated.
- If necessary, reapply any protective covers or casing that were removed during the process. This will help shield the pump and electrical components from external factors.
- Inspect the entire system for any signs of damage, leaks, or other abnormalities. If you notice any issues, address them immediately or seek professional assistance to prevent further complications.
By completing the installation and cleaning up, you are ensuring that the sewer lift pump is ready for operation and minimizing any potential risks or disruptions. Regular maintenance and inspections are recommended to keep the system in optimal condition.
With the installation completed and the area cleaned up, you have successfully left a gap in the sewer lift pump electrical cord. This allows for flexibility in managing the cord while maintaining safety and functionality.
Throughout this process, it is crucial to prioritize safety and consult a professional electrician if you have any doubts or concerns. Working with electrical components carries risks, so it’s essential to take appropriate precautions at all times.
Remember, it’s always a good idea to refer to the manufacturer’s instructions or seek professional guidance specific to your sewer lift pump model to ensure that the installation is done correctly and in accordance with the relevant regulations.
By following the steps outlined in this article, you can confidently leave a gap in the sewer lift pump electrical cord and proceed with your desired modifications or repairs.
Thank you for reading and happy pump maintenance!
Read more: How To Cut An Electrical Cord
Conclusion
Leaving a gap in a sewer lift pump electrical cord may be necessary for a variety of reasons, such as adding an extension cord, relocating the pump, or making repairs. By following the step-by-step instructions outlined in this article and taking the necessary safety precautions, you can successfully create the desired gap while ensuring the proper functionality and safety of the electrical system.
It is important to gather all the necessary tools and materials before starting the process, ensuring you have everything you need for a smooth workflow. Locating the desired gap point accurately and ensuring safety precautions are essential steps to take before working on the electrical cord.
Once you have cut the cord at the designated gap point, it is crucial to insulate the exposed wires to prevent any potential electrical hazards. Properly fastening and protecting the cord ends further strengthen the connection and provide added protection against external elements.
Testing the electrical connection is a vital step to verify its functionality and detect any potential issues before completing the installation. By carefully testing the voltage, you can ensure that the connection is secure and operating as intended.
With the installation and testing complete, the final step is to clean up the area and ensure that the pump is positioned correctly. Regular maintenance and inspections are recommended to keep the system in optimal condition and address any issues promptly.
Always prioritize safety and consider consulting a professional electrician if you have any doubts or concerns. Electrical work can be hazardous, and it’s crucial to take appropriate precautions to mitigate risks.
By following the guidelines provided in this article, you can leave a gap in a sewer lift pump electrical cord confidently and effectively. Completing this task allows for greater flexibility in managing the cord while maintaining a safe and reliable electrical connection.
Remember to refer to the manufacturer’s instructions or seek professional guidance specific to your sewer lift pump model for any additional considerations or specifications.
Thank you for reading this article, and we hope it has been helpful in assisting you with leaving a gap in the sewer lift pump electrical cord.
Frequently Asked Questions about How To Leave A Gap In A Sewer Lift Pump Electrical Cord
Was this page helpful?
At Storables.com, we guarantee accurate and reliable information. Our content, validated by Expert Board Contributors, is crafted following stringent Editorial Policies. We're committed to providing you with well-researched, expert-backed insights for all your informational needs.


0 thoughts on “How To Leave A Gap In A Sewer Lift Pump Electrical Cord”