Articles
How To Find Elevation On A Laser Level
Modified: October 20, 2024
Learn how to find elevation on a laser level with our informative articles. Gain valuable insights and improve your leveling skills.
(Many of the links in this article redirect to a specific reviewed product. Your purchase of these products through affiliate links helps to generate commission for Storables.com, at no extra cost. Learn more)
Introduction
In the world of construction and land surveying, accuracy is key. One of the crucial aspects of any project is determining elevation – the measurement of the height or depth of a point relative to a reference point. Elevation plays a vital role in ensuring proper alignment and leveling of structures such as buildings, roads, and bridges.
Traditionally, finding elevation was a time-consuming and labor-intensive process. Surveyors would rely on manual leveling instruments and techniques that required significant manual calculations and measurements. However, with the advancements in technology, laser levels have revolutionized the way elevation is determined in construction projects.
Laser levels, also known as laser transits or optical levels, are devices that project a highly visible laser beam onto a reference surface. They are widely used in the construction industry for their accuracy, efficiency, and ease of use. Laser levels are capable of measuring and setting elevations with precision, making them an essential tool for construction professionals.
In this article, we will explore the importance of elevation in construction and discuss various methods to find elevation using a laser level. We will also provide some tips for accurate elevation measurements. So, let’s dive in and discover how laser levels can help streamline the process of determining elevation on construction sites.
Key Takeaways:
- Laser levels have revolutionized the process of determining elevation in construction, offering accuracy, efficiency, and ease of use. They play a crucial role in ensuring structural stability, proper drainage, and efficient infrastructure development.
- Accurate elevation measurements are essential for successful construction projects. Using laser levels and following recommended methods and tips can streamline the process, saving time and ensuring project success.
Read more: How To Level A Laser Level Tripod
Understanding Laser Levels
Before we delve into the methods of finding elevation using a laser level, let’s first understand what a laser level is and how it works.
A laser level is a device that emits a laser beam that can be visually seen as a straight line or a dot. These laser beams serve as a reference point for aligning and leveling surfaces. Laser levels come in various types, including rotary laser levels, line laser levels, and dot laser levels.
Rotary laser levels are the most commonly used type. They project a 360-degree laser beam horizontally, which can be used to measure elevation. Line laser levels emit a straight line laser beam, typically used for indoor alignment tasks. Dot laser levels produce multiple dots at precise intervals, allowing for precise measurements and alignment.
While laser levels can vary in terms of their features and capabilities, most modern laser levels come equipped with self-leveling mechanisms. These mechanisms use internal sensors to detect any deviations from a level position and automatically adjust the laser beam accordingly. This feature ensures accuracy and eliminates the need for manual adjustments.
Laser levels are typically battery-operated and come with various mounting options, such as tripods or wall mounts, to secure them in the desired position. They also often offer adjustable settings for the intensity and visibility of the laser beam, allowing for optimal performance in different lighting conditions.
One of the key advantages of laser levels is their ability to project a highly visible laser beam over long distances. This makes them ideal for use in large-scale construction projects, where precision and efficiency are paramount.
Now that we have a basic understanding of laser levels, let’s explore the importance of elevation in construction and why accurate elevation measurements are crucial for successful project execution.
Importance of Elevation in Construction
Elevation is a fundamental aspect of any construction project. It refers to the measurement of the height or depth of a point relative to a reference point. Accurate elevation measurements are essential for several reasons:
- Structural Stability: Proper alignment and leveling of structures are crucial for their stability and longevity. Incorrectly determined elevation can lead to uneven ground surfaces, which can result in structural issues, such as cracks in foundations and walls. Accurate elevation measurements ensure that structures are built on a level and stable foundation, minimizing the risk of future damage.
- Drainage and Grading: Proper elevation plays a vital role in ensuring effective drainage and grading systems. Water needs to flow in the desired direction and away from structures to prevent water damage and flooding. Accurate elevation measurements allow construction professionals to plan and design drainage systems that effectively channel water and maintain the proper slope for optimal drainage.
- Roads and Pavements: Elevation is critical when constructing roads, highways, and pavements. Uneven surfaces can pose safety hazards for vehicles and pedestrians. Accurate elevation measurements ensure that roads and pavements are level and provide a smooth and safe surface for transportation.
- Utilities Installation: Elevation measurements are essential when installing underground utilities such as water pipes, sewer lines, and electrical conduits. Proper elevation ensures that the utilities are installed at the correct depth and slope, allowing for efficient and reliable functioning of the infrastructure. Incorrect elevation can result in issues like blockages, leaks, and ineffective utility systems.
- Surveying and Mapping: Accurate elevation measurements are crucial for surveying and mapping purposes. Land surveyors use elevation data to create topographic maps and site plans, which provide valuable information for land development, construction, and infrastructure projects. Precise elevation measurements help in identifying natural features, determining property boundaries, and planning construction projects effectively.
Given the significance of elevation in construction, it becomes imperative to have efficient methods to determine elevation accurately. In the next section, we will explore different methods to find elevation using a laser level.
Methods to Find Elevation on a Laser Level
Using a laser level to find elevation is a straightforward process that offers accurate and efficient results. There are several methods you can employ to determine elevation using a laser level:
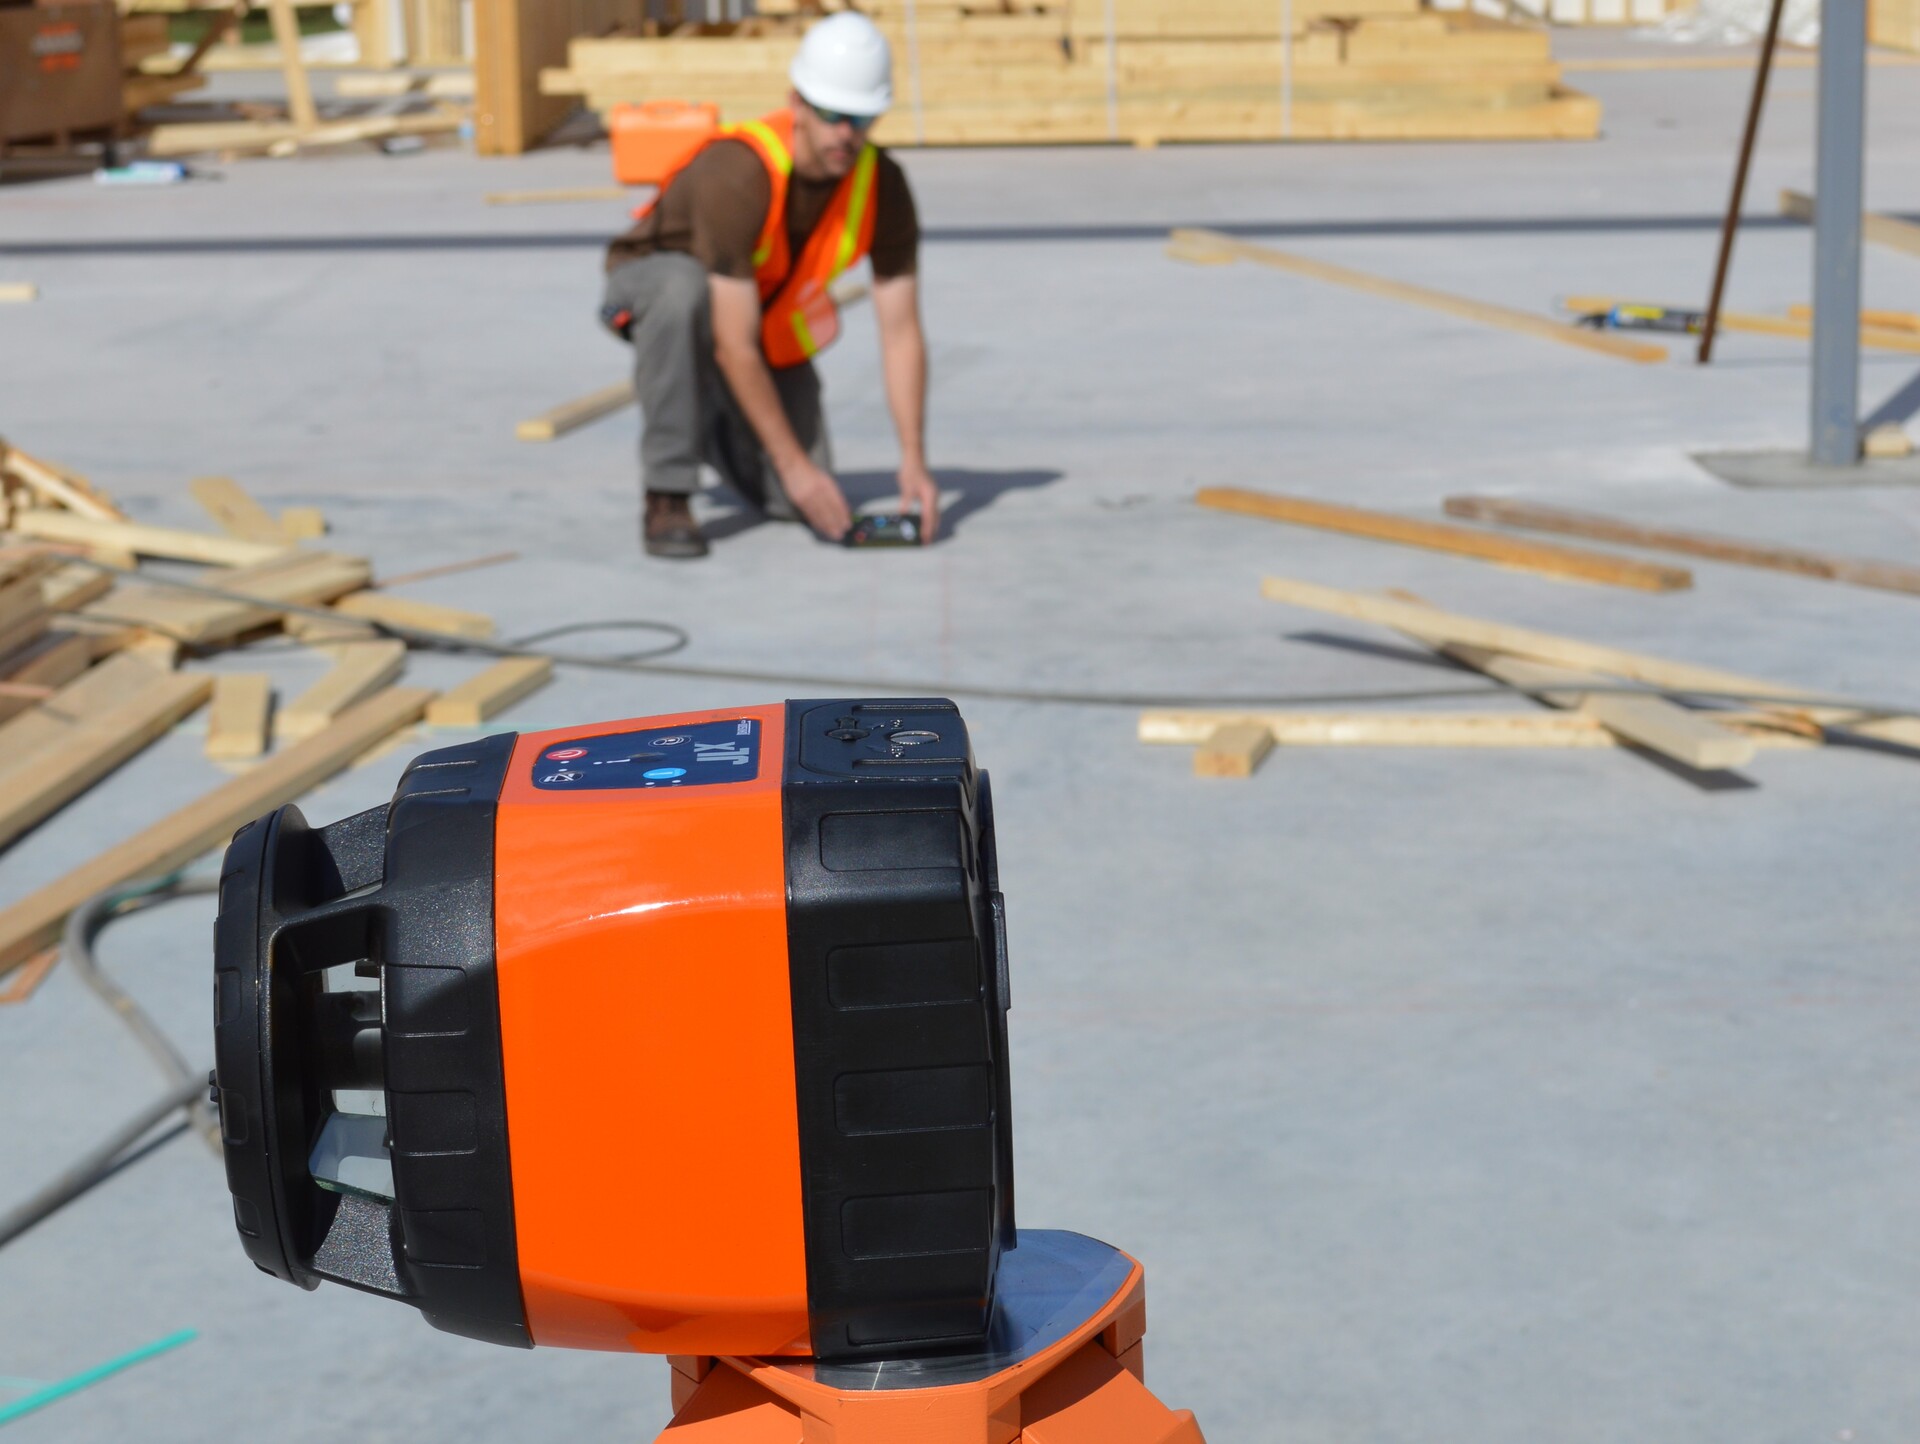
- Setting Up the Laser Level: The first step is to set up the laser level in a stable position. This can be done using a tripod, wall mount, or other appropriate mounting options. Make sure the laser level is secure and leveled using the built-in self-leveling mechanism. Once set up, turn on the laser level and allow it to emit a visible laser beam.
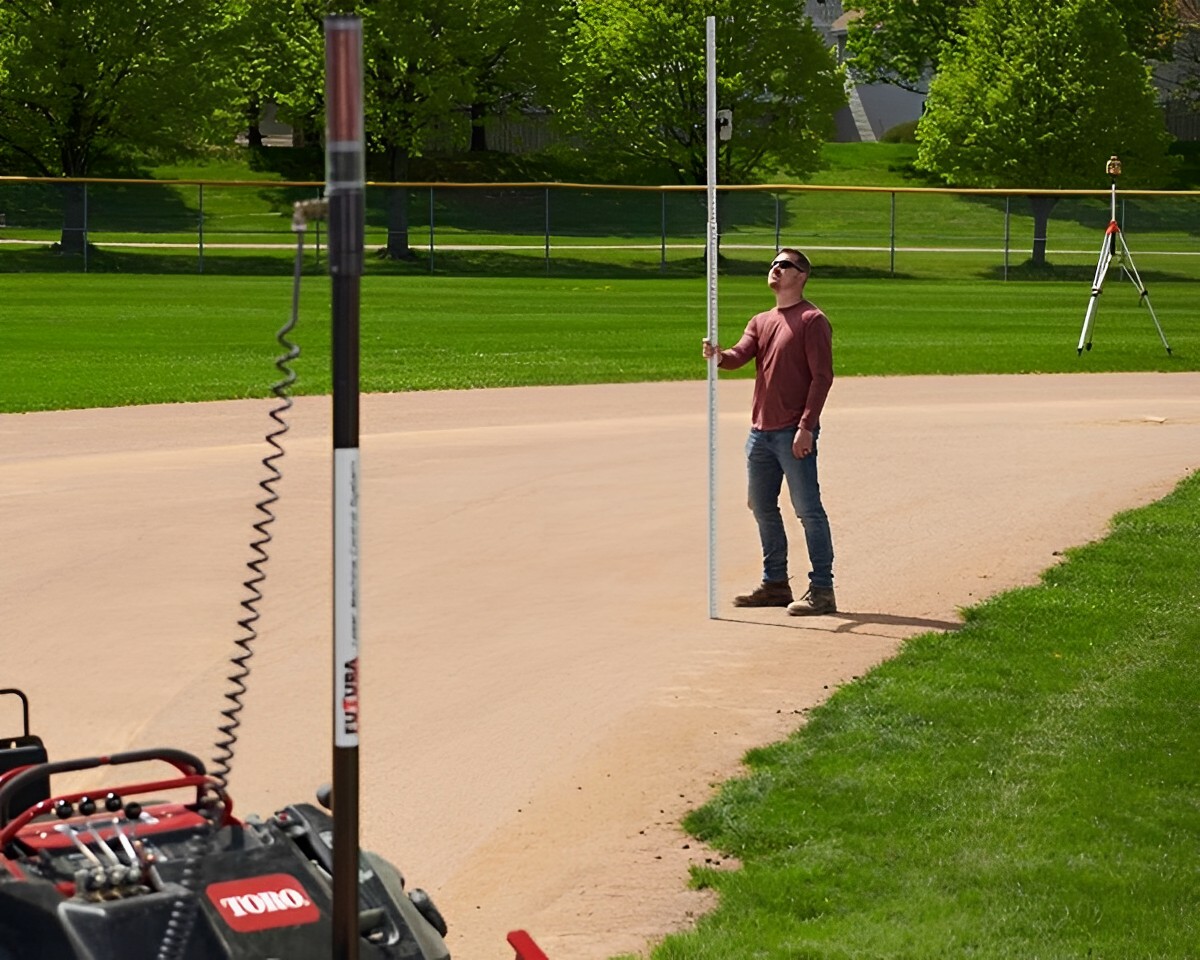
- Using a Survey Rod: A survey rod, also known as a leveling rod or a staff, is a graduated rod that helps measure height or elevation. Position the survey rod at the desired point where you want to determine the elevation. Align the rod with the laser beam emitted by the laser level. Read the measurement on the survey rod where the laser beam intersects it. This reading will indicate the elevation at that specific point.
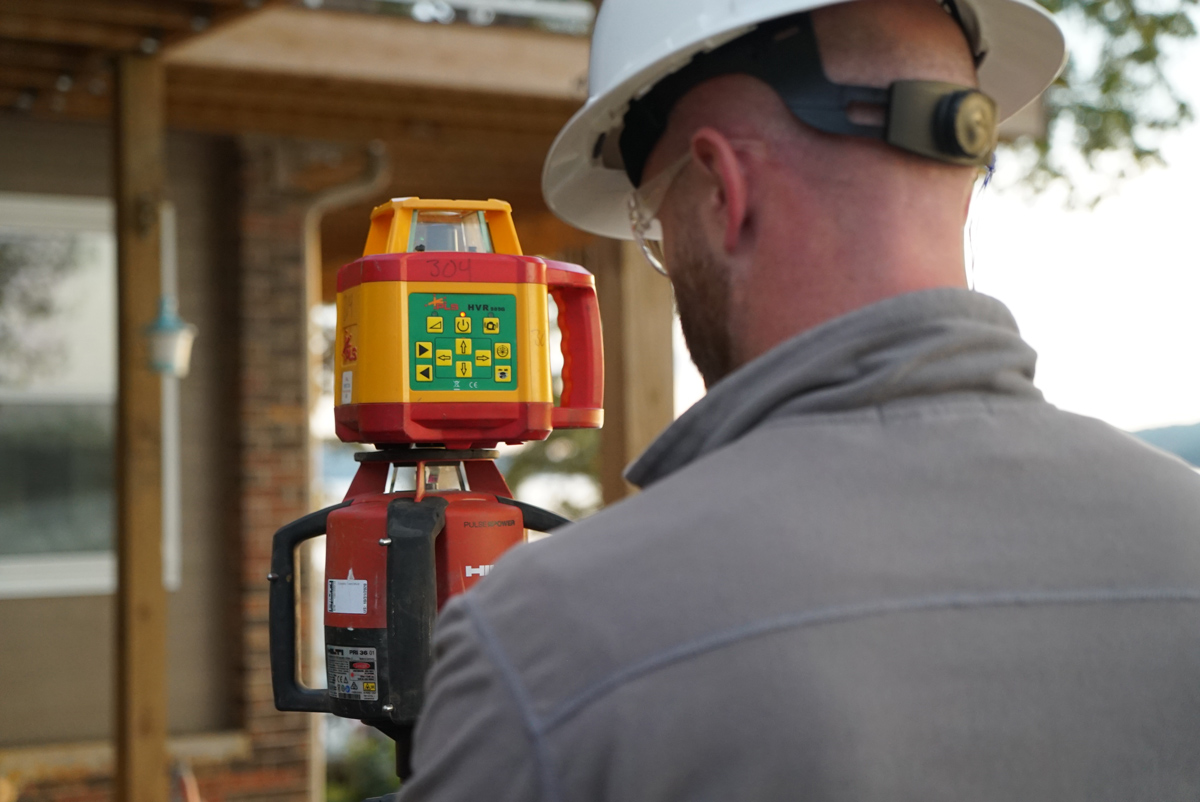
- Using a Laser Receiver: A laser receiver, also called a laser detector or laser sensor, is a device that aids in detecting the laser beam emitted by the laser level. It is particularly useful when working in bright or outdoor environments where the laser beam may not be clearly visible. Attach the laser receiver to a leveling rod or a separate pole and position it at the desired point. Align the laser receiver with the laser level beam and adjust its position until it detects the laser beam. The receiver will typically emit beeping sounds and display visual indicators to indicate when it is in line with the laser beam. Take note of the receiver’s reading, which will indicate the elevation at that point.
- Employing a Laser Level with Digital Readout: Some advanced laser levels come equipped with a digital readout feature. These laser levels have built-in sensors that detect the intersection point between the laser beam and a reference surface. The digital readout displays the elevation directly, eliminating the need for additional tools such as survey rods or laser receivers. Simply position the laser level at the desired point, activate the digital readout, and read the elevation measurement shown on the screen.
These methods allow construction professionals to quickly and accurately determine elevation using a laser level. However, it’s essential to keep a few tips in mind to ensure accurate and precise elevation measurements. Let’s explore some of these tips in the next section.
Setting Up the Laser Level
Setting up the laser level correctly is the first crucial step in finding elevation accurately. Follow these steps to ensure a proper setup:
- Choose a Stable Surface: Find a stable surface or use a tripod to mount the laser level. Ensure that the surface is level and free from vibrations or movements that can affect the accuracy of the laser level.
- Check the Battery: Before setting up the laser level, check the battery level and replace it if necessary. A fully charged or fresh battery ensures uninterrupted operation during the elevation measurement process.
- Activate the Self-Leveling Feature: Most laser levels come with a self-leveling feature. Activate this feature to ensure that the laser beam emitted is perfectly level. Allow the laser level some time to settle and adjust itself to create a level reference plane.
- Position the Laser Level: Place the laser level at the desired location where you want to determine elevation. Adjust the height or position of the laser level to align it with the working area or reference point.
- Aim the Laser Beam: Adjust the laser level to emit a highly visible laser beam. Direct the laser beam towards the survey rod, laser receiver, or reference surface that you will use to measure elevation.
- Lock the Position: Once you have positioned the laser level and aimed the laser beam, lock the position of the laser level to ensure that it remains stable during the measurement process. This will prevent accidental movement or disturbance that can affect the accuracy of the elevation measurements.
Following these steps will help you set up the laser level correctly and create a stable and accurate reference point for finding elevation. Remember to refer to the manufacturer’s instructions for specific setup guidelines and any additional features or requirements unique to your laser level model.
Now that we have discussed setting up the laser level, let’s move on to the next method of finding elevation using a survey rod.
When using a laser level to find elevation, make sure to set up the level on a stable surface and adjust the height until the laser line hits the desired elevation point. Use a measuring tape to determine the exact height from the ground to the laser line.
Read more: How To Work A Water Level Or Laser Level
Using a Survey Rod
Using a survey rod is a common and precise method for finding elevation with a laser level. Follow these steps to measure elevation using a survey rod:
- Position the Survey Rod: Choose the point on the ground where you want to determine the elevation. Place the survey rod vertically on that point, ensuring that it is stable and securely planted in the ground.
- Align the Rod with the Laser Beam: Activate the laser level and aim the laser beam towards the survey rod. Adjust the position of the survey rod until the laser beam precisely intersects it.
- Read the Measurement: Read the measurement on the survey rod, where the laser beam intersects it. The measurement will indicate the elevation at that specific point accurately.
- Move to Different Points: If you need to measure elevation at multiple points, repeat the process by moving the survey rod to each desired location. Ensure that the laser beam always intersects the rod for accurate measurements.
- Record the Measurements: Keep a record of the elevation measurements at each point for future reference and documentation. These measurements will help in the proper alignment and leveling of structures during the construction process.
Using a survey rod helps to ensure precise elevation measurements with a laser level. It provides a visual indicator of where the laser beam intersects, making it easy to determine the elevation at a specific point. Remember to handle the survey rod with care and avoid any movements that may affect its vertical alignment while taking measurements.
Now that you understand how to measure elevation using a survey rod, let’s move on to the next method: using a laser receiver.
Using a Laser Receiver
Using a laser receiver, also known as a laser detector or laser sensor, is an effective method for finding elevation with a laser level, particularly in outdoor environments or situations where the laser beam may not be clearly visible. Follow these steps to measure elevation using a laser receiver:
- Attach the Laser Receiver: Attach the laser receiver to a leveling rod or a separate pole. Make sure it is securely fastened and positioned vertically.
- Turn on the Laser Level: Activate the laser level and ensure that it is emitting a visible laser beam.
- Adjust the Receiver Position: Hold the laser receiver in one hand and position it at the desired point where you want to measure elevation. Adjust its position vertically until the receiver detects the laser beam.
- Indicators and Signals: Laser receivers are equipped with visual and audio indicators to indicate when the receiver is in line with the laser beam. Some receivers emit beeping sounds and display visual signals, such as LED lights, to indicate the receiver’s alignment with the laser beam.
- Read the Measurement: Once the laser receiver indicates alignment with the laser beam, take note of the receiver’s reading. This measurement represents the elevation at that specific point accurately.
- Move to Different Points: If you need to measure elevation at multiple points, repeat the process by moving the laser receiver to each desired location. Align it with the laser beam and record the receiver’s reading for each point.
Using a laser receiver enhances the flexibility and convenience of elevation measurements with a laser level. It enables accurate measurements even in challenging lighting conditions or long distances. Remember to refer to the manufacturer’s instructions for specific details on using the laser receiver with your laser level model.
Now that we have discussed using a laser receiver, let’s move on to the next method: employing a laser level with a digital readout.
Employing a Laser Level with Digital Readout
Using a laser level with a digital readout is a convenient and efficient method for finding elevation. This method eliminates the need for additional tools such as survey rods or laser receivers. Follow these steps to measure elevation using a laser level with a digital readout:
- Set Up the Laser Level: Position the laser level at the desired location and ensure that it is securely mounted on a stable surface. Activate the laser level and ensure that it is emitting a visible laser beam.
- Activate the Digital Readout: Check the laser level for a digital readout feature. Activate the digital readout function according to the manufacturer’s instructions.
- Aim the Laser Beam: Adjust the position of the laser level to align the laser beam with the reference point where you want to measure elevation.
- Read the Measurement: Once the laser beam is aligned with the reference point, read the elevation measurement directly from the digital readout on the laser level. The digital readout will display the accurate elevation at that specific point.
- Move to Different Points: If you need to measure elevation at multiple points, repeat the process by moving the laser level to each desired location. Activate the digital readout and read the elevation measurement at each point.
Using a laser level with a digital readout simplifies the elevation measurement process by providing direct and precise measurements without the need for additional tools. It is a time-saving option, especially for projects that require frequent elevation measurements at different points.
Remember to refer to the manufacturer’s instructions for specific details on activating and using the digital readout feature on your laser level model. Proper understanding and usage of the digital readout will ensure accurate and reliable elevation measurements.
Now that we have explored various methods to find elevation using a laser level, let’s move on to some tips for accurate elevation measurements.
Tips for Accurate Elevation Measurements
Accurate elevation measurements are crucial for construction projects. Here are some tips to ensure precise and reliable elevation measurements with a laser level:
- Calibrate the Laser Level: Regularly calibrate your laser level to ensure accurate measurements. Follow the manufacturer’s instructions for calibration procedures and guidelines.
- Check for Levelness: Before taking measurements, ensure that the laser level is perfectly leveled. Activate the self-leveling mechanism and wait until it stabilizes before proceeding.
- Choose Suitable Mounting: Use a stable mounting option such as a tripod or wall mount to secure the laser level. This minimizes vibrations or movements that can affect the accuracy of the elevation measurements.
- Avoid Interference: Keep the area around the laser level clear of any obstructions that may interfere with the emitted laser beam. This includes objects, dust, or debris that can block or scatter the laser beam.
- Use Target Plates: Consider using target plates or reflective targets to enhance the visibility and accuracy of the laser beam. These plates reflect the laser beam back to the laser level, making it easier to measure elevation, especially over long distances.
- Minimize Ambient Light: In bright or outdoor environments, ambient light can make it challenging to see the laser beam. Minimize ambient light by using laser detectors or performing elevation measurements during early morning or late afternoon when the sunlight is less intense.
- Take Multiple Measurements: To increase accuracy, take multiple measurements at each point and calculate the average. This helps account for any slight variations or errors that may occur in the measurement process.
- Keep a Record: Maintain a detailed record of elevation measurements, including the location, date, and any relevant project information. This documentation will be useful for reference and future analysis.
- Regularly Maintain and Clean: Clean the laser level regularly to remove any dirt or debris that can affect its performance. Check for any damages or signs of wear and promptly address them to ensure optimal functionality.
By following these tips, you can enhance the accuracy and reliability of your elevation measurements with a laser level. Always refer to the manufacturer’s instructions and guidelines specific to your laser level model for best practices and recommendations.
Now let’s conclude our discussion on finding elevation with a laser level.
Read more: How Dangerous Is Laser Level
Conclusion
Elevation plays a crucial role in construction projects, and finding accurate elevation measurements is essential for ensuring structural stability, proper drainage, and efficient infrastructure development. Laser levels have revolutionized the process of determining elevation by offering accuracy, efficiency, and ease of use.
Throughout this article, we explored various methods of finding elevation using a laser level. Starting with setting up the laser level correctly, we discussed using a survey rod, a laser receiver, and a laser level with a digital readout. Each method offers its own advantages and can be chosen based on the specific requirements of your project.
Additionally, we shared some valuable tips for achieving accurate elevation measurements with a laser level. These tips, such as calibrating the laser level, minimizing interference, and taking multiple measurements, will help you enhance the precision and reliability of your elevation data.
By utilizing laser levels and following the recommended methods and tips, construction professionals can streamline the process of determining elevation, saving time and ensuring the success of their projects. These technological advancements have significantly improved the efficiency and accuracy of elevation measurements, making them an indispensable tool in the construction industry.
Remember to refer to the manufacturer’s instructions and guidelines specific to your laser level model for detailed operating procedures and safety considerations.
In conclusion, laser levels have transformed the way elevation is determined in construction projects. With their accuracy, versatility, and ease of use, they have become an essential tool for construction professionals seeking precise elevation measurements. Embrace the power of laser levels and take your elevation measurements to new heights!
Frequently Asked Questions about How To Find Elevation On A Laser Level
Was this page helpful?
At Storables.com, we guarantee accurate and reliable information. Our content, validated by Expert Board Contributors, is crafted following stringent Editorial Policies. We're committed to providing you with well-researched, expert-backed insights for all your informational needs.


0 thoughts on “How To Find Elevation On A Laser Level”