
Articles
How To Level Lg Refrigerator
Modified: March 2, 2024
Discover helpful articles on how to level your LG refrigerator. Get step-by-step instructions and expert tips to keep your fridge balanced and functioning optimally.
(Many of the links in this article redirect to a specific reviewed product. Your purchase of these products through affiliate links helps to generate commission for Storables.com, at no extra cost. Learn more)
Introduction
If you recently purchased an LG refrigerator, or if your existing LG refrigerator is not sitting level, it’s important to address the issue promptly. A level refrigerator is essential for proper functioning, as it ensures that the doors seal correctly and the unit operates efficiently. Additionally, a level refrigerator helps prevent any potential damage that can occur from doors swinging open or items rolling off shelves.
In this article, we will guide you through the process of leveling your LG refrigerator. Whether you have an adjustable front leveling system or rear leveling legs, we will cover all the necessary steps to ensure your refrigerator is perfectly level.
Before we get started, it’s important to note that leveling a refrigerator may require a few essential tools and materials. Ensuring you have the necessary safety precautions in place is equally important to avoid any injuries or accidents. Let’s jump right into it!
Key Takeaways:
- Properly leveling your LG refrigerator is crucial for optimal performance, longevity, and safety. Follow the step-by-step guide, prioritize safety, and enjoy a well-functioning refrigerator that keeps your food fresh.
- Regularly check and adjust the leveling of your refrigerator to maintain its alignment. A level refrigerator ensures efficient operation, prevents damage, and promotes proper sealing of doors for food preservation.
Read more: How To Level Refrigerator
Tools and Materials Needed
Before you begin the leveling process, gather the following tools and materials:
- Allen wrench or adjustable wrench
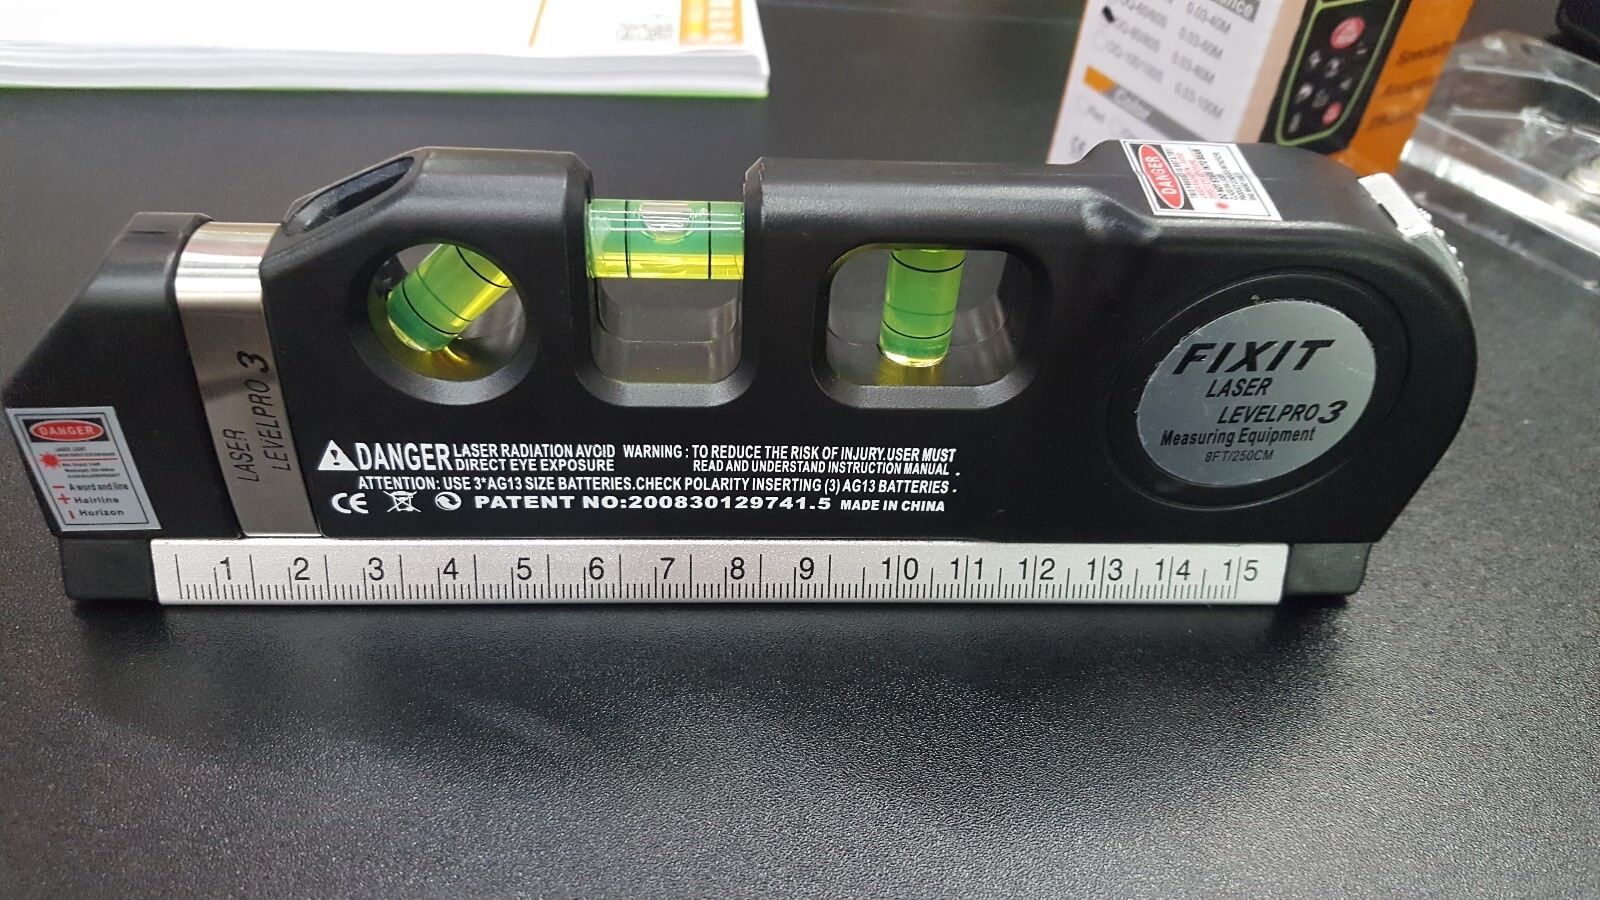
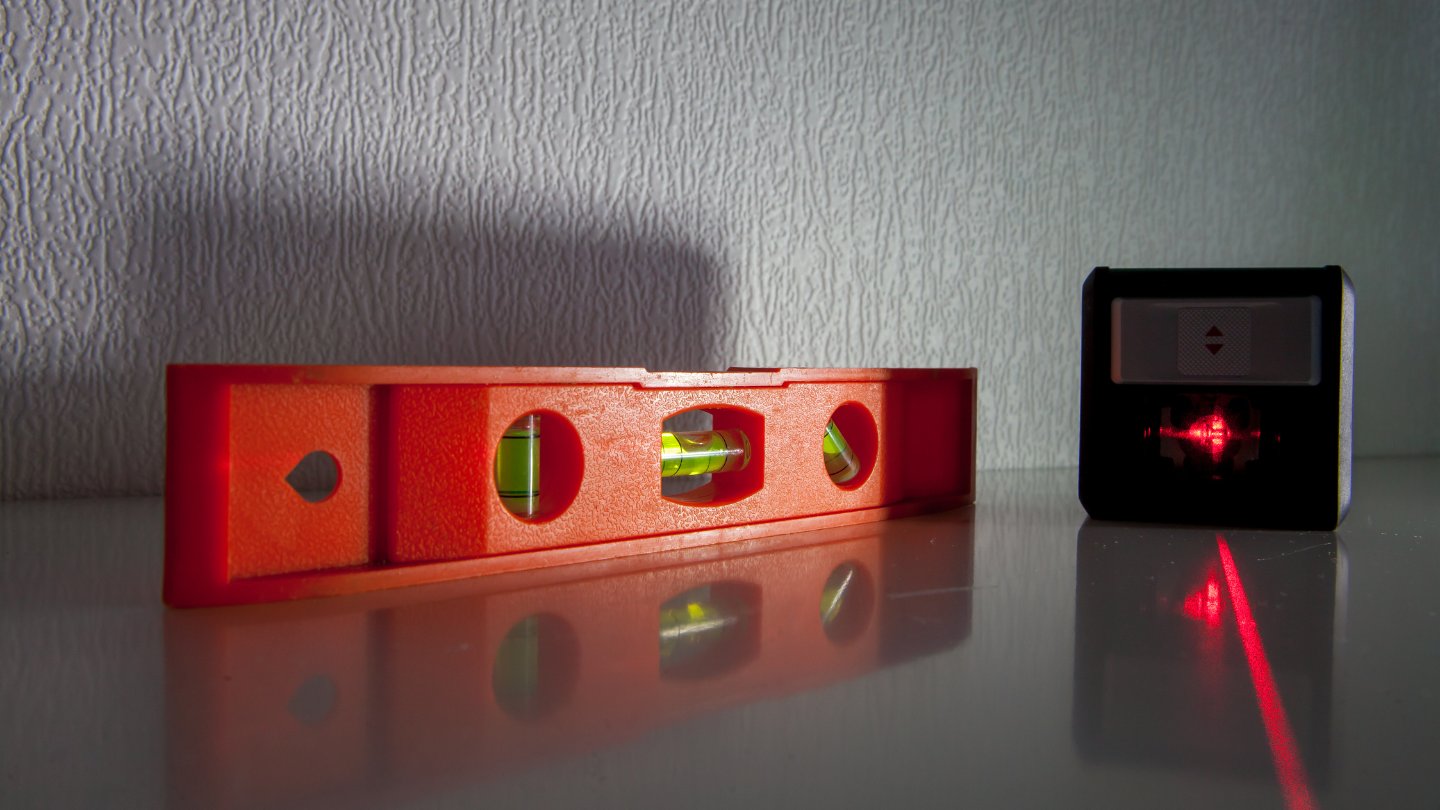
- Level
- Tape measure
- Protective gloves
Having these tools and materials on hand will make the leveling process much smoother and more efficient. The Allen wrench or adjustable wrench will be necessary for adjusting the leveling legs, while the level and tape measure will help you determine if the refrigerator is properly aligned. Wearing protective gloves will also safeguard your hands during the process.
Once you have gathered these items, you are ready to proceed with leveling your LG refrigerator.
Safety Precautions
Before you begin leveling your LG refrigerator, it’s important to prioritize safety. Follow these safety precautions to ensure a secure and accident-free process:
- Always unplug the refrigerator from the power source before making any adjustments. This will prevent the risk of electric shock.
- Wear protective gloves to protect your hands from any sharp edges or potential hazards.
- Ensure that the area around the refrigerator is clear and free from any obstacles that may hinder your movement or cause accidents.
- Be cautious when moving the refrigerator to avoid strain on your back or causing any damage to the appliance or surrounding area.
- If you are unsure or uncomfortable with any step, it is recommended to consult the manufacturer’s instructions or seek professional assistance.
By following these safety precautions, you can minimize the risk of accidents or injuries during the leveling process. Always prioritize your safety and the safety of others when handling any electrical appliance.
Step 1: Unplug the Refrigerator
The first step in leveling your LG refrigerator is to unplug it from the power source. This is crucial for your safety and to prevent any electrical accidents or malfunctions during the leveling process.
Locate the power cord at the back of the refrigerator and carefully disconnect it from the electrical outlet. Ensure that the cord is easily accessible and not tangled or obstructed by any items.
By unplugging the refrigerator, you eliminate the risk of electric shock while making adjustments to the leveling legs. This step is essential before proceeding with the remaining steps.
Once the refrigerator is unplugged, you can safely move on to the next step in the leveling process.
Step 2: Remove Contents from the Refrigerator
Before you begin adjusting the leveling legs of your LG refrigerator, it’s important to remove all contents from inside. This ensures that the refrigerator is empty and lighter, making it easier to maneuver and level.
Start by taking out any perishable items such as food, beverages, or medicines. Place them in a cooler or another refrigerator if available, ensuring they are stored at a safe temperature to maintain their freshness.
Next, remove any removable shelves, drawers, or door bins from the refrigerator. These accessories can be fragile, so handle them with care. Place them in a safe and secure location to avoid any damage.
By removing the contents and accessories from the refrigerator, you reduce the weight and make it easier to adjust the leveling legs without any obstructions. This step ensures a smooth leveling process and prevents any potential damage to the refrigerator’s internal components.
Once the contents are removed, you are ready to proceed with adjusting the leveling legs and achieving a level LG refrigerator.
Read more: How To Level A Frigidaire Refrigerator
Step 3: Adjust Front Leveling Legs
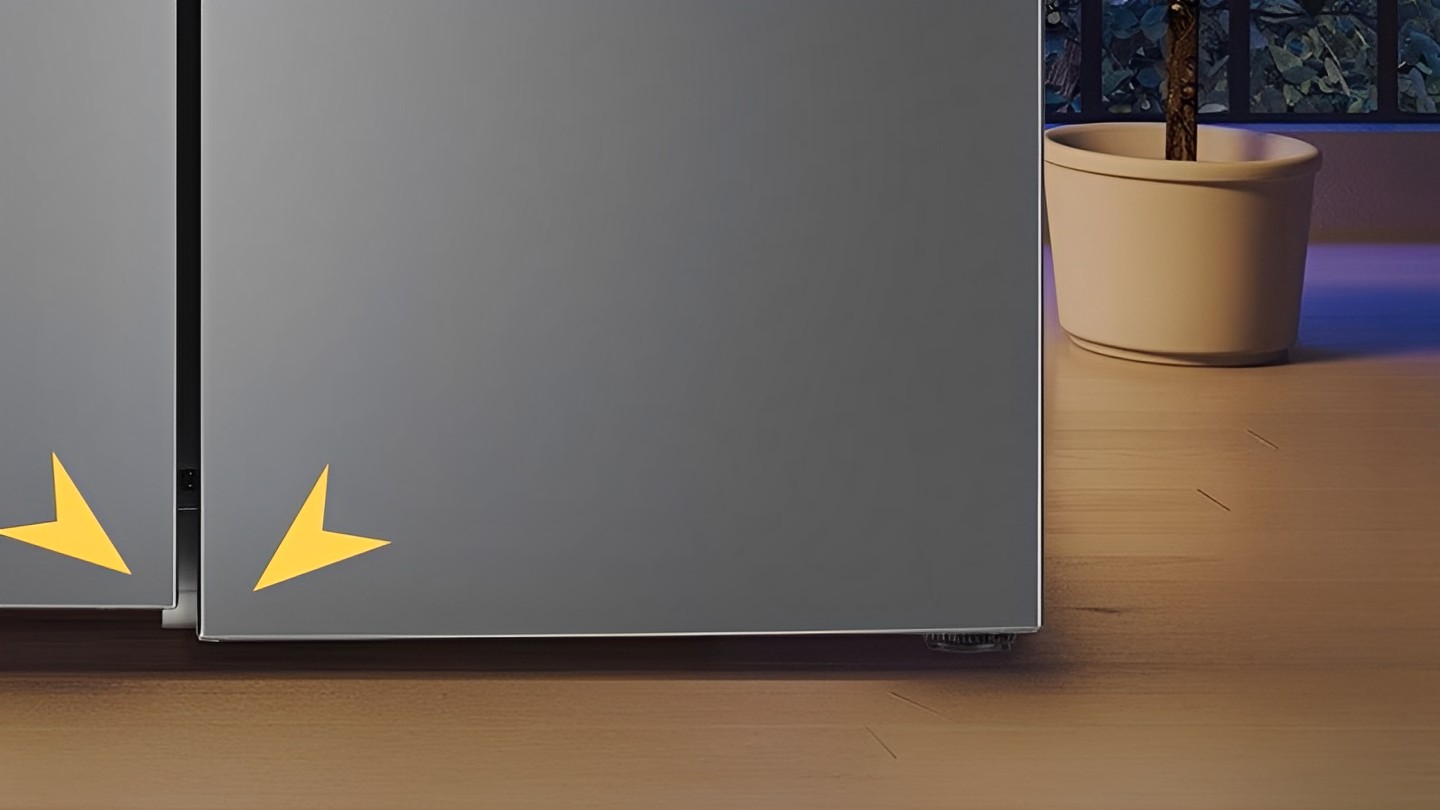
When leveling your LG refrigerator, the first adjustment will be to the front leveling legs. These legs are typically located at the bottom front corners of the refrigerator.
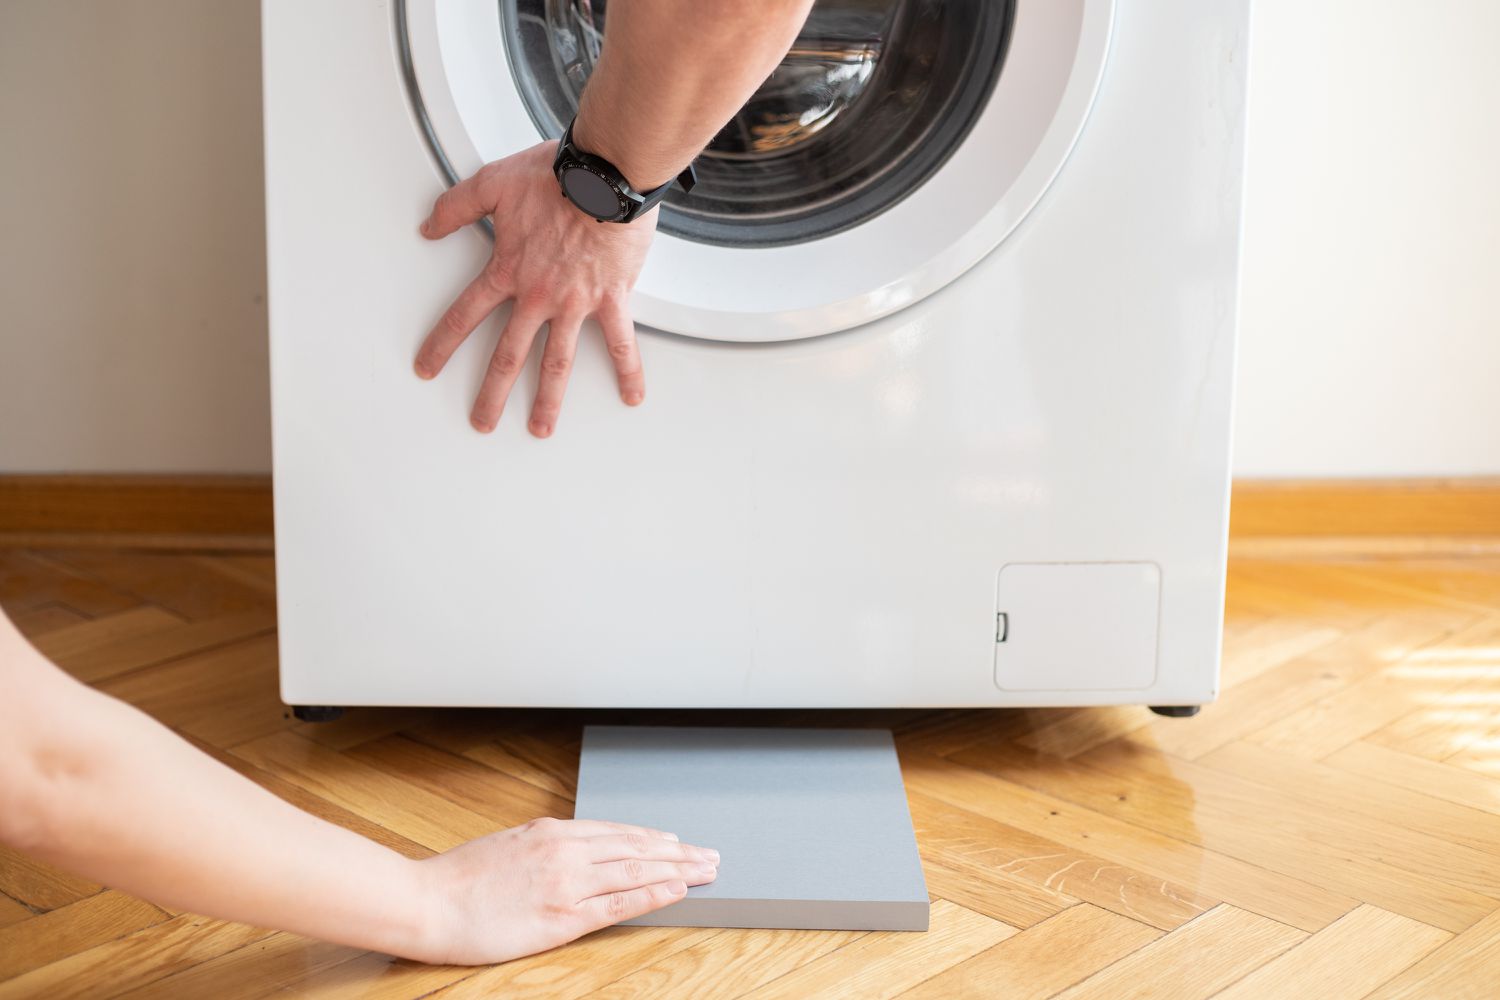
Start by locating the adjusting bolts or feet at the bottom of the front legs. You may need to use an Allen wrench or adjustable wrench to turn the bolts clockwise or counterclockwise, depending on the model.
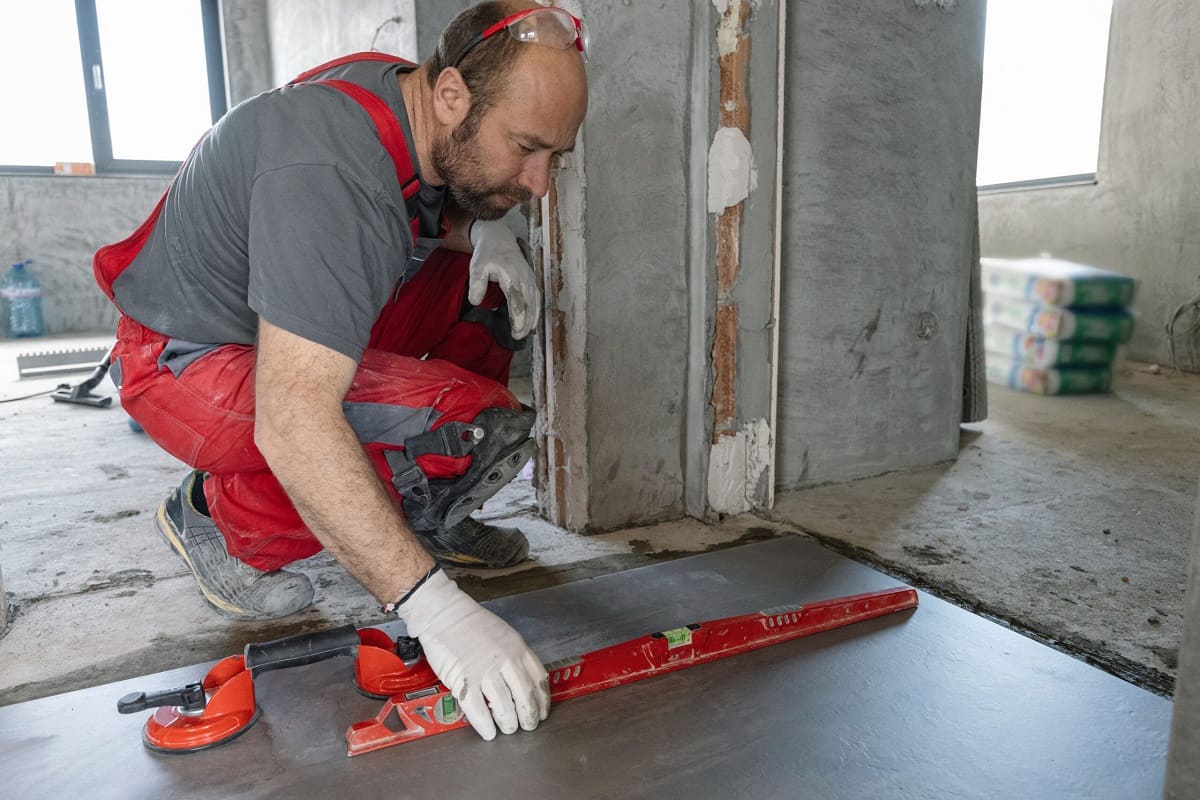
Using a level, place it on top of the refrigerator from side to side. Check the level indicator to determine if the refrigerator is tilting or not. If it is not level, adjust the front leveling legs accordingly.
If the refrigerator is tilting forward, raise the front of the refrigerator by turning the adjusting bolts clockwise. Similarly, if the refrigerator is tilting backward, lower the front legs by turning the bolts counterclockwise.
Make small adjustments at a time and recheck the level using the level indicator. Continue adjusting the front leveling legs until the refrigerator is perfectly level from side to side.
Once the front leveling legs are adjusted, move on to the next step to ensure that the refrigerator is level from back to front.
To level an LG refrigerator, use a level to check the appliance’s balance. Adjust the leveling legs at the bottom of the fridge until it is even on all sides. This will ensure proper function and prevent any potential issues.
Step 4: Check the Side-to-Side Leveling
After adjusting the front leveling legs, it’s important to check the side-to-side leveling of your LG refrigerator. This ensures that the refrigerator is balanced and stable.
To check the side-to-side leveling, place a level on top of the refrigerator from front to back. Make sure the level is positioned in the middle of the refrigerator’s top surface.
Observe the level indicator to determine if the refrigerator is leaning to the left or right. If the refrigerator is not level, you will need to adjust the rear leveling legs.
Before adjusting the rear leveling legs, check if your LG refrigerator has them. Some models may only have front leveling legs, making the side-to-side leveling adjustment unnecessary.
If your refrigerator has rear leveling legs, proceed to the next step to adjust them accordingly. If not, your refrigerator is already leveled from side to side, and you can move on to the next step.
Ensuring the side-to-side leveling of your LG refrigerator is important for its proper functioning. It prevents any potential issues with the doors closing properly and the refrigeration system operating efficiently.
Once you have confirmed the side-to-side leveling, it’s time to check the back-to-front tilt of the refrigerator.
Step 5: Check the Back-to-Front Tilt
Checking the back-to-front tilt of your LG refrigerator is the next step in ensuring it is properly leveled. This step is crucial for maintaining the integrity of the refrigerator’s doors and overall performance.
To check the back-to-front tilt, place the level on a shelf or surface inside the refrigerator. Ensure that it is positioned from front to back, parallel to the doors.
Observe the level indicator to determine if the refrigerator is tilting forward or backward. A slight tilt is acceptable, but if it is noticeable or excessive, adjustments will need to be made.
If the refrigerator is tilting forward, you will need to raise the rear of the refrigerator. Locate the rear leveling legs, which are typically adjustable using an Allen wrench or adjustable wrench.
Turn the rear leveling legs clockwise to raise the rear or counterclockwise to lower it, depending on the direction you need to adjust. Make small adjustments at a time and recheck the level to ensure proper leveling.
Continue adjusting the rear leveling legs until the back-to-front tilt is within an acceptable range. Remember to check the level at different positions inside the refrigerator to ensure consistency.
Once the back-to-front tilt is adjusted, the refrigerator should be leveled both from side to side and front to back. This ensures optimal performance and prevents any issues with the refrigerator’s doors or functionality.
Now that you have completed the leveling adjustments, it’s time to test the leveling and make any necessary final adjustments.
Step 6: Adjust Rear Leveling Legs
If your LG refrigerator has rear leveling legs, adjusting them is the next step to achieve proper leveling. Rear leveling legs help balance the refrigerator and ensure stability.
Begin by locating the rear leveling legs at the bottom rear corners of the refrigerator. These legs are typically adjustable using an Allen wrench or adjustable wrench.
With the refrigerator now unplugged, use the wrench to turn the rear leveling legs clockwise to raise the rear or counterclockwise to lower it. Make small adjustments at a time to achieve the desired level.
Check the level on top of the refrigerator from side to side and front to back to ensure that the refrigerator is properly aligned. Continue adjusting the rear leveling legs until the refrigerator is level in all directions.
It’s important to note that not all LG refrigerator models have rear leveling legs. Some models only have front leveling legs, which were adjusted in the earlier steps. If your refrigerator doesn’t have rear leveling legs, you can skip this step and move on to the next one.
By adjusting the rear leveling legs, you ensure that the refrigerator is balanced and stable, preventing any potential issues with doors closing properly or the refrigerator’s overall performance.
Once you have adjusted the rear leveling legs, proceed to the next step to test the leveling of your LG refrigerator.
Read more: How To Level Whirlpool Refrigerator
Step 7: Test the Leveling
After making all the necessary adjustments to the leveling legs of your LG refrigerator, it’s time to test the leveling to ensure everything is aligned properly. This step will ensure that your refrigerator is stable and functioning optimally.
Start by plugging in the refrigerator and give it a few minutes to power up and stabilize. Keep in mind that it may take some time for the refrigerator to adjust and reach the desired temperature.
Once the refrigerator is powered up, check the doors to ensure they close properly and securely. Open and close each door multiple times to verify that they seal tightly and without any resistance.
Next, place a level on top of the refrigerator, both from side to side and front to back. If the bubble in the level stays centered within the indicator lines, then your LG refrigerator is properly leveled.
If you notice any unevenness or if the bubble is positioned outside the lines, you may need to make minor adjustments to the leveling legs. Repeat the adjustment process until the refrigerator is level in all directions.
Continue to monitor the refrigerator’s performance, especially how it maintains temperature and if there are any unusual noises or vibrations. If you observe any issues, it may indicate that further adjustments are necessary or there could be another underlying problem.
By testing the leveling and ensuring that the doors seal correctly, you can enjoy a properly functioning LG refrigerator that operates efficiently and keeps your food fresh.
Once you are satisfied with the leveling and performance of the refrigerator, you can proceed to the final step to complete the process.
Step 8: Replace Contents and Plug in the Refrigerator
With your LG refrigerator now properly leveled, it’s time to replace the contents and plug it back in. This final step will allow you to start using the refrigerator and enjoy its benefits.
Begin by carefully placing the removable shelves, drawers, and door bins back into their respective positions inside the refrigerator. Take your time to ensure everything is correctly aligned and secure.
Next, transfer the food items and beverages back into the refrigerator. Make sure to organize them in a way that maximizes space and allows for proper air circulation.
Once you have replaced all the contents, double-check that the doors are closing properly and tightly. Open and close the doors to ensure a tight seal, which is essential for maintaining the freshness of your food and beverages.
Finally, plug the refrigerator back into the electrical outlet. Ensure that the power cord is securely connected and not tangled or obstructed in any way.
Once the refrigerator is plugged in, it will start cooling and maintaining the set temperature. Give the refrigerator some time to stabilize and reach the desired cooling level before loading it with additional items.
Congratulations! You have successfully leveled your LG refrigerator and can now enjoy its optimal performance and efficiency.
Remember to periodically check the leveling of your refrigerator to ensure it remains properly aligned. Over time, changes in flooring or movement can cause the refrigerator to become unlevel, so it’s important to make any necessary adjustments as needed.
Thank you for following this step-by-step guide on how to level your LG refrigerator. We hope this process has been helpful and that your refrigerator continues to provide you with excellent cooling and organizational capabilities.
Conclusion
Properly leveling your LG refrigerator is essential to ensure its optimal performance, longevity, and functionality. By following the step-by-step guide outlined in this article, you can confidently level your refrigerator and enjoy its benefits.
Starting with unplugging the refrigerator and removing its contents, the process involves adjusting the front leveling legs, checking the side-to-side and back-to-front leveling, and making any necessary adjustments to the rear leveling legs. The final step includes testing the leveling, replacing the contents, and plugging the refrigerator back in.
Throughout the process, it’s crucial to prioritize safety by wearing protective gloves, keeping the area clear of obstacles, and being cautious when moving the refrigerator. Additionally, periodic checks of the refrigerator’s leveling are recommended to address any changes that may occur over time.
A level refrigerator not only ensures that the doors seal correctly, but it also helps prevent any potential damage from doors swinging open or items rolling off shelves. Additionally, proper leveling improves the efficiency of the refrigerator and reduces the risk of malfunctions.
We hope this article has provided you with the information and guidance needed to level your LG refrigerator effectively. By ensuring the refrigerator is properly aligned, you can enjoy its optimal performance and keep your food fresh and well-preserved.
Remember to consult your refrigerator’s manual or contact the manufacturer if you have any specific questions or concerns during the leveling process. They will provide you with accurate and model-specific instructions.
Thank you for taking the time to read this article. We wish you success in leveling your LG refrigerator and hope it continues to serve you well for years to come.
Frequently Asked Questions about How To Level Lg Refrigerator
Was this page helpful?
At Storables.com, we guarantee accurate and reliable information. Our content, validated by Expert Board Contributors, is crafted following stringent Editorial Policies. We're committed to providing you with well-researched, expert-backed insights for all your informational needs.





0 thoughts on “How To Level Lg Refrigerator”