Articles
How To Level A Floor
Modified: January 5, 2024
Learn how to level a floor with our informative articles. Find step-by-step guides, tips, and expert advice to achieve a perfectly level surface.
(Many of the links in this article redirect to a specific reviewed product. Your purchase of these products through affiliate links helps to generate commission for Storables.com, at no extra cost. Learn more)
Introduction
Having a level floor is essential for the stability and aesthetic appeal of any space. Whether you are renovating an old property or preparing a new construction project, ensuring that the floor is level is a crucial step in the process. A level floor not only ensures that furniture and fixtures sit evenly, but it also prevents any potential damage to the structure and provides a solid foundation for installing various types of flooring materials.
In this comprehensive guide, we will walk you through the process of leveling a floor. We will cover everything from assessing the condition of the floor to the final installation of the finished floor. By following these steps, you will be able to transform your uneven and sloping floors into a smooth and level surface.
So, let’s dive in and learn how to level a floor and create a sturdy foundation for your next project.
Key Takeaways:
- Achieving a level floor is crucial for stability and aesthetics. Thoroughly assess, prepare, and apply self-leveling compound for a smooth and sturdy foundation. Follow manufacturer’s instructions and consult professionals if needed.
- Properly leveled floors provide a solid base for various flooring materials. Gather necessary tools, prepare the floor, and install finished flooring with precision. Attention to detail and patience are key for a professional result.
Read more: How To Level Floor For Tile
Assessing the Floor
Before you can start leveling a floor, it’s important to assess its current condition. This step will help you determine the extent of the leveling required and guide you in choosing the appropriate materials and techniques. Here are a few key factors to consider when assessing the floor:
- Identify the uneven areas: Walk around the room and carefully observe any noticeable sloping or unevenness. Use a level or a straightedge to confirm and measure the variations in the floor’s surface.
- Identify the cause of the unevenness: Uneven floors can be caused by a variety of factors, including settling of the foundation, poor construction, or water damage. Knowing the root cause will help you determine the best approach to leveling.
- Take note of any structural issues: In some cases, uneven floors may indicate underlying structural problems. Look out for signs such as cracks in the walls or ceiling, sagging beams, or doors that don’t close properly. If you suspect any structural issues, it’s important to consult a professional before proceeding.
- Consider the flooring material: Different flooring materials have specific requirements for leveling. For example, tile and hardwood flooring may require a more precise and rigid leveling process compared to carpet or vinyl flooring.
By thoroughly assessing the floor, you will have a clear understanding of the extent of the leveling required and the appropriate methods to employ. This initial step sets the foundation for a successful floor leveling project.
Gathering the Necessary Tools and Materials
Once you have assessed the condition of the floor and determined the extent of leveling required, it’s time to gather the necessary tools and materials. Here is a list of essential items you will need for the floor leveling process:
- Self-leveling compound: This is the main material used for leveling the floor. Self-leveling compound is a mixture of cement and other additives that flows easily and levels itself when poured. Ensure that you choose a self-leveling compound appropriate for your specific flooring material.
- Bucket and mixing drill: You will need a clean bucket to mix the self-leveling compound. A mixing drill with a paddle attachment will make the mixing process easier and more efficient.
- Trowel or smoothing tool: A trowel or a smoothing tool is used to spread and smooth out the self-leveling compound once it has been poured onto the floor. This tool will help achieve a consistent and even surface.
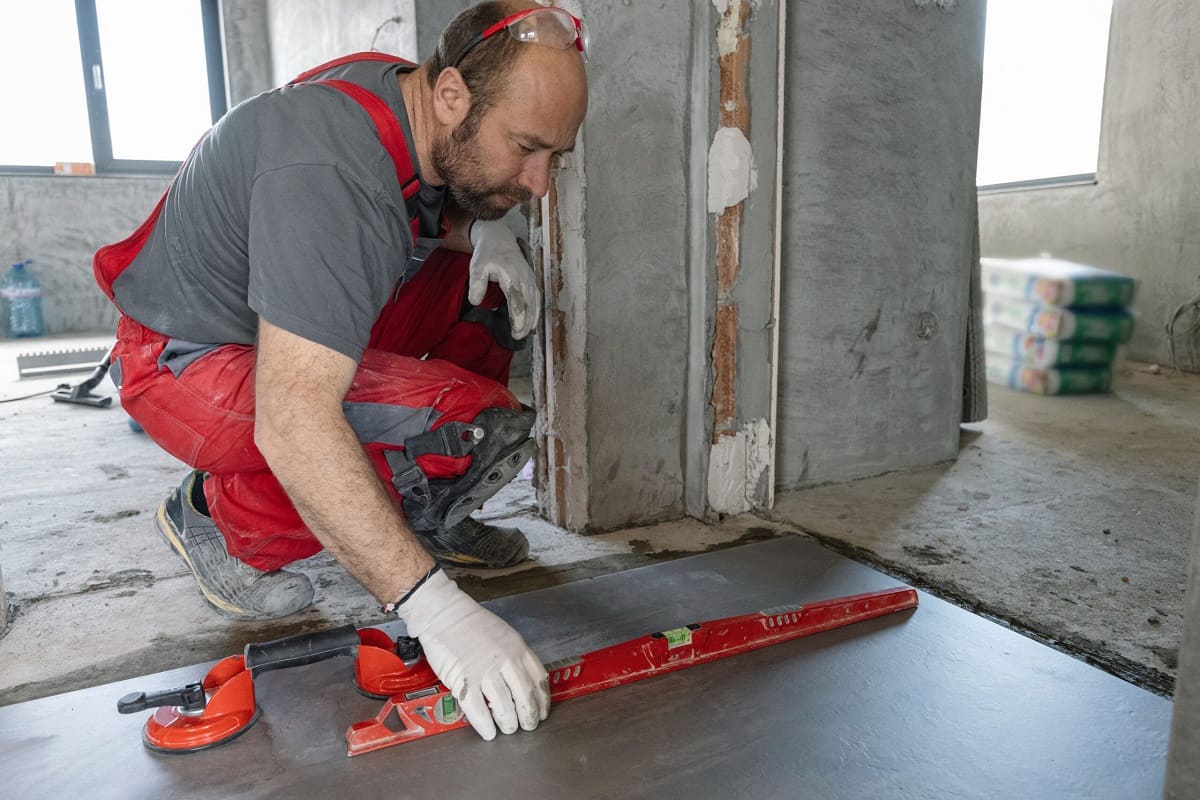
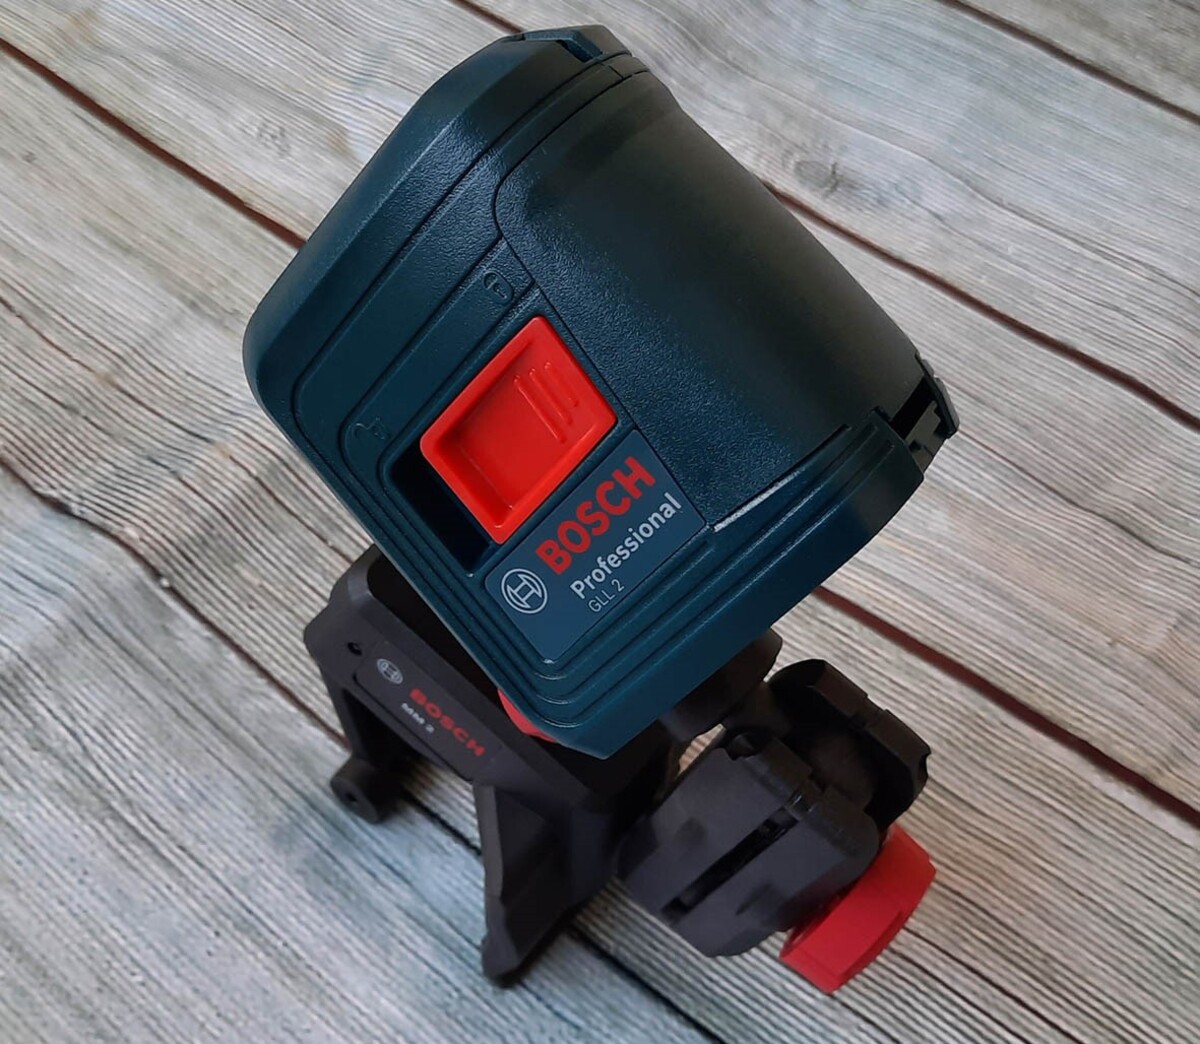
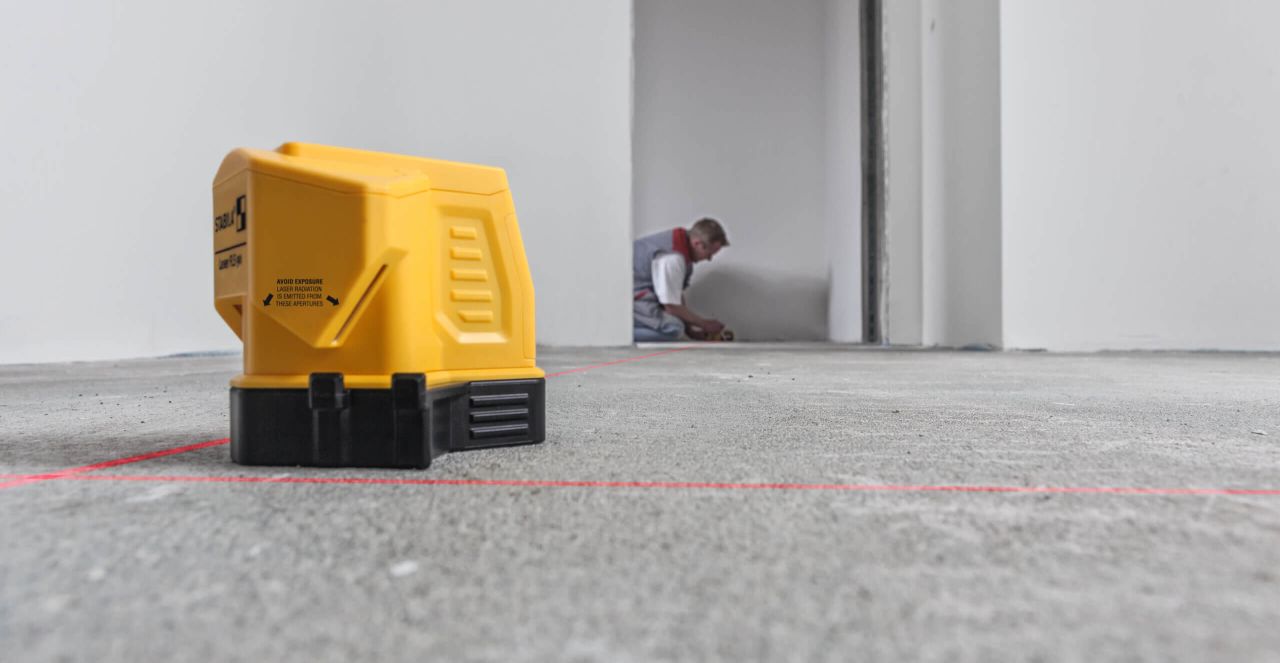
- Level or straightedge: A level or a straightedge is essential for ensuring that the floor is level and even. This will help you detect any high or low spots and guide you in achieving a properly leveled surface.
- Tape measure: Accurate measurements are crucial when calculating the correct amount of self-leveling compound needed and marking reference points on the floor.
- Primer: Depending on the type of self-leveling compound and the condition of the floor, you may need a primer to enhance the adhesion of the compound to the floor.
- Safety equipment: Don’t forget to prioritize safety by wearing protective gloves, safety goggles, and a dust mask to protect yourself from any potential hazards.
Ensure that you have all the necessary tools and materials ready before starting the floor leveling process. This will minimize interruptions and allow for a smooth workflow.
Preparing the Floor for Leveling
Before you can begin the actual floor leveling process, it is important to properly prepare the floor. Preparing the floor ensures that the self-leveling compound adheres well and provides a more stable and durable result. Here are the steps to follow:
- Clean the floor: Start by cleaning the floor thoroughly to remove any dirt, debris, or loose particles. Sweep or vacuum the entire surface to ensure it is free of any obstructions that could affect the leveling process.
- Repair cracks and holes: Inspect the floor for any cracks, holes, or damaged areas. Fill them with appropriate patching compound or epoxy filler, following the manufacturer’s instructions. Allow the repairs to dry and cure completely before proceeding.
- Remove any existing flooring: If there is existing flooring on the floor that needs leveling, remove it carefully. This includes carpet, tiles, hardwood, vinyl, or laminate flooring. Ensure that the floor is clean and free of any adhesive residue or protruding nails.
- Apply a primer: Depending on the type of self-leveling compound and the condition of the floor, applying a primer may be necessary. The primer enhances adhesion and prevents the self-leveling compound from drying too quickly. Follow the manufacturer’s instructions for applying the primer and allow it to dry completely.
- Identify the high and low spots: Use a level or a straightedge to identify any high or low spots on the floor. Mark them with a pencil or masking tape, as these areas will require extra attention during the leveling process.
- Moisten the floor: Before applying the self-leveling compound, moisten the floor with water. This helps prevent the floor from absorbing moisture from the compound too quickly, which can lead to uneven curing and cracking.
By thoroughly preparing the floor, you create an optimal surface for the self-leveling compound to adhere and level effectively. Taking the time to prepare the floor ensures a smoother and more successful floor leveling process.
Applying Self-leveling Compound
Now that the floor is properly prepared, it’s time to start applying the self-leveling compound. This step involves mixing and pouring the compound onto the floor to create a level and smooth surface. Here’s a step-by-step guide:
- Read the manufacturer’s instructions: Different self-leveling compounds may have specific mixing ratios and application guidelines. Read and follow the instructions provided by the manufacturer to achieve the best results.
- Mix the self-leveling compound: In a clean bucket, mix the self-leveling compound according to the manufacturer’s instructions. Use a mixing drill with a paddle attachment to ensure an even and thorough mix.
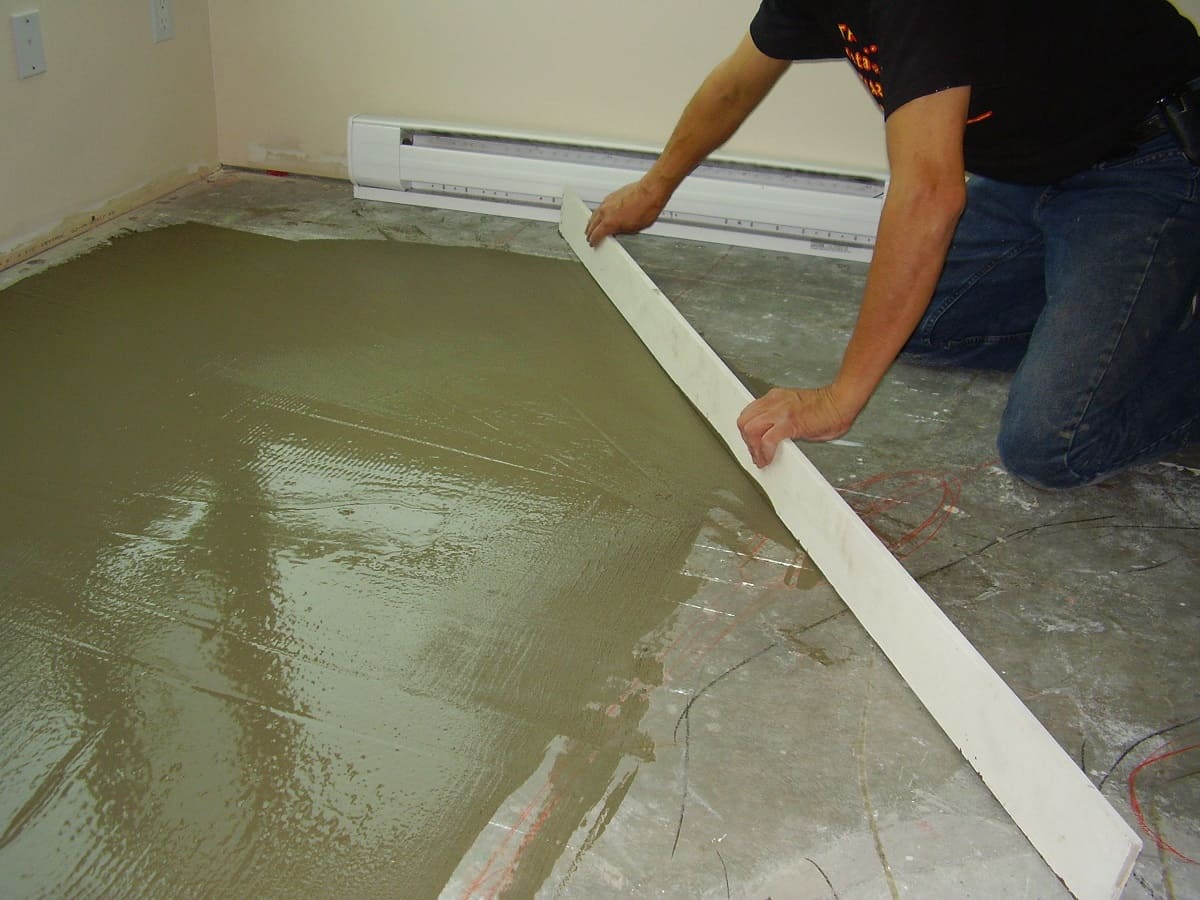
- Pour the compound onto the floor: Start pouring the self-leveling compound onto the floor, starting from the farthest corner. Use a trowel or a smoothing tool to spread it evenly across the surface. Work quickly and efficiently, as the compound will start to set within a specified time frame.
- Level the compound: Use a straightedge or a level to ensure that the compound is spread evenly across the entire floor. Pay close attention to the marked high and low spots identified during the floor preparation stage.
- Remove air bubbles: After spreading the self-leveling compound, use a spiked roller or a notched trowel to remove any air bubbles or trapped pockets of air. This will improve the overall quality and appearance of the leveled floor.
- Allow the compound to cure: Leave the self-leveling compound to cure according to the manufacturer’s instructions. This typically takes anywhere from a few hours to a few days. Avoid walking on the floor or placing any heavy objects on it until it has fully cured.
Applying self-leveling compound requires precision and efficiency. Follow the manufacturer’s instructions carefully and take your time to ensure that the compound is spread evenly across the floor, resulting in a smooth and level surface.
Before leveling a floor, make sure to thoroughly clean and remove any debris or old adhesive. This will ensure a smooth and even surface for the leveling compound to adhere to.
Read more: How To Level Garage Floor
Waiting for the Compound to Cure
After applying the self-leveling compound, it’s crucial to allow sufficient time for it to cure and harden. Curing time can vary depending on the specific product and environmental conditions. Here’s what you need to know:
- Refer to the manufacturer’s instructions: The manufacturer will provide specific guidelines regarding the curing time of the self-leveling compound. Follow these instructions carefully to ensure optimal results.
- Avoid foot traffic: During the curing process, it is important to avoid walking on the self-leveling compound. This can disrupt the leveling process and cause unevenness or damage the surface. Use caution and restrict access to the area until the compound is fully cured.
- Control environmental conditions: Environmental factors such as temperature and humidity can affect the curing time. Keep the room well-ventilated and maintain a consistent temperature within the recommended range for the compound to cure effectively.
- Monitor the curing progress: Regularly check the self-leveling compound for any visible changes. It will gradually harden and develop a solid surface. Avoid any accidental damage during this period, and be patient as the curing process can take several hours to several days.
- Consider drying time versus walkability: While the compound may have reached its curing stage, it may still require additional time to fully dry and be ready for foot traffic. Refer to the product instructions to determine the appropriate drying time before allowing people to walk on the leveled surface.
Waiting for the self-leveling compound to cure is a critical step in the floor leveling process. Patience is key, as rushing the curing process can result in compromised results. Be diligent in following the manufacturer’s instructions and guidelines to ensure that the compound cures properly.
Checking for Levelness
Once the self-leveling compound has cured and dried, it’s time to check for levelness to ensure that the floor is perfectly even and ready for the installation of the finished floor. Here’s how you can check for levelness:
- Use a level or straightedge: Place a level or a straightedge across different areas of the floor to check for any unevenness or high/low spots. Move the level or straightedge around and observe if it sits evenly on the surface.
- Check with a measuring tape: Measure the height difference between the highest and lowest points on the leveled floor. This will give you an idea of how level the floor is and how much more leveling may be required.
- Inspect visually: Walk around the room and visually inspect the entire floor to spot any noticeable uneven areas or imperfections. Take note of any areas that require further attention or additional leveling.
- Make necessary adjustments: If you notice any areas that are still not level, you may need to apply additional self-leveling compound or use other leveling techniques to correct them. Follow the manufacturer’s instructions and guidelines for applying more compound or addressing specific issues.
- Consult a professional if needed: If you encounter significant leveling challenges or concerns, it may be best to consult a professional contractor or flooring specialist. They can provide expert advice and assistance in achieving a perfectly leveled floor.
Checking for levelness is an important step to ensure the quality and durability of your finished floor. Take the time to thoroughly inspect and measure the surface to achieve the desired levelness and a smooth, professional result.
Installing the Finished Floor
Once you have achieved a level and smooth surface, it’s time to move forward with the installation of the finished floor. The specific steps will vary depending on the type of flooring material you have chosen, but here are some general guidelines to follow:
- Prepare the subfloor: Ensure that the subfloor is clean, dry, and free of any debris before installing the finished floor. If necessary, apply any recommended underlayment or moisture barriers.
- Follow the manufacturer’s instructions: Read and carefully follow the installation guidelines provided by the manufacturer of your chosen flooring material. These instructions will outline the specific techniques, adhesives, or tools required for a successful installation.
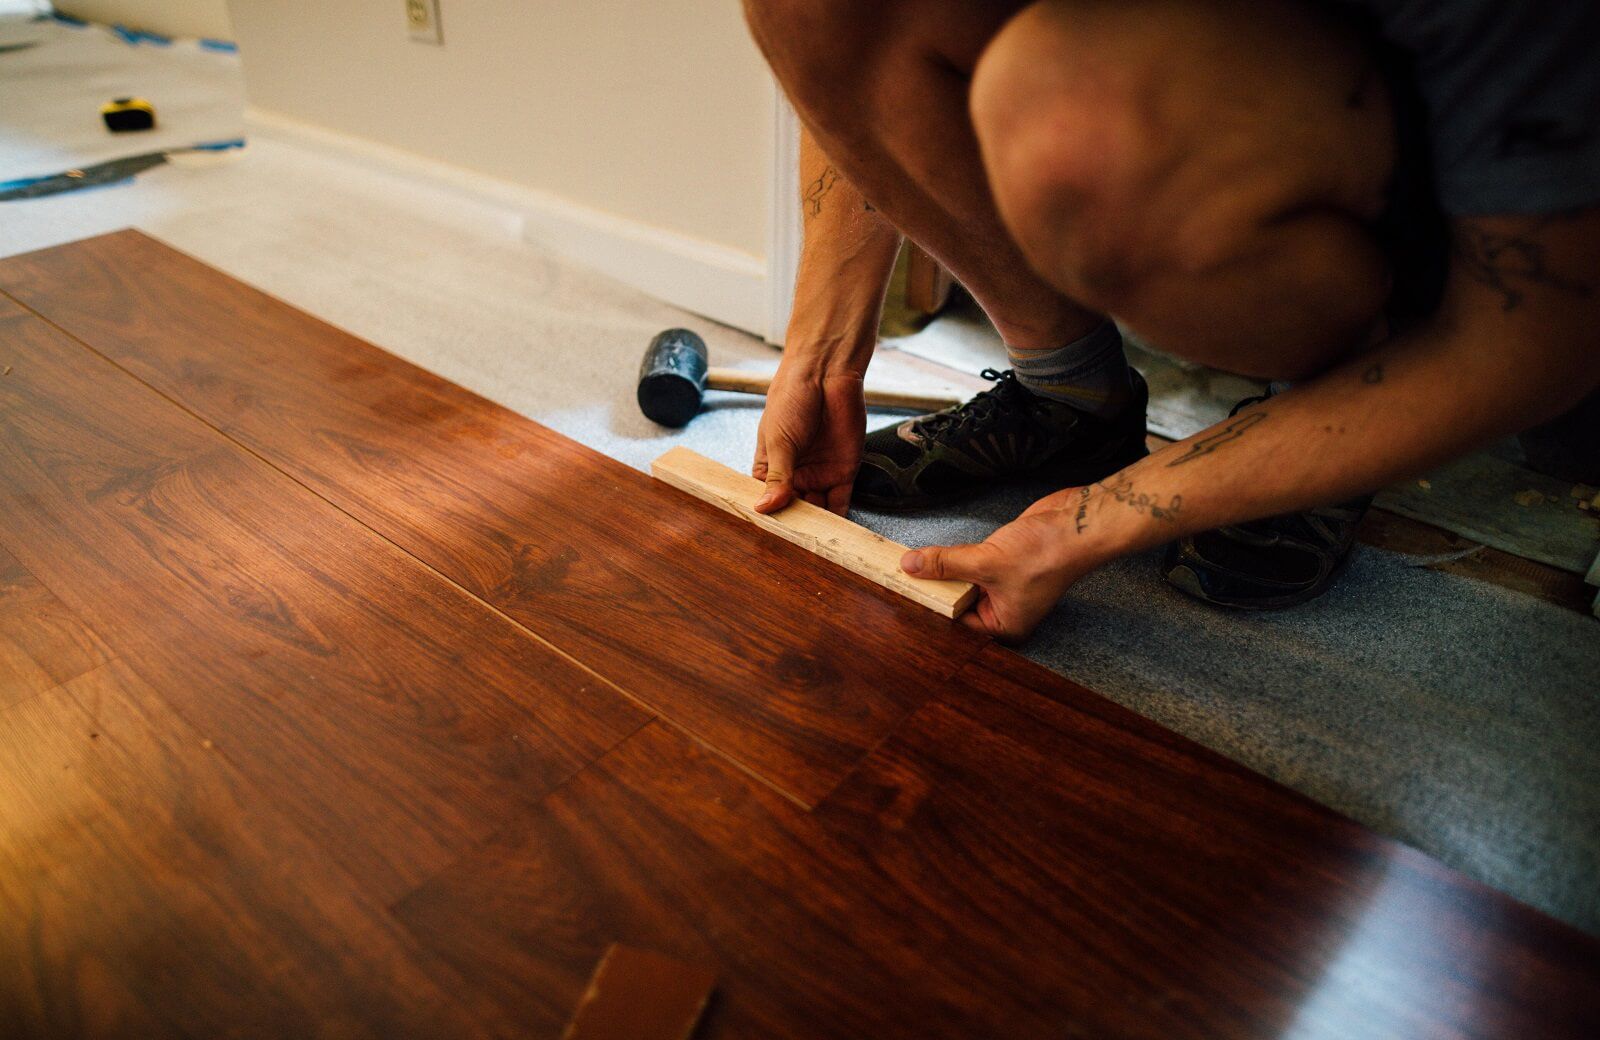
- Start in a corner: Begin the installation in a corner of the room and work your way out, following a predetermined layout pattern. This will ensure a consistent and visually appealing result.
- Cut and trim as necessary: Measure and cut the flooring material, as needed, to fit around obstacles such as doorways and corners. Use appropriate tools to make precise cuts and ensure a tight fit.
- Secure the flooring material: Install the flooring material according to the manufacturer’s instructions, whether it requires adhesive, nails, or interlocking mechanisms. Ensure that each piece is securely fastened and properly aligned.
- Leave expansion gaps: Be sure to leave sufficient expansion gaps around the perimeter of the room, as recommended by the flooring manufacturer. This allows for any natural expansion or contraction of the flooring material.
- Finishing touches: Once the floor is fully installed, go over it to ensure that all edges are properly trimmed, transitions are seamless, and any necessary thresholds or molding are installed for a polished, finished appearance.
Installing the finished floor is the final step in the floor leveling process. Carefully follow the manufacturer’s instructions and take your time to ensure a professional and long-lasting result. Proper installation will not only enhance the aesthetic appeal of the space but also contribute to the overall durability and functionality of the flooring.
Conclusion
Leveling a floor is an essential step in creating a stable and visually appealing space. Whether you’re renovating or starting a new construction project, taking the time to properly level the floor sets the foundation for a successful flooring installation.
In this comprehensive guide, we covered the key steps involved in leveling a floor. We started with assessing the condition of the floor, gathering the necessary tools and materials, and preparing the floor for leveling. We then discussed the process of applying self-leveling compound, waiting for it to cure, checking for levelness, and finally, installing the finished floor.
Throughout the process, it’s important to follow the manufacturer’s instructions for self-leveling compound and the specific requirements of your chosen flooring material. Precision and attention to detail are crucial in achieving a level and professional result.
Remember, if you encounter any significant challenges or concerns, it’s always wise to consult a professional contractor or flooring specialist who can provide expert advice and assistance.
By following the steps outlined in this guide, you’ll be well-equipped to tackle your floor leveling project with confidence, resulting in a smooth and level surface that serves as a solid foundation for your chosen flooring material.
So, roll up your sleeves, gather your tools, and get ready to transform those uneven floors into a beautiful, level space that you’ll enjoy for years to come.
Frequently Asked Questions about How To Level A Floor
Was this page helpful?
At Storables.com, we guarantee accurate and reliable information. Our content, validated by Expert Board Contributors, is crafted following stringent Editorial Policies. We're committed to providing you with well-researched, expert-backed insights for all your informational needs.


0 thoughts on “How To Level A Floor”