
Articles
How To Make A Quilt Backing
Modified: February 24, 2024
Learn how to make a quilt backing with these helpful articles. Step-by-step instructions and tips for creating the perfect backing for your quilt.
(Many of the links in this article redirect to a specific reviewed product. Your purchase of these products through affiliate links helps to generate commission for Storables.com, at no extra cost. Learn more)
Introduction
Welcome to the world of quilting! Making a quilt is a creative and fulfilling endeavor that allows you to express your artistic talents while creating something functional. When it comes to making a quilt, the backing is just as important as the quilt top. The backing not only serves as a protective layer but also plays a crucial role in enhancing the overall look and feel of the quilt.
In this article, we will guide you through the process of making a quilt backing. You will learn how to choose the right fabric, prepare it properly, measure and cut it accurately, and finally, piece it together to create a seamless backing for your quilt. So, let’s get started!
Key Takeaways:
- Choose a durable, comfortable fabric that complements your quilt top. Consider color, width, and content to create a backing that enhances the overall look and feel of your quilt.
- Properly prepare, measure, and cut your fabric to create a seamless, professional-looking quilt backing. Piecing the backing together and giving it a final press ensures a polished finish before attaching it to the quilt top.
Choosing the Fabric
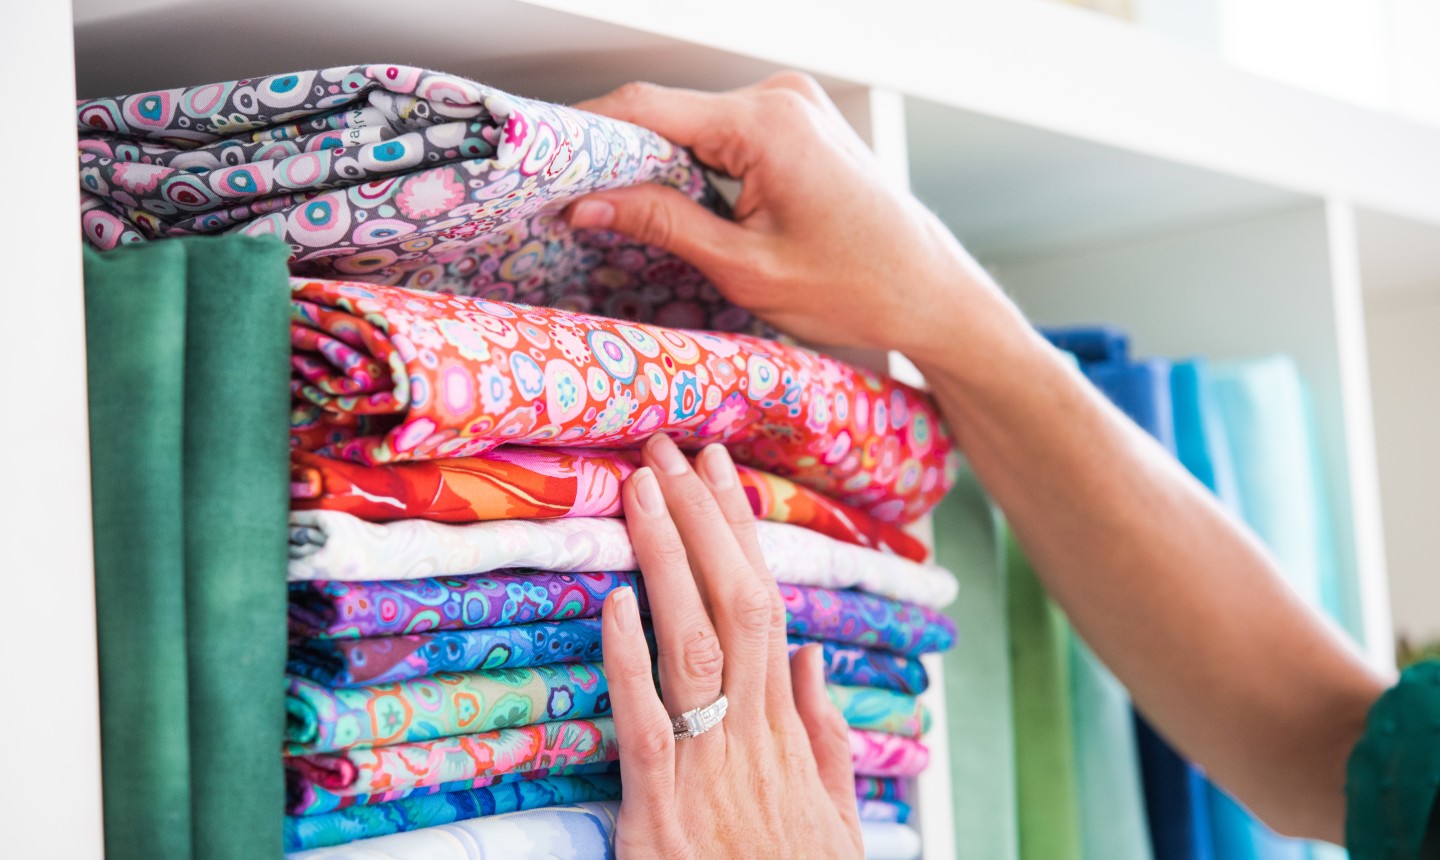
When choosing the fabric for your quilt backing, there are a few key factors to consider. First and foremost, you want to select a fabric that is both durable and comfortable. Since the backing will be in direct contact with your skin, it’s important to choose a fabric that feels soft and smooth against the body.
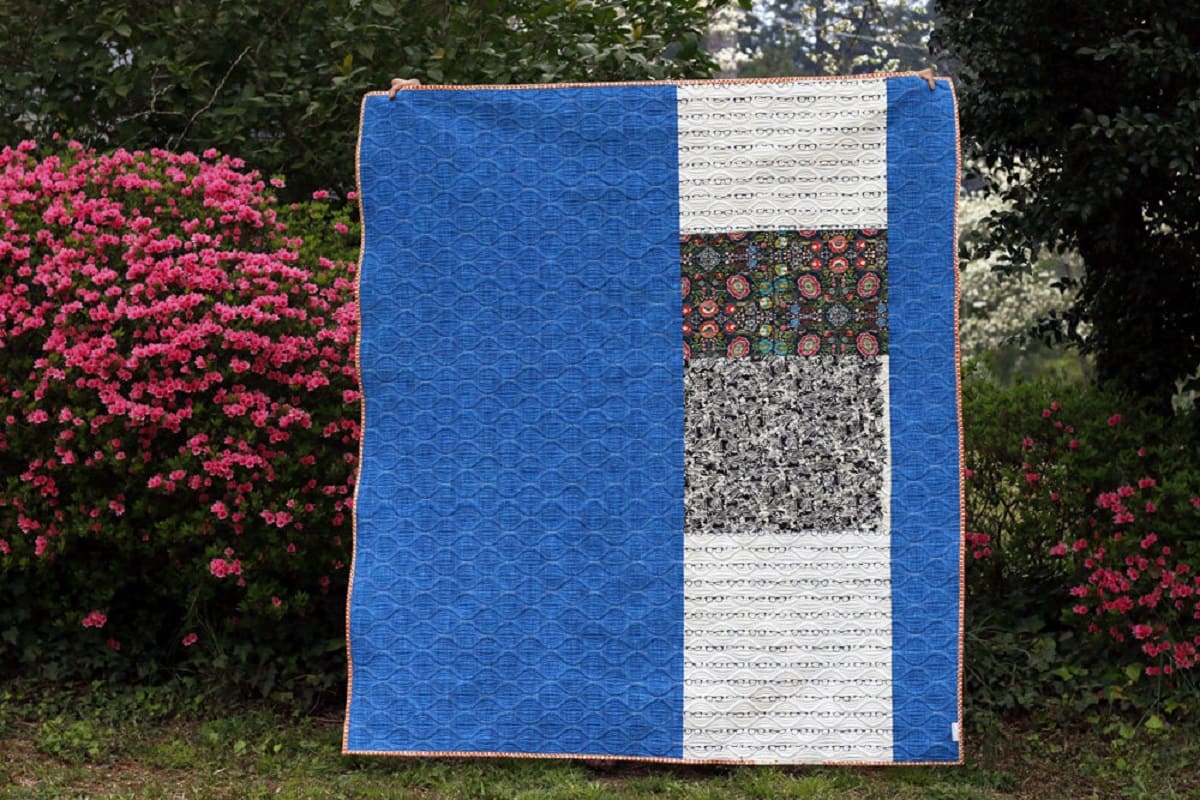
Another important consideration is the color and design of the fabric. The backing fabric should complement the colors and patterns of the quilt top. If your quilt top is bold and vibrant, you may want to opt for a solid or neutral-colored backing that doesn’t compete with the design. On the other hand, if your quilt top is more subtle, you can get creative with a patterned or textured backing fabric.
It’s also worth mentioning that the width of the fabric should be taken into account. Most fabric bolts are 42 to 44 inches wide, which may not be wide enough for larger quilts. In such cases, you may need to purchase extra-wide fabric or piece together multiple fabric panels to create a backing that is wide enough to cover the quilt.
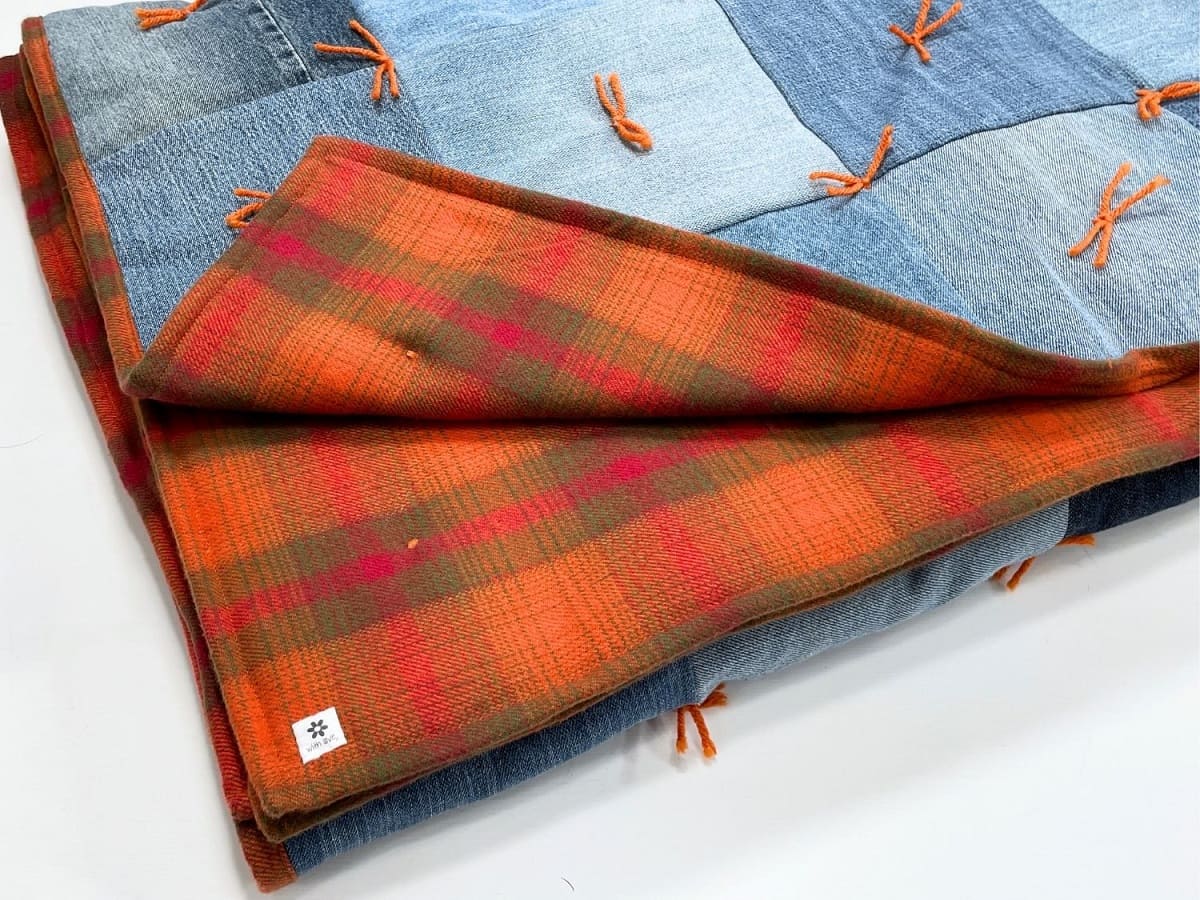
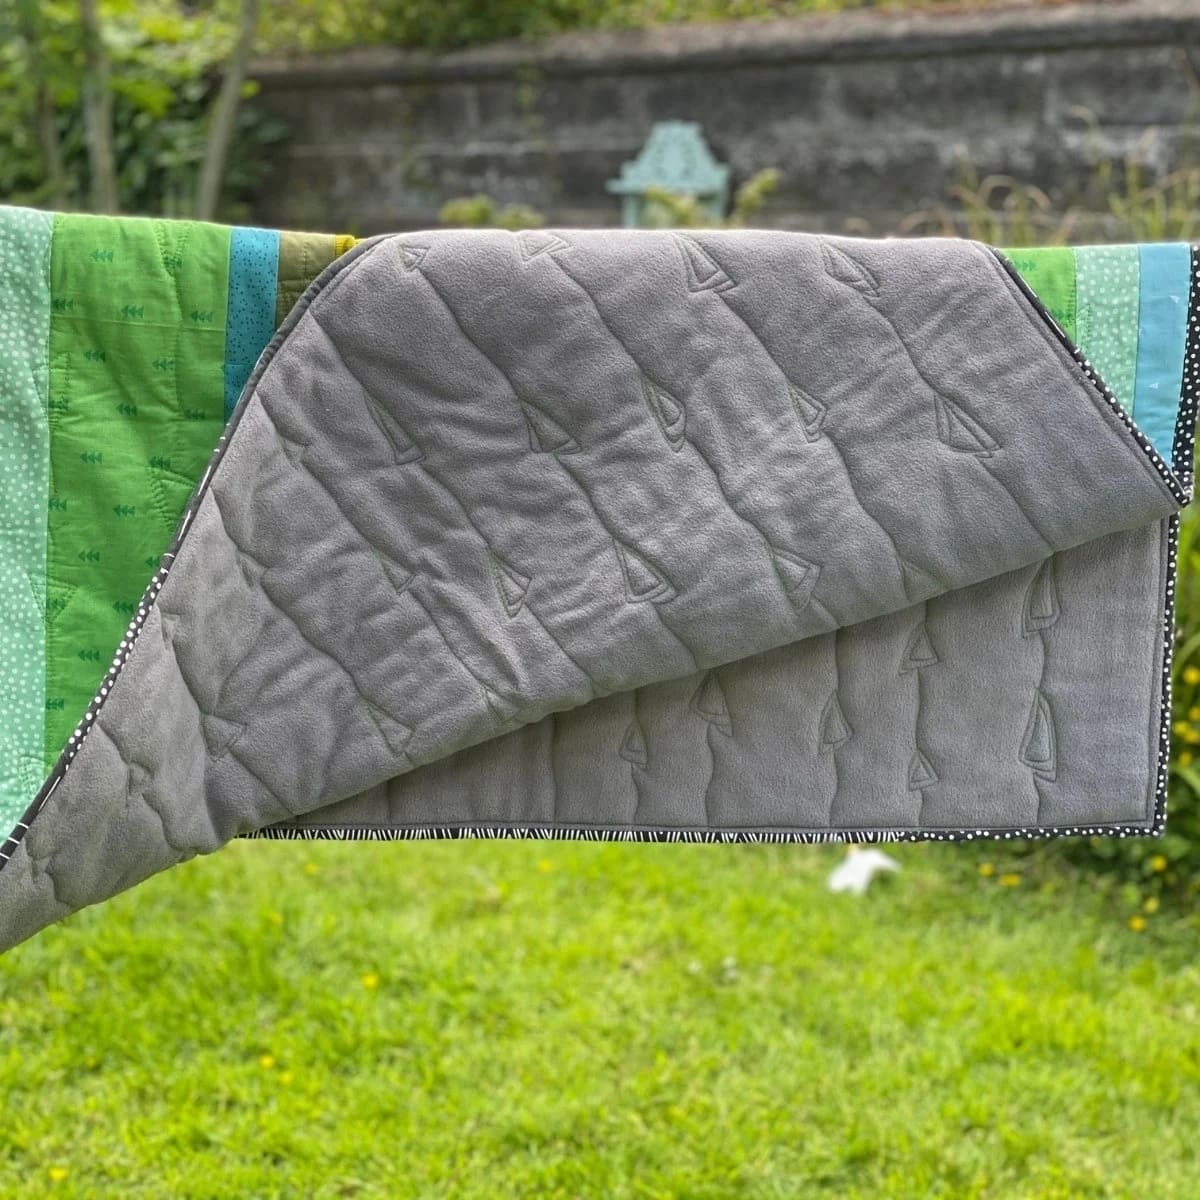
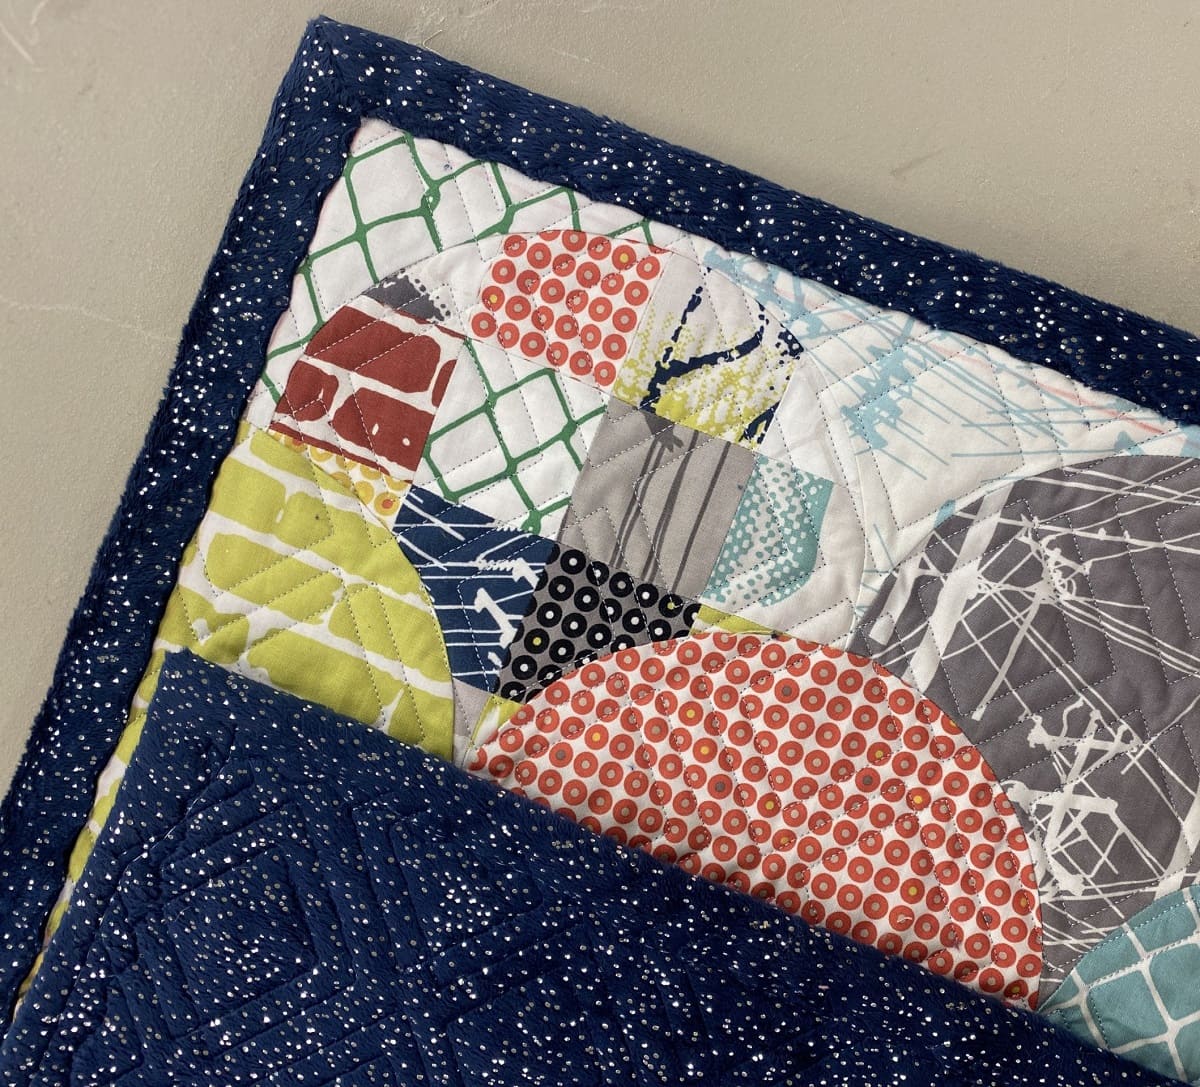
One more thing to consider is the fabric content. Cotton is a popular choice for quilt backings due to its breathability and durability. It also tends to shrink less and can be easily quilted through. However, you can also explore other options like flannel or minky fabric, depending on the desired warmth and texture of your quilt.
Ultimately, the choice of fabric for your quilt backing depends on your personal preference and the specific requirements of your quilt. Take the time to explore different fabrics, feel their texture, and consider how they will complement your quilt top. Once you have made a decision, it’s time to move on to the next step: preparing the fabric.
Preparing the Fabric
Before you can start working on your quilt backing, it’s important to properly prepare the fabric. This ensures that the fabric is clean, smooth, and free from any wrinkles or creases that can affect the final look of your quilt.
The first step in preparing the fabric is to prewash it. This is especially important if you’re using cotton fabric, as it has a tendency to shrink. By prewashing the fabric, you prevent any further shrinkage once the quilt is completed. Simply machine wash the fabric using a gentle cycle and mild detergent, and then tumble dry it on low heat or hang it to dry. Iron the fabric afterwards to remove any wrinkles.
Next, you’ll want to check the fabric for any flaws or imperfections. Inspect the fabric carefully for stains, holes, or uneven dye patterns. If you come across any flaws, you may need to consider using a different piece of fabric or finding a way to work around the imperfections.
Another important step in preparing the fabric is to ensure that it is properly squared. Lay the fabric flat on a cutting mat or clean surface and use a quilter’s ruler or a measuring tape to measure and cut off any excess or uneven edges. This will ensure that your backing fabric is perfectly aligned and free from any distortion.
Lastly, give the fabric one final press before moving on to the next step. Use a steam iron set to the appropriate temperature for the fabric to remove any remaining wrinkles and create a smooth surface for piecing.
By taking the time to properly prepare your fabric, you’re setting yourself up for success in creating a high-quality quilt backing. So, now that the fabric is ready, let’s move on to measuring and cutting.
Measuring and Cutting
Accurate measuring and cutting are essential steps in creating a quilt backing that fits your quilt perfectly. Taking the time to measure carefully and cut precisely will ensure that you have enough fabric to cover the entire quilt and create a professional-looking finish.
Start by measuring the dimensions of your quilt. Use a measuring tape or a quilter’s ruler to determine the length and width of the quilt top. Add an extra few inches to each measurement to account for seam allowances and any necessary adjustments.
Once you have your measurements, it’s time to lay out your fabric and cut it to size. If your backing fabric is wider than the quilt, you can simply cut it to match the width of the quilt and leave the excess fabric for the length. If the fabric is not wide enough, you may need to piece together multiple fabric panels to create a backing that is wide enough to cover the entire quilt.
When cutting the fabric, make sure to use sharp fabric scissors or a rotary cutter for clean and precise cuts. Lay the fabric flat on a cutting mat, aligning the edges with the ruler or measuring tape, and carefully cut along the marked measurements.
It’s a good idea to mark the top edge of the fabric with a pin or a fabric marker to keep track of the orientation. This will help ensure that you sew the backing in the correct direction and avoid any unnecessary complications when attaching it to the quilt top.
Remember to double-check your measurements and make any necessary adjustments before cutting the fabric. It’s always better to have a bit more fabric than you think you’ll need, as it can be trimmed down later if necessary.
Once you have cut the fabric to size, you’re ready to move on to the next step: piecing the backing together.
When making a quilt backing, be sure to measure your quilt top accurately and add at least 4-6 inches to the width and length to ensure proper coverage. This will allow for any shifting or stretching during the quilting process.
Piecing the Backing
If your quilt is larger than the width of your fabric, you will need to piece together multiple fabric panels to create a backing that covers the entire quilt. Piecing the backing allows you to create a customized design and maintain the structural integrity of the fabric.
Start by laying out your fabric panels on a flat surface. Make sure that each panel is aligned properly, with the right sides facing up. If your fabric has a pattern or design, take care to match it up seamlessly across the panels.
Once your fabric panels are lined up, use fabric pins or clips to secure the edges together. You can either hand sew or use a sewing machine to stitch the panels together. Use a straight stitch or a ¼ inch seam allowance, ensuring that the stitches are secure and the fabric edges are aligned.
If you want to create an even stronger seam, consider using a technique called French seaming. This involves sewing the fabric panels twice, once with wrong sides facing and a second time with right sides facing. This creates a neat and durable seam that is less likely to fray.
After piecing the fabric panels together, press the seams open or towards one side, depending on your preference and quilt design. Pressing the seams helps to flatten and set them, creating a smooth and professional-looking finish.
Before attaching the backing to the quilt top, it’s important to square up the pieced fabric. Use a quilter’s ruler or measuring tape to ensure that the backing is perfectly aligned and free from any distortion or uneven edges. Trim off any excess fabric if necessary.
Now that you have pieced together your quilt backing and squared it up, you’re ready to move on to the next step: pressing and finishing.
Read more: How To Cut Backing For A Quilt
Pressing and Finishing
Once you have pieced together your quilt backing, it’s important to give it a final press to ensure a smooth and polished finish. Pressing the fabric not only helps to remove any wrinkles or creases but also sets the seams and prepares the backing for quilting.
Start by laying your quilt backing flat on an ironing board or a clean surface. Set your iron to the appropriate temperature for the fabric and gently glide it over the surface of the fabric. Use a pressing motion rather than dragging the iron to avoid stretching or distorting the fabric. Pay special attention to the seams, pressing them open or towards one side to create a flat and even surface.
If you have used a French seam, remember to press it towards one side before moving on to the next step. This will ensure that the seam lies flat and doesn’t create any unnecessary bulk when you quilt through the layers.
After pressing, take a moment to inspect the quilt backing for any loose threads or stray fibers. Use fabric scissors or a thread snipper to trim any excess threads, ensuring that the backing looks neat and tidy.
Finally, give your quilt backing one last check for any stains, marks, or imperfections. If necessary, spot clean the fabric using a gentle fabric stain remover or a mild detergent before giving it a final press.
Once your quilt backing is pressed and free from any blemishes, it’s ready to be attached to the quilt top. Lay the backing fabric with the right side facing down and carefully place the quilt top on top of it, right side facing up. Align the edges and corners of both layers and secure them in place using fabric pins or clips.
With the backing and quilt top securely nested together, you can now start the quilting process. Whether you choose to quilt by hand or using a sewing machine, you’ll have a beautifully pieced backing that adds both functionality and style to your quilt.
Congratulations! You have successfully learned how to make a quilt backing. With careful fabric selection, precise measuring and cutting, skillful piecing, and a final press, you have created a high-quality backing that complements your quilt top. Now it’s time to bring your quilt to life by adding the batting and quilting it together. Happy quilting!
Conclusion
Congratulations on completing your journey to make a quilt backing! You have learned the importance of choosing the right fabric, preparing it properly, measuring and cutting accurately, piecing it together, and giving it a final press. These steps are essential in creating a quilt backing that not only enhances the overall look of your quilt, but also provides functional protection.
Remember to take the time to carefully select a fabric that is both durable and comfortable, while also considering the color, design, and width of the fabric. Preparing the fabric by prewashing, checking for flaws, and ensuring it is properly squared sets the foundation for a successful backing. Accurate measuring and cutting ensure that the backing covers the entire quilt and fits perfectly. Piecing the backing together allows you to create a customized design and maintain the integrity of the fabric. Finally, pressing the backing and giving it a final check ensures a polished finish before attaching it to the quilt top.
Creating a quilt backing may seem like a small step in the quilt-making process, but it plays a crucial role in the overall success of your project. A well-crafted backing not only adds beauty and functionality to your quilt but also provides stability and longevity.
Now that you have mastered the art of making a quilt backing, it’s time to move on to the next steps in completing your quilt. Don’t forget to layer your backing with batting and quilt the layers together to bring your quilt to life.
Enjoy the process of quilting and let your creativity shine through as you add the finishing touches to your wonderful creation. Whether you’re making a quilt for yourself, a loved one, or as a gift, the effort and care you put into making a quilt backing will surely be appreciated and cherished for years to come.
Frequently Asked Questions about How To Make A Quilt Backing
Was this page helpful?
At Storables.com, we guarantee accurate and reliable information. Our content, validated by Expert Board Contributors, is crafted following stringent Editorial Policies. We're committed to providing you with well-researched, expert-backed insights for all your informational needs.





0 thoughts on “How To Make A Quilt Backing”