Articles
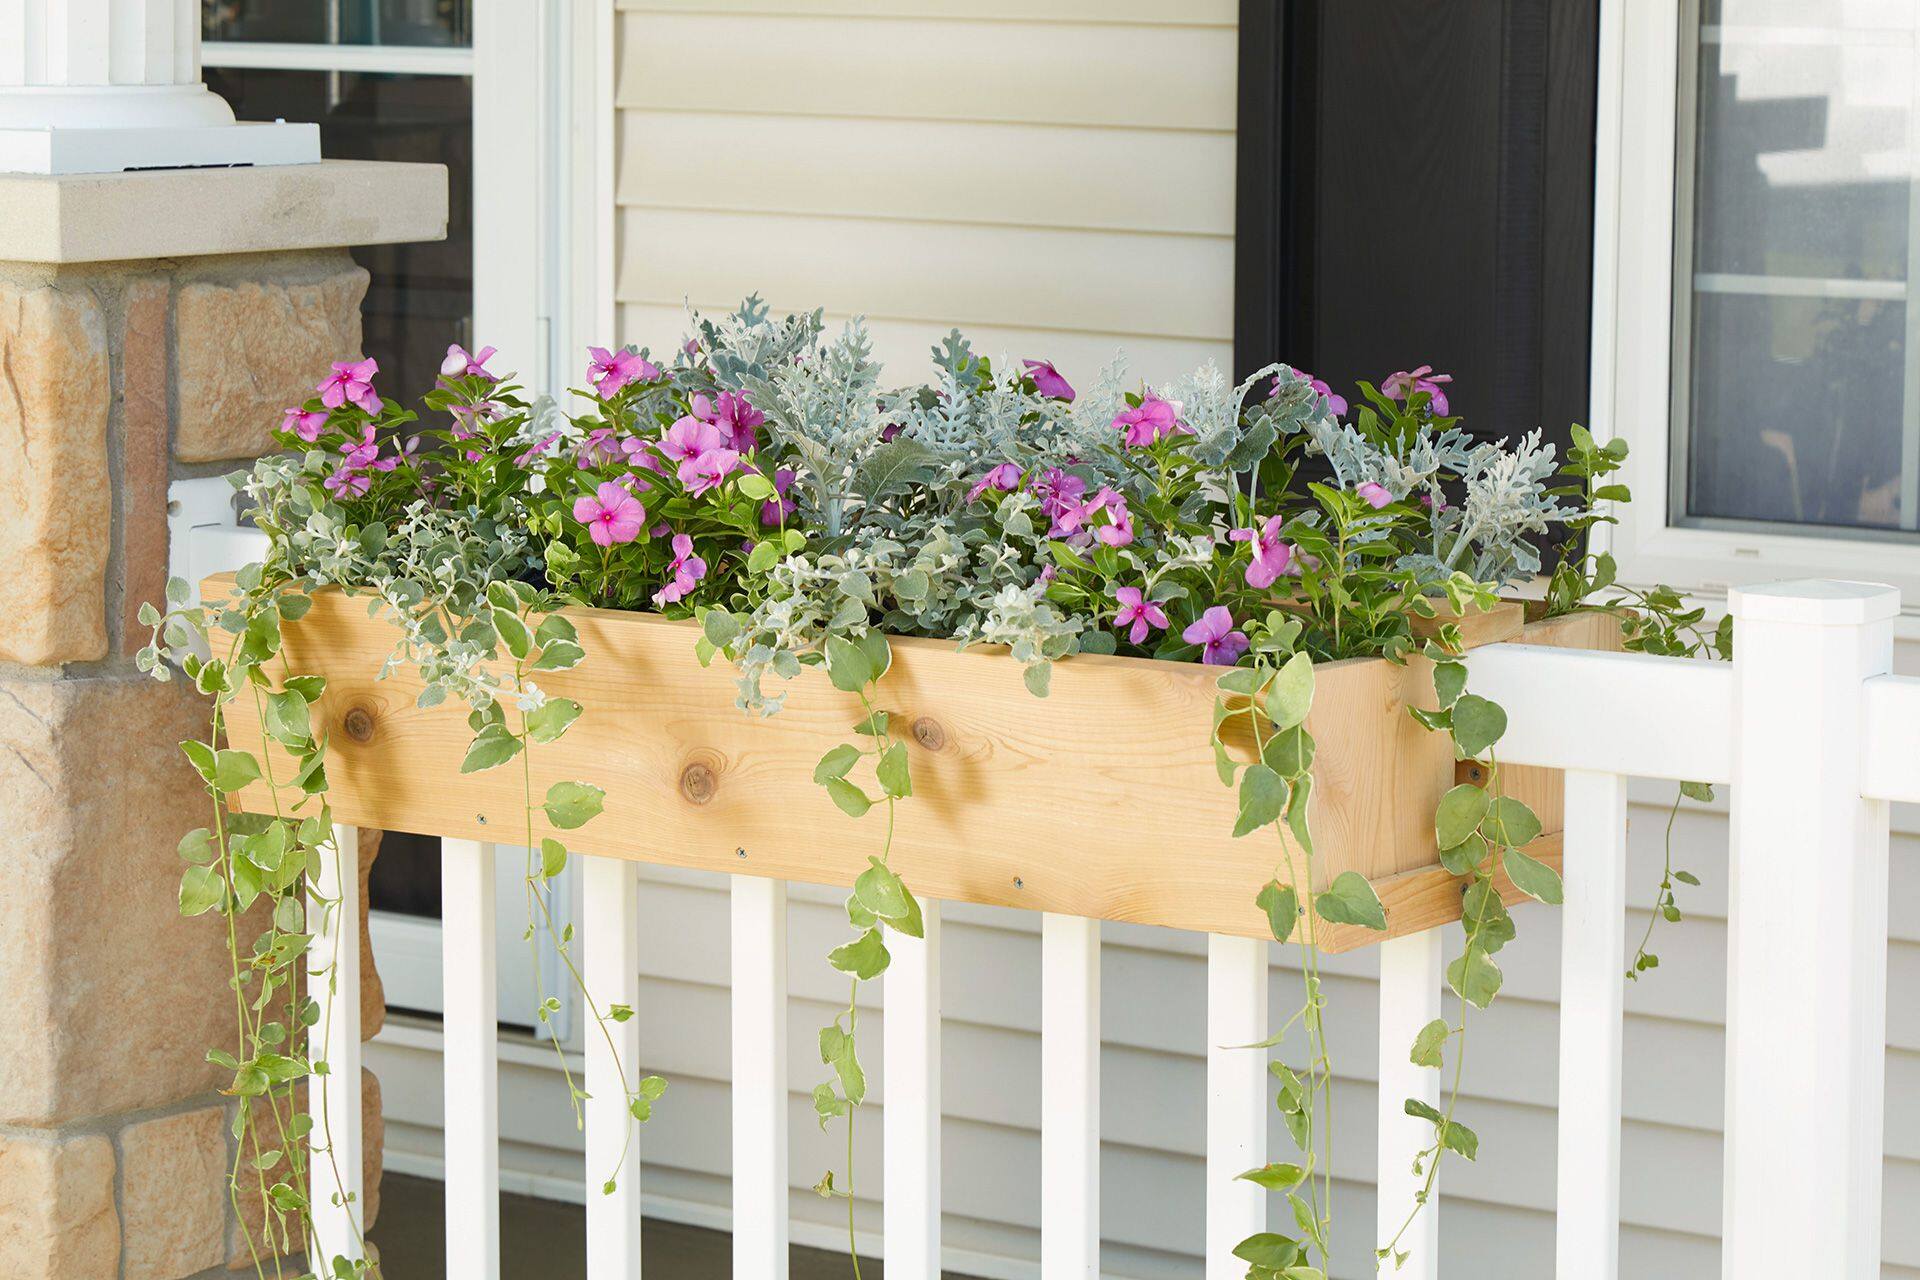
How To Make Flower Boxes For Porch Railings
Modified: December 7, 2023
Learn how to make beautiful flower boxes for your porch railings with our informative and detailed articles. Get inspired to create a stunning exterior display for your home!
(Many of the links in this article redirect to a specific reviewed product. Your purchase of these products through affiliate links helps to generate commission for Storables.com, at no extra cost. Learn more)
Introduction
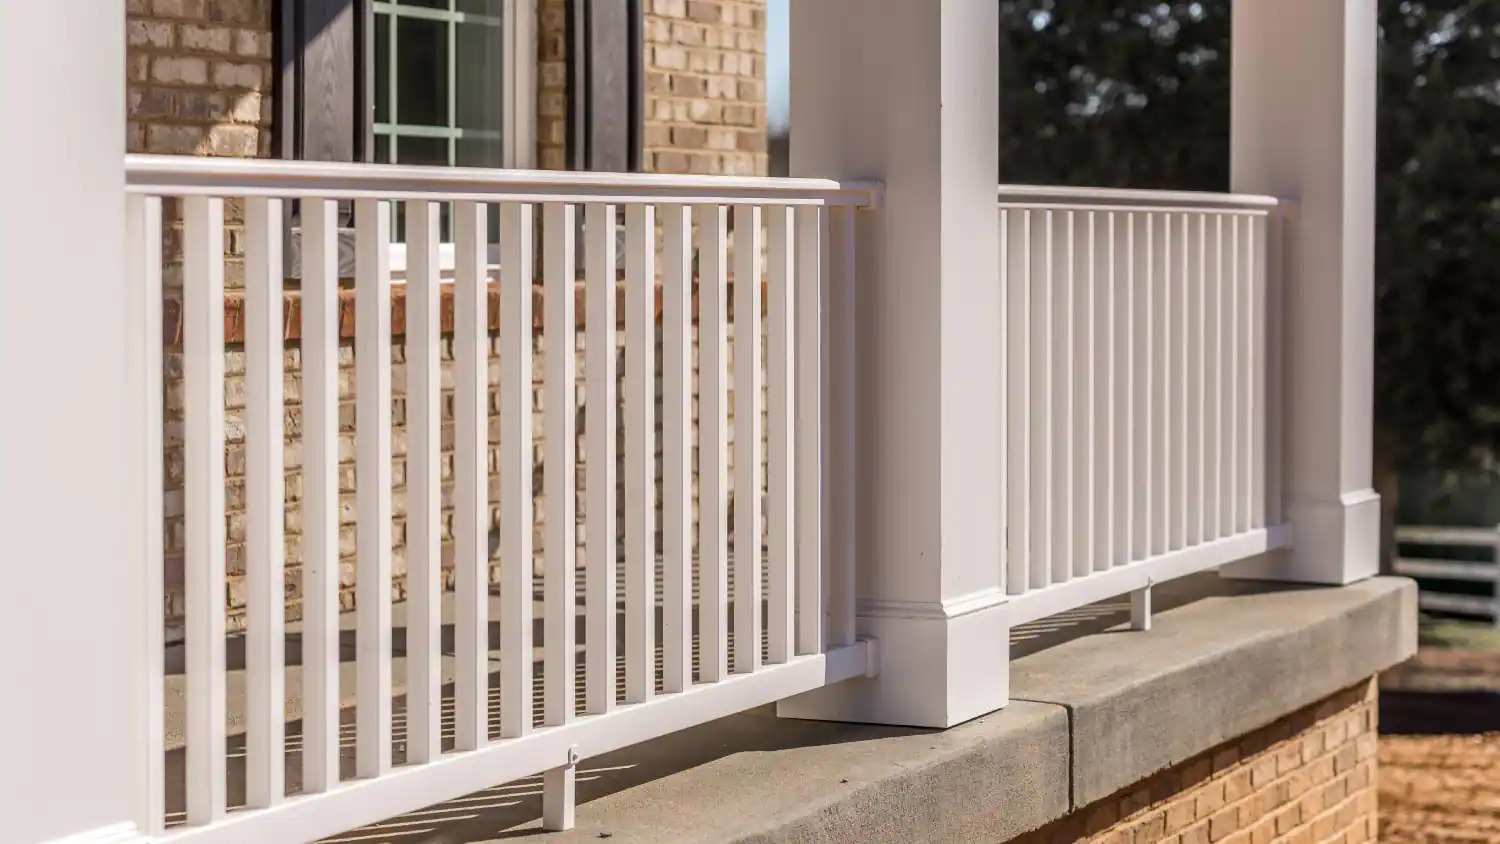
Welcome to our guide on how to make beautiful flower boxes for porch railings. Adding flower boxes to your porch railing not only adds a touch of charm and color to your outdoor space, but it also allows you to showcase your favorite flowers and plants. Whether you have a small porch or a sprawling deck, creating your own flower boxes is a fun and rewarding DIY project that can enhance the aesthetic appeal of your home.
In this article, we will walk you through the step-by-step process of making flower boxes for porch railings. We will cover everything from measuring and cutting the wood to attaching the flower box to your railing and planting your favorite blooms. So, grab your gardening gloves and let’s get started!
Before we dive into the construction process, let’s take a moment to gather all the materials you will need for this project.
Key Takeaways:
- Create beautiful flower boxes for porch railings using pressure-treated lumber, essential tools, and proper assembly techniques. Showcase your creativity and gardening skills while adding charm to your outdoor space.
- Maintain the vibrancy of your flower boxes by watering, monitoring for pests, deadheading, and providing proper care. Protect your plants from extreme weather and unleash your creativity in designing stunning displays.
Read more: How To Build Porch Rails
Materials Needed
Before you begin making your flower boxes for porch railings, it’s important to gather all the necessary materials. Below is a list of items you will need:
- 1×6 or 1×8 pressure-treated lumber – This will serve as the main material for constructing the flower box.
- Measuring tape and pencil – These tools will be used to measure and mark the dimensions of the flower box.
- Miter saw or hand saw – You will need a saw to cut the lumber to the desired lengths.
- Sandpaper – This will be used to smooth out any rough edges or surfaces.
- Wood glue – A strong wood glue will be used to secure the pieces of lumber together.
- Clamps – Clamps will help hold the pieces of lumber in place while the wood glue dries.
- Screws or nails – These fasteners will be used to attach the flower box to your porch railing.
- Drill or hammer – Depending on your preference, you will need a drill or a hammer to secure the screws or nails.
- Landscape fabric or plastic liner – This will line the inside of the flower box to prevent soil from falling out.
- Gardening soil – You will need enough soil to fill the flower box and provide a healthy environment for your plants.
- Flowers or plants – Choose your favorite flowers or plants to add color and beauty to your flower box.
Once you have gathered all the materials, you’re ready to move on to the next step: measuring and cutting the wood for your flower box.
Step 1: Measure and Cut the Wood
The first step in making flower boxes for porch railings is to measure and cut the wood to the desired dimensions. Here’s how:
- Measure the length of your porch railing – Use a measuring tape to determine the length of your porch railing where you plan to attach the flower box. This measurement will determine the length of your flower box.
- Determine the width and height – Decide on the width and height of your flower box. Take into consideration the size of your railing and the amount of space you want the flower box to occupy.
- Mark the measurements on the lumber – Using a pencil or marker, mark the measurements of your desired length, width, and height on the lumber.
- Cut the lumber – With a miter saw or hand saw, carefully cut the lumber according to the marked measurements. Make sure to cut straight and smooth edges.
It’s important to note that the length of your flower box should be slightly shorter than the length of your porch railing, allowing enough space for easy installation and movement.
Once you have cut the lumber to the desired dimensions, you’re ready to move on to the next step: sanding the wood.
Step 2: Sand the Wood
After cutting the wood for your flower box, the next step is to sand the surfaces to create a smooth and polished finish. Sanding the wood will not only enhance its appearance but also prevent splinters. Here’s how to sand the wood:
- Inspect the cut edges and surfaces – Examine the cut edges and surfaces of the wood for any rough spots, splinters, or unevenness.
- Start with coarse-grit sandpaper – Begin sanding the wood with a coarse-grit sandpaper, such as 80 or 100 grit. This will help remove any rough spots and imperfections.
- Sand in the direction of the grain – To achieve the best results, sand the wood in the direction of the grain. This will prevent any scratches or marks on the surface.
- Gradually move to finer-grit sandpaper – Once you have sanded the wood with the coarse-grit sandpaper, switch to a finer-grit sandpaper, such as 120 or 150 grit. Continue sanding until the surface feels smooth and even.
- Remove dust – After sanding, use a cloth or brush to remove any dust or debris from the wood.
Be sure to wear goggles and a dust mask to protect yourself from dust particles. Additionally, take breaks in between sanding to give your arms and hands some rest.
Once you have finished sanding the wood, it is now time to assemble the flower box. Proceed to the next step to learn how.
Step 3: Assemble the Flower Box
With the wood cut and sanded, it’s time to assemble the flower box. Follow these steps to put it all together:
- Arrange the pieces – Lay out the cut pieces of wood in the desired shape of your flower box. Make sure all the corners align properly.
- Apply wood glue – Apply a generous amount of wood glue to the edges of the wood pieces that will be joined together. Use a brush or your finger to evenly spread the glue.
- Join the pieces – Carefully press the glued edges together and hold them in place. Use clamps to secure the pieces if necessary. Make sure the corners are square and the joints are tight.
- Allow the glue to dry – Read the instructions on the wood glue for recommended drying time. Typically, it takes a few hours for the glue to fully set and cure.
- Check for stability – Once the glue has dried, check the stability of the flower box. Ensure that all the joints are strong and secure. Make any necessary adjustments or add additional glue if needed.
Remember, the quality of the assembly will determine the durability and longevity of your flower box. Take your time and pay attention to detail during the assembly process.
Now that the flower box is assembled, it’s time to move on to the next step: attaching it to the porch railing. Continue reading to learn how.
When making flower boxes for porch railings, make sure to use weather-resistant materials such as cedar or plastic. Also, ensure proper drainage by drilling holes in the bottom of the box.
Read more: How To Paint Porch Railing
Step 4: Attach the Flower Box to the Porch Railing
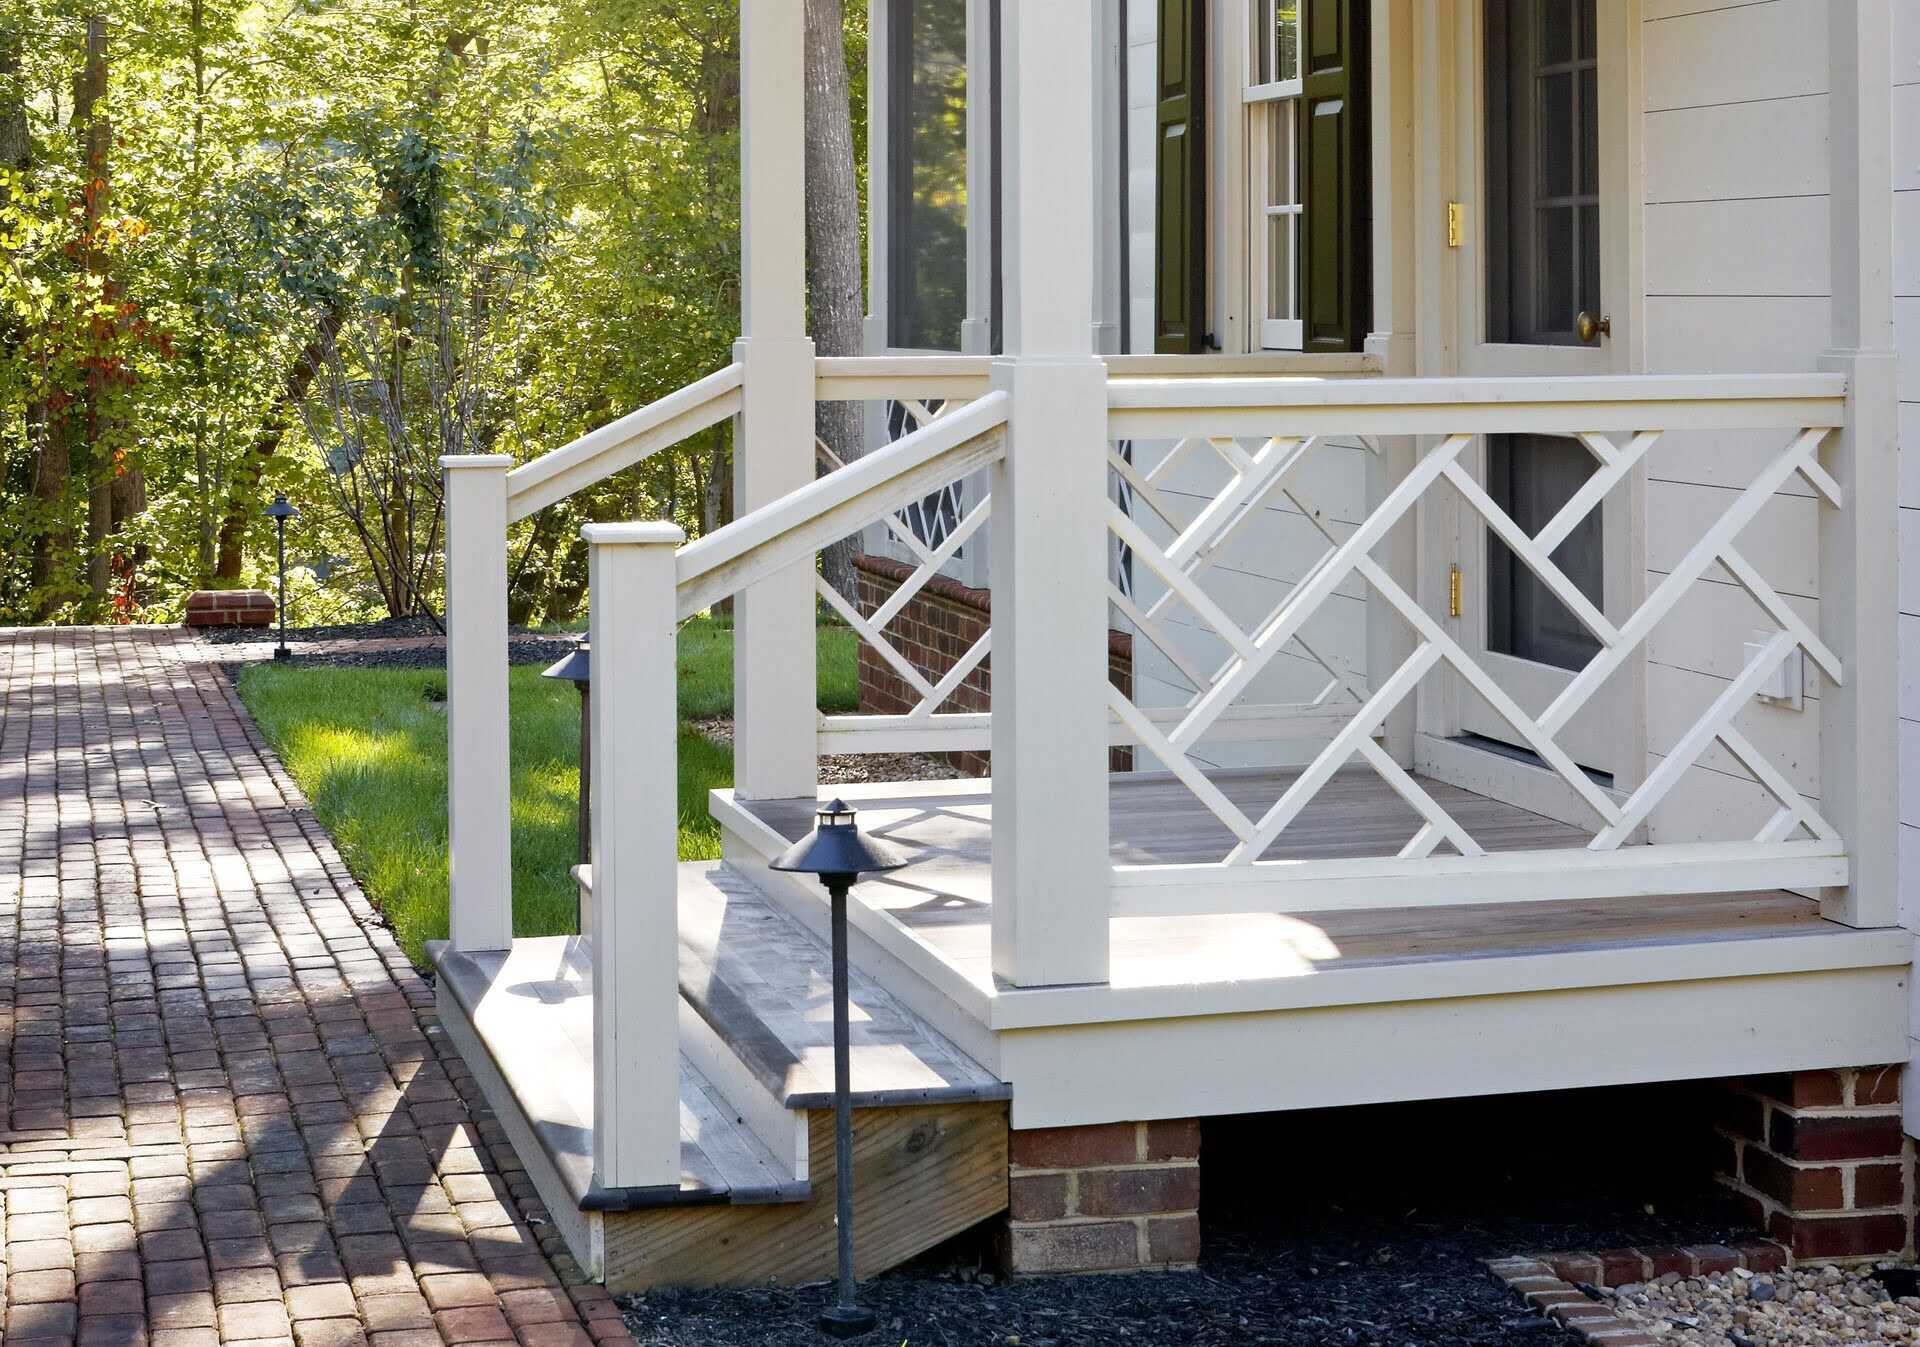
Once the flower box is assembled, the next step is to securely attach it to your porch railing. Here’s how to do it:
- Position the flower box – Hold the flower box in the desired position on your porch railing. Make sure it is centered and level.
- Mark the mounting points – Use a pencil or marker to mark the spots on the porch railing where the flower box will be attached.
- Pre-drill holes – Using a drill and a drill bit slightly smaller than your screws or nails, pre-drill holes at the marked spots on the porch railing. This will prevent the wood from splitting when you attach the flower box.
- Secure the flower box – With the pre-drilled holes, align the flower box and attach it to the porch railing using screws or nails. Make sure the box is securely fixed and level.
- Double-check stability – After attaching the flower box, verify its stability by gently shaking it. If it feels wobbly or insecure, reinforce the attachment points or make any necessary adjustments.
It’s important to use strong screws or nails that can support the weight of the flower box and withstand outdoor conditions. Additionally, make sure to use weather-resistant materials that can withstand exposure to moisture and sunlight.
Now that the flower box is securely attached to your porch railing, it’s time to fill it with soil and plant your favorite flowers or plants. Follow the next step to learn how.
Step 5: Add Soil and Plant Flowers
With the flower box securely attached to your porch railing, it’s time to bring it to life by adding soil and planting flowers or plants of your choice. Here’s how to do it:
- Prepare the flower box – Ensure that the inside of the flower box is clean and free of any debris. If desired, line the inside of the box with landscape fabric or a plastic liner to prevent soil from falling out.
- Add drainage material – To promote healthy plant growth, add a layer of gravel or small stones at the bottom of the flower box. This will help improve drainage and prevent waterlogged soil.
- Fill with potting soil – Fill the flower box with enough potting soil, leaving about an inch of space below the rim to prevent overflow when watering.
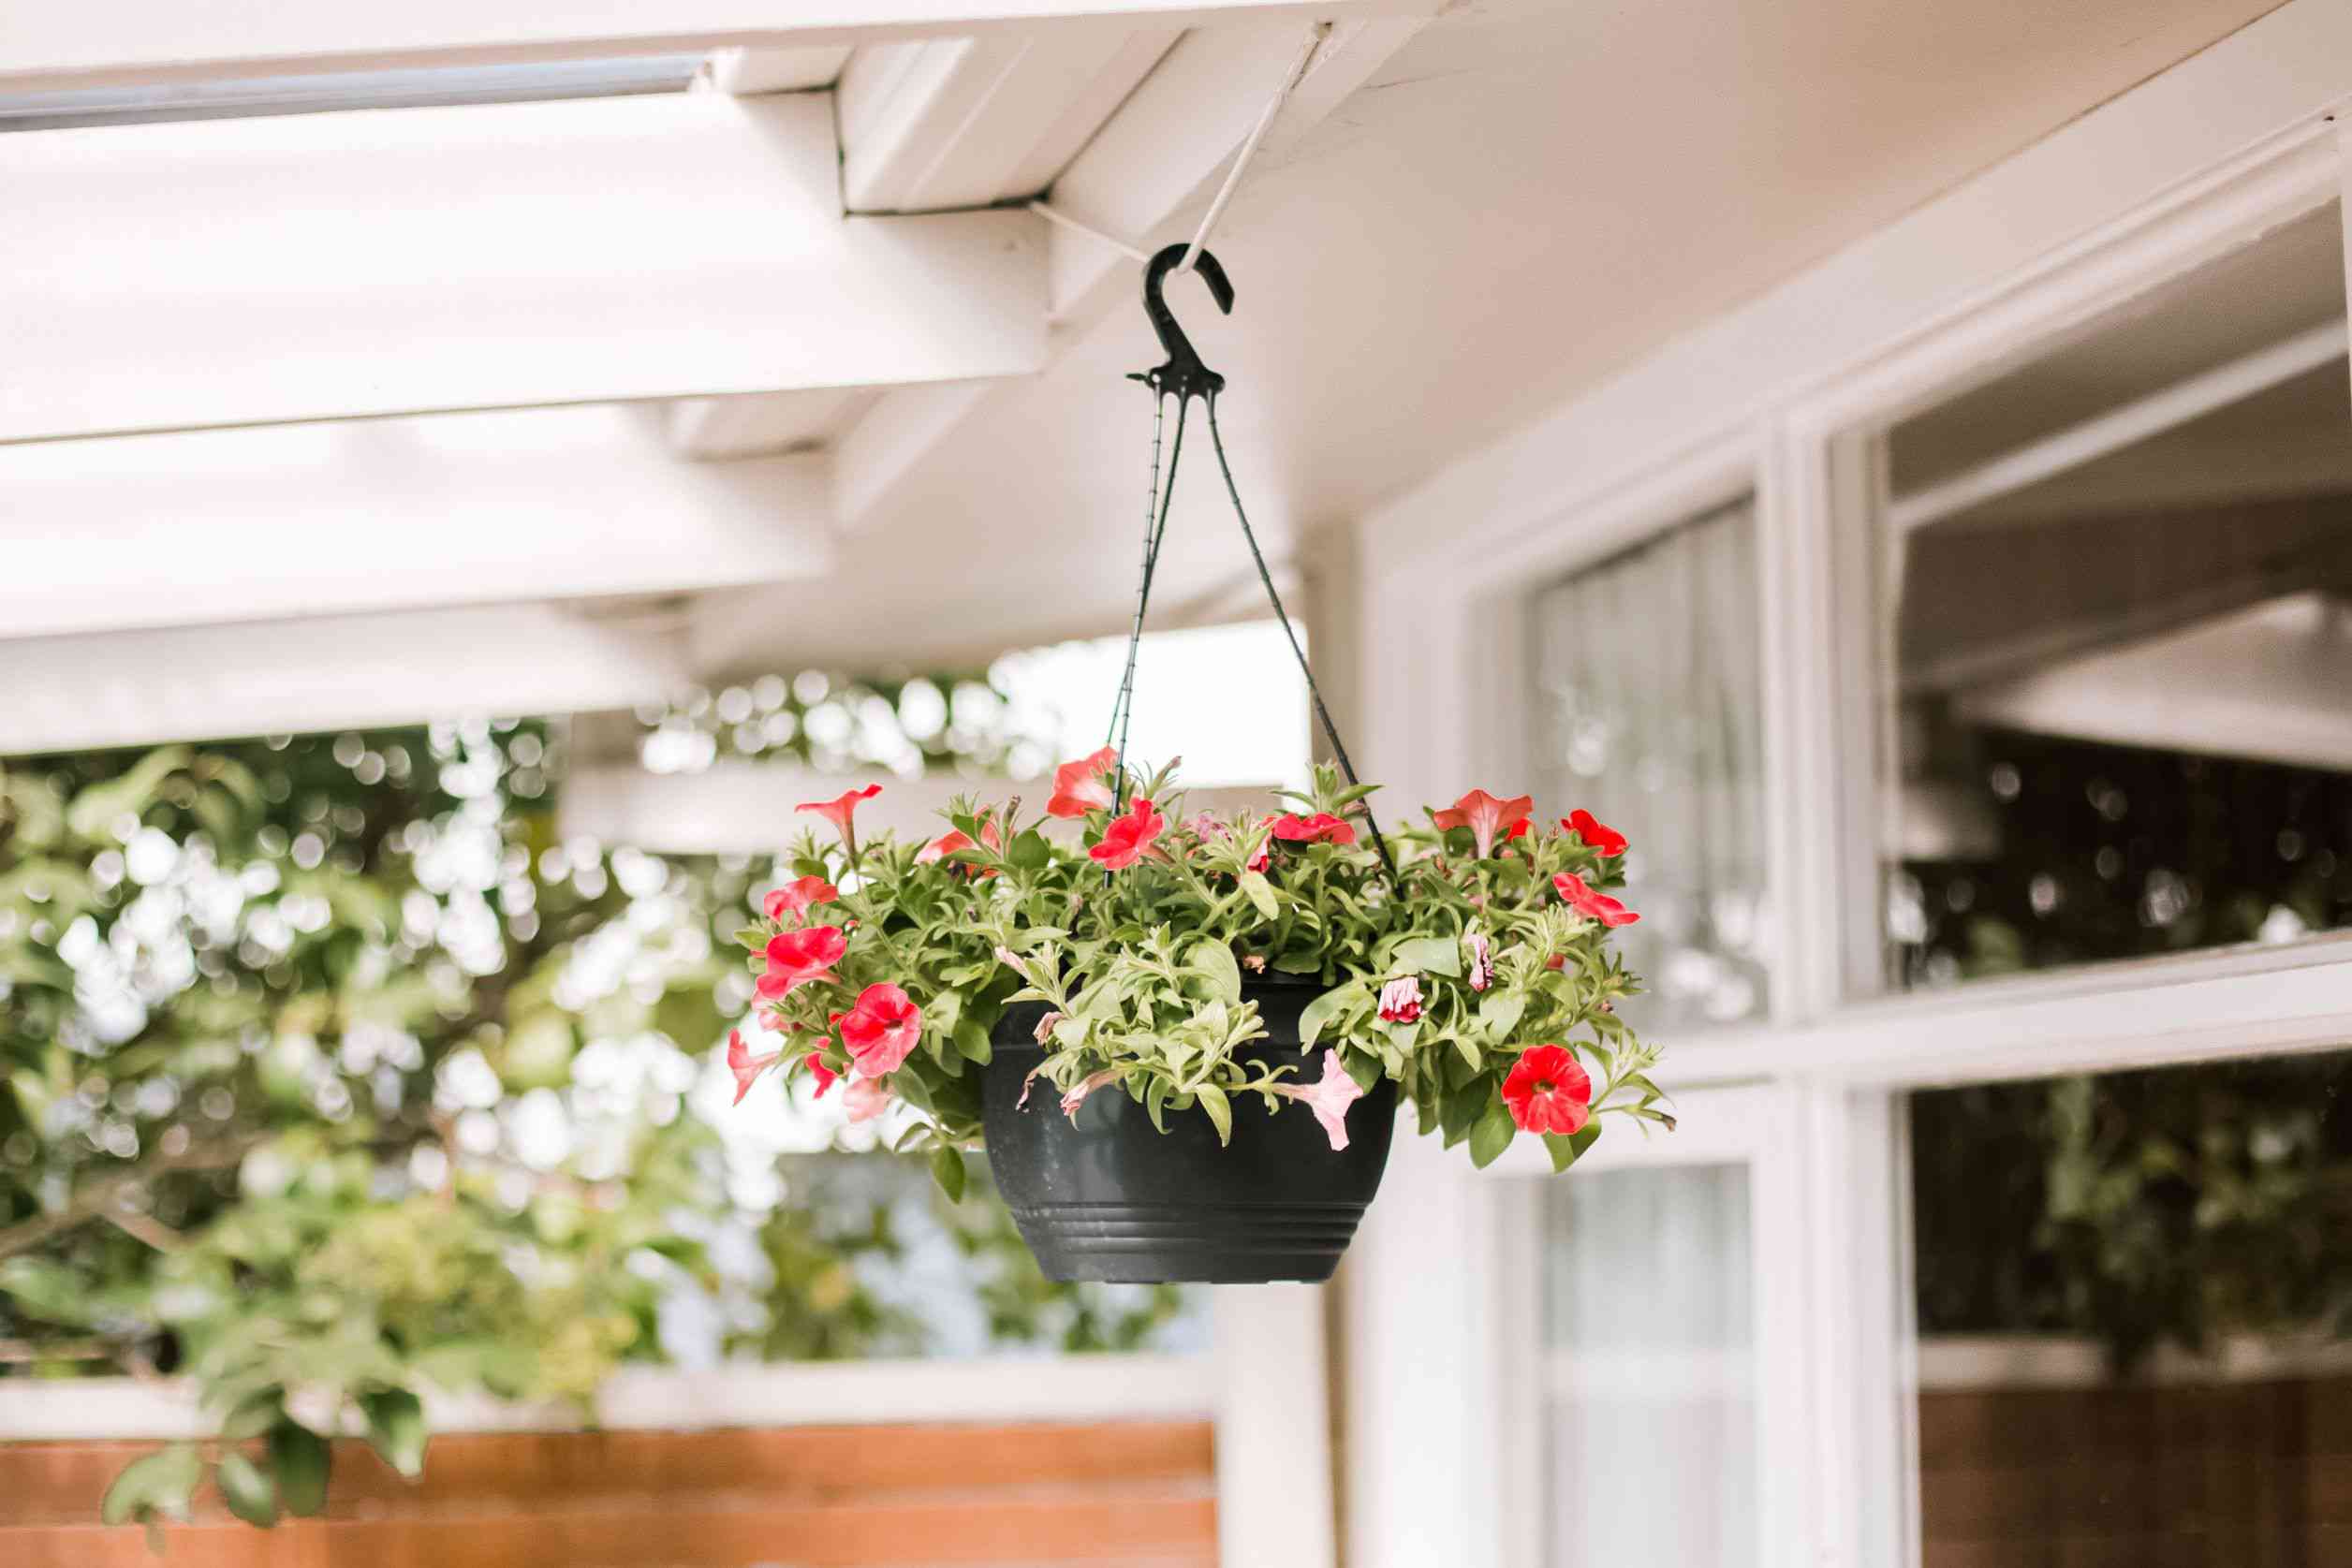
- Choose the right plants – Select flowers or plants that are suitable for your climate and the amount of sunlight your porch receives. Consider factors such as bloom time, color, and plant height to create an aesthetically pleasing arrangement.
- Plant the flowers – Dig small holes in the soil and gently place the roots of each plant into the holes. Firmly press the soil around the base of the plants to secure them.
- Water the plants – After planting, give your flowers a thorough watering. Be sure to provide enough water to deeply saturate the soil.
It’s important to regularly water your plants and provide proper care to ensure their growth and vitality. Follow the specific care instructions for each type of flower or plant you have chosen.
Now that you have planted your flowers, it’s time to learn some maintenance tips to keep your flower box looking beautiful. Continue reading to find out more.
Step 6: Maintenance Tips
To keep your flower box looking vibrant and healthy, regular maintenance is key. Here are some essential maintenance tips:
- Water regularly – Check the moisture level of the soil and water your plants as needed. Avoid overwatering, as it can lead to root rot, and underwatering, which can cause the plants to wilt.
- Monitor for pests – Keep an eye out for any pests that may be affecting your plants, such as aphids or snails. Identify and treat any pest issues promptly to prevent damage to your flowers.
- Deadhead and prune – Remove wilted or dead flowers by gently pinching them off. Prune your plants regularly to maintain their shape and encourage new growth.
- Fertilize as needed – Depending on the type of flowers you have planted, you may need to fertilize them to provide necessary nutrients. Follow the instructions on the fertilizer packaging and apply it according to the recommended frequency.
- Protect from extreme weather – During extreme weather conditions, such as heavy rain or high temperatures, consider protecting your flower box. Move it to a covered area or provide shade to prevent damage to your plants.
- Clean the flower box – Over time, dirt and debris may accumulate in your flower box. Regularly clean the box by removing any fallen leaves or debris to maintain a tidy appearance.
By following these maintenance tips, you can ensure the longevity and health of your flowers and keep your flower box looking beautiful season after season.
With these steps and maintenance tips, you are now well-equipped to create and maintain stunning flower boxes for your porch railings. Enjoy the process and watch as your flowers bring life and beauty to your outdoor space!
Remember to unleash your creativity and personal style when choosing flowers and designing your flower box. Have fun and showcase your unique green thumb!
Thank you for reading our guide, and we hope you find success in creating your own flower boxes for porch railings!
Conclusion
Creating flower boxes for porch railings is a rewarding DIY project that allows you to add a touch of beauty and personality to your outdoor space. By following the steps outlined in this guide, you can successfully design and construct your flower boxes while incorporating your favorite flowers and plants.
We started by gathering the necessary materials, including pressure-treated lumber, tools like a miter saw and sandpaper, as well as wood glue and fasteners. Then, we walked through the step-by-step process, from measuring and cutting the wood to assembling the flower box and attaching it securely to your porch railing. We also discussed the importance of sanding the wood for a smooth finish.
Once the flower box was assembled and attached, we learned how to properly fill it with potting soil, add drainage material, and plant our chosen flowers or plants. Regular maintenance, such as watering, deadheading, and pruning, as well as monitoring for pests, was also emphasized to keep the flower box thriving.
Remember, the design and care of your flower box are opportunities to showcase your creativity and showcase your personal style. Experiment with different flower combinations, colors, and arrangements to create beautiful displays throughout the seasons.
Now, armed with the knowledge and guidance provided in this article, it’s time to unleash your inner gardener and start creating stunning flower boxes for your porch railings. Enjoy the process of tending to your plants and watching them flourish.
Thank you for taking the time to read our guide. We hope you find success and joy in your journey of making flower boxes for porch railings. Happy gardening!
Frequently Asked Questions about How To Make Flower Boxes For Porch Railings
Was this page helpful?
At Storables.com, we guarantee accurate and reliable information. Our content, validated by Expert Board Contributors, is crafted following stringent Editorial Policies. We're committed to providing you with well-researched, expert-backed insights for all your informational needs.


0 thoughts on “How To Make Flower Boxes For Porch Railings”