Home>Gardening & Outdoor>Outdoor Structures>How To Make A Retractable Canopy For A Pergola
Outdoor Structures
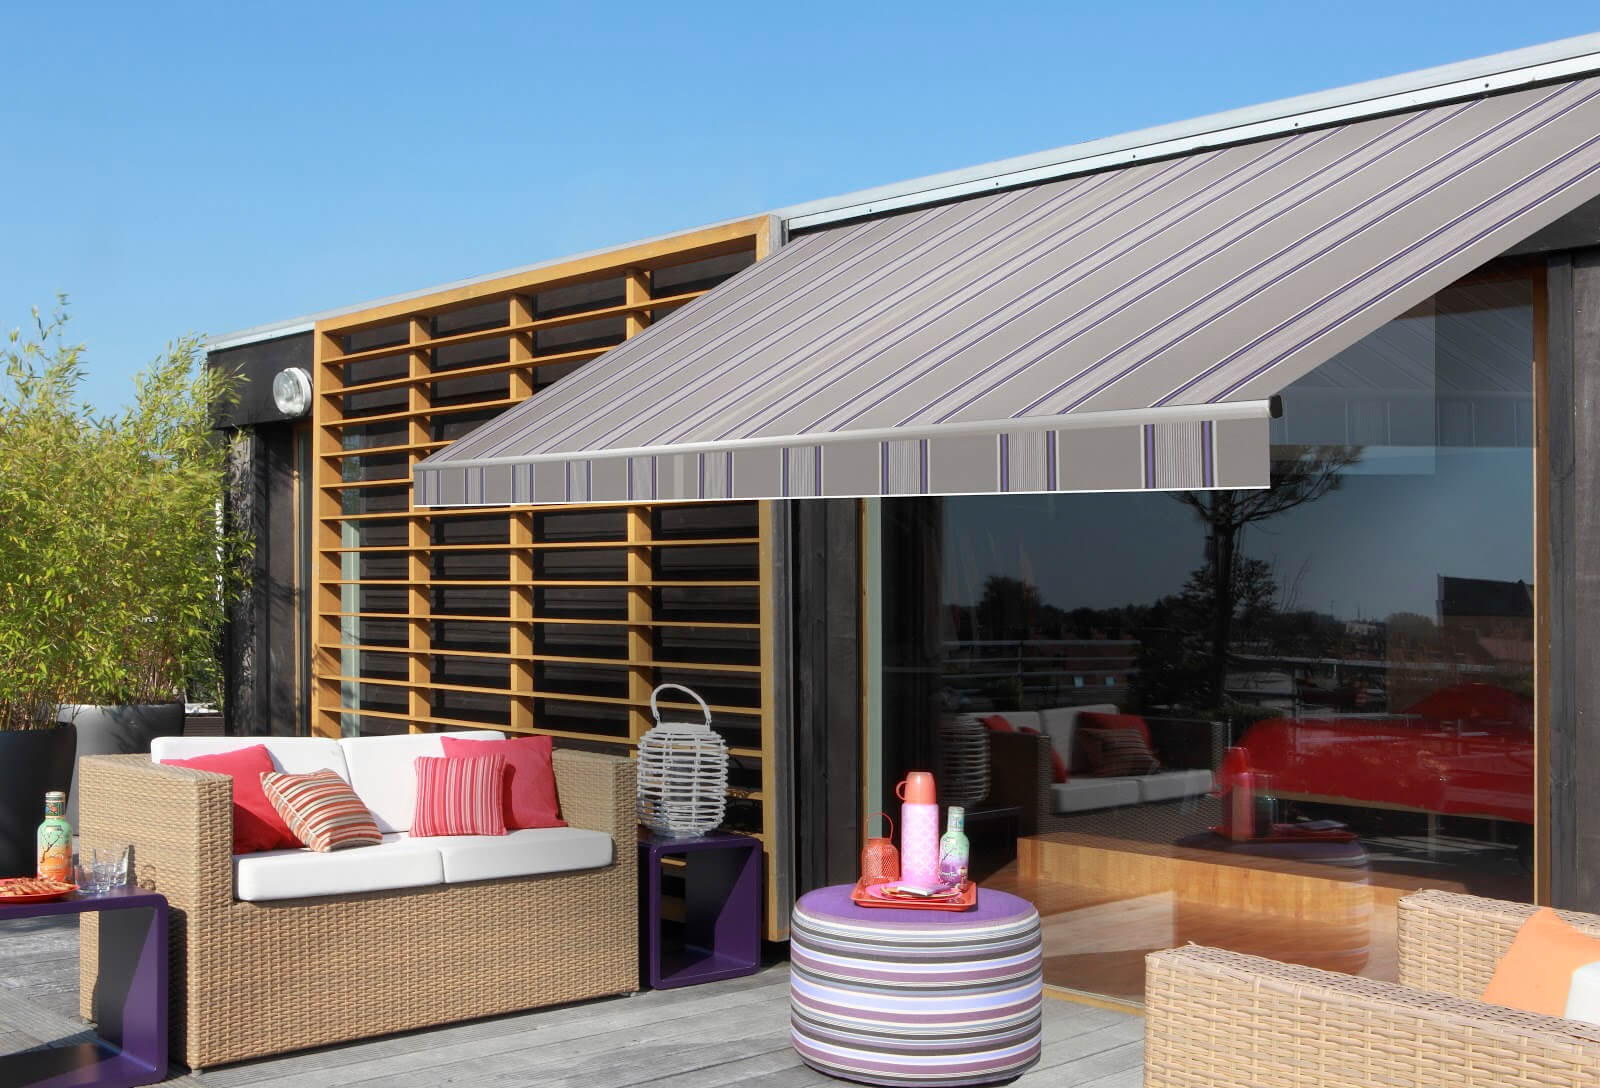
How To Make A Retractable Canopy For A Pergola
Modified: January 19, 2024
Learn how to create a retractable canopy for your pergola to enhance your outdoor space. Discover step-by-step instructions and expert tips for building outdoor structures.
(Many of the links in this article redirect to a specific reviewed product. Your purchase of these products through affiliate links helps to generate commission for Storables.com, at no extra cost. Learn more)
Introduction
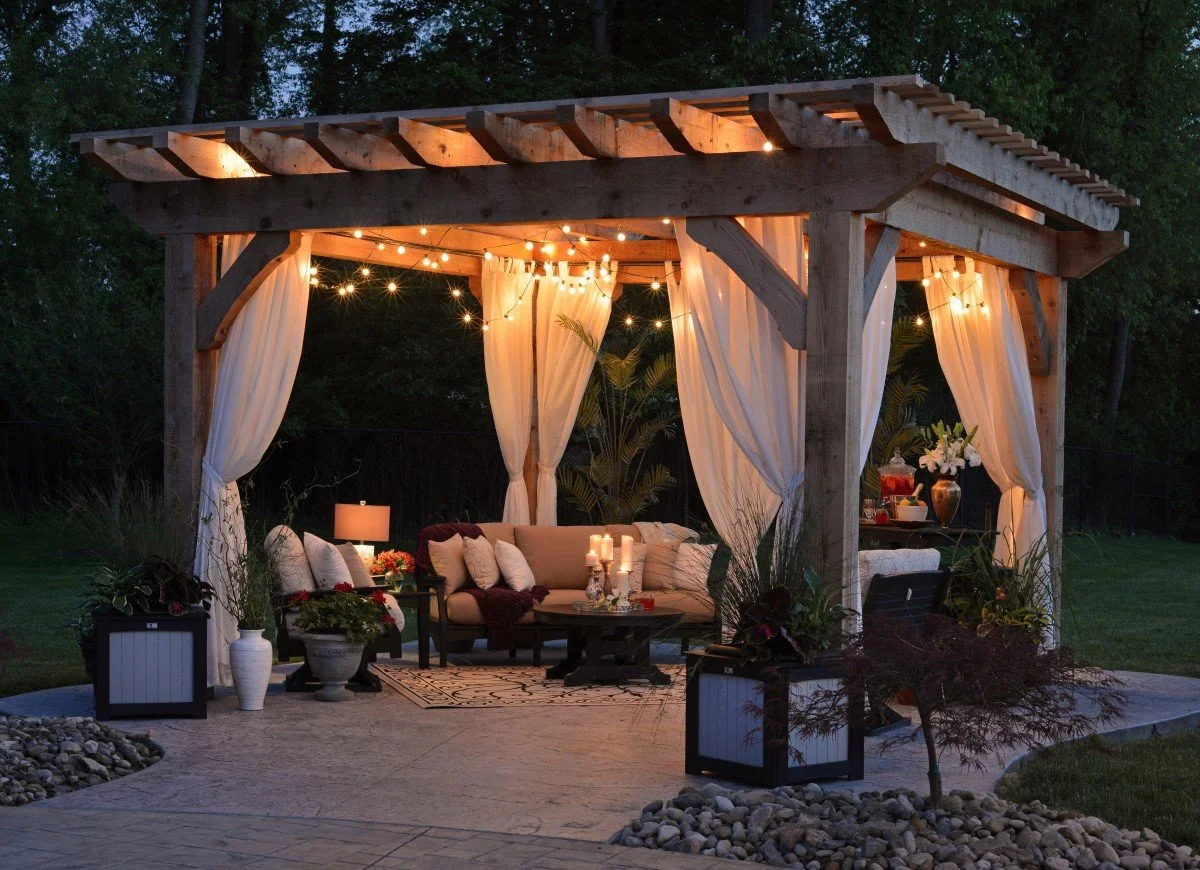
Are you looking to create a relaxing and stylish outdoor space that offers both shade and a touch of elegance? Adding a retractable canopy to your pergola can transform your outdoor area into a versatile and inviting retreat. Whether you want to shield your outdoor dining area from the sun's intense rays or create a cozy spot for lounging, a retractable canopy provides the perfect solution.
In this guide, we will walk you through the process of crafting and installing a retractable canopy for your pergola. With the right materials, tools, and a bit of DIY spirit, you can elevate your outdoor living space and enjoy the benefits of a customizable shade solution. So, roll up your sleeves and get ready to embark on a rewarding project that will enhance both the functionality and aesthetics of your pergola.
Key Takeaways:
- Create a stylish and functional outdoor retreat by crafting a retractable canopy for your pergola. With the right materials and careful planning, you can enjoy customizable shade and elegant outdoor living.
- Elevate your outdoor space with a DIY retractable canopy that offers sun protection and a touch of sophistication. Crafted with durable materials and meticulous attention to detail, your pergola will become a versatile and inviting oasis.
Materials and Tools
Before diving into the construction of your retractable canopy, it’s essential to gather all the necessary materials and tools. Here’s what you’ll need:
Materials:
- Canvas or outdoor fabric: Choose a durable, weather-resistant fabric that complements your outdoor decor.
- Wood or metal for the frame: Select sturdy, weather-treated wood or rust-resistant metal for constructing the frame.
- Stainless steel eye bolts and screws: These will be used to secure the canopy to the frame and allow for smooth retraction.
- Pulley system: Look for a high-quality pulley system that can handle the weight of the canopy fabric.
- Steel cable: This will be used to guide the movement of the retractable canopy.
- Concrete or deck anchors: Depending on your pergola's foundation, you'll need the appropriate anchors for securing the frame.
- Waterproof sealant: To protect the wood frame from moisture and extend its lifespan.
- Decorative elements (optional): Consider adding decorative elements such as trim or finials to enhance the visual appeal of your retractable canopy.
Tools:
- Measuring tape and level: Essential for accurate measurements and ensuring a level installation.
- Power drill and screwdriver: For assembling the frame and securing the hardware.
- Saw: If you're building a wooden frame, a saw will be necessary for cutting the lumber to the required lengths.
- Pliers: Useful for handling the steel cable and securing connections.
- Paintbrush: For applying waterproof sealant to the wooden frame.
- Ladder: Depending on the height of your pergola, a ladder may be needed for safe access during installation.
With these materials and tools at your disposal, you’ll be well-equipped to embark on the construction of your retractable canopy. Now that you’re prepared, it’s time to move on to the first step: measuring and planning.
Step 1: Measure and Plan
Before you start constructing your retractable canopy, it’s crucial to take precise measurements and devise a comprehensive plan. Here’s how to get started:
First, measure the dimensions of your pergola to determine the exact size of the retractable canopy you’ll need. Consider the desired coverage area and how far you want the canopy to extend beyond the pergola’s edges to provide ample shade. Additionally, take into account the height clearance required for comfortable movement beneath the canopy.
Next, sketch out a detailed plan for the positioning of the canopy and the frame. Consider factors such as the direction of the sun, prevailing winds, and any nearby structures that could affect the canopy’s functionality. Your plan should also include the placement of the pulley system and the steel cable, ensuring that they operate smoothly and without obstruction.
Once you have your measurements and plan in place, it’s time to select the materials for the frame. If you’re using wood, opt for treated lumber that can withstand outdoor conditions. For a metal frame, choose a material that is both durable and corrosion-resistant. Keep in mind that the frame should be sturdy enough to support the canopy and withstand wind loads.
As you finalize your plan, consider any additional features you may want to incorporate, such as decorative elements or lighting. These details will contribute to the overall ambiance of your outdoor space and can be integrated into the design of the retractable canopy.
By meticulously measuring and planning the layout of your retractable canopy, you’ll lay a solid foundation for the subsequent construction steps. With these preparations complete, you’re ready to move on to the next phase: constructing the frame for your retractable canopy.
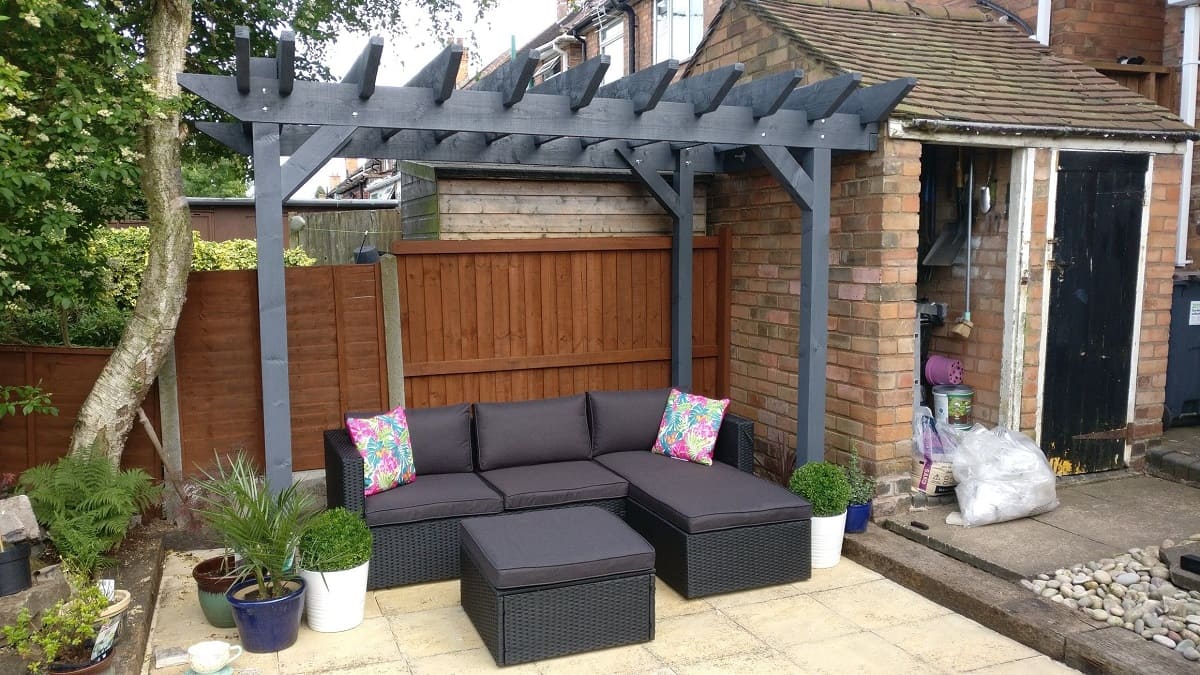
Step 2: Construct the Frame
With your measurements and plan in hand, it’s time to bring your retractable canopy to life by constructing the frame. Follow these steps to build a sturdy and reliable support structure for your canopy:
Choose the Right Material: Whether you opt for wood or metal, select material that is durable and suitable for outdoor use. Treated lumber is an excellent choice for a wooden frame, offering resistance to rot and decay. If you prefer a metal frame, look for materials such as aluminum or steel that can withstand the elements without succumbing to corrosion.
Cut and Assemble the Frame: Using your measurements, cut the lumber or metal to the appropriate lengths for the frame components. Assemble the frame according to your plan, ensuring that all connections are secure and the structure is stable. If you’re using wood, apply a waterproof sealant to protect the frame from moisture and extend its lifespan.
Install the Pulley System: Position the pulleys at strategic points on the frame to facilitate the smooth movement of the retractable canopy. Ensure that the pulley system is securely attached and can support the weight of the canopy fabric without binding or jamming during operation.
Attach the Steel Cable: Thread the steel cable through the pulleys, following the designated path outlined in your plan. Properly tension the cable to provide the necessary support for the canopy and ensure that it retracts and extends without resistance.
Reinforce the Frame: Once the frame is assembled, reinforce critical connections and anchor points to enhance the overall stability of the structure. This step is crucial for ensuring that the frame can withstand the forces exerted by the retractable canopy, particularly during windy conditions.
By meticulously constructing the frame for your retractable canopy, you’ll create a robust and reliable foundation for the shade solution. With the frame in place, you’re now ready to proceed to the next stage: installing the canopy itself.
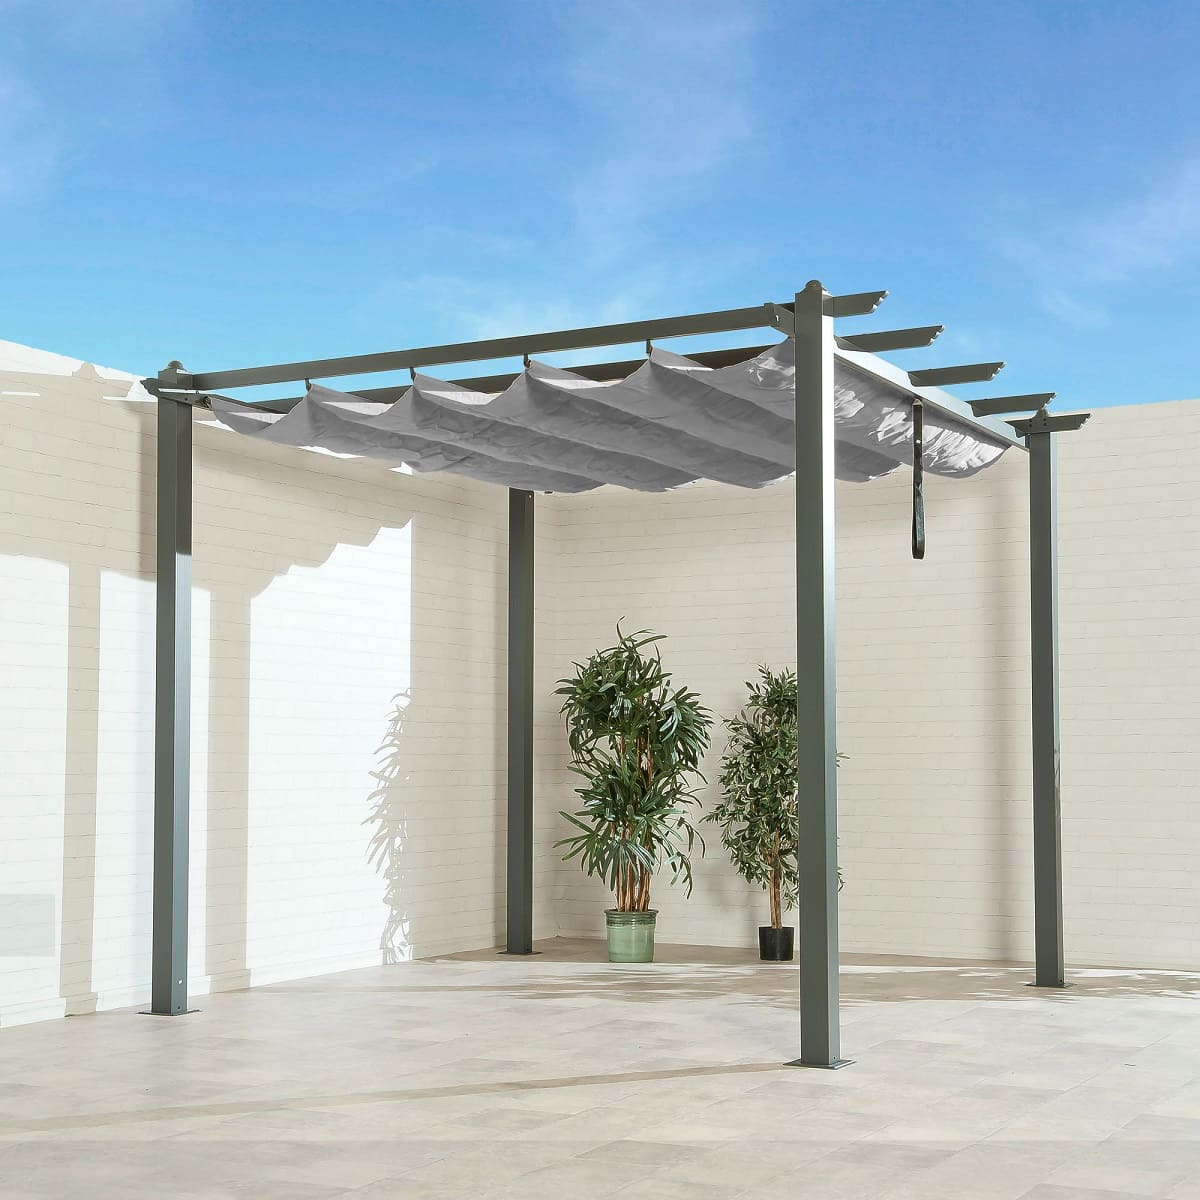
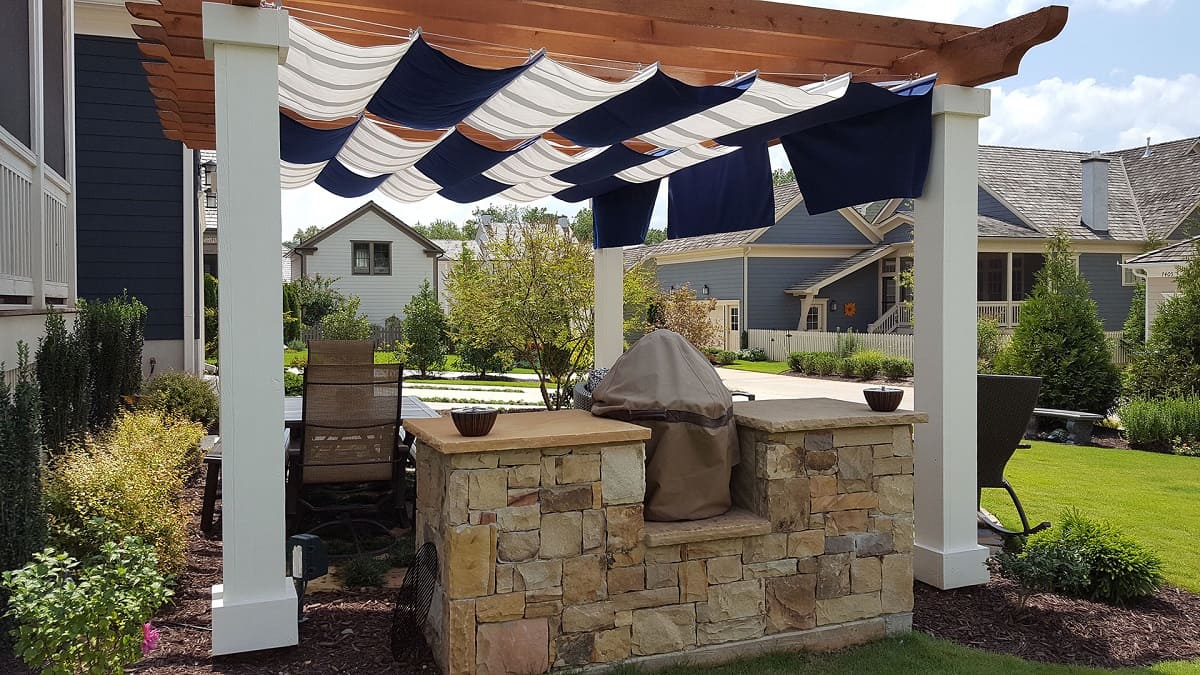
Step 3: Install the Canopy
With the frame of your retractable canopy securely in place, it’s time to add the finishing touch by installing the canopy. Follow these steps to bring shade and style to your outdoor space:
Select the Right Fabric: Choose a high-quality outdoor fabric or canvas that is designed to withstand the elements and provide reliable sun protection. Look for a material that offers UV resistance and is easy to maintain, ensuring that your canopy remains in top condition for years to come.
Cut the Fabric to Size: Using your measurements from the planning phase, carefully cut the fabric to the appropriate dimensions for your retractable canopy. Allow for any necessary seams and hems to ensure a clean and polished appearance.
Attach the Fabric to the Frame: Secure the fabric to the frame using stainless steel eye bolts and screws, ensuring that it is taut and free of wrinkles when extended. Pay close attention to the tension of the fabric to prevent sagging and ensure a visually appealing and functional canopy.
Test the Retraction Mechanism: Operate the pulley system to extend and retract the canopy, ensuring that it moves smoothly along the designated path. Make any necessary adjustments to the tension of the steel cable and the positioning of the fabric to achieve optimal functionality.
Seal and Protect the Fabric: Apply a waterproof sealant to the fabric to enhance its resistance to moisture and UV exposure. This step will prolong the lifespan of the canopy fabric and maintain its vibrant color and structural integrity over time.
Add Decorative Elements (Optional): If desired, incorporate decorative elements such as trim or finials to embellish the edges of the canopy and complement the overall aesthetic of your outdoor space.
By meticulously installing the canopy on your retractable frame, you’ll complete the transformation of your pergola into a versatile and inviting outdoor oasis. With the canopy in place, it’s time to move on to the final step: testing and adjusting your newly installed retractable canopy.
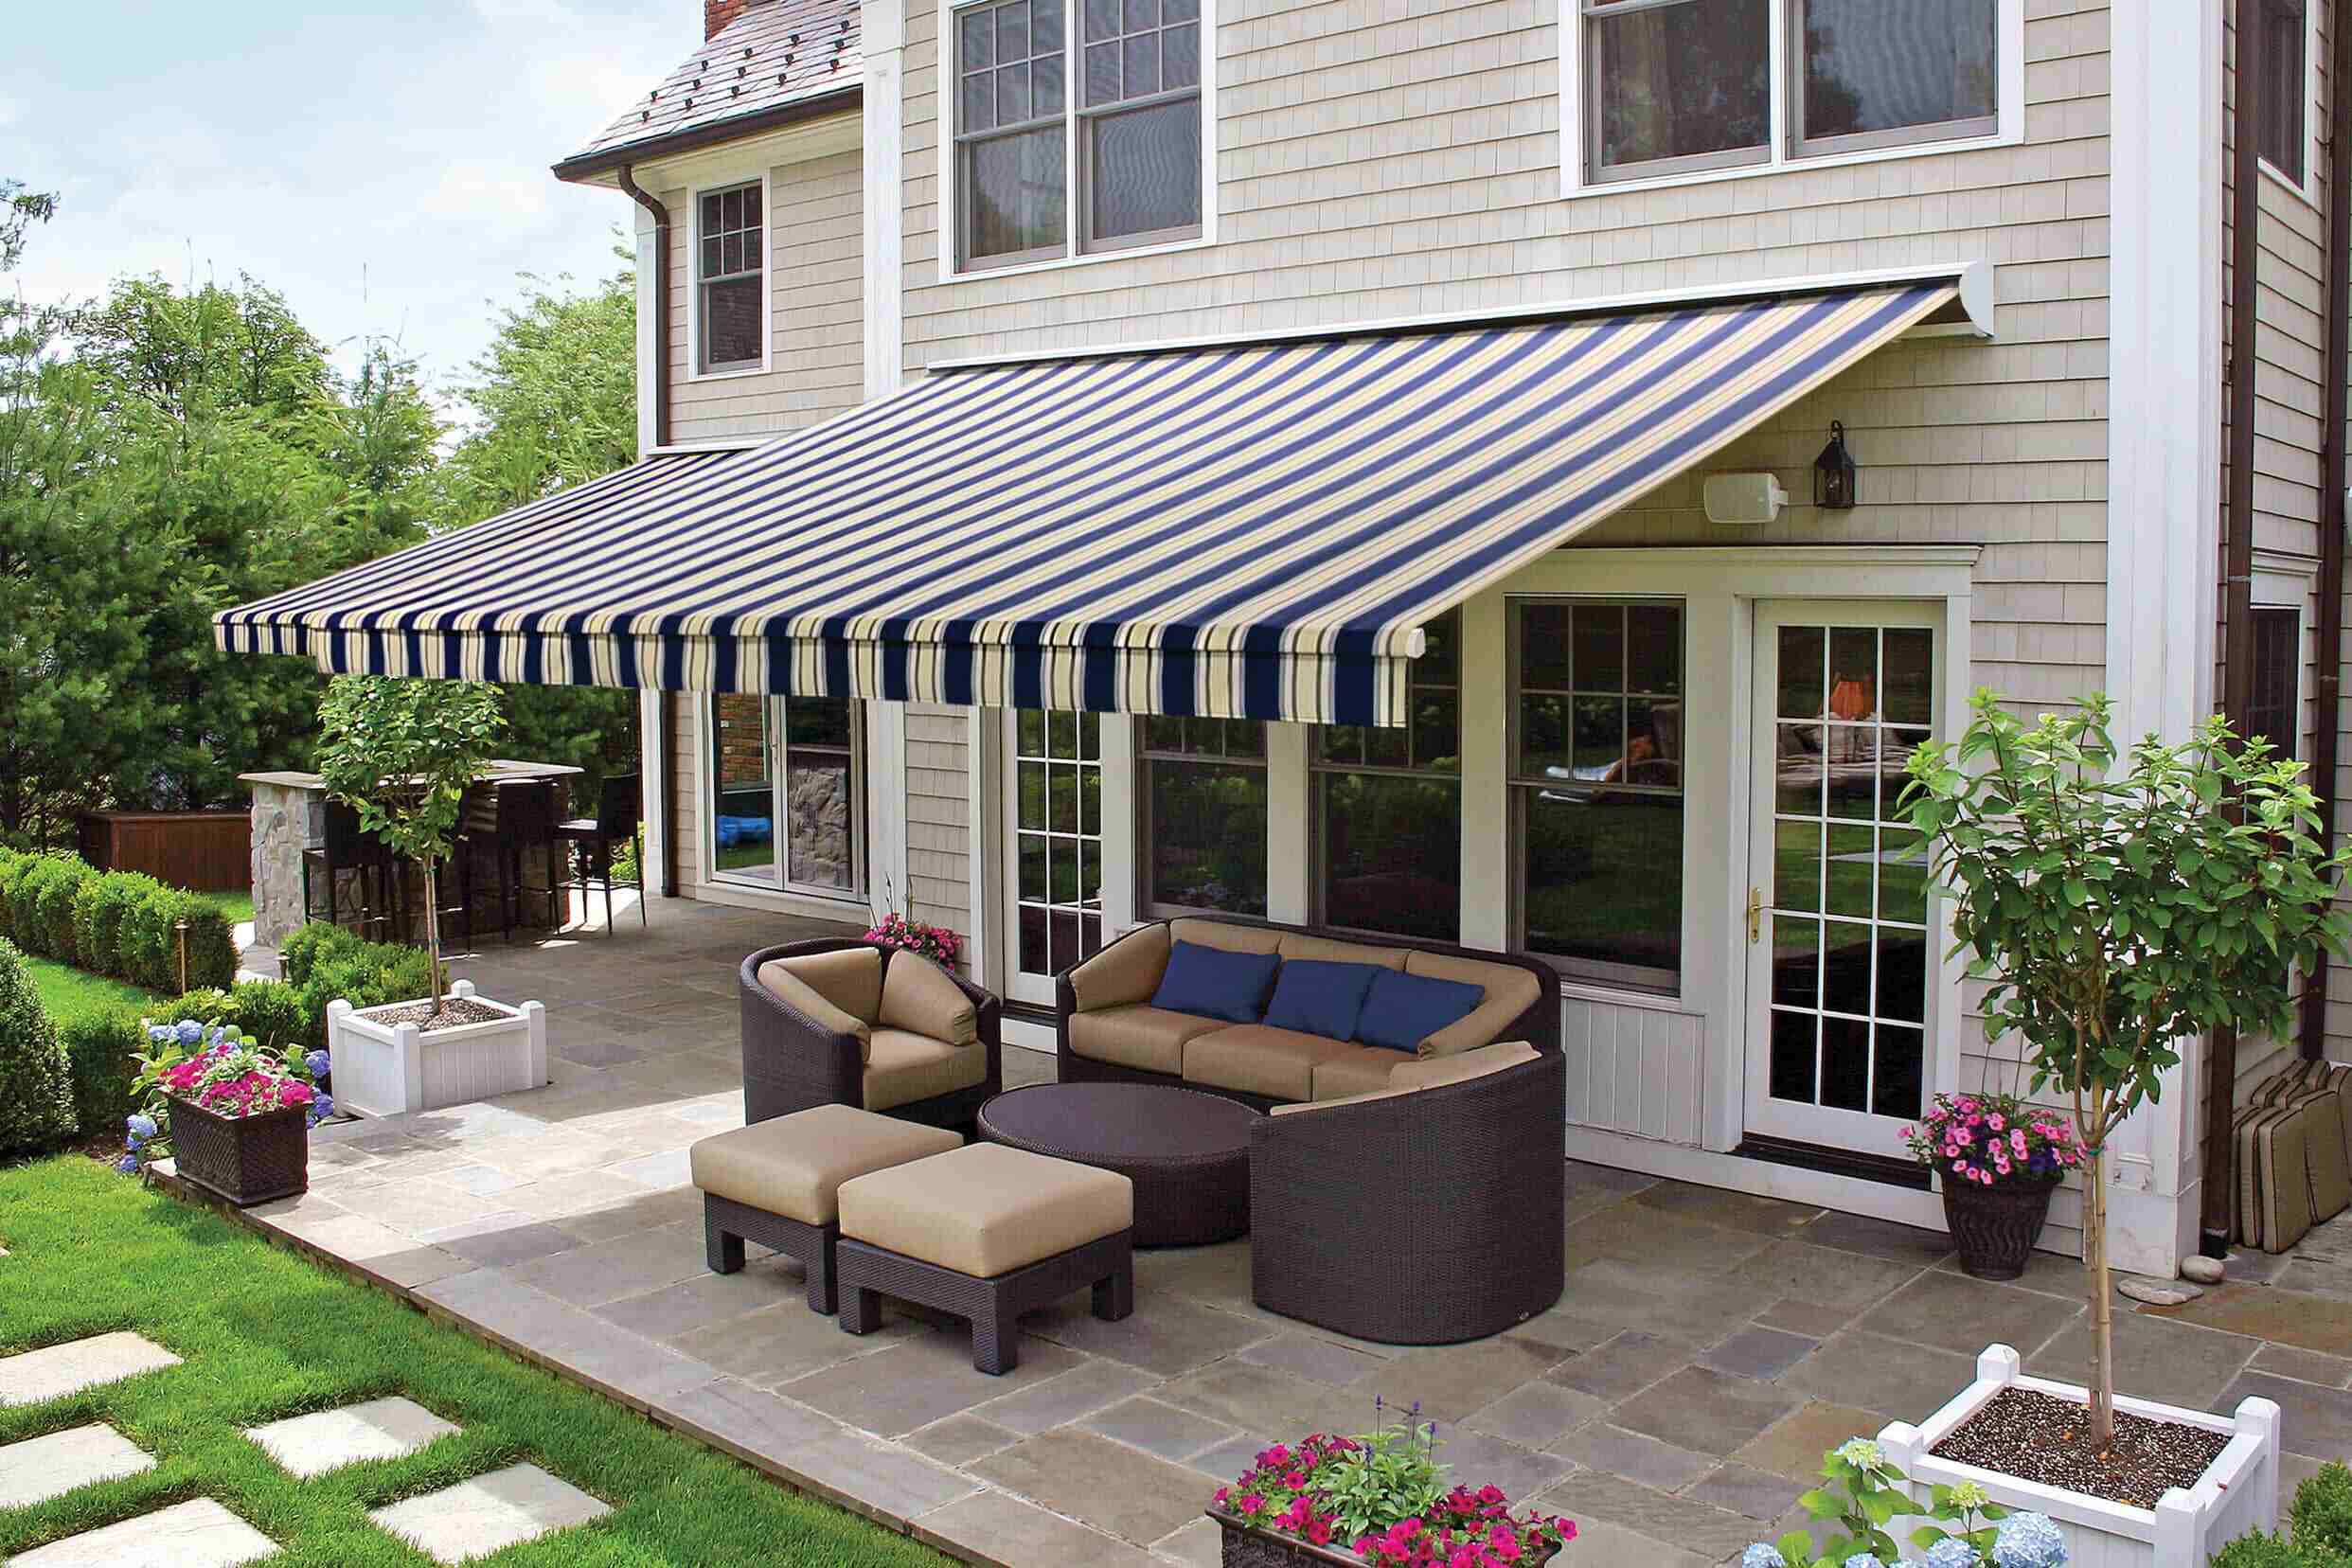
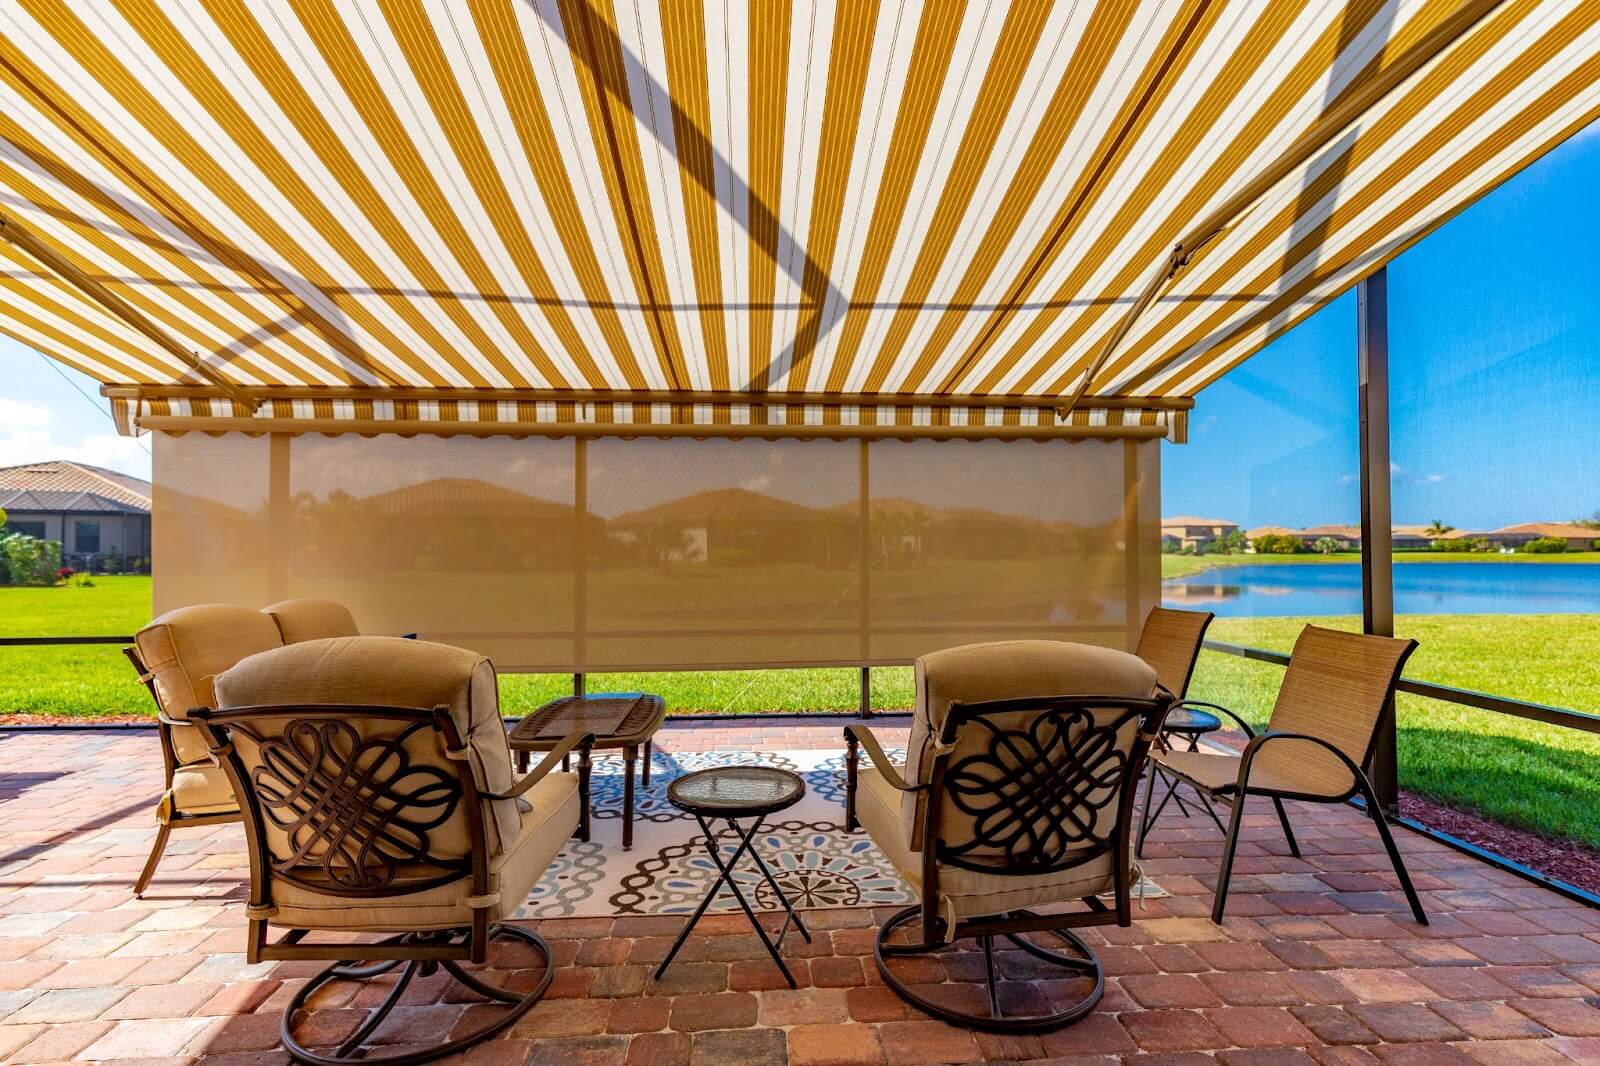
Consider using a durable outdoor fabric for your retractable canopy, such as Sunbrella, to ensure it can withstand the elements and provide long-lasting shade for your pergola.
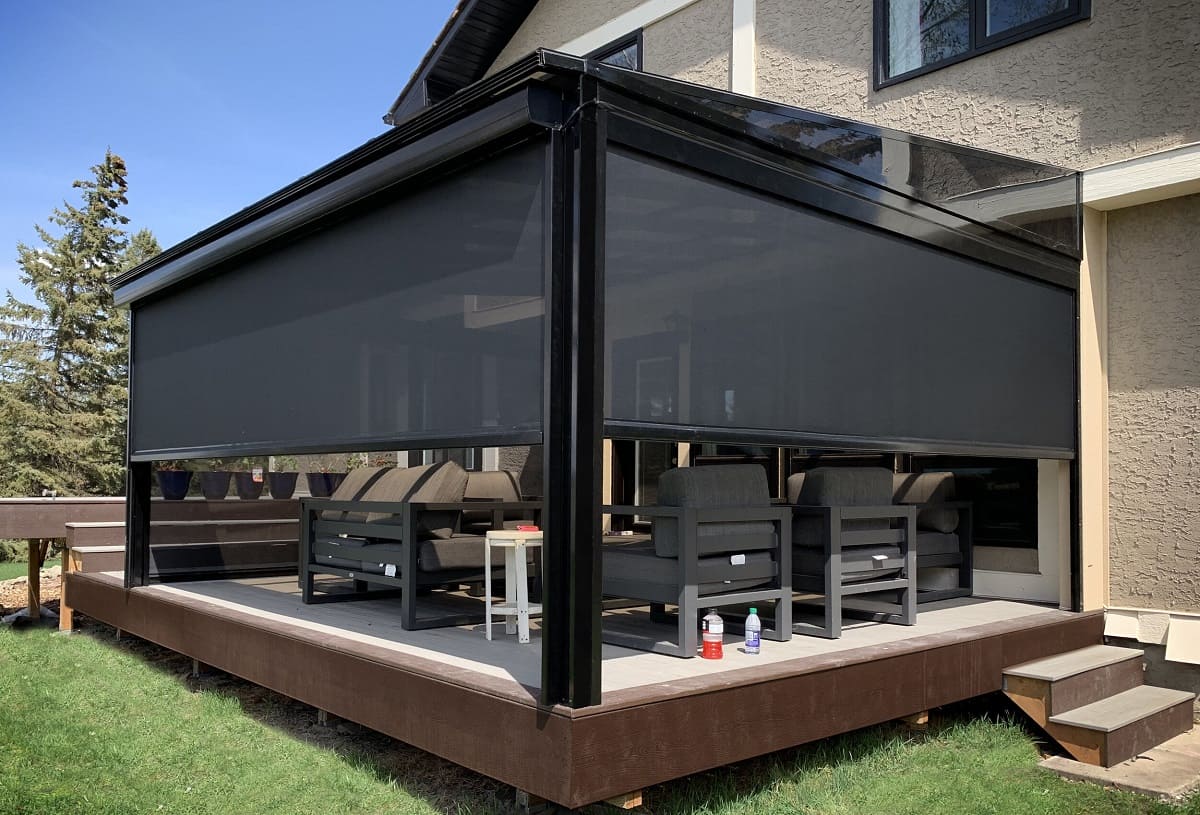
Step 4: Test and Adjust
With the retractable canopy installed, it’s essential to thoroughly test its functionality and make any necessary adjustments to ensure optimal performance. Follow these steps to fine-tune your canopy and prepare it for long-term use:
Operate the Retraction System: Test the retractable mechanism to ensure that the canopy extends and retracts smoothly and without any obstructions. Pay attention to the movement of the fabric and the alignment with the frame, making adjustments as needed to achieve seamless operation.
Assess Wind Resistance: Evaluate the canopy’s stability and wind resistance by simulating varying wind conditions. Observe how the fabric behaves in light and moderate winds, ensuring that it remains securely in place and does not exhibit excessive flapping or movement that could cause strain on the frame.
Check for Proper Tension: Verify that the fabric is properly tensioned when extended, minimizing any sagging or slack that could detract from its appearance and functionality. Adjust the attachment points and tensioning of the fabric to achieve an even and taut surface when the canopy is in the fully extended position.
Ensure Smooth Operation: Test the retractable canopy multiple times to confirm that it operates smoothly and effortlessly. Address any instances of binding, sticking, or uneven movement, making the necessary adjustments to the pulley system and steel cable to achieve consistent and reliable performance.
Inspect for Leaks and Weak Points: Examine the canopy for any potential weak points, such as areas of excessive stress or potential water pooling. Address these areas by reinforcing the fabric or adjusting the tension to mitigate potential issues and prolong the canopy’s lifespan.
Make Final Adjustments: Based on your observations during testing, make any final adjustments to the canopy, frame, and retractable mechanism to optimize the overall functionality and aesthetics of your retractable canopy. Once you’re satisfied with the performance, your canopy is ready to provide shade and comfort in your outdoor space.
By meticulously testing and adjusting your newly installed retractable canopy, you’ll ensure that it delivers the desired shade and enhances the ambiance of your outdoor living area. With the canopy fine-tuned and fully functional, you can now sit back, relax, and enjoy the benefits of your customized shade solution.
Conclusion
Congratulations on successfully crafting and installing a retractable canopy for your pergola! By embarking on this DIY project, you’ve not only enhanced the functionality of your outdoor space but also added a touch of elegance and comfort to your pergola.
With the right materials, careful planning, and meticulous execution, you’ve created a versatile shade solution that can be tailored to your specific needs. Whether you’re hosting outdoor gatherings, enjoying al fresco dining, or simply seeking a tranquil retreat, your retractable canopy offers the perfect balance of sun protection and open-air relaxation.
As you bask in the comfort of your newly shaded pergola, take pride in the craftsmanship and attention to detail that went into constructing your retractable canopy. The seamless integration of the pulley system, steel cable, and durable fabric has resulted in a shade solution that not only performs reliably but also adds a touch of sophistication to your outdoor living area.
Remember, regular maintenance and care will help preserve the longevity and appearance of your retractable canopy. Periodically inspect the fabric for signs of wear, clean it as needed, and apply protective treatments to safeguard it from the elements. By doing so, you’ll ensure that your canopy remains a functional and visually appealing addition to your outdoor space for years to come.
Whether you’re seeking respite from the sun’s rays, creating an inviting space for outdoor entertaining, or simply elevating the aesthetics of your pergola, your retractable canopy stands as a testament to your creativity and practical ingenuity. Embrace the comfort and versatility it offers, and relish in the delightful ambiance of your enhanced outdoor retreat.
So, as you unwind beneath the shelter of your retractable canopy, take a moment to appreciate the transformation you’ve brought to your outdoor space. Your pergola is now a welcoming haven, where the allure of open skies converges with the comfort of customizable shade, thanks to your expertly crafted and installed retractable canopy.
Frequently Asked Questions about How To Make A Retractable Canopy For A Pergola
Was this page helpful?
At Storables.com, we guarantee accurate and reliable information. Our content, validated by Expert Board Contributors, is crafted following stringent Editorial Policies. We're committed to providing you with well-researched, expert-backed insights for all your informational needs.


0 thoughts on “How To Make A Retractable Canopy For A Pergola”