Articles
How To Make A Strip Quilt Pattern
Modified: December 7, 2023
Looking for articles on how to make a strip quilt pattern? Discover step-by-step instructions and helpful tips to create your own stunning quilt design.
(Many of the links in this article redirect to a specific reviewed product. Your purchase of these products through affiliate links helps to generate commission for Storables.com, at no extra cost. Learn more)
Introduction
Welcome to the world of quilting! Quilting is a centuries-old craft that involves stitching together layers of fabric to create beautiful and functional pieces. One popular quilting technique is the strip quilt pattern. In this article, we will guide you through the process of making your own strip quilt from start to finish.
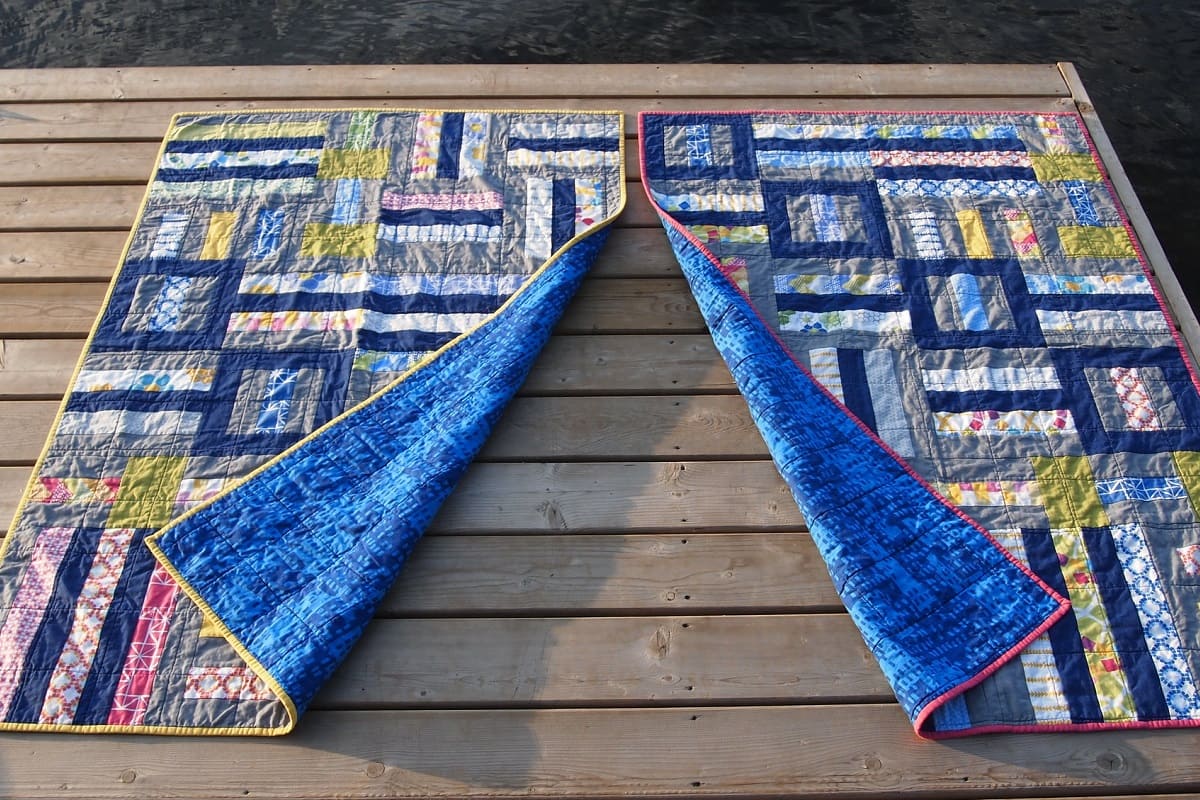
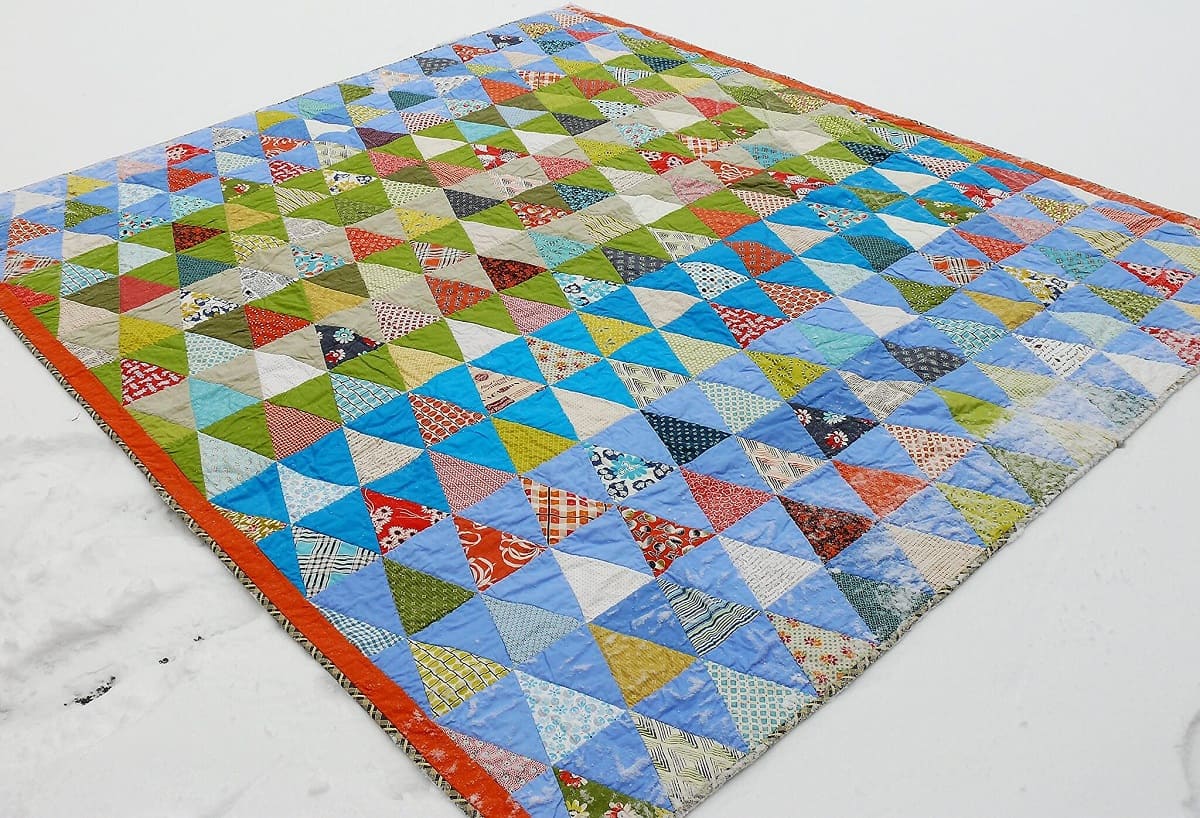
Strip quilts are known for their simplicity and versatility. They are perfect for both beginner and experienced quilters, as they allow you to showcase your creativity with fabric choices and layout designs. Whether you’re making a baby quilt, a lap quilt, or a full-size bed quilt, the strip quilt pattern offers endless possibilities.
Before we dive into the step-by-step process of creating a strip quilt, let’s take a moment to understand the basics. Strip quilting involves sewing together long, parallel strips of fabric to form the quilt top. These strips can be of varying widths, colors, and patterns, depending on your design preferences.
Strip quilts are particularly appealing because they allow you to showcase your favorite fabrics in a visually stunning way. Whether you prefer bold and vibrant colors or subtle and soothing tones, the strip quilt pattern can be customized to reflect your personal style.
Not only are strip quilts aesthetically pleasing, but they also offer practical benefits. The long strips of fabric create a cohesive and balanced design that is visually appealing from any angle. Additionally, strip quilts are relatively quick and easy to make, making them a popular choice for quilters with limited time.
Now that we understand the basics of strip quilting, let’s explore the first step in creating your own strip quilt: choosing the fabrics and colors. Let’s dive in!
Key Takeaways:
- Dive into the world of strip quilting and unleash your creativity by choosing fabrics, creating layouts, and adding finishing touches to craft a stunning and personalized strip quilt.
- Embrace the joy of quilting, from selecting fabrics to adding borders and binding, and join a supportive community of passionate quilters to expand your knowledge and skills.
Read more: How To Make A Quilt Pattern From A Picture
Choosing Fabrics and Colors
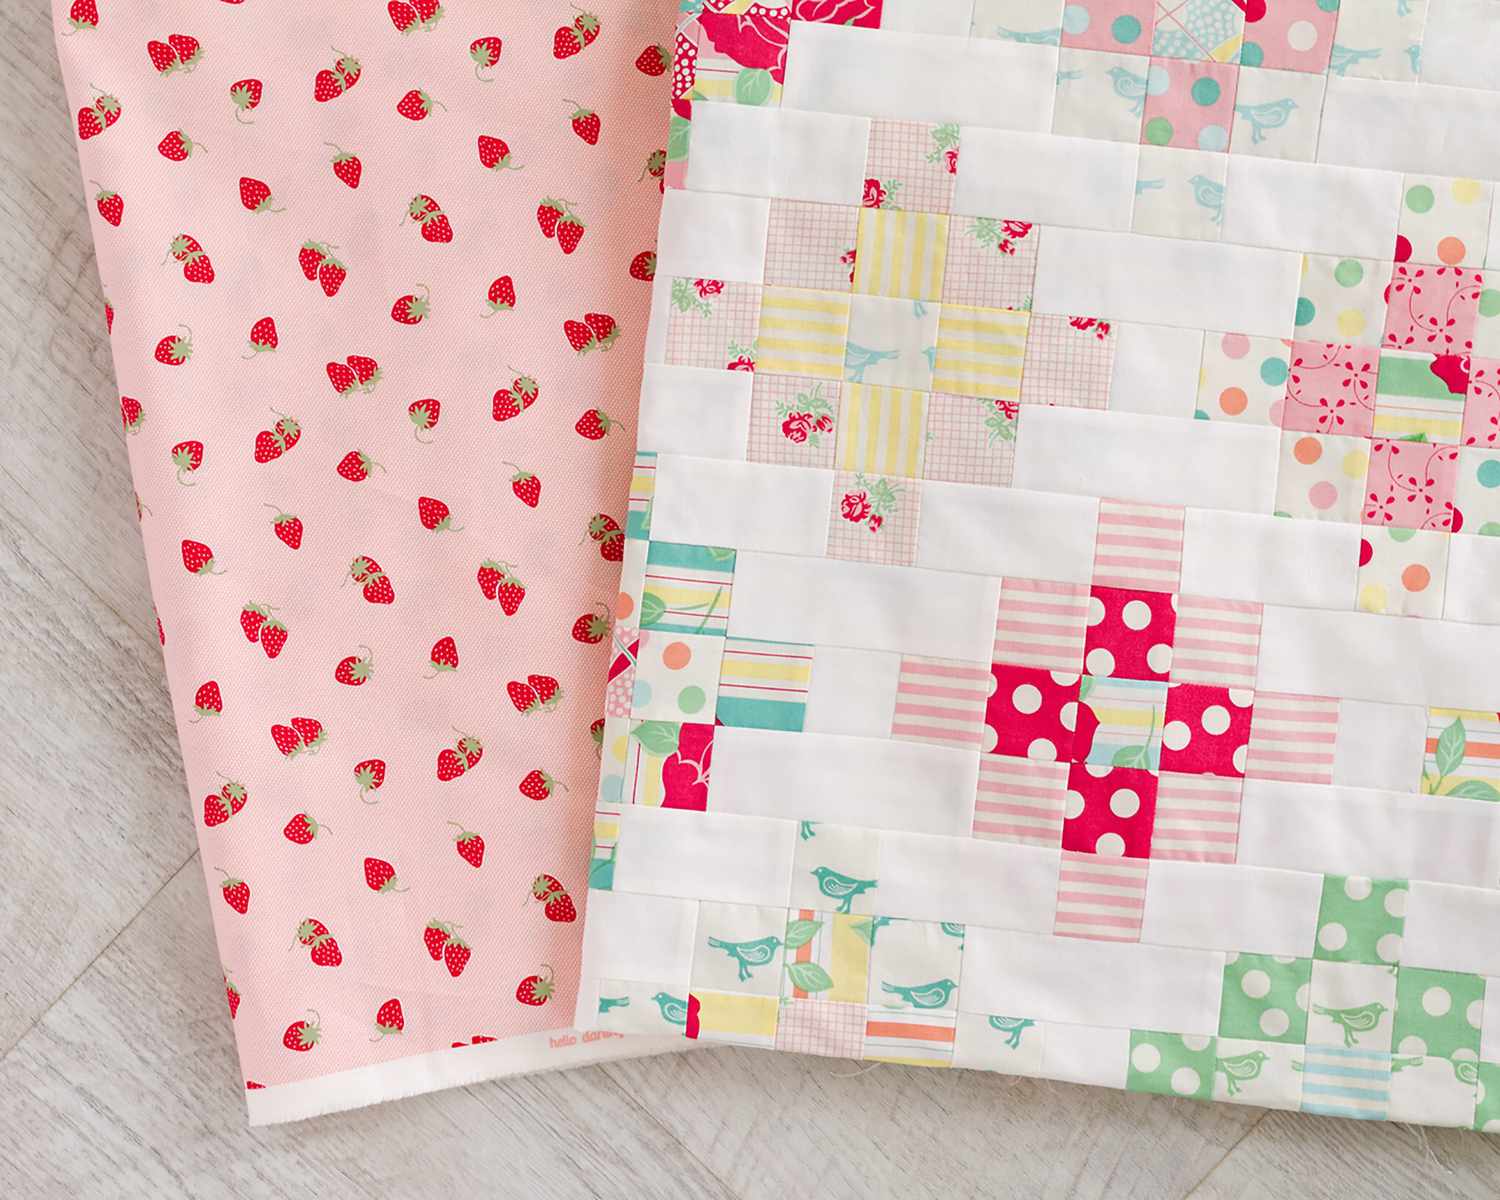
One of the most exciting parts of making a strip quilt is choosing the fabrics and colors that will bring your vision to life. The fabric selection will set the tone for your quilt, so it’s important to take some time to consider your options.
When selecting fabrics, think about the overall theme or mood you want to achieve. Are you looking for a vibrant and bold quilt? Or perhaps a soft and soothing design? Consider the purpose of your quilt and the preferences of the recipient, if it’s a gift.
Browse through fabric stores or online platforms to find fabrics that speak to you. Look for a variety of patterns, from florals and geometrics to solids and stripes. Mixing different patterns and textures creates visual interest and adds depth to your quilt.
It’s also important to consider color coordination. Some quilters prefer a coordinated color scheme, with fabrics that blend harmoniously together. Others opt for a more eclectic and contrasting approach, combining colors that create a dynamic and vibrant quilt.
If you’re unsure about color choices, consider using a color wheel as a guide. Complementary colors, which are opposite each other on the wheel, create contrast and visual excitement. Analogous colors, which are next to each other on the wheel, create a harmonious and soothing effect.
Don’t be afraid to mix and match different fabric styles and colors. Experimenting with different combinations can yield surprising and beautiful results. Lay out your fabric choices side by side to get a sense of how they will look together.
Remember, this is your project, so trust your instincts and choose fabrics that make you happy. Don’t be afraid to step outside your comfort zone and try something new. Quilting is all about expressiveness and creativity, so embrace the opportunity to create a unique and visually stunning strip quilt.
With your fabric selection complete, it’s time to move on to the next step: cutting and preparing the fabric. Let’s keep the momentum going!
Cutting and Preparing the Fabric
Now that you’ve chosen your fabrics, it’s time to dive into the next step of making your strip quilt: cutting and preparing the fabric. This step is crucial for ensuring accurate and precise piecing of the strips.
The first thing you’ll need to do is wash and press your fabrics. Pre-washing your fabrics helps to remove any excess dyes or chemicals and allows for shrinkage before cutting. Once washed, iron your fabrics to remove any wrinkles and ensure a smooth surface for cutting.
Next, determine the size of your quilt and calculate the dimensions of your strips. Consider the width of the strips you want to use. Common widths are 2.5 inches or 3 inches, but you can choose any width that fits your design vision.
Using a rotary cutter, ruler, and cutting mat, carefully cut your fabric into strips according to your chosen width. Ensure that your strips are straight by aligning the edge of the ruler with the selvage of the fabric. Measure multiple times and cut slowly to maintain accuracy.
If your quilt design requires specific length measurements for the strips, make sure to account for seam allowances. Add an additional 0.25 inches to each end of the strip to allow for the seams that will be sewn when piecing the strips together.
Label your fabric strips to keep track of the order and placement. You can use small pieces of masking tape or sticky notes to mark the beginning and end of each strip. This will help ensure that you sew the strips together in the desired sequence.
Once all your fabric strips are cut and labeled, organize them in the order you want them to appear in your quilt layout. Lay them out on a design wall or table to get a visual representation of your quilt top. Play around with different arrangements to find the one that you love.
Now that your fabric is cut and prepared, you’re ready to move on to the next step: creating the strip quilt layout. Stay tuned!
Creating the Strip Quilt Layout
With your fabric strips cut and prepared, it’s time to explore the creative process of creating the strip quilt layout. This step allows you to visualize how the different fabrics will come together to form your quilt top.
Start by laying out your fabric strips on a design wall or large flat surface. Arrange them in the order you want them to appear in your quilt. Take your time and play around with different arrangements until you find a layout that speaks to you.
Consider the balance of color, pattern, and texture as you arrange the strips. You may want to alternate between light and dark fabrics or create a gradient effect with your colors. Mixing different patterns can add interest and create a dynamic visual impact.
Another option to consider is incorporating a focal point or feature fabric. This can be a larger piece of fabric, a bold pattern, or a unique design element that draws attention to a specific area of the quilt top. This focal point can help create visual interest and make your quilt truly stand out.
As you experiment with different layouts, step back and observe your quilt from a distance. Consider the overall balance and flow of the design. Is there a pleasing visual movement or rhythm? Does the layout evoke the desired mood or theme?
Don’t be afraid to make adjustments and try out different combinations. Sometimes, what looks great in your mind may not translate as well on the design wall. Play around with different strip placements until you find the layout that truly resonates with you.
Once you’re satisfied with your strip quilt layout, take a photo or make a sketch to reference during the sewing process. This will help you stay organized and ensure that you sew the strips together in the intended sequence.
Now that you have your strip quilt layout finalized, it’s time to move on to the next step: sewing the strips together. Let’s get stitching!
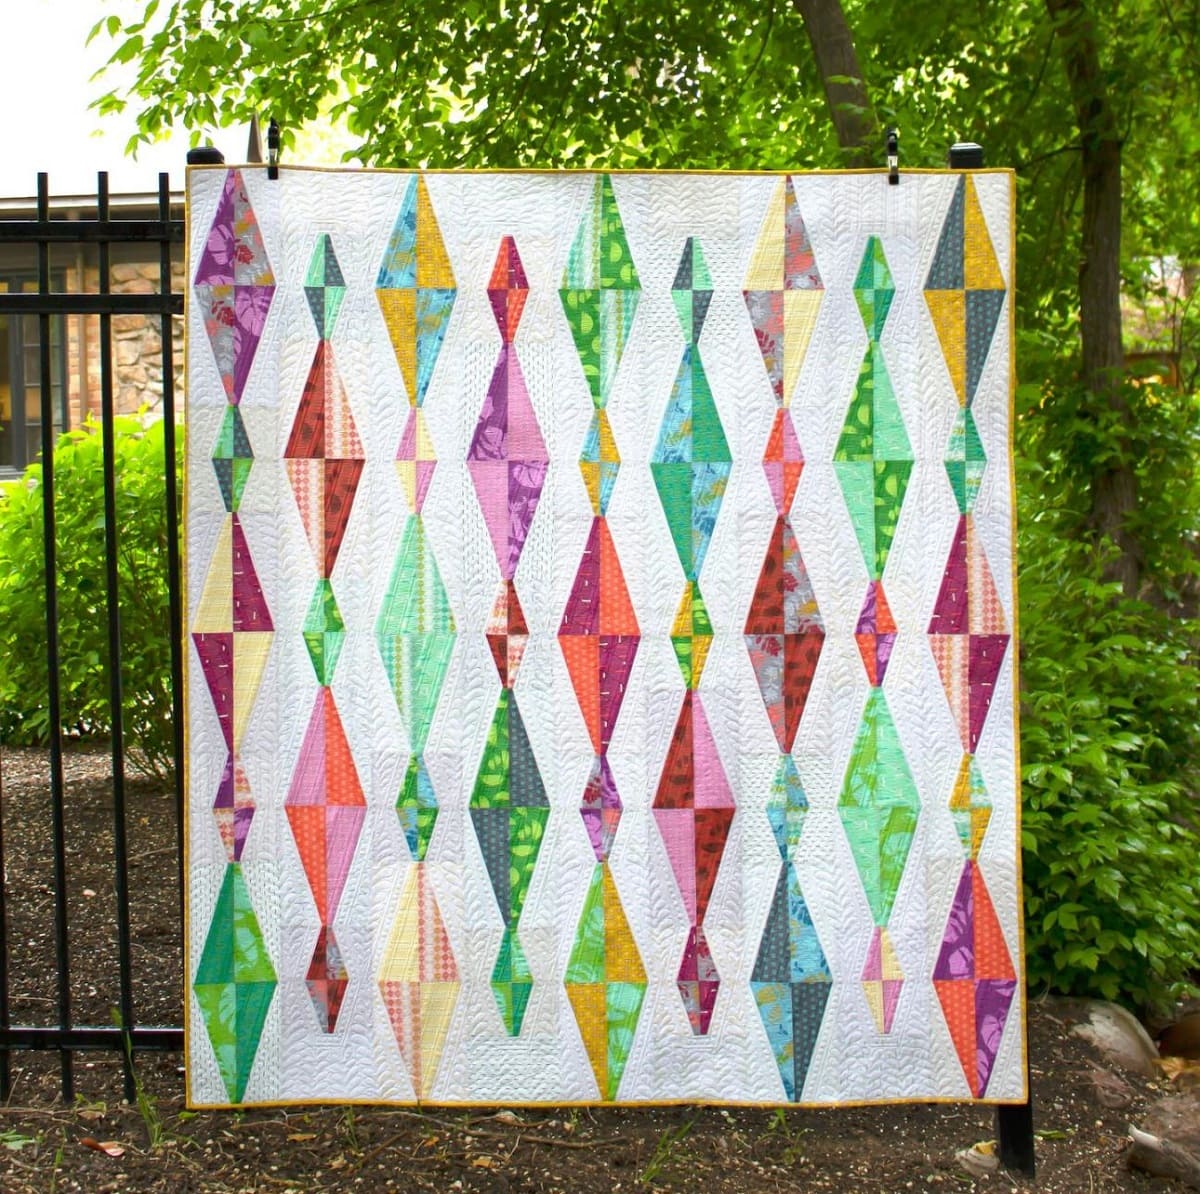
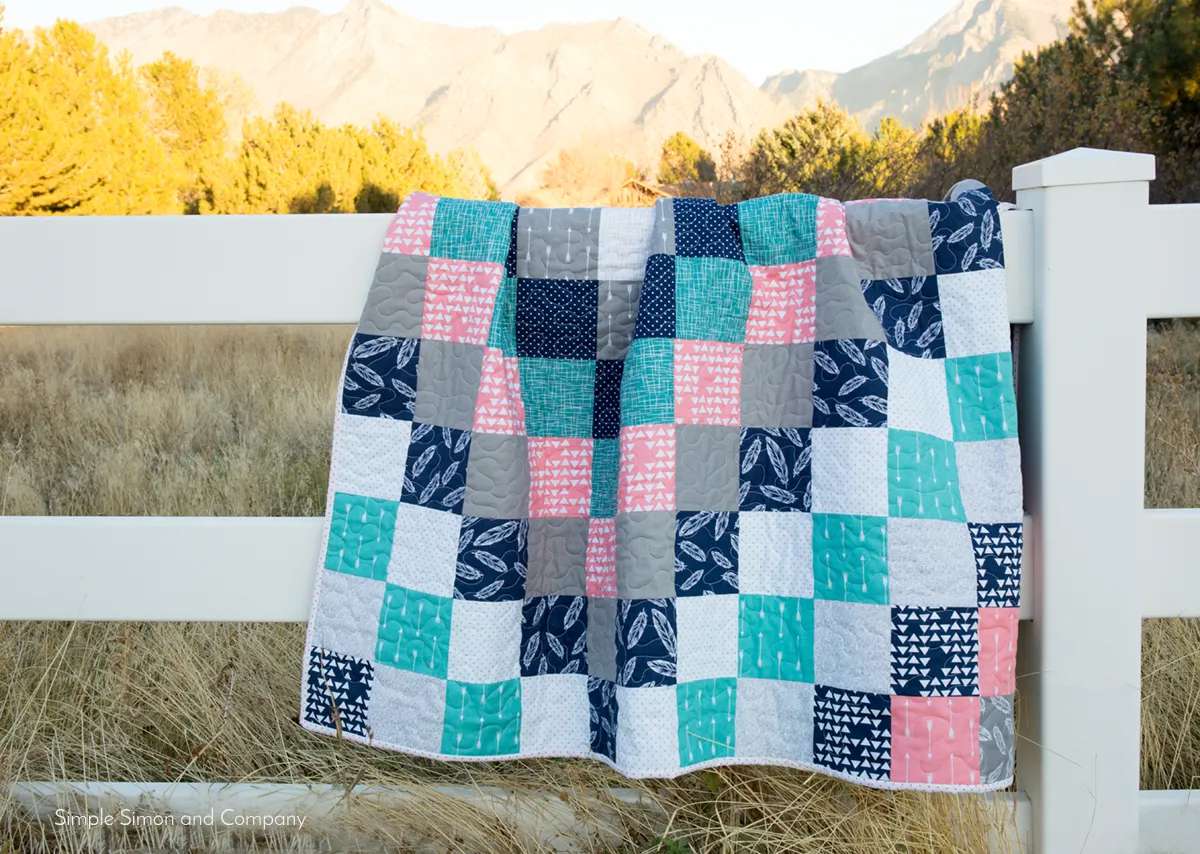
When choosing fabrics for a strip quilt pattern, consider using a variety of colors, patterns, and textures to add visual interest and dimension to the finished quilt.
Sewing the Strips Together
Now that you have your strip quilt layout finalized, it’s time to bring your quilt top to life by sewing the strips together. This step requires careful precision and attention to detail to ensure that your strips align properly and create a cohesive design.
Start by sewing the first two fabric strips together. Place the right sides of the fabrics together, aligning the edges, and pin them in place. Sew a straight seam along the pinned edge, using a ¼-inch seam allowance. Remove the pins as you sew, making sure to backstitch at the beginning and end of the seam.
Press the seam to one side, either towards the darker fabric or in the direction that feels most natural to you. This helps to set the seam and reduce bulk. Repeat this process for each subsequent strip, sewing them together in the desired order according to your layout.
As you sew each seam, take care to align the edges of the fabric strips and match any points or patterns that need to line up. Use pins or wonder clips to hold the strips in place before sewing. Take your time and sew with precision to ensure that your quilt top looks professional.
Continue sewing the strips together until you have completed your entire strip quilt top. Once all the strips are sewn together, press the seams again to set them and create a flat surface for the next steps.
Inspect your quilt top to ensure that the seams are flat and the strips align as desired. If you notice any inconsistencies or areas that need adjustment, use a seam ripper to carefully undo the stitches and re-sew the area to correct it.
At this stage, you may choose to add sashing or borders to your strip quilt top. Sashing is strips of fabric that are sewn between each strip to create separation and definition. Borders are additional fabric strips sewn around the outer edges of the quilt top to frame it.
Once you’re satisfied with your strip quilt top and any additional sashing or borders, it’s time to prepare for the final steps: adding borders and binding. But let’s take a moment to appreciate your progress so far. Your strip quilt is coming together beautifully!
Adding Borders and Binding
Adding borders and binding to your strip quilt is the final step in turning your quilt top into a finished and polished piece. Borders can frame your quilt, add visual interest, and create a sense of completion. Binding is the fabric strip that wraps around the raw edges of the quilt and secures all the layers together.
To add borders to your strip quilt, measure the length of each side of your quilt top. Cut fabric strips for the borders to the desired width and length, accounting for seam allowances. Align the edges of the border strips with the edges of the quilt top, right sides together, and sew them in place using a ¼-inch seam allowance. Press the seams towards the borders.
Once the borders are attached, quilt your strip quilt top. Quilting is the process of stitching together the layers of the quilt to provide stability and add decorative patterns. You can choose to hand-quilt, machine-quilt, or send your quilt to a professional long-arm quilter to achieve the desired effect.
After quilting, it’s time to apply the binding. Cut fabric strips for the binding, ensuring they are long enough to go around all four edges of the quilt with a little extra. Fold the binding strips in half lengthwise, wrong sides together, and press to create a crease.
Starting in the middle of one side, align the raw edges of the binding strip with the raw edge of the quilt. Secure in place with pins or wonder clips. Sew the binding strip to the quilt, using a ¼-inch seam allowance. As you approach the corners, miter them to create neat and crisp edges.
Once the binding is sewn in place, fold it over the raw edge of the quilt to the back. Secure the folded edge with pins or wonder clips. Use a needle and thread or a sewing machine to hand-stitch or top-stitch the binding to the back of the quilt, ensuring that the stitches are invisible from the front.
Continue this process until all sides of the quilt are bound. Take your time and enjoy the final finishing touches to complete your strip quilt.
And with that, your strip quilt is complete! Take a step back and admire your handiwork. You’ve created a beautiful and personalized strip quilt that showcases your creativity and quilting skills.
Now that you’ve learned how to make a strip quilt pattern, the possibilities are endless. Experiment with different fabric choices, colors, and layouts to create unique strip quilts that reflect your individual style and inspire others.
Quilting is an art form that combines skill, creativity, and passion. Enjoy the journey and embrace the satisfaction of creating something beautiful with your own hands. Happy quilting!
Remember that this was an HTML rendition of your content. You can copy the HTML code and paste it into an HTML editor to see the actual output.
Finishing Touches and Quilting Options
As you near the completion of your strip quilt, it’s time to consider the finishing touches and explore the various quilting options available. These final details can elevate your quilt to a whole new level of beauty and craftsmanship.
One option you have is to add embellishments to your quilt. This can include applique, embroidery, or even adding buttons or beads for a touch of texture and visual interest. Consider incorporating these elements strategically to enhance the overall design of your quilt.
Another consideration is the quilting design. Quilting not only holds the layers of your quilt together, but it also adds decorative patterns and texture. Quilting can be done by hand or machine, and there are countless designs to choose from, such as loops, swirls, feathers, or straight lines. Select a quilting design that complements the overall style of your quilt.
When choosing the quilting thread, consider using a thread color that blends with the fabrics or contrasts to create a bold statement. Also, think about the weight of the thread. Thicker thread can create more defined quilting lines, while thinner thread can provide a more delicate and subtle quilting effect.
Once you have decided on the quilting design and thread, it’s time to get quilting. Secure the layers of your quilt together with safety pins or basting stitches to prevent shifting while quilting. Take your time and quilt at a pace that feels comfortable to you, making sure to maintain consistent stitches throughout.
After quilting, give your quilt a final pressing to ensure that all the seams and stitches are flat and smooth. Trim any excess batting or backing fabric to create clean edges. This step will give your quilt a polished and professional appearance.
Lastly, consider adding a label to your quilt. A fabric label with your name, the date, and any special details about the quilt will leave a lasting legacy and make it truly personal. Attach the label securely to the back of the quilt using hand or machine stitches.
Once you’ve completed these finishing touches, step back and admire your finished strip quilt. You’ve created a one-of-a-kind piece of art that reflects your creativity, skill, and passion for quilting.
Remember, quilting is about expressing your own unique style and creating something that brings joy to both yourself and others. So, embrace your creativity, have fun with the process, and enjoy the satisfaction that comes from making a beautiful strip quilt.
Congratulations on completing your strip quilt! Your hard work has paid off, and now you can bask in the warmth and beauty of your finished creation.
Thank you for joining us on this journey, and happy quilting!
Remember that this was an HTML rendition of your content. You can copy the HTML code and paste it into an HTML editor to see the actual output.
Conclusion
Congratulations on reaching the end of this comprehensive guide on creating a strip quilt pattern! Throughout this article, we’ve explored the step-by-step process of making a strip quilt, from choosing fabrics and colors to adding the finishing touches. You’ve learned how to bring your creative vision to life, creating a stunning and personalized strip quilt.
Strip quilts offer endless possibilities for design and customization. You can play with different fabric choices, color combinations, and layout options to create a quilt that is uniquely yours. Whether you’re a beginner or an experienced quilter, strip quilting is a technique that anyone can enjoy and achieve beautiful results.
Remember to have fun with the process. Quilting is a labor of love that allows you to express your creativity and passion. Don’t be afraid to try new techniques, experiment with different design elements, or incorporate your own personal touches.
As you embark on your strip quilting journey, always remember to take your time and pay attention to the details. Precision and accuracy will ensure a well-crafted quilt that not only looks beautiful but also stands the test of time.
Quilting is a community of passionate individuals who are always eager to learn, share, and inspire. Connect with other quilters, join quilting groups, and attend workshops or classes to expand your knowledge and skills. The quilting community is supportive and welcoming, offering endless opportunities for growth and creativity.
Now that you have the knowledge and confidence to create your own strip quilt pattern, it’s time to set off on your quilting adventure. Embrace the joy of working with fabric, the satisfaction of creating something with your own hands, and the warmth that a quilt brings to your heart and home.
Thank you for joining us on this quilting journey. Happy quilting and may your strip quilts bring warmth, beauty, and comfort to all who encounter them.
Remember that this was an HTML rendition of your content. You can copy the HTML code and paste it into an HTML editor to see the actual output.
Frequently Asked Questions about How To Make A Strip Quilt Pattern
Was this page helpful?
At Storables.com, we guarantee accurate and reliable information. Our content, validated by Expert Board Contributors, is crafted following stringent Editorial Policies. We're committed to providing you with well-researched, expert-backed insights for all your informational needs.


0 thoughts on “How To Make A Strip Quilt Pattern”