Articles
How To Make An Extension Cord
Modified: May 6, 2024
Learn how to make an extension cord from scratch with this comprehensive guide. Find step-by-step instructions and useful tips in this informative article.
(Many of the links in this article redirect to a specific reviewed product. Your purchase of these products through affiliate links helps to generate commission for Storables.com, at no extra cost. Learn more)
Introduction
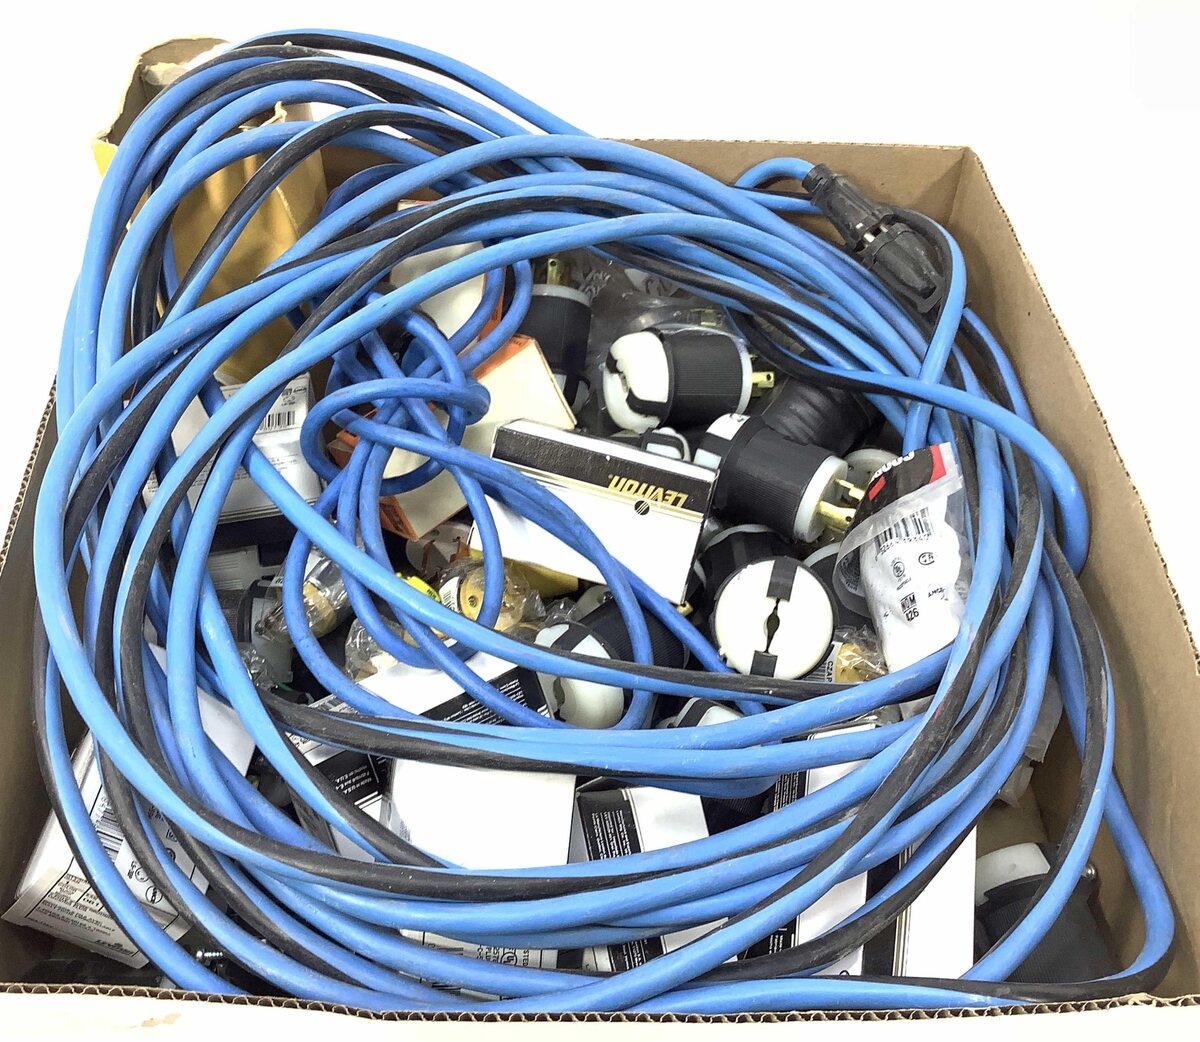
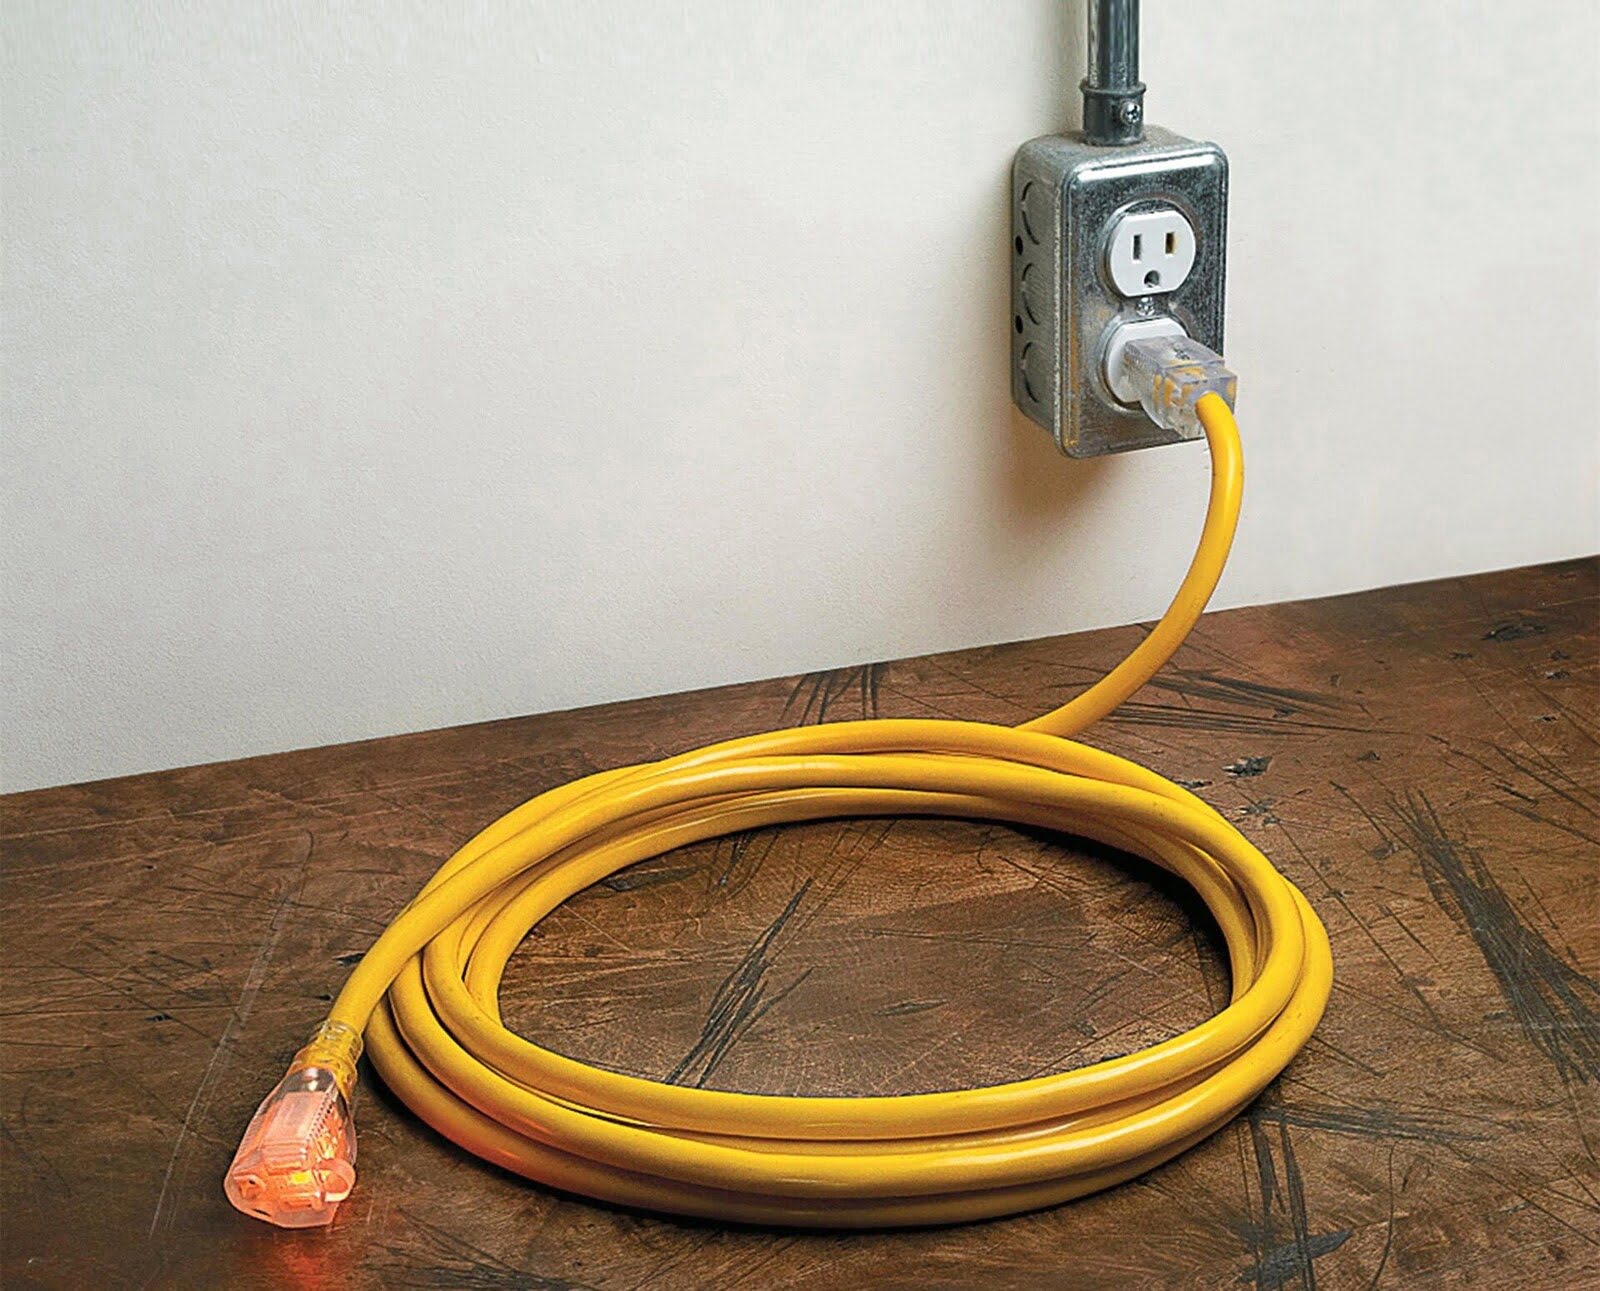
Extension cords are essential tools for providing power to devices and appliances that are located far away from electrical outlets. They allow us to conveniently use our electronic devices without restrictions on their placement. However, sometimes the standard length of a commercial extension cord may not be sufficient for our needs. In such cases, making your own extension cord can be a cost-effective and practical solution.
Creating an extension cord may seem intimidating at first, but it is actually a straightforward process that requires minimal tools and materials. By following a few simple steps, you can have a custom-made extension cord that suits your specific requirements.
In this article, we will guide you through the process of making an extension cord. We will discuss the materials you will need and provide step-by-step instructions to ensure a successful outcome. So, let’s get started!
Key Takeaways:
- Making your own extension cord is a practical and cost-effective solution, allowing you to customize the length to suit your specific needs. Prioritize safety, follow the step-by-step process, and conduct thorough testing for a reliable and safe outcome.
- Gathering the right materials, preparing the wire, attaching the plugs, and securing the connections are crucial steps in creating a homemade extension cord. Regular maintenance and testing ensure continued safe and reliable operation.
Read more: How To Make A 220V Extension Cord
Materials Needed
Before you begin making your own extension cord, it’s important to gather all the necessary materials. Here’s a list of what you’ll need:
- Wire: Choose a wire of the appropriate gauge for your intended use. The gauge of the wire determines its capacity to carry electrical current. For household appliances and tools, a 12-gauge wire is typically suitable. Make sure the wire is long enough to reach the desired distance.
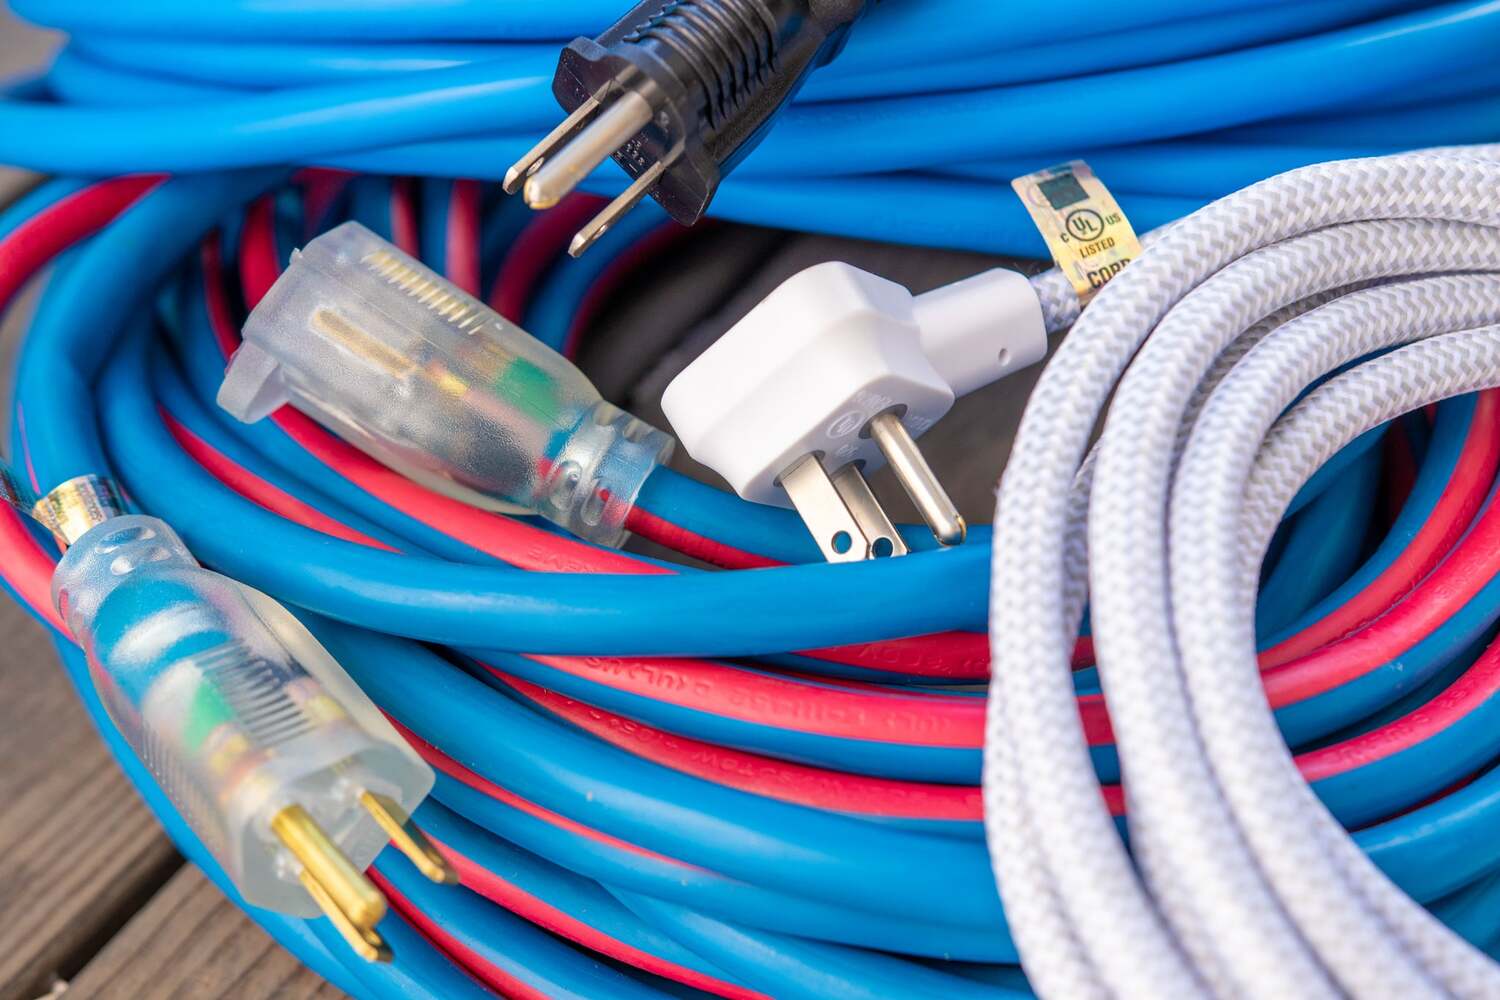
- Plugs: You will need two plugs; one for the male end (the end that plugs into the electrical outlet) and one for the female end (the end that receives the electrical device or appliance). Choose plugs that are compatible with the wire gauge you have selected.
- Wire strippers: Wire strippers are used to remove the plastic insulation from the wire ends, exposing the conductive wires inside. Make sure to use wire strippers of the appropriate size for your chosen wire gauge.
- Electrical tape: Electrical tape is used to insulate and secure the connections between the wire and the plugs. It helps to prevent any exposed wires from coming into contact with each other or with other conducting materials.
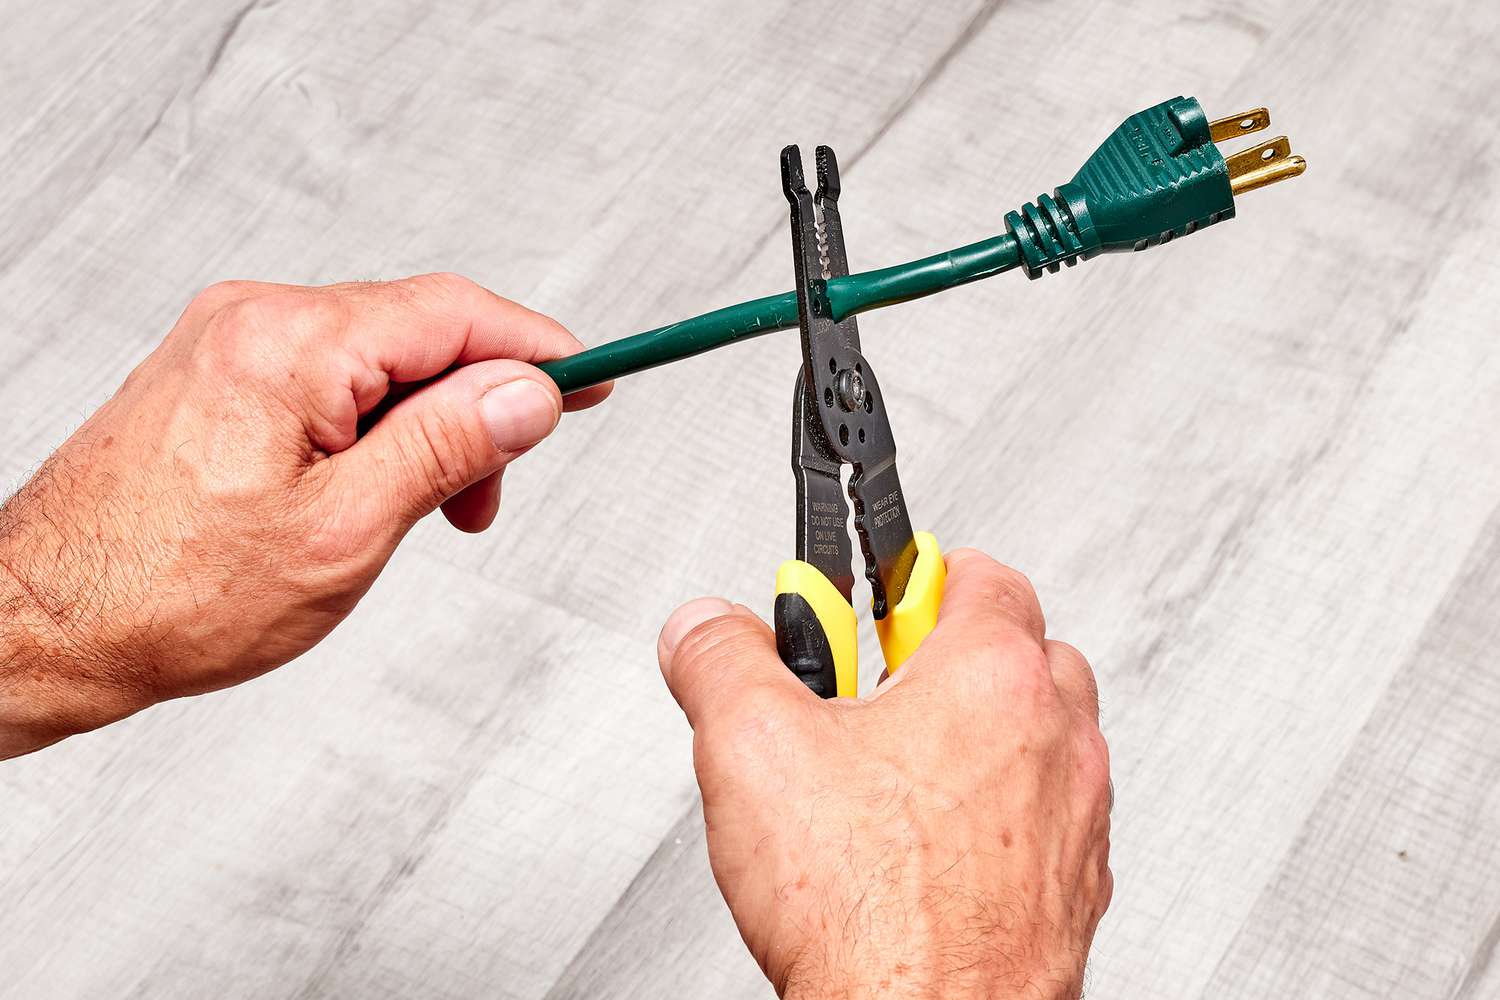
- Wire cutter: A wire cutter is needed to cut the wire to the desired length. Ensure that you have a wire cutter capable of cleanly cutting through the chosen wire gauge.
- Marker or label: It’s helpful to have a marker or label to indicate the purpose or location of the extension cord. This can be useful in situations where you have multiple extension cords in use.
Once you have gathered these materials, you’re ready to move on to the next step of making your own extension cord.
Step 1: Gather the Wire and Plugs
The first step in making your own extension cord is to gather the wire and plugs. Ensure that you have the correct gauge wire and compatible plugs that will suit the intended use of your extension cord.
Start by measuring the distance you need the extension cord to cover. This will help you determine the length of wire required. It’s always a good idea to have some extra wire length for flexibility and to account for any unforeseen changes in your setup.
Once you have determined the length of wire you need, use a wire cutter to carefully cut the wire to the desired length. When cutting the wire, ensure that the ends are clean and straight.
Next, take the male and female plugs and inspect them for any damage or defects. It’s important to use plugs that are in good condition to ensure a safe and reliable connection.
Check the compatibility of the plugs with the wire gauge you have chosen. The plugs should be able to securely fit and hold the wires in place without any loose connections. Make sure the pins or blades of the plugs are clean and undamaged.
Before moving on to the next step, double-check that you have all the necessary components: the wire of the desired length and the male and female plugs that match the wire gauge.
With the wire and plugs gathered and inspected, you are now ready to proceed to the next step: preparing the wire for connection.
Step 2: Preparing the Wire
Once you have gathered the wire and plugs for your extension cord, the next step is to prepare the wire for connection. This involves carefully stripping the insulation from the wire ends to expose the conductive wires inside.
Start by using wire strippers of the appropriate size for your wire gauge. Place the wire inside the designated stripping notch on the wire stripper and gently close the handles to apply pressure. Rotate the stripper around the wire to cut through the insulation without damaging the internal wires.
When stripping the wire, it’s important to remove only the necessary amount of insulation. Do not expose more of the wire than needed, as this can increase the risk of electrical shocks or short circuits.
After stripping the insulation, take a closer look at the exposed wires. Make sure there are no frayed strands or loose wires. If you notice any issues, use the wire strippers to trim the wires and create a clean, even edge.
Repeat the stripping process for the other end of the wire, ensuring both ends are prepared in the same manner. This will make it easier to connect the plugs and ensure a secure and reliable electrical connection.
With the wire ends properly prepared, you are now ready to move on to the next step: exposing the wire ends.
Note: Be cautious while working with exposed wires, as they are conductive and can cause electric shock if not handled properly. Make sure to work in a well-lit area and turn off the power source before making any connections.
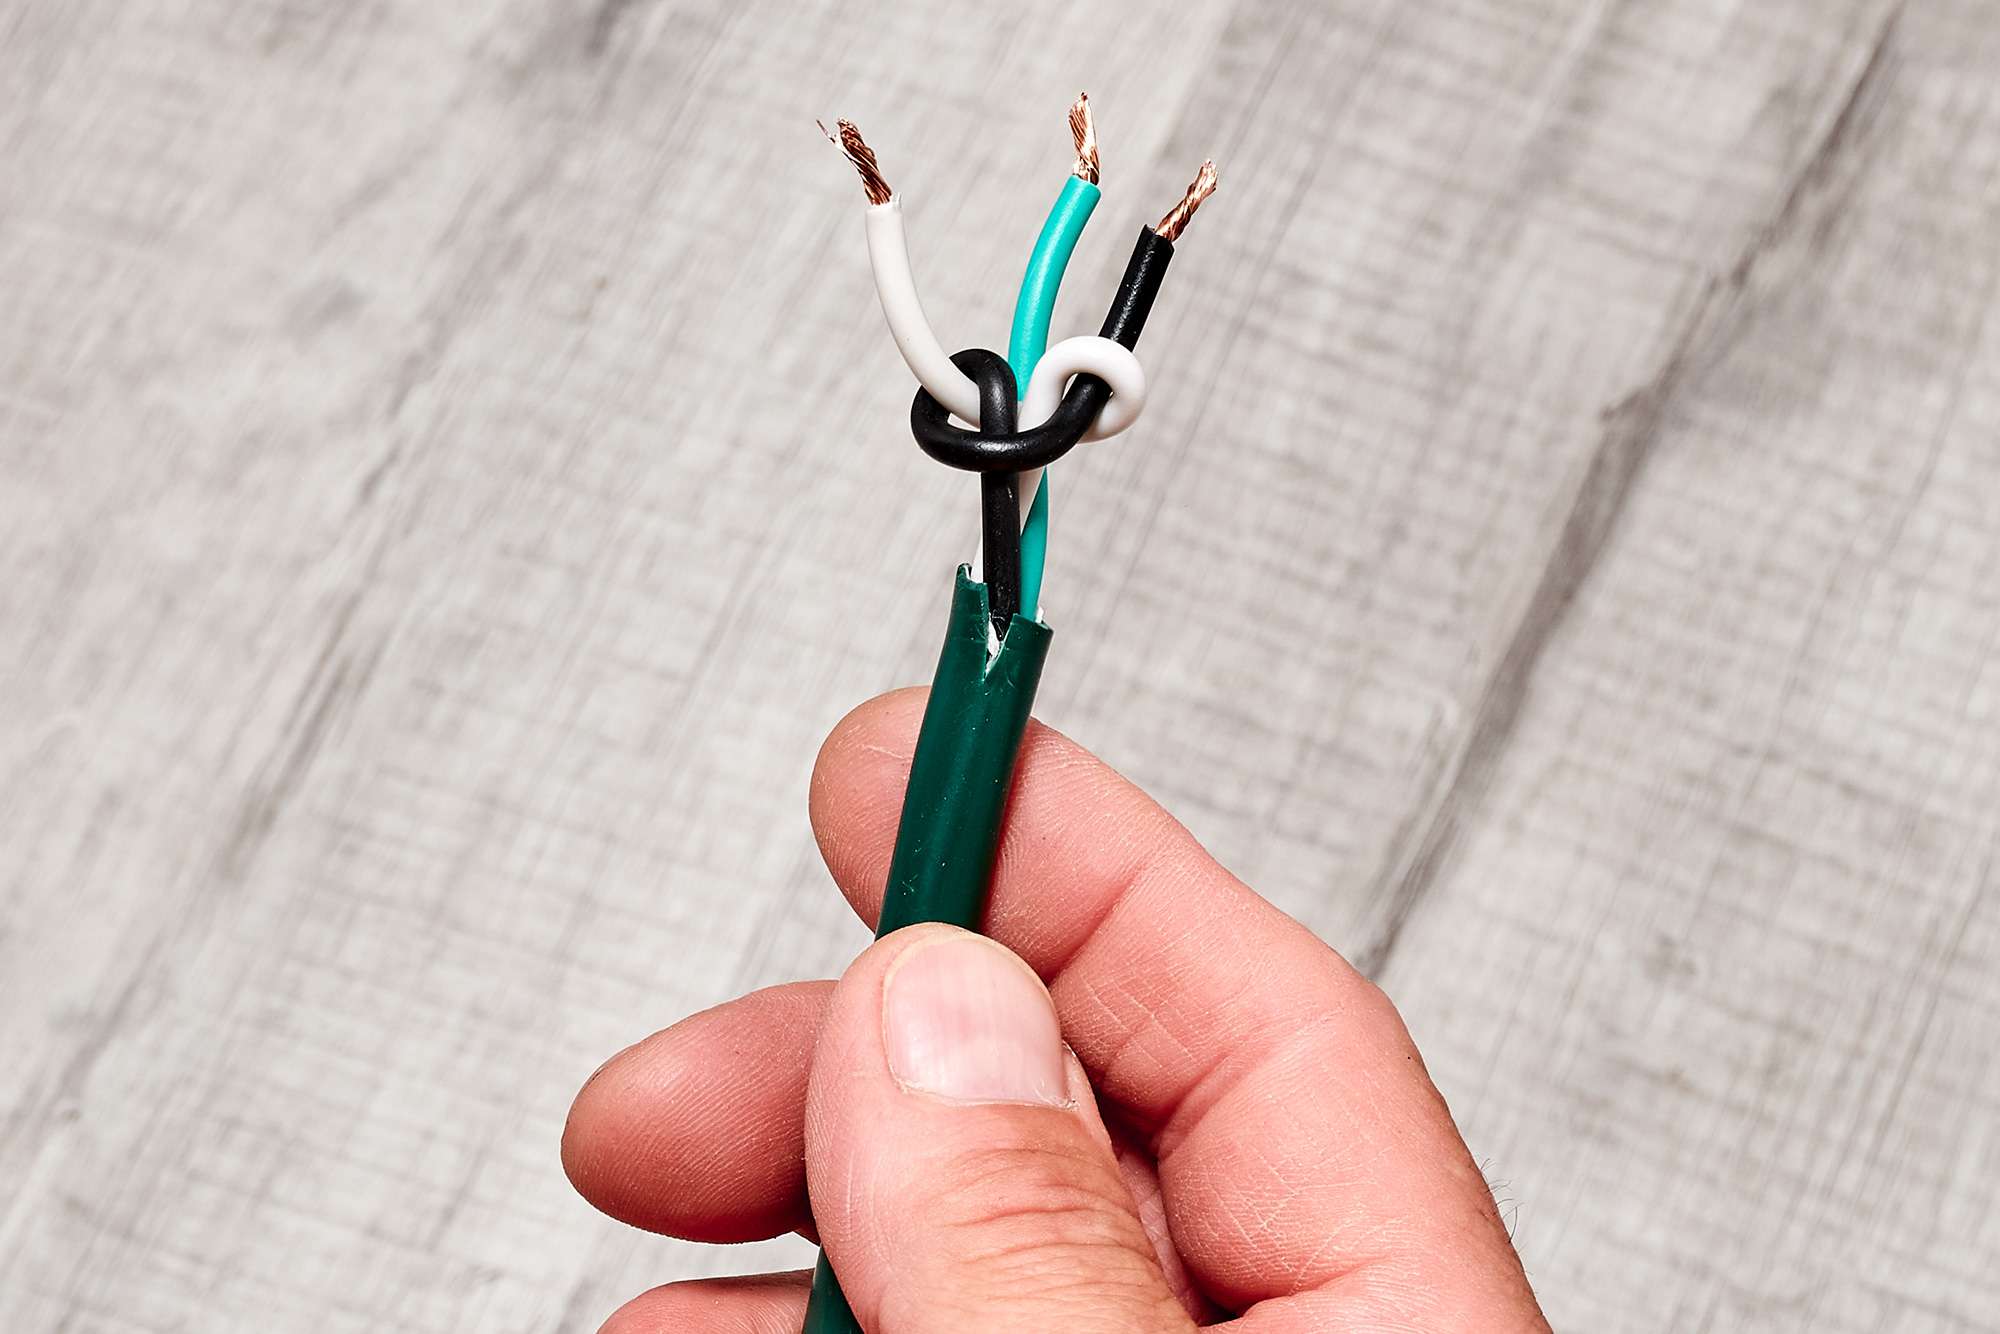
Step 3: Exposing the Wire Ends
After preparing the wire by stripping off the insulation, the next step is to expose the wire ends. This will allow for easy and secure attachment of the plugs.
Begin by examining the exposed wire ends. If you notice any frayed or uneven strands, use the wire strippers to trim them and create a neat and even surface. This will ensure a better electrical connection between the wire and the plugs.
Take each exposed wire end and twist the individual strands together using your fingers. This will help to consolidate the wires and prevent them from fraying or becoming loose. It’s important to have a solid bundle of wires to ensure a solid connection.
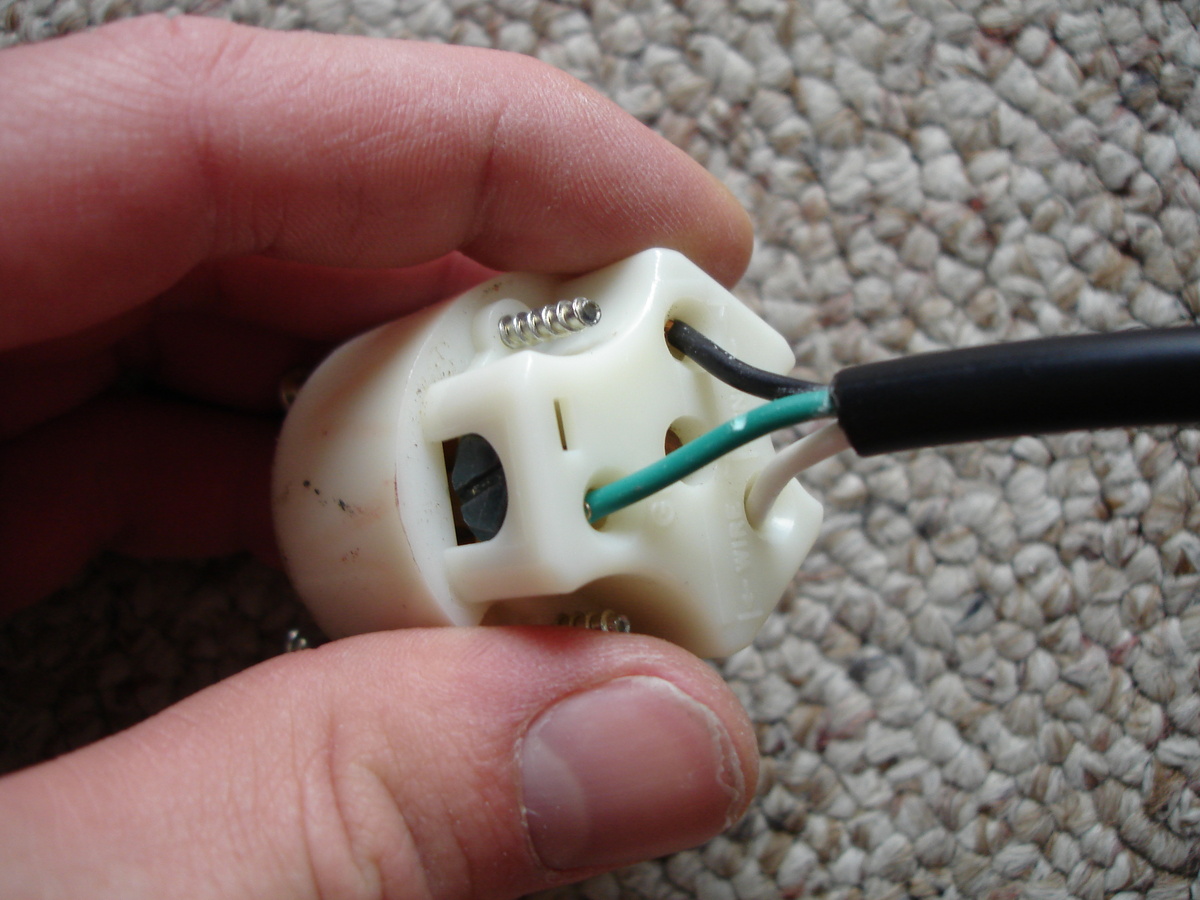
Once the wires are twisted together, carefully separate them into two groups: one for the hot (typically black) wire and one for the neutral (typically white) wire. This segregation is important for maintaining proper electrical polarity in the extension cord.
If your wire has a grounding wire (typically green or bare copper), separate it from the other two groups. The grounding wire is responsible for providing an additional level of safety by diverting electrical current in case of a fault or short circuit.
Trim the twisted wire ends to ensure they are all the same length. This will help in creating consistent connections with the plugs.
With the wire ends properly prepared and organized, you’re ready to move on to the next step: attaching the plugs.
Caution: Take necessary precautions while working with exposed wire ends to avoid any accidental electrical shocks. It’s advisable to keep the wire away from any conducting surfaces or power sources until the plugs are securely attached.
When making an extension cord, always use the correct gauge wire for the intended use to prevent overheating and potential fire hazards.
Read more: How To Make A Retractable Electrical Cord
Step 4: Attaching the Plugs
Now that the wire ends are prepared and exposed, it’s time to attach the plugs. This step involves securely connecting the plugs to the respective wire ends to complete the extension cord.
Start by selecting the male plug, which is typically the one that will be inserted into the electrical outlet. Identify the hot, neutral, and grounding terminals of the plug. These are usually indicated by color-coded screws or markings.
Take the group of wires designated as the hot wires and insert them into the corresponding terminal of the male plug. Make sure the exposed wire ends are fully inserted and securely held by the screw terminals or any other connection mechanism provided by the plug.
Repeat the same process for the neutral wires, connecting them to the appropriate terminal of the male plug. Ensure that the connections are tight and secure to prevent any loose or exposed wires.
If your wire includes a grounding wire, connect it to the grounding terminal of the male plug. This wire is responsible for diverting electrical current in case of a fault or short circuit, providing an additional level of safety in the extension cord.
Once all the wire ends are properly connected to the male plug, proceed to attach the female plug. Similar to the male plug, identify the terminals and their corresponding functions on the female plug.
Connect the hot, neutral, and grounding wires to their respective terminals on the female plug, ensuring a secure and tight connection. Double-check all the connections to make sure they are properly aligned and tightened.
Once both plugs are securely attached, give the wires a gentle tug to ensure they are firmly held in place. Inspect the connections for any signs of loose wires or exposed conductors. If necessary, re-tighten the screws or make any adjustments needed to ensure a solid and safe connection.
With the plugs successfully attached, you are ready to move on to the next step: securing the connections.
Important note: Exercise caution when working with electrical connections. Ensure that the power source is turned off and avoid contact with live wires during the plug attachment process. Always prioritize safety to prevent electrical hazards.
Step 5: Securing the Connections
Securing the connections is an important step in ensuring the safety and reliability of your homemade extension cord. By properly securing the connections, you can prevent any accidental disconnections or exposed wires that could lead to electrical hazards.
Start by carefully inspecting each connection point on both the male and female plugs. Ensure that the wire ends are securely fastened and that there are no loose or exposed wires.
If using plugs with screw terminals, use a screwdriver to tighten the screws, ensuring a snug fit without over-tightening. This will help to maintain a solid electrical connection and prevent any fire hazards caused by loose connections.
Once the connections are tightened, use electrical tape to insulate and protect the connections. Starting from the base of the plug, wrap the electrical tape tightly around the area where the wires meet the plug. Continue wrapping the tape for a few inches past the connection point.
The electrical tape will provide an extra layer of insulation and protection against accidental contact with the live wires. It will also help to strain-relieve the connection, reducing the risk of fraying or damage to the wire ends.
Be sure to wrap the electrical tape tightly and uniformly for a secure and neat finish. Avoid overlapping the tape excessively, as this can create bulges or uneven surfaces that may interfere with the plug’s insertion into the outlet.
Repeat the same process for both the male and female plugs, ensuring that each connection is securely wrapped with electrical tape. This will reinforce the connections and provide added protection against moisture, dust, and other environmental factors.
After securing the connections with electrical tape, give the entire extension cord a thorough visual inspection. Look for any signs of loose connections or exposed wires that may have been missed earlier. If any issues are identified, rectify them immediately before using the extension cord.
By securing the connections with electrical tape, you have taken an important step in ensuring the safety and longevity of your homemade extension cord.
Remember, electrical work should only be carried out by confident individuals with the necessary knowledge and expertise. If you are unsure, it is always best to consult a professional electrician.
Step 6: Testing the Extension Cord
After completing the process of making your own extension cord, it’s crucial to test its functionality and safety before putting it into use. Proper testing will ensure that your homemade extension cord is working as expected and poses no risks.
Start by visually inspecting the entire length of the extension cord for any physical damages or signs of wear. Look for cuts, frayed wires, or exposed conductors. If any damage is detected, repair or replace the cord before proceeding with the testing.
Once the visual inspection is complete, ensure that the electrical devices or appliances you intend to plug into the extension cord are turned off.
Now, carefully plug the male end of the extension cord into a properly functioning electrical outlet. Ensure that the plug is fully inserted and does not wobble or come loose easily.
Once the male plug is securely connected, plug the intended device into the female end of the extension cord. Make sure the plug fits snugly and does not require excessive force to insert.
Turn on the device or appliance connected to the extension cord. Verify that it is receiving power and functioning as expected. Check for any abnormal behavior, such as flickering lights or unusual sounds. If any issues arise, immediately unplug the extension cord and investigate the cause.
While the device is powered on, observe the extension cord for any signs of overheating. Feel the cord and plugs for excessive heat. A warm cord is normal, but if it becomes hot to the touch, or if you smell burning, unplug the extension cord immediately to prevent any potential fire hazards.
While testing, ensure that you are not overloading the extension cord with devices that exceed its capacity. Refer to the wire gauge rating and the device’s power requirements to ensure a safe power supply.
After completing the testing process, turn off the device or appliance and unplug it from the extension cord. Remove the male plug from the electrical outlet as well.
If the extension cord passes all the tests and there are no issues or abnormalities observed during testing, congratulations! You have successfully made and tested your own extension cord.
Remember to periodically inspect and test your homemade extension cord for any signs of wear or damage. Regular maintenance and care will ensure its continued safe and reliable operation.
Note: If you are unsure about the testing process or have any doubts regarding the safety of your extension cord, consult a professional electrician for assistance and guidance.
Conclusion
Creating your own extension cord can be a practical and cost-effective solution when the standard length of commercial cords is not sufficient for your needs. By following the steps outlined in this article, you can make a customized extension cord that meets your specific requirements.
We started by gathering the necessary materials, including the wire, plugs, wire strippers, electrical tape, wire cutter, and marker or label. Then, we guided you through the step-by-step process, starting with preparing the wire by stripping off the insulation, exposing the wire ends, attaching the plugs, securing the connections, and finally, testing the extension cord.
Throughout the process, it’s crucial to prioritize safety and take precautions. Always ensure the power source is turned off and work in a well-lit area. Double-check all connections, wrap them securely with electrical tape, and conduct thorough visual inspections before testing the cord.
Testing the extension cord is an essential step to ensure its functionality and safety. Plug in the cord, connect your device or appliance, turn it on, and monitor for any abnormalities such as overheating or flickering. If any issues arise, immediately unplug the cord and address the cause.
Remember to periodically inspect and test your homemade extension cord to ensure it remains in good working condition. Regular maintenance and care will prolong its lifespan and ensure your safety while using it.
In conclusion, making your own extension cord is a rewarding endeavor that empowers you to create a customized solution for your power needs. By following the steps outlined in this article and keeping safety as your top priority, you can confidently create a reliable and safe extension cord that serves you well for years to come.
Now that you've mastered making your own extension cord, why not delve deeper into DIY electrical projects? For those eager to enhance their tool kit, our article on the best power tools offers insights and recommendations tailored for every skill level. If your projects are expanding beyond the house, discover safe and efficient methods for running electrical wiring to your garage. Both guides are packed with practical advice and step-by-step instructions to help you tackle your next big project with confidence.
Frequently Asked Questions about How To Make An Extension Cord
Was this page helpful?
At Storables.com, we guarantee accurate and reliable information. Our content, validated by Expert Board Contributors, is crafted following stringent Editorial Policies. We're committed to providing you with well-researched, expert-backed insights for all your informational needs.


0 thoughts on “How To Make An Extension Cord”