
Articles
How To Make Cinnamon Candles
Modified: December 7, 2023
Learn how to make cinnamon-scented candles with this step-by-step guide. Our articles provide easy-to-follow instructions for creating beautiful and fragrant homemade candles that will fill your home with warmth and coziness.
(Many of the links in this article redirect to a specific reviewed product. Your purchase of these products through affiliate links helps to generate commission for Storables.com, at no extra cost. Learn more)
Introduction
Welcome to the wonderful world of homemade candles! There’s nothing quite like the warm and cozy ambiance that candles create, especially when they are infused with delightful fragrances. And what better fragrance to fill your home with than the comforting scent of cinnamon? In this article, we’ll show you how to make your very own cinnamon candles, perfect for adding a touch of charm to any room or for delightful homemade gifts.
Creating your own candles is not only a fun and creative endeavor, but it also allows you to customize the scent, color, and style to suit your personal taste. Plus, making candles at home can be a cost-effective alternative to store-bought options. So, roll up your sleeves, gather your materials, and let’s get started on this aromatic journey of crafting cinnamon candles!
Key Takeaways:
- Create personalized cinnamon candles for a cozy ambiance and thoughtful gifts. Enjoy the aromatic journey of crafting with attention to detail and creative flair.
- Embrace the rewarding experience of making cinnamon candles at home. Infuse your space with warmth, love, and tranquility while delighting in the soothing glow and comforting aroma.
Read more: How To Make Cinnamon Pumpkin Seeds
Materials Needed
Before you begin making your cinnamon candles, gather the following materials:
- Wax flakes or blocks: Look for high-quality candle-making wax, such as soy wax or beeswax.
- Candle wicks: Choose wicks that are appropriate for the size of your candle jar or holder.
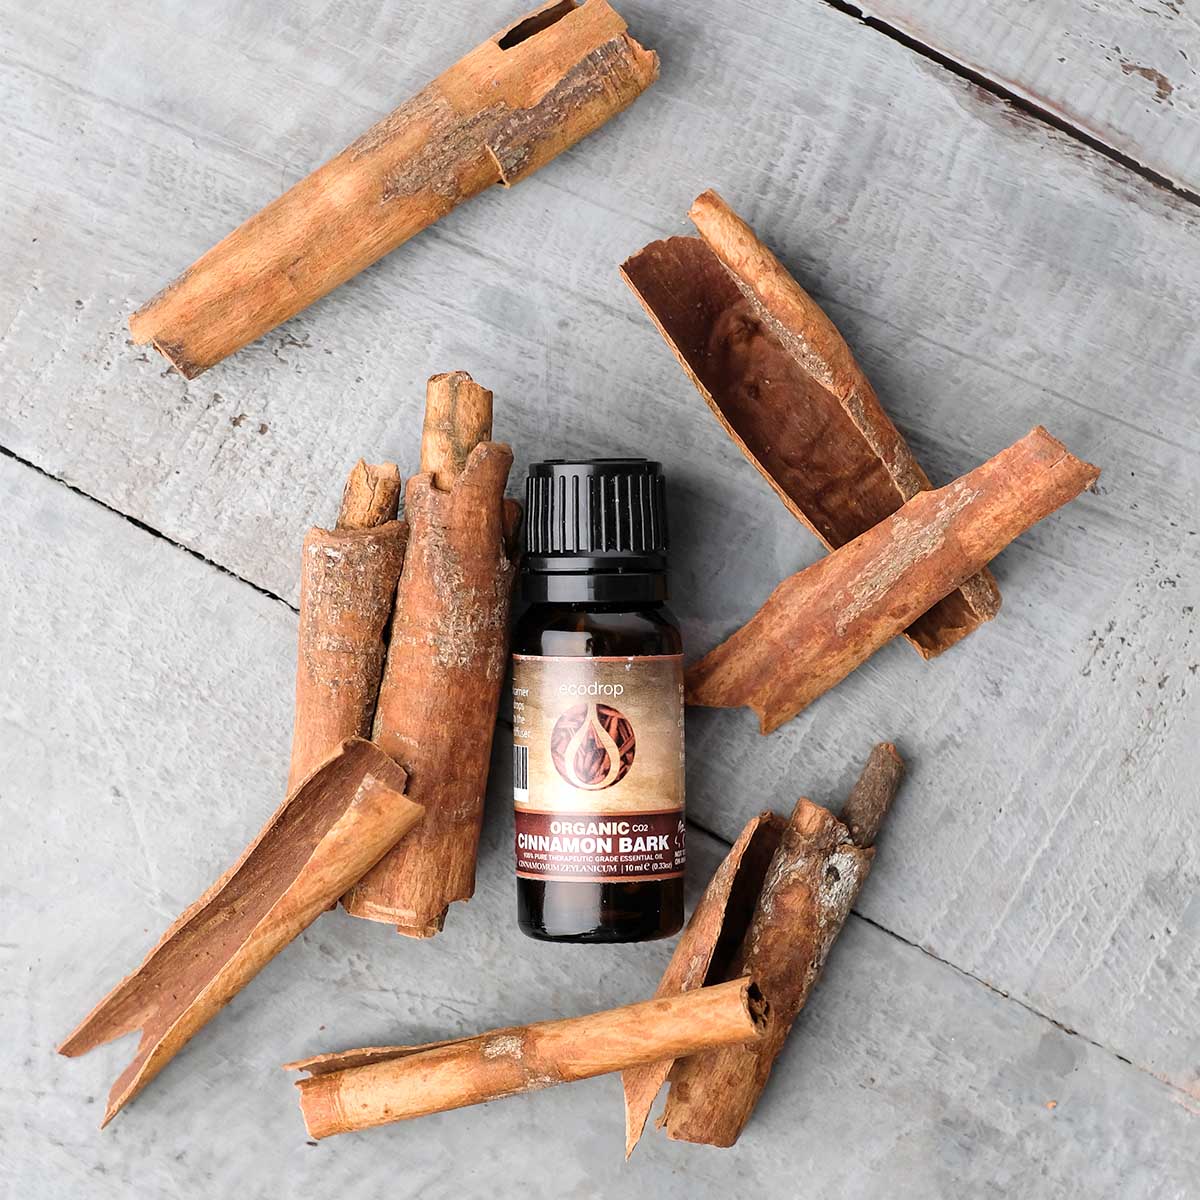
- Cinnamon fragrance oil: Ensure you have a high-quality fragrance oil specifically designed for candle-making.
- Candle dye or color blocks: If you want to add color to your candles, opt for candle-specific dyes in your desired shades.
- Candle jars or holders: Select glass jars or containers that are heat-resistant and suitable for candle-making.
- Double boiler or melting pot: You’ll need a heat-safe vessel to melt the wax.
- Thermometer: An essential tool for checking the temperature of the melted wax.
- Wick holder or pencil: This will come in handy to keep the wick centered while pouring the wax.
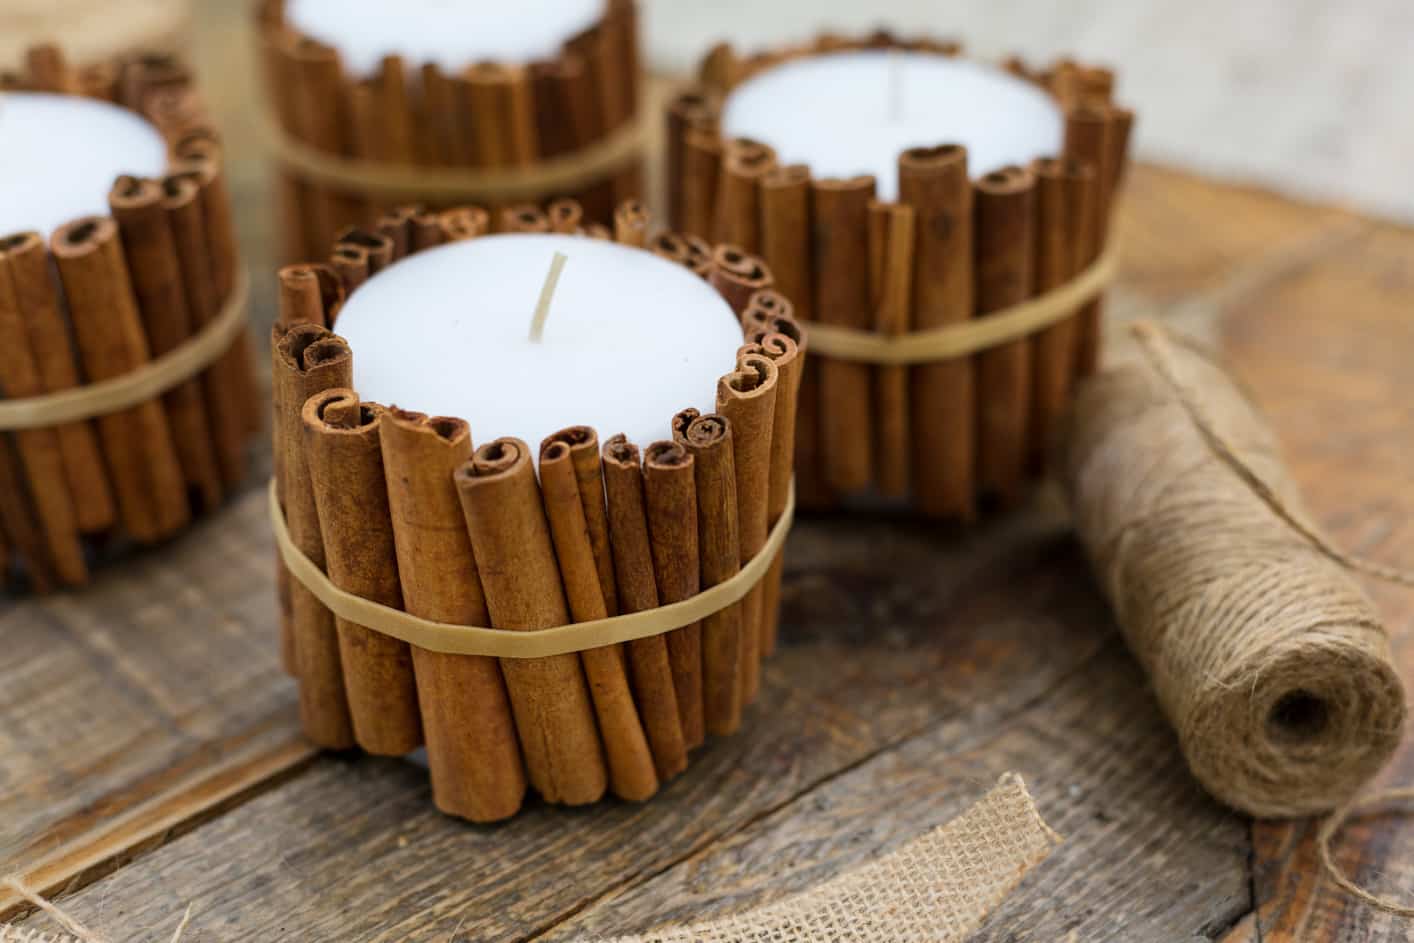
- Optional: Decorative elements such as cinnamon sticks, ribbon, or labels for a finishing touch.
Gather all these materials in advance to ensure a smooth and hassle-free candle-making experience. Now that you have everything ready, let’s dive into the step-by-step process of creating your beautiful cinnamon candles!
Step 1: Preparing the Candle Holder
Before you can start pouring the wax, it’s essential to prepare your candle holder. If you’re using glass jars or containers, make sure they are clean and dry. Any dirt or moisture can affect the adhesion of the wax and the overall quality of the candle.
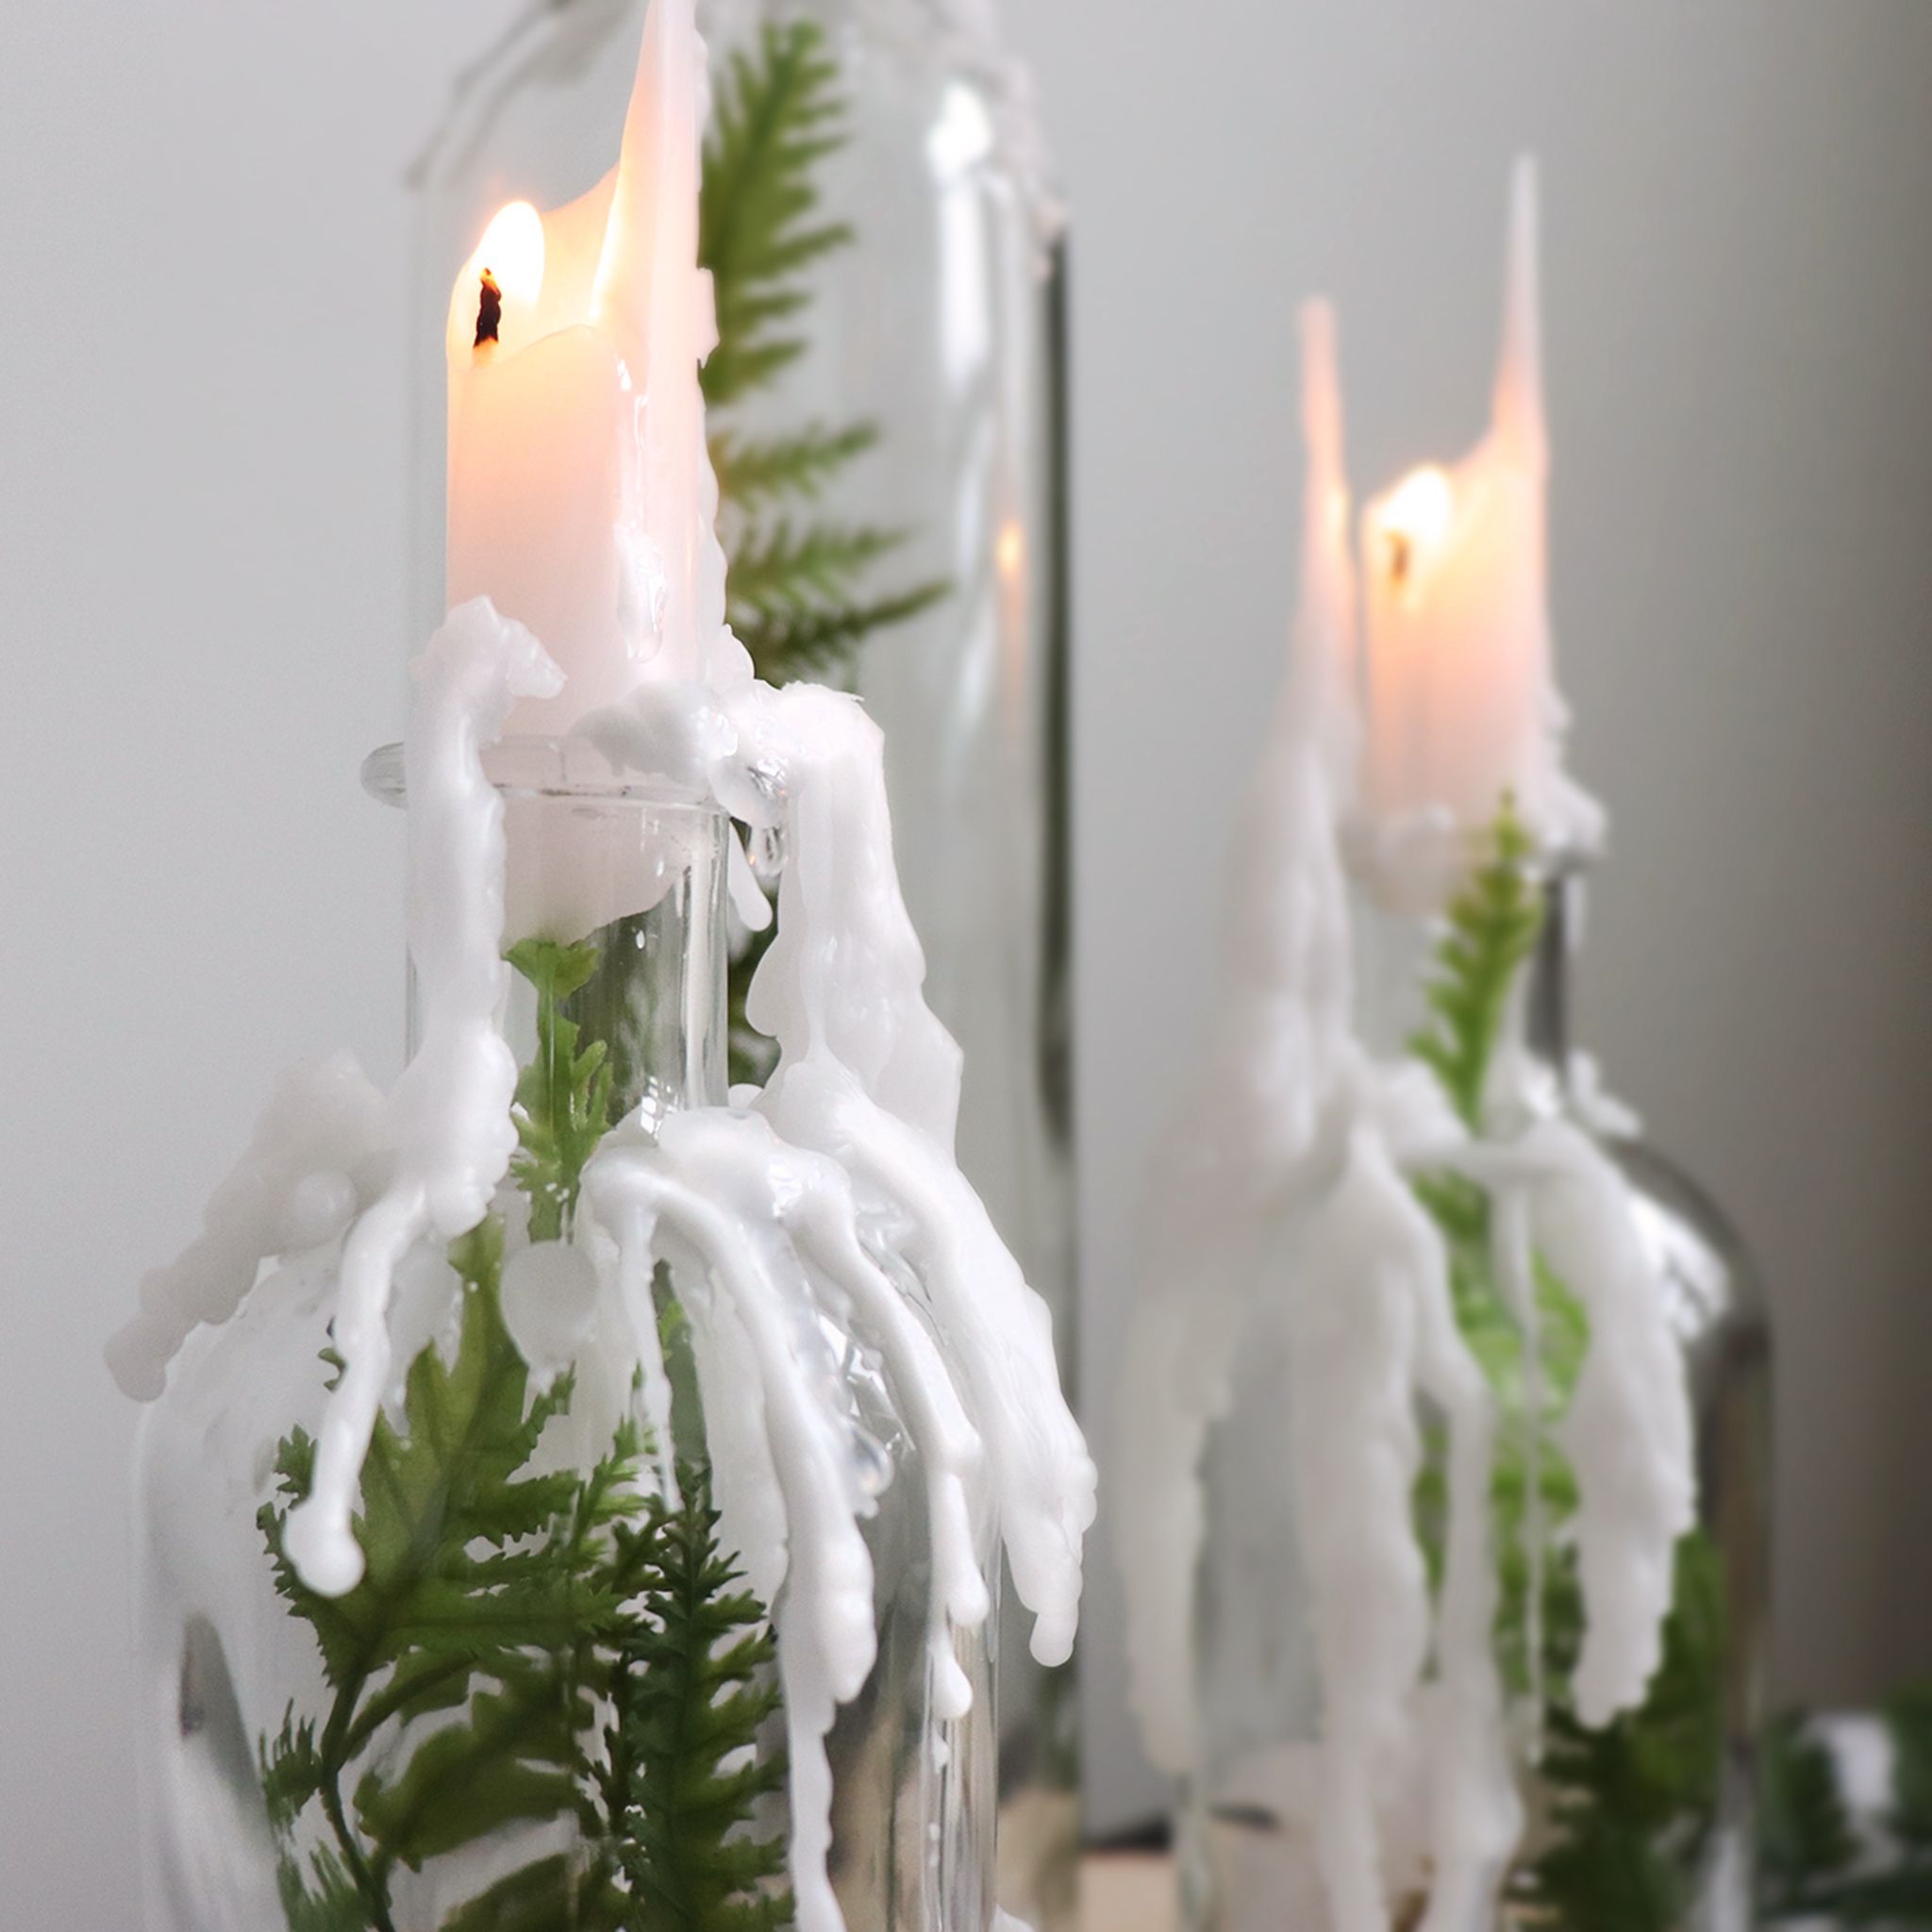
If you’d like to add a decorative touch to your cinnamon candle, consider tying a ribbon around the neck of the jar or attaching a label with the scent and date of creation. You can also place a cinnamon stick or two inside the jar for an additional aromatic element and visual appeal.
Once your candle holder is clean and adorned (if desired), it’s time to move on to the next step — melting the wax.
Remember, attention to detail in this step will ensure a beautiful end result for your cinnamon candles.
Step 2: Melting the Wax
Now that your candle holder is prepared, it’s time to melt the wax. To do this, you’ll need a double boiler or a melting pot.
First, fill the bottom part of the double boiler or the melting pot with water. Place it on the stove over medium heat, making sure the water doesn’t boil too vigorously.
Next, pour the desired amount of wax flakes or blocks into the top part of the double boiler or the melting pot. As the water heats up, the wax will gradually melt, creating a smooth and liquid consistency.
While the wax is melting, it’s important to keep an eye on the temperature. Use a thermometer to monitor the wax temperature and ensure it doesn’t exceed the recommended range specified on the wax packaging. Different types of wax have different melting points, so refer to the instructions provided.
Once the wax has completely melted and reached the appropriate temperature, it’s time to move on to the next step — adding the enticing fragrance of cinnamon.
All this attention to detail will result in a perfectly melted wax, ready for the next stage of the candle-making process.
Step 3: Adding the Cinnamon Fragrance
Now that your wax is melted to perfection, it’s time to add the irresistible scent of cinnamon. For this step, you’ll need high-quality cinnamon fragrance oil specifically designed for candle-making.
Begin by carefully adding a few drops of the cinnamon fragrance oil to the melted wax. The number of drops will depend on your preference and the strength of the fragrance. Start with a small amount and adjust accordingly until you achieve the desired scent intensity.
As you add the fragrance oil, stir the melted wax gently with a heat-resistant spoon or a stirrer. This will help distribute the fragrance evenly throughout the wax, ensuring a consistent scent when the candle burns.
It’s important to note that fragrance oils can vary in potency, so it’s always a good idea to refer to the manufacturer’s recommendations for the ideal fragrance-to-wax ratio.
Once you’ve added and stirred in the cinnamon fragrance oil, your melted wax will be beautifully scented and ready for the next step — pouring it into the candle holder.
The addition of the cinnamon fragrance will truly bring your homemade candle to life, creating a warm and inviting atmosphere in any space.
Step 4: Pouring the Wax into the Candle Holder
With the enticing cinnamon fragrance mixed into the melted wax, it’s time to pour the wax into your prepared candle holder. This step requires precision and patience to ensure a smooth and even pouring process.
Start by carefully holding the candle holder or jar with one hand while using the other hand to pour the melted wax. Slowly pour the wax into the container, making sure to leave some space at the top to accommodate the wick and any additional decorative elements.
For a cleaner pour, you can use a funnel or a pouring spout attachment to control the flow of the wax. This will help prevent any spills or drips on the sides of the container.
While pouring, it’s essential to keep the wick centered in the container. You can use a wick holder or simply hold the wick in place with a pencil across the top of the container. This will ensure that the wick remains straight and centered as the wax solidifies.
As you pour the wax, you’ll notice the beautiful cinnamon-infused liquid filling your candle holder. Take your time to pour slowly and patiently to achieve a professional-looking finish.
Once you’ve poured the wax, it’s time to move on to the next step — inserting the wick into the candle.
The pouring process requires a steady hand and careful attention to detail to create a stunning cinnamon candle that is both visually appealing and wonderfully scented.
When making cinnamon candles, be sure to use a high-quality cinnamon essential oil for a strong and long-lasting scent.
Step 5: Inserting the Wick
With the melted wax poured into the candle holder, it’s time to insert the wick. The wick is the heart of the candle, allowing it to burn and emit the comforting glow and fragrance of cinnamon.
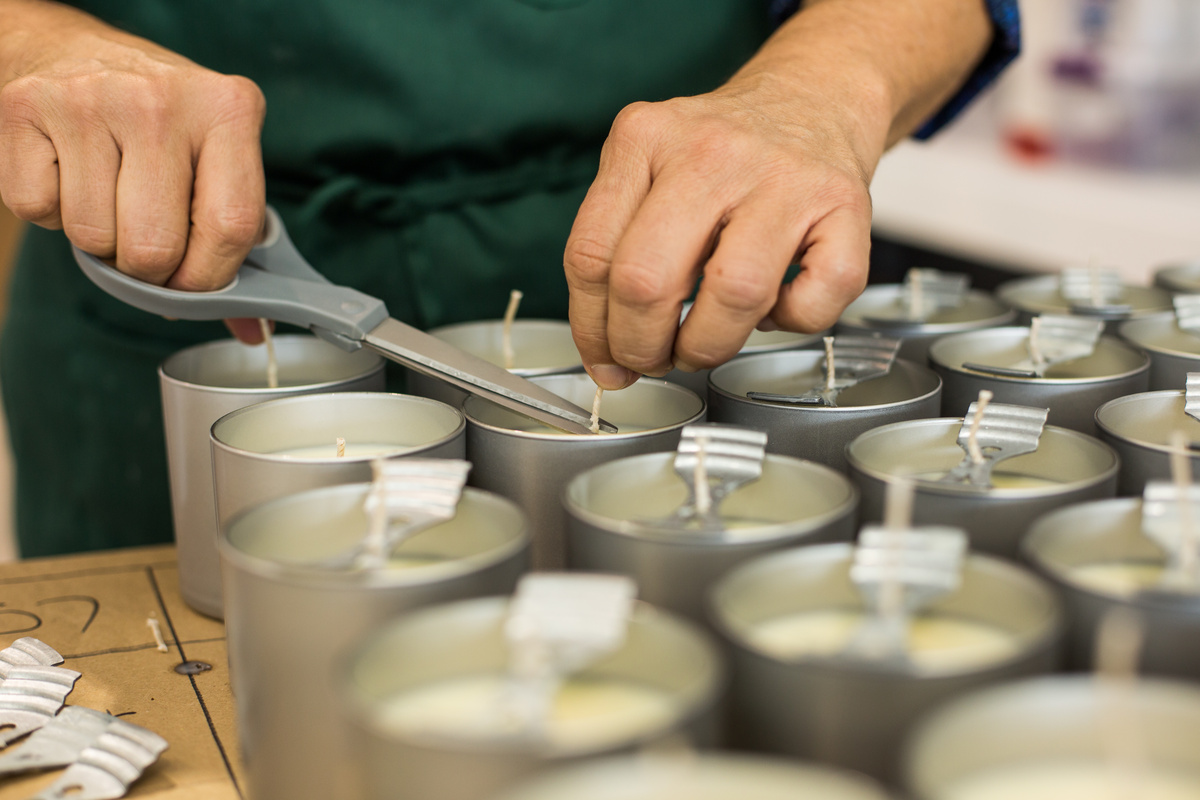
Take your pre-measured candle wick and carefully lower it into the center of the candle, ensuring that it touches the bottom. Gently press the metal tab or base of the wick to secure it in place at the bottom of the container.
To keep the wick straight and centered as the wax solidifies, you can use a wick holder or simply wrap the excess length of the wick around a pencil placed across the top of the container. Make sure the wick remains taut, ensuring it stays in the middle of the candle.
Allow the wax to cool and solidify completely before moving on to the next step. This will ensure that the wick remains properly positioned throughout the candle’s lifespan.
Inserting the wick is a crucial step in candle-making, as it will determine how well the candle burns. Make sure to position the wick correctly for optimal performance and a long-lasting cinnamon-scented experience.
Step 6: Allowing the Candle to Cool and Set
After inserting the wick, it’s important to exercise patience and allow the candle to cool and set properly. This step is crucial for ensuring that your cinnamon candle maintains its shape and stability.
Find a safe and undisturbed location where the candle can sit and cool. Avoid placing it in a drafty area or near any heat source that could cause uneven cooling or melting.
Allow the candle to cool naturally at room temperature. The amount of time needed for the candle to fully set will vary depending on the size of the container and the type of wax used. It generally takes a few hours for the wax to solidify completely.
Resist the temptation to touch or move the candle during this cooling period, as it can cause the wax to become uneven or develop imperfections. Patience is key to achieving a smooth and professional-looking cinnamon candle.
As the wax cools, you’ll notice a transformation from a liquid state to a solid form. This is an exciting stage in the candle-making process as you witness your creation taking shape, ready to be enjoyed in all its cinnamon-scented glory.
Once the candle has cooled and set, it’s time for the next step — trimming the wick.
Allowing the candle to cool and set properly ensures a high-quality finished product that will burn evenly and provide hours of aromatic delight.
Step 7: Trimming the Wick
Now that your cinnamon candle has cooled and set, it’s time to give the wick a proper trimming. Trimming the wick is an essential step in candle maintenance as it helps promote a clean and efficient burn.
Using a pair of sharp scissors or a wick trimmer, carefully trim the wick to a length of about ¼ inch (0.6 centimeters). This optimal wick length will help ensure a steady flame and prevent excessive smoke or flickering.
It’s important to trim the wick before each use of the candle. This helps to prevent the wick from becoming too long and causing the wax to melt too quickly or produce an uneven burn.
Trimming the wick also prevents the formation of a large and unstable flame, which can be hazardous. Keep in mind that the shorter the wick, the smaller and more controlled the flame will be.
After trimming the wick, be sure to remove any debris or excess wick from the candle container before lighting it. Maintaining a clean and well-trimmed wick will ensure a longer-lasting and safer experience with your cinnamon candle.
Once the wick is neatly trimmed, the final step is to light up your cinnamon-scented creation and bask in the warm glow and inviting aroma. Now, it’s time to enjoy your very own handmade cinnamon candle!
Read more: How To Make Cinnamon Rolls On Stove Top
Step 8: Enjoying Your Cinnamon Candle
Congratulations! You’ve successfully created a beautiful cinnamon candle from scratch. Now it’s time to sit back, relax, and enjoy the delightful ambiance and captivating fragrance it brings to your space.
When lighting your cinnamon candle for the first time, allow it to burn for a sufficient amount of time, typically 2-3 hours or until the wax has melted evenly across the entire surface. This helps prevent tunneling, where the candle only burns down the center, leaving unused wax along the sides.
Remember to always place your candle on a heat-resistant surface and keep it away from any flammable objects. Never leave a burning candle unattended, and keep it out of reach of children and pets.
As you bask in the warm glow and inviting aroma of your cinnamon candle, take a moment to appreciate the time and effort you put into creating such a special item. You now have a handmade treasure that can enhance any occasion, from relaxing evenings at home to intimate gatherings with loved ones.
To extend the life of your cinnamon candle, practice proper candle care. Trim the wick before each use, ensure a clean burning environment, and avoid burning the candle for more than 4 hours at a time.
If you wish to indulge in the cinnamon scent even when the candle is not burning, consider placing it in a drawer or a small, enclosed space to enjoy its aroma as a potpourri substitute.
Lastly, don’t forget that homemade candles also make excellent gifts. Share the joy of your cinnamon candle-making skills with family and friends, delighting them with a thoughtful and personalized present.
Now, sit back, relax, and let the soothing glow and comforting aroma of your cinnamon candle create a cozy and inviting atmosphere. Enjoy the fruits of your labor and embrace the serenity it brings to your surroundings.
Well done on creating your very own cinnamon candle!
Conclusion
Making your own cinnamon candles is a rewarding and enjoyable experience. From the initial preparation of the candle holder to the final moments of enjoying the warm glow and enticing aroma, every step is an opportunity to showcase your creativity and craftsmanship.
By following the step-by-step guide outlined in this article, you can confidently create beautiful and fragrant cinnamon candles that will infuse your space with a cozy ambiance and comforting scent.
Remember, attention to detail is key throughout the process. From selecting high-quality materials and fragrance oils to properly melting the wax and trimming the wick, each step contributes to the overall quality and longevity of your homemade candles.
Additionally, don’t be afraid to experiment with different container styles, colors, or even mix the cinnamon fragrance with other scents to create unique combinations. The possibilities are endless, and you have the freedom to tailor the candles to your personal preferences.
Whether you enjoy the calming atmosphere of a cinnamon candle during a leisurely bath, use it as a centerpiece during intimate dinners, or gift them to loved ones on special occasions, these handcrafted candles will undoubtedly bring joy and warmth to any setting.
So, gather your materials, let your creativity flow, and immerse yourself in the art of making cinnamon candles. Create, relax, and enjoy the soothing glow and enchanting scent that will fill your home with warmth, love, and tranquility.
Happy candle-making!
Frequently Asked Questions about How To Make Cinnamon Candles
Was this page helpful?
At Storables.com, we guarantee accurate and reliable information. Our content, validated by Expert Board Contributors, is crafted following stringent Editorial Policies. We're committed to providing you with well-researched, expert-backed insights for all your informational needs.


0 thoughts on “How To Make Cinnamon Candles”