Articles
How To Make Doorway Curtains
Modified: December 7, 2023
Learn how to make beautiful doorway curtains with these helpful articles. Enhance the look of your home with these DIY tips and tricks.
(Many of the links in this article redirect to a specific reviewed product. Your purchase of these products through affiliate links helps to generate commission for Storables.com, at no extra cost. Learn more)
Introduction
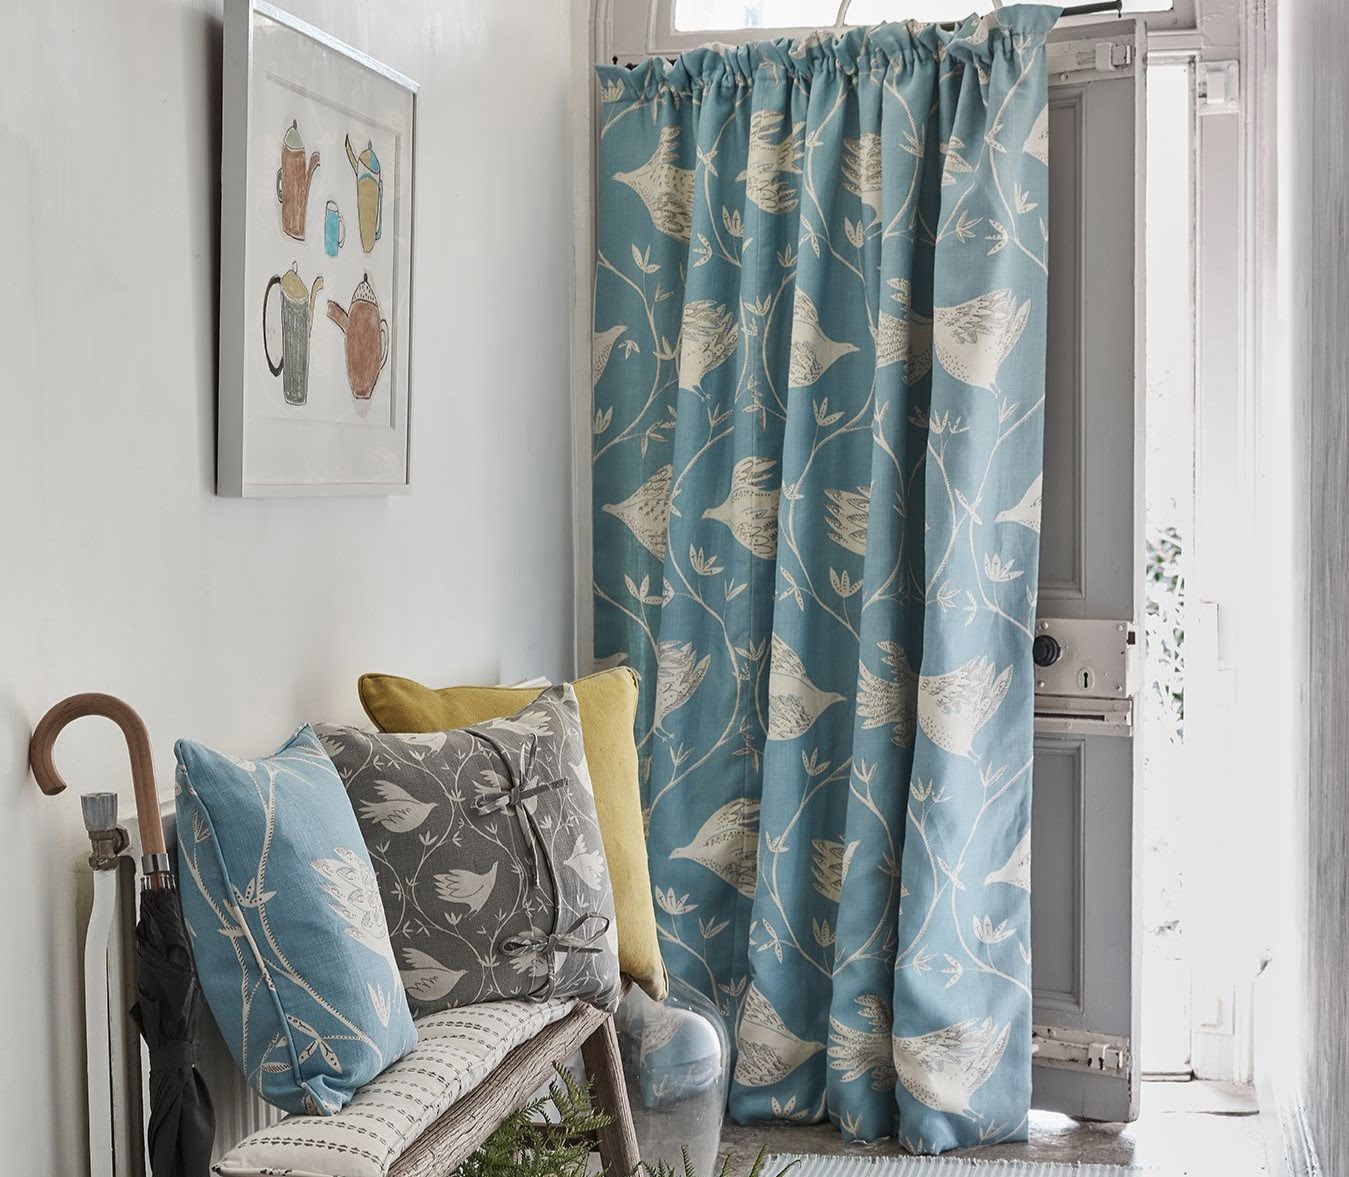
Welcome to our guide on how to make doorway curtains. Doorway curtains not only add style and elegance to your home, but they also provide privacy and help to block out unwanted light. Whether you’re looking to create a cozy ambiance or enhance the decor of your space, making your own doorway curtains is a great DIY project.
In this article, we will walk you through the step-by-step process of creating beautiful and functional doorway curtains. From selecting the perfect fabric to hanging the finished product, we’ve got you covered. So, let’s get started!
Before we dive into the specifics, it’s important to mention that making doorway curtains allows for endless customization options. You have the freedom to choose the fabric, color, and pattern that best aligns with your personal taste and decor style. Additionally, making your own curtains can be a budget-friendly alternative to purchasing pre-made ones.
Not only will you have curtains that are tailored to your exact measurements, but you’ll also have the satisfaction of creating something unique and handmade. So, grab your sewing machine and let’s embark on this creative journey together!
Throughout this guide, we will cover important steps such as selecting the fabric, measuring and cutting the material, hemming the edges, adding a rod pocket, creating tiebacks, and finally hanging the curtains. Each step will be explained in detail, ensuring that you have a clear understanding of the process.
Keep in mind that while we provide general guidelines, you can always adapt them to fit your specific needs and preferences. So, don’t be afraid to get creative and make this project your own.
Ready to transform your doorway with beautiful curtains? Let’s jump in and learn how to make doorway curtains that will elevate the look and feel of your home!
Key Takeaways:
- Elevate your home with handmade doorway curtains that offer privacy, style, and functionality. Enjoy the creative process of selecting fabric, measuring, cutting, and adding personalized details to reflect your unique taste and decor style.
- Transform your space with DIY doorway curtains that add a personal touch and reflect your creativity. Enjoy the satisfaction of creating something beautiful and functional while saving money and customizing every detail to suit your preferences.
Selecting the Fabric
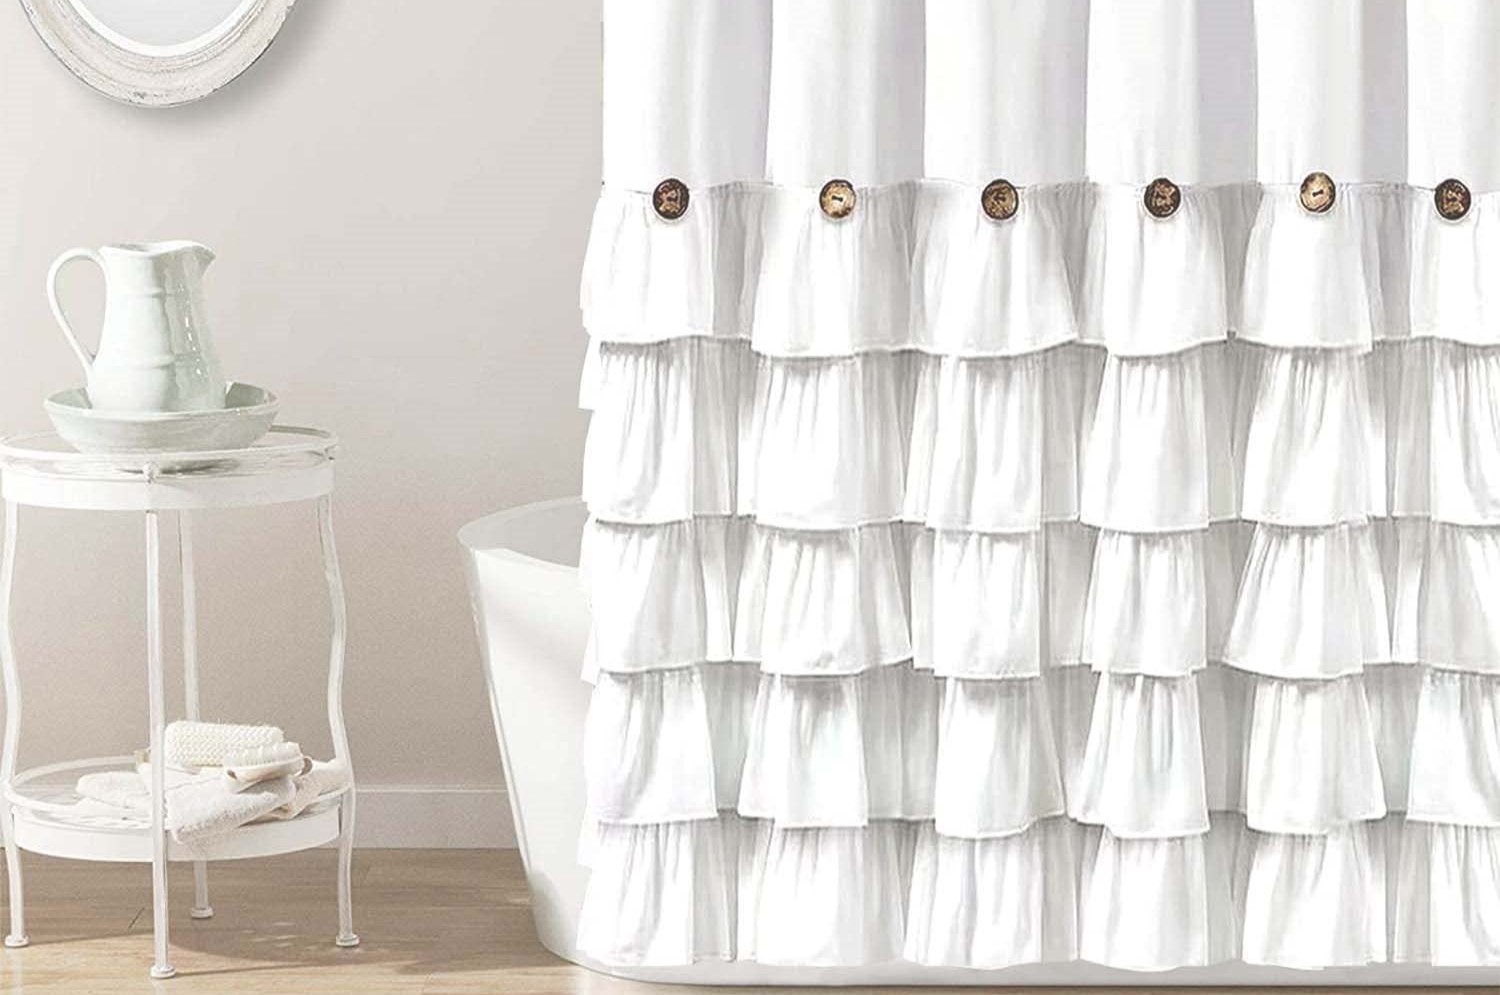
When it comes to making doorway curtains, choosing the right fabric is crucial. The fabric you select will not only play a significant role in the overall aesthetic of your curtains but also determine their durability and functionality.
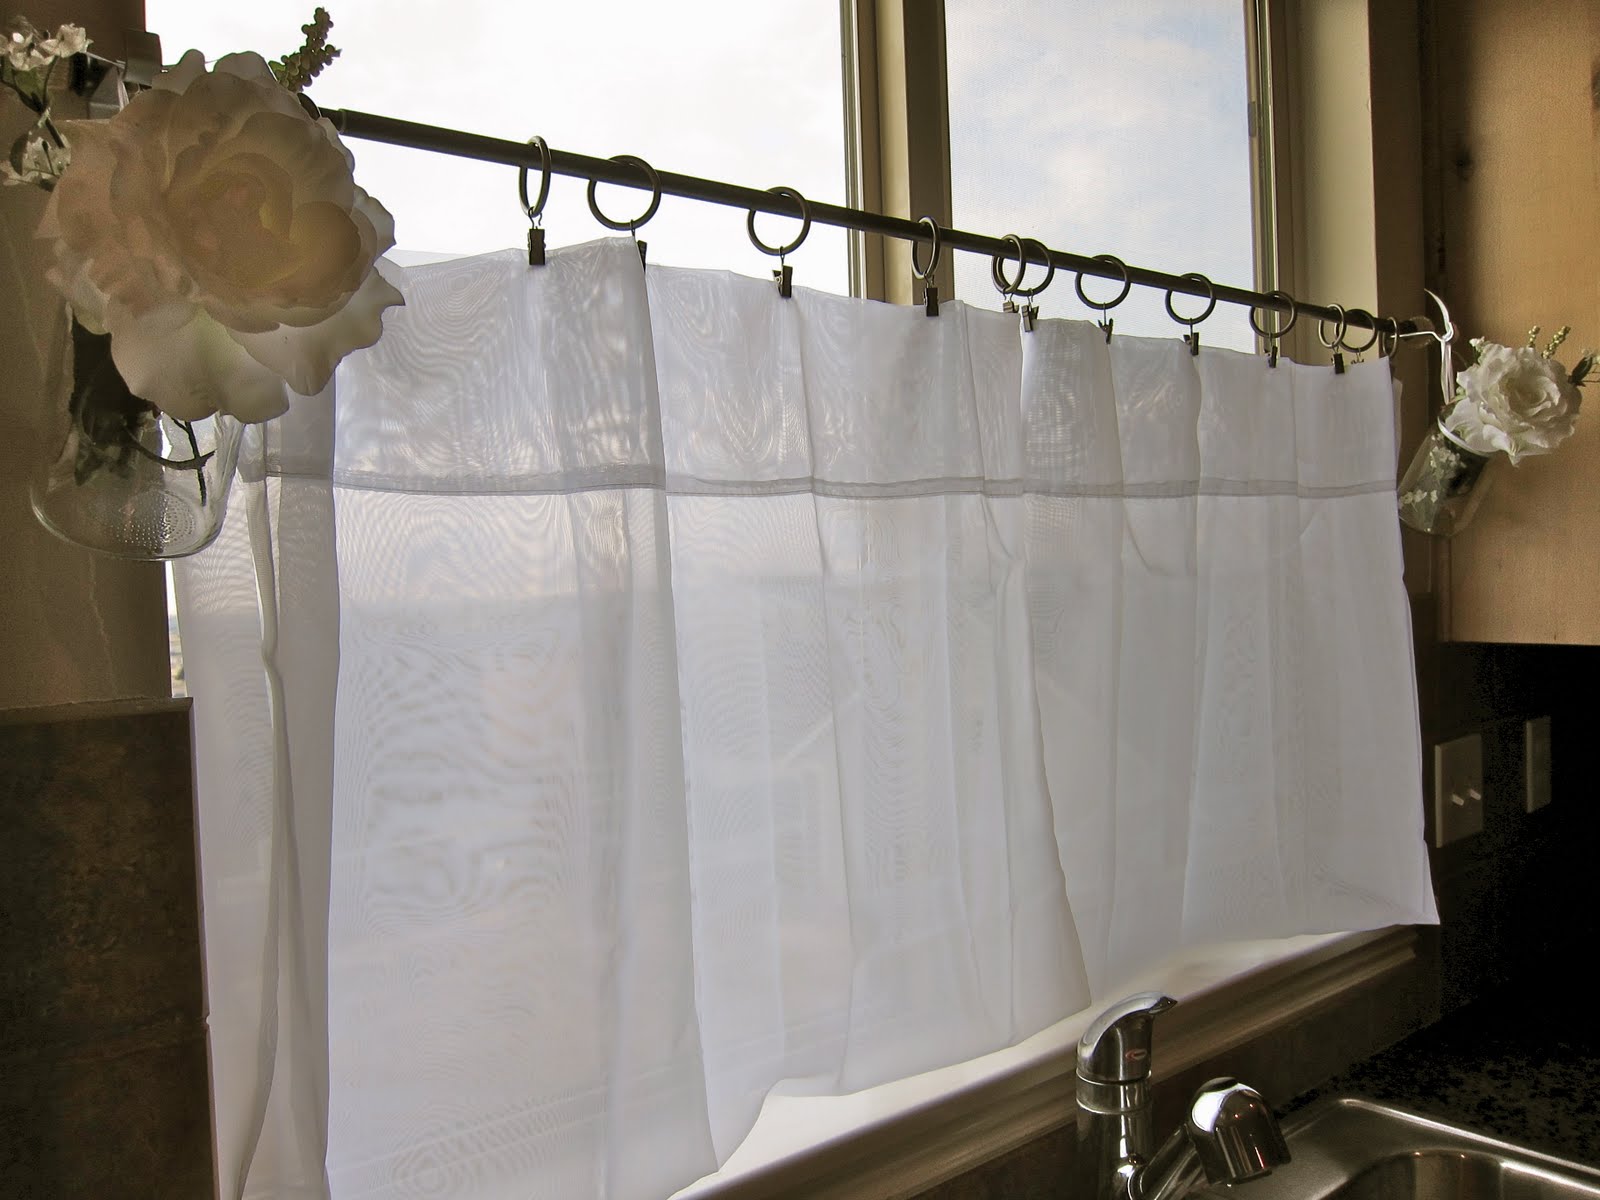
One of the first factors to consider is the purpose of the curtains. Are you looking for curtains that solely provide privacy, or do you also want them to block out light or insulate the room? If privacy is your main concern, lightweight fabrics like cotton or sheer materials can be a suitable choice. On the other hand, if you’re aiming for light-blocking or insulation, consider heavier fabrics like velvet or blackout materials.
Next, consider the style and decor of your space. Are you going for a modern, minimalist look, or do you prefer something more traditional and ornate? Consider the existing color scheme and patterns in the room and choose a fabric that complements or contrasts with them. If you’re unsure, neutrals are always a safe and versatile option.
It’s also essential to keep in mind the upkeep of the fabric. Some fabrics require special care, such as dry cleaning, while others can be machine washed. If you prefer low-maintenance curtains, opt for fabrics that can be easily cleaned at home.
Lastly, think about the durability of the fabric. Doorway curtains are likely to experience wear and tear, especially if they’re frequently opened and closed. Choosing a fabric that is sturdy and resistant to fading and fraying will ensure that your curtains last for years to come.
In summary, when selecting the fabric for your doorway curtains, consider the purpose, style, upkeep, and durability. By keeping these factors in mind, you can choose a fabric that not only enhances the visual appeal of your space but also meets your functional needs.
Measuring and Cutting
Now that you have selected the perfect fabric for your doorway curtains, it’s time to move on to the next step: measuring and cutting the material. Accurate measurements and precise cutting are essential to ensure that your curtains fit the doorway perfectly.
Here’s a step-by-step guide on how to measure and cut your fabric:
- Start by measuring the height and width of your doorway. For the height, measure from the top of the doorway to the desired length of the curtains. For the width, measure the width of the doorway and add a few inches for fullness.
- Add an additional 6 inches to both the height and width measurements to account for hems and rod pockets.
- Using a measuring tape, mark the measurements on your fabric. Use a straight edge, such as a ruler or yardstick, to ensure straight lines.
- Once marked, carefully cut along the lines using fabric scissors. Take your time to ensure clean and precise cuts.
- If your doorway requires multiple curtain panels, repeat the measuring and cutting process for each panel.
Remember to double-check your measurements before cutting the fabric to avoid any mistakes. It’s always a good idea to measure twice and cut once!
Additionally, if your fabric has a pattern or design, make sure to align the pattern correctly when laying out the fabric for cutting. This will ensure a visually pleasing result.
After cutting the fabric, you now have the curtain panels ready to be hemmed and assembled. In the next step, we will explore how to hem the edges to give your curtains a polished and professional look.
Now that you have completed the measuring and cutting process, you are one step closer to creating your doorway curtains. The precise measurements and clean cuts will ensure a perfect fit and a polished finished product.
Hemming the Edges
After measuring and cutting the fabric for your doorway curtains, it’s time to move on to the next important step: hemming the edges. Hemming will give your curtains a finished and professional look by preventing the fabric from fraying and unraveling.
Here’s a step-by-step guide on how to hem the edges of your curtains:
- Start by folding over the edge of the fabric about 1/2 inch to the wrong side. Use a hot iron to press the fold and create a clean crease.
- Next, fold the fabric over again, this time about 1 inch, enclosing the raw edge within the fold. Use pins to secure the folded edge in place.
- Now it’s time to sew the hem. You have the option to either hand-sew or machine-sew the hem. If you choose to hand-sew, use a needle and thread to sew a straight stitch along the folded edge. If you prefer to machine-sew, set your sewing machine to a straight stitch and carefully sew along the folded edge, removing the pins as you go.
- Repeat the above steps for all sides of the curtain panels that require hemming.
When sewing the hem, make sure to sew as close to the folded edge as possible for a neat and secure finish. Take your time and sew carefully to ensure even stitches along the entire length of the curtain panel.
Once you have hemmed all the edges, give the curtains a final press with a hot iron to make them look crisp and polished.
Hemming the edges not only prevents fraying but also adds weight to the curtains, helping them hang more smoothly. It’s a simple yet essential step that will elevate the overall appearance of your doorway curtains.
With the edges hemmed, you’re now ready to move on to the next step: adding a rod pocket to your curtains. This will allow you to easily hang the curtains on a curtain rod.
Take a moment to admire your handiwork as your curtains start to take shape. The attention to detail in hemming the edges will create a professional and refined look for your doorway curtains.
When measuring for doorway curtains, be sure to account for the width of the curtain rod and any additional fabric needed for fullness. This will ensure a proper fit and coverage for your doorway.
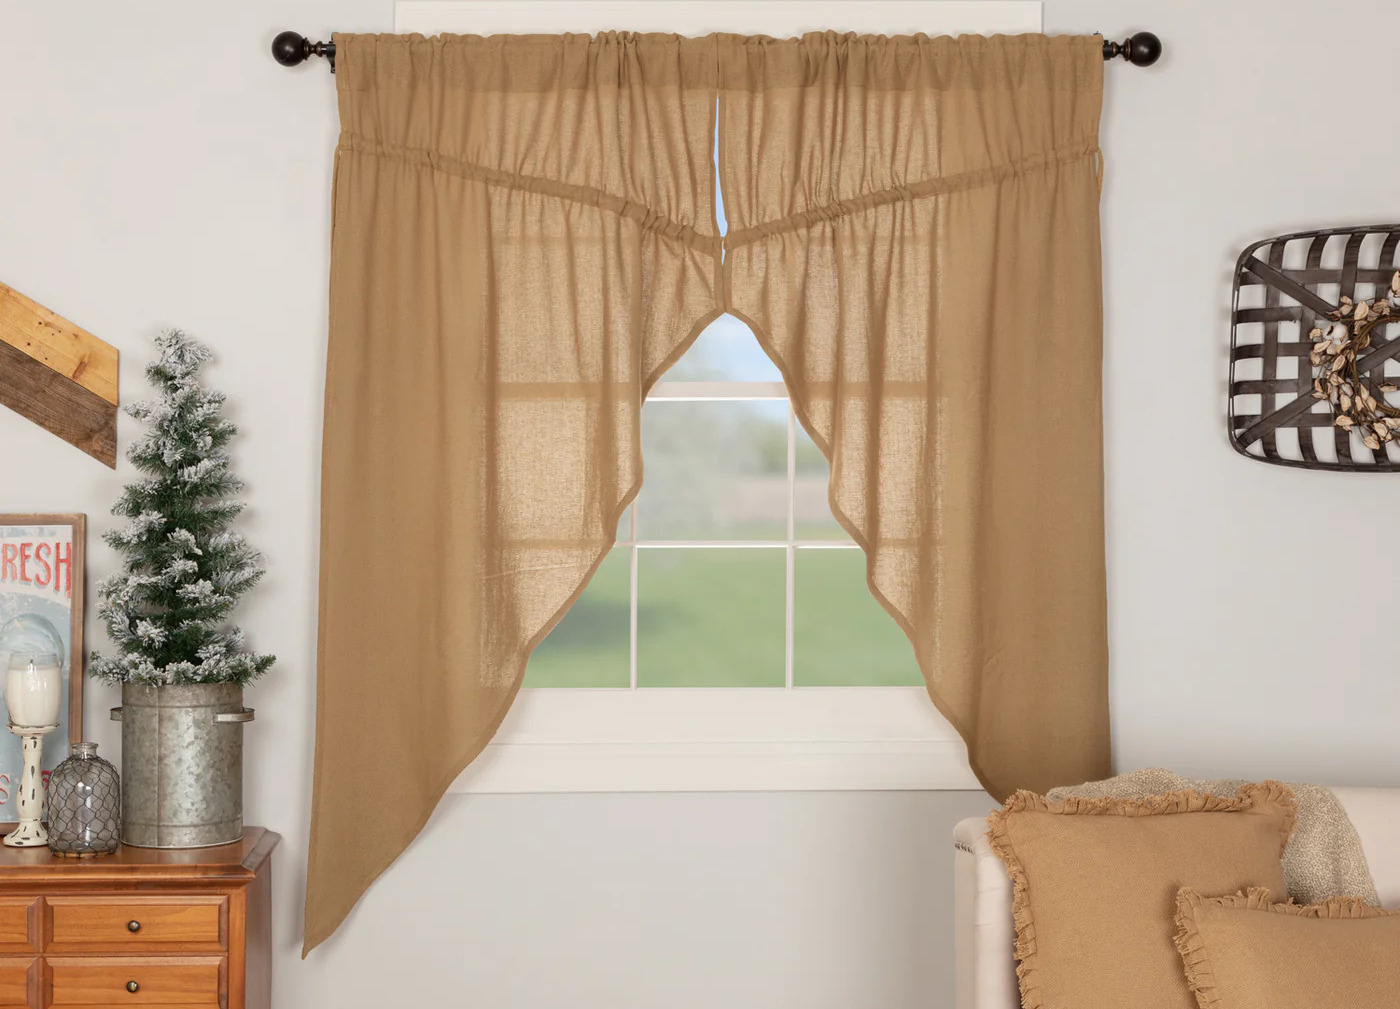
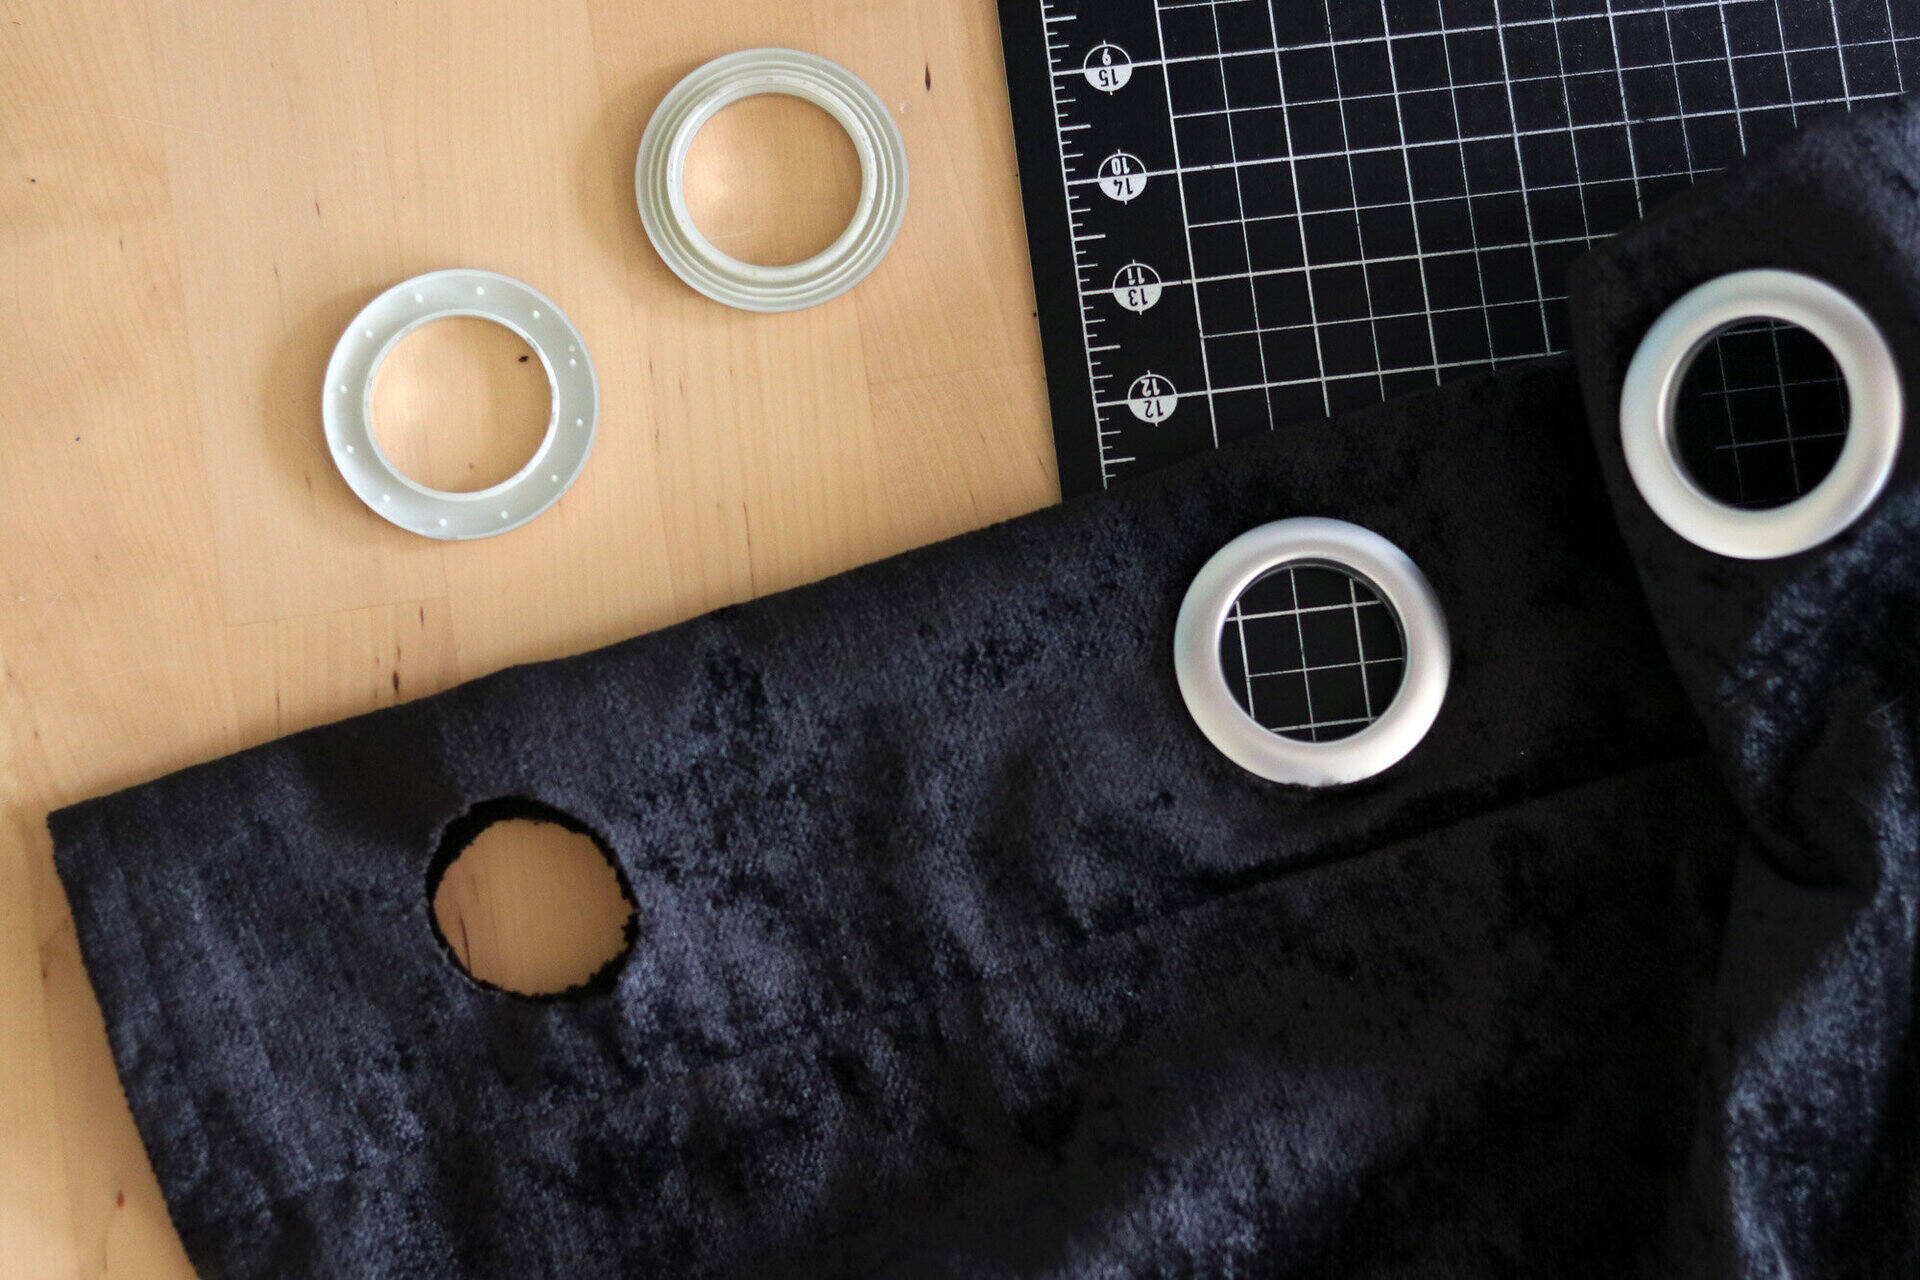
Adding a Rod Pocket
Once you have hemmed the edges of your curtains, the next step is to add a rod pocket. The rod pocket provides a space for the curtain rod to slide through, allowing you to hang your curtains with ease.
Here’s a step-by-step guide on how to add a rod pocket to your doorway curtains:
- Decide on the size of the rod pocket you want. Typically, a rod pocket should be slightly larger than the diameter of your curtain rod. A common size is 2-3 inches.
- Measure and mark the placement of the rod pockets on the top edge of your curtain panel(s). Start by measuring and marking the distance from the top edge equal to the desired size of the rod pocket. Then, mark another parallel line that is slightly below the first line, leaving enough space in between for the rod to slide through.
- Fold the top edge of the curtain panel(s) down along the second marked line. Use a hot iron to press the fold and create a clean crease.
- To secure the fold and create the rod pocket, sew a straight stitch along the bottom edge of the fold. Sew close to the edge, leaving the top edge of the fold open to allow for the rod to slide through.
- If you are making multiple curtain panels, repeat the above steps for each panel.
When sewing the rod pocket, reinforce the beginning and end of the stitching by backstitching a few stitches. This will ensure that the thread does not come loose over time.
After adding the rod pocket, give the curtains a final press with a hot iron to make sure the fold is crisp and the rod pocket is flat. This will help the curtains hang smoothly on the curtain rod.
With the rod pocket in place, you’re now ready to move on to the next step: creating tiebacks for your curtains.
Adding a rod pocket is a crucial step in making doorway curtains, as it allows for easy and hassle-free hanging. The rod pocket provides a clean and streamlined look, ensuring that your curtains hang beautifully and stay in place.
Now that your curtains have a rod pocket, take a moment to envision how they will look once they’re hung in your doorway. The addition of the rod pocket brings you one step closer to completing your handmade curtains.
Read more: How To Make A Shower Curtain
Creating Tiebacks
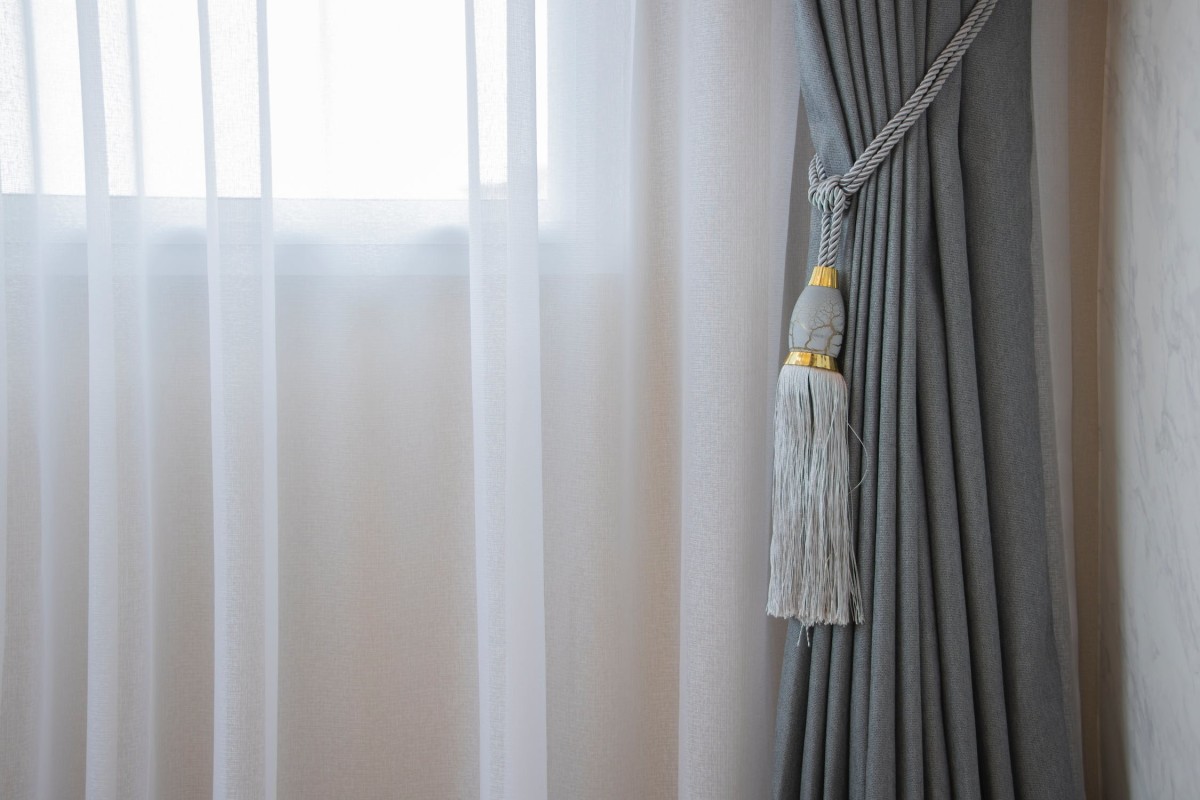
To add a touch of style and functionality to your doorway curtains, creating tiebacks is a wonderful option. Tiebacks not only allow you to hold the curtains open, but they also add a decorative element to your space. Let’s dive into how you can create your own tiebacks:
- Select a material for your tiebacks. You can use the same fabric as your curtains or opt for a contrasting color or pattern to create visual interest.
- Decide on the length and width of your tiebacks. The length will depend on how far you want to hold your curtains open, while the width will determine the thickness and volume of the tiebacks.
- Cut the fabric into strips of the desired width and length for each tieback. Remember to account for seam allowances as you measure and cut.
- Fold each strip in half lengthwise, with the right sides facing each other. Pin the edges together to keep them in place.
- Sew along the long edge and one short edge of each strip, leaving one short edge open for turning the fabric right side out.
- Trim the seam allowances and clip the corners, being careful not to cut through the stitching. This will help create neat and crisp corners once the fabric is turned.
- Turn the fabric right side out through the open short end. Use a chopstick or a blunt object to gently push out the corners for a clean finish.
- Press the tiebacks with a hot iron to ensure they lay flat and smooth.
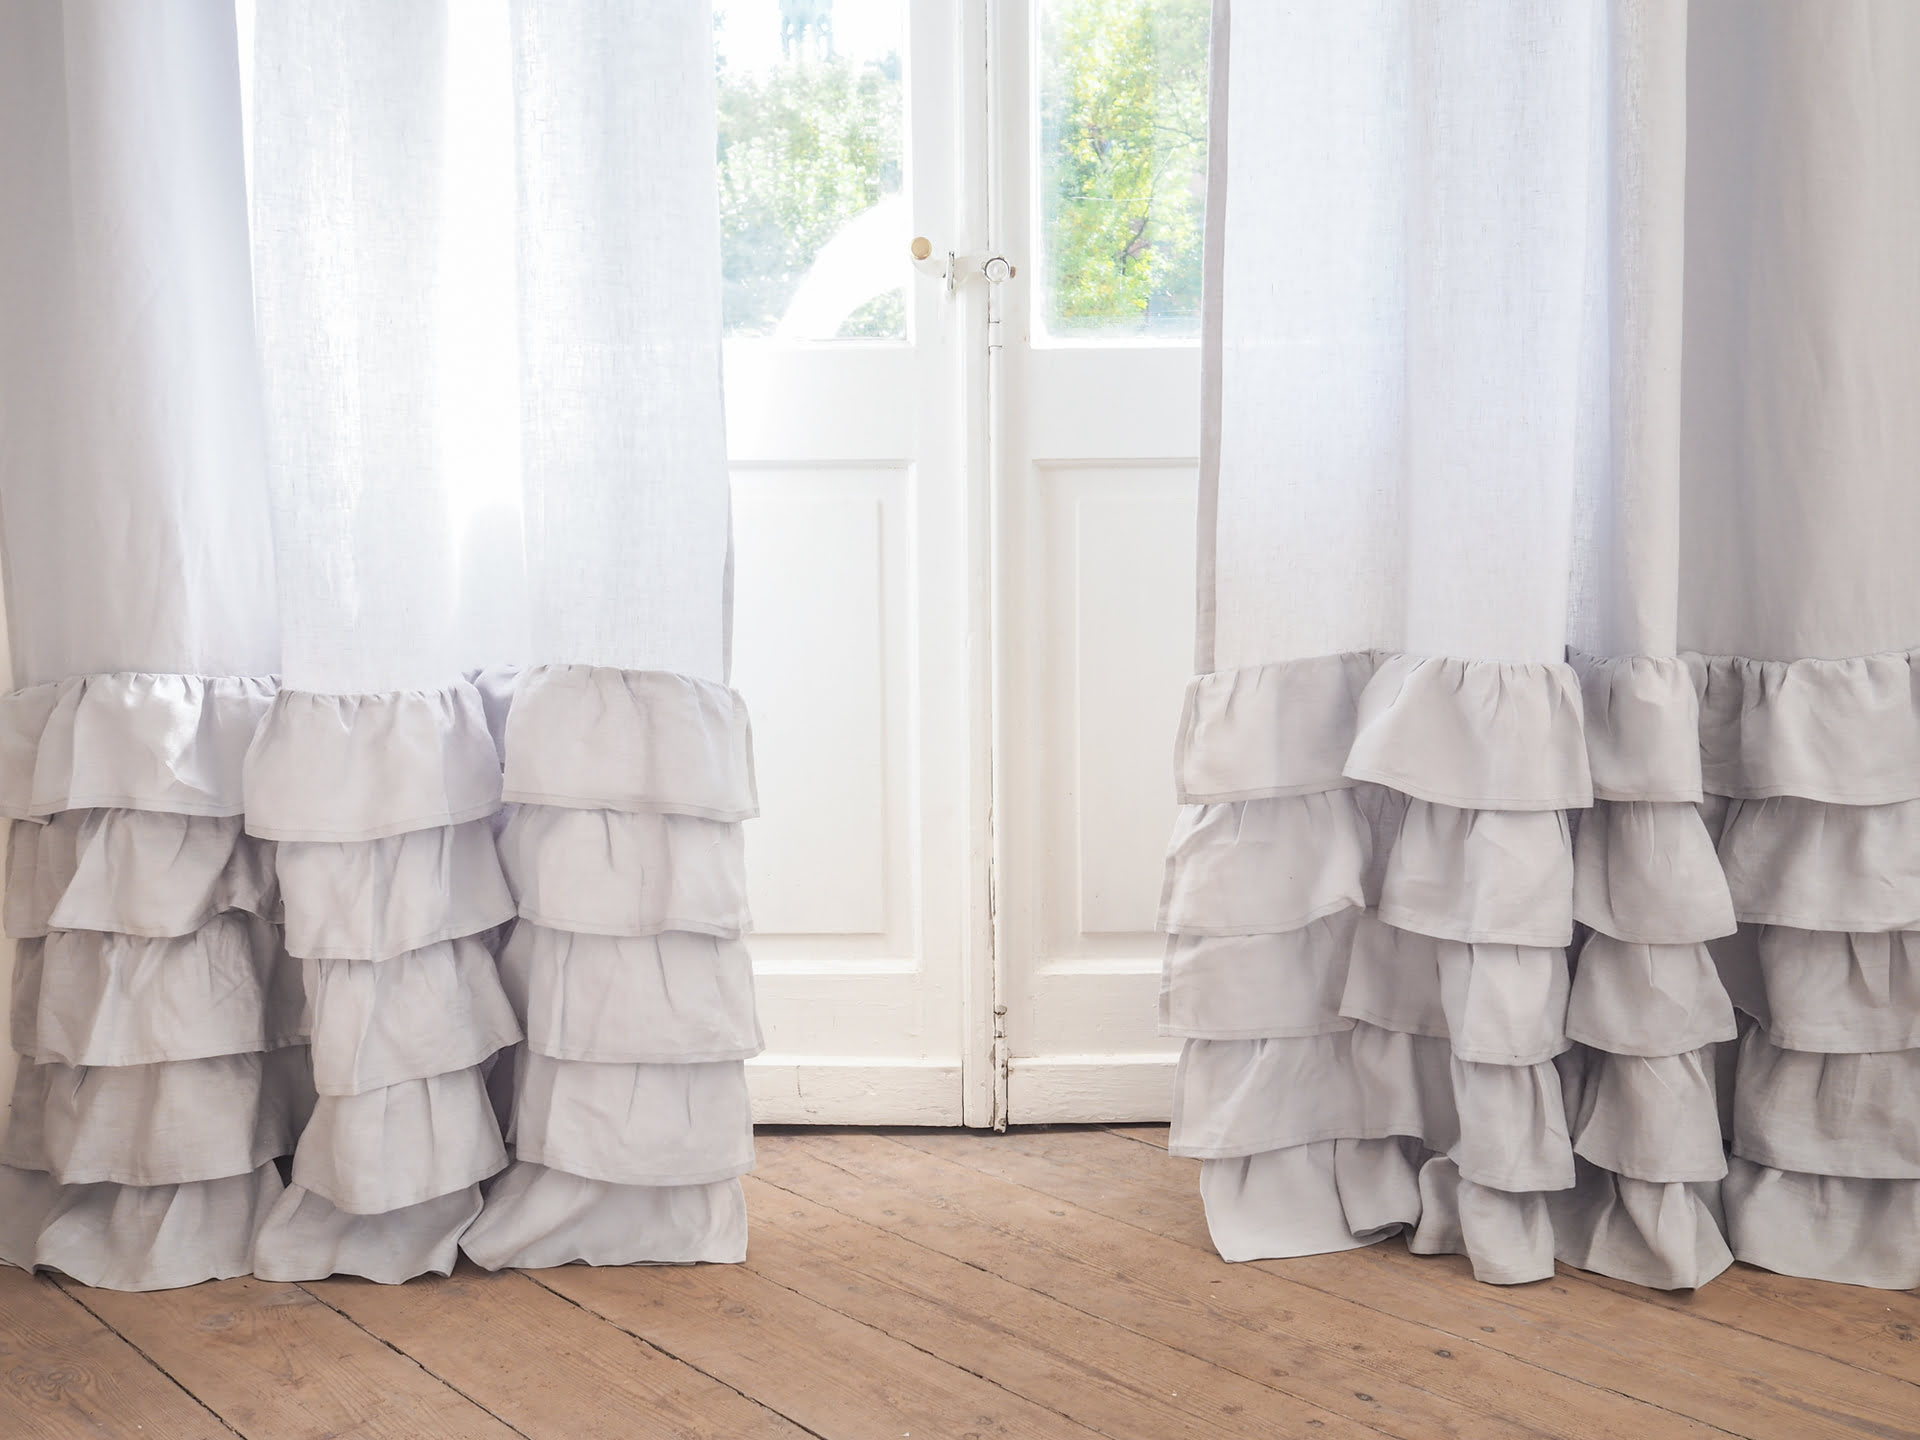
- Optional: Add decorative elements such as buttons, tassels, or bows to personalize your tiebacks.
Once you have created the tiebacks, it’s time to decide where to position them on your curtains. Place the tiebacks around the desired width of the curtain panel, holding the fabric in place to create a visually pleasing drape. Experiment with different positions until you find the perfect placement for your tiebacks.
To hold the tiebacks in place, you can either use a hook or loop on the wall or attach a loop to the curtain itself. This will ensure that the tiebacks stay securely in position when holding the curtains open.
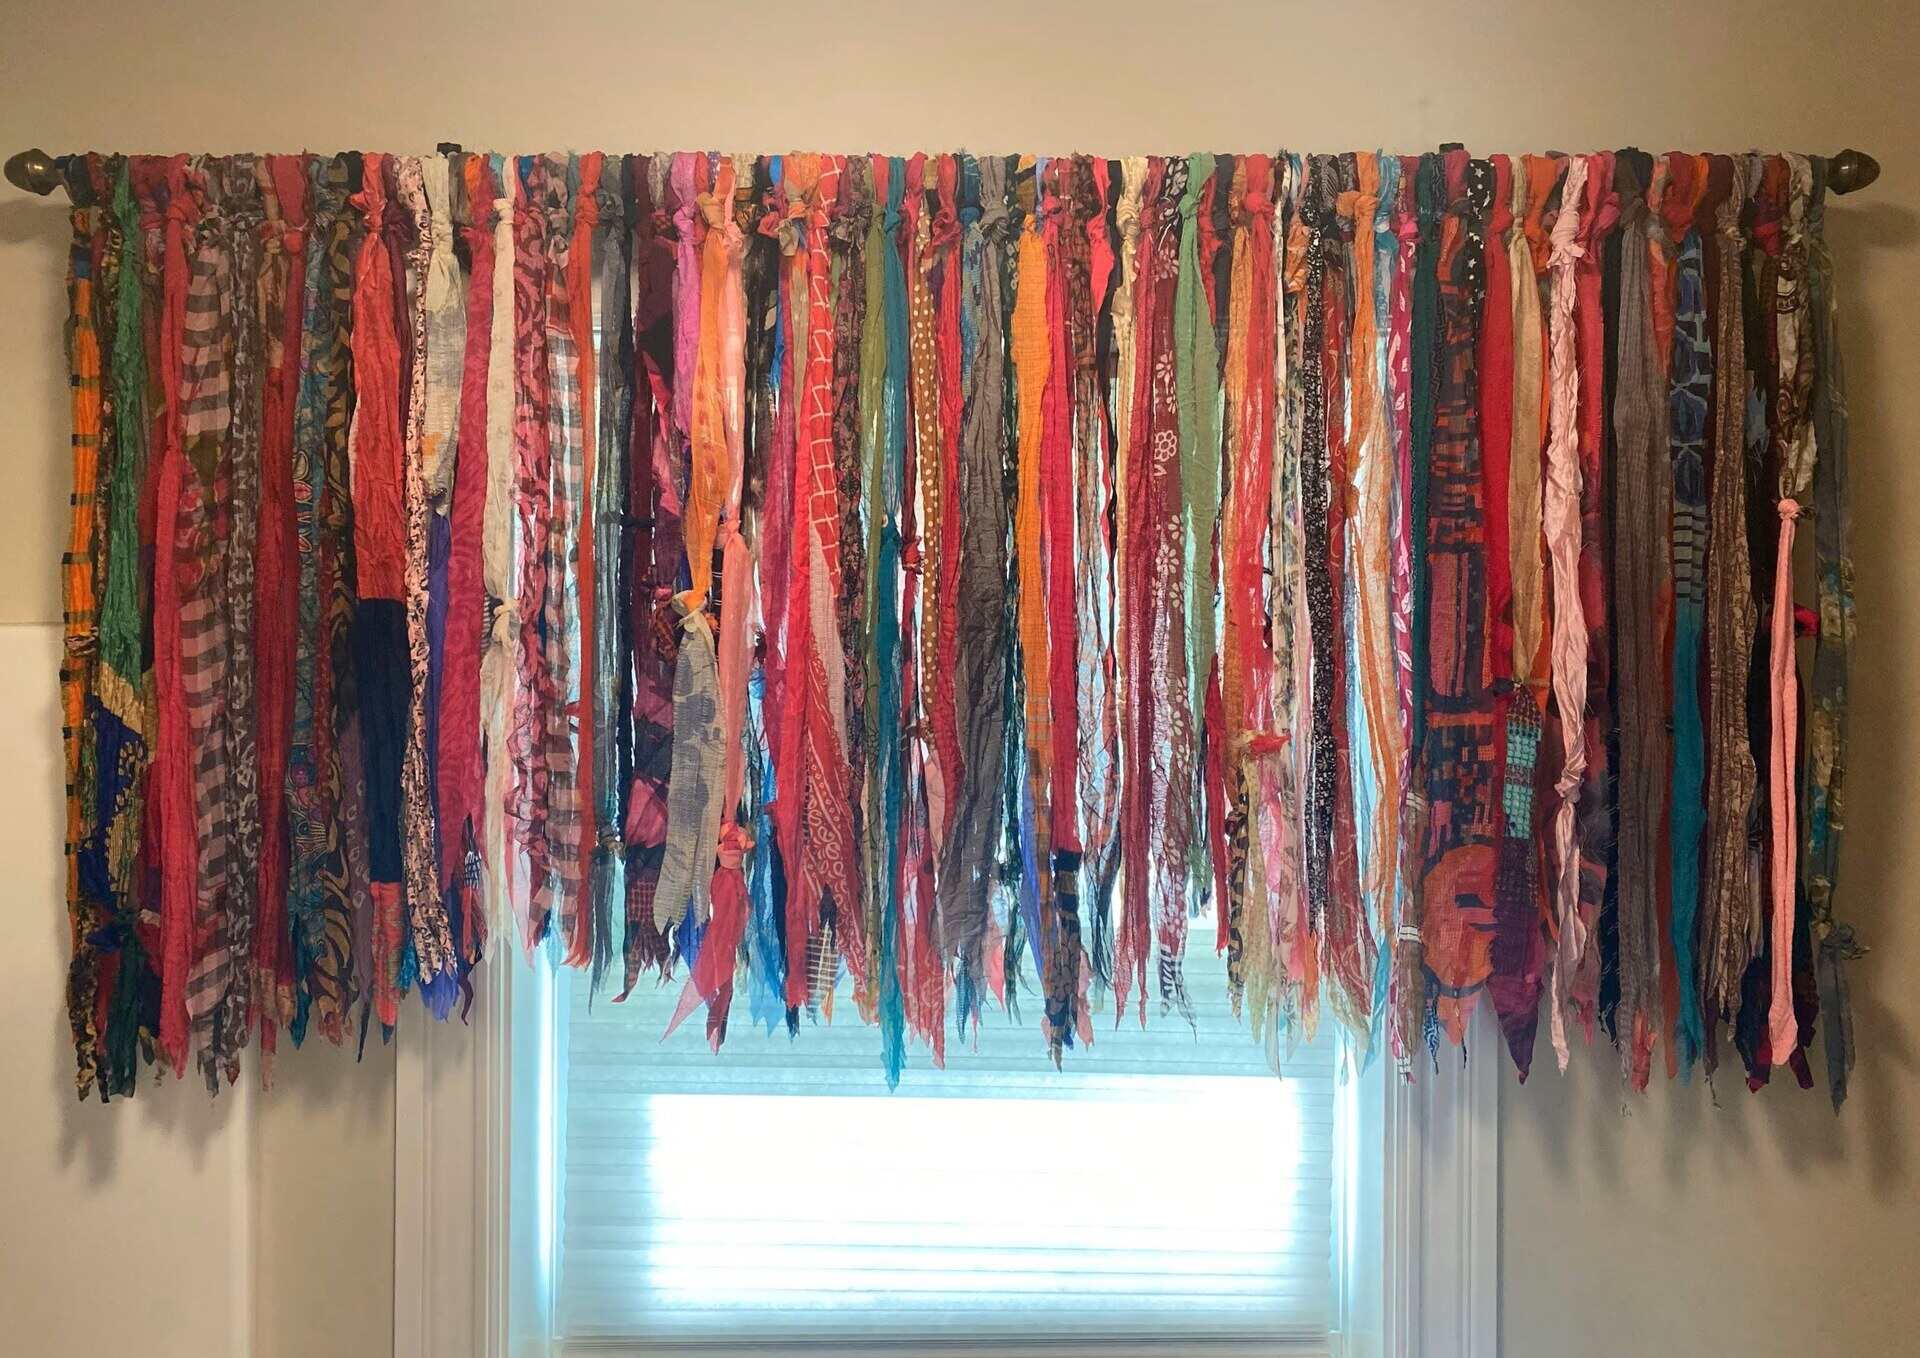
By creating your own tiebacks, you have the opportunity to add a personal touch to your doorway curtains. Whether you prefer a classic and elegant look or something more whimsical and bohemian, tiebacks are a versatile way to enhance the style and functionality of your curtains.
Now that you have beautiful tiebacks ready, it’s time to move on to the final step: hanging your doorway curtains.
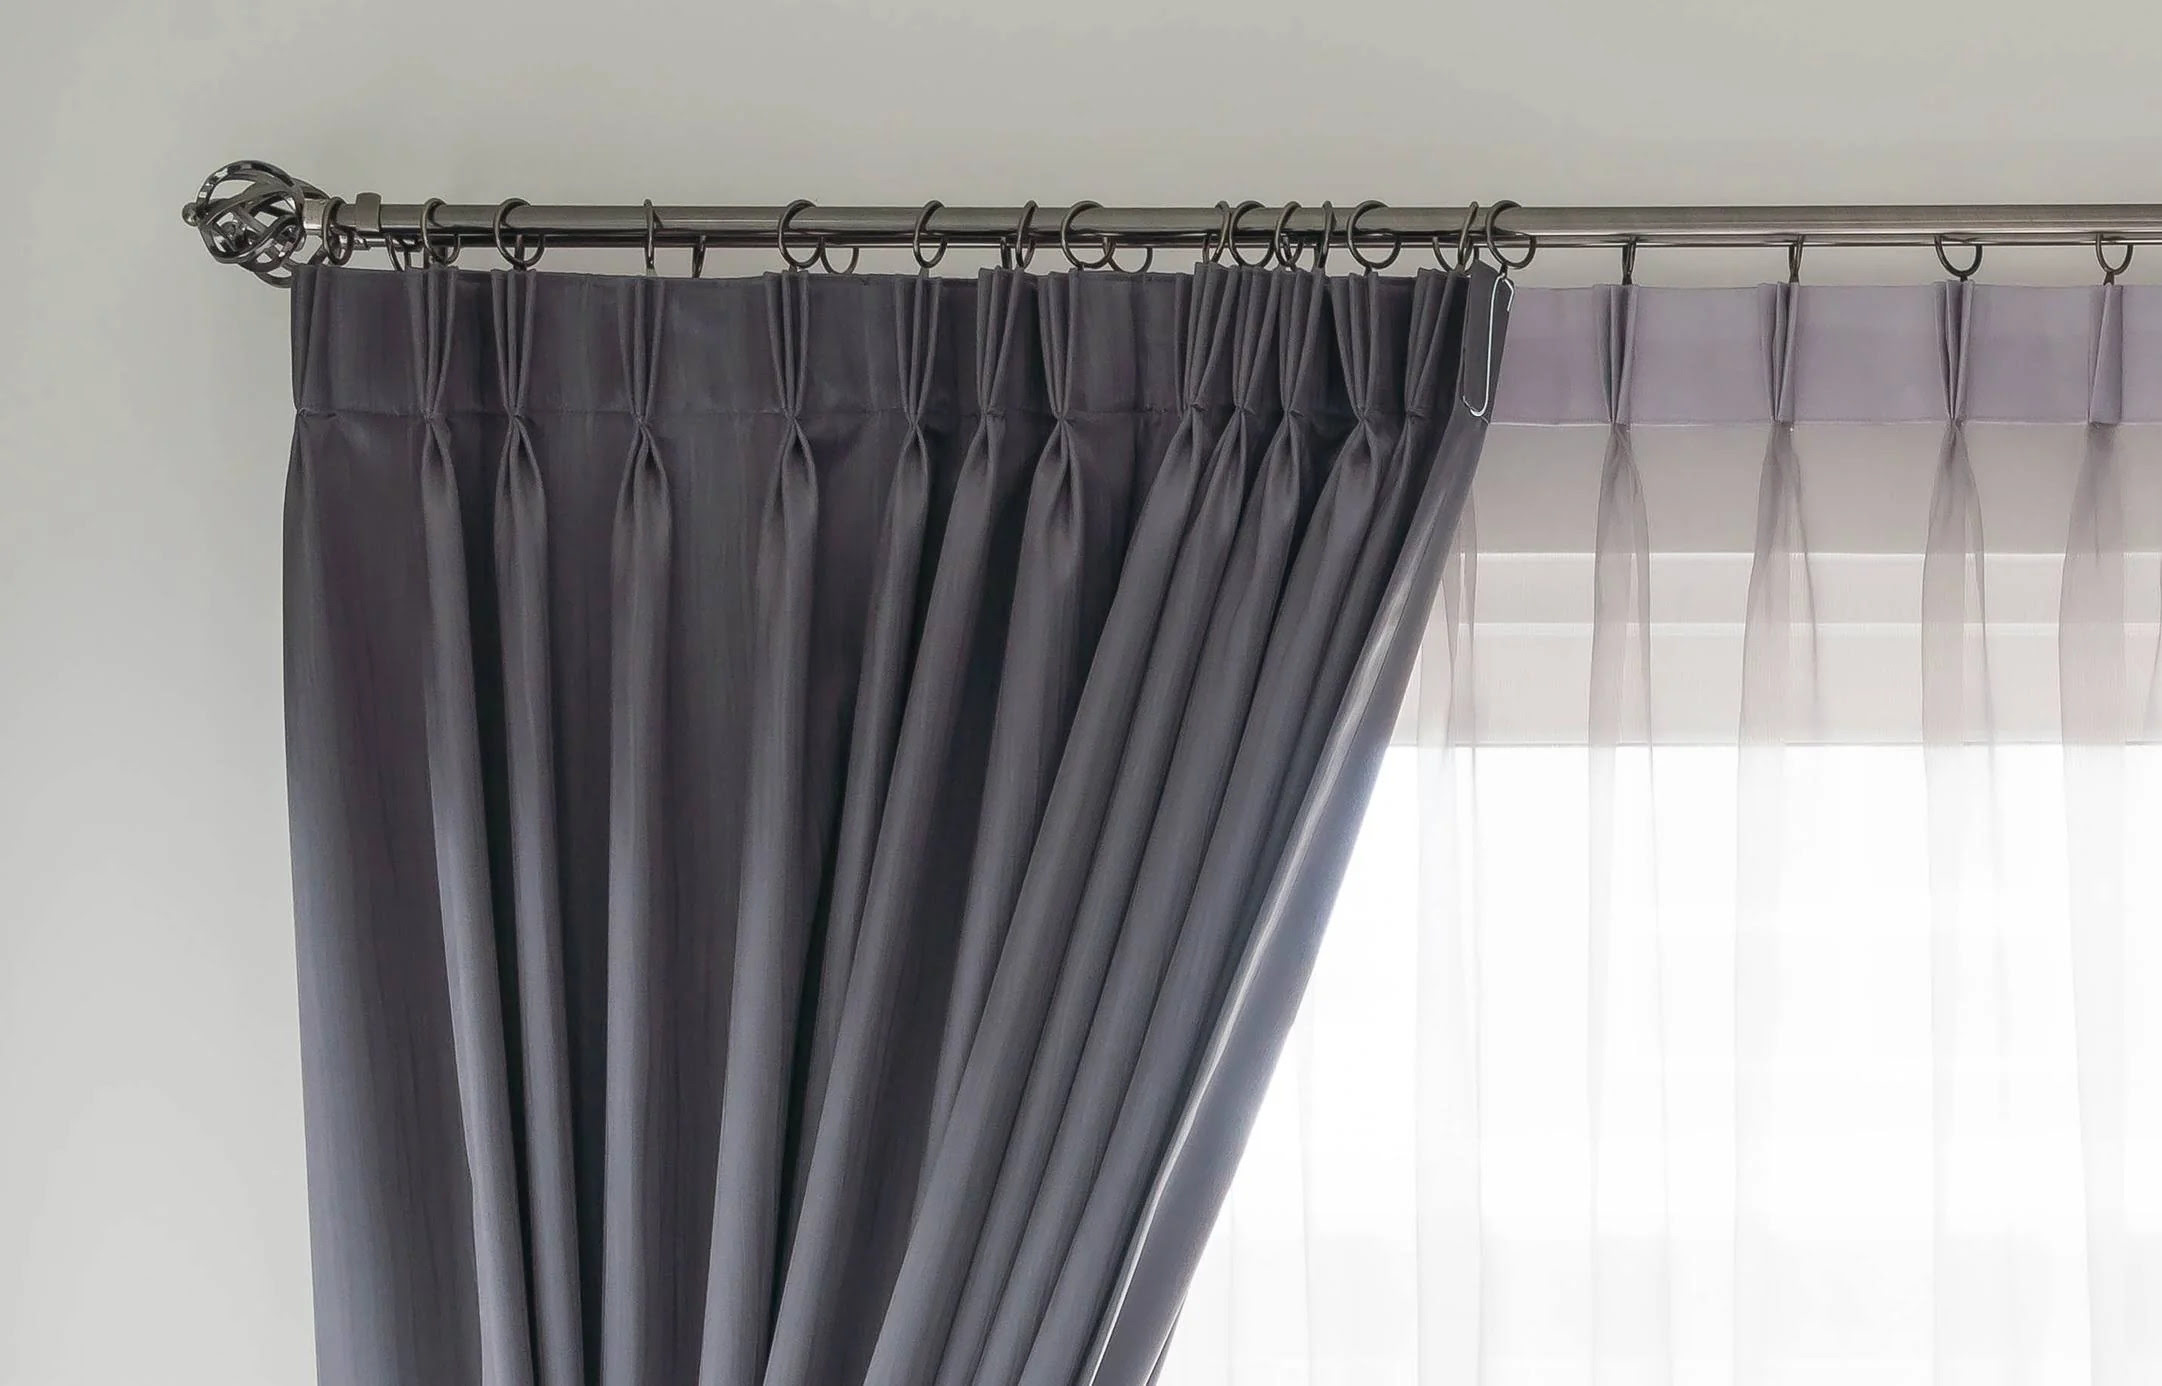
Hanging the Curtain
After all your hard work in selecting the fabric, measuring, cutting, hemming, adding a rod pocket, and creating tiebacks, it’s finally time to hang your doorway curtains. Hanging the curtains properly will ensure that they look their best and function effectively. Here’s how to hang your curtains:
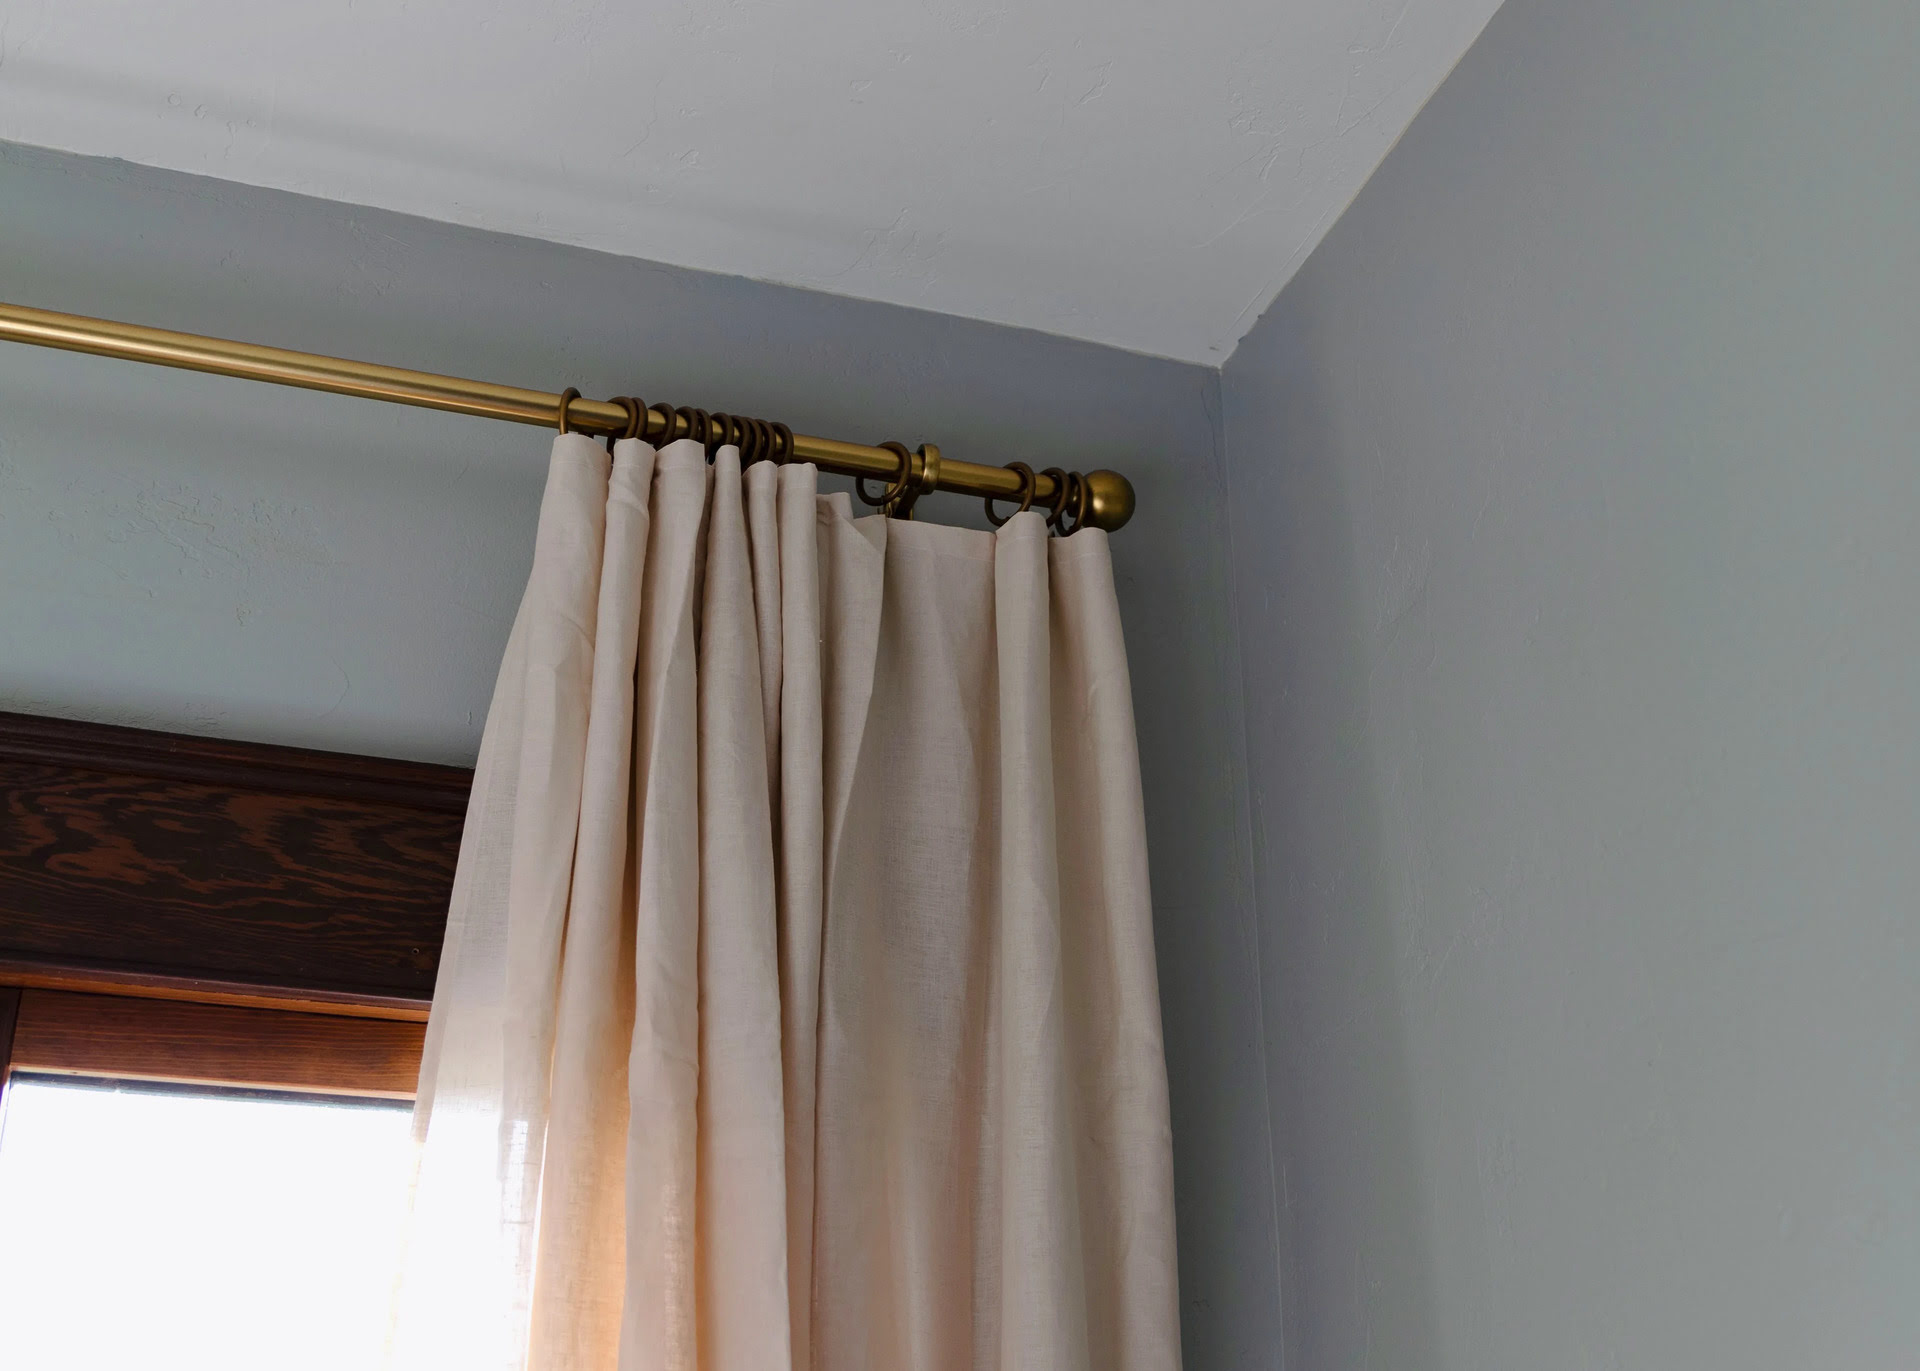
- Start by gathering the necessary tools: a curtain rod, curtain rod brackets, screws, a level, a drill (if needed), and a measuring tape.
- Choose the appropriate height for your curtain rod. In most cases, the rod should be installed slightly above the doorway to create an illusion of height and allow the curtains to hang freely.
- Measure the width of the doorway and mark the placement of the curtain rod brackets. Ensure that the brackets are evenly spaced and level.
- If your curtain rod brackets require screws or drilling, use a drill to create pilot holes for the screws. This will make the installation process easier and help prevent any damage.
- Attach the curtain rod brackets to the wall using the screws provided, making sure they are securely fastened.
- Slide the curtain rod through the rod pocket you created earlier, ensuring that it sits evenly on the rod.
- Place the curtain rod onto the brackets, adjusting it as necessary to ensure it is level and centered.
- If using tiebacks, position them on the curtains by placing the loop around the curtain panel and securing it in place.
- Adjust the curtains so that they hang evenly, with the desired fullness and drape. Spread them out and arrange them as needed to achieve the desired look.
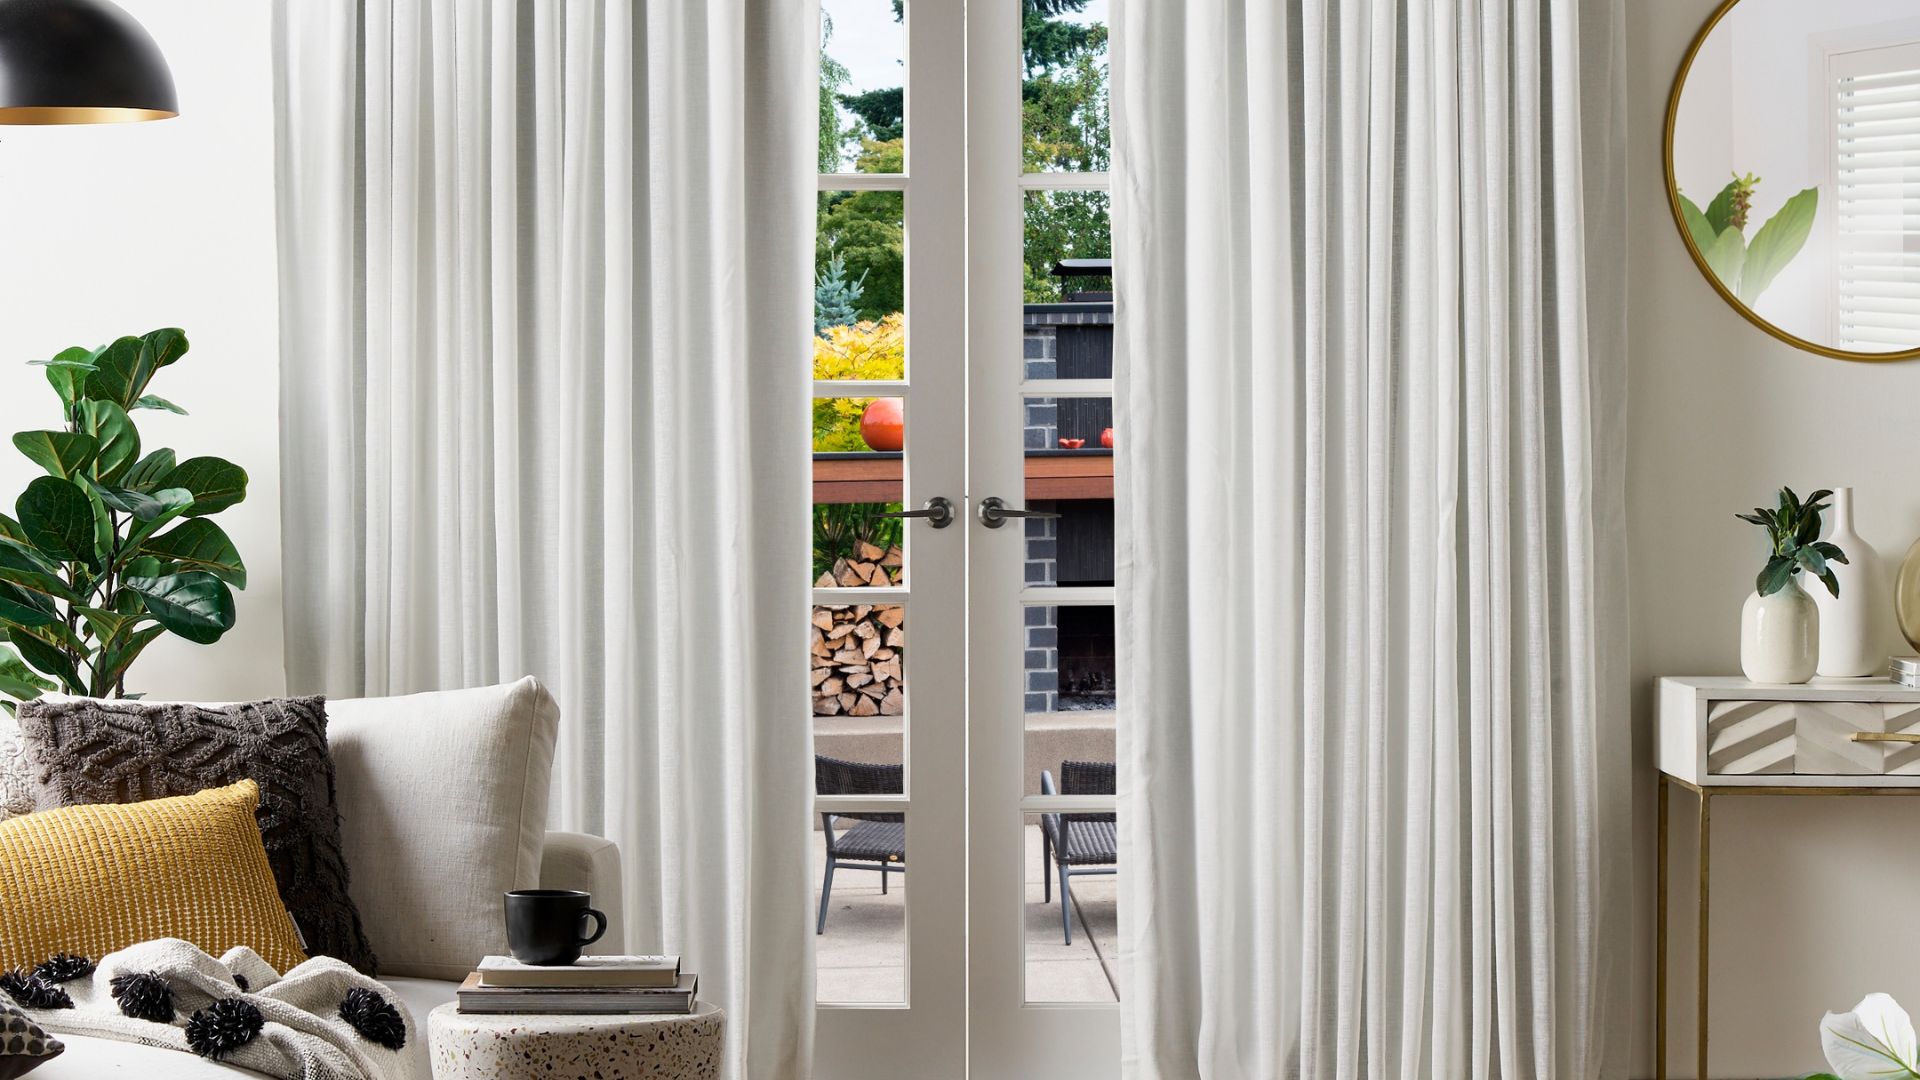
Once the curtains are hung, step back and admire your handiwork. Take a moment to adjust any final details and ensure that the curtains create the desired ambiance and style for your space.
Don’t forget that hanging curtains is a flexible process, and you can always make adjustments as you see fit. Play around with the curtain arrangement, experiment with different tieback positions, or even layer multiple curtain panels for added dimension and texture.
With the curtains now hanging beautifully, you have successfully completed the process of making and hanging your own doorway curtains. Sit back, relax, and enjoy the transformed look and feel of your space!
Conclusion
Congratulations on completing your journey of making doorway curtains! By following the steps outlined in this guide, you have learned how to select the perfect fabric, measure and cut it to size, hem the edges, add a rod pocket, create tiebacks, and hang the curtains with precision.
By making your own doorway curtains, you have not only saved money but also added a personal touch to your home decor. Customizing the fabric, style, and design of the curtains allows you to create a space that reflects your unique taste and personality.
Remember, creating doorway curtains is not just about function; it’s also an opportunity to experiment with different fabrics, patterns, and textures. Whether you prefer lightweight sheers for a soft and romantic look or heavy blackout curtains for privacy and light control, the possibilities are endless.
Additionally, the process of making your own curtains can be a rewarding and enjoyable experience. It allows you to unleash your creativity, engage in a fulfilling DIY project, and create something beautiful and functional for your home.
Now that you have completed your doorway curtains, take a moment to step back and admire your work. Enjoy the ambiance and style they bring to your space and the sense of accomplishment that comes with creating something with your own hands.
Remember, these curtains can always be changed and updated as your tastes and preferences evolve. Don’t be afraid to experiment, try new fabrics, or even repurpose existing materials to breathe new life into your doorway curtains.
Thank you for joining us on this journey of making doorway curtains. We hope this guide has been informative and helpful in guiding you through the process. Now it’s time to enjoy your beautifully crafted curtains and the transformed look they bring to your home!
Frequently Asked Questions about How To Make Doorway Curtains
Was this page helpful?
At Storables.com, we guarantee accurate and reliable information. Our content, validated by Expert Board Contributors, is crafted following stringent Editorial Policies. We're committed to providing you with well-researched, expert-backed insights for all your informational needs.


0 thoughts on “How To Make Doorway Curtains”