
Articles
How To Make Olive Garden Bread Sticks
Modified: January 6, 2024
Learn how to make delicious Olive Garden bread sticks at home with this easy gardening recipe. Impress your friends and family with your baking skills!
(Many of the links in this article redirect to a specific reviewed product. Your purchase of these products through affiliate links helps to generate commission for Storables.com, at no extra cost. Learn more)
Introduction
Welcome to the ultimate guide on how to make Olive Garden breadsticks in the comfort of your own kitchen! Olive Garden is renowned for its delicious and addictive breadsticks. Now, you can recreate that same irresistible taste at home. By following this step-by-step recipe, you can impress your family and friends with warm, buttery breadsticks that taste like they came straight from the Olive Garden oven.
The best part is, making Olive Garden breadsticks is easier than you might think. With just a few simple ingredients and basic baking equipment, you can achieve that perfect combination of soft, fluffy dough and a delectable garlic butter topping. Whether you’re planning a family dinner, a potluck party, or simply craving some of those iconic breadsticks, this recipe is for you.
Before we dive into the details, let’s take a look at what you’ll need to gather to create your own Olive Garden breadsticks.
Key Takeaways:
- Enjoy the iconic taste of Olive Garden breadsticks at home with this simple recipe. Impress your friends and family with warm, fluffy breadsticks straight from your own oven.
- Master the art of creating perfect Olive Garden breadsticks with just a few basic ingredients and kitchen tools. Serve them alongside your favorite Italian dishes for a delightful dining experience.
Read more: How To Reheat Olive Garden Alfredo
Ingredients
To make Olive Garden breadsticks, you will need the following ingredients:
- 2 ¼ teaspoons active dry yeast
- 1 ½ cups warm water (around 110°F)
- 2 tablespoons granulated sugar
- 1 teaspoon salt
- 3 ½ cups all-purpose flour
- ¼ cup unsalted butter, melted
- 1 teaspoon garlic powder
- 1 teaspoon dried parsley
- Extra melted butter for brushing
These simple ingredients come together to create the perfect texture and flavors in the breadsticks. The yeast helps the dough rise, resulting in fluffy and soft breadsticks. The warm water, sugar, and salt activate the yeast and add depth to the flavor. All-purpose flour is used for a versatile and light dough. The melted butter, garlic powder, and dried parsley combination give the breadsticks that classic Olive Garden taste.
Now that you have your ingredients ready, it’s time to gather the necessary equipment.
Equipment
To make Olive Garden breadsticks, you will need the following equipment:
- Large mixing bowl
- Whisk or fork
- Measuring cups and spoons
- Wooden spoon or spatula
- Baking sheet
- Parchment paper or silicone baking mat
- Pastry brush
These basic kitchen tools are all you need to create the perfect breadsticks. The large mixing bowl will be used to combine the ingredients and knead the dough. A whisk or fork can be used to dissolve the yeast in the warm water. Measuring cups and spoons will help ensure accurate measurements of the ingredients.
A wooden spoon or spatula is handy for mixing and kneading the dough until it becomes smooth and elastic. The baking sheet, lined with parchment paper or a silicone baking mat, is essential for baking the breadsticks to perfection. Finally, a pastry brush will be used to brush the garlic butter mixture on top of the baked breadsticks, adding even more flavor.
Now that you have your ingredients and equipment ready, let’s move on to the step-by-step process of making the Olive Garden breadsticks.
Step 1: Making the Dough
In a large mixing bowl, dissolve the yeast in warm water. Let it sit for about 5 minutes until it becomes frothy.
Once the yeast is activated, add the granulated sugar and salt to the bowl. Stir to combine.
Gradually add the all-purpose flour to the bowl, about 1 cup at a time, mixing well after each addition. You may need to switch from a spoon to kneading the dough with your hands as it becomes thicker.
Knead the dough on a floured surface for about 5-7 minutes, until it becomes smooth and elastic. If the dough is too sticky, add a little more flour, a tablespoon at a time, until it reaches the right consistency.
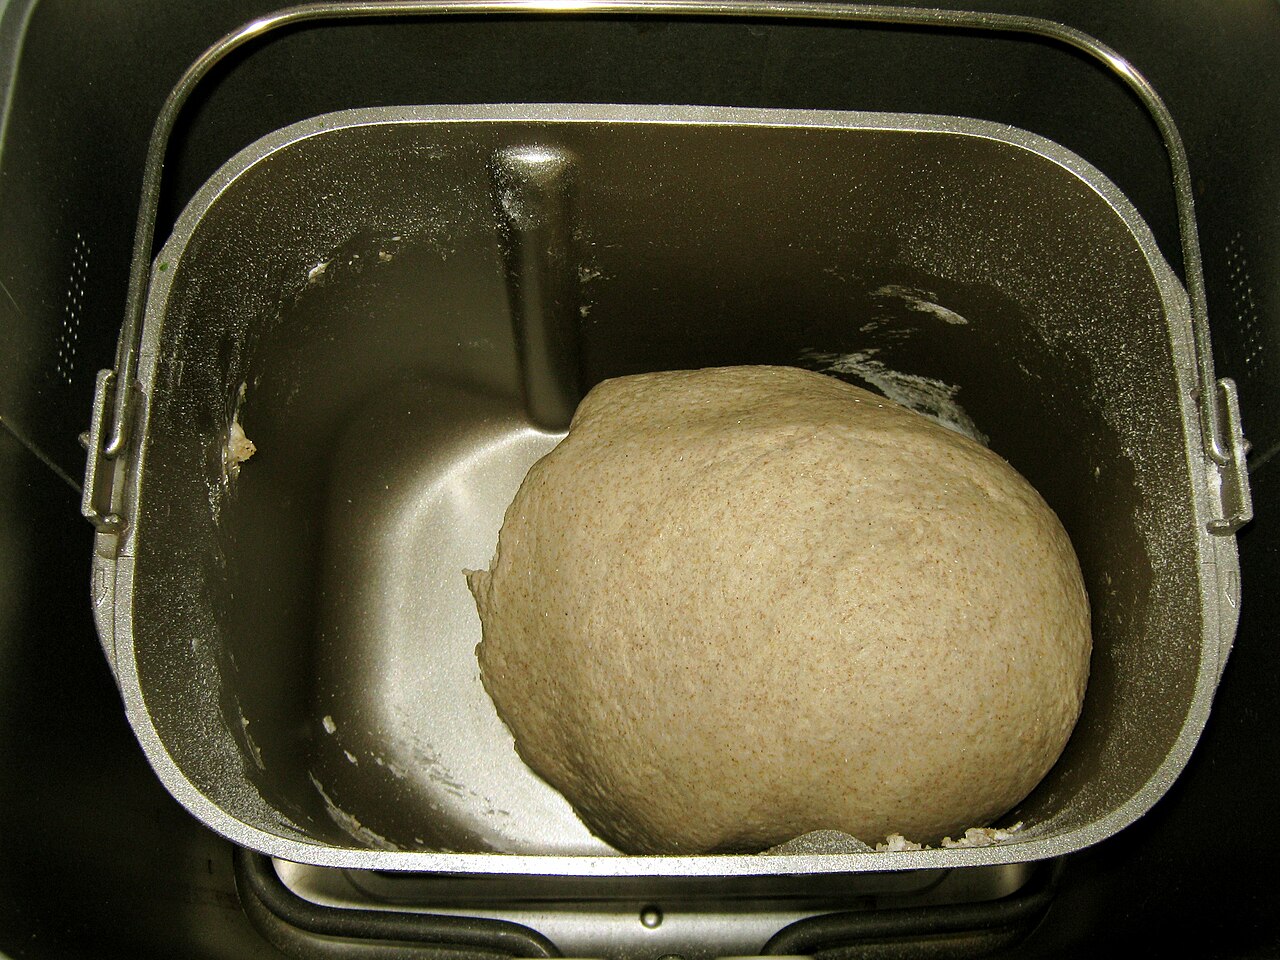
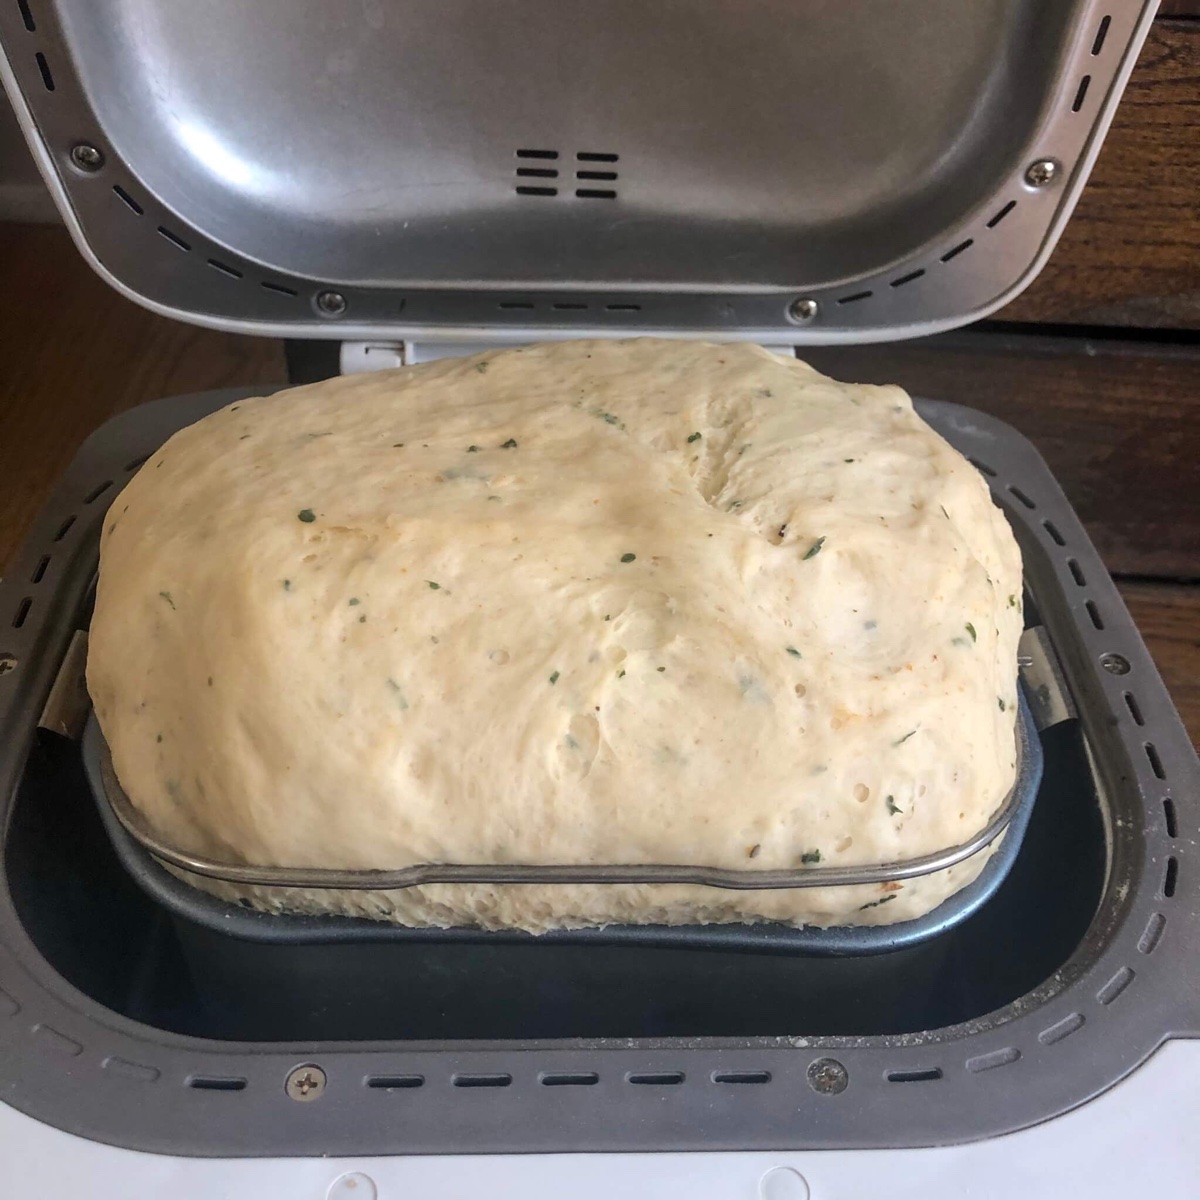
Place the dough into a greased bowl and cover it with a clean kitchen towel. Allow the dough to rise in a warm place for about 1 hour or until it has doubled in size.
While the dough is rising, preheat your oven to 400°F (200°C). This will ensure that the oven is at the right temperature when it’s time to bake the breadsticks.
After the dough has doubled in size, punch it down to release any air bubbles. Transfer it onto a lightly floured surface and divide it into 12 equal pieces.
Roll each piece of dough into a long, thin breadstick shape, about 7-8 inches in length. Place the breadsticks on a baking sheet lined with parchment paper or a silicone baking mat, leaving some space between them for expansion.
Cover the breadsticks with a kitchen towel and let them rise for an additional 15-20 minutes.
Now that the dough is prepared, it’s time to move on to shaping and baking the Olive Garden breadsticks.
Step 2: Shaping the Bread Sticks
Preheat your oven to 400°F (200°C) if you haven’t already done so.
Take one of the risen dough balls and roll it between your hands and on the counter to form a long and thin breadstick shape. Aim for about 7-8 inches in length.
Continue shaping each dough ball into a breadstick, making sure they are all roughly the same size. Place them onto a baking sheet lined with parchment paper or a silicone baking mat.
Once all the breadsticks are shaped and placed on the baking sheet, cover them with a clean kitchen towel and let them rise for an additional 15-20 minutes. This will allow the dough to rest and rise slightly, resulting in lighter and fluffier breadsticks.
While the breadsticks are rising, you can prepare the garlic butter mixture.
In a small bowl, melt the unsalted butter in the microwave or on the stovetop. Once melted, add the garlic powder and dried parsley. Stir well to combine.
After the breadsticks have completed their final rise, it’s time to move on to baking them.
To make Olive Garden breadsticks at home, use a combination of all-purpose flour and bread flour for the perfect texture and flavor.
Read more: How To Store Olive Garden Breadsticks
Step 3: Baking the Bread Sticks
Place the baking sheet with the risen breadsticks into the preheated oven.
Bake the breadsticks for approximately 12-15 minutes or until they are golden brown on the outside and cooked through. Keep an eye on them to prevent over-browning.
Once baked, remove the breadsticks from the oven and carefully transfer them to a wire rack to cool slightly.
During the cooling process, the breadsticks will become crisper on the outside while remaining soft and fluffy on the inside. This is the perfect texture for Olive Garden-style breadsticks.
While the breadsticks are still warm, it’s time to add that signature Garlic Butter topping.
Step 4: Brushing with Garlic Butter
In a small bowl, take the melted unsalted butter that you prepared earlier and add the garlic powder and dried parsley. Mix well until all the ingredients are combined.
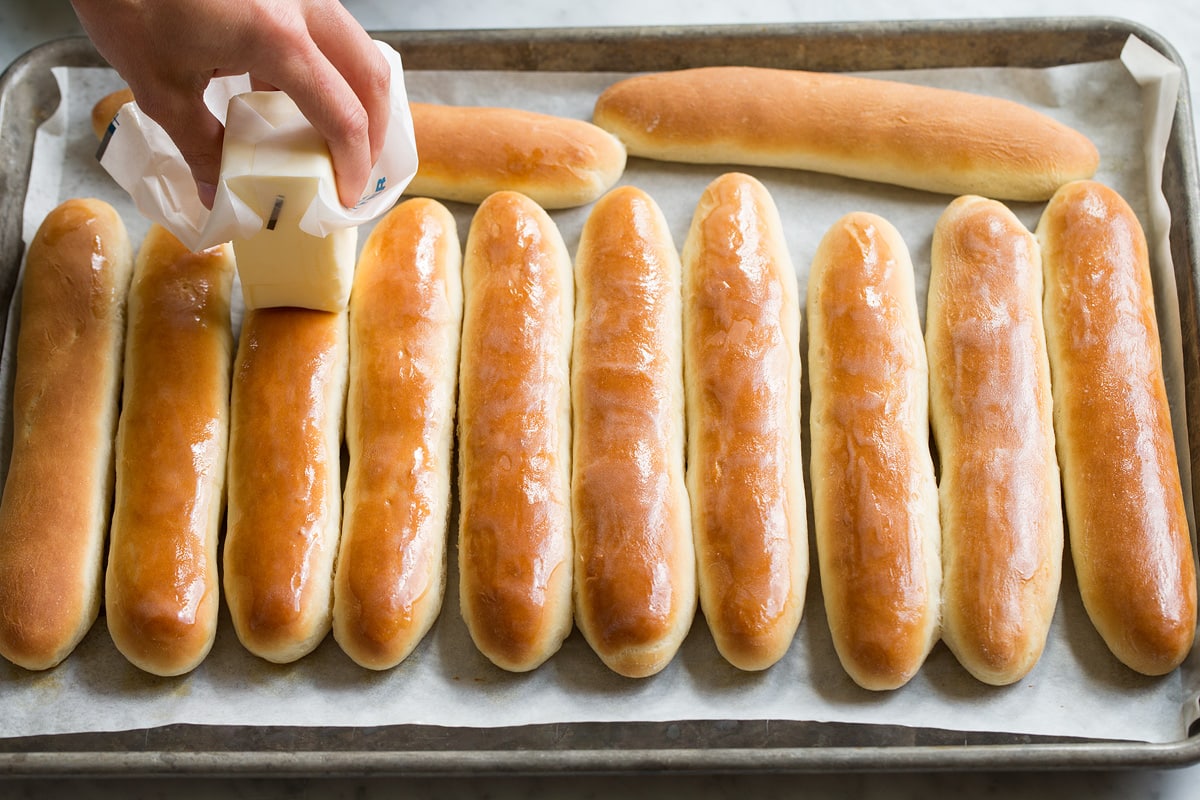
Using a pastry brush, generously brush the warm breadsticks with the garlic butter mixture. Make sure to cover each breadstick evenly for maximum flavor.
The warm breadsticks will absorb the garlic butter, enhancing their taste and providing that irresistible Olive Garden flavor.
Once you have brushed all the breadsticks with the garlic butter, they are ready to be served and enjoyed!
Step 5: Serving and Enjoying
Now that your homemade Olive Garden breadsticks are freshly baked and brushed with the delightful garlic butter, it’s time to serve and indulge in this delicious treat.
You can serve the breadsticks as a side dish for a variety of meals. They pair exceptionally well with pasta dishes, soups, salads, or simply enjoy them on their own as a satisfying snack.
Arrange the breadsticks on a serving platter or bread basket. You can sprinkle some additional dried parsley or grated Parmesan cheese on top for an extra touch of flavor and presentation.
These breadsticks are best served warm. They have a soft and fluffy interior with a buttery and garlicky exterior that will surely impress your taste buds.
Be prepared for the irresistible aroma of freshly baked breadsticks to fill your kitchen and captivate everyone’s attention. Your friends and family will be eager to taste these homemade goodies.
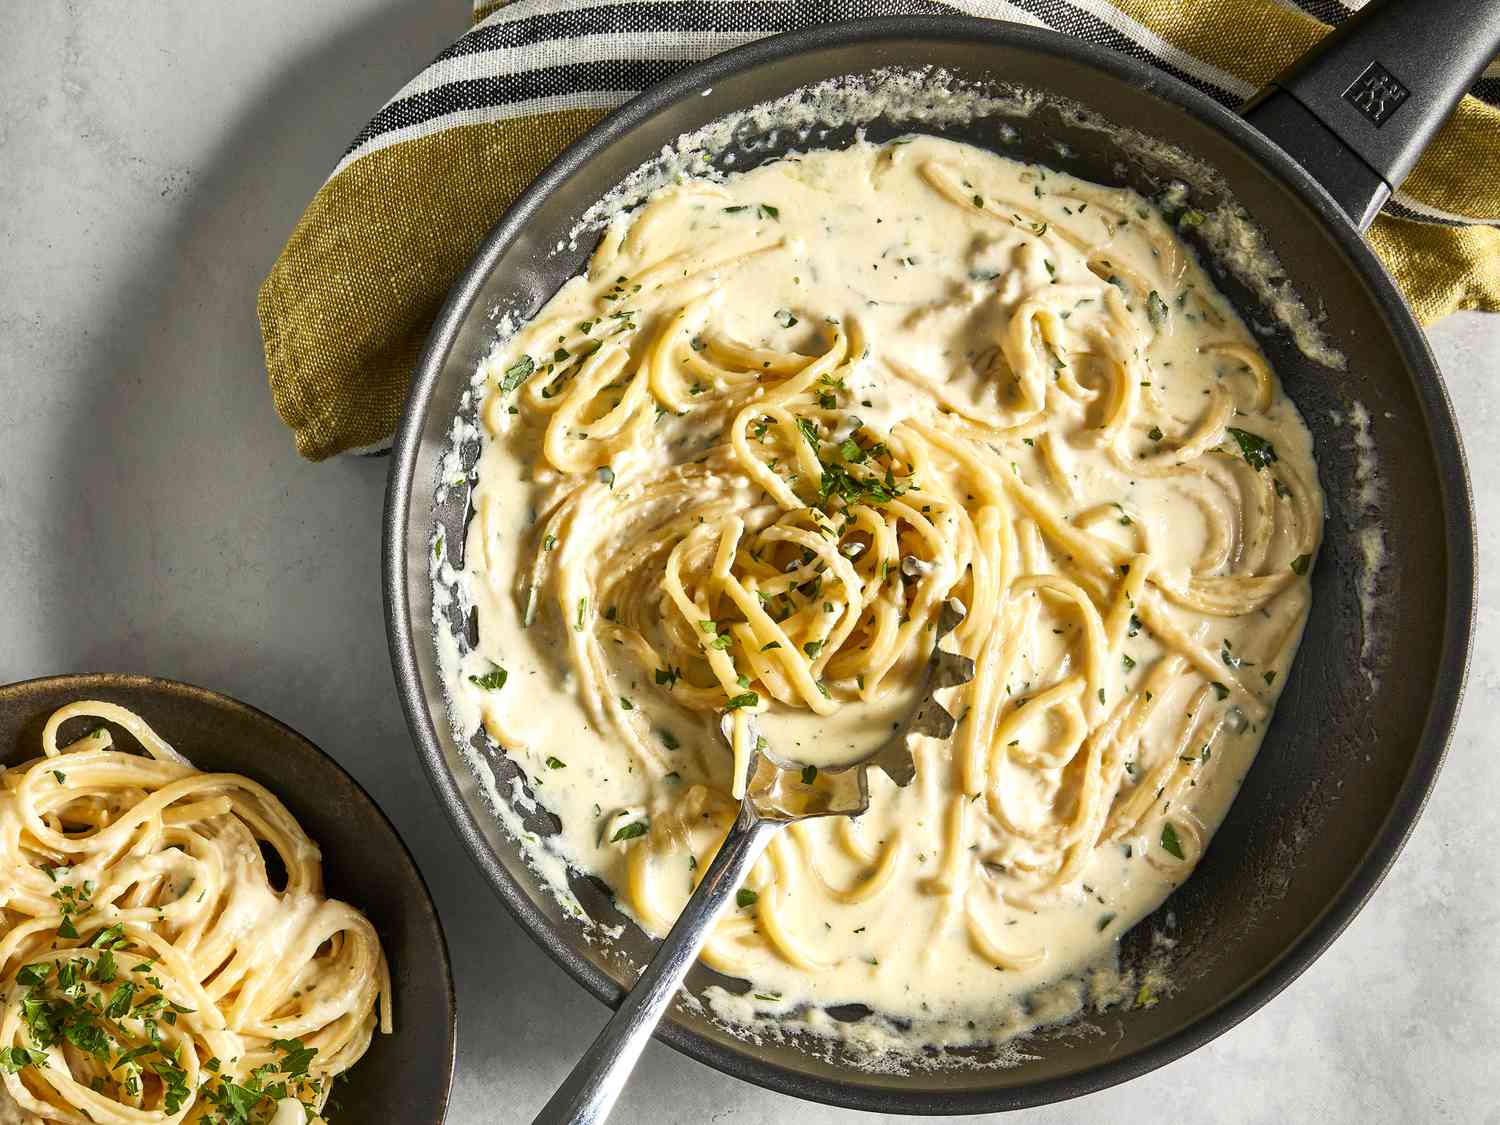
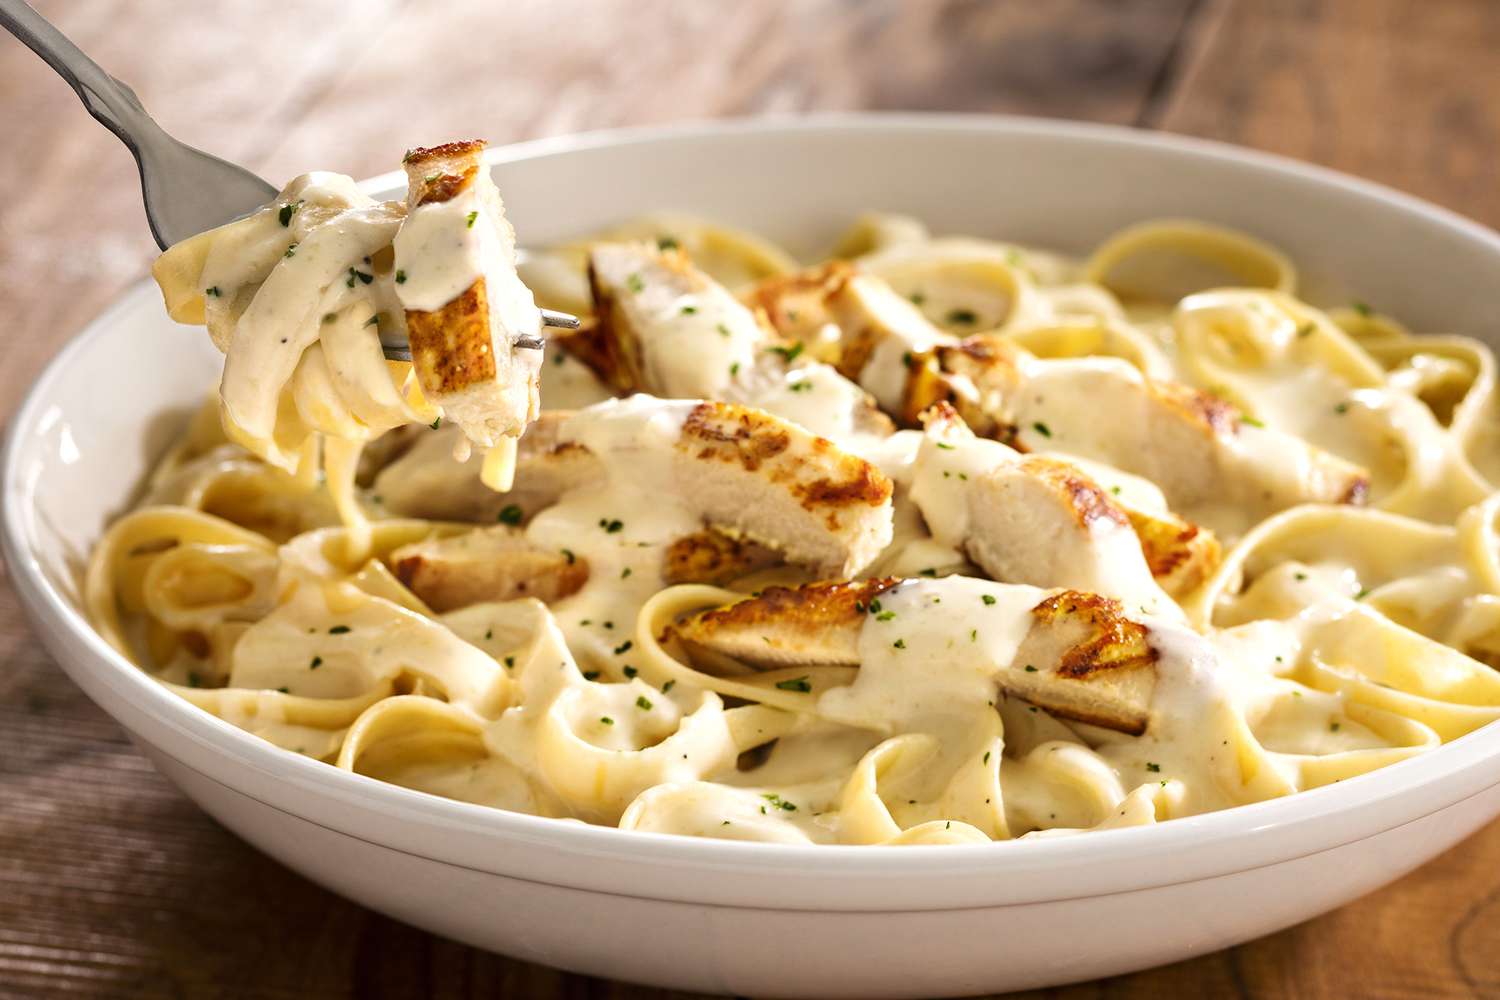
Don’t forget to accompany the breadsticks with your favorite dipping sauce, such as marinara sauce or Alfredo sauce, to enhance the flavor experience even more.
Now, it’s time to sit back, relax, and enjoy every delectable bite of your homemade Olive Garden breadsticks!
Conclusion
Congratulations! You have successfully learned how to make Olive Garden breadsticks right in your own kitchen. Gone are the days of longing for a trip to the popular Italian restaurant chain to satisfy your breadstick cravings. With just a few simple ingredients and some baking know-how, you can now enjoy these iconic breadsticks any time you want.
By following our step-by-step guide, you have mastered the art of creating soft, fluffy breadsticks with a golden exterior. The combination of the yeasty dough, flavorful garlic butter, and aromatic herbs takes these breadsticks to a whole new level.
Whether you’re hosting a dinner party, preparing a family meal, or treating yourself to a scrumptious snack, these homemade Olive Garden breadsticks are sure to impress. Serve them alongside your favorite Italian dishes or enjoy them on their own as a satisfying treat.
Remember, the key to achieving perfect breadsticks lies in the quality of your ingredients and the patience to let the dough rise. Take your time, savor the process, and enjoy the delicious results.
We hope you’ve found this guide helpful and that it has inspired you to recreate the flavors of Olive Garden in your kitchen. Share the joy of homemade breadsticks with your loved ones, and create lasting memories around the dinner table.
Now, go ahead and enjoy your freshly baked, garlicky, and buttery Olive Garden breadsticks. Buon appetito!
Frequently Asked Questions about How To Make Olive Garden Bread Sticks
Was this page helpful?
At Storables.com, we guarantee accurate and reliable information. Our content, validated by Expert Board Contributors, is crafted following stringent Editorial Policies. We're committed to providing you with well-researched, expert-backed insights for all your informational needs.

0 thoughts on “How To Make Olive Garden Bread Sticks”