Articles
How To Install An Access Panel In Drywall
Modified: January 5, 2024
Learn how to install an access panel in drywall with our informative articles. Find step-by-step instructions and helpful tips to make the installation process easy and efficient.
(Many of the links in this article redirect to a specific reviewed product. Your purchase of these products through affiliate links helps to generate commission for Storables.com, at no extra cost. Learn more)
Introduction
Having convenient access to plumbing, electrical, or other systems hidden behind drywall can make maintenance and repair tasks much easier. That’s where an access panel comes in. An access panel is a small door or panel that provides a way to reach behind the drywall without damaging or cutting through it every time. It offers a neat and organized solution for reaching hidden areas.
In this guide, we will walk you through the process of installing an access panel in drywall. Whether you need access to a water shut-off valve, an electrical junction box, or simply want a convenient storage space, having an access panel will save you time, effort, and frustration.
Before you start, make sure you have the necessary tools and materials on hand. You will need a measuring tape, pencil, drywall saw, utility knife, screwdriver, drywall screws, and of course, the access panel itself. Once you have everything ready, follow the steps outlined here to install your access panel like a pro.
Key Takeaways:
- Installing an access panel in drywall provides convenient and efficient access to hidden systems, adding functionality and value to your living or working space. Proper planning and careful execution are crucial for a successful installation.
- By following the step-by-step process outlined in this guide, you can confidently tackle your next maintenance or repair job, knowing that accessing hidden areas behind drywall is now a breeze. Enjoy the convenience and functionality that an access panel provides!
Read more: How To Install Access Panel In Ceiling
Step 1: Gathering the Materials
Before you begin installing the access panel, it’s crucial to gather all the necessary materials. Here is a list of items you will need:
- Access Panel: Choose an access panel that suits your needs and the size of the opening you intend to create. Access panels come in various sizes and types, such as hinged, removable, or flush-mounted. Make sure to select one that matches the style and functionality you require.
- Measuring Tape: A measuring tape will help you accurately determine the dimensions of the access panel.
- Pencil: Use a pencil to mark the measurements on the drywall before cutting.
- Drywall Saw: A drywall saw is specifically designed for cutting through drywall. It will be necessary to create the opening for the access panel.
- Utility Knife: A utility knife can be useful for scoring the drywall before making the final cut with the saw.
- Screwdriver: Depending on the type of access panel you have, you may need a screwdriver to attach it securely to the wall.
- Drywall Screws: If the access panel requires screws for installation, make sure to have the appropriate size and number of screws on hand.
By gathering these materials before you start the installation process, you’ll save time and avoid any unnecessary interruptions.
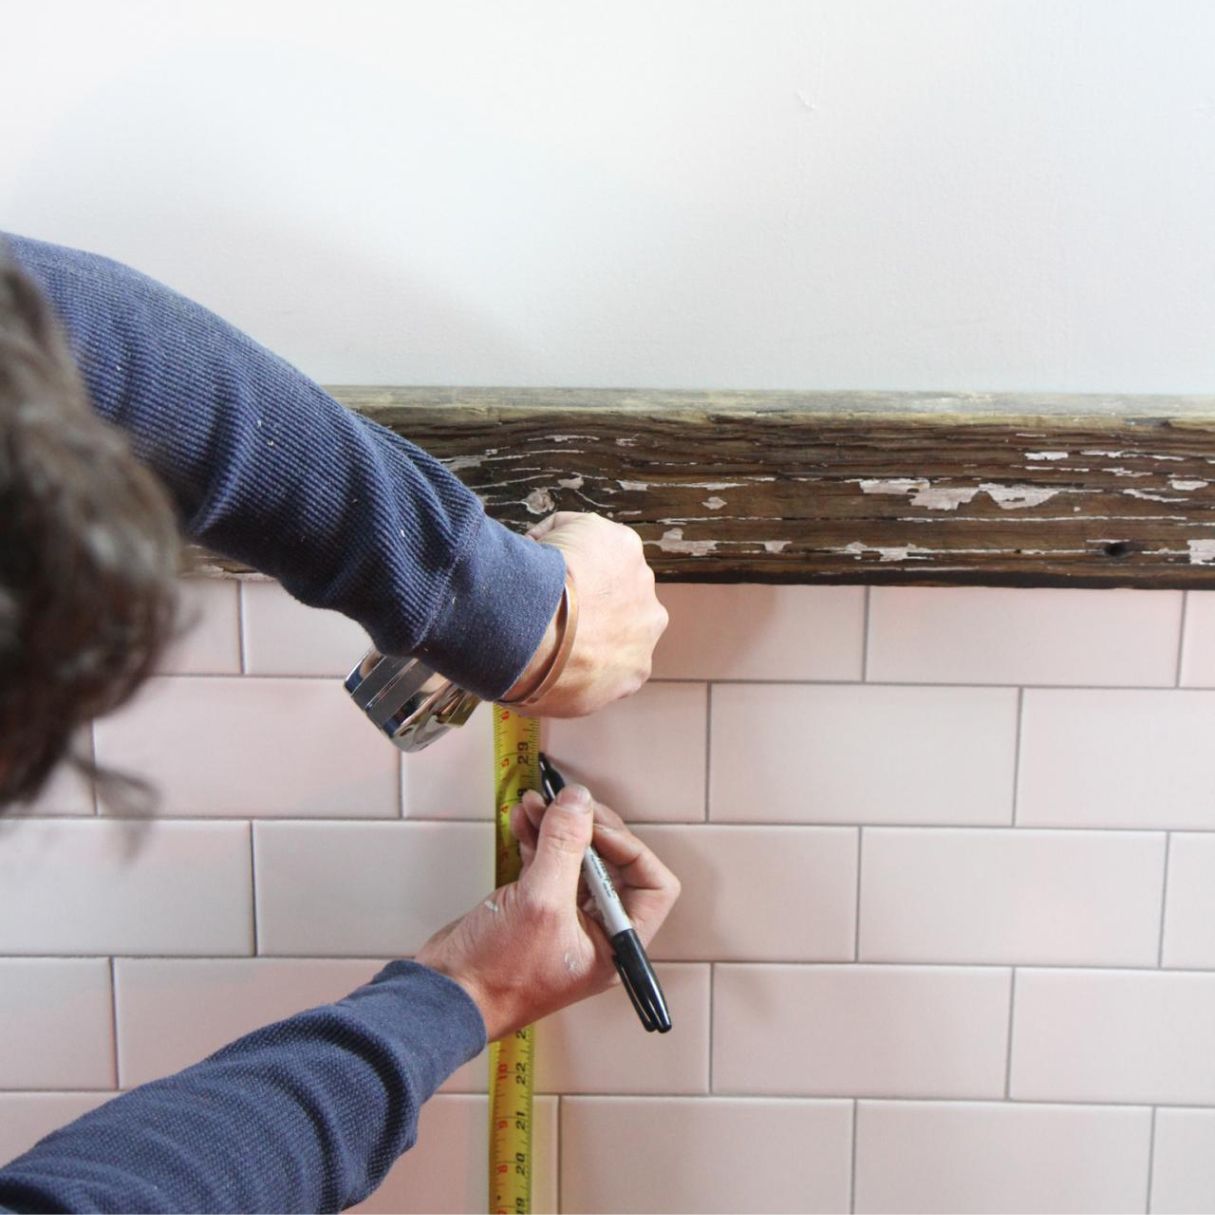
Step 2: Measuring and Marking the Access Panel Location
Once you have gathered all the necessary materials, the next step is to measure and mark the location for the access panel. Follow these steps:
- Identify the Purpose: Determine the purpose of the access panel. Do you need access to a specific system, such as plumbing or electrical? Consider the location and accessibility when selecting the installation spot.
- Choose an Ideal Location: Identify an area on the drywall where the access panel will be easily accessible. Avoid areas with obstructions such as pipes, electrical wires, or studs behind the wall. Choose a spot that allows you to conveniently reach the system you need to access.
- Measure the Dimensions: Use a measuring tape to measure the width and height of the access panel. Ensure that the dimensions fit within the available space on the wall. The access panel should provide enough room to comfortably reach the system behind it.
- Mark the Location: With the dimensions in mind, use a pencil to mark the outline of the access panel on the drywall. Use a level to ensure that the markings are straight and aligned properly.
- Double-Check the Measurements: Before moving on to the next step, double-check the measurements and alignment of the marked location. This will help ensure that the access panel will fit perfectly and look aesthetically pleasing once installed.
By carefully measuring and marking the location, you will ensure that the access panel is installed in the most convenient and appropriate spot for your needs. Taking the time to do this step accurately will save you headaches and potential issues during the installation process.
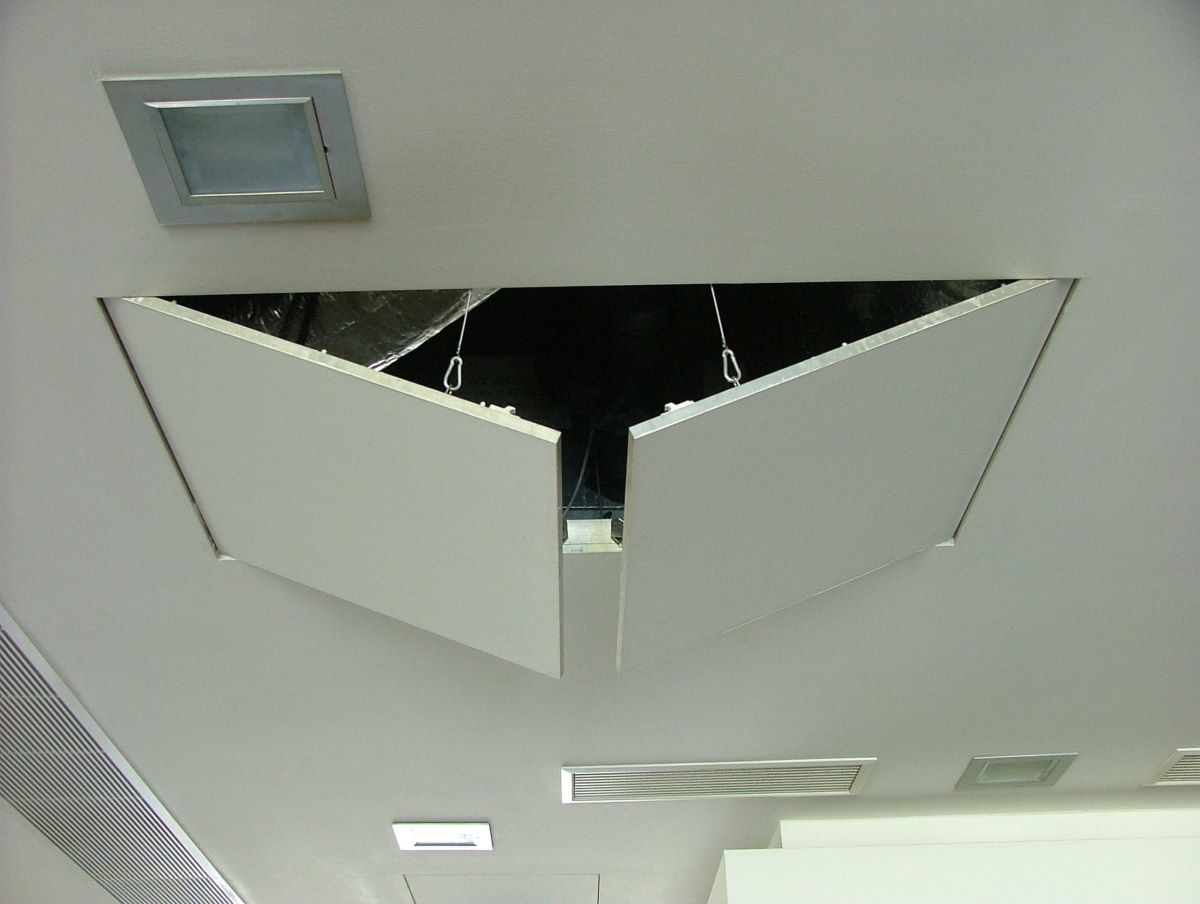
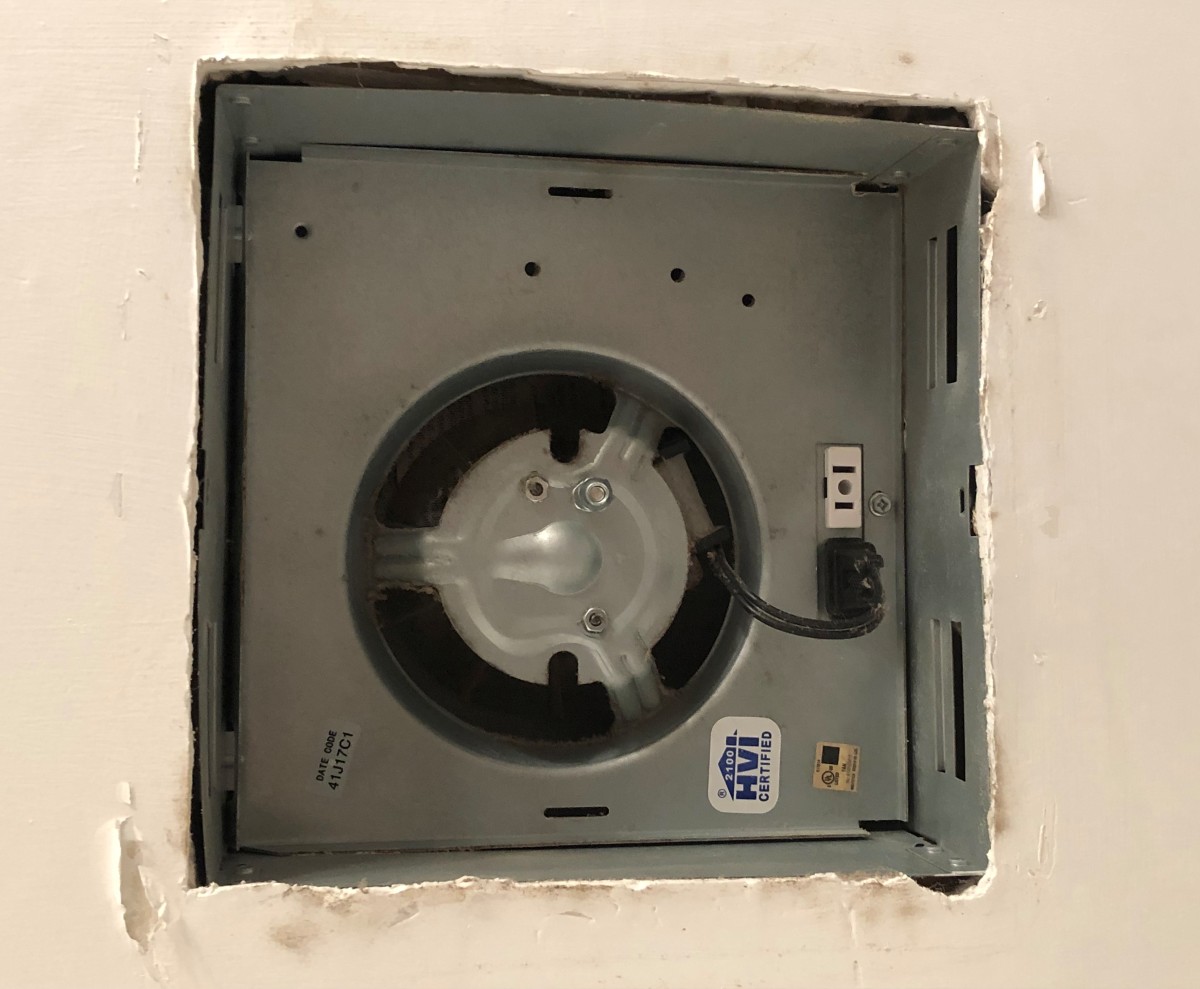
Step 3: Cutting the Hole in the Drywall
With the access panel location marked on the drywall, it’s time to cut the hole. Follow these steps to ensure a clean and precise cut:
- Prepare the Area: Clear the area surrounding the marked location by removing any furniture or objects that may obstruct your work.
- Score the Perimeter: Using a utility knife, score along the marked outline of the access panel. This will create a groove in the drywall, making it easier to cut through with the saw.
- Put on Safety Gear: Before cutting, make sure to wear safety goggles and a dust mask to protect your eyes and lungs from dust and debris.
- Start Cutting: Position the drywall saw along one of the scored lines and slowly start cutting through the drywall. Take your time and make smooth, controlled cuts to ensure accuracy. Follow the marked outline to create the hole for the access panel.
- Work Around the Perimeter: Once you have cut along one side of the marked outline, continue cutting along the remaining sides. Take care to maintain a steady hand and follow the lines precisely.
- Remove the Cut Piece: Once you have cut along all the sides of the marked outline, gently remove the cut piece of drywall. Be cautious not to damage the surrounding area while removing it.
After completing this step, you should now have a neatly cut hole in the drywall that corresponds to the dimensions of the access panel. Take a moment to inspect the hole and make any necessary adjustments before moving on to the next step.
Step 4: Preparing the Access Panel
Now that you have the hole cut in the drywall, it’s time to prepare the access panel for installation. Follow these steps:
- Inspect the Access Panel: Take a moment to inspect the access panel and ensure that it is in good condition. Check for any defects or damage that may compromise its functionality.
- Remove Protective Film: If your access panel has a protective film or covering, peel it off to reveal the clean surface underneath. This will prevent any obstruction or distortion of the view through the access panel.
- Apply Primer (If Needed): Depending on the material and finish of the access panel, you may need to apply a primer before painting or finishing. Follow the manufacturer’s instructions for applying the primer and allow it to dry thoroughly.
- Paint or Finish (Optional): If you wish to paint or finish the access panel to match the surrounding wall, now is the time to do so. Apply the paint or finish according to the instructions, and allow it to dry completely before proceeding to the next step.
- Attach Mounting Hardware: If your access panel requires mounting hardware, such as screws or brackets, attach them to the back of the access panel following the manufacturer’s instructions. Ensure that the mounting hardware is secure and will hold the access panel firmly in place.
By properly preparing the access panel, you will ensure that it is in optimal condition and ready for installation. Take your time to inspect and finish the access panel according to your preferences and the specific requirements of your project.
When installing an access panel in drywall, be sure to measure and mark the location carefully before cutting. Use a drywall saw to make a clean, precise cut, and be sure to secure the access panel frame tightly to the wall.
Read more: How To Make Plumbing Access Panel
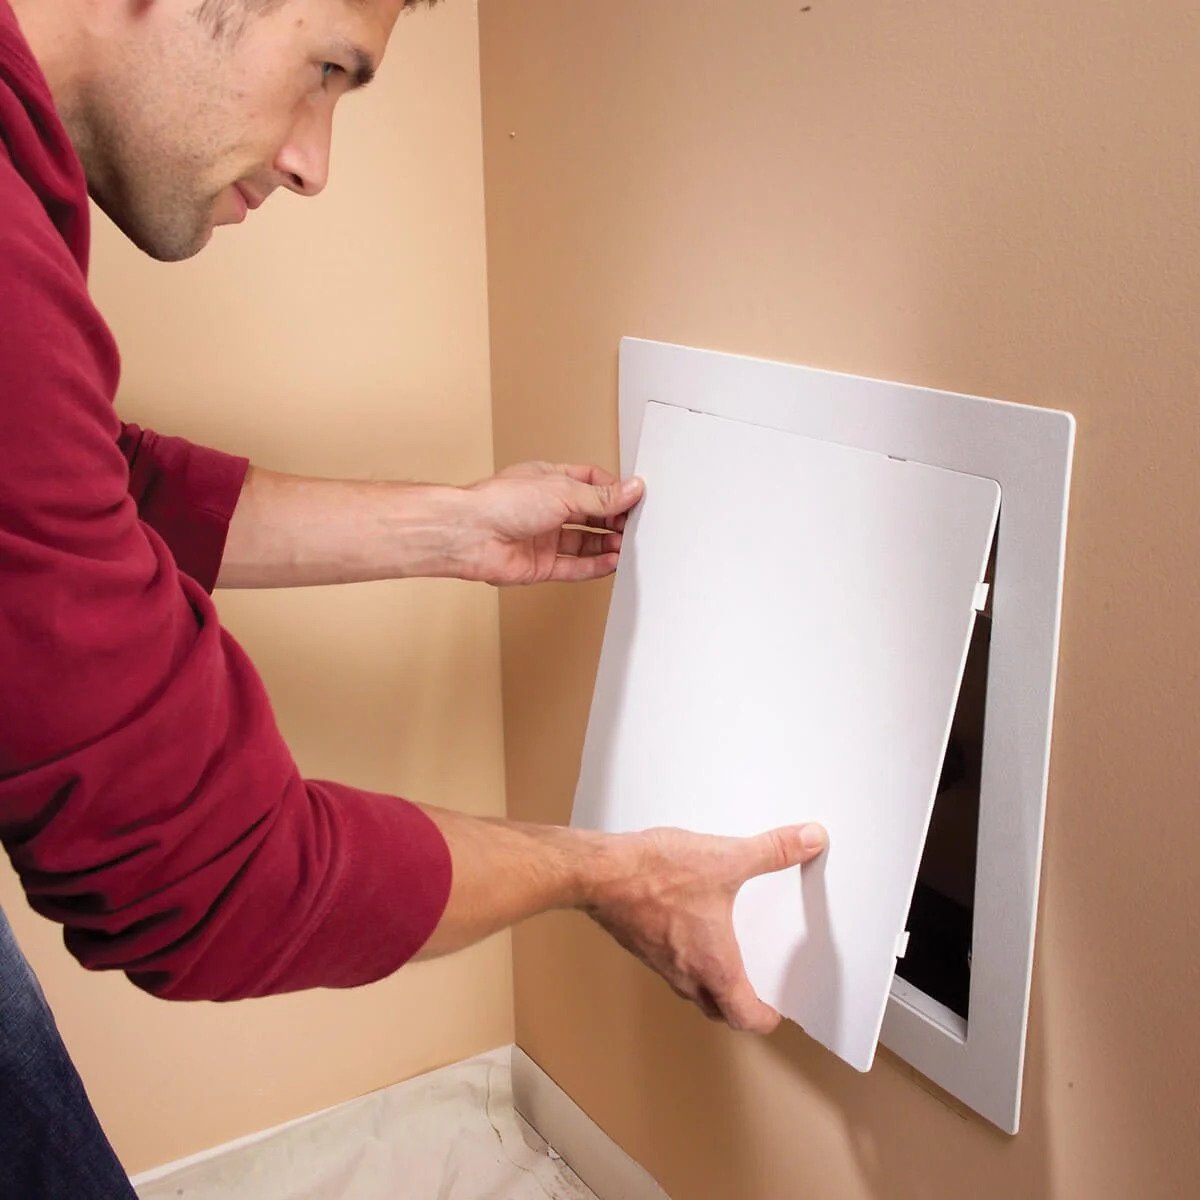
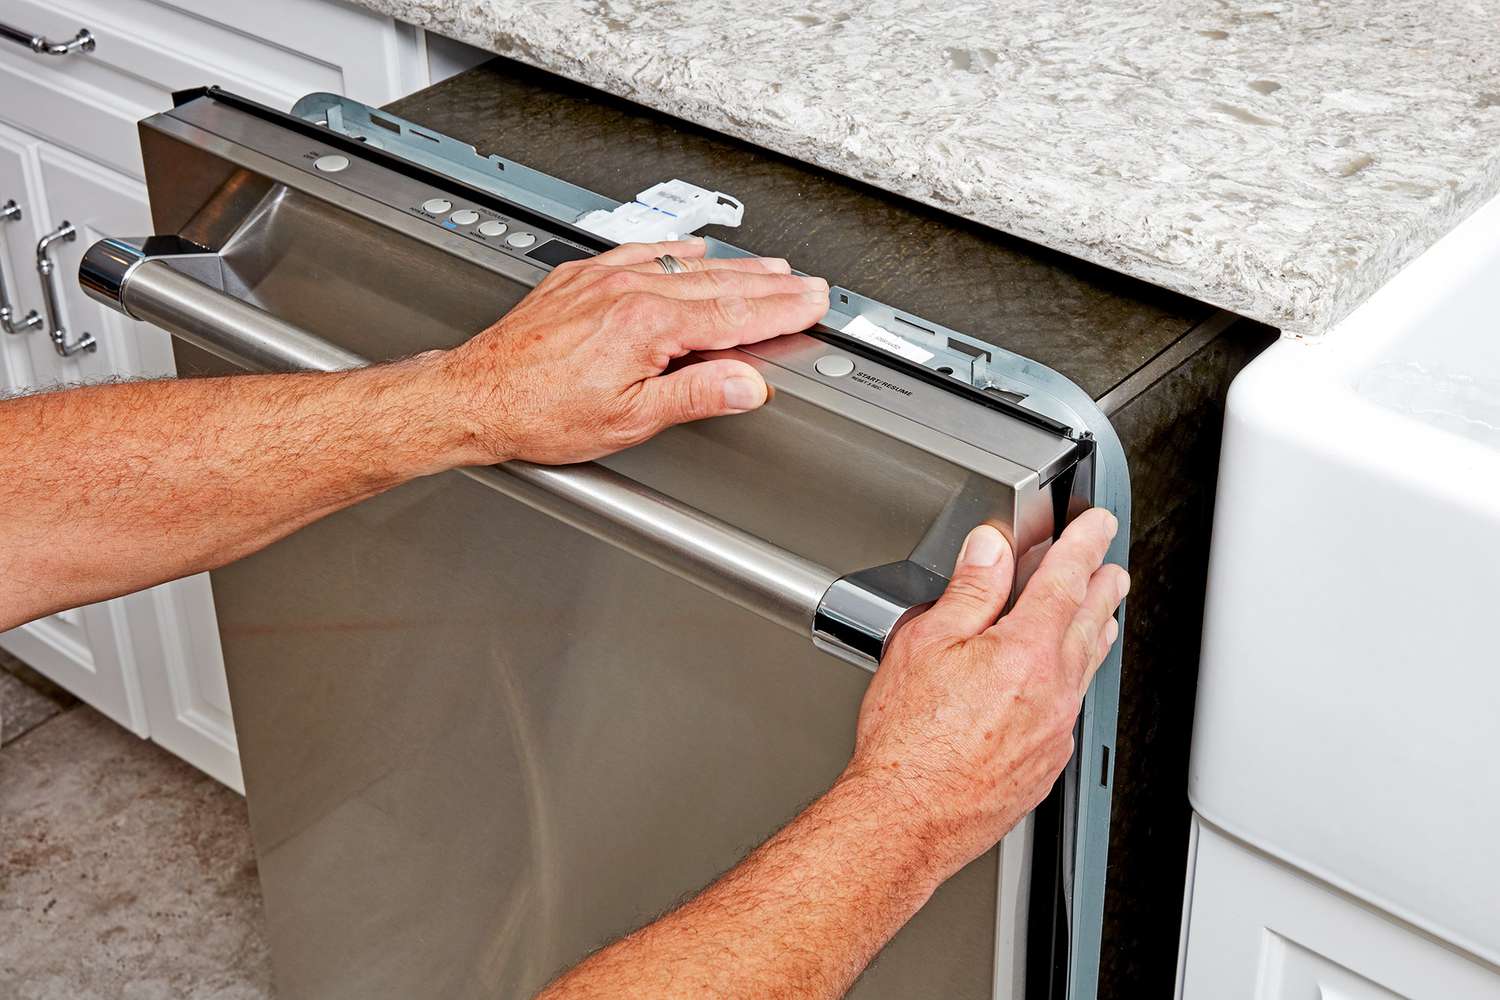
Step 5: Installing the Access Panel
With the access panel prepared, it’s time to proceed with the installation. Follow these steps to install the access panel:
- Position the Access Panel: Hold the access panel up to the hole in the drywall, aligning it with the opening. Ensure that it is level and centered within the hole.
- Mark the Screw Locations: With the access panel in place, use a pencil to mark the locations where the screws or mounting brackets will be attached. These marks will serve as a guideline for securing the access panel to the wall.
- Drill Pilot Holes (If Needed): If the access panel does not have pre-drilled holes for the screws, use a drill with an appropriate-sized drill bit to create pilot holes at the marked locations. These holes will make it easier to drive the screws into the wall.
- Attach the Access Panel: Using a screwdriver or drill, attach the access panel to the wall by driving the screws through the holes or mounting brackets. Ensure that the screws are tightened securely but avoid over-tightening, as this can damage the drywall.
By following these steps, you will successfully install the access panel, creating a secure and functional opening in the drywall. Take your time to align and secure the access panel properly, ensuring that it fits snugly and functions as intended.
Step 6: Securing the Access Panel in Place
Once the access panel is installed, it’s important to ensure that it is securely and firmly in place. Follow these steps to properly secure the access panel:
- Test the Opening and Closing: Open and close the access panel to ensure that it operates smoothly and without any obstructions. This will ensure that you can easily access the hidden area whenever needed.
- Check for Gaps: Inspect the area around the access panel for any gaps between the panel and the drywall. If there are any visible gaps, use caulk or sealant to fill them in. This will prevent dust, debris, and pests from infiltrating the wall cavity.
- Ensure a Flush Fit: Make sure that the access panel sits flush against the drywall surface. If it doesn’t, you may need to adjust the screws or brackets to achieve a secure and seamless fit.
- Tighten Loose Screws: If any of the screws feel loose, use a screwdriver or drill to tighten them. This will ensure that the access panel remains securely attached to the wall over time.
- Verify Stability: Gently shake or tap the access panel to check for any movement. If it feels unstable or wobbly, double-check the screws or mounting brackets to ensure they are properly tightened.
Securing the access panel in place is essential to maintain its functionality and longevity. By following these steps, you can ensure that the access panel remains secure and provides reliable access to the hidden area behind the drywall.
Step 7: Finishing Touches
With the access panel securely installed, it’s time to add the finishing touches to make it blend seamlessly with the surrounding wall. Follow these steps to complete the installation:
- Smooth Out the Edges: Use sandpaper or a sanding block to smooth out any rough edges around the access panel opening. This will ensure a clean and professional appearance.
- Apply Drywall Compound (If Needed): If there are any gaps or imperfections around the access panel, use drywall compound to fill them in. Apply the compound with a putty knife, smooth it out, and let it dry completely. Sand the area again to achieve a seamless finish.
- Prime and Paint: Apply a primer to the access panel and the area surrounding it, especially if you filled in any gaps with drywall compound. Once the primer has dried, apply the desired paint color to match the rest of the wall. This will help the access panel blend in seamlessly.
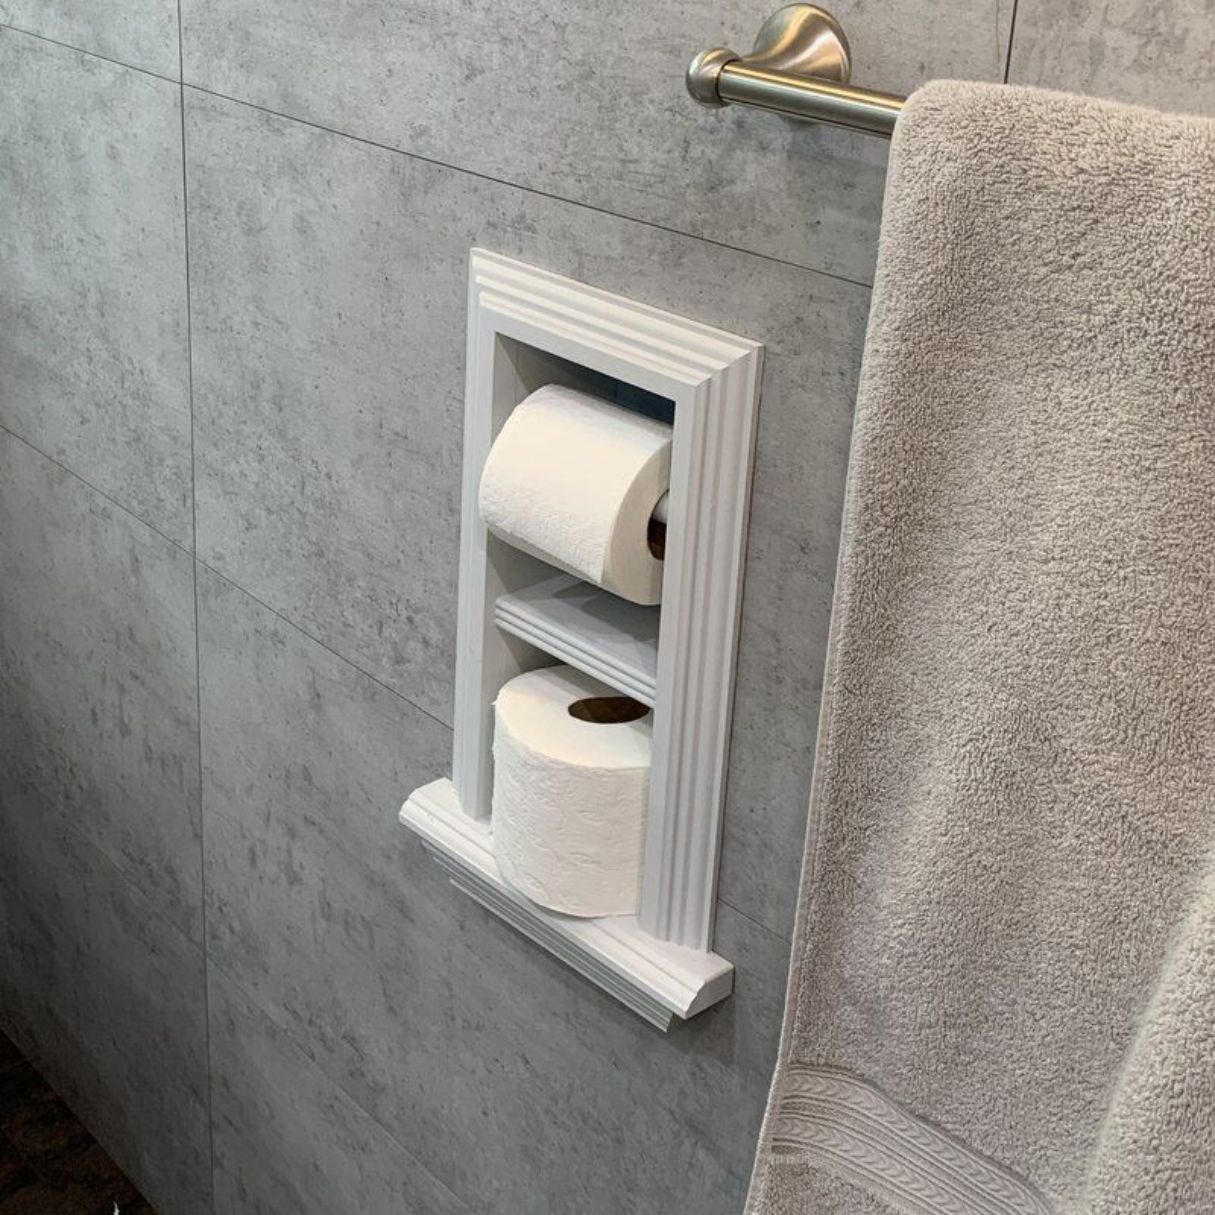
- Install Decorative Trim (Optional): If you want to add a decorative touch to the access panel, consider installing trim or molding around the edges. This can enhance the overall aesthetic appeal and create a polished look.
- Clean Up: Once you have completed the finishing touches, clean up any dust, debris, or leftover materials from the installation process. This will leave the area looking neat and tidy.
By adding these finishing touches, you will ensure that the access panel not only provides practical functionality but also enhances the overall aesthetic of the space. Take your time and pay attention to detail to achieve a professional and seamless finish.
Conclusion
Congratulations, you have successfully installed an access panel in drywall! By following the steps outlined in this guide, you have now created a convenient and efficient way to access hidden systems or storage spaces behind the walls.
Installing an access panel not only saves you time and effort when it comes to maintenance and repairs, but it also adds functionality to your living or working space. With easy access to plumbing, electrical, or other systems, you can now handle any necessary tasks efficiently.
Remember, proper planning and careful execution are key to a successful installation. Take the time to measure and mark the access panel location accurately, and ensure that you have the necessary tools and materials ready. Cutting the hole in the drywall with precision and securing the access panel firmly in place will ensure a seamless finish.
Don’t forget about the finishing touches! Smooth out edges, apply drywall compound if needed, and consider adding decorative trim or molding for an added touch of style.
By installing an access panel, you have not only made your life easier, but you have also added value to your home or workspace. Enjoy the convenience and functionality that it provides, knowing that you have completed the installation like a pro.
So go ahead, confidently tackle your next maintenance or repair job, knowing that accessing hidden areas behind drywall is now a breeze!
Frequently Asked Questions about How To Install An Access Panel In Drywall
Was this page helpful?
At Storables.com, we guarantee accurate and reliable information. Our content, validated by Expert Board Contributors, is crafted following stringent Editorial Policies. We're committed to providing you with well-researched, expert-backed insights for all your informational needs.

0 thoughts on “How To Install An Access Panel In Drywall”