Articles
How To Create An Attic Access
Modified: April 22, 2024
Learn how to create an easy and convenient attic access with our informative articles. Transform your space and maximize storage potential today!
(Many of the links in this article redirect to a specific reviewed product. Your purchase of these products through affiliate links helps to generate commission for Storables.com, at no extra cost. Learn more)
Introduction
Creating an attic access is a crucial step in maximizing the usability and functionality of your attic space. Whether you need to store household items, conduct maintenance, or simply gain easier access to this often overlooked area of your home, having a well-designed and easily accessible attic access point is essential.
In this article, we will guide you through the step-by-step process of creating an attic access. From determining the location to installing the access door and sealing the opening, we will cover all the necessary details to ensure a successful project.
Before we dive into the steps, let’s briefly discuss the importance of having an attic access. Having convenient access to your attic allows for easy storage of items that aren’t frequently used, such as seasonal decorations or old furniture. It also provides a way to inspect and maintain your roof, HVAC systems, or electrical wiring. In addition, an accessible attic allows for proper insulation and ventilation, contributing to energy efficiency and preventing moisture-related issues.
Now, let’s get started on creating your attic access!
Key Takeaways:
- Maximize attic functionality
Create convenient attic access to store items, conduct maintenance, and improve energy efficiency. Follow precise steps to determine location, install access door, and seal for optimal usability. - Enhance convenience with ladder or stairs
Consider adding ladder or stairs for easy attic navigation. Improve safety and comfort while accessing attic space, maximizing its functionality and usability.
Read more: How To Access Attic
Step 1: Determine the Location
The first step in creating an attic access is determining the ideal location for it. Consider the following factors when choosing the location:
- Proximity to the desired area: The access point should be close to the area of the attic you intend to use or frequently access. This ensures convenience and minimizes the need to carry heavy items across the attic.
- Structural considerations: Take into account the structural integrity of the ceiling and the surrounding areas. Avoid cutting into load-bearing walls or damaging electrical, plumbing, or HVAC systems.
- Accessibility: Choose a location that is easily reachable from the floor below. Avoid areas obstructed by furniture or other obstacles.
- Ceiling clearance: Ensure that there is enough space in the attic for you to navigate comfortably. Consider the height of the ceiling and any potential obstructions, such as trusses or ductwork.
Once you have determined the ideal location, mark it clearly on the ceiling below the attic. Use a stud finder to identify the nearest ceiling joists or rafters, as these will provide support for the access opening. Mark the center of the access point to align with the joists or rafters for added stability.
Now that you’ve determined the location for your attic access, you’re ready to move on to the next step: gathering the necessary tools and materials.
Step 2: Gather the Tools and Materials
Before you can start creating your attic access, you’ll need to gather the necessary tools and materials. Here’s a list of what you’ll need:
- Tape measure: This will come in handy for accurately measuring and marking the access point.
- Pencil or marker: You’ll need something to mark the location of the access point on the ceiling.
- Circular saw or reciprocating saw: You’ll use this to cut the opening in the ceiling.
- Drywall saw: This will be useful if you need to make any adjustments or cutouts in the drywall.
- Screwdriver: You’ll need this to attach the attic access door to the ceiling.
- Caulk gun and sealant: These will be used to seal the edges of the access opening and prevent air leaks.
- Insulation: Insulating the access point will help maintain the temperature in your home and prevent heat loss.
- Attic access door: Choose a sturdy and insulated access door that is appropriate for the size and style of your attic.
Make sure you have all the tools and materials ready before you begin the project. This will save you time and prevent unnecessary interruptions or delays.
Now that you’re prepared with the necessary tools and materials, you’re ready to move on to the next step: measuring and marking the access point.
Step 3: Measure and Mark the Access Point
Once you have gathered the tools and materials, it’s time to measure and mark the access point for your attic. Follow these steps:
- Measure the opening: Use a tape measure to determine the desired size of the access opening. Typically, a square or rectangular opening of around 22 x 30 inches is a common size for attic access. However, the size may vary depending on your specific needs and space.
- Mark the opening: Using a pencil or marker, mark the dimensions of the access opening on the ceiling. Make sure the markings are accurate and aligned with the joists or rafters for added stability.
- Double-check the measurements: Before proceeding to the next step, double-check the measurements of the access opening. This will ensure that the marked area aligns with your desired dimensions and the location you determined earlier.
Take your time during this step to ensure the accuracy of the measurements and markings. Remember, it’s better to double-check and make adjustments now rather than encountering issues during the cutting process.
Now that you have measured and marked the access point, you’re ready to move on to the next step: cutting an opening in the ceiling.
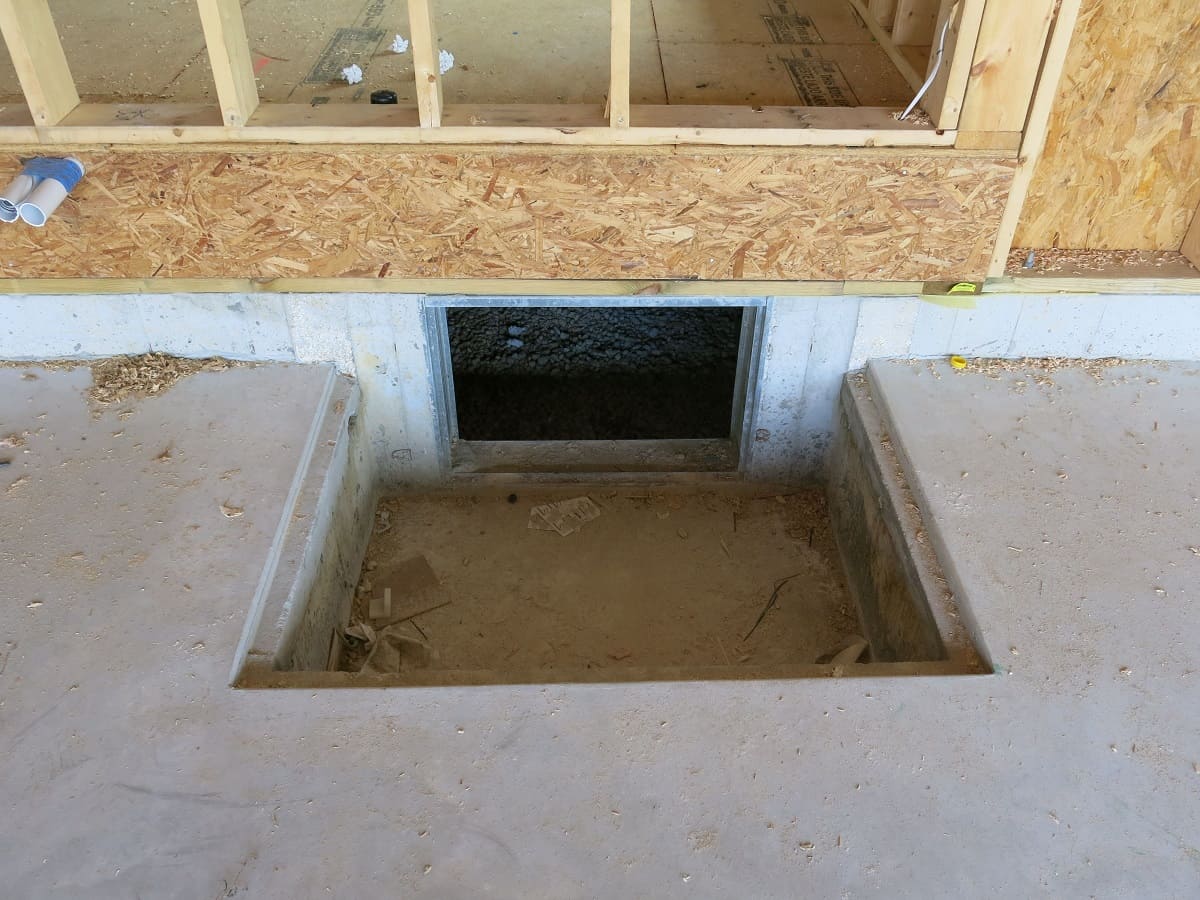
Step 4: Cut an Opening
With the access point measured and marked, it’s time to proceed with cutting an opening in the ceiling. Follow these steps:
- Prepare the area: Clear the area beneath the access point of any furniture or objects that may obstruct your work. Cover the floor with a drop cloth or plastic sheeting to catch any debris or dust.
- Put on safety gear: Before you start cutting, put on safety goggles, a dust mask, and ear protection. This will help protect you from any flying debris and ensure a safe working environment.
- Cut along the marked lines: Use a circular saw or reciprocating saw to cut along the lines you marked on the ceiling. Start from one corner and carefully follow the marked lines, moving in a slow and controlled manner. Take your time to ensure clean and accurate cuts.
- Check for obstructions: Once you have cut the initial opening, inspect the area for any obstructions, such as wires, pipes, or structural elements. If you encounter any obstacles, carefully cut around them or make necessary adjustments to the opening size.
- Remove the cut section: Carefully remove the cut section of the ceiling, making sure to keep it intact if possible. This will make it easier to determine the exact size and shape for the attic access door.
Once you have completed the cutting process, inspect the opening to ensure it is clean and free of any debris. Sweep or vacuum any dust or loose particles to maintain a clean work area.
Now that you have successfully cut an opening in the ceiling, you’re ready to proceed to the next step: installing the attic access door.
When creating an attic access, be sure to choose a location that allows for easy entry and exit, while also considering the structural integrity of the ceiling. It’s important to follow building codes and safety guidelines when cutting into the ceiling.
Read more: How To Insulate An Attic Access Door
Step 5: Install the Attic Access Door
After cutting the opening in the ceiling, it’s time to install the attic access door. Follow these steps:
- Prepare the door: If your attic access door comes unassembled, follow the manufacturer’s instructions to assemble it. Make sure all the components are securely attached.
- Position the door: Place the attic access door over the opening, aligning it with the edges. Ensure that it fits securely and doesn’t protrude beyond the ceiling surface.
- Attach the door to the ceiling: Use a screwdriver to attach the hinges of the access door to the ceiling along the marked lines. Make sure to use screws that are appropriate for the ceiling material, such as drywall anchors if necessary.
- Test the door: Open and close the attic access door to ensure that it moves smoothly and securely. Make any necessary adjustments to the hinges or screws if needed.
It’s important to ensure that the attic access door is properly installed and functions smoothly. This will make it easier for you to access your attic whenever needed.
Remember, the specific installation process may vary depending on the type of attic access door you have chosen. Always refer to the manufacturer’s instructions for the most accurate and detailed guidance.
With the attic access door successfully installed, you’re now ready to proceed to the next step: sealing and insulating the access point.
Step 6: Seal and Insulate the Access Point
Once the attic access door is installed, it’s important to seal and insulate the access point to prevent air leaks and maintain energy efficiency. Follow these steps:
- Apply caulk to the edges: Use a caulk gun to apply a bead of caulk along the edges of the access opening. This will create a seal between the door frame and the ceiling, preventing air from escaping or entering the attic.
- Insulate the access point: Cut insulation material, such as fiberglass or foam board insulation, to fit around the edges of the access opening. Place the insulation between the attic and the door frame, ensuring a snug fit. This will help to reduce heat loss and improve energy efficiency.
- Secure the insulation: Use adhesive or insulation tape to secure the insulation in place, ensuring that it doesn’t shift or come loose over time.
By sealing and insulating the access point, you’ll not only prevent drafts and energy loss but also enhance the overall comfort and temperature control in your home.
Additionally, consider adding weatherstripping around the edges of the attic access door for further insulation and to create a tight seal.
Now that you have sealed and insulated the access point, you’re ready to move on to the next step: testing and securing the door.
Step 7: Test and Secure the Door
After sealing and insulating the access point, it’s essential to test the attic access door and ensure its security. Follow these steps:
- Test the door: Open and close the attic access door multiple times to ensure that it operates smoothly and securely. Make sure it latches properly when closed and doesn’t wobble or sag.
- Check for gaps: Inspect the access point and door frame for any visible gaps or cracks. If you notice any, use caulk or weatherstripping to fill them in and improve the overall seal.
- Secure the door: To enhance security, consider installing a lock or latch mechanism to prevent unauthorized access to your attic. Choose a lock that is appropriate for your door type and provides the level of security you desire.
- Test the security: Lock the attic access door and attempt to open it from the outside. Make sure the lock effectively prevents the door from being opened without the key or proper authorization.
By testing and securing the attic access door, you can have peace of mind knowing that your attic is protected from unwanted entry and securely closed when not in use.
Now that the door has been tested and secured, you have successfully completed this step. You’re now ready to move on to the optional step: adding a ladder or stairs to your attic access.
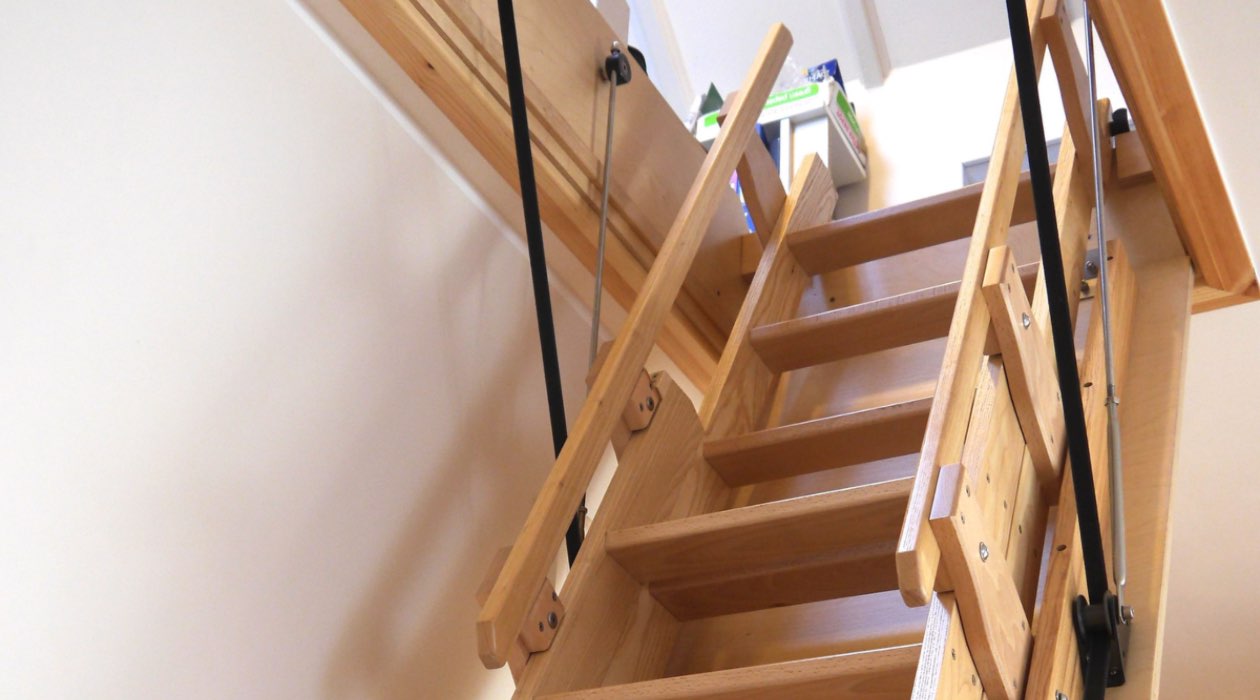
Step 8: Optional: Add Ladder or Stairs
Adding a ladder or stairs to your attic access can greatly enhance its usability and convenience. This step is optional but highly recommended if you plan to frequently access your attic. Here’s how you can do it:
- Determine the space: Assess the available space and height in your attic to determine whether a ladder or stairs would be the most suitable option. Consider factors such as the ceiling height, layout, and budget.
- Choose a ladder or stairs: Select a ladder or stair system that fits your attic space and meets your specific requirements. There are various options available, including folding attic ladders, telescoping ladders, or permanent staircase installations.
- Install the ladder or stairs: Follow the manufacturer’s instructions to install the ladder or stairs. Ensure it is securely attached to the floor of the attic and properly aligned with the attic access door.
- Test and secure: Test the ladder or stairs to ensure they are stable, secure, and comfortable to use. Make any necessary adjustments or install additional supports if needed.
Adding a ladder or stairs to your attic access not only makes it easier to reach your attic but also improves safety and convenience. It allows for easy and comfortable navigation, especially when carrying items up and down from the attic.
Remember to consider any building codes or regulations that may apply to the installation of ladders or stairs in your area. It’s always best to consult with a professional if you have any concerns or questions.
With the ladder or stairs successfully installed, you have completed all the necessary steps for creating an attic access. Now, you can fully utilize and enjoy the functionality of your attic space.
Read more: How To Make An Attic Access Door
Conclusion
Creating an attic access is a valuable project that allows you to maximize the usability and functionality of your attic space. By following the step-by-step process outlined in this article, you can successfully create an attic access that meets your needs and enhances the convenience of accessing your attic.
We started by determining the ideal location for the access point, considering factors such as proximity, structural integrity, and accessibility. Then, we gathered the necessary tools and materials to ensure a smooth workflow. Next, we measured and marked the access point on the ceiling, followed by cutting an opening with precision and care.
After installing the attic access door, we emphasized the importance of sealing and insulating the access point to prevent air leaks and maintain energy efficiency. We also highlighted the significance of testing and securing the door for optimal functionality and security.
Lastly, we discussed the optional step of adding a ladder or stairs to the attic access, which can greatly enhance convenience and usability. By installing a ladder or stairs, you can easily navigate your attic space and safely carry items in and out.
Remember, always refer to the manufacturer’s instructions and consider any local building codes or regulations during the entire process. If you feel unsure or overwhelmed, it’s recommended to seek the assistance of a professional.
Creating an attic access is a rewarding project that opens up new possibilities for storage, maintenance, and expansion within your home. By following the steps outlined in this article, you can successfully create a functional and convenient access point to your attic, adding value and versatility to your living space.
Frequently Asked Questions about How To Create An Attic Access
Was this page helpful?
At Storables.com, we guarantee accurate and reliable information. Our content, validated by Expert Board Contributors, is crafted following stringent Editorial Policies. We're committed to providing you with well-researched, expert-backed insights for all your informational needs.


0 thoughts on “How To Create An Attic Access”