
Articles
How To Make Quilt Patterns
Modified: February 24, 2024
Learn how to make quilt patterns with our informative articles. Discover helpful tips, techniques, and step-by-step guides to create beautiful quilt designs.
(Many of the links in this article redirect to a specific reviewed product. Your purchase of these products through affiliate links helps to generate commission for Storables.com, at no extra cost. Learn more)
Introduction
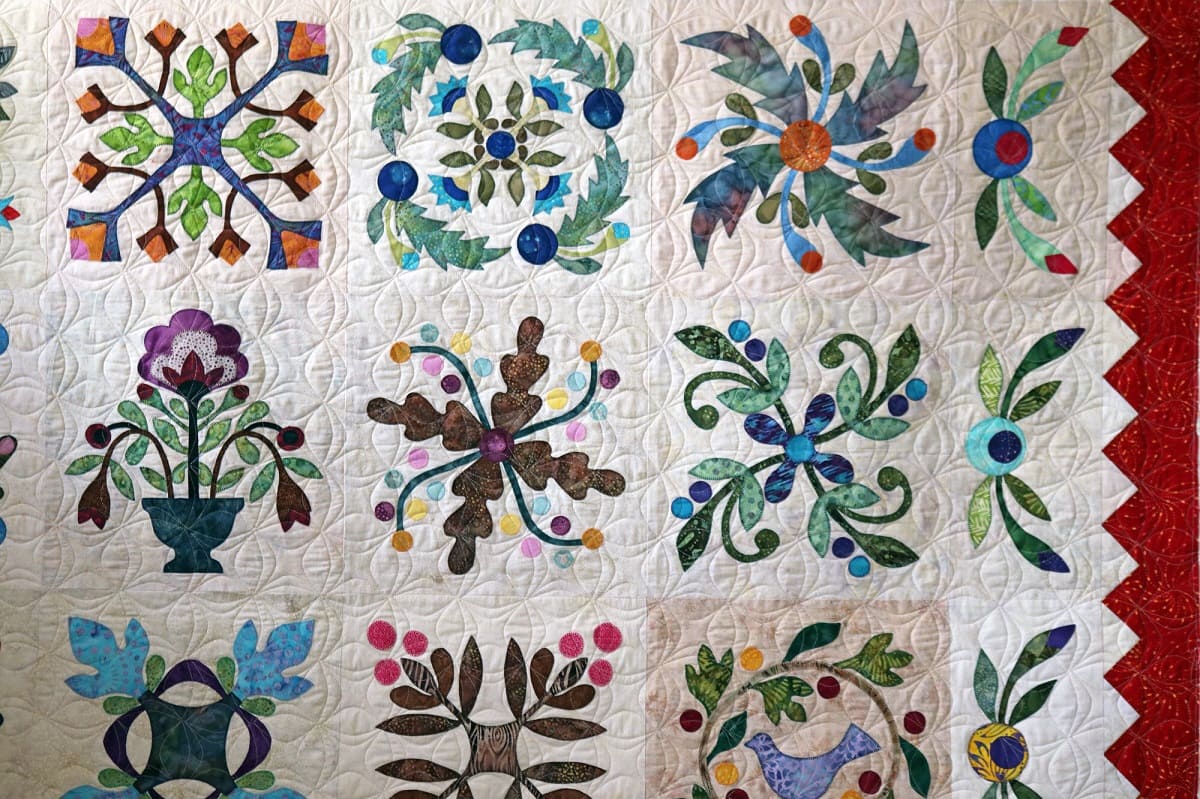
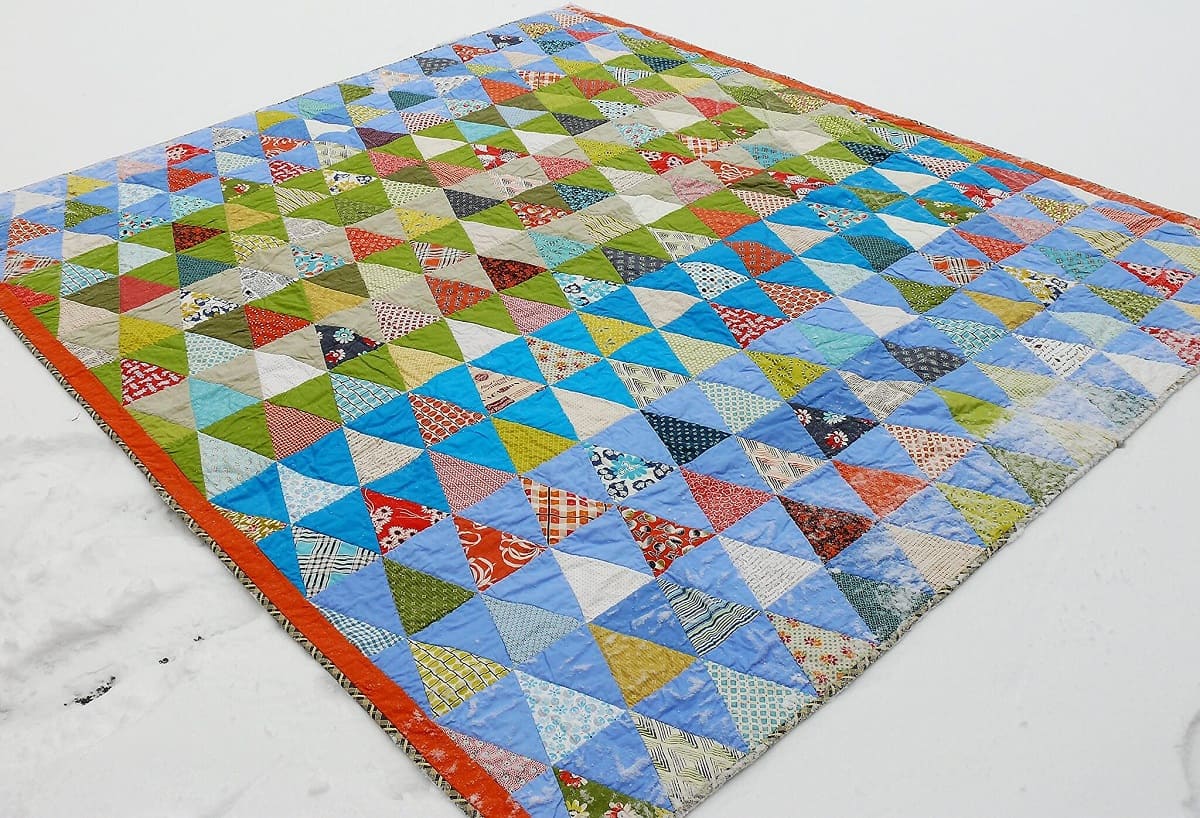
Quilting is a timeless craft that allows you to create beautiful and functional pieces of art. One of the most crucial aspects of quilting is choosing and designing the right quilt pattern. A well-designed quilt pattern can make all the difference in the final outcome of your project.
In this article, we will guide you through the process of creating your own quilt patterns. Whether you are a beginner or an experienced quilter, this step-by-step guide will help you unleash your creativity and bring your unique quilt pattern ideas to life.
Before we dive into the details, let’s take a moment to talk about the materials you’ll need. Quilting requires a few essential items such as fabrics, cutting tools, and sewing equipment. By gathering the right supplies, you’ll be well-prepared to embark on your quilting journey.
So, let’s gather our materials and get started on the exciting process of designing and creating beautiful quilt patterns!
Key Takeaways:
- Designing and creating your own quilt pattern is a fulfilling and rewarding journey that allows you to express creativity, tell a unique story, and create a cherished piece of art with your own hands.
- The process of quilting, from gathering materials to adding the final binding, offers endless possibilities for experimentation, learning, and the joy of bringing your unique quilt pattern to life.
Read more: How To Make A Strip Quilt Pattern
Step 1: Gathering Materials
Before you begin designing your quilt pattern, it’s essential to gather all the necessary materials. This step sets the foundation for a successful quilting project. Here are a couple of key aspects to consider: choosing the fabric and selecting the right tools and equipment.
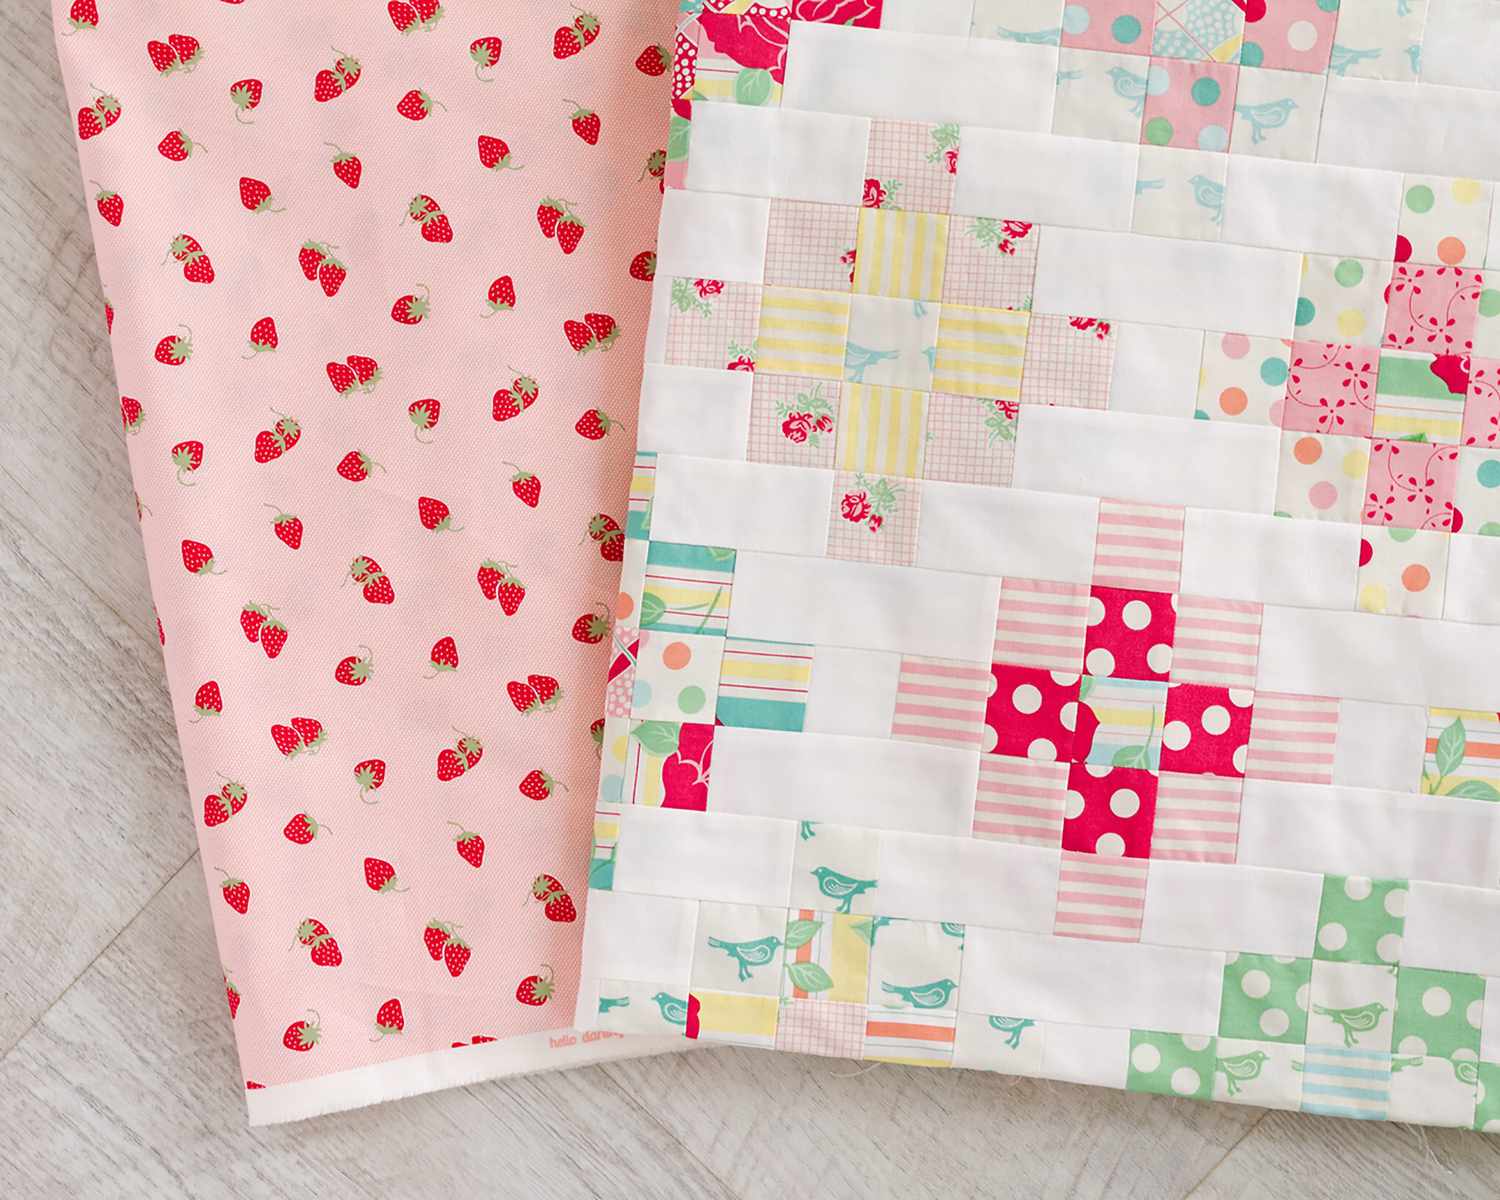
Choosing the fabric: The fabric you choose will play a significant role in the overall look and feel of your quilt. When selecting fabric, consider the following:
- Color and pattern: Think about the color palette and pattern that you want to incorporate into your quilt. Whether it’s bold and vibrant or soft and subtle, choose fabrics that complement your design aesthetic.
- Quality: Opt for high-quality fabrics that are durable and will withstand the test of time. Cotton is a popular choice for quilting due to its versatility and ease of handling.
- Contrast: Consider incorporating a combination of fabrics with contrasting colors and patterns to add visual interest to your quilt.
Selecting the right tools and equipment: Having the proper tools and equipment will make the quilting process more efficient and enjoyable. Here are some essential items to have on hand:
- Rotary cutter: A rotary cutter with a sharp blade allows you to cut fabric with precision and ease.
- Quilting ruler: A quilting ruler is an indispensable tool for measuring and cutting fabric accurately.
- Cutting mat: Invest in a self-healing cutting mat to protect your work surface and provide a smooth cutting surface.
- Sewing machine: While hand-stitching is an option, a sewing machine will speed up the construction process. Choose a machine with various stitch options and settings to accommodate different quilting techniques.
- Pins and needles: Good-quality pins and needles are essential for accurately piecing fabric blocks together.
- Thread: Opt for a high-quality thread that is strong and durable. Choose thread colors that match or complement your fabric choices.
By carefully selecting your fabrics and gathering the right tools and equipment, you will set yourself up for success in creating your quilt pattern. Once you have gathered these materials, it’s time to move on to the next step: designing your quilt pattern.
Step 2: Designing Your Quilt Pattern
Designing your quilt pattern is an exciting and creative process that allows you to bring your vision to life. Here are two essential steps to follow: finding inspiration and sketching out your design.
Finding inspiration: Inspiration can come from various sources and can be found all around you. Here are a few places to look for ideas:
- Magazines and books: Browse through quilting magazines, books, and online resources to gather inspiration from different quilt patterns and designs.
- Nature: Take a walk outdoors and observe the patterns, colors, and textures found in nature. Leaves, flowers, and landscapes can inspire unique quilt designs.
- Art and architecture: Explore art galleries, museums, and architectural structures for inspiration. Paintings, sculptures, and building designs can offer unique ideas for quilt patterns.
- Personal experiences: Tap into your personal experiences and memories. Consider incorporating elements that have special meaning to you, such as favorite colors or symbols.
Sketching out your design: Once you have gathered inspiration, it’s time to put pen to paper and sketch out your quilt pattern. Here’s how to approach this step:
- Basic grid: Start by drawing a basic grid that represents the size and shape of your quilt blocks. This will help you visualize how the different elements will come together.
- Block placement: Experiment with different block placements within the grid. Play around with symmetry, asymmetry, and alternate block patterns to create visually interesting designs.
- Color and fabric placement: Use colored pencils or markers to add color to your design. Consider how different fabrics will look together and experiment with different combinations.
- Scale and proportion: Pay attention to the scale and proportion of your design elements. The size of the blocks and the placement of motifs should be balanced and visually appealing.
Remember, the design process is a chance to let your creativity flourish. Don’t be afraid to experiment, revise, and refine your design until you are satisfied with the final result. Once you have sketched out your quilt pattern, you are ready to move on to the next step: cutting the fabric.
Step 3: Cutting the Fabric
Now that you have designed your quilt pattern, it’s time to bring it to life by cutting the fabric. Follow these two important steps: measuring and marking the fabric and using a rotary cutter or fabric scissors.
Measuring and marking the fabric: Accurate measurements are crucial for ensuring your quilt blocks fit together seamlessly. Here’s how to measure and mark the fabric:
- Take the measurements: Use a quilting ruler and a fabric marker to measure and mark the dimensions of your quilt blocks on the fabric. Make sure to include a seam allowance for each block.
- Double-check the measurements: Before cutting, double-check your measurements to ensure accuracy. It’s always better to be safe than sorry!
- Marking tools: Choose a fabric marker that easily washes out or disappears with time. This will ensure that the markings don’t show on the final quilt.
Using a rotary cutter or fabric scissors: Once you have marked your fabric, it’s time to cut it out. Here are some tips for using a rotary cutter or fabric scissors:
- Rotary cutter: If you’re using a rotary cutter, place your fabric on a cutting mat and use a quilting ruler as a guide. Hold the ruler firmly in place and carefully cut along the marked lines with the rotary cutter. Take your time and use steady pressure to ensure clean and accurate cuts.
- Fabric scissors: If you prefer using fabric scissors, make sure they’re sharp and suitable for cutting through multiple layers of fabric. Use the marked lines as a guide and cut with smooth, even strokes.
- Trimming excess fabric: After cutting out your quilt blocks, trim any excess fabric or thread that may be sticking out. This will ensure neat and tidy blocks as you piece them together.
Remember to take your time when cutting the fabric to maintain precision and accuracy. It’s better to cut slowly and accurately than to rush through the process and compromise the quality of your quilt blocks. With your fabric cut and ready to go, you’re now prepared for the next step: sewing the quilt blocks.
Step 4: Sewing the Quilt Blocks
Now that you have cut the fabric into quilt blocks, it’s time to sew them together to create the main components of your quilt. Follow these two important steps: piecing together the fabric blocks and pressing and trimming the blocks for a polished finish.
Piecing together the fabric blocks: Sewing the fabric blocks together requires precision and attention to detail. Here’s how to do it:
- Block arrangement: Lay out your fabric blocks according to your quilt pattern design. This will help you visualize the final arrangement and ensure you are piecing the blocks together correctly.
- Seam allowance: Use a 1/4-inch seam allowance for quilt piecing unless otherwise specified. Sew the blocks together with right sides facing each other, aligning the edges accurately.
- Pinning: Pinning the fabric blocks together can help keep the edges aligned and prevent shifting during sewing. Place pins perpendicular to the seam line, ensuring they are easy to remove as you sew.
- Sewing: Sew along the pinned seam line, backstitching at the beginning and end to secure the stitches. Take your time and sew with a steady pace to ensure even and straight seams.
- Pressing: Press the sewn seams either open or to one side, depending on your preference and the desired quilt pattern. Pressing helps set the seams and creates a crisp, professional finish.
Pressing and trimming the blocks: Once you have sewn the fabric blocks together, it’s important to press and trim them for a polished look. Here’s how:
- Pressing: Iron the sewn blocks to flatten the seams and remove any wrinkles. Use a hot iron and press downward, applying even pressure. Be careful not to stretch or distort the fabric.
- Trimming: Check the size of your sewn blocks and trim them if necessary to ensure they are uniform in size. Use a quilting ruler as a guide and fabric scissors to trim the excess fabric.
- Square up the blocks: If needed, square up the blocks by trimming the edges to achieve straight and even sides. This will help when piecing the blocks together and maintain a cohesive look.
By piecing together the fabric blocks accurately and pressing and trimming them properly, you will create a foundation for a quilt with clean lines and precise construction. Now that your quilt blocks are complete, it’s time to move on to the exciting step of assembling the quilt top.
When creating quilt patterns, start with simple designs and gradually increase complexity as you gain confidence and skill. Practice makes perfect!
Step 5: Assembling the Quilt Top
With your quilt blocks sewn and prepared, it’s time to assemble them into the quilt top. This step focuses on arranging the blocks in your desired pattern and sewing them together to create the main visual element of your quilt.
Arranging the blocks in your desired pattern: The arrangement of your quilt blocks can significantly impact the overall look and feel of your quilt. Here’s how to approach this step:
- Design consideration: Refer to your quilt pattern design and carefully arrange the blocks accordingly. Pay attention to color placement, block orientation, and any specific pattern instructions.
- Try different layouts: Experiment with different block arrangements by laying them out on a design wall, bed, or floor. Step back and assess each arrangement to determine which one best fits your vision.
- Balancing the design: Achieve balance in your quilt top by distributing colors, patterns, and visual elements evenly throughout the layout. Consider the overall visual impact and adjust as needed.
Sewing the blocks together: Once you are satisfied with the arrangement of your blocks, it’s time to sew them together to create the quilt top. Follow these steps:
- Stacking and sewing: Take the first two blocks of your layout and place them right sides together. Pin the edges to secure them, ensuring the seam lines match. Sew along the pinned seam line with a 1/4-inch seam allowance. Repeat this process for the remaining blocks until the entire quilt top is sewn together.
- Pressing the seams: After sewing each seam, press the seam allowances either open or to one side, depending on your preference and the quilt pattern instructions. Pressing helps to set the seams and create a smooth and professional-looking quilt top.
- Checking accuracy: As you sew the blocks together, double-check that the seam intersections match up and the blocks align correctly. Make any necessary adjustments to ensure your quilt top is straight and aligned.
Taking the time to arrange and sew your quilt blocks with care and precision will result in a visually appealing and well-constructed quilt top. With the quilt top assembled, you’re one step closer to completing your quilt. The next step is adding borders and sashing to enhance the overall design.
Step 6: Adding Borders and Sashing
Adding borders and sashing to your quilt top not only enhances its design but also provides structure and a finished look. This step focuses on measuring and cutting the borders and sashing strips and attaching them to the quilt top.
Measuring and cutting the borders and sashing strips: Proper measurement and precision are essential when adding borders and sashing to your quilt top. Follow these steps:
- Borders: Measure the length of each side of your quilt top, including any existing borders. Cut fabric strips to match the measured lengths, adding an additional 1/2 inch for seam allowances. The width of the border strip is a matter of personal preference, but typically ranges from 2 to 6 inches.
- Sashing: Measure the width between each block and the length of columns or rows that require sashing. Cut fabric strips to match the measured lengths, adding an additional 1/2 inch for seam allowances. The width of the sashing strip is also a matter of personal preference, but it is commonly between 1 and 3 inches.
Attaching the borders and sashing to the quilt top: Now that you have the appropriately cut border and sashing strips, it’s time to attach them to the quilt top. Follow these steps:
- Borders: Start by pinning the borders to the quilt top, right sides together. Pin at the corners first, then distribute the strip evenly along the corresponding side. Sew the border strip to the quilt top using a 1/4-inch seam allowance. Repeat this process for the remaining borders.
- Sashing: Align the sashing strip with the blocks, right sides together, and pin in place. Sew the sashing strip to the blocks using a 1/4-inch seam allowance. Repeat this process for all the necessary sashing strips.
- Pressing: After sewing, press the seam allowances either toward the border or away from the sashing. This will help achieve a flat and smooth finish.
Ensure that your borders and sashing are straight and aligned with the edges of the quilt top. Taking care in measuring, cutting, and attaching these elements will result in a visually appealing and well-balanced quilt top. With the borders and sashing in place, you’re ready for the next step: quilting the layers together.
Step 7: Quilting the Layers
Quilting the layers of your quilt brings together the top, batting, and backing to create a cohesive and durable finished piece. This step involves choosing the quilting technique, basting the layers together, quilting, and ultimately finishing the quilt.
Choosing the quilting technique: There are various quilting techniques to choose from, each offering its unique look and texture. Consider the following options:
- Hand quilting: Hand quilting involves stitching the layers together using a needle and thread. It provides a traditional and handmade look to the quilt.
- Machine quilting: Machine quilting is done using a sewing machine and allows for precise and intricate designs. It is faster and requires less time compared to hand quilting.
- Free-motion quilting: Free-motion quilting involves using a sewing machine with the ability to lower or disengage the feed dogs. This technique allows you to move the fabric freely in any direction, enabling you to create complex and artistic designs.
Basting, quilting, and finishing the quilt: Once you have chosen your quilting technique, follow these steps to complete the process:
- Basting: Basting secures the layers of the quilt together, preventing them from shifting during the quilting process. You can baste using safety pins, basting spray, or thread. Choose the method that works best for you.
- Quilting: Using your chosen method, quilt the layers together. Whether hand quilting, machine quilting, or free-motion quilting, take your time and work methodically. Begin from the center and gradually work your way outwards.
- Finishing: After you have quilted the layers together, trim any excess batting and backing fabric. Create the quilt’s outer edge by adding binding strips to enclose the raw edges. Sew the binding in place, either by hand or using a sewing machine, to finish the quilt.
Remember to take breaks when necessary and enjoy the process of quilting. Each stitch adds character and brings your quilt to life. The quilting technique you choose will help showcase your creativity and personal style. With the layers quilted and the binding applied, your quilt is nearly complete.
Now, let’s move on to the final step: binding the quilt.
Step 8: Binding the Quilt
The final step in completing your quilt is binding, which provides a clean, finished edge and helps to hold the layers of the quilt together. This step involves making and attaching the binding strips and finishing the edges of the quilt.
Making and attaching the binding strips: The binding strips are long strips of fabric that encase the raw edges of the quilt. Here’s how to make and attach them:
- Cutting the fabric: Cut fabric strips for the binding, ensuring the width is between 2 and 3 inches. Calculate the total length needed by measuring the perimeter of your quilt and adding a few extra inches for joining the strips together.
- Joining the strips: If necessary, sew together shorter binding strips on the diagonal to create a continuous strip. Press the seam allowances open for a flatter finish.
- Attaching the binding: Start attaching the binding to the backside of the quilt, leaving a few inches of binding loose at the beginning. Align the raw edge of the binding with the raw edge of the quilt. Sew with a 1/4-inch seam allowance, mitering the corners as you go.
- Turning and finishing: Once the binding is sewn to the backside of the quilt, gently fold it over to the front side. Press the fold and hand-stitch or use a decorative machine stitch to secure the binding in place. Take care to miter the corners neatly for a polished finish.
Finishing the edges of the quilt: With the binding sewn and turned, it’s time to finish the edges of the quilt. Here are some final touches:
- Pressing: After attaching and finishing the binding, press the quilt to ensure it lays flat and any wrinkles or creases are removed.
- Trimming: Carefully trim any excess batting or fabric threads sticking out along the edges of the quilt to achieve a clean and professional appearance.
- Labeling: Consider labeling your quilt with a personalized tag that includes your name, the year, and any other relevant information. This adds a special touch and serves as a reminder of the love and effort put into creating the quilt.
With the binding attached and the edges finished, your quilt is complete! Take a moment to admire your creation and celebrate the accomplishment of bringing your unique quilt pattern to life!
Congratulations on completing all the steps in creating your quilt. The journey from choosing the fabric to adding the final binding has been a rewarding process. Your quilt is now ready to be cherished, used, and admired for years to come.
Read more: How To Make A Quilt Pattern From A Picture
Conclusion
Congratulations on completing your quilt! The process of designing and creating your own quilt pattern is a fulfilling and rewarding endeavor. By following the steps outlined in this guide, you have learned how to gather materials, design your pattern, cut fabric, piece it together, add borders and sashing, quilt the layers, and finish the edges with binding.
Quilting is a beautiful art form that allows you to express your creativity and create something truly unique. Each quilt tells a story and holds a special place in the hearts of those who make and receive them. Whether you quilt for personal enjoyment or for gifting purposes, the effort and love put into each stitch are evident.
Remember, there are endless possibilities when it comes to quilt patterns and designs. The techniques and tips shared in this article are meant to serve as a starting point for your quilting journey. Don’t be afraid to experiment, try new techniques, and let your creativity soar.
As you continue on your quilting adventure, you may discover new inspirations, develop your own style, and refine your skills. Embrace the learning process and enjoy the satisfaction that comes from creating something beautiful and meaningful with your own hands.
Whether you are a beginner or an experienced quilter, the joy of quilting lies in the journey itself. From the careful selection of fabrics to the final stitch of the binding, each step contributes to the creation of a unique and cherished quilt.
So, gather your materials, let your imagination guide you, and start designing your next quilt pattern. Remember, the possibilities are endless, and the only limit is your creativity. Happy quilting!
Frequently Asked Questions about How To Make Quilt Patterns
Was this page helpful?
At Storables.com, we guarantee accurate and reliable information. Our content, validated by Expert Board Contributors, is crafted following stringent Editorial Policies. We're committed to providing you with well-researched, expert-backed insights for all your informational needs.



0 thoughts on “How To Make Quilt Patterns”