Home>Articles>How To Get A Strong Scent Throw In Soy Candles
Articles
How To Get A Strong Scent Throw In Soy Candles
Modified: January 9, 2024
Discover the best articles on how to achieve a strong scent throw in soy candles, including tips, techniques, and expert advice. Boost the fragrance of your homemade soy candles with our comprehensive guides.
(Many of the links in this article redirect to a specific reviewed product. Your purchase of these products through affiliate links helps to generate commission for Storables.com, at no extra cost. Learn more)
Introduction
Creating handmade soy candles is not only a rewarding hobby but also a growing business for many candle enthusiasts. One of the key aspects of a successful soy candle is achieving a strong scent throw. The scent throw refers to the ability of the candle to release its fragrance into the surrounding environment, creating a pleasant and inviting atmosphere.
However, getting a strong scent throw in soy candles can be a bit challenging, especially for beginners. It requires a combination of choosing the right materials, the proper techniques, and understanding the science behind fragrance diffusion. In this article, we will explore various factors that can influence the scent throw of soy candles and provide practical tips on how to improve it.
So, whether you are a hobbyist looking to create beautifully scented candles for personal use or a small business owner aiming to deliver high-quality products to your customers, read on to learn how to get a strong scent throw in your soy candles.
Key Takeaways:
- 1. Achieving a strong scent throw in soy candles requires selecting the right materials, understanding fragrance diffusion, and proper techniques. It’s a rewarding craft that fills spaces with captivating aromas.
- 2. Troubleshooting scent throw issues involves adjusting fragrance dosage, oil quality, wick size, and curing time. With patience and experimentation, you can consistently produce delightful and inviting soy candles.
Read more: Why Are Soy Candles Better
Understanding Scent Throw
Before diving into the techniques to achieve a strong scent throw in soy candles, it’s crucial to understand the science behind scent diffusion. Scent throw is influenced by several factors, including the type of wax, the wick used, the quality and quantity of fragrance oil, and the curing process.
One of the first factors to consider is the type of wax. Soy wax is known for its excellent scent throw because it has a lower melting point compared to other waxes. This lower melting point allows the fragrance oils to be released more easily as the candle burns, resulting in a stronger and more noticeable scent. Soy wax also has a natural ability to hold and retain fragrance, making it an ideal choice for scented candles.
The wick used in the candle also plays a crucial role in scent throw. A wick that is too small may not generate enough heat to adequately melt the surrounding wax, resulting in a poor scent throw. On the other hand, a wick that is too large can cause excessive heat, leading to the fragrance oil burning off too quickly and reducing the overall scent throw. It is essential to choose the right wick size based on the diameter of your candle and the specific characteristics of the fragrance oil being used.
The quality and quantity of the fragrance oil used in the candle also impact scent throw. Investing in high-quality fragrance oils that are specifically formulated for use in candles can significantly enhance the scent throw. Different fragrance oils have different strengths, so it’s important to carefully follow the recommended dosage guidelines provided by the supplier or manufacturer. Adding too much fragrance oil can actually impede the scent throw by overwhelming the candle, resulting in a cloying or unpleasant smell.
Lastly, the curing process also affects the scent throw of soy candles. Curing refers to the time it takes for the fragrance to fully bind with the wax and reach its maximum potential scent throw. It is recommended to allow soy candles to cure for at least one to two weeks before burning them. During this time, the fragrance will continue to develop, resulting in a stronger and more consistent scent throw.
By understanding these factors and how they interact with each other, you will be better equipped to fine-tune your candle-making process and achieve a strong scent throw in your soy candles. In the next sections, we will delve into more specific techniques and tips to help you along the way.
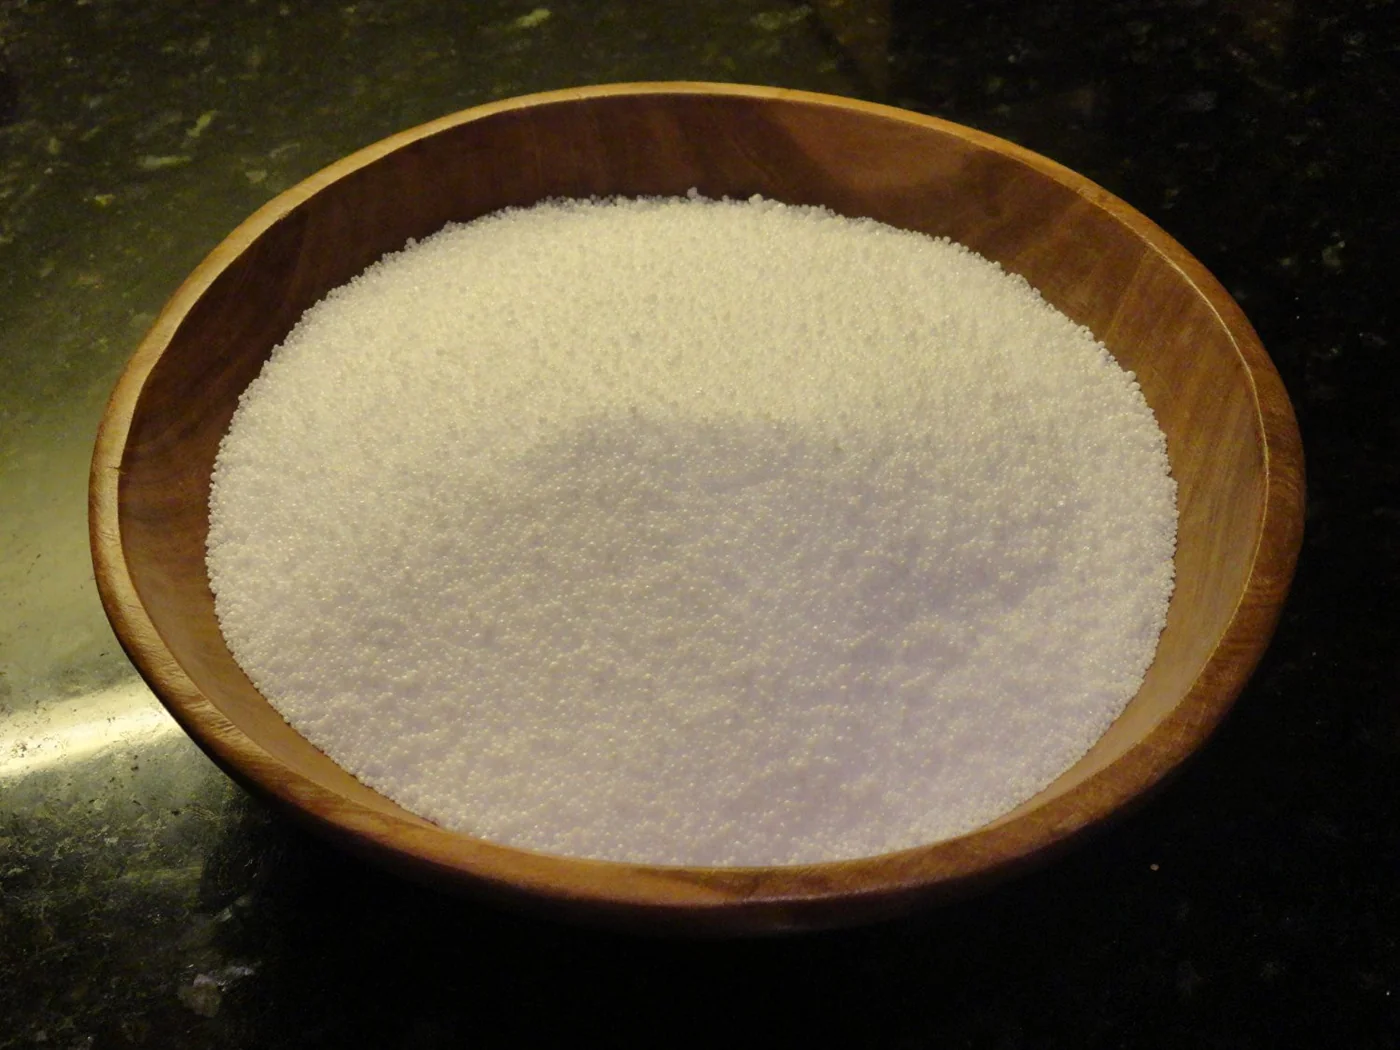
Choosing the Right Soy Wax
When it comes to obtaining a strong scent throw in soy candles, selecting the right type of soy wax is crucial. There are various types of soy waxes available on the market, each with its own characteristics and performance.
One important factor to consider is the melting point of the soy wax. Lower melting point waxes tend to have better scent throw because they allow the fragrance oils to evaporate and disperse more easily. Look for soy waxes that have a melting point around 120-125°F (49-52°C). These waxes will blend well with the fragrance oils and enhance the overall scent throw of your candles.
Another factor to consider is the purity of the soy wax. Look for waxes made from 100% soybean oil, without any additives or blends. Pure soy wax tends to have better scent throw and a cleaner burn compared to waxes that contain additives. It is also important to ensure that the soy wax you choose is specifically designed for candle making.
Additionally, take into account the appearance and texture of the soy wax. Some waxes may have a creamy or smooth texture, while others may have a more crystalline or frosted appearance. The texture of the wax can impact how well it holds and releases fragrance. Experiment with different types of soy waxes to find the one that best suits your preferences and desired scent throw.
Lastly, consider the sustainability and source of the soy wax. Look for waxes that are made from renewable resources and produced using environmentally friendly practices. This ensures that your candle-making process aligns with your values while also delivering a strong scent throw in your soy candles.
By carefully selecting the right soy wax for your candles, you set a solid foundation for achieving a strong scent throw. The wax acts as the carrier for the fragrance oils and plays a significant role in how well the scent is released into the surrounding environment. Take your time to research and experiment with different soy waxes to find the one that best suits your needs.
Selecting the Appropriate Wick
Choosing the right wick is essential for achieving a strong scent throw in your soy candles. The wick plays a crucial role in how the fragrance oils are dispersed and released into the surrounding air as the candle burns.
One of the key considerations when selecting a wick is its size. The size of the wick is determined by the diameter of your candle. A wick that is too small may not generate enough heat to properly melt the surrounding wax, resulting in a poor scent throw. On the other hand, a wick that is too large can cause excessive heat, leading to the fragrance oil burning off too quickly and reducing the overall scent throw.
There are various wick charts available that provide recommendations for wick sizes based on candle diameter. These charts take into account factors such as wax type, container size, and specific fragrance oils. It is essential to consult these charts to determine the appropriate wick size for your candles.
In addition to size, consider the material of the wick. Cotton wicks are a popular choice for soy candles as they have excellent burn characteristics and a good scent throw. They are known for their clean and consistent flame, which helps in the efficient release of fragrance oils. Cotton wicks also tend to be self-trimming, meaning they require minimal maintenance during burning.
When selecting the appropriate wick for your soy candles, also consider the burn time. The burn time refers to the length of time the candle can burn before it is extinguished. Some wicks are designed for short burn times, while others are suitable for longer burn times. Choosing a wick that aligns with your desired burn time will help ensure a consistent and steady scent throw throughout the life of the candle.
Lastly, consider testing different wick options before settling on the final choice. Conducting burn tests with different wicks can provide valuable insights into their performance in terms of scent throw, flame stability, and burn rate. This experimentation will allow you to fine-tune your candle-making process and select the perfect wick for optimal scent throw.
Remember, selecting the appropriate wick is not a one-size-fits-all approach. It requires careful consideration of factors such as size, material, burn time, and conducting tests to determine the best fit for your specific candle-making process.
Fragrance Oil Selection and Dosage
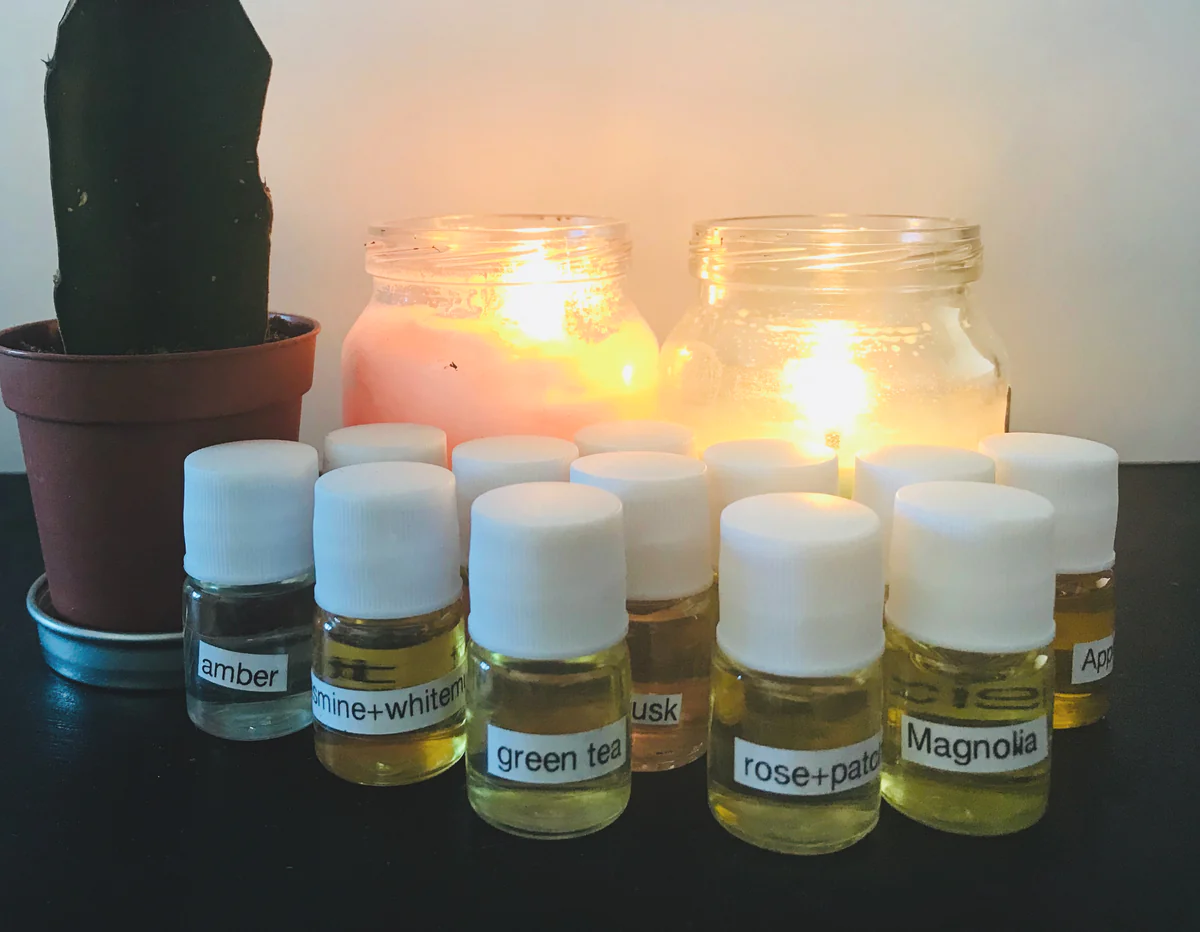
Choosing the right fragrance oil and properly dosing it in your soy candles is essential for achieving a strong and well-balanced scent throw. The fragrance oil is what provides the aromatic experience and sets the mood for your candles.
When selecting fragrance oils, it’s important to choose high-quality oils specifically formulated for candle making. These oils are designed to perform well in wax and have been tested for their scent throw and compatibility with soy wax.
Consider the characteristics of the fragrance oil when selecting scents. Some fragrance oils are naturally stronger and have a more potent scent throw, while others may be more subtle. It’s important to understand the strength of the fragrance oil you’re working with to ensure the desired scent throw in your candles.
Each fragrance oil will have its own recommended dosage guidelines provided by the supplier or manufacturer. It’s crucial to follow these guidelines carefully to achieve the optimal scent throw. Adding too little fragrance oil may result in a weak scent throw, while adding too much can overpower the candle and lead to a less pleasant aroma.
As a general guideline, a fragrance load of 6-10% is typically recommended for soy candles. This means that for every pound of wax, you would use 1.9 – 3.8 ounces of fragrance oil. However, it’s important to note that different fragrance oils may have different recommended dosages, so always refer to the specific guidelines provided by the supplier.
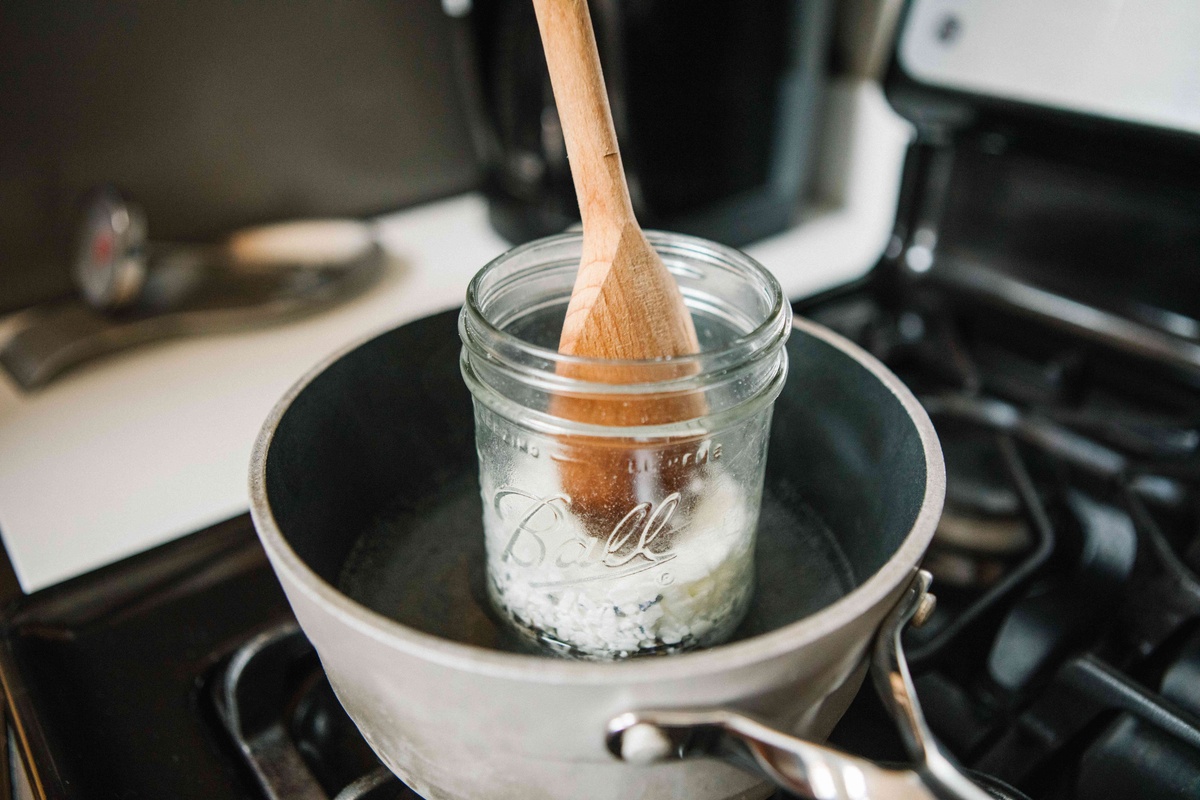
When measuring and adding the fragrance oil to your wax, ensure accuracy and consistency. Using a digital scale to weigh the fragrance oil will provide the most precise measurements. Remember to add the fragrance oil at the recommended temperature, usually around 185-195°F (85-91°C), as this allows for proper mixing and diffusion.
Additionally, it’s important to properly blend or “melt” the fragrance oil into the wax. Ensure the fragrance oil is thoroughly incorporated by stirring gently and continuously for a few minutes. This will help facilitate the binding of the fragrance molecules with the soy wax and enhance the scent throw.
By selecting high-quality fragrance oils and properly dosing them in your soy candles, you can achieve a strong and captivating scent throw. Remember to follow the recommended guidelines and pay attention to fragrance characteristics to create a delightful aromatic experience in your candles.
To get a strong scent throw in soy candles, use high-quality fragrance oils specifically designed for soy wax, and ensure the proper ratio of fragrance to wax. Also, allow the candle to cure for at least a week before burning for optimal scent throw.
Read more: How To Make Scents For Candles
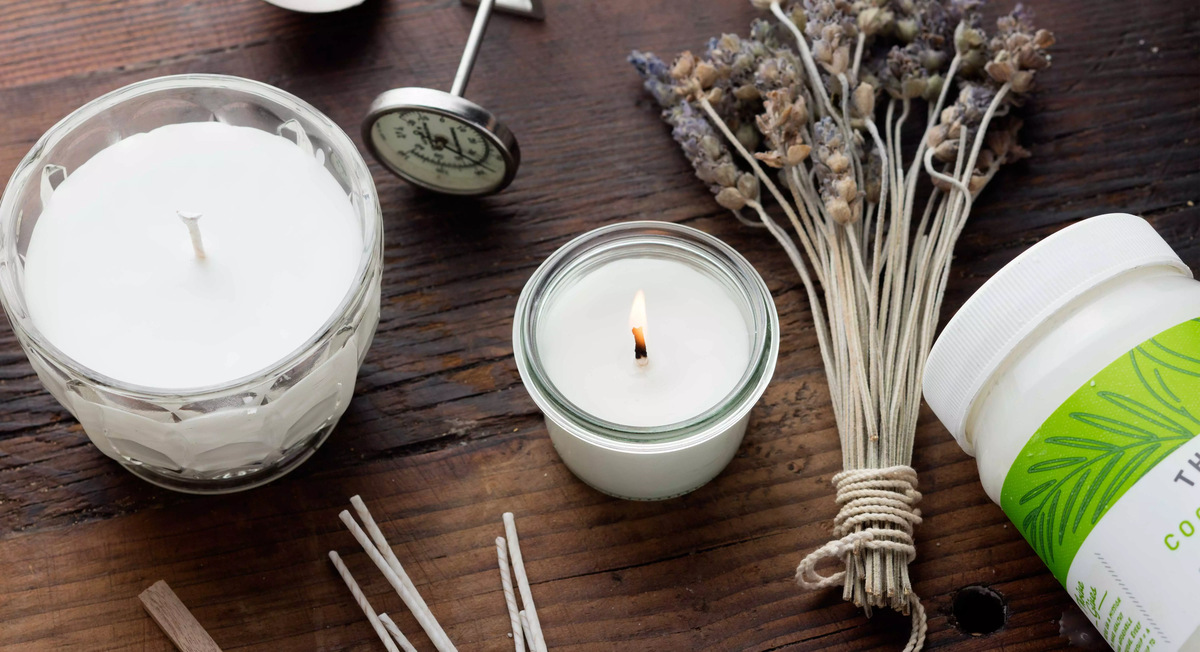
Preparing and Pouring the Candle
The process of preparing and pouring your soy candles plays a crucial role in achieving a strong scent throw. Proper techniques and attention to detail during this stage can enhance the overall quality and performance of your candles.
First, ensure that you have a clean and organized workspace. This will help you work efficiently and minimize any potential contamination or issues during the candle-making process.
Next, gather all the necessary materials and equipment. This includes your melted soy wax, fragrance oil, wicks, containers, a pouring pitcher, a thermometer, and any additional tools needed for the specific candle-making technique you are using.
Before pouring your wax, it’s important to preheat your containers. This helps to improve adhesion and prevents the formation of air pockets between the container and the wax. Place your containers on a heat-resistant surface and use a heat gun or a hairdryer on low heat to warm the containers for a few seconds.
Ensure that your melted soy wax is at the proper temperature for pouring. The recommended temperature for pouring soy wax is usually around 135-145°F (57-63°C). This temperature allows the wax to remain fluid while minimizing the evaporation of the fragrance oil.
When adding the fragrance oil to the melted wax, follow the recommended dosage guidelines provided by the supplier or manufacturer. Stir gently and continuously to ensure proper dispersion of the fragrance oil throughout the wax.
Now it’s time to pour the wax into the preheated containers. Slowly and carefully pour the wax, ensuring that the wick stays centered. Leave a small amount of space at the top of the container to allow for proper cooling and contraction of the wax.
After pouring, it’s important to keep the candles undisturbed and allow them to cool and solidify at room temperature. Avoid moving or touching the candles until they have completely hardened. This helps to prevent any disturbances that could affect the scent throw or create uneven surfaces in the candles.
As the candles cool and solidify, they may develop sinkholes or depressions in the center. If this occurs, you can use a skewer or a hot wax tool to create small holes in the center of the candles. This technique, known as “topping up,” allows you to fill in the sinkholes with additional melted wax to achieve a smooth and even surface.
By following these steps for preparing and pouring your soy candles, you can ensure a consistent and well-performing product. Taking the time to properly heat and prepare your containers, mix the fragrance oil, and pour the wax will contribute to a strong scent throw and overall quality in your finished candles.
Curing and Storage
After pouring your soy candles, it’s important to allow them to go through a process called curing. Curing refers to the time it takes for the fragrance to fully bind with the wax and reach its maximum scent throw. This step is crucial for achieving a strong and consistent fragrance in your candles.
The recommended curing time for soy candles is typically between one to two weeks. During this time, the fragrance oils will continue to develop and blend with the soy wax, resulting in a more powerful and balanced scent throw. It’s important to be patient and resist the urge to burn the candles immediately after pouring to allow for optimal curing.
When curing your candles, it is recommended to place them in a cool, dry, and well-ventilated area. Avoid exposure to direct sunlight or extreme temperatures, as these can affect the quality and scent throw of the candles. Allow for adequate air circulation to prevent any potential scent contamination between different candles.
Proper storage of cured candles is also essential for maintaining their scent throw and overall quality. Store your soy candles in a cool and dark environment, away from any sources of heat or sunlight. Excessive heat can cause the candles to melt or lose their fragrance, while exposure to sunlight can discolor and fade the candles.
Use suitable containers or boxes to protect the candles from any potential damage or breakage during storage. Ensure that the containers are clean and free of any dust or debris before placing the candles inside.
If you have a larger inventory of soy candles, it’s important to rotate your stock to maintain freshness. By regularly using and replacing older candles, you ensure that your customers or personal use will always receive candles with a strong scent throw.
Remember to label and date your candles to keep track of their curing and storage time. This will help you ensure that you are using or selling candles within their optimal scent throw period.
By properly curing and storing your soy candles, you can maximize their scent throw and longevity. The curing process allows the fragrance oils to fully blend with the wax, resulting in a more potent and aromatic experience. Ensuring appropriate storage conditions maintains the quality and freshness of your candles for an extended period of time.
Proper Candle Care and Maintenance
To maintain a strong scent throw and ensure the longevity of your soy candles, proper care and maintenance are essential. By following a few simple guidelines, you can enjoy the full aromatic experience of your candles for an extended period of time.
Trimming the wick is one of the most important aspects of candle care. Before each burn, make sure to trim the wick to approximately ¼ inch (0.6 cm) in length. This helps to prevent excessive flickering, sooting, and mushrooming of the wick, which can affect the flame quality and scent throw. Trimming the wick also helps to control the burn rate and prolong the life of your candle.
Before lighting your soy candle, ensure that the surface of the wax is clean and free of any debris or excess wick trimmings. This helps to maintain a clean and even burn and prevents any potential for the scent throw to be compromised.
When lighting the candle, ensure that the flame is stable and centered. It’s recommended to use a long-reach lighter or matches to avoid getting too close to the flame with your fingers. This also helps to prevent any accidental damage to the wick or wax surface.
When burning your soy candle, it’s important to let the candle create a full melt pool. This means allowing the wax to completely liquefy to the edge of the container or container diameter. A full melt pool helps to release the fragrance oils more efficiently and ensures an even and consistent scent throw with each burn. Avoid extinguishing the candle before a full melt pool has been achieved, as this can result in tunneling and wasted wax.
It’s also important to follow proper burn time guidelines. For soy candles, it is recommended to burn them for no more than 4 hours at a time. Burning candles for longer periods may cause excessive heat and diminish the scent throw over time. Allow the candle to cool completely before relighting.
When extinguishing your soy candle, avoid blowing it out as this can release smoke and potentially affect the scent throw. Instead, use a snuffer or gently dip the wick into the melted wax and then reposition it upright. This helps to minimize smoke and preserves the fragrance for future burns.
Lastly, always remember to burn candles on a heat-resistant surface away from any flammable objects and out of reach of children and pets. Never leave a burning candle unattended and ensure that the candle is completely extinguished before leaving the room.
By following these proper candle care and maintenance practices, you can enjoy a strong and consistent scent throw from your soy candles. Regularly trimming the wick, achieving a full melt pool, and using them safely will extend the lifespan and maximize the aromatic experience of your candles.
Troubleshooting Scent Throw Issues
While you may take all the necessary measures to achieve a strong scent throw in your soy candles, you may still encounter some issues along the way. Understanding common scent throw problems and troubleshooting them can help you overcome any hurdles and improve the overall performance of your candles.
One common issue is a weak or subtle scent throw. If your candles are not emitting a strong fragrance, there could be several reasons behind this problem. First, check the recommended dosage guidelines for your fragrance oil and ensure that you are using the appropriate amount. Adding too little fragrance oil can result in a weak scent throw. Conversely, adding too much can overwhelm the wax and hinder the fragrance from properly dispersing.
Additionally, double-check the quality and potency of your fragrance oil. Inferior quality oils or ones that are not specifically formulated for soy candles may not perform as well in terms of scent throw. Consider trying different fragrance oils from reputable suppliers to see if that improves the scent throw of your candles.
The type and size of wick you are using can also affect the scent throw. If your wick is too small for the diameter of your candle, it may not generate enough heat to properly melt the wax and release the fragrance. Experimenting with different wick sizes and materials may help to improve the scent throw.
Furthermore, if your candles have been stored for an extended period of time, they may lose some of their scent potency. Soy candles are known to have a shelf life of around one to two years. Consider making candles in smaller batches or rotating your stock to ensure that you are always using fresh and fragrant candles.
In some cases, the problem may lie with the fragrance load in the wax. Increase the amount of fragrance oil within the recommended dosage guidelines to see if it improves the scent throw. However, be cautious not to exceed the safe usage limits of the fragrance oil, as this can lead to other issues such as candle tunneling or uneven burning.
Lastly, make sure you are allowing your candles enough time to cure before burning them. Curing allows the fragrance oils to fully bind with the wax and reach their maximum scent throw. Skipping or rushing the curing process may result in a weaker scent throw. Be patient and allow your candles to cure for the recommended period of time.
By troubleshooting scent throw issues and experimenting with different techniques and adjustments, you can overcome challenges and improve the fragrance performance of your soy candles. Remember that candle-making is a continual learning process, and through practice and persistence, you will achieve the desired scent throw in your candles.
Read more: How To Make Beeswax Scented Candles
Conclusion
Achieving a strong scent throw in soy candles is a combination of art, science, and attention to detail. By understanding the factors that influence scent throw, choosing the right materials, and following proper techniques, you can create candles that fill the air with captivating aromas.
Start by selecting the appropriate soy wax with a lower melting point, as this allows for better fragrance diffusion. Choose a wick size that matches the diameter of your candle to ensure efficient heat distribution and proper melting of the wax. Pay attention to the quality and dosage of the fragrance oil, following the recommended guidelines to achieve a balanced and powerful scent throw.
Take care during the candle-making process, ensuring that your containers are preheated, and the wax is poured at the appropriate temperature. Allow your candles ample time to cure so that the fragrance fully binds with the wax, maximizing the scent throw.
Proper candle care and maintenance, such as trimming the wick, achieving a full melt pool, and storing your candles correctly, will help maintain a strong scent throw and prolong the life of your candles.
In troubleshooting scent throw issues, consider factors such as fragrance dosage, fragrance oil quality, wick size, and curing time. Through experimentation and adjustments, you can overcome challenges and improve the overall scent performance of your candles.
Creating soy candles with a strong scent throw is a craft that requires patience, practice, and a willingness to learn and adapt. With time, you will refine your skills and develop your own techniques to consistently produce candles that delight the senses and create a warm and inviting atmosphere.
So, whether you are a candle enthusiast looking to enhance your hobby or a small business owner wanting to offer high-quality products, the journey to achieving a strong scent throw in your soy candles is both rewarding and exciting. Embrace the process, enjoy the art of candle-making, and let the captivating aromas of your creations fill the spaces they inhabit.
Frequently Asked Questions about How To Get A Strong Scent Throw In Soy Candles
Was this page helpful?
At Storables.com, we guarantee accurate and reliable information. Our content, validated by Expert Board Contributors, is crafted following stringent Editorial Policies. We're committed to providing you with well-researched, expert-backed insights for all your informational needs.