
Articles
How To Make Sprinkle Candles
Modified: August 27, 2024
Looking for articles on how to make sprinkle candles? Discover step-by-step instructions, tips, and ideas for creating beautifully decorated candles with colorful sprinkles.
(Many of the links in this article redirect to a specific reviewed product. Your purchase of these products through affiliate links helps to generate commission for Storables.com, at no extra cost. Learn more)
Introduction
Welcome to the wonderful world of sprinkle candles! If you’re looking to add a touch of whimsy and fun to your home decor or gift-giving, sprinkle candles are the perfect DIY project for you. These delightful candles not only provide a warm and inviting atmosphere, but also showcase your creativity and artistic flair.
In this article, we will guide you through the step-by-step process of making sprinkle candles. From preparing the candle to adding the fragrances and applying the sprinkles, we will cover everything you need to know to create your own sprinkle candle masterpiece.
Not only are sprinkle candles a great way to personalize your space, but they also make fantastic gifts for birthdays, holidays, and other special occasions. With just a few supplies and a little bit of time, you can craft a stunning candle that will brighten up any room or bring a smile to someone’s face.
So, let’s gather our supplies and get ready to embark on this creative journey of making sprinkle candles. Get ready to ignite your imagination and let your creativity shine!
Key Takeaways:
- Create personalized sprinkle candles to add whimsy and charm to your space or delight loved ones with thoughtful, handmade gifts. Unleash your creativity and infuse your home with warmth and joy!
- Transform ordinary candles into eye-catching decor pieces by crafting sprinkle candles. Choose your favorite colors, scents, and designs to reflect your unique style and elevate the ambiance of any room.
Read more: How To Store Sprinkles Cupcakes
Supplies Needed
Before we dive into making sprinkle candles, let’s gather all the supplies we’ll need for this DIY project. Don’t worry, the list is fairly simple and you may already have some of these items at home. Here’s what you’ll need:
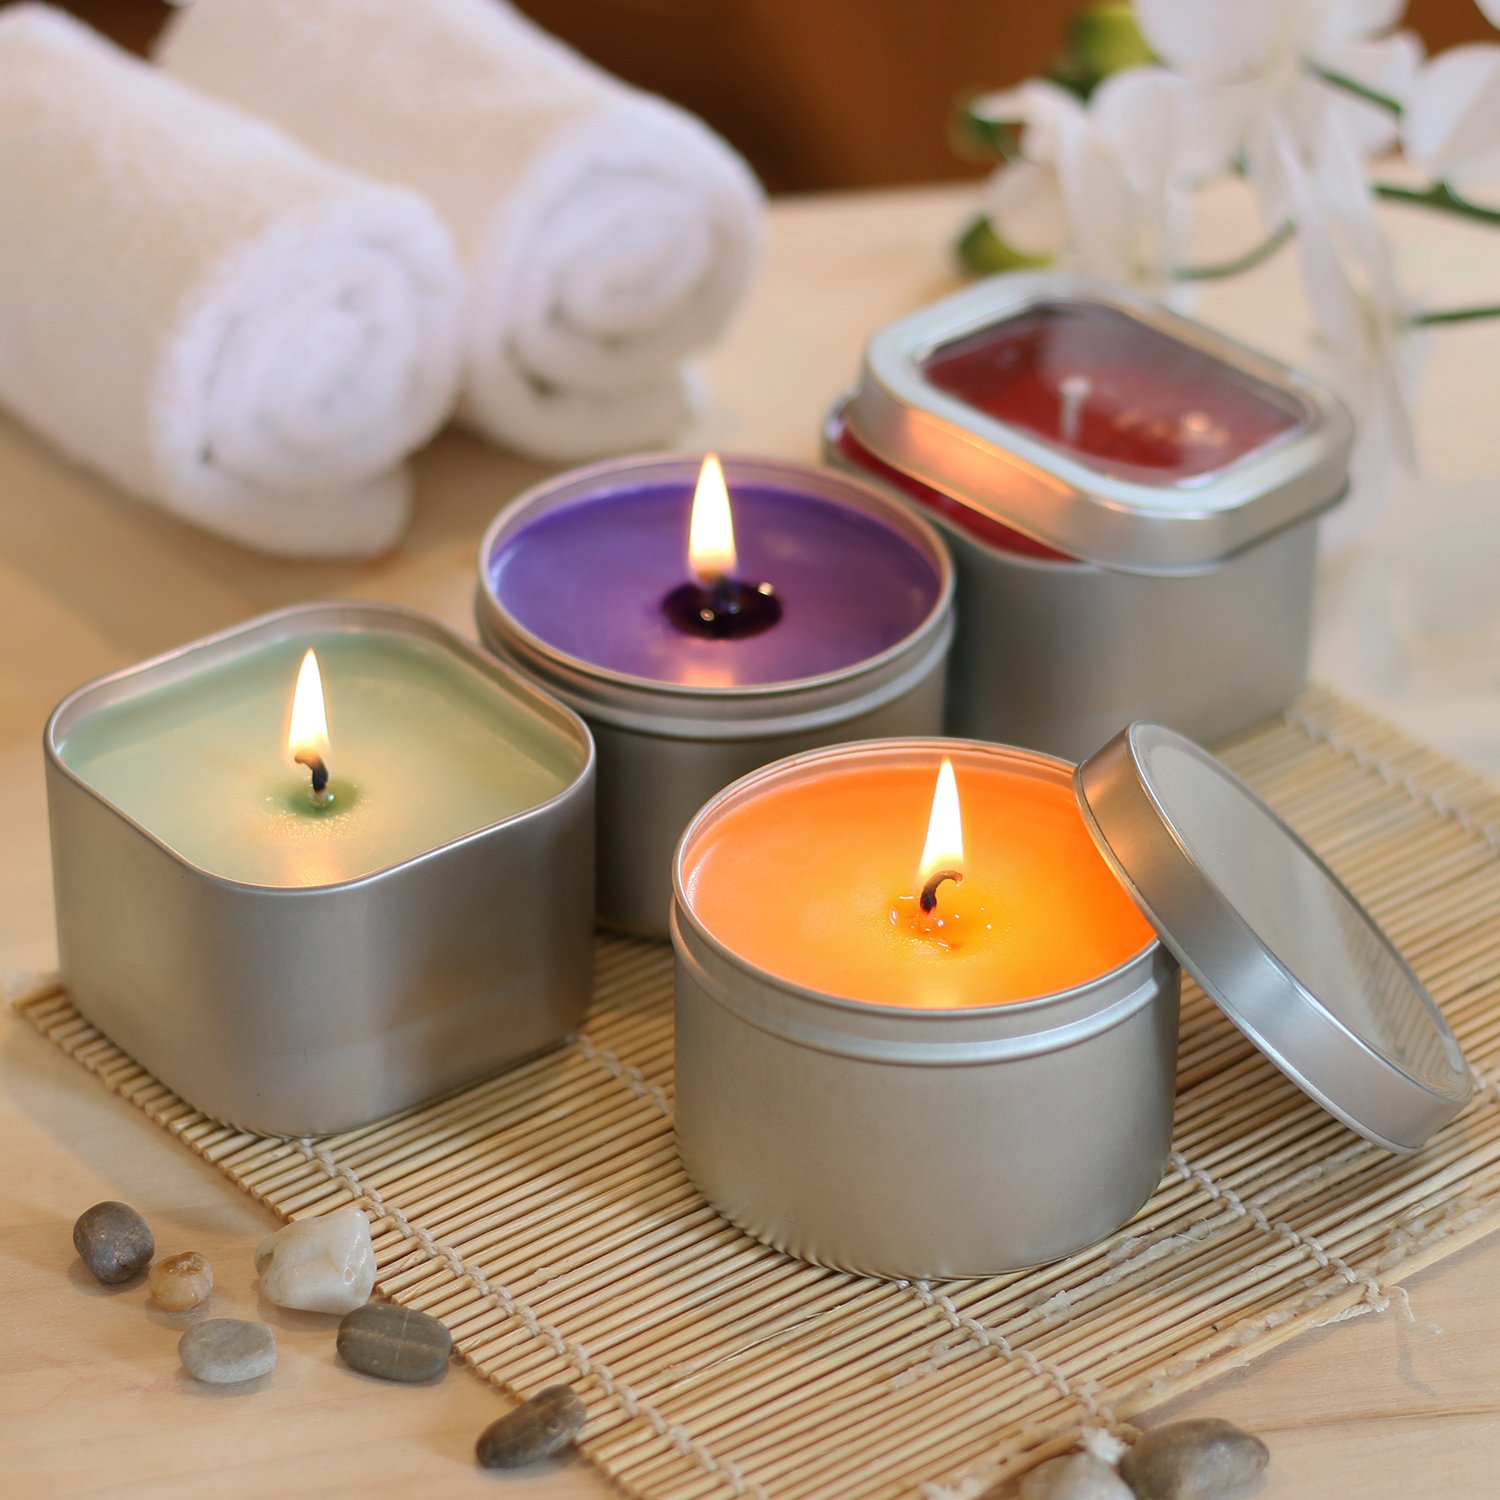
- A container or glass jar for your candle
- Wax flakes or pellets
- Candle wicks
- Fragrance oil or essential oil (optional)
- Sprinkles in various colors and shapes
- Double boiler or microwave-safe container for melting wax
- Heat-resistant spoon or stir stick
- Thermometer
- Hot glue gun or adhesive tabs
- Scissors
- Measuring cups or scale
These supplies are readily available at most craft stores or can be purchased online. You can get creative with the container for your candle, whether it’s a mason jar, a vintage teacup, or a simple glass container. Just make sure it’s heat-resistant and able to handle the melting wax.
For the sprinkles, you can choose any colors and shapes that spark joy for you. Think outside the box and consider using a combination of jimmies, nonpareils, or even shaped sprinkles to add extra charm to your candle.
Once you have gathered all the necessary supplies, we can move on to the exciting part of actually making the sprinkle candles. It’s time to get crafty!
Step 1: Preparing the Candle
Now that we have all the supplies ready, it’s time to prepare the container for our sprinkle candle. Here’s what you need to do:
- Clean the container: Ensure that the container you’ve chosen for your candle is clean and free of any dust or debris. This will help the candle adhere better to the surface.
- Secure the wick: Take your candle wick and secure it to the bottom of the container. You can use a small dot of hot glue or an adhesive tab to keep it in place. Make sure the wick is centered and stands upright.
- Optional: If you’d like to add a decorative element to the bottom of your candle, such as dried flowers or small trinkets, place them on top of the wick before securing it to the container.
By preparing the candle properly, we ensure that it will burn evenly and create a beautiful finished product. Once you’ve completed these steps, we can move on to the next exciting phase of making sprinkle candles. Get ready to melt some wax!
Step 2: Melting the Wax
Now that our container is prepared, it’s time to melt the wax. This is an important step in creating your sprinkle candle. Here’s how to do it:
- Measure the wax: Depending on the size of your container, measure out the appropriate amount of wax flakes or pellets. It’s best to follow the instructions provided with the wax to determine the right measurement.
- Melt the wax: There are two common methods for melting wax – using a double boiler or a microwave. If you choose to use a double boiler, fill the bottom pot with water and place it on the stovetop over low heat. Put the measured wax in the top pot and allow it to melt slowly. If you prefer the microwave method, place the measured wax in a microwave-safe container and heat it in short bursts, stirring in between, until fully melted.
- Monitor the temperature: While melting the wax, it’s important to monitor the temperature. Use a thermometer to ensure that the wax does not exceed its recommended melting point. This will help maintain the integrity and quality of the candle.
- Add fragrance (optional): If desired, you can enhance the aroma of your candle by adding fragrance oil or essential oil to the melted wax. Stir gently to incorporate the fragrance into the wax.
Take your time during this step to ensure that the wax is melted thoroughly and any added fragrance is evenly distributed. Once you have a smooth, melted wax, we can move on to the next step and start adding the sprinkles!
Step 3: Adding the Fragrance
Adding fragrance to your candle can elevate the sensory experience and create a delightful ambiance. Follow these steps to infuse your sprinkle candle with a lovely scent:
- Choose your fragrance: Select a fragrance oil or essential oil that appeals to your senses. Popular options include lavender, vanilla, citrus, or even unique scents like cinnamon or sea breeze. Be sure to use oils specifically meant for candle-making.
- Determine the amount: Refer to the instructions provided with the fragrance oil to determine the appropriate amount to add to your melted wax. It’s best to start with a small amount and adjust to your preference.
- Add the fragrance: Slowly pour the fragrance oil into the melted wax while stirring gently. This will help evenly distribute the scent throughout the candle.
- Stir well: Continue stirring the melted wax and fragrance to ensure that they are thoroughly blended. This will help the fragrance disperse evenly when the candle is lit.
Adding fragrance to your sprinkle candle is optional, but it can enhance the overall experience and create a personalized touch. The scent will linger in the air when the candle is lit, transforming your space into a fragrant oasis.
Once you’ve added the fragrance and stirred it into the wax, we can move on to the exciting process of applying the sprinkles!
Read more: How To Make A Heater With Candles
Step 4: Preparing the Sprinkles
Before we dive into applying the sprinkles, let’s take a moment to prepare them. This step ensures that the sprinkles are ready to be applied to the candle and adhere properly. Here’s what you need to do:
- Gather your sprinkles: Take out the sprinkles you’ve chosen for your candle. Make sure you have a variety of colors and shapes to create a visually appealing design.
- Spread them out: Pour the sprinkles onto a flat surface, such as a plate or a tray. This will make it easier to access and apply them to the candle.
- Optional: If you want to add a touch of sparkle to your candle, consider mixing in some glitter with the sprinkles. This will create a dazzling effect when the candle is lit.
Preparing the sprinkles ensures that you have them readily available and easy to work with when it’s time to apply them to the candle. Now that we’re all set with the sprinkles, let’s move on to the exciting step of applying them to our sprinkle candle creation!
When making sprinkle candles, ensure that the wax is fully melted before adding the sprinkles to prevent them from sinking to the bottom of the candle.
Step 5: Applying the Sprinkles
Now comes the fun and creative part – applying the sprinkles to your candle! This step allows you to unleash your imagination and design a unique pattern or arrangement. Follow these steps to apply the sprinkles effectively:
- Apply a layer of melted wax: Using a spoon or a stir stick, pour a thin layer of the melted wax onto the surface of the candle. This will act as an adhesive for the sprinkles.
- Sprinkle the sprinkles: Take a pinch of the sprinkles and gently sprinkle them onto the wax-covered surface of the candle. Be creative with your placement and design, mixing and matching colors and shapes to create a visually appealing pattern.
- Press down lightly: After sprinkling the desired amount of sprinkles, lightly press them down into the wax with your fingers or the back of a spoon. This will help them adhere better to the candle.
- Repeat the process: Continue applying thin layers of melted wax and sprinkles, working in sections, until the entire surface of the candle is covered. Take your time and enjoy the process of creating a unique sprinkle design!
Remember, there’s no right or wrong way to apply the sprinkles. Feel free to experiment with different patterns and color combinations to make your sprinkle candle truly one-of-a-kind. The more sprinkles you add, the more vibrant and textured your candle will become.
Once you’ve finished applying the sprinkles, allow the candle to set before moving on to the next step. The sprinkle design will become a beautiful focal point of your homemade candle, ready to light up any room!
Step 6: Allowing the Candle to Set
After applying the sprinkles to your candle, it’s important to allow it to properly set before moving on to the next steps. This ensures that the sprinkles adhere to the wax and the candle becomes solid. Here’s what you need to do:
- Patience is key: Resist the temptation to touch or move the candle immediately after applying the sprinkles. Allow it to sit undisturbed for at least a couple of hours to ensure the wax and sprinkles have time to bond.
- Find a safe spot: Place the candle in a cool and undisturbed area, away from direct sunlight or any heat source, to avoid melting or deforming the wax before it sets.
- Check for firmness: After a few hours, gently touch the surface of the candle to see if it feels solid and stable. If it still feels soft or tacky, give it some more time to set.
- Be patient: Depending on the type of wax used and the room temperature, it may take anywhere from 24 to 48 hours for the candle to fully set and harden.
Allowing the candle to set is crucial to ensure the longevity and stability of your sprinkle candle. It gives the wax and sprinkles time to bond together, creating a cohesive and beautiful finished product.
While you wait for the candle to set, you can occupy yourself with other activities or plan how you’ll showcase your handmade creation. Once the candle is completely set, we can move on to the final steps that will make it ready for use.
Step 7: Trimming the Wick
Now that your sprinkle candle is fully set and ready to be enjoyed, it’s important to trim the wick before lighting it. Trimming the wick helps ensure a clean and even burn, preventing excessive smoke and soot. Follow these steps to trim the wick properly:
- Inspect the wick: Examine the wick to make sure it is straight and centered in the candle. If needed, gently adjust its position using a pair of tweezers or your fingers.
- Measure the length: Use a ruler or a wick trimmer to measure approximately 1/4 inch (0.6 cm) above the surface of the candle. This length is ideal for a clean burn.
- Trim the wick: Using a pair of sharp scissors or a wick trimmer, carefully trim the excess wick, making a clean and straight cut. Dispose of the trimmed wick appropriately.
By trimming the wick, you are ensuring that it is at the optimal length for a safe and efficient burn. It allows the flame to stay controlled, minimizing any smoke or uneven burning that can occur with a longer wick.
Now that the wick is properly trimmed, your sprinkle candle is ready to be lit and fill your space with warmth and fragrance. Get ready to enjoy the cozy and inviting atmosphere created by your handmade masterpiece!
Read more: How To Make Candles With Herbs
Step 8: Enjoying Your Sprinkle Candle
Congratulations! You’ve successfully created a beautiful and unique sprinkle candle. Now it’s time to sit back, relax, and enjoy the cozy ambiance it brings to your space. Here are a few tips for getting the most out of your sprinkle candle:
- Choose the perfect spot: Find a suitable location in your home where you can showcase your sprinkle candle. It could be on a coffee table, mantle, or shelf, where it can be admired and enjoyed.
- Create a relaxing atmosphere: Light your sprinkle candle in the evening to create a soothing and calming atmosphere. Dim the lights, play soft music, and let the warm glow of the candle create a cozy ambiance.
- Practice candle safety: Always remember to follow proper candle safety precautions. Keep the candle away from flammable materials, children, and pets. Never leave a burning candle unattended.
- Experiment with different scents: If you enjoyed adding fragrance to your sprinkle candle, consider trying different scents to suit different moods or seasons. Get creative and explore a variety of aromas to enhance your space.
- Capture the moments: Take photos of your sprinkle candle in different settings and share them on social media or with friends. Spread the joy and inspiration of your handmade creation.
- Gift the sprinkle candle: If you have extra sprinkle candles or want to surprise someone special, consider giving them as gifts. Your handmade candle will be a thoughtful and unique present that will bring joy to the recipient.
Remember, each time you light your sprinkle candle, take a moment to appreciate the effort and creativity you put into making it. Enjoy the comforting glow and the delightful scent that fills the air, knowing that you have created a truly special piece of decor.
Thank you for joining us on this sprinkle candle-making journey. We hope you’ve had a blast crafting your own personalized candle. Now, sit back, relax, and revel in the enchanting ambiance of your sprinkle candle creation!
Conclusion
Creating sprinkle candles is not only a delightful DIY project but also a fantastic way to infuse your space with personality and charm. With just a few supplies and a touch of creativity, you can transform ordinary candles into eye-catching and whimsical decor pieces.
In this article, we’ve covered everything you need to know about making sprinkle candles, from preparing the candle and melting the wax to adding fragrances and applying the sprinkles. We’ve provided step-by-step instructions to guide you through the process and offered tips to enhance your sprinkle candle-making experience.
By crafting your own sprinkle candles, you have the freedom to choose your favorite colors, shapes, and scents, allowing you to create unique and personalized candles that reflect your style and taste. Whether you’re creating sprinkle candles for your own enjoyment or as thoughtful gifts for loved ones, the end result is sure to bring joy and warmth to any space.
Remember to exercise caution and practice candle safety to ensure that your sprinkle candles are enjoyed responsibly. Always trim the wick before lighting, keep the candles away from flammable materials, and never leave them unattended.
Now that you have the knowledge and inspiration to create your own sprinkle candles, it’s time to let your creativity shine. Gather your supplies, ignite your imagination, and have fun expressing your unique style through these charming and whimsical candles.
So go ahead, embrace your inner artist, and let the sprinkle candle-making adventure begin. Get ready to add a sprinkle of joy, warmth, and creativity to your life and space!
Frequently Asked Questions about How To Make Sprinkle Candles
Was this page helpful?
At Storables.com, we guarantee accurate and reliable information. Our content, validated by Expert Board Contributors, is crafted following stringent Editorial Policies. We're committed to providing you with well-researched, expert-backed insights for all your informational needs.


0 thoughts on “How To Make Sprinkle Candles”