Articles
How To Make Tapered Candles
Modified: December 7, 2023
Learn how to make beautiful tapered candles with our informative articles. Discover step-by-step guides, tips, and techniques for creating stunning candles.
(Many of the links in this article redirect to a specific reviewed product. Your purchase of these products through affiliate links helps to generate commission for Storables.com, at no extra cost. Learn more)
Introduction
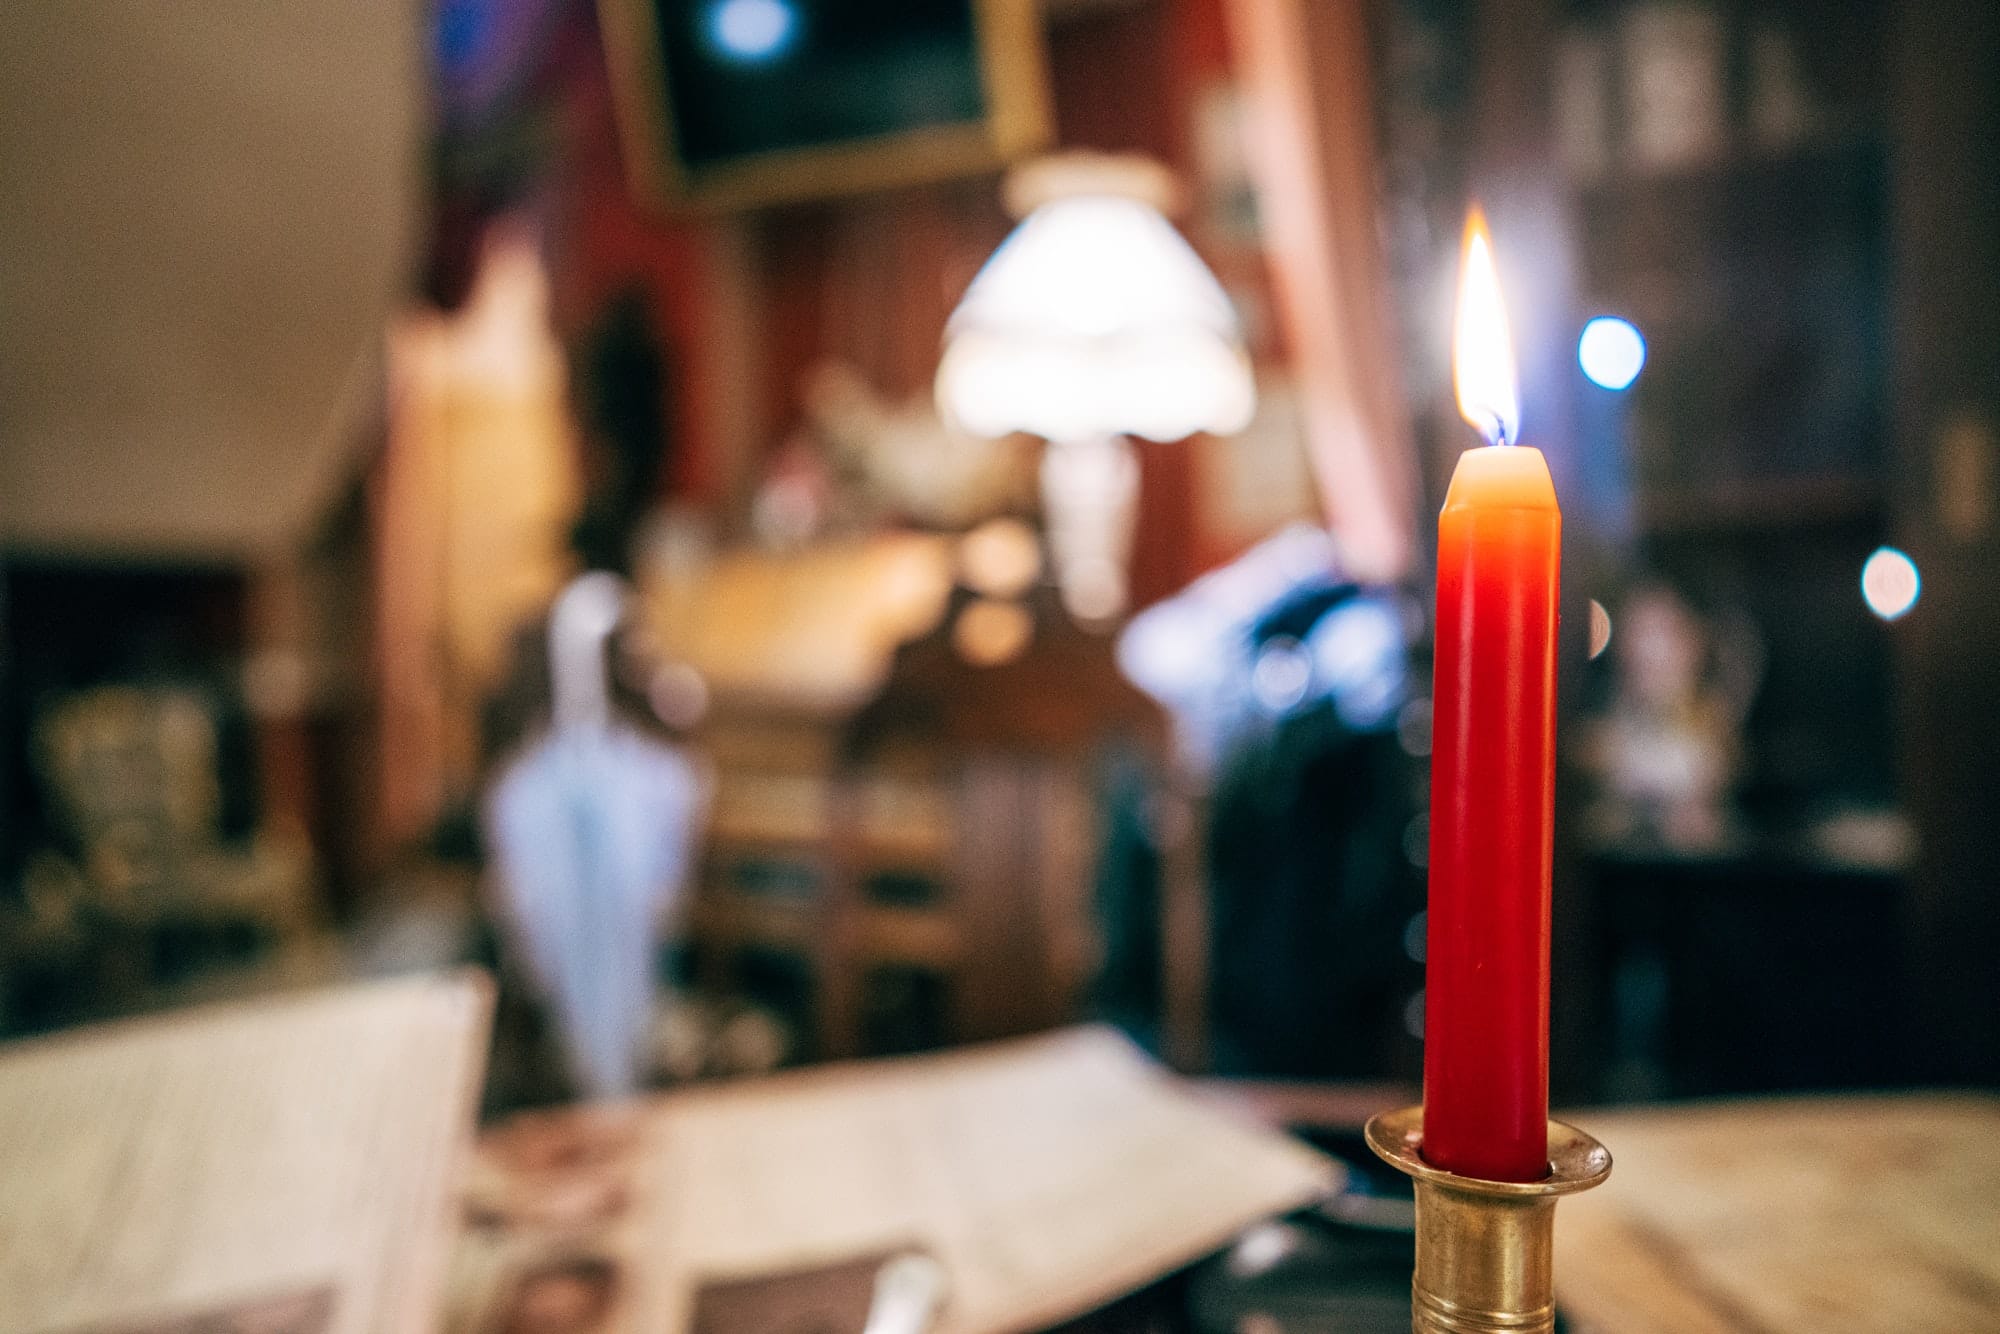
Welcome to the wonderful world of candle making! There’s something magical about the warm glow of a candle that can create a cozy and inviting atmosphere in any space. And while there are plenty of candles available for purchase, there’s nothing quite like the satisfaction of making your own.
In this article, we will guide you through the process of making your very own tapered candles. Tapered candles are elegant and timeless, with a slender shape that adds a touch of sophistication to any setting. Perfect for special occasions, dinner parties, or as a thoughtful gift, creating your own tapered candles allows you to personalize them to your liking.
Before we dive into the step-by-step process, let’s gather all the materials you’ll need to get started.
Key Takeaways:
- Create elegant and personalized tapered candles by following simple steps. Infuse creativity and style into your space with handmade candles, perfect for gifting or setting a cozy ambiance.
- Embrace the art of candle making and enjoy the satisfaction of crafting your own beautiful tapered candles. From preparation to decoration, unleash your creativity and elevate any setting with your unique creations.
Read more: What Are Tapered Candles
Materials Needed
To start making your tapered candles, you’ll need the following materials:
- Paraffin wax or soy wax
- Candle wicks
- Candle dye or color chips (optional)
- Fragrance oil (optional)
- Heat-resistant container for melting wax
- Double boiler or a heat-resistant container and a pot
- Thermometer
- Candle molds
- Wick tabs or adhesive
- Wax paper or aluminum foil
- Scissors or a wick trimmer
- Decorative materials (such as ribbons or dried flowers – optional)
Ensure you have all the materials ready before you begin the candle making process. This will help you stay organized and ensure a smooth and enjoyable experience.
Step 1: Preparing the Wax
The first step in making tapered candles is to prepare the wax. Whether you’re using paraffin wax or soy wax, it’s essential to melt it down to the right temperature for optimal results.
Here’s how you can prepare the wax:
- Measure the wax: Start by measuring out the amount of wax you’ll need based on the size of your candle mold. It’s advised to use a kitchen scale for accurate measurements.
- Set up a double boiler: Fill a large pot with water and place it on the stove. Then, place a heat-resistant container or a smaller pot inside the larger pot to create a double boiler. The water in the larger pot will heat the wax gently without direct heat.
- Add the wax: Place the measured wax into the heat-resistant container or smaller pot. The wax will begin to melt as the water in the larger pot heats up.
- Monitor the temperature: Insert a thermometer into the melting wax to ensure that it doesn’t exceed its melting point. For paraffin wax, the ideal temperature is typically between 160 to 180 degrees Fahrenheit (71 to 82 degrees Celsius), while soy wax usually melts around 120 to 150 degrees Fahrenheit (49 to 66 degrees Celsius).
- Stir occasionally: Stir the wax occasionally to promote even melting and prevent any hot spots.
Once the wax has reached the desired temperature, it’s ready for the next step of creating the tapered shape.
Step 2: Creating the Tapered Shape
Now that your wax is melted and at the appropriate temperature, it’s time to create the tapered shape of your candles. This step requires some precision and attention to detail.
Follow these steps to create the tapered shape:
- Prepare the mold: Ensure that your candle mold is clean and dry. If needed, lubricate the inside of the mold with a light coating of cooking spray or a mold release spray to aid in the easy removal of the finished candles.
- Pour the wax: Slowly and carefully pour the melted wax into the candle mold. Fill it up to the desired height, leaving some space at the top for the wick.
- Secure the wick: Before the wax sets, place your pre-tabbed wick in the center of the mold. Press the metal tab at the bottom of the wick firmly against the base of the mold to secure it in place. Ensure that the wick is straight and centered.
- Hold the mold at an angle: To create the tapered shape, hold the mold at a slight angle. This will allow the wax to set and solidify at an angle, giving your candle its characteristic shape.
- Allow the wax to cool and solidify: Let the wax cool and solidify completely. This process may take several hours, depending on the size of your candles and the temperature of your surroundings.
Once the wax has completely solidified, you are ready to move on to the next step of adding a wick.
Step 3: Adding a Wick
Now that your candles have taken shape, it’s time to add the wick. The wick is essential for providing a steady and consistent flame when you light your candles.
Follow these steps to add the wick:
- Prepare the wick: Trim the wick to a suitable length, leaving about 1/4 inch (0.6 cm) above the wax surface. This will allow for proper burning and prevent excessive smoke or soot.
- Attach the wick: Place a small amount of wax adhesive or a wick tab at the base of the wick and press it firmly onto the center of the candle’s bottom surface. Ensure that the wick is straight and centered.
- Let it set: Allow the adhesive to dry and set, ensuring that the wick is securely attached to the candle.
Adding the wick completes the basic structure of your tapered candles. Next, we’ll move on to drying and trimming the candles.
When making tapered candles, ensure that the wax is at the right temperature before pouring to achieve a smooth and even taper.
Read also: 13 Amazing Tapered Candles for 2025
Step 4: Drying and Trimming the Candles
After adding the wick, it’s time to let your tapered candles dry and solidify completely. This step ensures that the candles maintain their shape and integrity.
Follow these steps to dry and trim the candles:
- Patience is key: Place the candles in a cool and dry location where they can remain undisturbed. Allow them to dry and solidify for at least 24 hours, or until they are completely firm to the touch.
- Trim the wick: Once the candles are fully dried, trim the wick to a suitable length, typically around 1/4 inch (0.6 cm).
- Remove the candles from the mold: Carefully remove the tapered candles from the mold. If needed, gently tap the mold or use a candle release spray to aid in the removal process.
- Inspect and clean up: Inspect the candles for any imperfections or rough edges. Smooth out any irregularities using a warm knife or a candle smoother. Alternatively, you can use sandpaper or a small file for more precise adjustments.
By following these steps, your tapered candles will be dried, trimmed, and ready for use or further decoration.
Step 5: Decorating the Candles (Optional)
Once you have your beautifully crafted tapered candles, you may choose to add some decorative elements to personalize them or match them to a specific theme or occasion. Decorating your candles can add an extra touch of creativity and charm.
Here are some optional decoration ideas:
- Ribbons and bows: Wrap a colorful ribbon or tie a bow around the base or midpoint of the tapered candles. This adds a whimsical or festive touch to the candles.
- Dried flowers or herbs: Press dried flowers or herbs onto the surface of the tapered candles when they are partially set. This creates a natural and rustic look. Ensure that the decorations are pressed firmly into the wax.
- Embedded objects: Before pouring the melted wax into the mold, consider adding small objects such as seashells, beads, or glitter. Place these objects at the bottom of the mold and pour the wax over them. As the candle burns, the objects will be revealed, creating a unique and eye-catching effect.
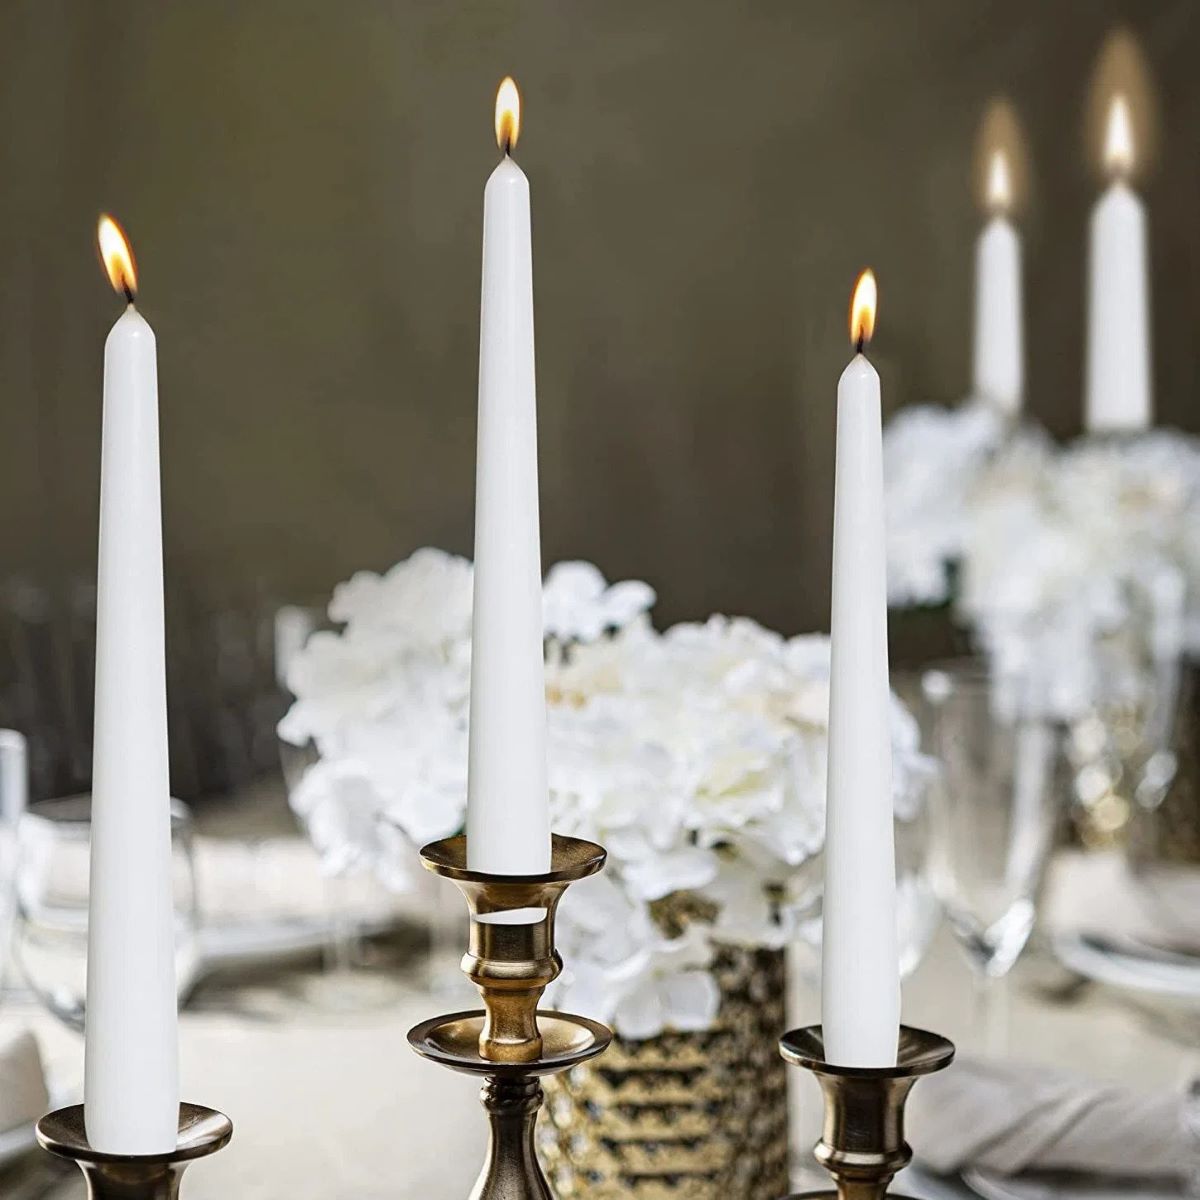
- Candle holders: Place the tapered candles in elegant candle holders or candlesticks. This not only enhances their appearance but also acts as a practical and safe way to display and burn the candles.
Remember to be mindful of safety when adding decorative elements to your candles. Ensure that the decorations are non-flammable and securely attached to the surface of the candles.
With these decorative touches, your tapered candles will truly shine and become a centerpiece of beauty and charm.
Step 6: Storing and Using the Candles
After creating and decorating your tapered candles, it’s essential to store them properly to maintain their quality and prolong their shelf life. Additionally, knowing how to properly use and care for your candles ensures a safe and enjoyable experience.
Follow these guidelines for storing and using your tapered candles:
- Store in a cool, dry place: To prevent the candles from melting or warping, store them in a cool and dry location away from direct sunlight or heat sources.
- Avoid extreme temperatures: Do not expose your candles to extreme temperatures, as this can cause them to become brittle or deform. Keep them away from heaters, fireplaces, or any other sources of heat.
- Trim the wick before each use: Before lighting your tapered candles, always trim the wick to about 1/4 inch (0.6 cm) to ensure optimal burning and reduce the risk of excess smoke or soot.
- Place on a heat-resistant surface: When burning your tapered candles, ensure they are placed on a heat-resistant surface. This helps protect your furniture or other surfaces from heat damage.
- Keep away from flammable materials: Ensure that your candles are kept away from curtains, paper, or any other flammable materials. Always burn them in a well-ventilated area.
- Never leave candles unattended: When burning your candles, never leave them unattended. Always extinguish them before leaving the room or going to bed.
- Enjoy the ambiance: Light your tapered candles and enjoy the warm and cozy atmosphere they create. Whether it’s for a romantic dinner, a relaxing bath, or simply to unwind after a long day, candles can enhance any setting.
By following these guidelines, you can safely store, use, and enjoy the beauty and ambiance of your handmade tapered candles.
Conclusion
Congratulations on successfully learning how to make your own tapered candles! By following the steps outlined in this article, you’ve acquired the skills to create beautiful and personalized candles that add an elegant touch to any space.
Candle making is not only a creative and satisfying craft but also a way to showcase your individual style and preferences. Whether you choose to make tapered candles for yourself or give them as gifts, the process allows you to infuse a personal touch into each candle you create.
Remember to always prioritize safety when working with candles. Follow the recommended guidelines for melting, pouring, and handling wax, and ensure you have a safe and well-ventilated workspace.
Now that you have the knowledge and techniques to make your own tapered candles, don’t be afraid to experiment with different colors, scents, and decorative elements. Let your creativity flow and see where it takes you!
So, gather your materials, set aside some time, and embark on the exciting journey of candle making. Enjoy the process, revel in the soothing glow of the finished candles, and take pride in knowing that you created something truly special with your own hands.
Happy candle making!
Frequently Asked Questions about How To Make Tapered Candles
Was this page helpful?
At Storables.com, we guarantee accurate and reliable information. Our content, validated by Expert Board Contributors, is crafted following stringent Editorial Policies. We're committed to providing you with well-researched, expert-backed insights for all your informational needs.


0 thoughts on “How To Make Tapered Candles”