Articles
How To Mount A Projector On The Ceiling
Modified: October 19, 2024
Learn how to mount a projector on the ceiling with our informative articles. Find step-by-step guides and expert tips to easily install your projector for the perfect home theater setup.
(Many of the links in this article redirect to a specific reviewed product. Your purchase of these products through affiliate links helps to generate commission for Storables.com, at no extra cost. Learn more)
Introduction
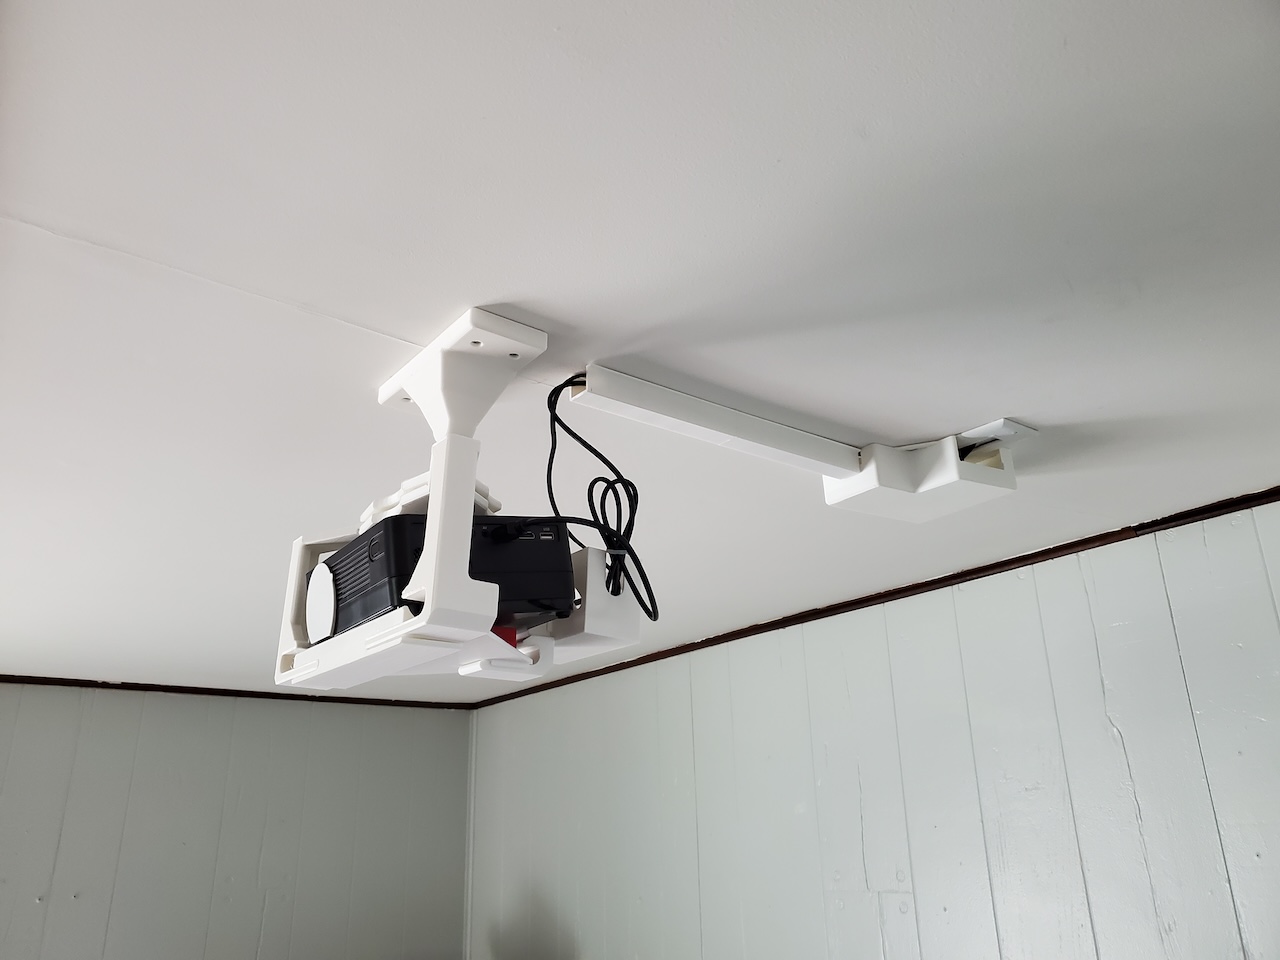
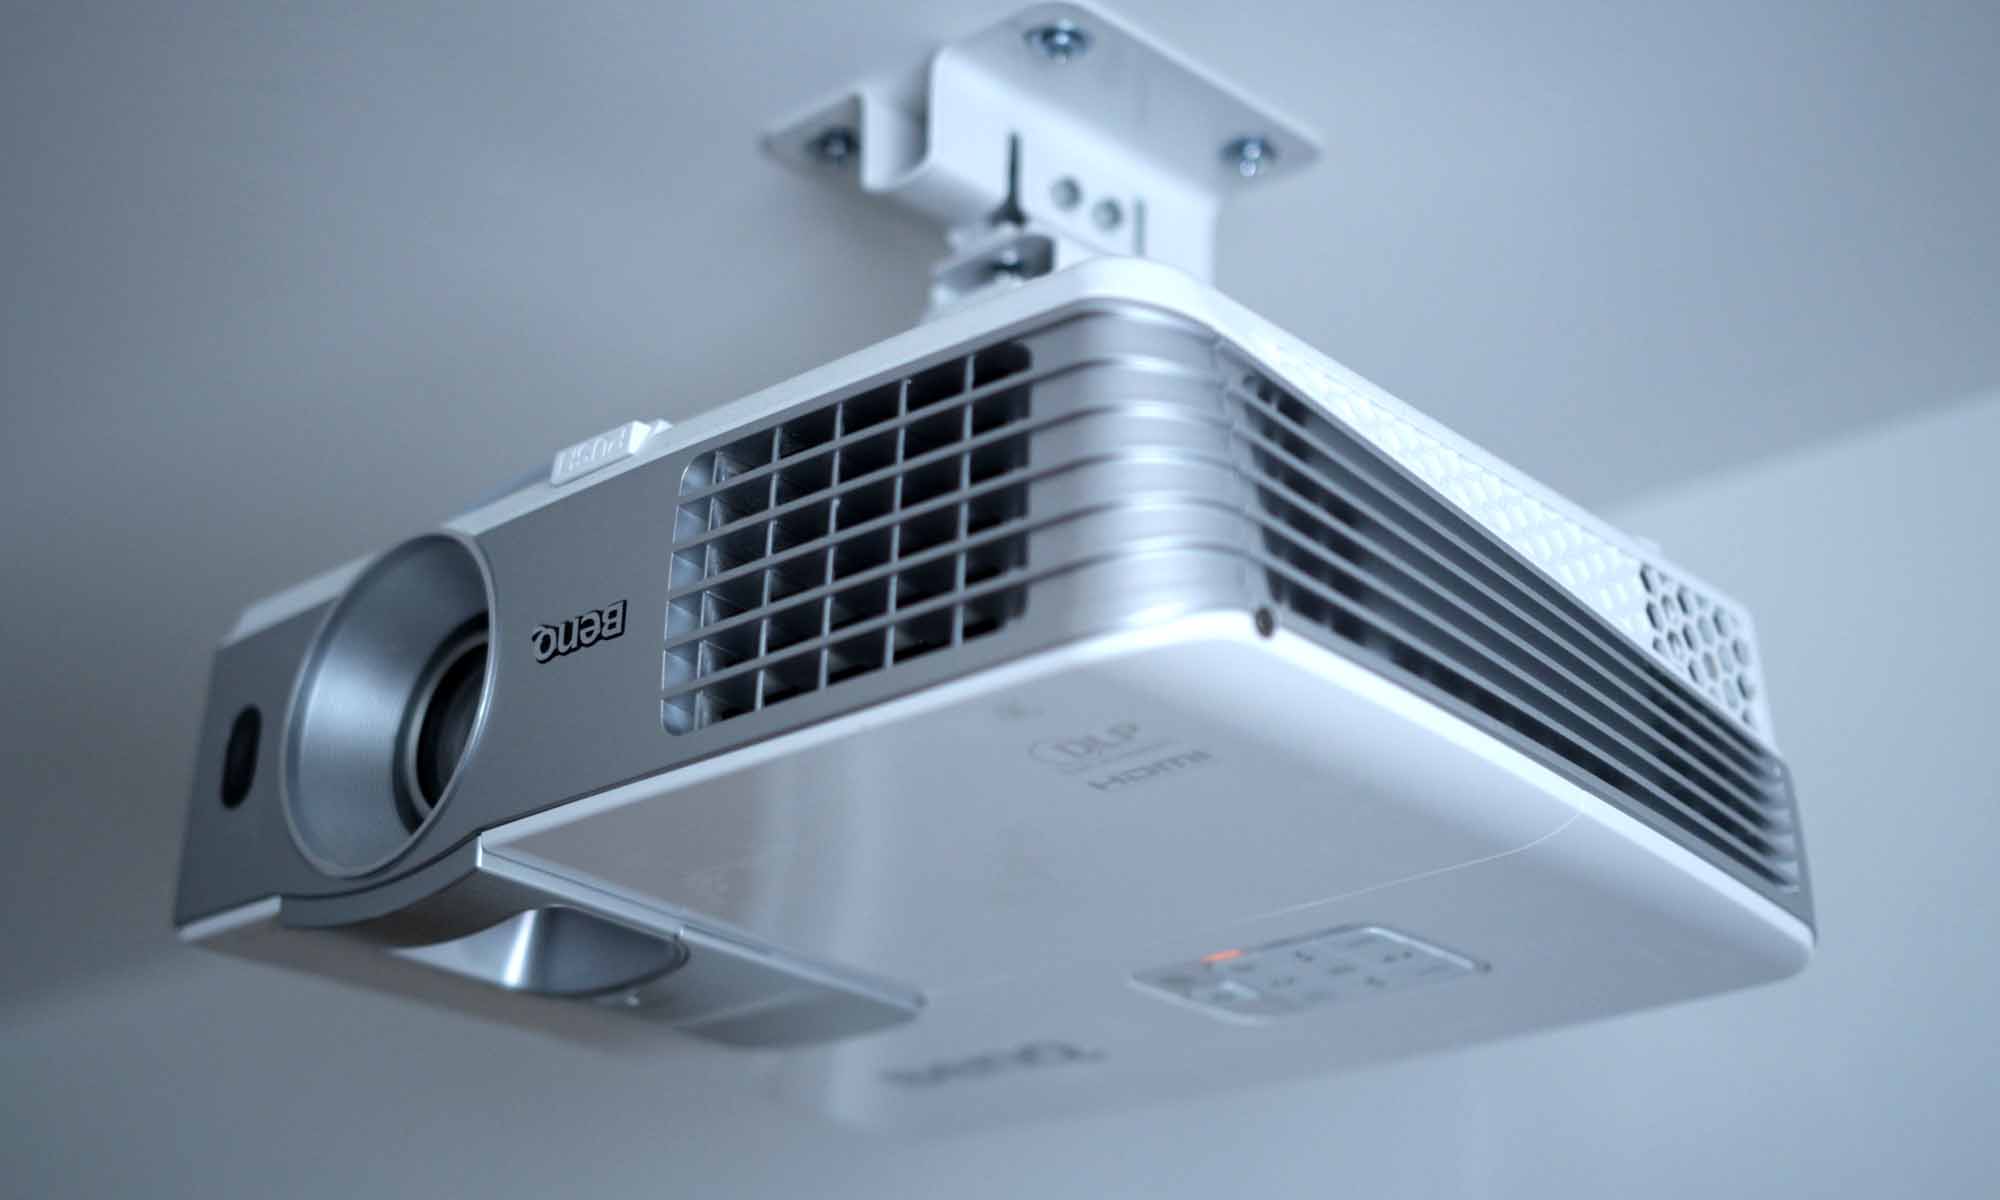
Mounting a projector on the ceiling can be a game-changer when it comes to creating a home theater or setting up a professional presentation. By elevating the projector, you can achieve optimal image projection, save space, and create a clean and streamlined setup. While it may seem like a daunting task, with the right guidance and tools, you can easily mount a projector on the ceiling.
In this article, we will take you through a step-by-step process of how to mount a projector on the ceiling. From gathering the necessary supplies to fine-tuning the image, we will cover all the essential steps to ensure a successful installation. So, let’s dive in and turn your ordinary room into a captivating multimedia experience!
Key Takeaways:
- Elevate your viewing experience by mounting a projector on the ceiling. Follow our step-by-step guide to achieve optimal image projection and create a clutter-free, cinematic space for entertainment or professional presentations.
- With the right supplies and careful installation, you can transform any room into a captivating multimedia environment. Enjoy the benefits of optimal viewing angles, clutter-free space, and a remarkable visual journey with a ceiling-mounted projector.
Step 1: Gather Supplies
Before you begin the installation process, it’s important to gather all the necessary supplies. Having everything ready will make the mounting process much smoother and more efficient. Here are the essential supplies you will need:
- Projector: Choose a high-quality projector that suits your needs and budget. Consider factors such as image quality, brightness, and connectivity options.
- Ceiling Mount: Look for a sturdy ceiling mount that is compatible with your projector model. Ensure that it can support the weight and size of your projector adequately.
- Mounting Hardware: Check if the ceiling mount comes with the necessary screws, bolts, and washers. If not, make sure to purchase the appropriate mounting hardware separately.
- Power Drill: A power drill will be needed to secure the mounting bracket to the ceiling. Make sure to have a drill bit that matches the size of the screws.
- Tape Measure: Accurate measurements are crucial for proper projector placement. Use a tape measure to measure the distance between the projector and the screen or wall.
- Pencil or Marker: You’ll need a pencil or a marker to make marks on the ceiling where the mounting bracket and plate will be installed.
- Screwdriver: A screwdriver will be required for attaching the projector to the mounting plate and making any necessary adjustments.
- Cable Management Clips: To keep the cables and wiring organized and hidden, consider using cable management clips.
- Level: A level will help ensure that the projector is properly aligned and not crooked when mounted on the ceiling.
- Extension Cables: Depending on the location of your power source and video sources, you may need extension cables to connect the projector.
Once you have gathered all the supplies, you’ll be ready to move on to the next step: measuring and marking the placement for the projector on the ceiling.
Step 2: Measure and Mark Placement
Before you start drilling holes and mounting the projector, it is crucial to measure and mark the exact placement on the ceiling. This will ensure that the projector is positioned correctly for optimal viewing. Follow these steps to measure and mark the placement:
- Decide on the desired location for the projector. Consider factors such as screen size, viewing angle, and the distance between the projector and the screen.
- Use a tape measure to measure the distance between the center of the projector lens and the desired projection surface. This measurement will help you determine the mounting location on the ceiling.
- Mark the projector’s center point on the ceiling with a pencil or marker. This will serve as a reference point for installing the mounting bracket.
- Take into account the projector’s throw distance and the desired image size to determine the projection angle. Use this information to determine the height at which the projector should be mounted on the ceiling.
- Measure the distance between the ceiling mounting holes on the projector and mark those measurements on the ceiling. This will ensure that the mounting bracket is installed in the correct position.
By carefully measuring and marking the placement, you can ensure that your projector will be perfectly aligned and provide an optimal viewing experience. Once you have completed this step, it’s time to move on to assembling the mounting bracket.
Step 3: Assemble Mounting Bracket
After measuring and marking the placement for your projector on the ceiling, it’s time to assemble the mounting bracket. The mounting bracket is what holds the projector securely in place. Here’s how you can assemble it:
- Start by laying out all the pieces of the mounting bracket in front of you. Make sure you have the bracket arms, base plate, and any additional components that came with your specific mount.
- Take the bracket arms and attach them to the base plate according to the instructions provided by the manufacturer. Use the provided screws or bolts to secure the arms in place.
- Ensure that the bracket arms are level and aligned properly. Use a level to double-check if necessary.
- Once the bracket arms are securely attached to the base plate, you can move on to the next step: securing the mounting plate to the ceiling.
Assembling the mounting bracket is a relatively straightforward process. However, it’s important to carefully follow the instructions provided by the manufacturer to ensure a secure and stable projector mount. With the mounting bracket assembled, you’re now ready to move on to the next step of the installation process: securing the mounting plate to the ceiling.
Step 4: Secure Mounting Plate to Ceiling
With the mounting bracket assembled, it’s time to securely attach the mounting plate to the ceiling. This step will ensure that your projector mount is stable and can hold the weight of the projector. Follow these steps to securely attach the mounting plate to the ceiling:
- Position the mounting plate on the ceiling, aligning it with the marked center point you made earlier. Ensure that the arms of the mounting bracket are facing in the direction you want the projector to project.
- Using a power drill, create pilot holes at the marked positions on the ceiling. Make sure to use the appropriate drill bit size for the screws you will be using.
- Secure the mounting plate to the ceiling by inserting screws through the pilot holes and into the ceiling. Use a screwdriver or a power drill to tighten the screws, ensuring a secure and stable connection.
- Double-check that the mounting plate is level and aligned properly by using a level. Adjust as needed.
- Once the mounting plate is securely attached to the ceiling, you can move on to the next step: attaching the projector to the mounting plate.
It’s important to remember that the stability of the mounting plate is crucial for the success of your projector installation. Take the time to ensure that it is securely attached to the ceiling and properly aligned. With the mounting plate in place, you’re now ready to move on to the next step: attaching the projector to the mounting plate.
When mounting a projector on the ceiling, make sure to use a ceiling mount kit specifically designed for projectors. Ensure the mount is securely attached to a ceiling joist or beam to support the weight of the projector. Use a level to ensure the projector is properly aligned for optimal viewing.
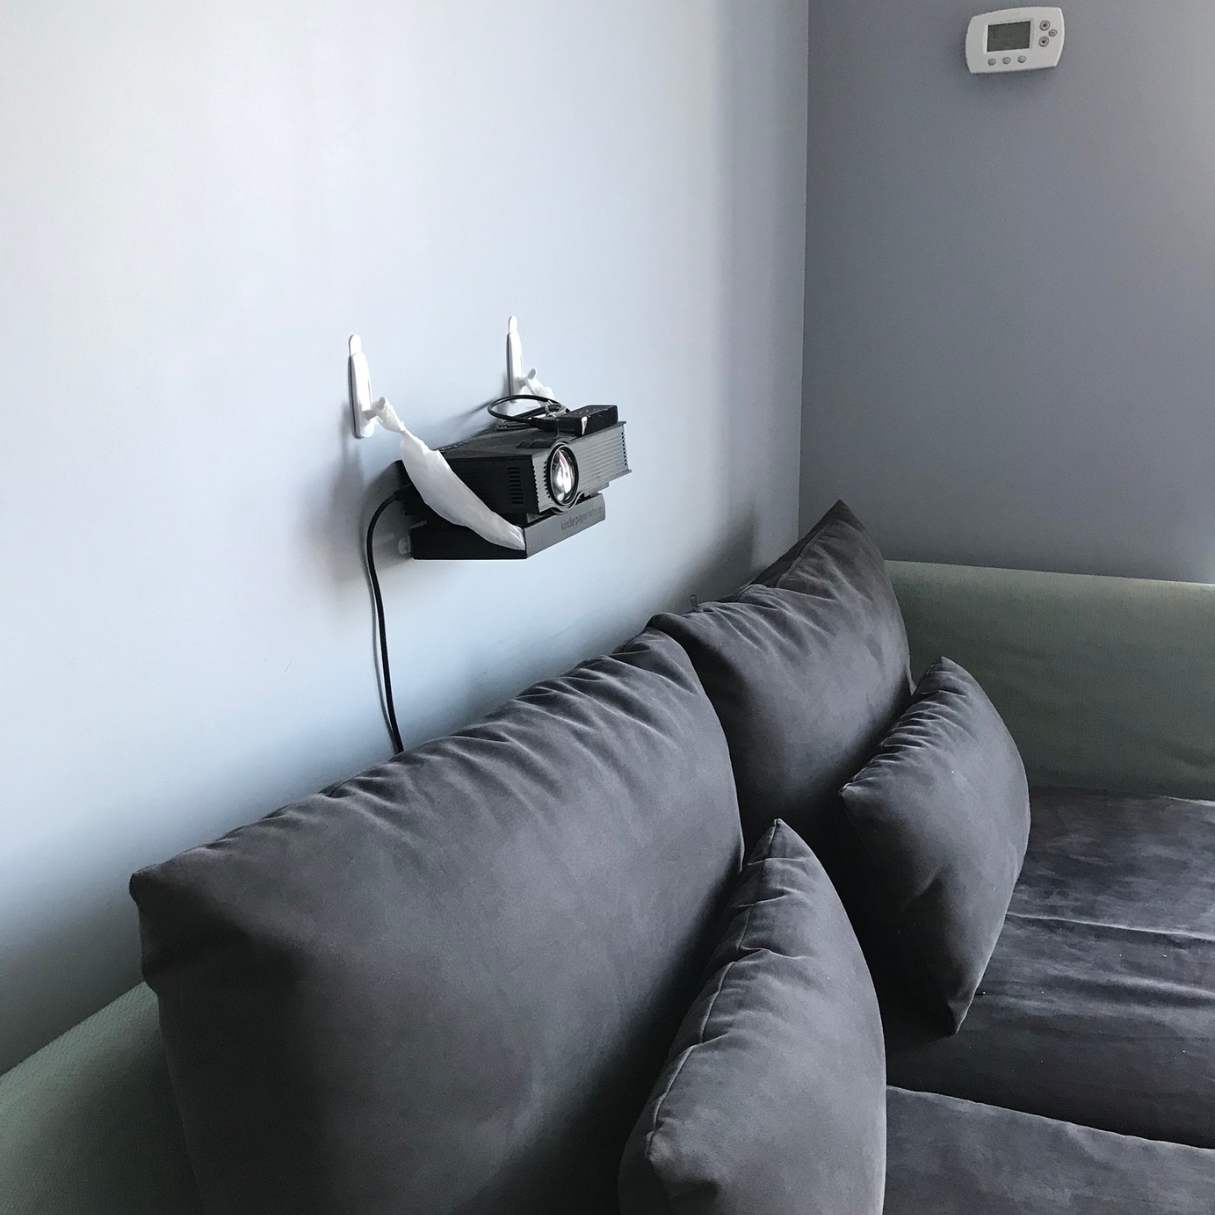
Read more: How To Mount A Projector To The Wall
Step 5: Attach Projector to Mounting Plate
Now that the mounting plate is securely attached to the ceiling, it’s time to attach the projector to the mounting plate. Follow these steps to properly mount your projector:
- Ensure that the projector is turned off and unplugged before starting this step.
- Locate the mounting holes on the bottom of the projector. These holes are typically located near the center or on the sides of the projector.
- Align the mounting holes of the projector with the arms of the mounting bracket.
- Screw or tighten the mounting screws through the projector’s mounting holes and into the arms of the mounting bracket. Make sure to follow the instructions provided by the manufacturer.
- Double-check that the projector is securely attached to the mounting plate and that it is level. Adjust the screws if needed.
Ensuring a secure and level attachment of the projector to the mounting plate is essential for optimal functioning and stability. Take the time to tighten the screws properly, and check that the projector is securely in place. With the projector attached, you can now move on to the next step: adjusting the projector’s position.
Step 6: Adjust Projector Position
After attaching the projector to the mounting plate, it’s time to adjust the position of the projector for the best possible image projection. Follow these steps to properly adjust the projector’s position:
- Turn on the projector and display a test image or a blank screen.
- Use the projector’s zoom, focus, and lens shift controls to adjust the size and clarity of the projected image.
- Adjust the projector’s angle by loosening the screws on the mounting bracket arms and tilting the projector up or down. Use a level to ensure that the projector is level.
- Move the projector horizontally by loosening the screws on the mounting plate. Slide the projector left or right until the image is centered on the screen.
- Ensure that the projected image is rectangular and proportional. Adjust the keystone correction feature on the projector if needed to correct any image distortion.
Take your time to adjust the projector’s position until you achieve a well-aligned, clear, and properly scaled image on the screen. Make sure that the image fills the screen evenly without any distortion. Once you are satisfied with the projector’s position, it’s time to secure the cables and wiring.
Step 7: Secure Cables and Wiring
After adjusting the position of the projector, it’s important to secure and organize the cables and wiring. This step will not only provide a clean and aesthetic setup but also prevent any accidental disconnections or tripping hazards. Follow these steps to secure the cables and wiring:
- Identify the necessary cables for your setup, such as power cables, HDMI cables, audio cables, and any other connectivity cables.
- Using cable management clips or adhesive cable holders, secure the cables along the ceiling or walls to keep them neatly organized. Make sure to route the cables away from any moving parts of the projector.
- If necessary, use extension cables to connect the projector to your power source and video sources. Ensure that the cables are long enough to reach without causing any tension or strain.
- Make any necessary cable connections to the projector, such as HDMI cables for video and audio, power cables, and any other applicable connections.
- Double-check that all cables are securely connected and properly routed.
Securing and organizing the cables will not only improve the overall appearance of your projector setup but also make it easier to troubleshoot and maintain in the future. Take your time to neatly secure the cables, making sure they are out of the way and not causing any obstructions or hazards. With the cables and wiring secured, it’s time to move on to the final step: testing and fine-tuning the image.
Step 8: Test and Fine-Tune Image
Once you have completed the installation and cable management process, it’s time to test and fine-tune the image projected by your ceiling-mounted projector. Follow these steps to ensure the best possible image quality:
- Turn on your projector and any connected devices, such as media players or laptops.
- Access the projector’s menu settings and navigate to the image adjustment options.
- Adjust the brightness, contrast, color saturation, and other image settings to your desired preferences.
- Use the built-in test patterns or display a sample image to assess the clarity, sharpness, and color accuracy of the projected image.
- If necessary, make small adjustments to the projector’s position, zoom, or focus controls to further optimize the image quality.
- Utilize any additional features or image enhancement technologies provided by your projector, such as keystone correction or image presets, to enhance the overall viewing experience.
- Take the time to fine-tune the image until you are satisfied with the results.
- Once you are happy with the image quality, make note of the optimal settings for future use.
Testing and fine-tuning the image is crucial to achieving an immersive and high-quality viewing experience. It’s worth spending some time experimenting with the projector’s settings to find the best balance of brightness, contrast, and color reproduction. Once you have fine-tuned the image to your liking, you can sit back and enjoy your newly mounted projector on the ceiling!
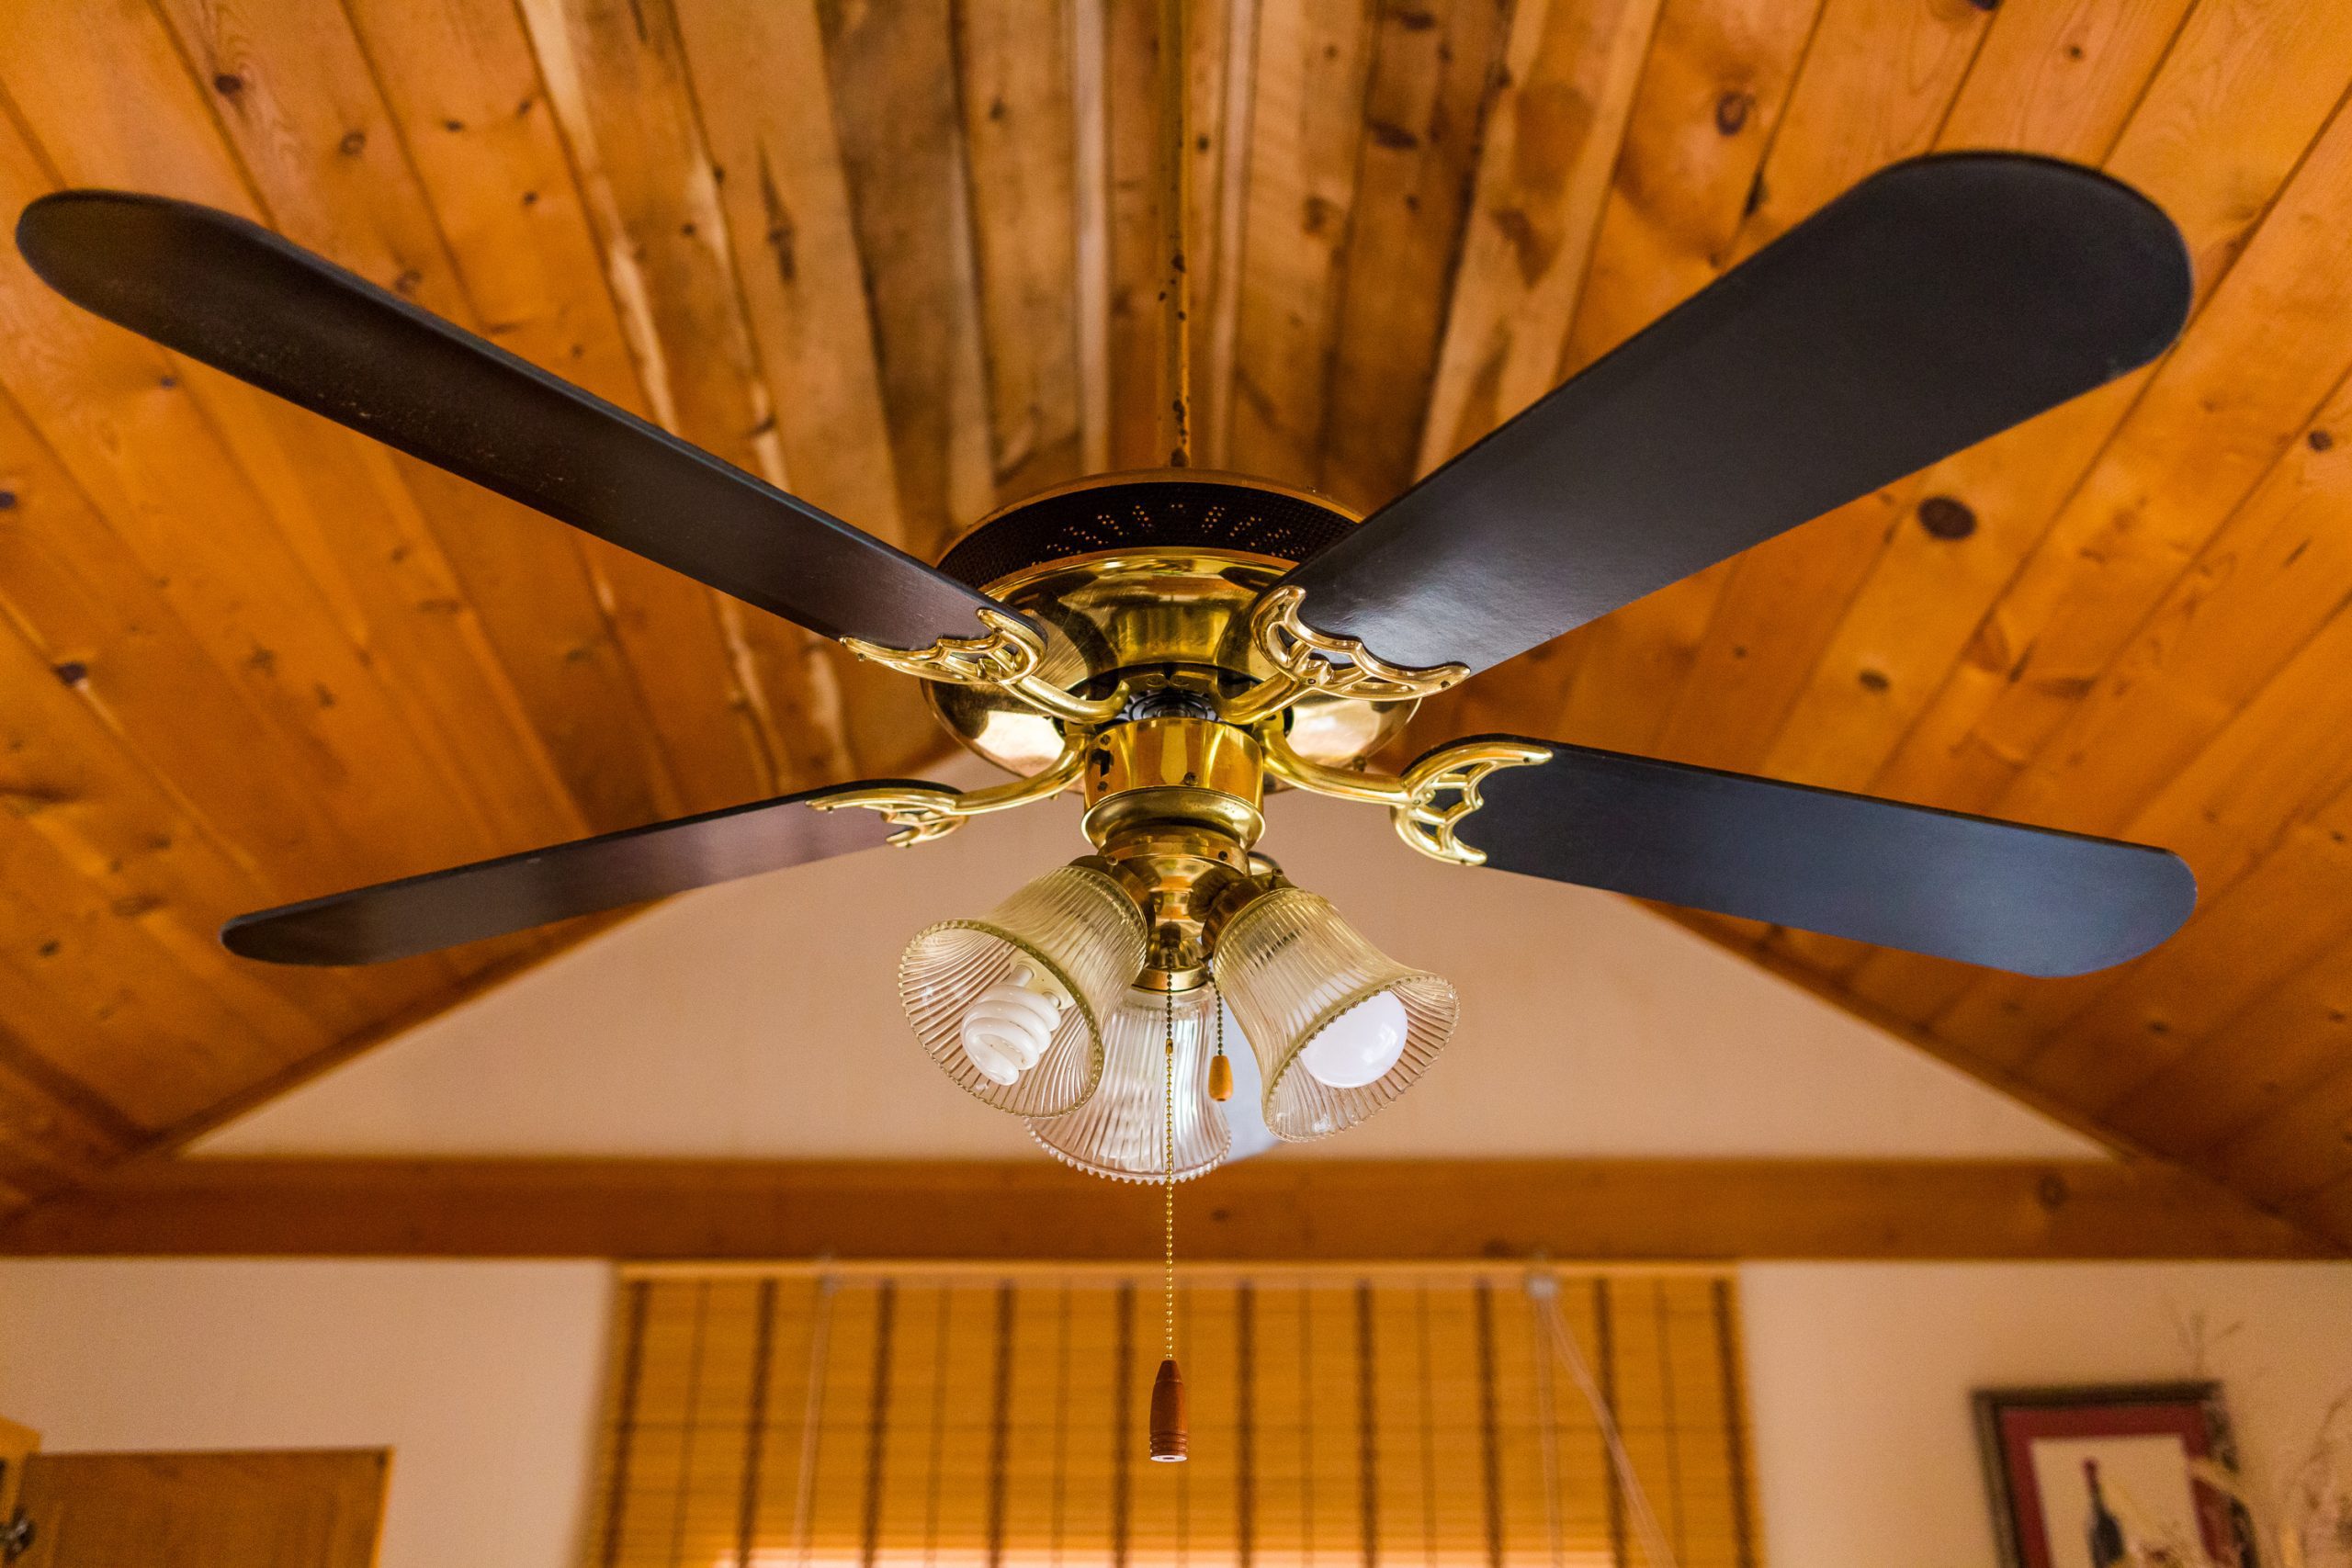
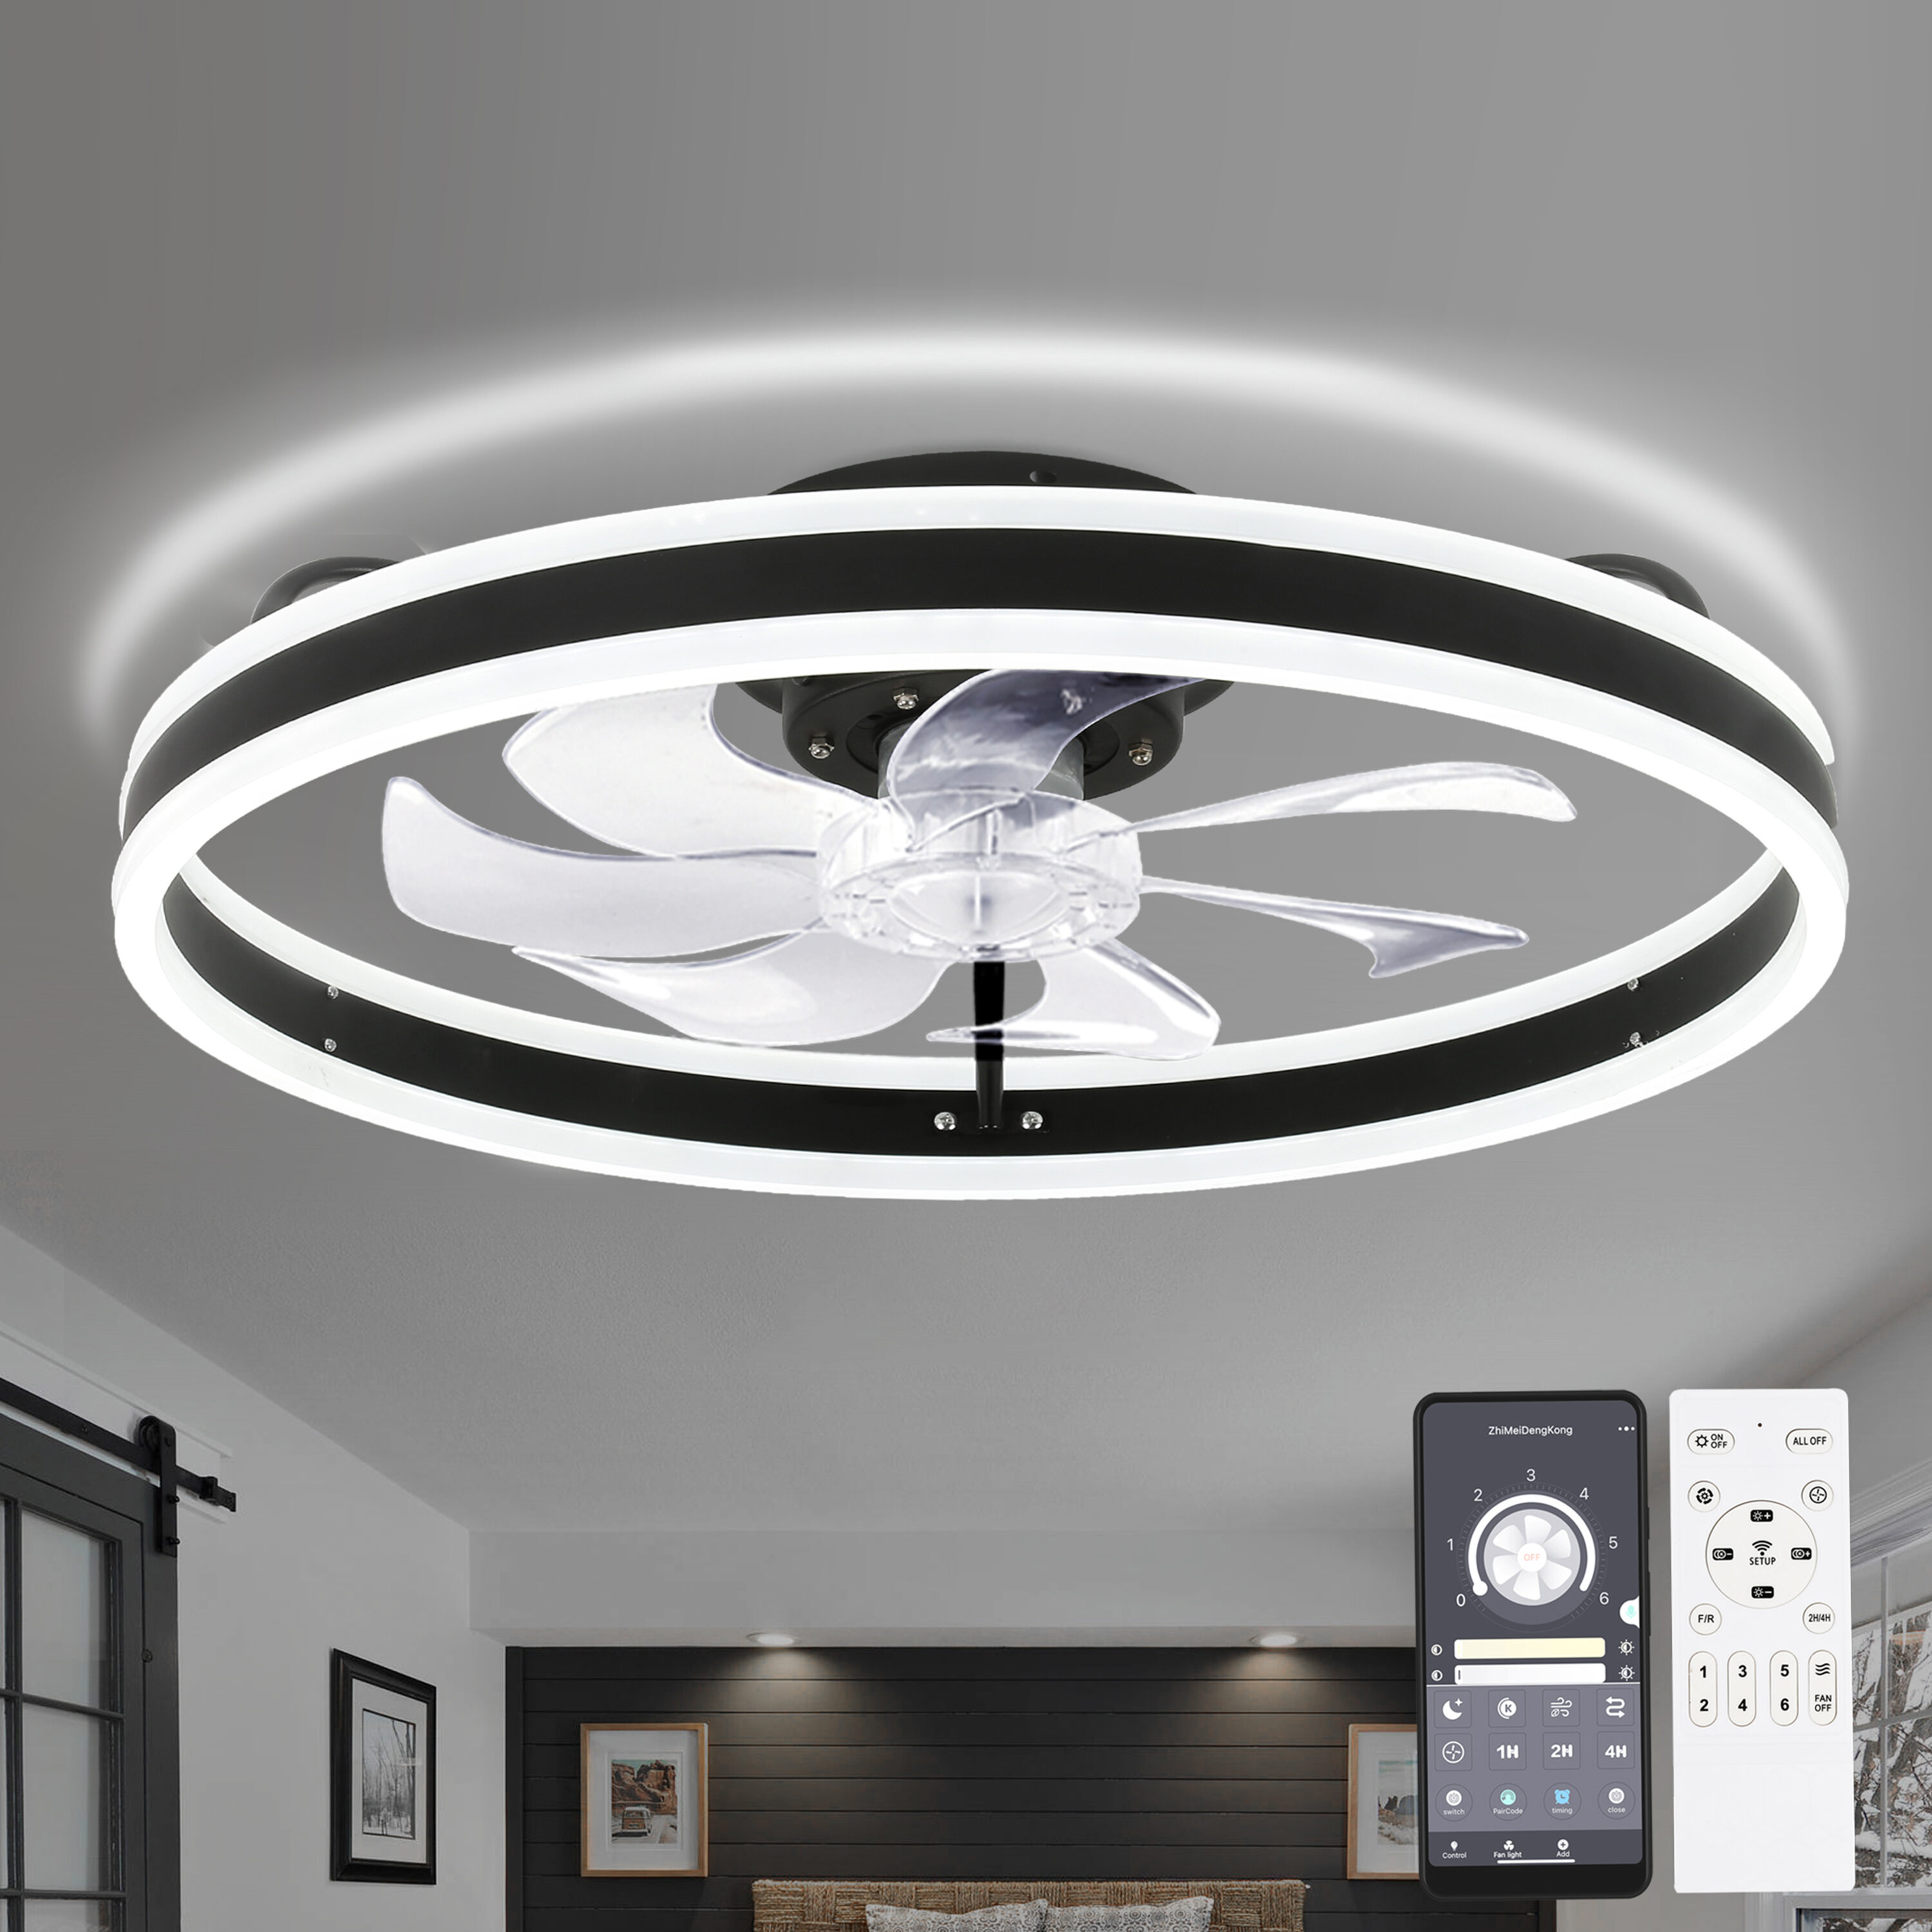
Read more: How Are Ceiling Fans Mounted
Conclusion
Mounting a projector on the ceiling can elevate your home theater or presentation setup to new heights. With the step-by-step guide provided in this article, you have learned how to mount a projector on the ceiling with confidence and precision.
By gathering the necessary supplies, measuring and marking the placement, assembling the mounting bracket, securing the mounting plate, attaching the projector, adjusting the position, securing cables and wiring, and fine-tuning the image, you have completed the installation process successfully.
Remember that proper installation is key to ensure the stability and functionality of your ceiling-mounted projector. Take the time to carefully follow each step, consult the manufacturer’s instructions, and make necessary adjustments as needed.
Once your projector is securely mounted on the ceiling, you can enjoy the benefits of a clutter-free space, optimal viewing angles, and a cinematic or professional presentation experience. Now it’s time to grab your popcorn, dim the lights, and immerse yourself in a captivating visual journey.
Whether you’re transforming your living room into a home theater or creating an impressive conference room setup, mounting a projector on the ceiling opens up a world of possibilities. So go ahead, take the leap, and turn your space into a remarkable multimedia environment.
Now that you've mastered mounting your projector, why not upgrade to an exceptional model for an unrivaled viewing experience? Dive into our detailed review of top video projectors set to dominate 2024. Whether you're seeking enhanced brightness, superior contrast, or just a device that fits snugly into your newly designed home theater, this guide has all bases covered. Don't miss out on transforming your movie nights with one of these stellar projectors.
Frequently Asked Questions about How To Mount A Projector On The Ceiling
Was this page helpful?
At Storables.com, we guarantee accurate and reliable information. Our content, validated by Expert Board Contributors, is crafted following stringent Editorial Policies. We're committed to providing you with well-researched, expert-backed insights for all your informational needs.


0 thoughts on “How To Mount A Projector On The Ceiling”