
Articles
How To Mount Ceiling Speakers
Modified: January 18, 2024
Learn how to mount ceiling speakers with our informative articles. Transform your space with high-quality sound installation.
(Many of the links in this article redirect to a specific reviewed product. Your purchase of these products through affiliate links helps to generate commission for Storables.com, at no extra cost. Learn more)
Introduction
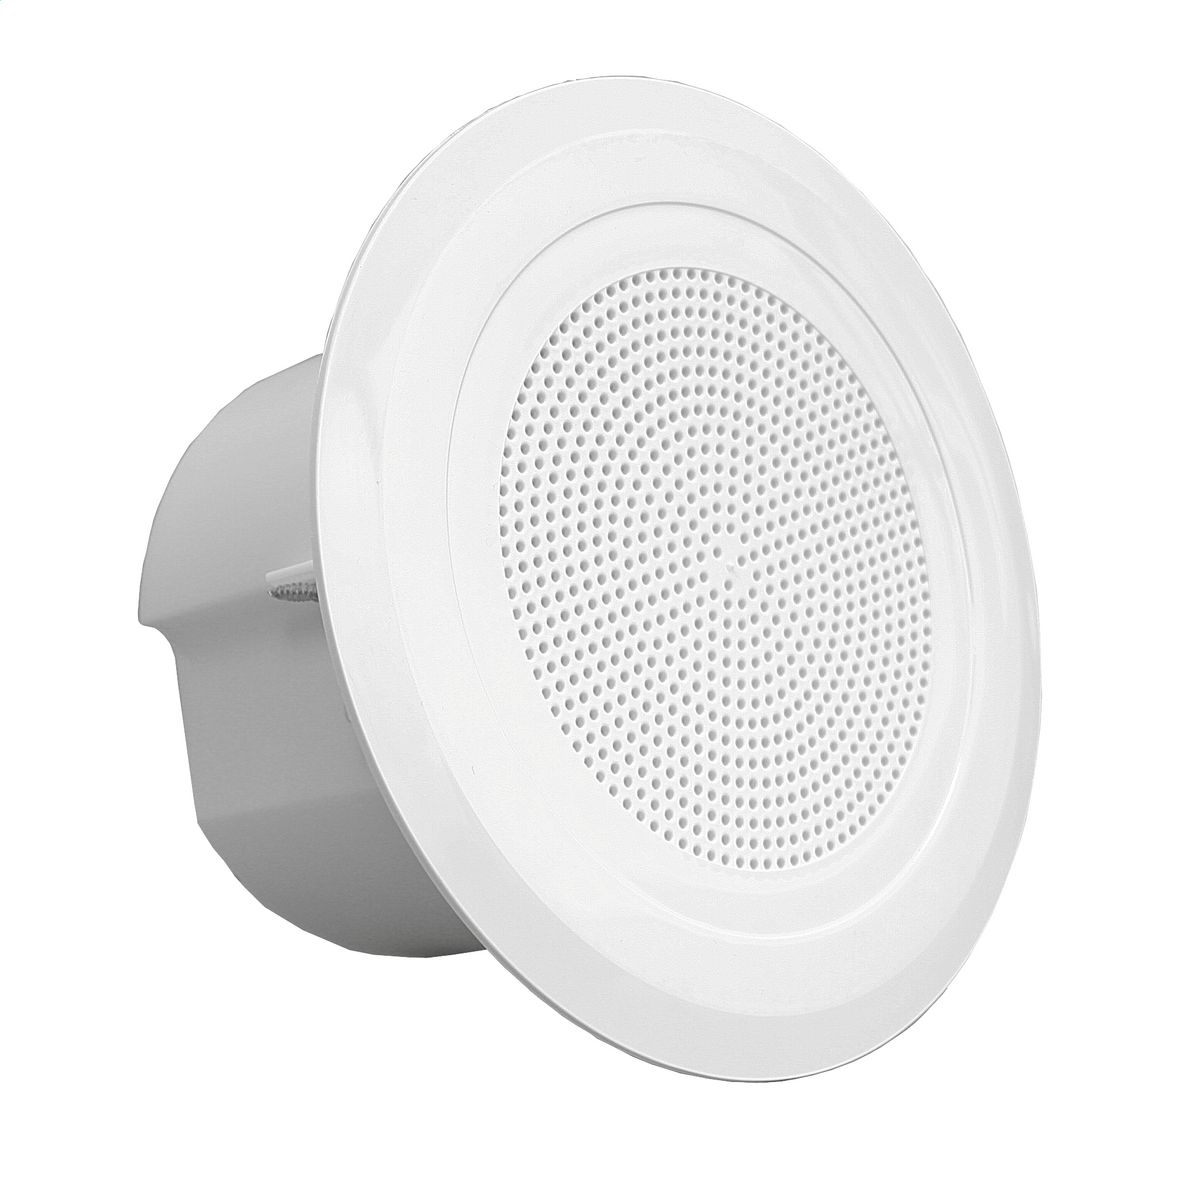
Adding ceiling speakers to your home audio system can greatly enhance your listening experience. Whether you want to create a surround sound setup for your home theater or bring music to every room of your house, ceiling speakers offer a discreet and stylish solution.
In this article, we will guide you through the process of mounting ceiling speakers. We will cover each step, from gathering the necessary tools and equipment to testing and adjusting the sound quality. By following these steps, you can achieve professional-quality sound without hiring a professional installer.
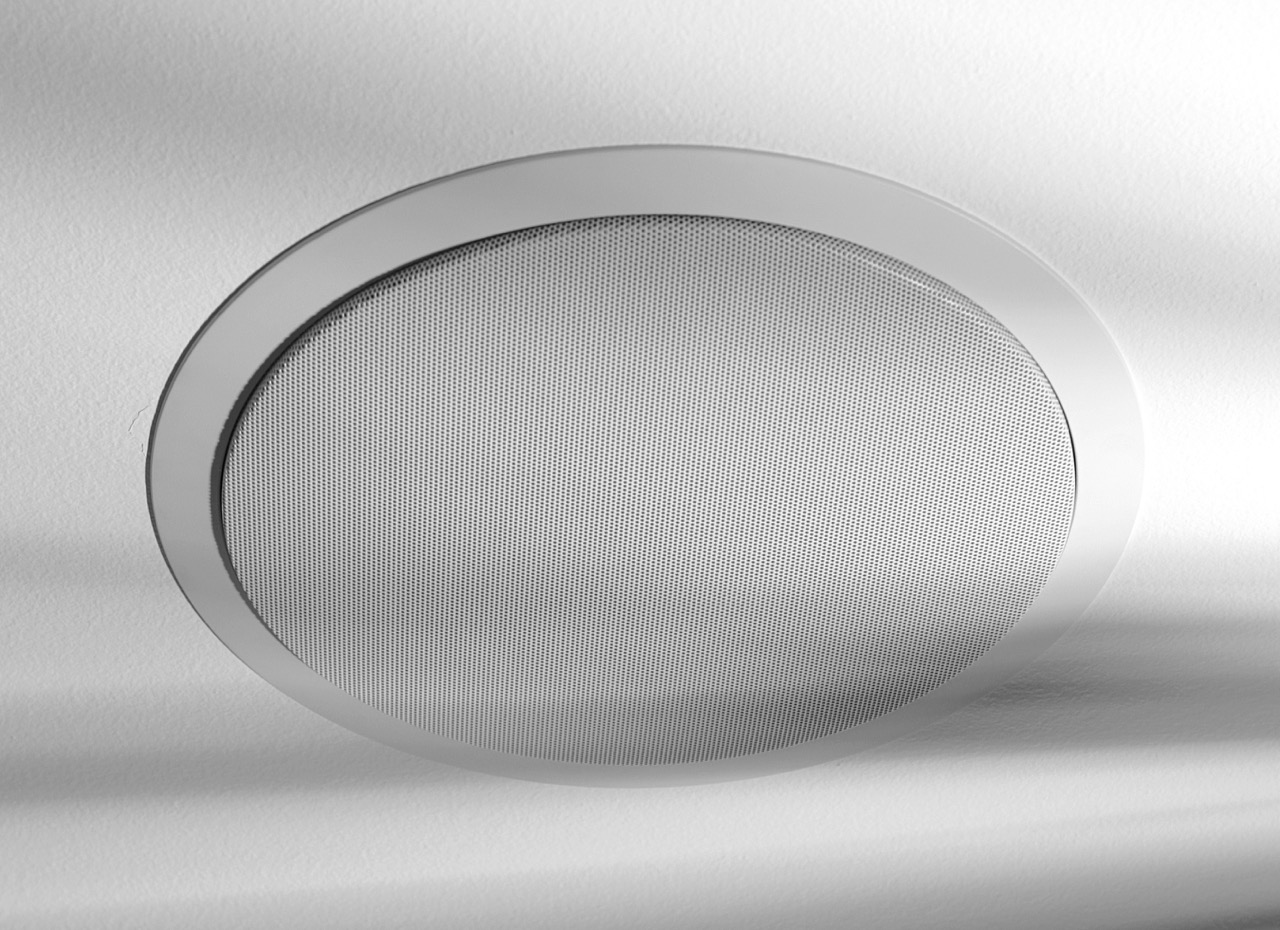
Before we dive into the details, let’s take a moment to discuss the benefits of mounting ceiling speakers. Unlike traditional floor-standing or bookshelf speakers, ceiling speakers are mounted flush with the ceiling, which saves valuable floor space and eliminates the need for unsightly speaker stands or brackets. This clean and streamlined look makes ceiling speakers a popular choice for homeowners who value aesthetics.
Another advantage of ceiling speakers is their ability to deliver immersive and evenly distributed sound. By placing speakers in the ceiling, the sound waves can spread out in a 360-degree pattern, filling the entire room with audio. This creates a more immersive listening experience, perfect for watching movies, hosting parties, or enjoying music throughout your home.
Now that you understand the benefits of ceiling speakers, let’s move on to the first step – gathering the necessary tools and equipment.
Key Takeaways:
- Mounting ceiling speakers involves gathering the right tools, choosing optimal placement, and running speaker wire with precision. Attention to detail and careful execution can lead to a professional-quality installation without the need for a professional installer.
- Testing and adjusting the sound quality of ceiling speakers is crucial for achieving an immersive audio experience. By fine-tuning the sound, balancing volume levels, and experimenting with placement, you can create a captivating listening environment in your space.
Read more: How To Install Ceiling Speakers
Step 1: Gathering the Necessary Tools and Equipment
Before you begin the process of mounting ceiling speakers, it’s important to gather all the necessary tools and equipment. Having everything prepared will save you time and ensure a smooth installation process. Here’s a list of the items you’ll need:
- Ceiling speakers: Choose speakers that are suitable for your audio needs and room size. Consider factors such as power handling, frequency response, and speaker impedance.
- Speaker wire: Opt for high-quality speaker wire with the appropriate gauge for your speakers. Thicker wire is recommended for long distances or higher power applications.
- Utility knife or drywall saw: You’ll need a tool to cut a hole in the ceiling for speaker placement.
- Fish tape or wire snake: This tool is used to run the speaker wire through the walls or ceiling.
- Drill and drill bits: A drill is essential for securing the speaker brackets or mounting clips to the ceiling.
- Screwdriver: Depending on the type of mounting system, you’ll need a screwdriver to secure the speakers in place.
- Stud finder: Use a stud finder to locate the ceiling joists or beams for secure speaker placement.
- Level: A level will help you ensure that the speakers are installed straight and aligned correctly.
- Wire cutters/strippers: These tools are necessary for cutting and stripping the speaker wire.
- Wire connectors or crimp sleeves: You’ll need connectors or crimp sleeves to join the speaker wire to the terminals on the speakers.
- Pencil or marker: Use a pencil or marker to mark the desired speaker placement on the ceiling.
Having these tools and equipment ready will make the process of mounting ceiling speakers much easier and efficient. It’s always a good idea to double-check your checklist before you start the installation to avoid any last-minute trips to the hardware store.
With the necessary tools and equipment in place, you’re now ready to move on to the next step – choosing the right placement for your ceiling speakers.
Step 2: Choosing the Right Placement
Choosing the right placement for your ceiling speakers is crucial to achieve optimal sound quality and coverage. The placement will depend on the layout of your room, the desired listening experience, and the type of speakers you have. Here are some factors to consider when deciding on the placement:
- Room size and shape: Consider the dimensions and layout of the room. For smaller rooms, one or two speakers might be sufficient, while larger rooms may require more speakers to ensure even sound distribution.
- Listening area: Identify the primary listening area or seating arrangement in the room. Determine where you want the sound to be focused and make sure to position the speakers accordingly.
- Acoustic considerations: Take into account the acoustic properties of the room. Avoid placing speakers too close to walls or corners, as this can cause reflections and distort the sound. Aim for a balanced and natural sound by spacing the speakers evenly within the room.
- Obstacles: Look out for any obstacles in the ceiling, such as beams or vents, that may interfere with the speaker placement. Adjust the positioning accordingly to avoid any obstructions.
- Listening preferences: Consider your personal listening preferences. Do you want a focused soundstage for a home theater setup, or do you prefer a more dispersed sound for whole-house audio? Adjust the positioning of the speakers to achieve the desired effect.
Once you have considered these factors, use a pencil or marker to mark the desired speaker placement on the ceiling. Take measurements and ensure that the speakers are evenly spaced and aligned with the room’s layout. It’s also a good idea to consult the manufacturer’s guidelines for recommended speaker placement.
Remember, the goal is to create an immersive listening experience, so take the time to carefully choose the right placement for your ceiling speakers. With the placement determined, you can now move on to the next step – preparing the ceiling for installation.
Step 3: Preparing the Ceiling for Installation
Before you can mount your ceiling speakers, it’s essential to prepare the ceiling for installation. This step involves a few key tasks to ensure a clean and secure setup. Follow these steps to prepare the ceiling:
- Locate ceiling joists: Use a stud finder to locate the ceiling joists or beams where you plan to install the speakers. This will provide a sturdy and secure foundation for mounting the speakers.
- Mark speaker locations: Using the measurements and placements determined in the previous step, use a pencil or marker to mark the exact spots where the speakers will be mounted on the ceiling.
- Cut speaker holes: Depending on the type of mounting system, you may need to cut holes in the ceiling for the speakers. Use a utility knife or drywall saw to carefully cut along the marked lines. Be sure to follow the manufacturer’s guidelines for hole size and spacing.
- Remove excess drywall: After cutting the speaker holes, remove any excess drywall or debris from the openings. This will ensure a clean installation and make it easier to mount the speakers.
- Inspect wiring: Check for any existing wiring or electrical cables in the ceiling. Make sure there are no obstructions or potential hazards in the area where you plan to install the speakers.
- Plan wire pathways: Determine the best path to run the speaker wire from the audio source to the speaker locations. Use a fish tape or wire snake to guide the wire through the walls or ceiling, taking care to avoid any electrical wiring or plumbing.
By accomplishing these tasks, you’ll have a well-prepared ceiling that is ready for the installation of your ceiling speakers. Taking the time to properly prepare the ceiling will ensure a smooth and secure mounting process, resulting in a professional-looking installation.
Now that the ceiling is prepped, you can proceed to the next step – running the speaker wire.
Step 4: Running the Speaker Wire
Running the speaker wire is a crucial step in the installation of ceiling speakers. Properly routing the wire ensures a clean and hidden installation while maintaining signal integrity. Follow these steps to run the speaker wire:
- Determine wire paths: Plan the routes for the speaker wire, considering the distance between the audio source and the speakers. Avoid running the wire alongside electrical wires or near any potential sources of interference.
- Prepare the wire: If necessary, strip the insulation from the wire ends using wire cutters/strippers. This will expose the inner wires for connecting to the speakers.
- Start at the audio source: Begin by connecting one end of the speaker wire to the audio source, such as an amplifier or receiver. Ensure a secure connection by using wire connectors or crimp sleeves.
- Run the wire through walls or ceiling: Use a fish tape or wire snake to guide the speaker wire through the walls or ceiling. Carefully feed the wire through holes or conduits, taking care to avoid any obstacles or potential hazards.
- Secure the wire: Along the wire path, use cable clips or staples to secure the speaker wire to the walls or ceiling. This will prevent the wire from sagging or becoming loose over time.
- Leave extra slack: When running the wire, leave some extra slack at each speaker location. This will allow for easier connection and adjustments during the mounting process.
- Label the wire ends: To avoid confusion during the speaker connection, label or mark the wire ends according to the corresponding speaker locations.
It’s important to take your time and ensure that the speaker wire is properly routed and secured. Pay attention to any potential hazards or obstacles that may require adjustments to the wire path. Taking these measures will result in a clean and reliable installation.
With the speaker wire successfully run, you’re ready to move on to the next step – mounting the ceiling speakers.
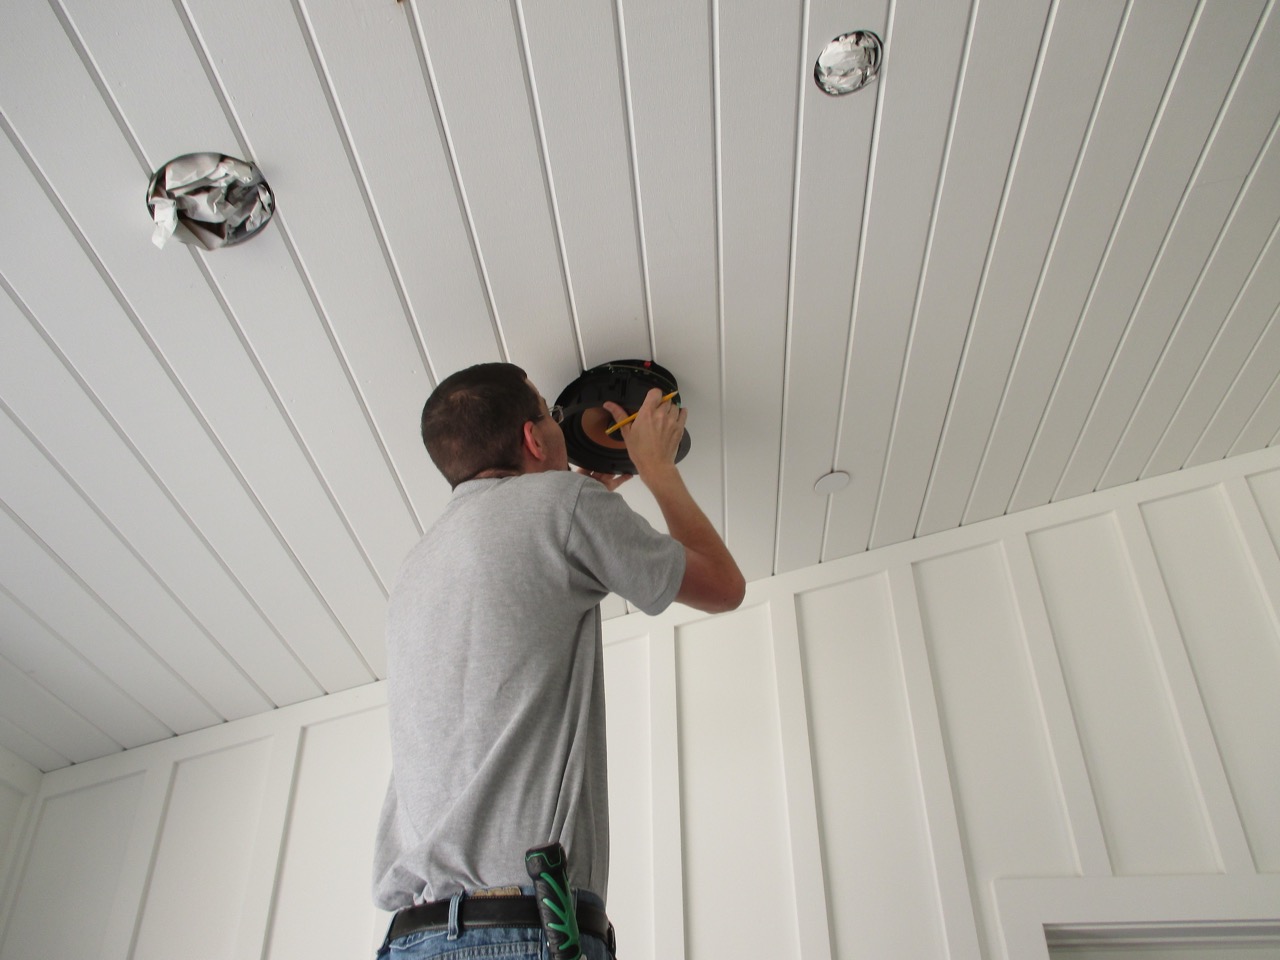
When mounting ceiling speakers, make sure to use a stud finder to locate ceiling joists for secure installation. Use a template to mark the speaker cutout and ensure a precise fit.
Read more: How To Mount A Projector To The Ceiling
Step 5: Mounting the Ceiling Speakers
Now that you have prepared the ceiling and run the speaker wire, it’s time to mount the ceiling speakers. Follow these steps to ensure a secure and professional installation:
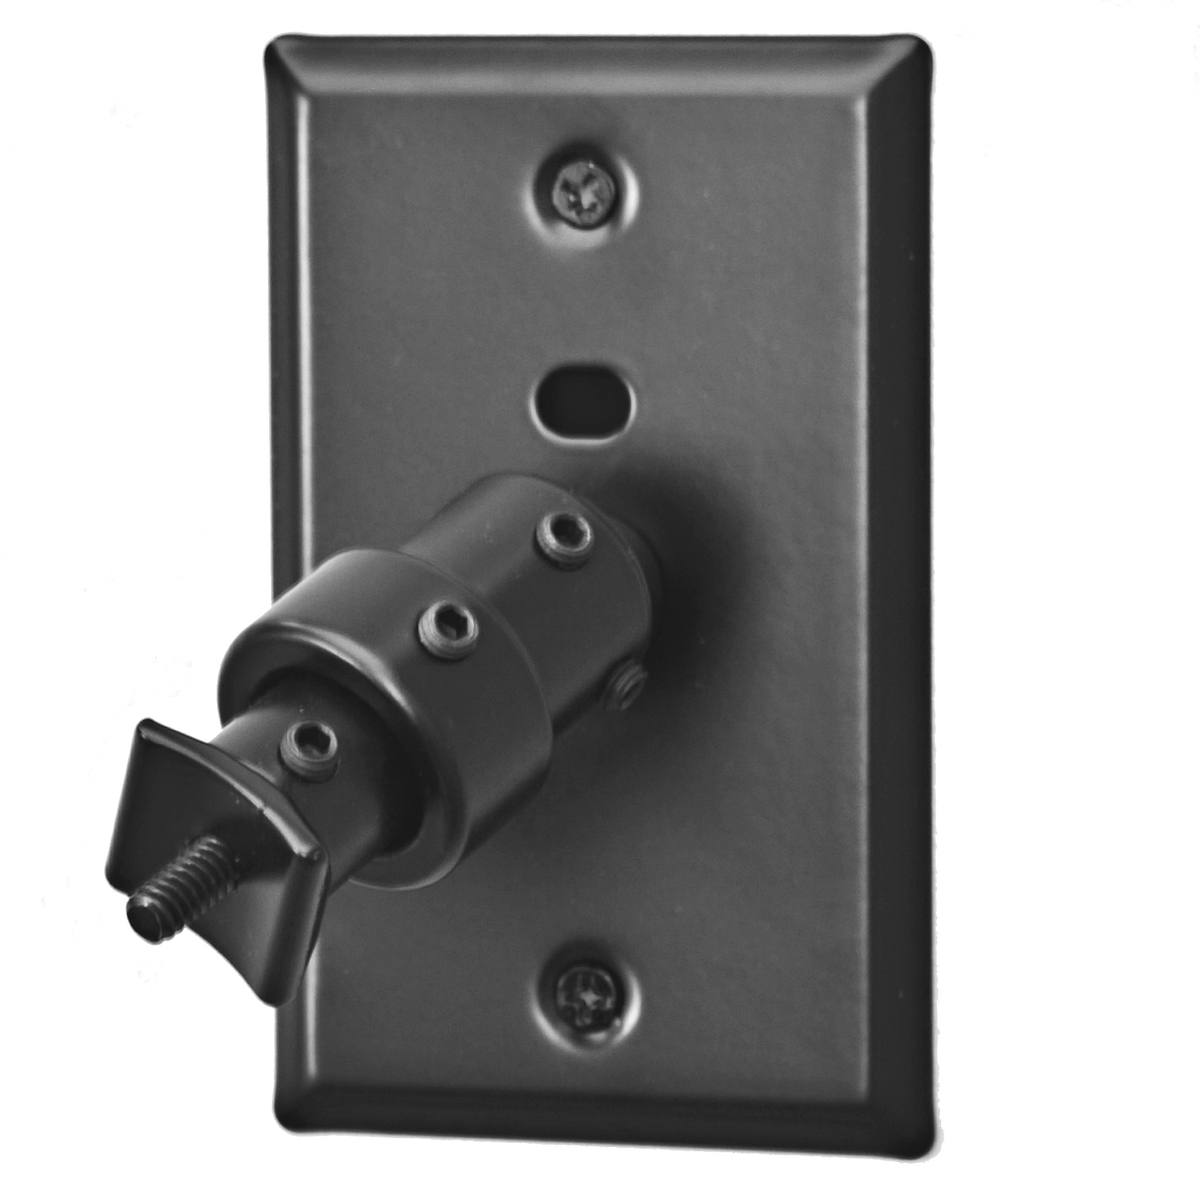
- Attach mounting brackets or clips: Depending on the type of ceiling speakers you have, attach the appropriate mounting brackets or clips to the speakers. Follow the manufacturer’s instructions for the specific mounting system.
- Align the speakers: Hold each speaker up to its designated hole in the ceiling, aligning it according to the marked placement. Use a level to ensure that the speakers are straight and properly aligned.
- Secure the speakers: Once aligned, use a drill and the appropriate screws or mounting hardware to secure the speakers to the ceiling. Make sure the speakers are tightly fastened and flush with the ceiling surface.
- Connect the speaker wire: Take the labeled wire ends and connect them to the corresponding terminals on the back of each speaker. Follow the manufacturer’s instructions for proper wiring, ensuring a secure connection.
- Tuck the wire: Carefully tuck the excess speaker wire into the ceiling or use wire management solutions to keep it neat and hidden. Avoid overcrowding or pinching the wire, as this can affect the audio quality.
While mounting the ceiling speakers, it’s important to be gentle and avoid applying excessive force to the speakers or the ceiling. Take your time to ensure that the speakers are firmly secured and that the wire connections are secure and properly attached.
After mounting the speakers, step back and admire your work. You now have professionally installed ceiling speakers ready to deliver high-quality sound throughout your space.
With the speakers mounted, it’s time to move on to the next step – connecting the speakers to the audio system.
Step 6: Connecting the Speakers to the Audio System
Connecting your ceiling speakers to the audio system is a crucial step in the installation process. Properly configuring the connections ensures that you can enjoy high-quality sound from your speakers. Follow these steps to connect the speakers to the audio system:
- Locate the audio source: Identify the audio source, such as an amplifier, receiver, or audio interface. This is where you will connect the speaker wires.
- Identify the speaker terminals: Locate the speaker terminals on the audio source. These terminals are typically labeled “Speaker Out” or similar.
- Strip the wire ends: If necessary, strip the insulation from the wire ends to expose the inner wires. This will allow for proper connection to the speaker terminals.
- Connect the wires: Connect the corresponding speaker wires to the appropriate speaker terminals. Take note of the polarity, ensuring that the positive wire (+) is connected to the positive terminal and the negative wire (-) to the negative terminal.
- Secure the connections: Tighten the terminals to secure the speaker wires in place. Ensure that the connections are tight and secure to avoid any audio loss or signal degradation.
Once you have connected the speaker wires to the audio system, it’s important to double-check all connections. Make sure that each speaker is connected to the correct terminal and that the connections are properly secured.
After confirming the connections, power on the audio system and test the speakers. Play some audio and check if the sound is coming through the ceiling speakers as expected. If any issues arise, double-check the connections and consult the manufacturer’s manual for troubleshooting steps.
With the speakers successfully connected to the audio system, you’re now ready for the final step – testing and adjusting the sound quality.
Step 7: Testing and Adjusting the Sound Quality
After mounting and connecting your ceiling speakers, it’s important to test and adjust the sound quality to ensure optimal performance. Follow these steps to test and fine-tune the sound:
- Test each speaker individually: Play audio through each speaker one at a time to make sure they are all functioning correctly. This will help you identify any potential issues with individual speakers.
- Balance the sound: Adjust the volume levels of each speaker to achieve a balanced sound. Ensure that the volume is consistent across all speakers for a seamless audio experience.
- Adjust the EQ settings: Use the equalizer settings on your audio system to fine-tune the sound. Adjust the bass, treble, and other frequency levels to suit your preferences and the acoustics of the room.
- Experiment with placement: If you’re not satisfied with the sound quality, try repositioning the speakers slightly to achieve better audio coverage. Small adjustments can make a significant difference in the overall sound experience.
- Consider room treatments: If you want to further enhance the sound quality, you can explore room treatments such as acoustic panels or diffusers. These can help reduce echoes and improve the acoustics of the room.
While testing and adjusting the sound, it’s essential to have a variety of audio sources and genres of music to get a well-rounded understanding of the speakers’ performance. Take your time to listen to different types of music and audio content to ensure that the speakers deliver the desired sound quality.
If you find any issues with the sound, such as distortion or imbalances, double-check the connections and settings. Don’t hesitate to consult the user manuals of your audio system and speakers for troubleshooting tips. Additionally, you can seek professional assistance if needed.
By thoroughly testing and adjusting the sound quality, you can enjoy the full potential of your ceiling speakers and create a captivating audio experience in your space.
With this final step completed, you have successfully mounted and set up your ceiling speakers. Sit back, relax, and enjoy the immersive sound that fills your room.
Congratulations on completing the process of mounting ceiling speakers!
Conclusion
Mounting ceiling speakers is a rewarding project that can transform your listening experience. By following the steps outlined in this guide, you can achieve professional-quality sound without the need for professional installation.
We began by gathering the necessary tools and equipment, ensuring that you have everything at hand for a smooth installation process. Next, we discussed the importance of choosing the right placement for your ceiling speakers, considering factors such as room size, listening preferences, and acoustic considerations.
Preparing the ceiling for installation involved tasks such as locating ceiling joists, marking speaker locations, and cutting speaker holes. These steps lay the groundwork for a secure and clean installation.
Running the speaker wire is crucial to deliver audio signals to the speakers. By planning wire paths, connecting the wire ends, and securing the wire in place, you can ensure a seamless and efficient setup.
Mounting the ceiling speakers involves attaching mounting brackets or clips, aligning the speakers, and securing them to the ceiling. Attention to detail and proper installation techniques are vital to achieve a professional look.
Connecting the speakers to the audio system is the next step. Properly identifying the speaker terminals, stripping wire ends, and connecting the wires ensure optimal signal transmission and sound output.
Finally, testing and adjusting the sound quality allow you to fine-tune the audio experience. By testing individual speakers, balancing the sound, adjusting EQ settings, and experimenting with placement, you can achieve the desired audio quality and coverage.
In conclusion, mounting ceiling speakers is an engaging and rewarding project that can enhance your listening pleasure. With the right tools, preparation, and careful execution, you can achieve a professional installation that transforms your space into a haven of exceptional sound quality.
So, gather your tools, select the perfect placement, prepare your ceiling, run the speaker wire, mount the speakers, connect them to your audio system, and test and adjust the sound. Enjoy the immersive sound experience that ceiling speakers bring to your home.
Frequently Asked Questions about How To Mount Ceiling Speakers
Was this page helpful?
At Storables.com, we guarantee accurate and reliable information. Our content, validated by Expert Board Contributors, is crafted following stringent Editorial Policies. We're committed to providing you with well-researched, expert-backed insights for all your informational needs.



0 thoughts on “How To Mount Ceiling Speakers”