Home>Technology>Home Entertainment Systems>How To Mount A Projector To The Ceiling

Home Entertainment Systems
How To Mount A Projector To The Ceiling
Modified: February 18, 2024
Learn how to install a projector on the ceiling for your home entertainment system with our step-by-step guide. Maximize your viewing experience today!
(Many of the links in this article redirect to a specific reviewed product. Your purchase of these products through affiliate links helps to generate commission for Storables.com, at no extra cost. Learn more)
Introduction
Welcome to the ultimate guide on how to mount a projector to the ceiling! Whether you're a movie buff, a gaming enthusiast, or a professional in need of a high-quality display, mounting a projector to the ceiling can elevate your viewing experience to new heights. By following this step-by-step tutorial, you'll be able to create a sleek and immersive home entertainment setup that will impress friends and family alike.
Ceiling-mounted projectors offer numerous advantages, such as maximizing floor space, providing a clear line of sight, and delivering a true cinematic feel. Additionally, they can be seamlessly integrated into any room, whether it's a dedicated home theater or a multi-purpose living space. With the right tools, equipment, and know-how, you can bring the magic of the big screen directly into your home.
In this comprehensive guide, we'll cover everything you need to know to successfully mount a projector to the ceiling. From gathering the necessary tools and determining the ideal mounting location to assembling the mounting hardware and testing the projector, each step is crucial to ensuring a secure and professional installation. By the end of this tutorial, you'll have the confidence and expertise to transform your space into a captivating entertainment hub.
So, roll up your sleeves, channel your inner DIY spirit, and get ready to embark on an exciting journey to create an impressive ceiling-mounted projector setup. Let's dive into the first step: gathering the necessary tools and equipment.
Key Takeaways:
- Elevate your home entertainment experience by mounting a projector to the ceiling. Maximize space, create a cinematic feel, and impress friends with a sleek and immersive setup.
- Gather tools, find the perfect location, assemble hardware, and test the projector for a successful ceiling-mounted installation. Enjoy captivating visuals and endless entertainment!
Read more: How To Mount A Projector On The Ceiling
Step 1: Gather the Necessary Tools and Equipment
Before you begin the projector mounting process, it’s essential to gather all the required tools and equipment. Having the right items on hand will streamline the installation and ensure a smooth and efficient workflow. Here’s a comprehensive list of the tools and equipment you’ll need:
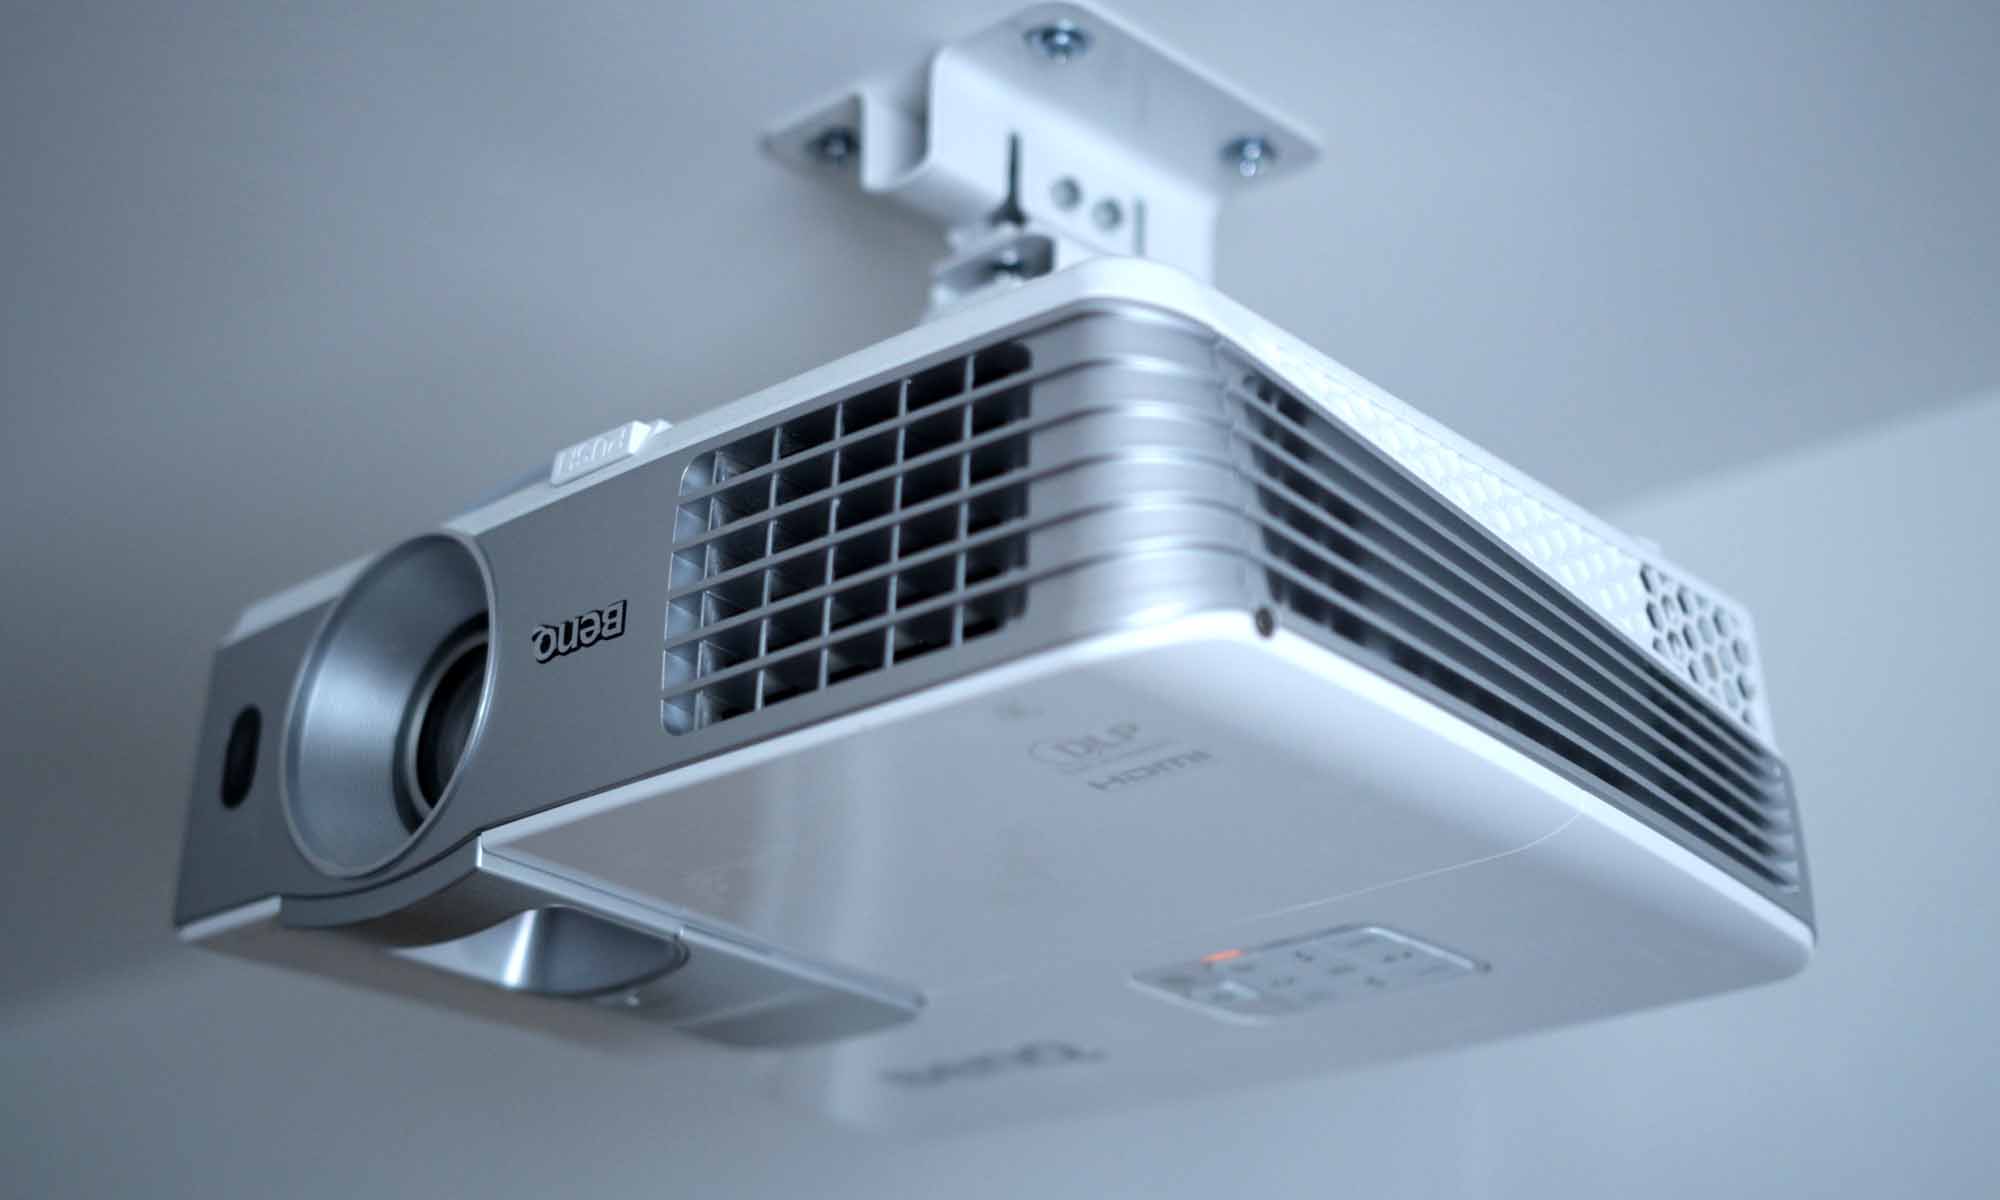
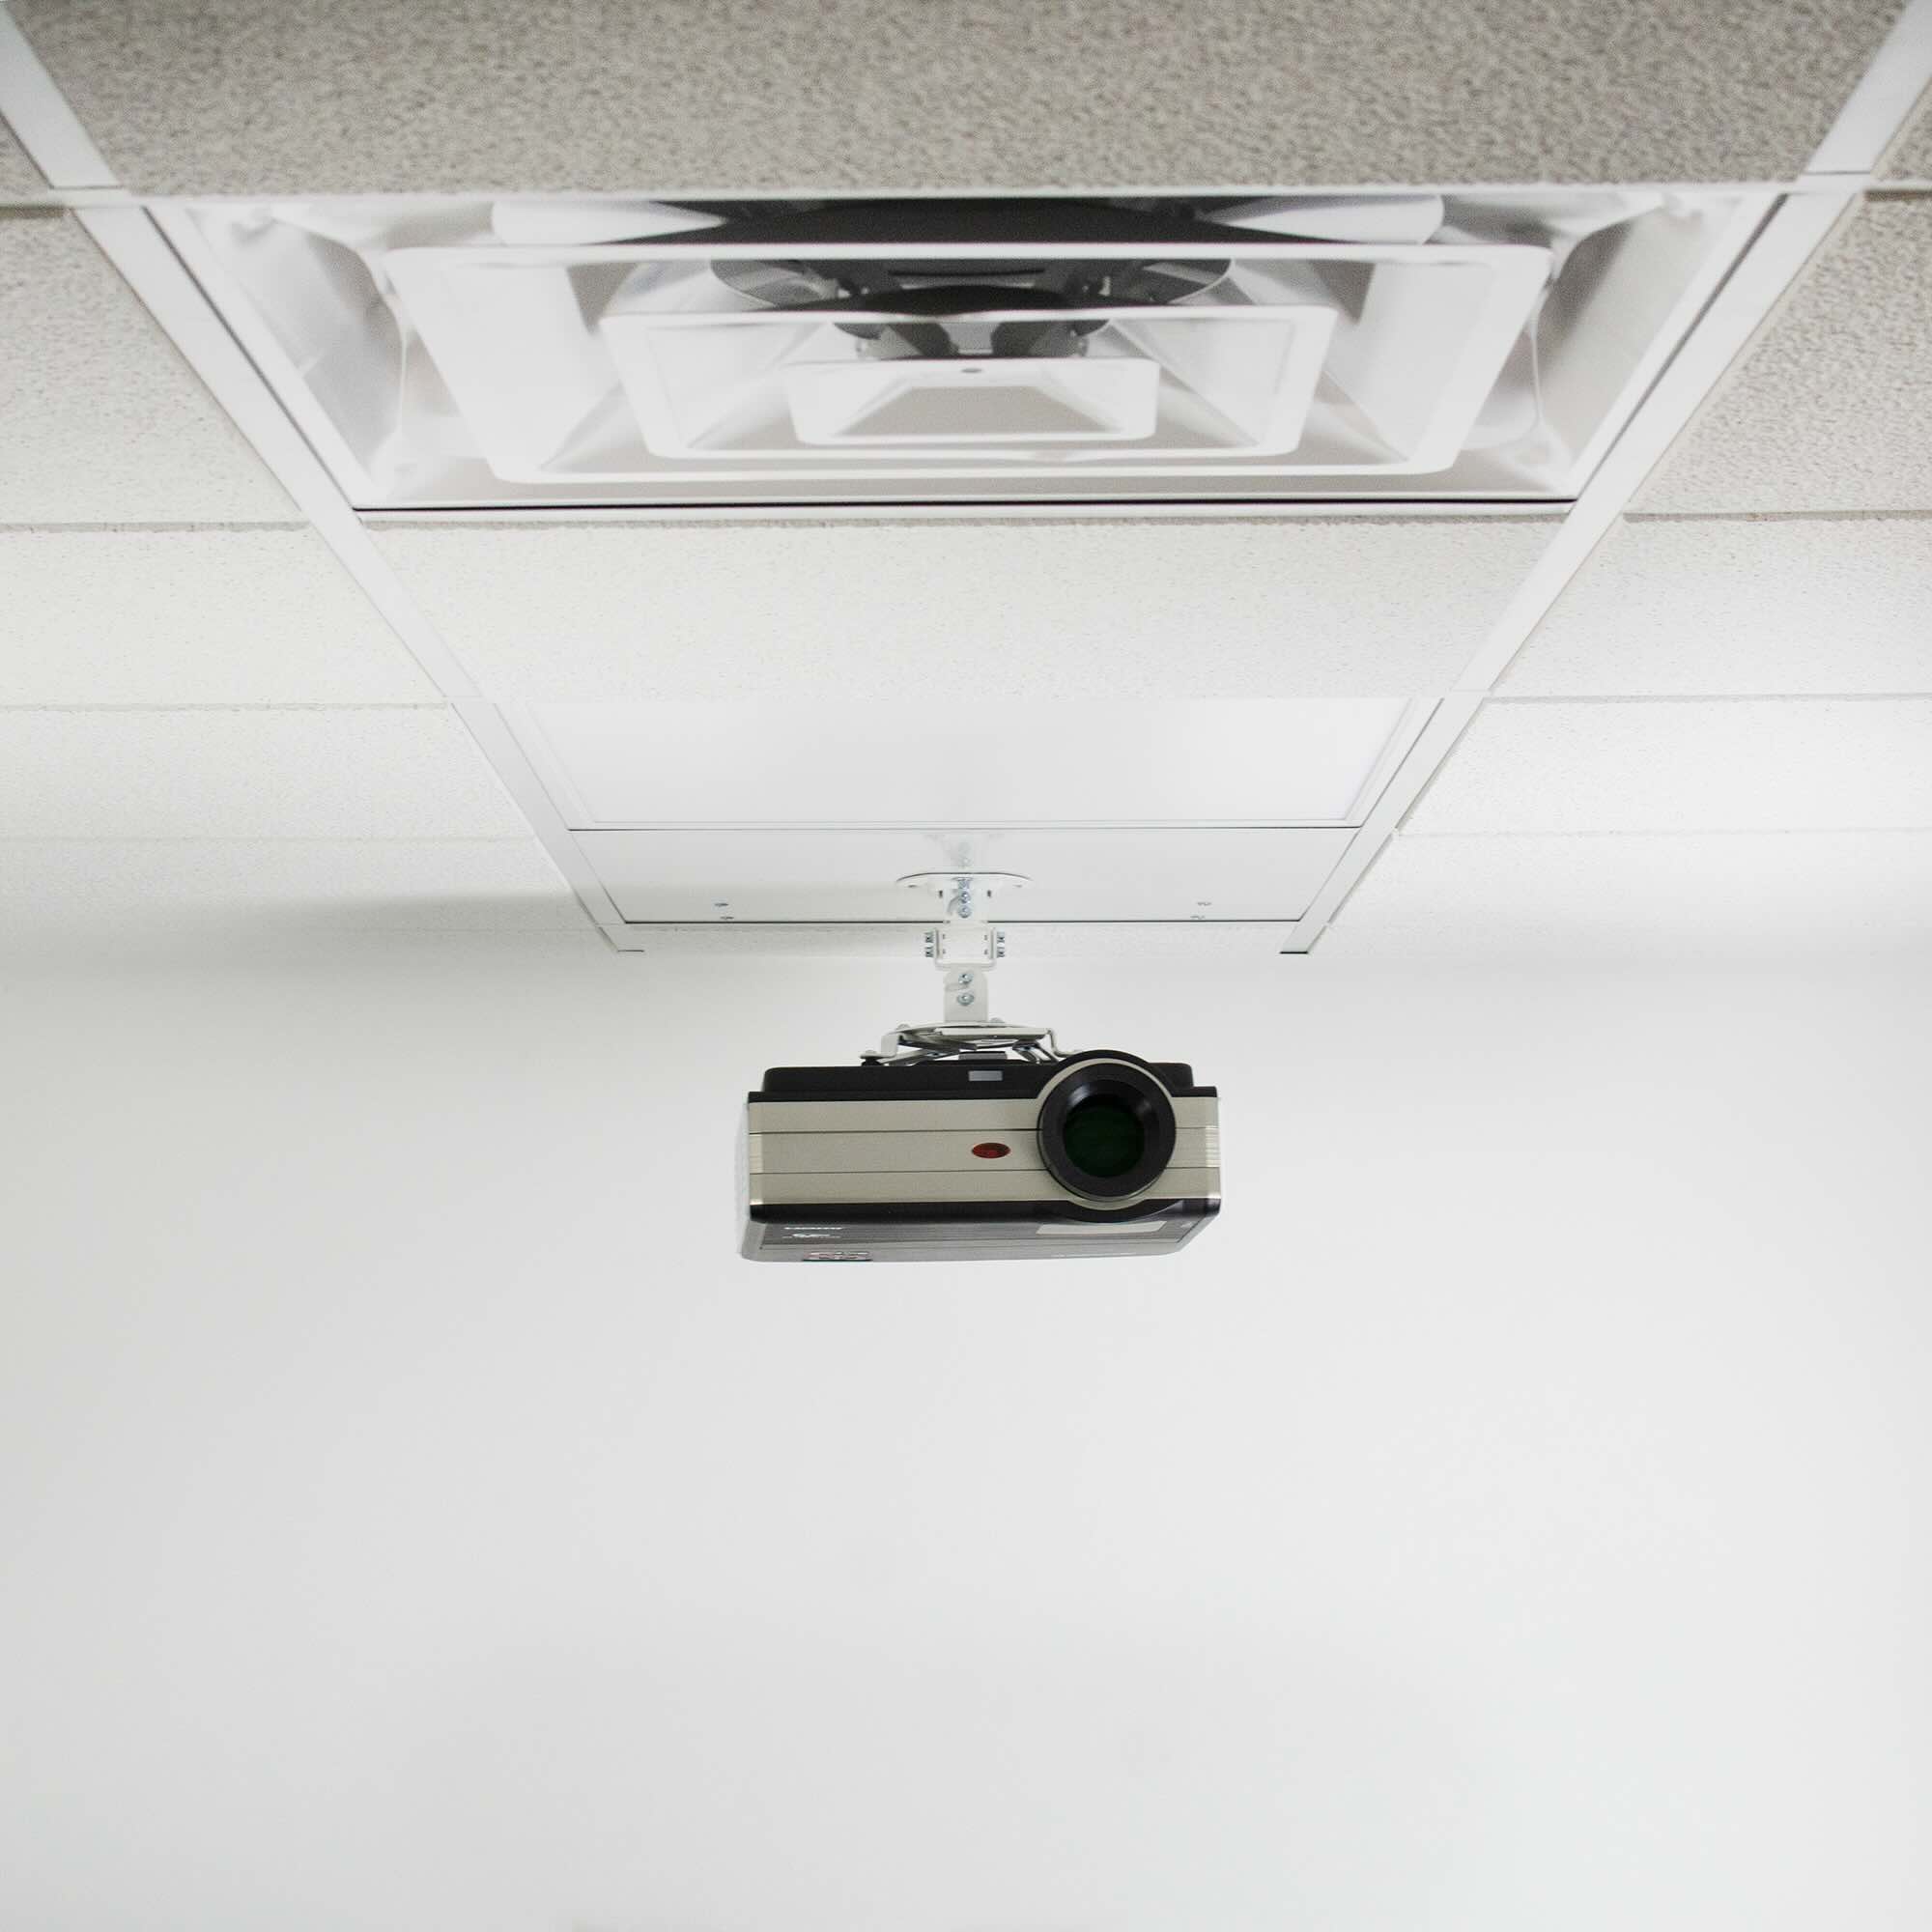
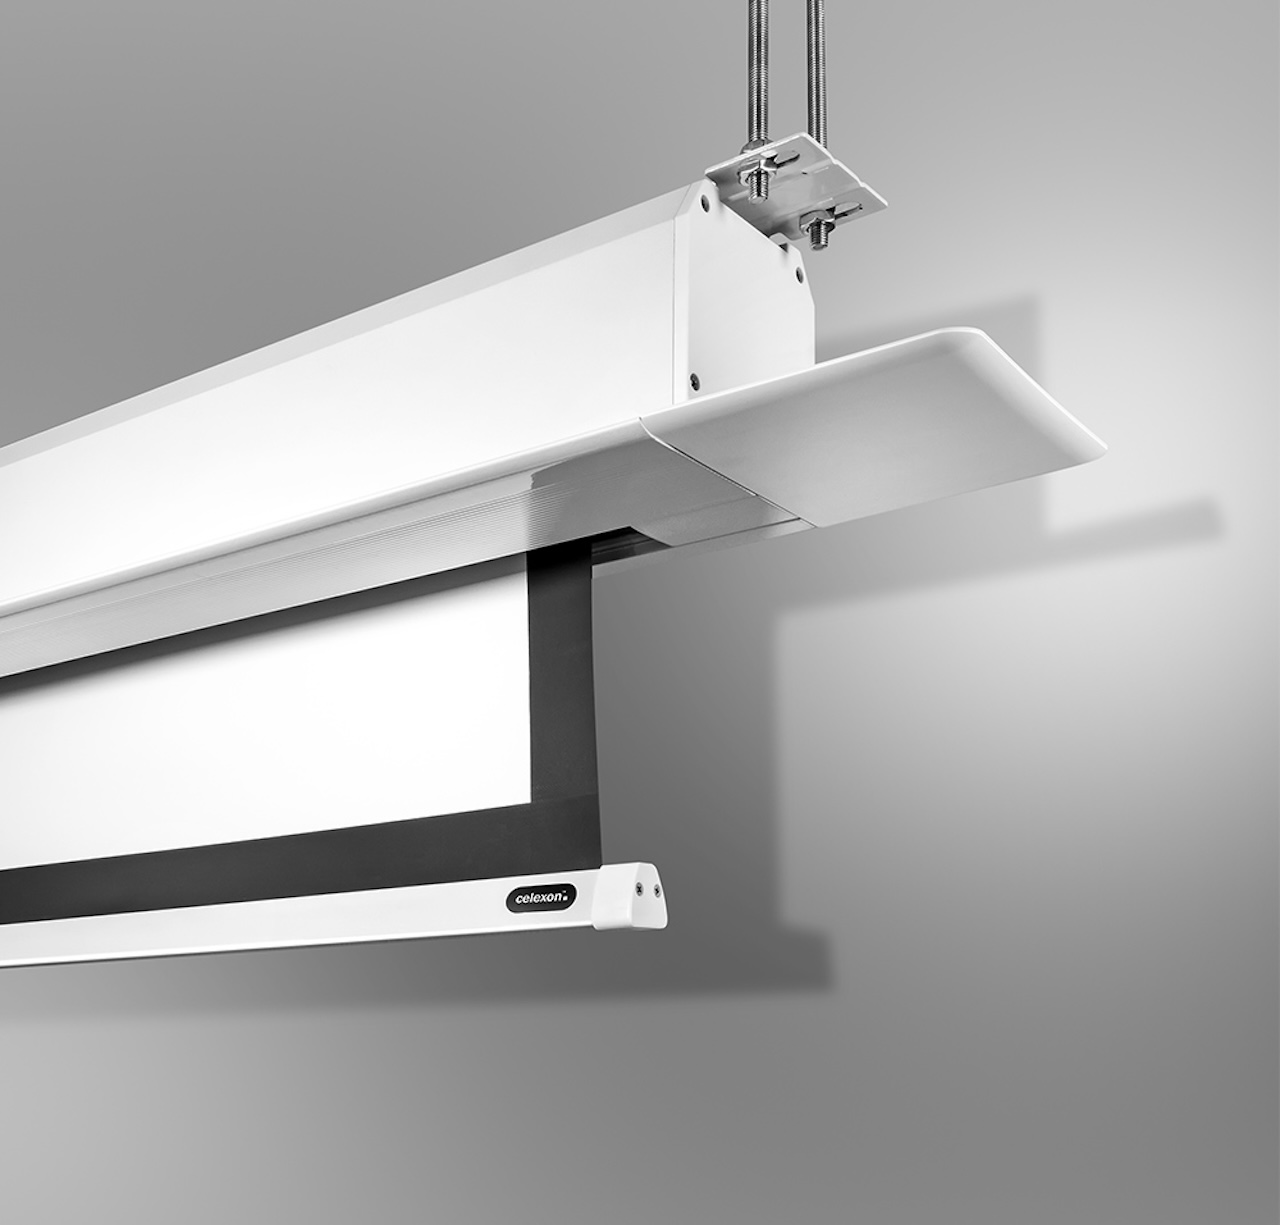
- Projector Mounting Kit: This typically includes the ceiling plate, extension column, projector mount, and all necessary hardware. Ensure that the kit is compatible with your projector model and ceiling type.
- Stud Finder: A stud finder is crucial for locating ceiling joists or beams to ensure a secure mounting location.
- Measuring Tape: Accurate measurements are essential for determining the ideal projector placement and ensuring a balanced installation.
- Pencil or Marker: Marking the mounting locations on the ceiling will help guide the installation process.
- Power Drill: A reliable power drill equipped with the appropriate drill bits will be necessary for creating pilot holes and securing the mounting hardware.
- Screwdriver Set: A set of screwdrivers, including Phillips and flat-head varieties, will be needed for tightening screws and securing the projector mount.
- Ladder or Step Stool: Depending on the ceiling height, a stable and secure ladder or step stool will facilitate safe access to the mounting area.
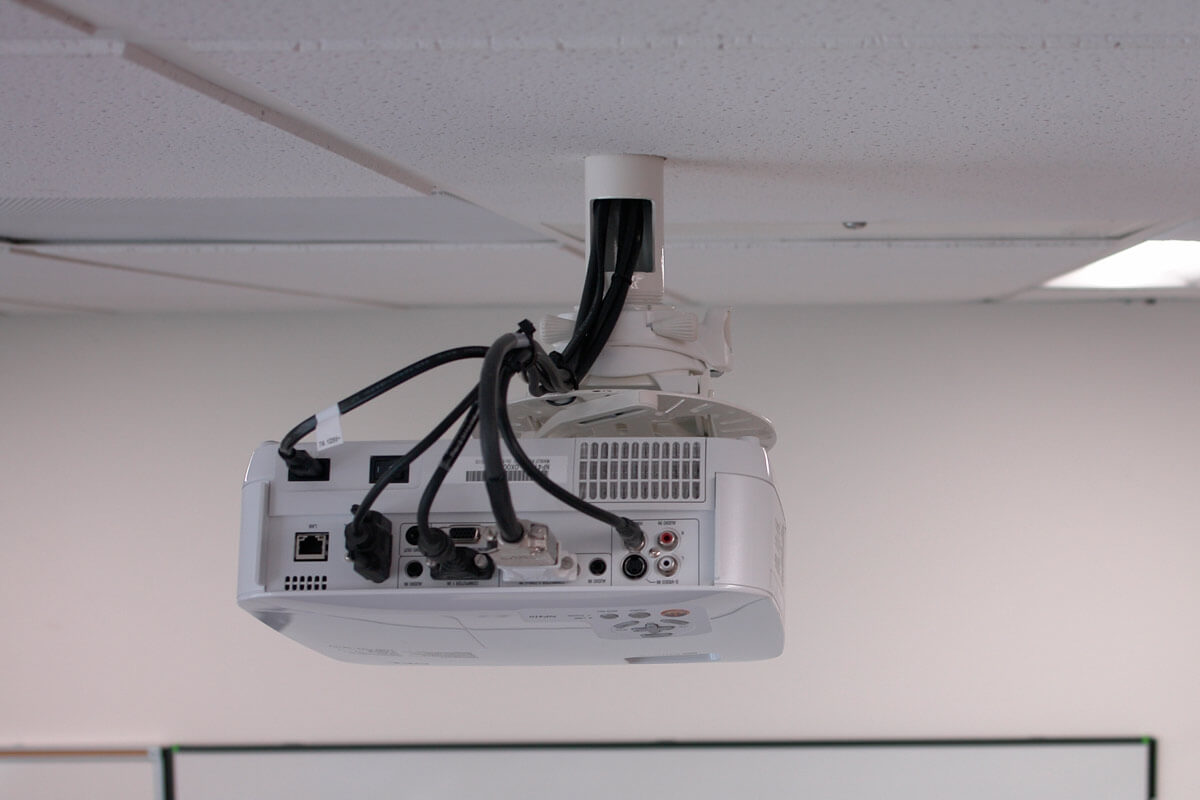
- Cable Management Solutions: Cable ties, cable clips, and cable covers will help organize and conceal the projector’s power and signal cables for a clean and professional look.
- Safety Gear: Safety should always be a priority. Ensure you have safety goggles, work gloves, and any other personal protective equipment necessary for the installation.
By ensuring you have all the essential tools and equipment at your disposal, you’ll be well-prepared to tackle the projector mounting process with confidence. With these items in hand, you’re ready to move on to the next step: determining the mounting location.
Step 2: Determine the Mounting Location
Choosing the ideal mounting location for your projector is a critical decision that directly impacts your viewing experience. Before proceeding with the installation, carefully consider the following factors to ensure the best possible placement:
- Ceiling Structure: Use a stud finder to locate ceiling joists or beams. Mounting the projector to a structural support ensures stability and prevents the risk of the mount pulling away from the ceiling over time.
- Projection Distance and Angle: Determine the desired projection distance and angle relative to the screen or viewing area. Consider the throw ratio and zoom capabilities of your projector to achieve the optimal image size and clarity.
- Screen Position: If you already have a fixed screen or plan to install one, ensure that the projector’s throw angle aligns with the screen’s position and dimensions. This alignment is crucial for achieving a perfectly proportioned and centered image.
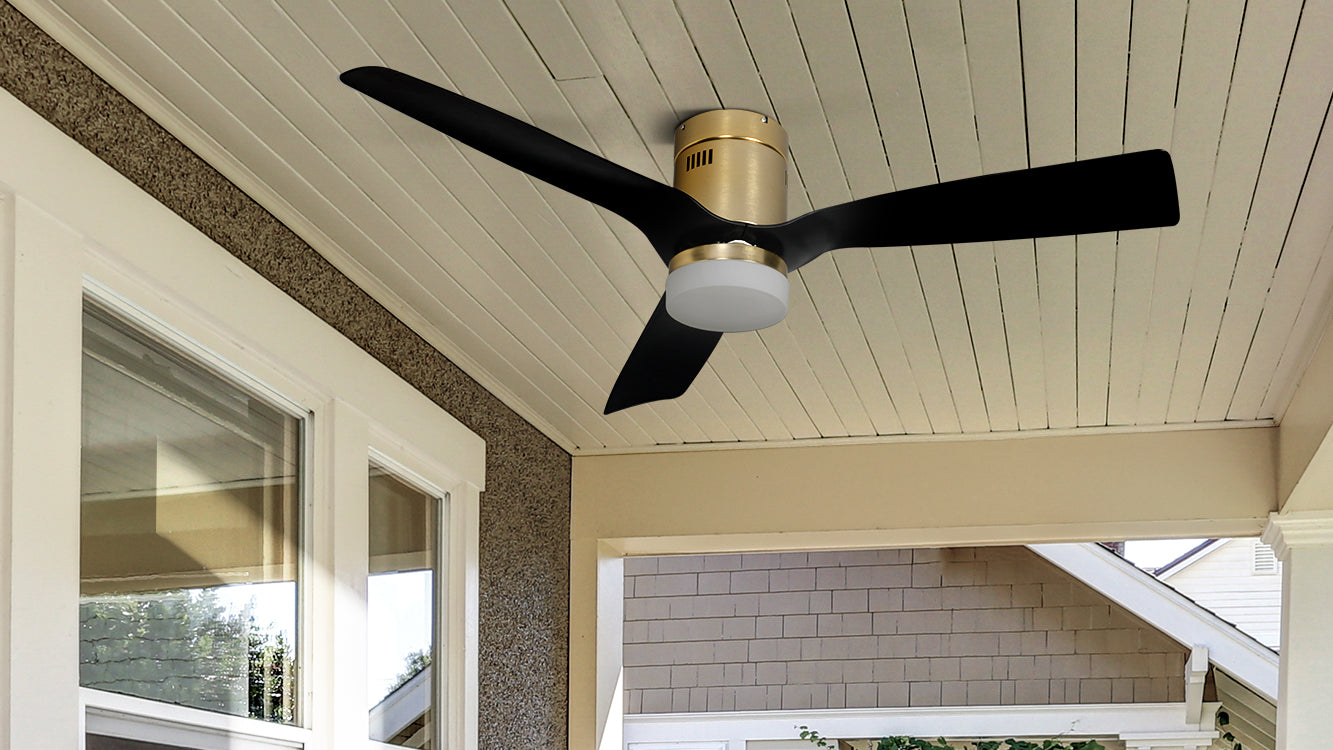
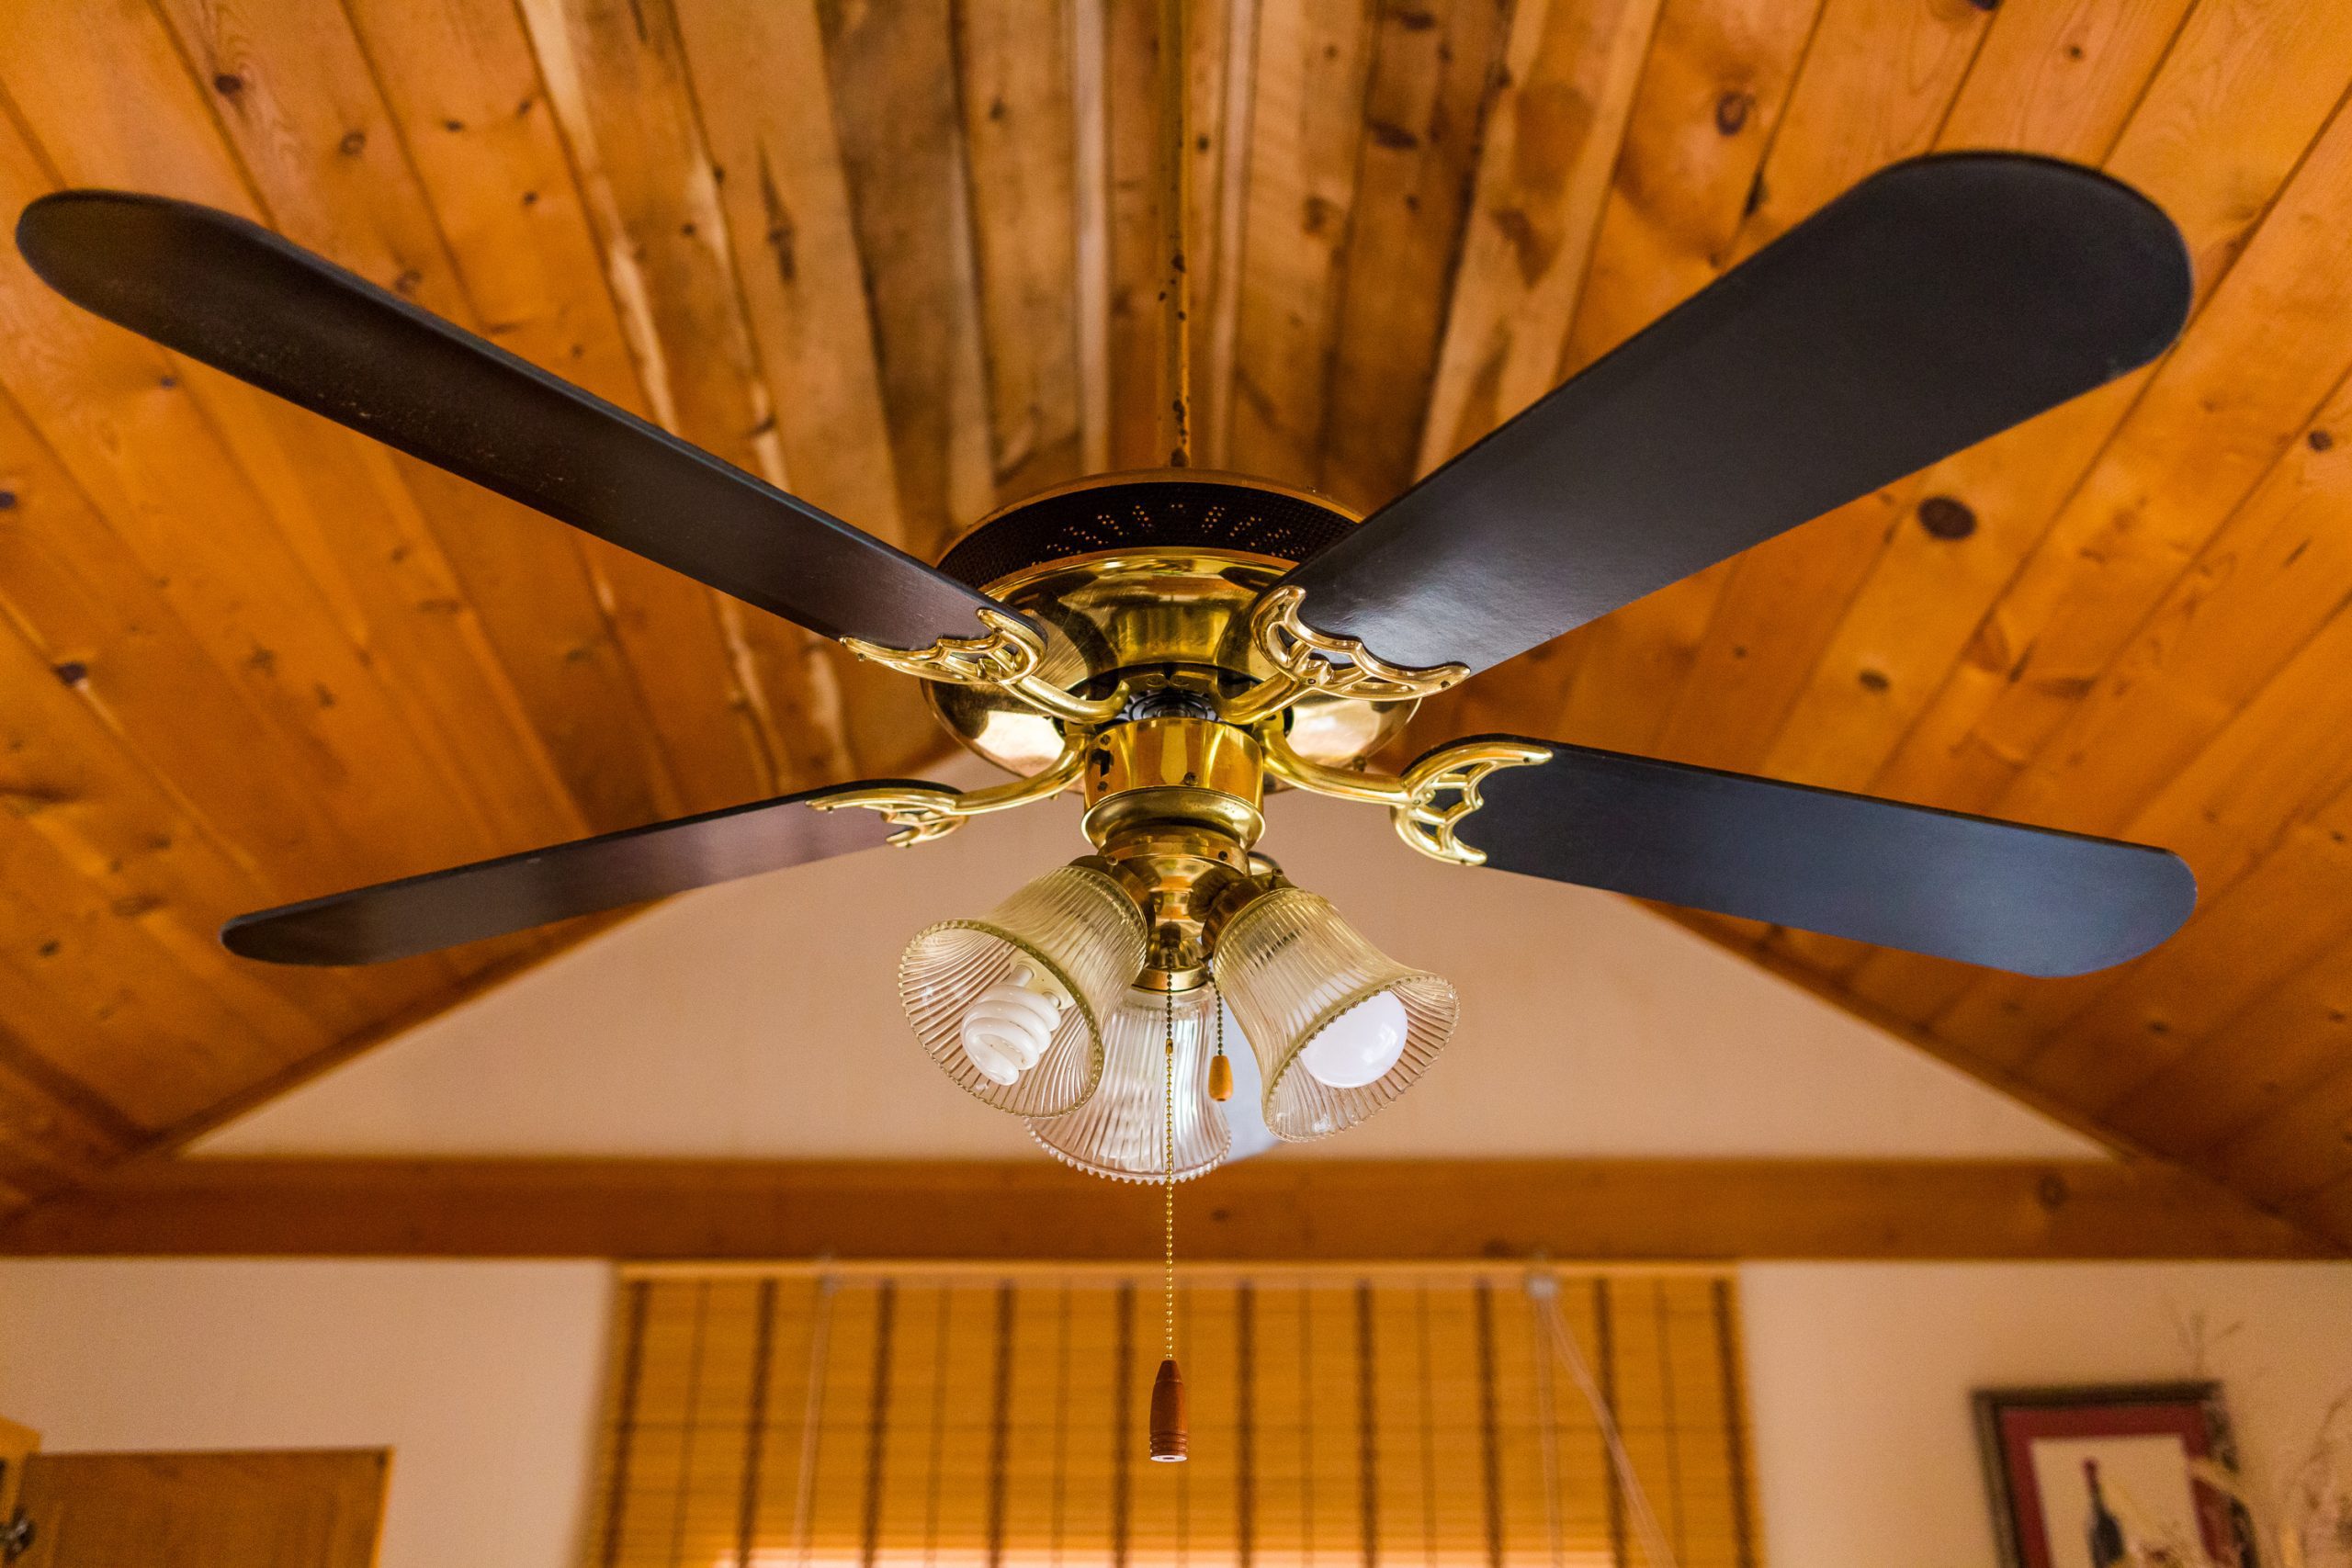
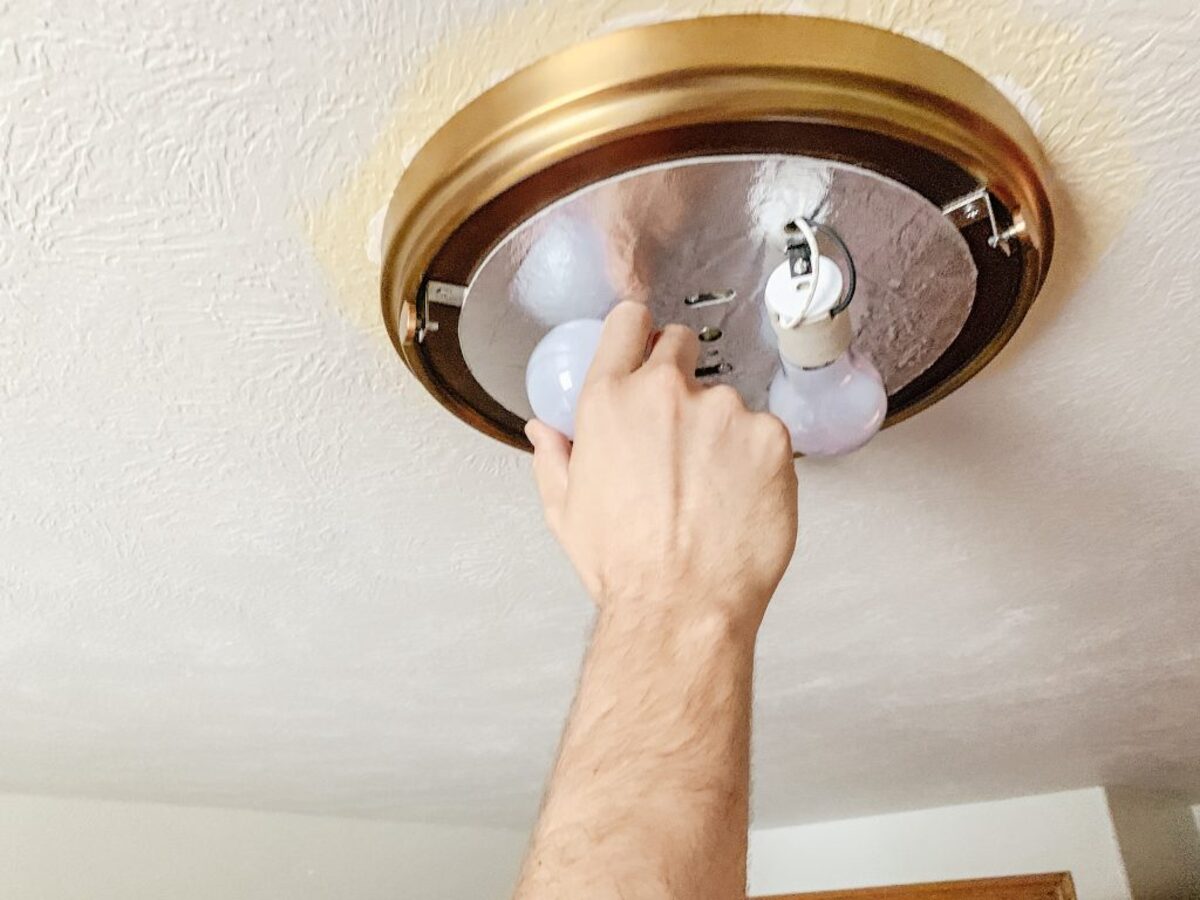
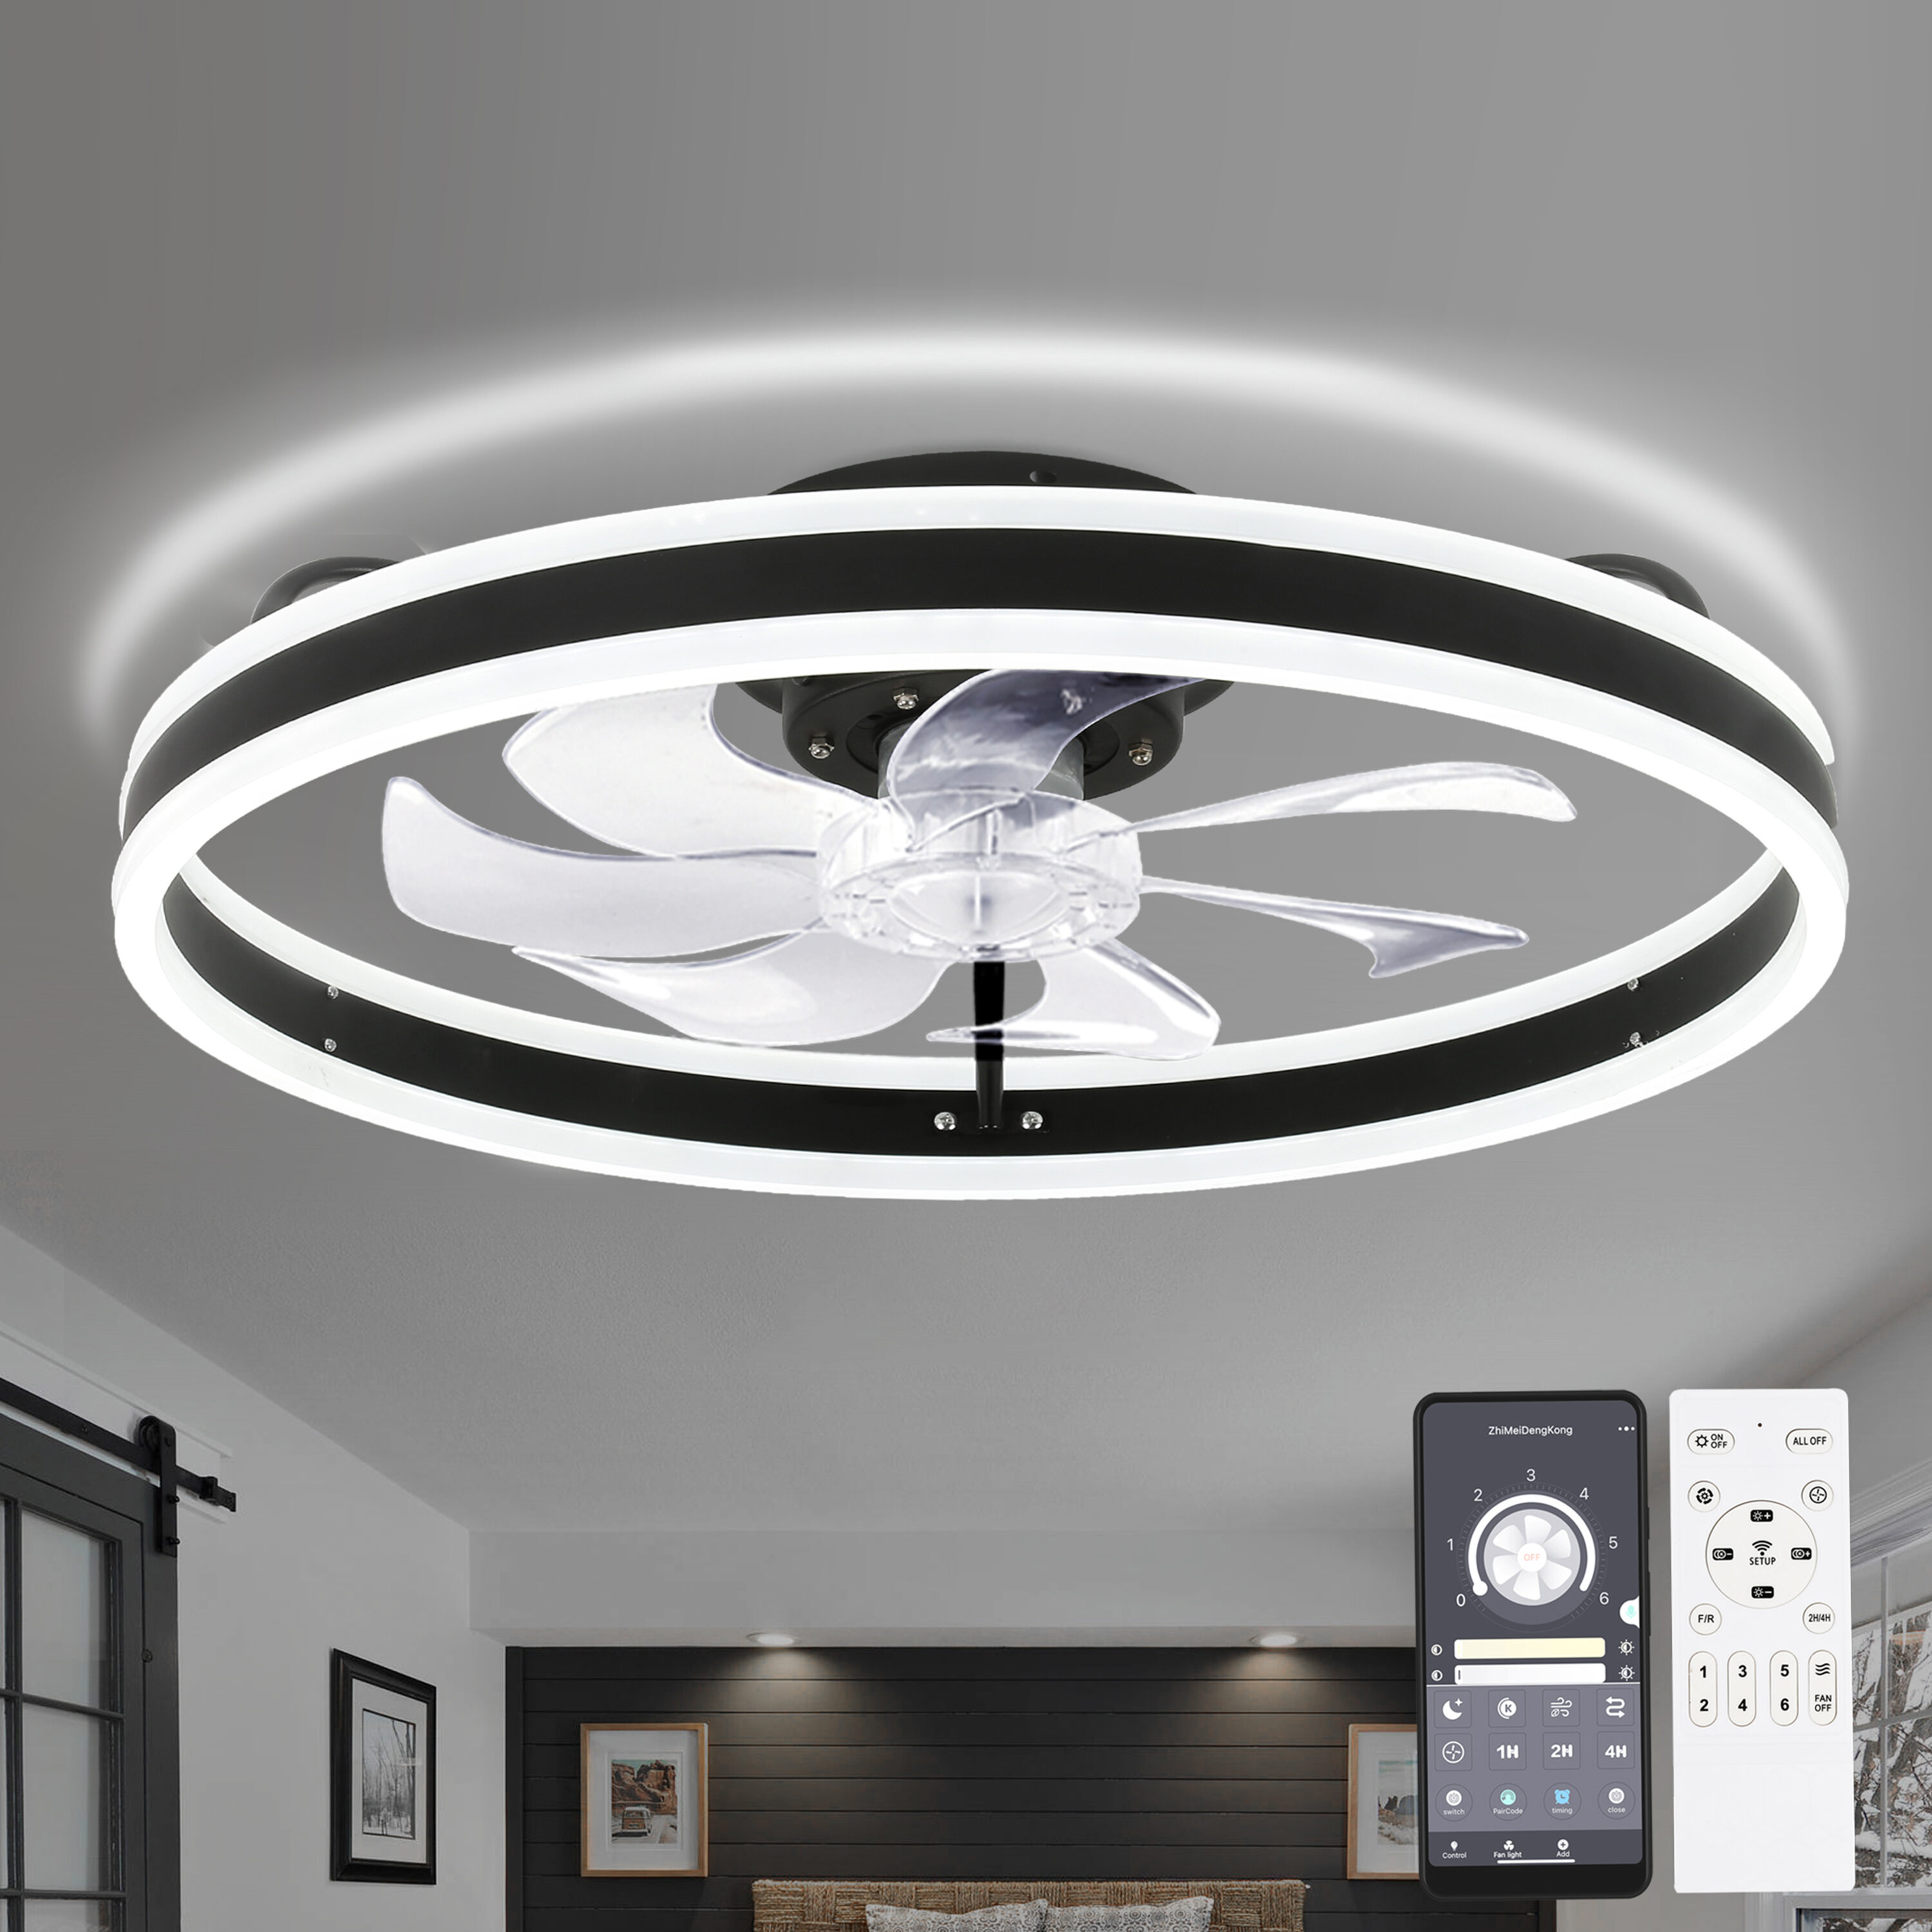
- Avoiding Obstructions: Select a mounting location that minimizes potential obstructions such as ceiling fans, light fixtures, air vents, and decorative elements. Clearing the line of sight ensures an unobstructed viewing experience.
- Ceiling Height: Consider the ceiling height and the projector’s vertical lens shift capabilities to position the projected image at the optimal height on the screen. This factor is particularly important for maintaining a comfortable viewing angle from various seating positions.
Once you’ve carefully assessed these considerations, use a pencil or marker to indicate the precise mounting location on the ceiling. It’s advisable to double-check the alignment and measurements before proceeding to ensure accuracy. With the mounting location determined, you’re ready to move on to the next step: assembling the mounting hardware.
Step 3: Assemble the Mounting Hardware
With the mounting location identified, it’s time to assemble the necessary hardware that will securely affix the projector mount to the ceiling. Follow these steps to ensure a smooth and precise assembly process:
- Unpack the Mounting Kit: Carefully unpack the projector mounting kit and verify that all components, including the ceiling plate, extension column, and projector mount, are present. Refer to the included instructions to familiarize yourself with each component’s function and assembly process.
- Organize the Hardware: Lay out all the included hardware, such as screws, washers, and nuts, in an organized manner. This will streamline the assembly process and prevent any components from being misplaced during installation.
- Assemble the Ceiling Plate: Begin by assembling the ceiling plate according to the manufacturer’s instructions. This typically involves attaching the necessary brackets and hardware to create a stable base for mounting the projector.
- Attach the Extension Column: If your mounting kit includes an extension column, securely attach it to the ceiling plate. Ensure that the column is level and aligned with the designated mounting location on the ceiling.
- Prepare the Projector Mount: Assemble the projector mount according to the provided instructions, ensuring that all adjustable arms and connection points are tightened securely. This step may vary depending on the specific design of the projector mount.
- Verify the Assembly: Once the mounting hardware is assembled, double-check all connections and fastenings to confirm that everything is secure and aligned. This verification step is crucial for the stability and safety of the installation.
By meticulously assembling the mounting hardware, you’ll lay the foundation for a secure and reliable projector mounting system. Attention to detail during this phase will contribute to a professional and aesthetically pleasing installation. With the hardware assembled, you’re ready to proceed to the next step: mounting the ceiling plate.
Step 4: Mount the Ceiling Plate
Mounting the ceiling plate is a pivotal step in the projector installation process, as it forms the base for securely attaching the projector mount to the ceiling. Follow these detailed instructions to ensure a precise and stable mounting of the ceiling plate:
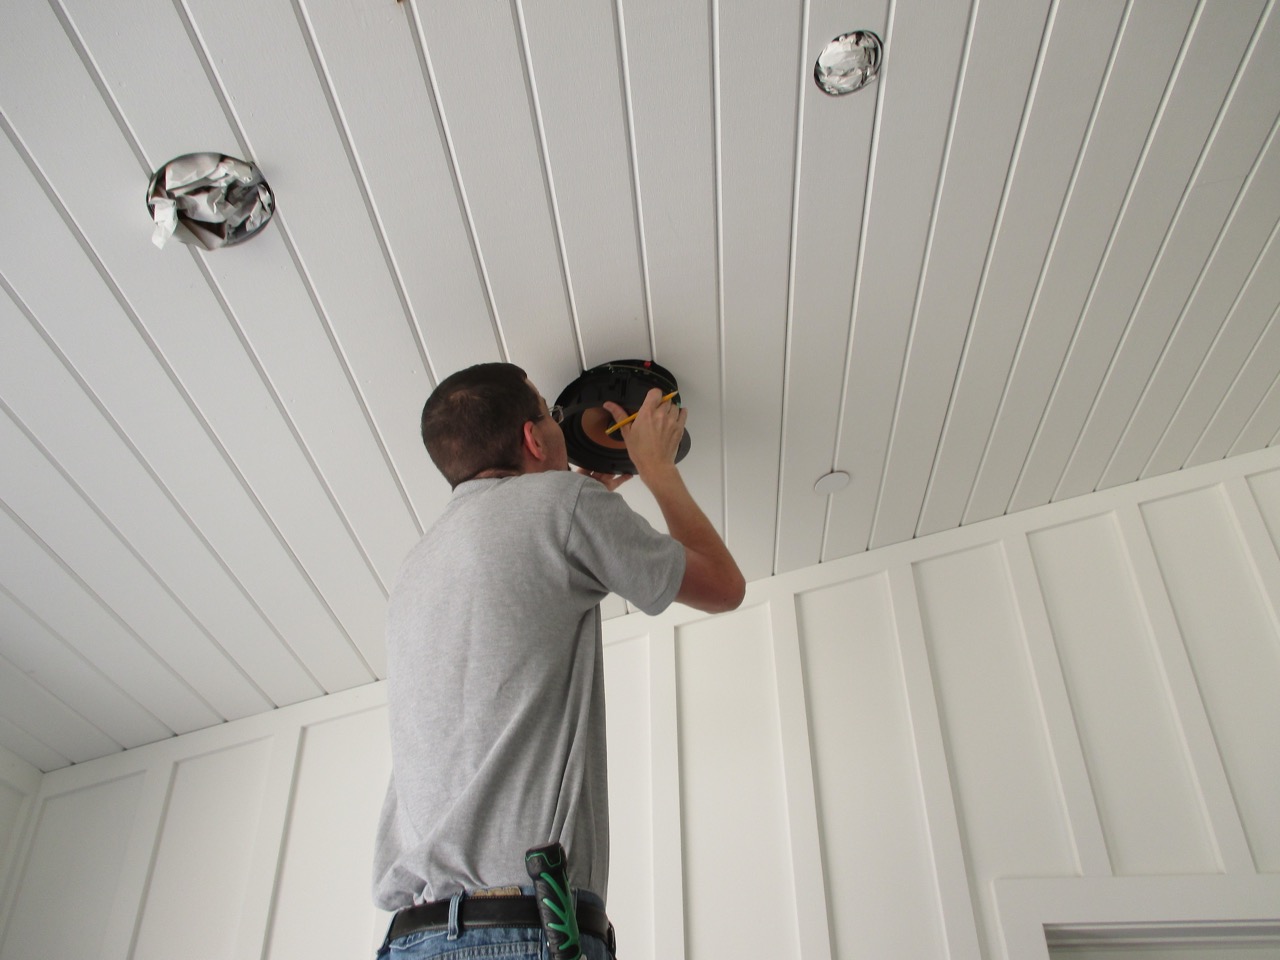
- Position the Ceiling Plate: Hold the assembled ceiling plate against the designated mounting location on the ceiling. Ensure that it is aligned with the previously marked position and use a level to confirm that it is perfectly horizontal.
- Mark the Mounting Holes: With the ceiling plate held in place, use a pencil or marker to mark the locations of the mounting holes on the ceiling. These marks will serve as guides for drilling pilot holes to accommodate the mounting hardware.
- Drill Pilot Holes: Using a power drill equipped with the appropriate drill bit size, carefully drill pilot holes at the marked locations. Exercise caution to avoid damaging any electrical wiring, plumbing, or structural components within the ceiling.
- Secure the Ceiling Plate: Align the pre-drilled holes in the ceiling plate with the pilot holes in the ceiling, then use the provided screws and anchors to securely fasten the ceiling plate in place. Ensure that the plate is firmly attached and does not wobble or shift.
- Verify Stability: Once the ceiling plate is mounted, gently tug on it to confirm its stability. It should remain firmly affixed to the ceiling without any noticeable movement. This step is crucial for ensuring the long-term security of the projector mount.
By meticulously following these steps, you’ll successfully mount the ceiling plate and establish a solid foundation for the projector mounting system. Attention to detail and precision during this phase will contribute to a professional and secure installation. With the ceiling plate securely in place, you’re ready to proceed to the next step: attaching the projector mount.
Make sure to use a stud finder to locate a ceiling joist for secure mounting. Use a ceiling mount kit and follow the manufacturer’s instructions for proper installation.
Step 5: Attach the Projector Mount
Attaching the projector mount to the ceiling plate marks a significant milestone in the installation process, bringing you one step closer to enjoying a captivating viewing experience. Follow these detailed instructions to ensure a seamless and secure attachment of the projector mount:
- Position the Projector Mount: Hold the assembled projector mount beneath the ceiling plate, aligning it with the mounting holes on the plate. Ensure that the mount is centered and level, providing a stable foundation for the projector.
- Secure the Mounting Hardware: Using the provided screws and washers, carefully attach the projector mount to the ceiling plate. Tighten the screws securely to ensure that the mount is firmly affixed and does not wobble or shift.
- Adjust the Mounting Arms: If your projector mount features adjustable arms or extension capabilities, adjust them to achieve the desired distance and projection angle. Refer to the manufacturer’s instructions for guidance on customizing the mount to suit your specific projector and viewing preferences.
- Verify Stability: Once the projector mount is attached, gently test its stability by applying slight pressure in different directions. It should remain securely fastened to the ceiling plate without any signs of instability or movement.
By following these steps with precision and attention to detail, you’ll successfully attach the projector mount to the ceiling plate, creating a reliable and secure foundation for your projector. This crucial step brings you closer to the exciting stage of positioning and testing the projector. With the mount securely in place, you’re ready to proceed to the next step: securing the cables.
Step 6: Secure the Cables
Securing the cables associated with your ceiling-mounted projector is essential for maintaining a tidy and organized installation while ensuring optimal signal transmission and safety. Follow these steps to effectively manage and secure the cables for a professional and polished setup:
- Identify Cable Routes: Determine the optimal routes for the power and signal cables, considering factors such as concealment, accessibility, and avoiding potential interference with other fixtures or components.
- Use Cable Management Solutions: Utilize cable ties, cable clips, and cable covers to neatly bundle and route the cables along the ceiling and walls. This not only enhances the aesthetics of the installation but also prevents tangling and damage to the cables.
- Conceal Exposed Cables: If possible, conceal exposed cables within cable covers or raceways to create a clean and unobtrusive appearance. This approach minimizes visual clutter and ensures a streamlined presentation.
- Ensure Adequate Slack: Allow for sufficient slack in the cables to accommodate any future adjustments or maintenance requirements. Avoid taut or stretched cables, as they may become strained or damaged over time.
- Test Cable Connections: Once the cables are secured and routed, verify that all connections are secure and that the cables are functioning properly. This includes checking the power supply, HDMI or VGA connections, and any additional audio or video cables.
By meticulously managing and securing the cables, you’ll not only enhance the visual appeal of your ceiling-mounted projector setup but also ensure the reliability and longevity of the connected components. Attention to cable management contributes to a professional and polished installation. With the cables effectively secured, you’re ready to move on to the exciting final step: testing the projector.
Step 7: Test the Projector
After completing the meticulous installation of your ceiling-mounted projector, it’s time to embark on the thrilling final step: testing the projector to ensure optimal performance and visual quality. Follow these essential guidelines to conduct a comprehensive testing process:
- Power On the Projector: Connect the power cable to the projector and ensure that it is securely plugged into a reliable power source. Power on the projector and allow it to initialize, observing the startup sequence and any indicator lights.
- Verify Signal Connectivity: Connect your video source, such as a media player or gaming console, to the projector using the appropriate cables (e.g., HDMI, VGA). Confirm that the signal is successfully transmitted to the projector and that the image is displayed on the screen or projection surface.
- Adjust Image Settings: Access the projector’s menu to fine-tune image settings such as brightness, contrast, color temperature, and keystone correction. Optimize these settings to achieve a vibrant and well-balanced image that suits your viewing environment.
- Test Audio Output: If your projector is equipped with built-in speakers or audio output capabilities, test the audio performance to ensure clear and immersive sound reproduction. Alternatively, connect external audio devices to the projector and verify the audio output.
- Check Remote Control Functionality: Test the functionality of the projector’s remote control, ensuring that it can effectively adjust settings, navigate menus, and control playback if applicable. Replace the batteries if necessary.
- Verify Keystone and Lens Shift: If your projector features keystone correction or lens shift capabilities, test these adjustments to ensure that the projected image is properly aligned and geometrically accurate, especially if the projector is not positioned perpendicular to the screen.
- Assess Overall Performance: Evaluate the overall performance of the projector by testing its compatibility with different content types, assessing color accuracy, and gauging its suitability for various viewing scenarios, such as movie nights, gaming sessions, or presentations.
By meticulously testing the projector and verifying its functionality across various parameters, you’ll gain confidence in the successful installation and enjoy a captivating viewing experience. This final step ensures that your ceiling-mounted projector is ready to deliver immersive entertainment and visual excellence. With the projector successfully tested, you’ve completed the comprehensive process of mounting a projector to the ceiling.
Conclusion
Congratulations on successfully completing the comprehensive process of mounting a projector to the ceiling! By following the step-by-step instructions outlined in this guide, you’ve transformed your space into a captivating entertainment hub, ready to deliver immersive visuals and engaging experiences. As you reflect on the journey from gathering the necessary tools and determining the mounting location to meticulously assembling the hardware and testing the projector, you’ve acquired valuable skills and expertise in creating a professional and polished installation.
Mounting a projector to the ceiling offers numerous benefits, including maximizing floor space, providing a clear line of sight, and delivering a true cinematic feel. Whether you’re enjoying movie nights with friends, delving into immersive gaming experiences, or conducting professional presentations, your ceiling-mounted projector will elevate your viewing experience to new heights.
As you revel in the seamless integration of your projector into your home entertainment system, take pride in the attention to detail and precision that have resulted in a visually stunning and functional setup. The meticulous cable management, precise projector alignment, and comprehensive testing process have culminated in a seamless installation that enhances your space and captivates your audience.
With your projector securely mounted to the ceiling and delivering exceptional visual performance, you’re poised to embark on countless hours of entertainment, education, and inspiration. Whether it’s the thrill of cinematic blockbusters, the excitement of immersive gaming, or the impact of professional presentations, your ceiling-mounted projector is ready to deliver unforgettable experiences.
As you bask in the allure of your newly installed ceiling-mounted projector, remember that the journey doesn’t end here. Embrace the endless possibilities for creativity, enjoyment, and innovation that your projector brings to your space. With each viewing experience, you’ll appreciate the expertise and care that went into the installation, ensuring a seamless and captivating display every time.
So, sit back, relax, and immerse yourself in the captivating world of visual excellence that your ceiling-mounted projector has unlocked. Whether it’s a thrilling movie night, an intense gaming session, or a compelling presentation, your projector is poised to deliver exceptional performance and endless enjoyment.
Frequently Asked Questions about How To Mount A Projector To The Ceiling
Was this page helpful?
At Storables.com, we guarantee accurate and reliable information. Our content, validated by Expert Board Contributors, is crafted following stringent Editorial Policies. We're committed to providing you with well-researched, expert-backed insights for all your informational needs.


0 thoughts on “How To Mount A Projector To The Ceiling”