
Articles
How To Reverse A Ceiling Fan
Modified: February 27, 2024
Learn how to reverse a ceiling fan in this informative article. Discover the step-by-step process to optimize the airflow in your home.
(Many of the links in this article redirect to a specific reviewed product. Your purchase of these products through affiliate links helps to generate commission for Storables.com, at no extra cost. Learn more)
Introduction
Welcome to this comprehensive guide on how to reverse a ceiling fan. Ceiling fans are an essential and energy-efficient appliance in homes and offices across the world. They help to circulate air and can provide cooling during hot summer months and even help distribute warm air during the winter. Typically, ceiling fans rotate in a clockwise direction to create a cool breeze in the room. However, there are occasions when it is more beneficial to reverse the fan’s direction.
Reversing the ceiling fan can be particularly useful during colder months, as it helps to push warm air trapped near the ceiling down into the living space, increasing comfort and reducing heating costs. Additionally, reversing the fan can also help to distribute cool air more effectively in larger rooms, ensuring even cooling throughout.
In this article, we will help you understand the concept of ceiling fan reversal and guide you through the process of reversing your ceiling fan step by step. We will also discuss the benefits of using this feature, the tools and equipment you will need, common troubleshooting tips, and safety precautions to keep in mind. So, let’s get started on learning how to reverse a ceiling fan!
Key Takeaways:
- Reversing your ceiling fan can improve heating efficiency, enhance cooling in larger rooms, and save energy without any additional installation costs. Enjoy year-round comfort with this simple, cost-effective solution.
- Ensure safety by following manufacturer instructions, turning off power, and using stable platforms when reversing your ceiling fan. Enjoy the benefits of improved comfort and energy efficiency while staying safe.
Read more: How To Reverse Hunter Ceiling Fan
Understanding Ceiling Fan Reversal
Before we dive into the process of reversing a ceiling fan, it’s important to understand the mechanism behind it. Ceiling fan reversal involves changing the direction in which the fan blades rotate. By reversing the direction, you can either create a cooling breeze or distribute warm air more effectively, depending on the season and your specific needs.
Typically, ceiling fans have a switch located on the base of the fan or on the motor housing. This switch allows you to change the fan’s rotation direction between clockwise and counterclockwise.
During the summer, when you want to create a cooling effect, the fan should rotate in a counterclockwise direction. This creates a downdraft, pushing air directly beneath the fan and creating a cooling breeze. This counter-clockwise rotation helps to create a cooling wind-chill effect, making you feel cooler without actually lowering the temperature in the room.
On the other hand, during the winter months, you want to reverse the direction of the fan. This involves changing the rotation to clockwise. By doing so, the fan will create an updraft, pushing warm air that rises to the ceiling downwards towards the floor. This helps to distribute the warm air more evenly throughout the room, making it feel more comfortable and potentially reducing your heating costs.
Understanding the concept of ceiling fan reversal is crucial as it allows you to optimize the cooling or heating performance of your fan based on the season and your personal preferences. Now that we have a good understanding of how ceiling fan reversal works, let’s move on to exploring the various benefits it offers.
Benefits of Reversing a Ceiling Fan
Reversing a ceiling fan can provide several benefits, both in terms of comfort and energy efficiency. Let’s explore some of the key advantages below:
- Improved heating efficiency: When you reverse the direction of your ceiling fan during the winter, it helps to push warm air that naturally rises towards the ceiling back down into the room. This reduces temperature stratification and ensures that the warm air is evenly distributed, making the room feel more comfortable and reducing the need for excessive heating.
- Enhanced cooling in large rooms: In larger rooms, especially those with high ceilings, it can be challenging for a ceiling fan set to the normal clockwise direction to effectively cool the entire space. By reversing the fan to rotate counterclockwise, you can create a more powerful downdraft that spreads cool air throughout the room more effectively.
- Energy cost savings: By utilizing the ceiling fan reversal feature, you can potentially reduce your energy costs. During the summer, a counterclockwise rotation creates a cooling effect that allows you to rely less on air conditioning. In the winter, reversing the fan helps to distribute warm air, allowing you to set your thermostat at a lower temperature without compromising comfort.
- Year-round comfort: With the ability to reverse a ceiling fan’s direction, you can enjoy year-round comfort in your home or office. Whether you want to cool down during the summer or improve heating efficiency in the winter, the fan reversal feature allows you to adapt the airflow according to your specific needs.
- No installation or additional costs: Reversing a ceiling fan does not require any additional installation or equipment. It simply involves flipping a switch or button located on the fan itself. This means you can enjoy the benefits of ceiling fan reversal without any extra expenses.
By taking advantage of the benefits offered by ceiling fan reversal, you can improve both your comfort and energy efficiency throughout the year. Now that we understand the advantages of reversing a ceiling fan, let’s move on to the tools and equipment you’ll need for the process.
Tools and Equipment Needed
The process of reversing a ceiling fan is relatively simple and straightforward. You won’t need many specialized tools or equipment to complete the task. Here are the essential items you’ll need:
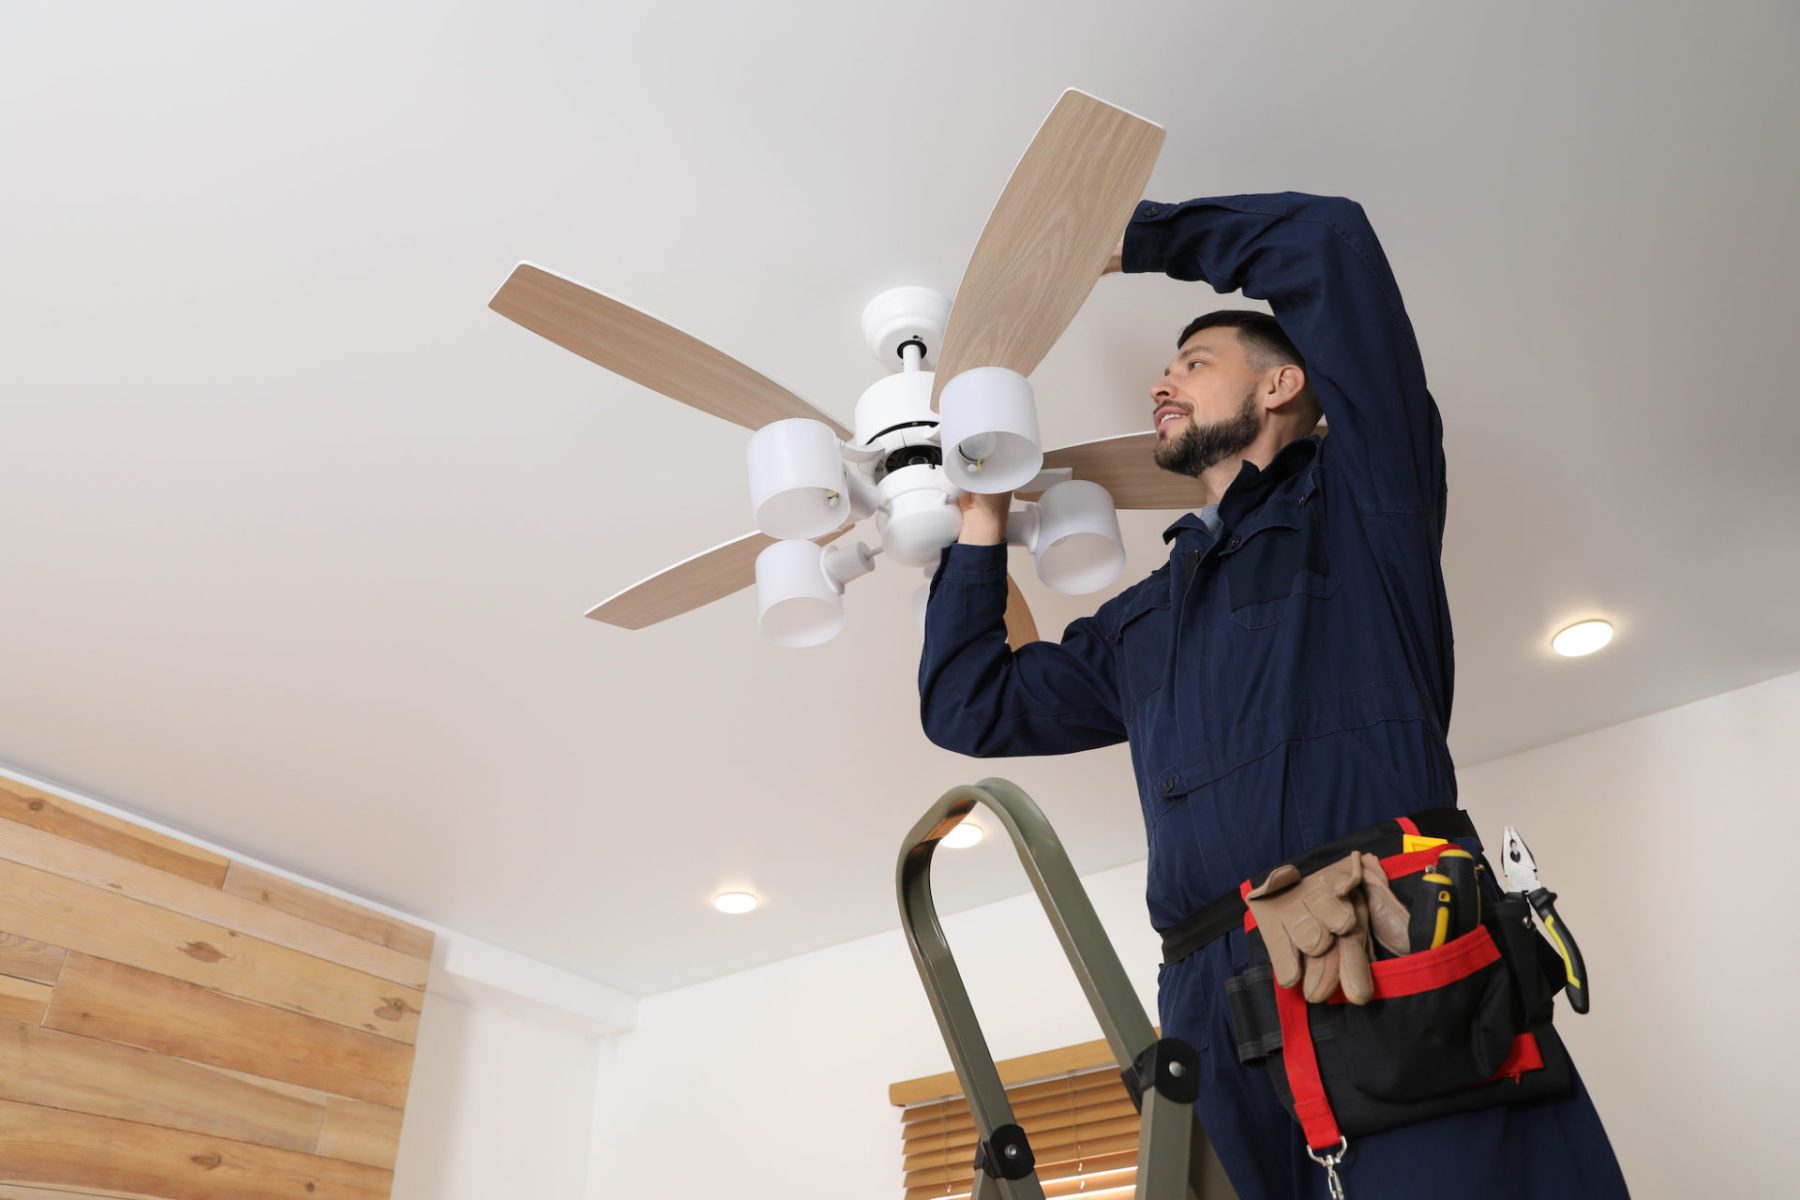
- Ladder or step stool: Depending on the height of your ceiling and the accessibility of your fan, you may need a ladder or step stool to reach the fan safely and comfortably.
- Screwdriver: In most cases, a standard screwdriver will be sufficient for removing any screws or panels necessary to access the fan’s switch or button.
- User manual or instructions: If you’re not familiar with your specific ceiling fan model or unsure of where the reversing switch is located, referring to the user manual or instructions that came with your fan can be helpful. It will provide you with the exact location and instructions for reversing the fan’s direction.
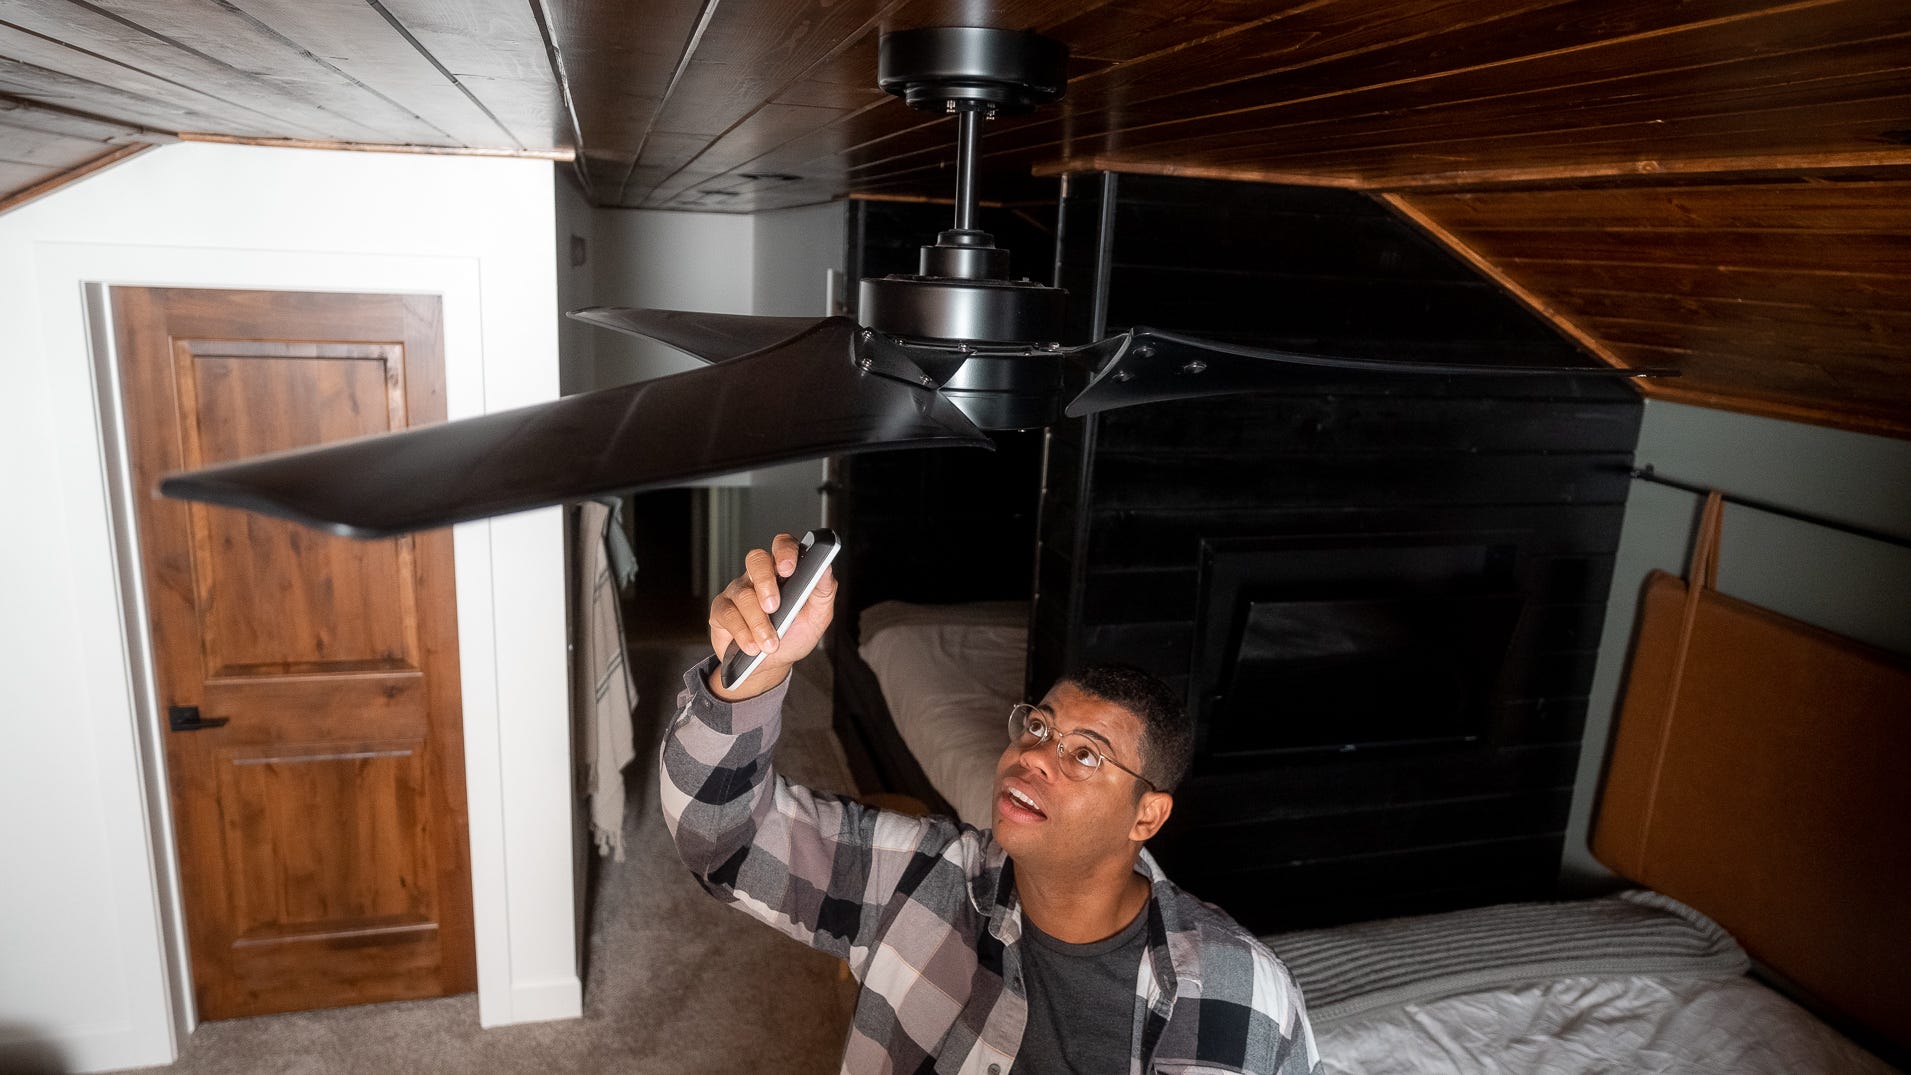
It’s important to note that the required tools and equipment may vary depending on the make and model of your ceiling fan. Some newer fans come with remote controls that include a reverse button, eliminating the need for manual adjustments using a switch. In such cases, you won’t need a screwdriver or physical access to the fan itself.
Before starting the process, ensure that you have the necessary tools and equipment readily available. It’s also helpful to gather any relevant information, such as the model number and the location of the reversal switch or button. With the right tools in hand, you’re ready to move on to the next section: the step-by-step process of reversing a ceiling fan.
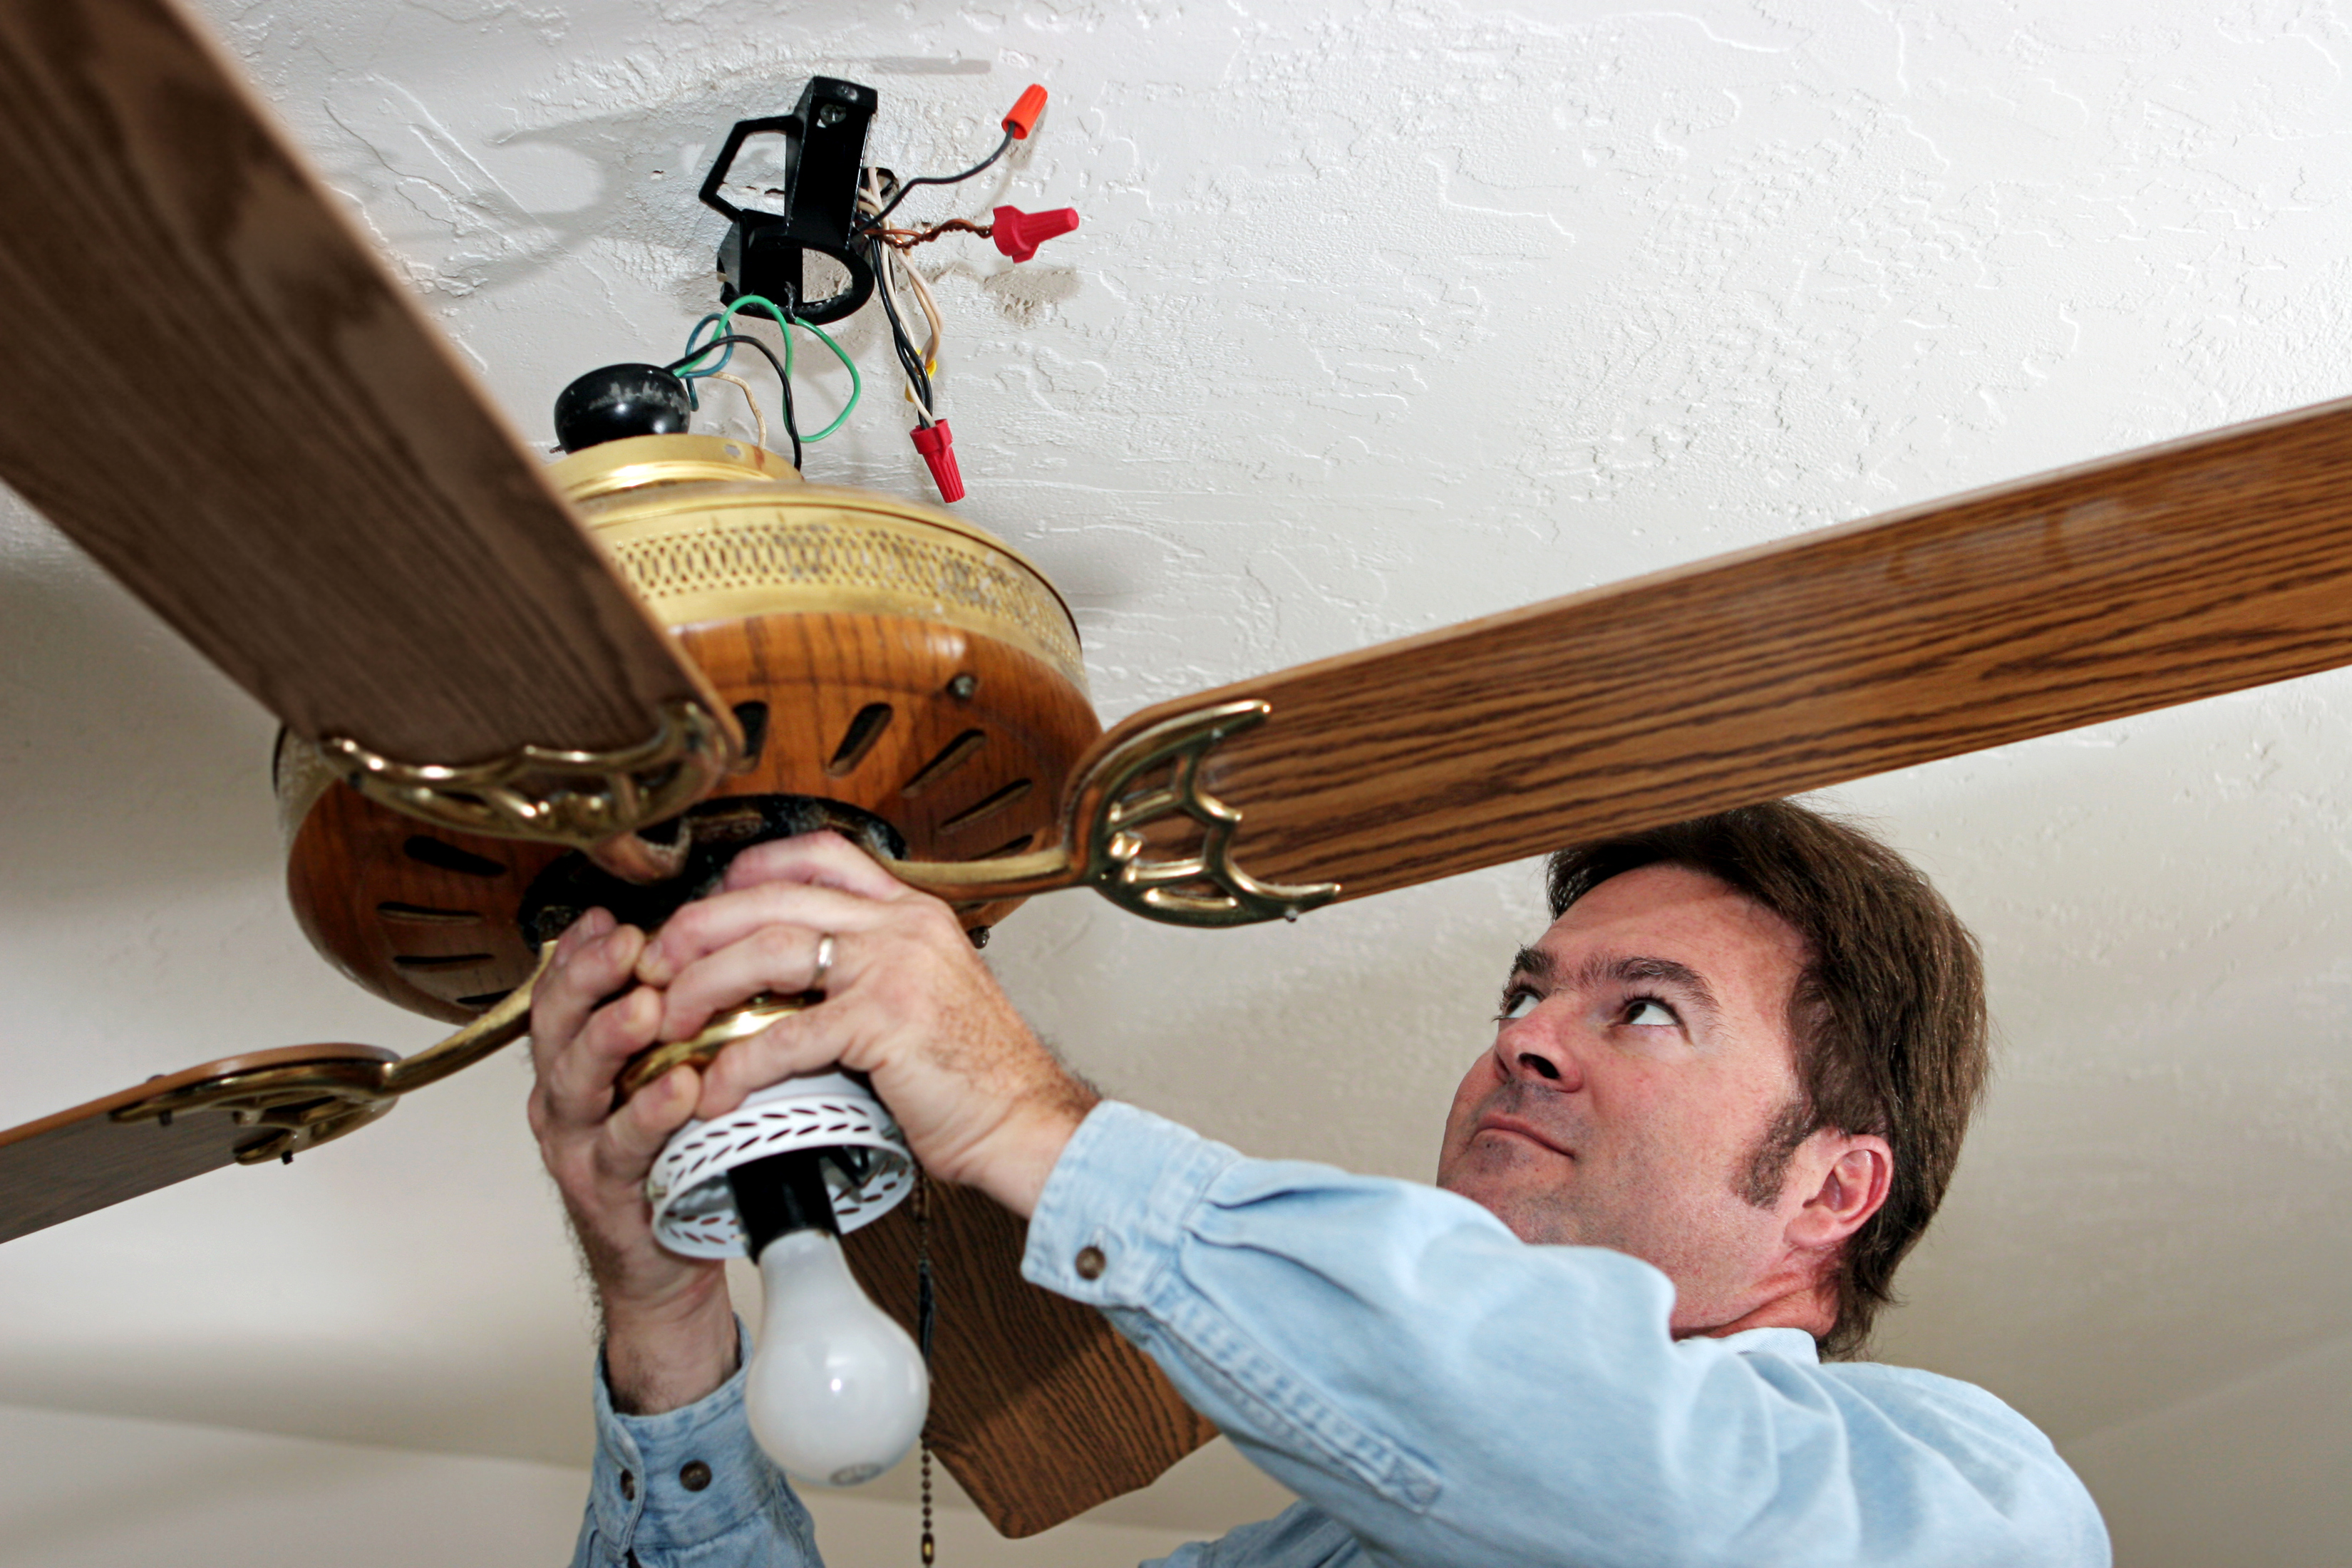
Make sure the fan is turned off before attempting to reverse it. Look for a switch on the fan motor or remote control to change the direction of the blades. This can help distribute warm air in the winter and cool air in the summer.
Steps to Reverse a Ceiling Fan
Reversing the direction of your ceiling fan is a simple process that can be completed in just a few steps. Follow this step-by-step guide to reverse your ceiling fan:
- Turn off the ceiling fan: Ensure that the fan is completely turned off before attempting to reverse its direction. This will prevent any accidents or injuries while you work on the fan.
- Locate the reversal switch: Depending on your ceiling fan model, the reversal switch may be located on the base of the fan or on the motor housing. Refer to the user manual or instructions for your specific fan to find the exact location of the reversal switch or button.
- Access the switch: If the reversal switch is located on the base of the fan, you may need to remove a small panel or cover to access it. Use a screwdriver to remove any screws or clips that secure the panel, carefully set it aside, and keep the screws in a safe place.
- Flip the switch: Once you have access to the reversal switch, simply flip it in the opposite direction. For example, if the switch is currently set to clockwise, change it to counterclockwise, or vice versa. Some fans may have a reverse button on a remote control instead of a switch, in which case you can press the button to change the direction.
- Replace the panel: If you needed to remove a panel or cover to access the reversal switch, securely reattach it using the screws or clips. Make sure the panel is properly aligned and tightened to prevent any potential hazards.
- Turn on the ceiling fan: Once you have reversed the direction of the fan, turn it back on to ensure that it is operating correctly. You should immediately notice the change in the fan’s rotation and airflow.
Congratulations! You have successfully reversed the direction of your ceiling fan. Enjoy the benefits of a cooler breeze in the summer or improved heating efficiency in the winter!
Keep in mind that the specific steps may vary depending on your ceiling fan model. Always refer to the user manual or instructions provided by the manufacturer for your particular fan to ensure you follow the correct procedure.
In the next section, we will cover troubleshooting tips and common issues that you may encounter when reversing your ceiling fan.
Read more: Why Do Ceiling Fans Go In Reverse
Troubleshooting and Common Issues
While reversing a ceiling fan is generally a straightforward process, you may encounter some common issues or face difficulties along the way. Here are a few troubleshooting tips to help you navigate potential problems:
- No visible reversal switch: If you can’t locate the reversal switch on your fan, refer to the user manual or instructions provided by the manufacturer. Some ceiling fans have a hidden switch under the motor housing or have a remote control with a reverse button.
- Stuck or jammed switch: If the reversal switch is difficult to move or feels stuck, try using a small amount of lubricant to loosen it. Be careful not to apply too much force, as this could damage the switch or other components of the fan.
- Remote control issues: If your ceiling fan is operated by a remote control, make sure the batteries are functioning correctly. Replace them if necessary and ensure the remote control is within range of the fan.
- Unresponsive fan: If the fan doesn’t respond to the reversal switch or remote control, check the power supply. Make sure the fan is properly connected to the electrical source and that the circuit breaker hasn’t tripped.
- No change in rotation: If you’ve successfully reversed the direction of the fan but notice no change in rotation, try gently pushing the blades in the desired direction. Occasionally, the fan may require a slight nudge to get it started in the opposite direction.
- Noisy operation: If the fan starts making unusual noises after reversing the direction, it may need some maintenance. Check for any loose screws or components and tighten as necessary. Cleaning the fan blades and motor can also help reduce noise levels.
If you have followed these troubleshooting tips and are still experiencing issues with your ceiling fan, it may be best to consult a professional electrician or contact the manufacturer for further assistance. They can provide you with specific guidance based on your fan’s make and model.
Now that we’ve covered some common troubleshooting issues, let’s move on to discussing the safety precautions you should keep in mind while working with your ceiling fan.
Safety Precautions
Working with a ceiling fan involves electrical components and potential hazards, so it’s important to take certain safety precautions to ensure your well-being. Here are some essential safety tips to keep in mind:
- Turn off the power: Before starting any work on your ceiling fan, make sure the power is completely turned off. Locate the circuit breaker that controls the fan’s electrical supply and switch it off to prevent any accidental electric shocks or injuries.
- Use a stable platform: If you need to use a ladder or step stool to access the fan, ensure that it is sturdy and positioned on a stable surface. Make sure all legs are firmly planted, and never overreach or stand on the top step or rung.
- Wear safety gear: Consider wearing safety glasses or goggles to protect your eyes from any debris or dust that may be dislodged during the process. Additionally, it’s a good idea to wear gloves to protect your hands from any sharp edges or moving parts.
- Follow manufacturer instructions: Always refer to the user manual or instructions provided by the manufacturer for your specific ceiling fan. They will provide detailed guidance on reversing the direction of the fan, as well as any other maintenance or safety instructions you need to follow.
- Avoid contact with moving parts: Be cautious of the fan’s moving parts, such as the blades, motor, and any exposed wires. Avoid touching or reaching into these areas while the fan is operating or when performing any adjustments.
- Don’t force switches or buttons: If you encounter resistance when flipping the reversal switch or pressing the remote control button, do not force it. Applying excessive force can lead to damage or breakage. Instead, consult the manufacturer’s instructions or seek professional assistance.
- Regular maintenance: To ensure the safe and efficient operation of your ceiling fan, perform regular maintenance tasks. This includes cleaning the fan blades, checking for loose screws or components, and lubricating moving parts as recommended by the manufacturer.
By following these safety precautions, you can minimize the risk of accidents or injuries while working on your ceiling fan. If you are unsure or uncomfortable performing any tasks, it is always recommended to seek professional assistance.
Now that you’re aware of the necessary safety precautions, let’s summarize what we’ve covered before concluding this article.
Conclusion
Reversing the direction of your ceiling fan is a simple yet effective way to optimize its performance and improve your comfort. By understanding the concept of ceiling fan reversal and following the step-by-step instructions provided in this guide, you can enjoy the benefits of a cooling breeze in the summer and enhanced heating efficiency in the winter.
We discussed the benefits of reversing a ceiling fan, including improved heating efficiency, enhanced cooling in larger rooms, energy cost savings, year-round comfort, and the fact that it requires no installation or additional costs. These advantages make ceiling fan reversal a worthwhile endeavor for any homeowner or office space.
Throughout the process, we highlighted the tools and equipment you may need, such as a ladder or step stool and a screwdriver. We also discussed troubleshooting tips for common issues, such as locating the reversal switch, dealing with stuck switches, and addressing unresponsive fans. Additionally, we emphasized the importance of adhering to safety precautions to ensure a safe working environment.
Remember, it’s always essential to consult the user manual or instructions provided by the manufacturer for your specific ceiling fan model. This will ensure that you follow the correct procedure and avoid any potential complications.
Now that you have the knowledge and confidence to reverse the direction of your ceiling fan, go ahead and give it a try. Enjoy the benefits of a well-ventilated space, increased heating efficiency, and reduced energy costs. Stay cool in the summer and cozy in the winter with the help of your newly reversed ceiling fan!
Frequently Asked Questions about How To Reverse A Ceiling Fan
Was this page helpful?
At Storables.com, we guarantee accurate and reliable information. Our content, validated by Expert Board Contributors, is crafted following stringent Editorial Policies. We're committed to providing you with well-researched, expert-backed insights for all your informational needs.




0 thoughts on “How To Reverse A Ceiling Fan”