Articles
How To Vent A Dryer In The Basement
Modified: October 31, 2024
Learn how to vent a dryer in the basement with our informative articles. Find step-by-step guides and expert tips for efficient and safe dryer ventilation.
(Many of the links in this article redirect to a specific reviewed product. Your purchase of these products through affiliate links helps to generate commission for Storables.com, at no extra cost. Learn more)
Introduction
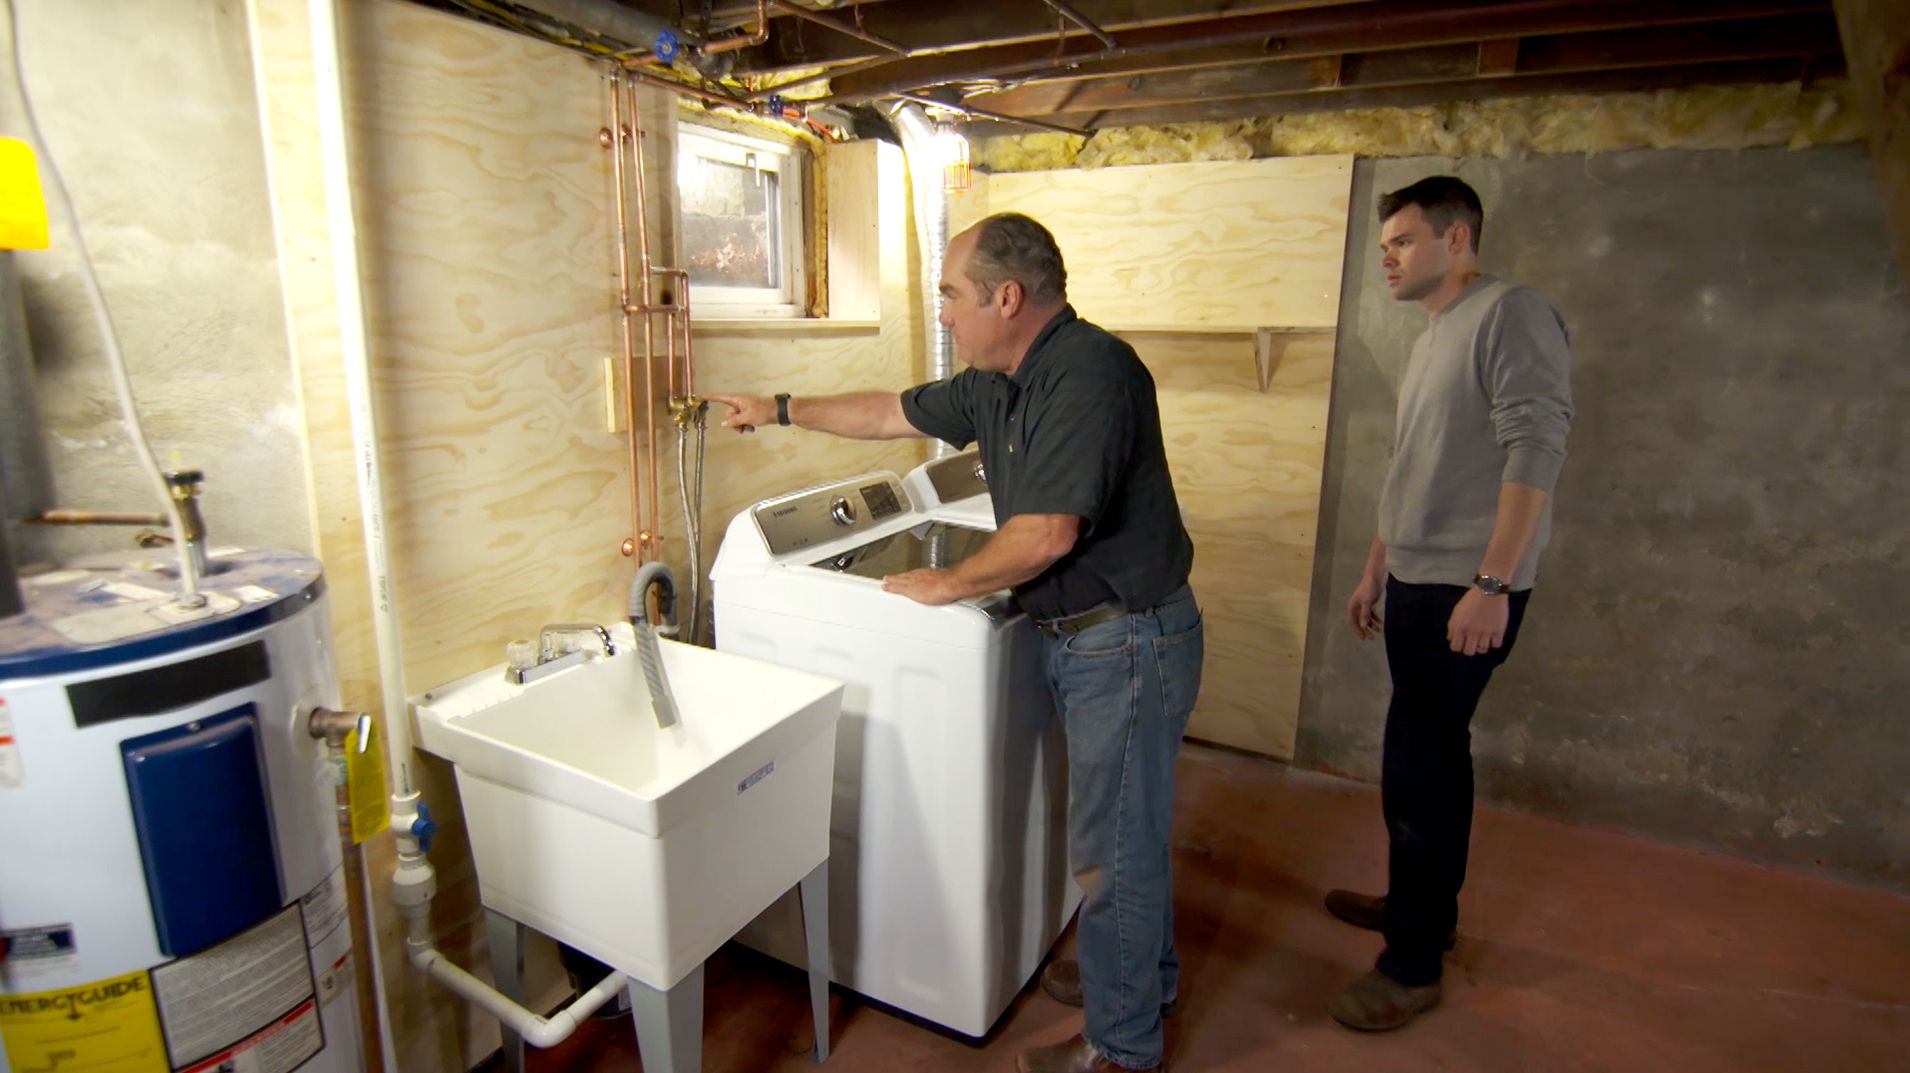
Welcome to our guide on how to vent a dryer in the basement. Ventilation is a crucial aspect of operating a dryer effectively and safely. When a dryer is located in the basement, it can present some unique challenges when it comes to venting. However, with the right knowledge and tools, you can ensure that your dryer is properly vented, reducing the risk of air pollutants and moisture buildup while maximizing its efficiency.
Basement dryer venting is important for several reasons. Firstly, it helps to expel hot, moist air produced by the dryer, preventing it from accumulating in the basement and potentially leading to mold growth or damage to the surrounding structures. Secondly, proper ventilation improves the overall energy efficiency of your dryer, allowing it to dry clothes faster and potentially saving you money on energy bills. Lastly, a well-vented dryer promotes better indoor air quality by removing lint, dust, and other particles from the air.
In this guide, we will walk you through the steps of venting a dryer in the basement. From determining the best route for the ventilation duct to installing the vent hood and connecting the ductwork, we will provide you with a comprehensive and easy-to-follow plan. We will also offer tips for regular maintenance to keep your dryer functioning properly over time.
Before we dive into the specific steps, it is crucial to remember that safety should always be a top priority. If you are uncomfortable working with electrical components or are unsure about any aspect of the installation process, it is best to consult a professional. Additionally, be sure to check your local building codes and regulations as they may have specific requirements for dryer venting in basements.
Now that we have covered the importance and safety considerations, let’s get started with Step 1: Determining the Ventilation Route.
Key Takeaways:
- Properly venting a basement dryer is essential for efficient operation, indoor air quality, and safety. Following the comprehensive steps outlined in this guide will help you create a well-ventilated system and maintain optimal dryer performance.
- Regular maintenance, including cleaning the lint trap, inspecting and cleaning the vent hose, and scheduling professional cleanings, is crucial for preventing potential hazards and ensuring efficient drying. Prioritizing safety and following local building codes are also key considerations.
Read more: How To Vent A Basement Bathroom
Step 1: Determine the Ventilation Route
Before you begin the process of venting your dryer in the basement, it is crucial to determine the best route for the ventilation duct. The goal is to find the most direct and efficient path from your dryer to an exterior wall or window. Here are a few factors to consider when determining the ventilation route:
- Proximity to an exterior wall: Identify the wall or window that is closest to your dryer. This will help minimize the length of the ductwork needed and reduce the risk of lint buildup or air obstruction.
- Structural obstacles: Take note of any structural elements in your basement, such as beams or pipes, that may obstruct the ventilation route. It is important to find a clear path that avoids these obstacles and ensures efficient airflow.
- Allowable duct length: Check the manufacturer’s guidelines or consult local building codes to determine the maximum allowable length for the ventilation duct. This will help you plan the route and ensure compliance with safety standards.
- Accessibility: Consider the accessibility of the chosen route. It should allow for easy installation and future maintenance, such as cleaning or repairs.
- Proper ventilation outlet: Identify a suitable location on the exterior of your home where you can install the vent hood. Make sure it is away from windows, doors, or other openings to prevent exhaust air from re-entering your home.
Once you have assessed these factors, you can determine the most suitable ventilation route for your basement dryer. Keep in mind that it is generally recommended to use rigid metal ductwork as it offers better durability and airflow compared to flexible plastic or foil ducts. Additionally, avoid using excessive bends or turns in the ductwork as this can hinder airflow and increase the risk of lint accumulation.
Once you have determined the ventilation route, you can proceed to gather the necessary tools and materials for the installation process. This will be covered in Step 2.
Step 2: Gather the Necessary Tools and Materials
Before you begin installing the ventilation system for your basement dryer, it’s important to gather all the tools and materials you’ll need. Having everything prepared in advance will make the installation process more efficient and prevent unnecessary delays. Here’s a list of the essential tools and materials you’ll need:
Tools:
- Measuring tape
- Pencil or marker
- Stud finder
- Hole saw or reciprocating saw
- Screwdriver or drill
- Duct tape
- Tin snips
- Level
- Utility knife
- Adjustable wrench
Materials:
- Rigid metal ductwork
- Dryer vent hood
- Screws or nails
- Duct clamps or zip ties
- Foam insulation tape
- Aluminum duct tape
- Optional: Ventilation pipe or elbow
- Optional: Vent cover or bird guard
Before purchasing the materials, measure the distance from the dryer to the exterior wall or window to ensure you buy the correct length of ductwork. It’s also a good idea to choose a vent hood that suits your aesthetic preferences and provides efficient airflow.
In addition to these tools and materials, ensure that you have appropriate safety equipment, such as gloves and safety glasses, to protect yourself during the installation process. Safety should always be a priority when working with tools and handling ductwork.
Once you have gathered all the necessary tools and materials, you’ll be ready to move on to the next step: installing the vent hood. This will be covered in Step 3.
Read more: How To Close Vents In Basement
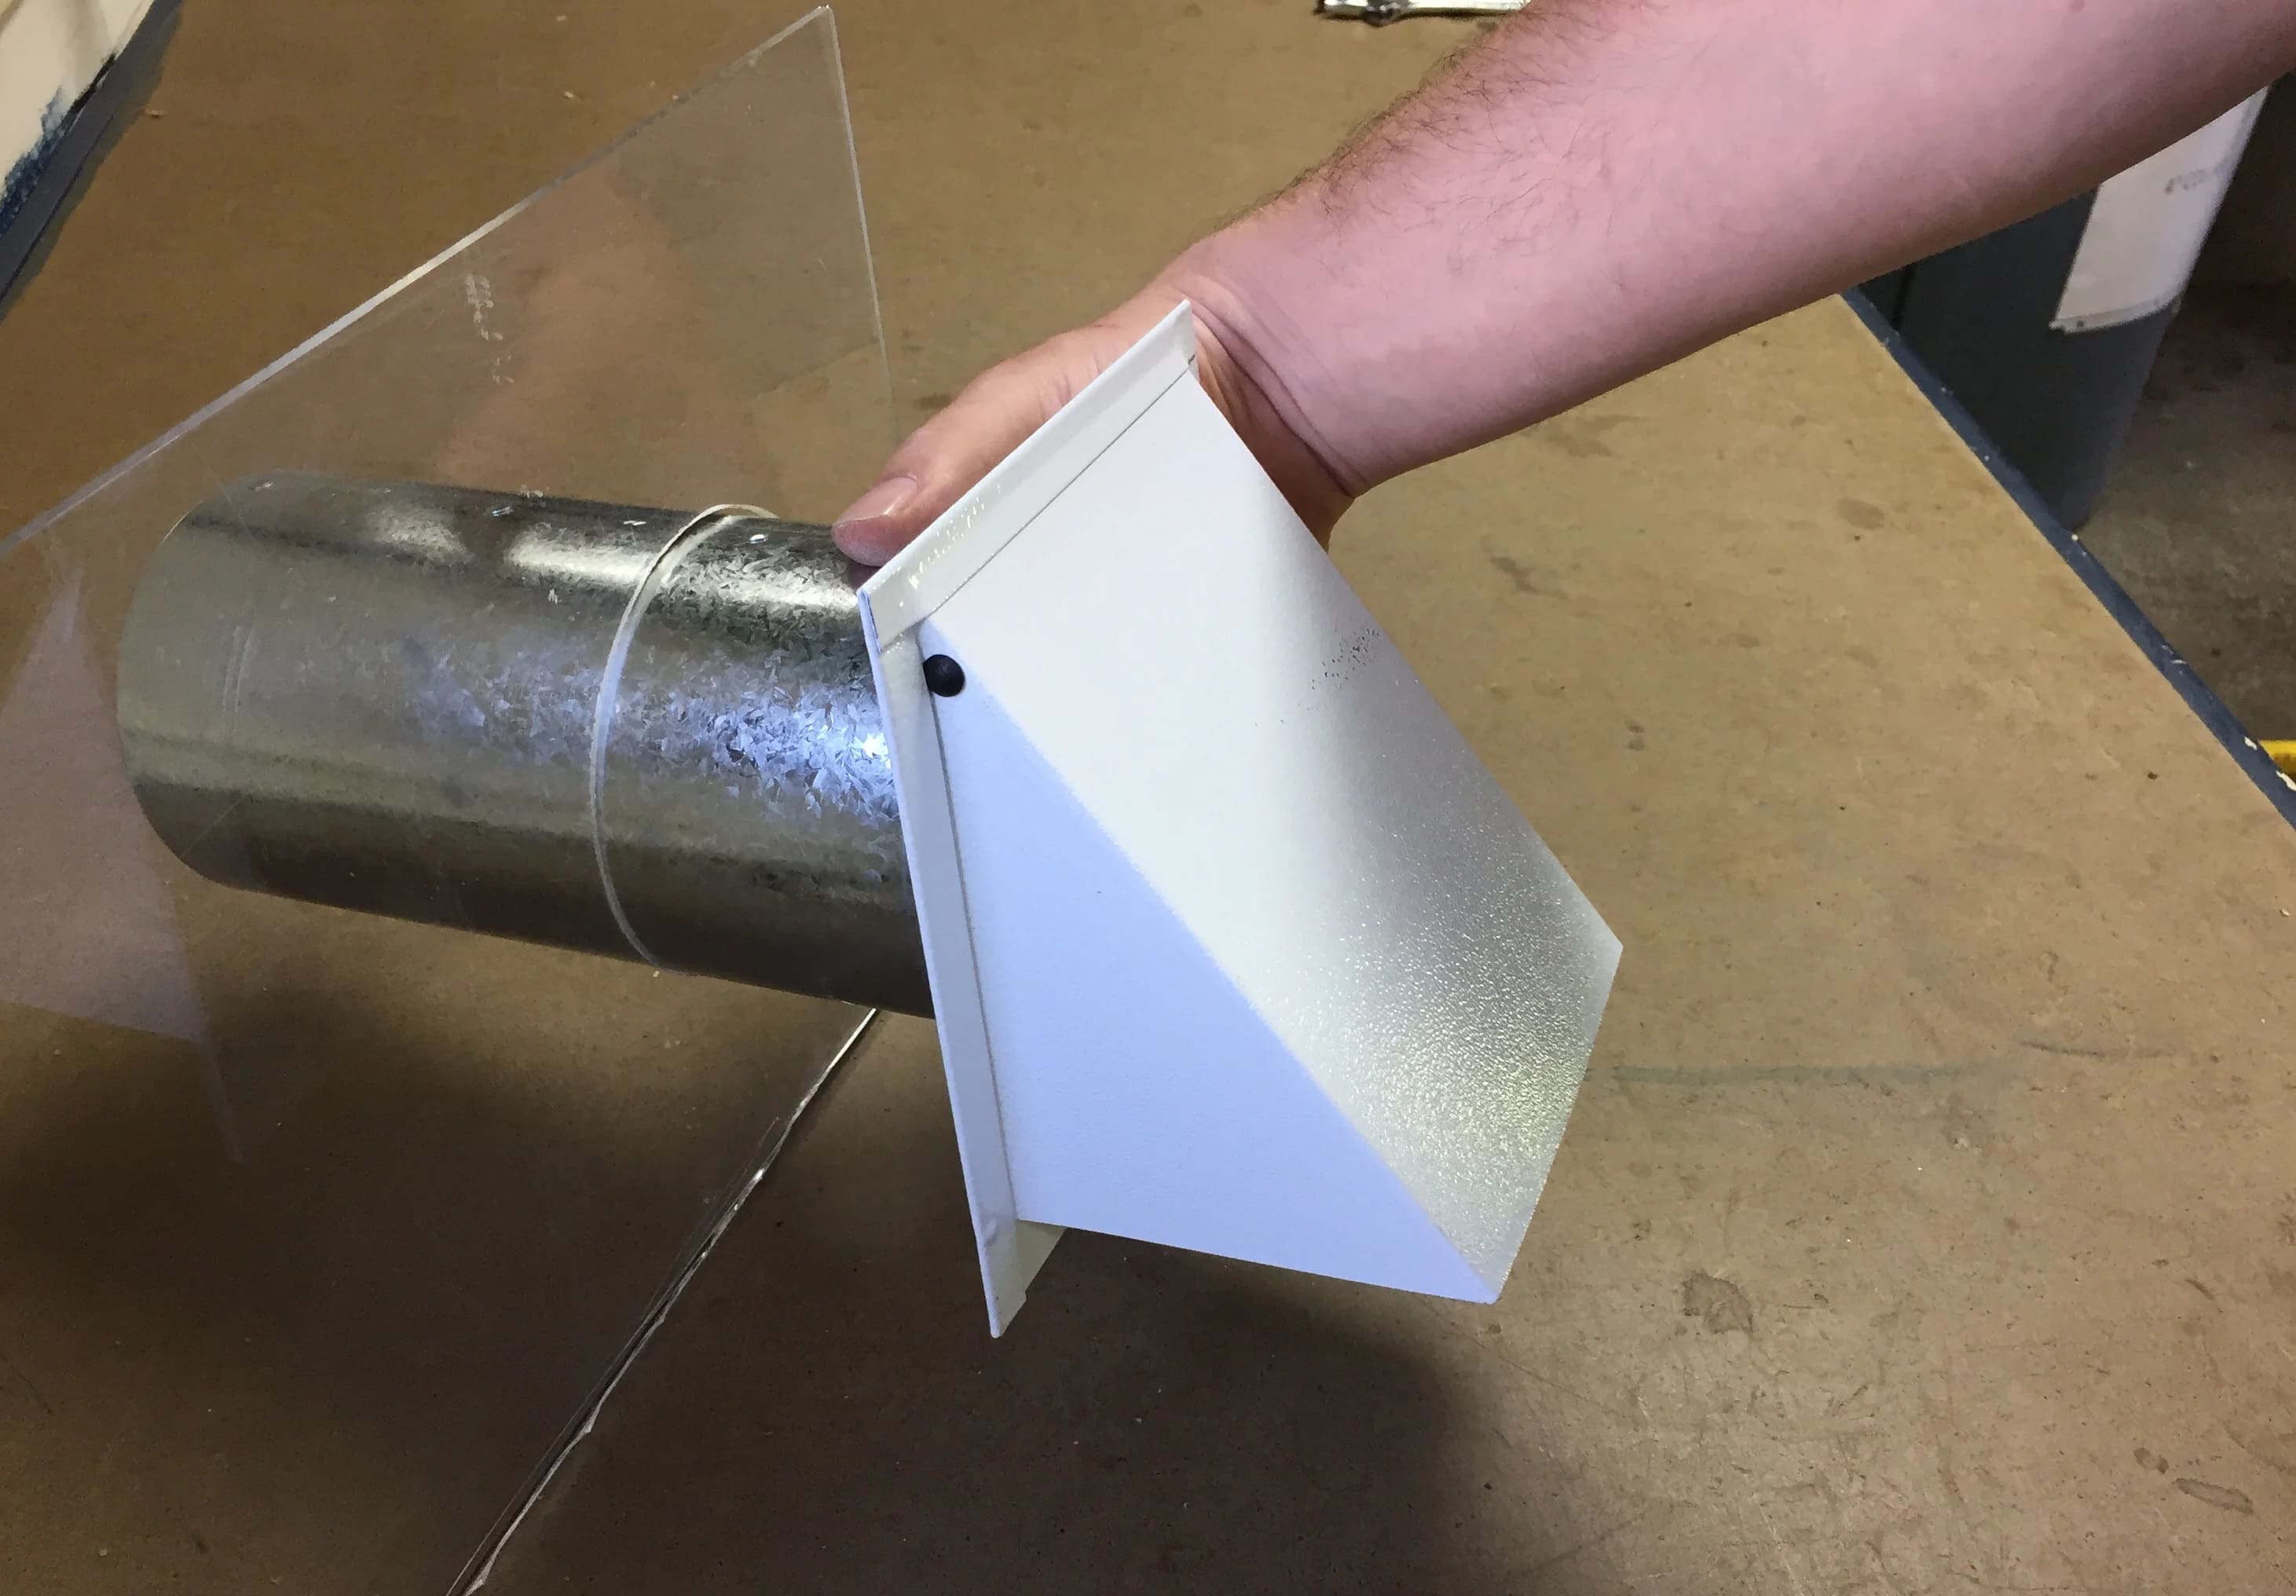
Step 3: Install the Vent Hood
In this step, we will guide you through the process of installing the vent hood for your basement dryer. The vent hood is an essential component as it helps to direct the exhaust air from the dryer to the outside of your home. Here are the steps to follow:
- Locate the chosen exit point on the exterior of your home where you will install the vent hood. Ensure it is away from any windows, doors, or other openings to prevent air from being drawn back into the house.
- Using a pencil or marker, mark the center of the chosen exit point on the exterior wall.
- Using a stud finder, locate and mark the presence of any studs near the center of the exit point. This will help you avoid them when cutting the hole for the vent hood.
- Depending on the type of vent hood you have, use a hole saw or reciprocating saw to cut a hole that matches the diameter of the vent hood. Be sure to follow the manufacturer’s instructions for the specific vent hood model you are using.
- Position the vent hood over the hole and secure it in place using screws or nails. Make sure it is level and flush against the exterior wall.
- Once the vent hood is securely attached, apply a bead of silicone caulk around the outer edge of the vent hood to provide a watertight seal.
- Attach the ductwork adapter provided with the vent hood to the back of the vent hood using screws or clamps, depending on the design. Ensure it is properly aligned and tightened.
It is important to follow the manufacturer’s instructions while installing the vent hood. Different vent hood models may have specific requirements or additional steps that need to be followed for proper installation.
Now that you have successfully installed the vent hood, you can proceed to the next step: connecting the ductwork. This will be covered in Step 4.
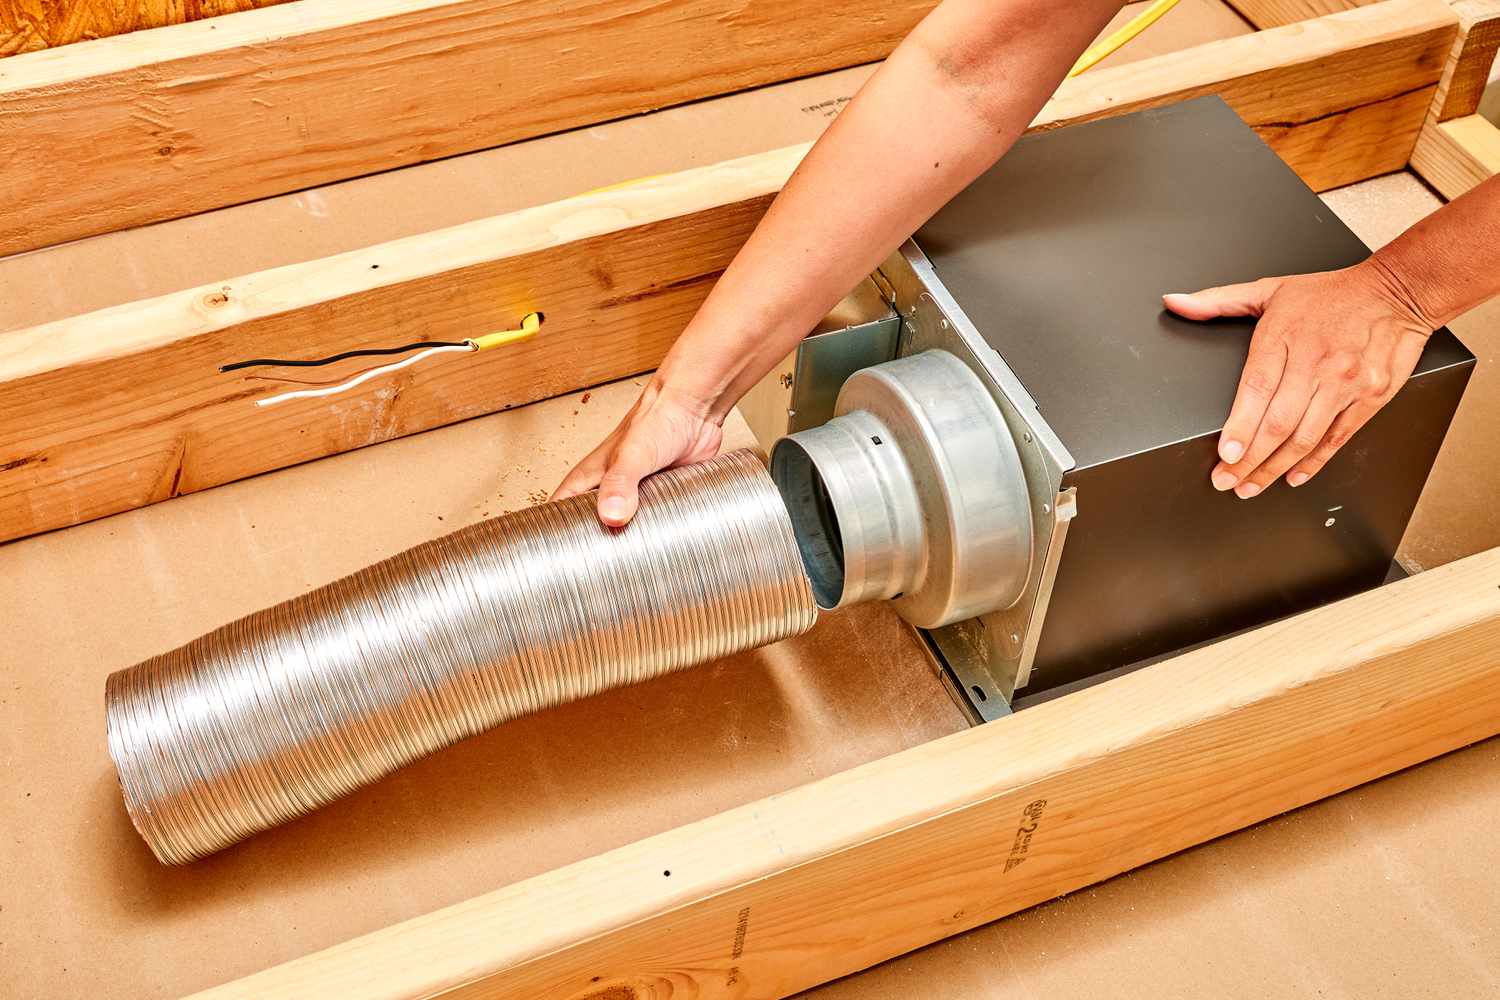
Step 4: Connect the Ductwork
In this step, we will guide you through connecting the ductwork for your basement dryer. The ductwork is responsible for carrying the exhaust air from the dryer to the vent hood installed on the exterior of your home. Here are the steps to follow:
- Measure the distance from the back of your dryer to the ductwork adapter on the vent hood. This will help you determine the length of ductwork needed.
- Using tin snips, cut a piece of rigid metal ductwork to the required length. It is generally recommended to use rigid metal ductwork instead of flexible plastic or foil ducts as they offer better durability and airflow.
- If necessary, attach a ventilation pipe or elbow to the end of the ductwork to facilitate the connection between the dryer and the ductwork.
- Slide the ductwork onto the ductwork adapter on the vent hood, ensuring a secure and tight fit. Use duct clamps or zip ties to fasten the ductwork in place and prevent it from becoming loose over time.
- Next, carefully move to the dryer and locate the vent outlet on the back of the machine. It is usually located near the bottom of the dryer.
- Using a screwdriver or drill, remove the cover or clamp securing the vent outlet.
- Align the other end of the ductwork with the vent outlet on the dryer and secure it in place using duct clamps or zip ties. Ensure that the connection is tight and secure to prevent any air leaks.
- Inspect the entire length of the ductwork to ensure that it is properly aligned and supported. Avoid kinks, sags, or bends in the ductwork as this can hinder airflow and increase the risk of lint buildup.
It is important to remember that the ductwork should be as straight and direct as possible. Avoid using excessive bends or turns as this can impact the airflow and decrease the efficiency of your dryer.
Now that you have successfully connected the ductwork, you can proceed to the next step: securing the ductwork. This will be covered in Step 5.
Step 5: Secure the Ductwork
In this step, we will guide you through securing the ductwork for your basement dryer. Properly securing the ductwork ensures that it remains stable, preventing it from moving or disconnecting during operation. Here are the steps to follow:
- Inspect the entire length of the ductwork to identify any areas where additional support may be required. This is especially important for longer sections of ductwork or areas where it passes through walls or ceilings.
- Using metal strapping or metal duct hangers, secure the ductwork to the nearest structural elements, such as ceiling joists or wall studs. Ensure that the supports are evenly spaced along the length of the ductwork to provide adequate support.
- Avoid using plastic straps or zip ties, as they may deteriorate over time and fail to provide sufficient support.
- Be mindful of the distance between the ductwork and any nearby walls or objects. Leave enough space for the ductwork to expand and contract without being hindered.
- As you secure the ductwork, ensure that it remains straight and free from any sharp bends or kinks. This will promote efficient airflow and reduce the risk of lint buildup or obstructions.
- Consider using foam insulation tape to wrap around any connections or joints in the ductwork. This helps to seal any gaps and prevents air leaks.
- Inspect the entire system once again to ensure that the ductwork and connections are secure and properly supported.
- Once you have secured the ductwork, use aluminum duct tape to reinforce any connections or joints. This will provide an extra layer of security and prevent any potential air leaks.
Properly securing the ductwork is crucial to ensure the safe and efficient operation of your basement dryer. It helps to minimize the risk of the ductwork becoming loose or disconnecting, which can lead to potential air leaks, increased energy consumption, and decreased drying performance.
Now that you have successfully secured the ductwork, you can proceed to the next step: venting the dryer to the outside. This will be covered in Step 6.
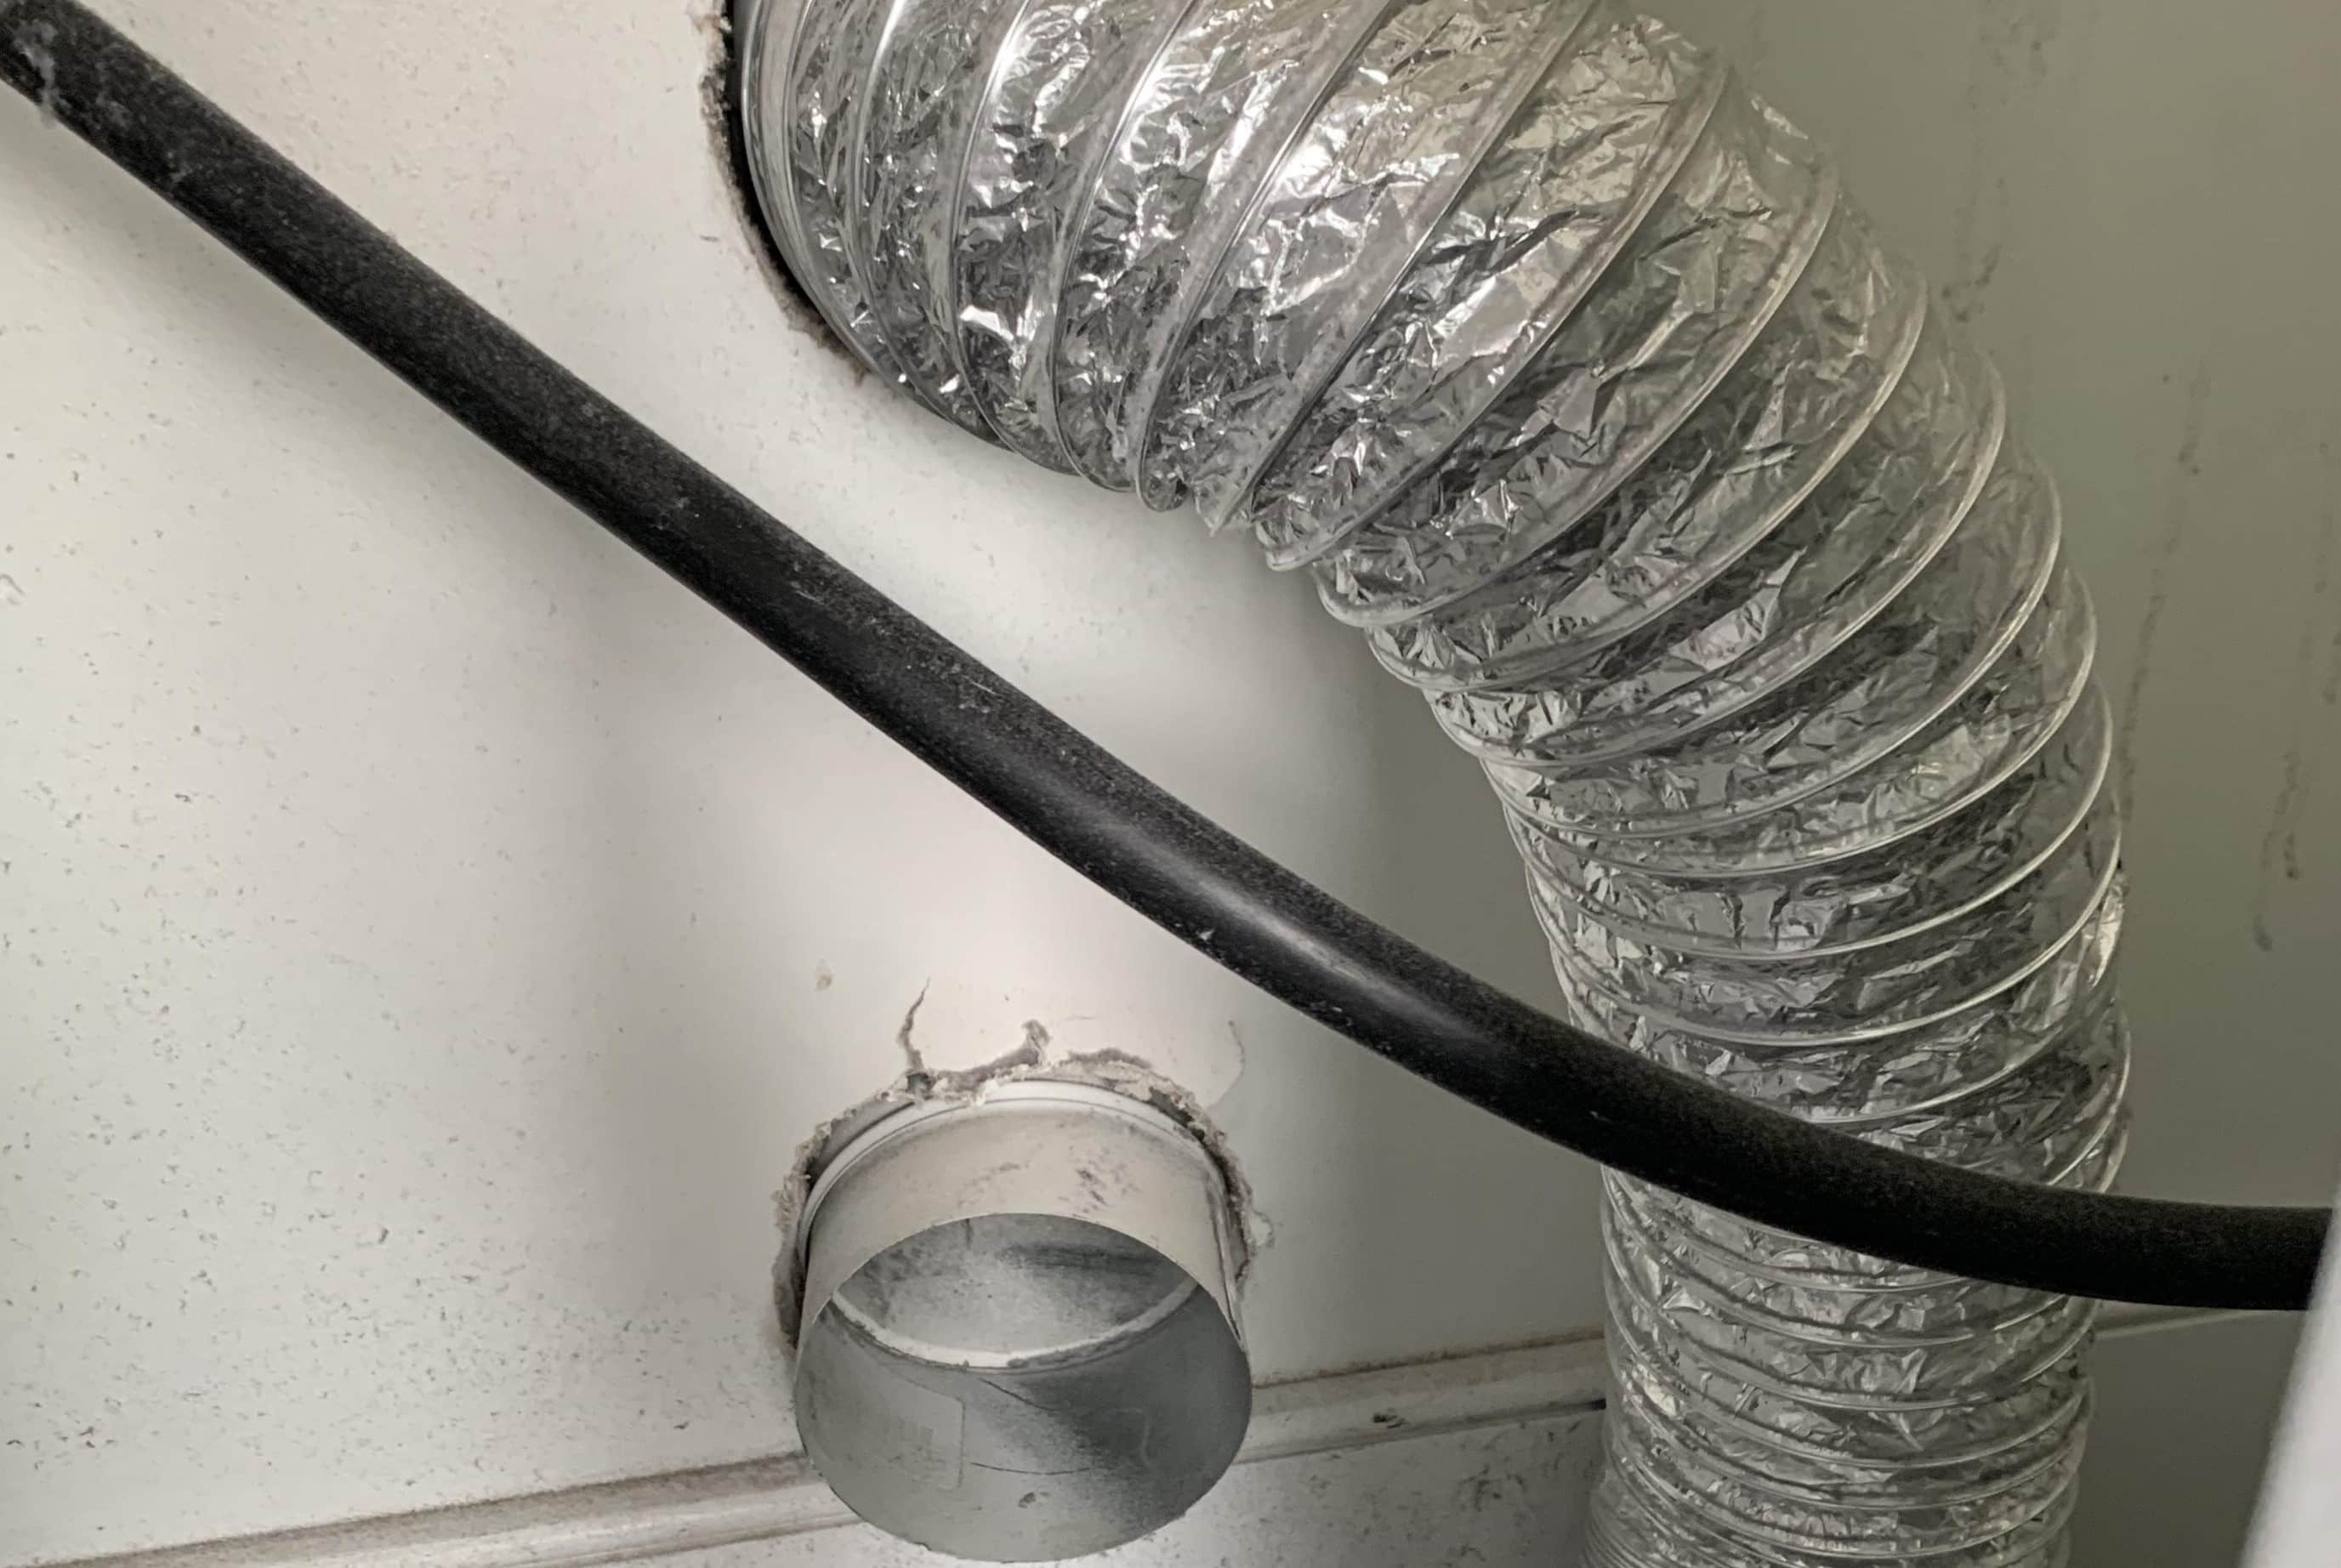
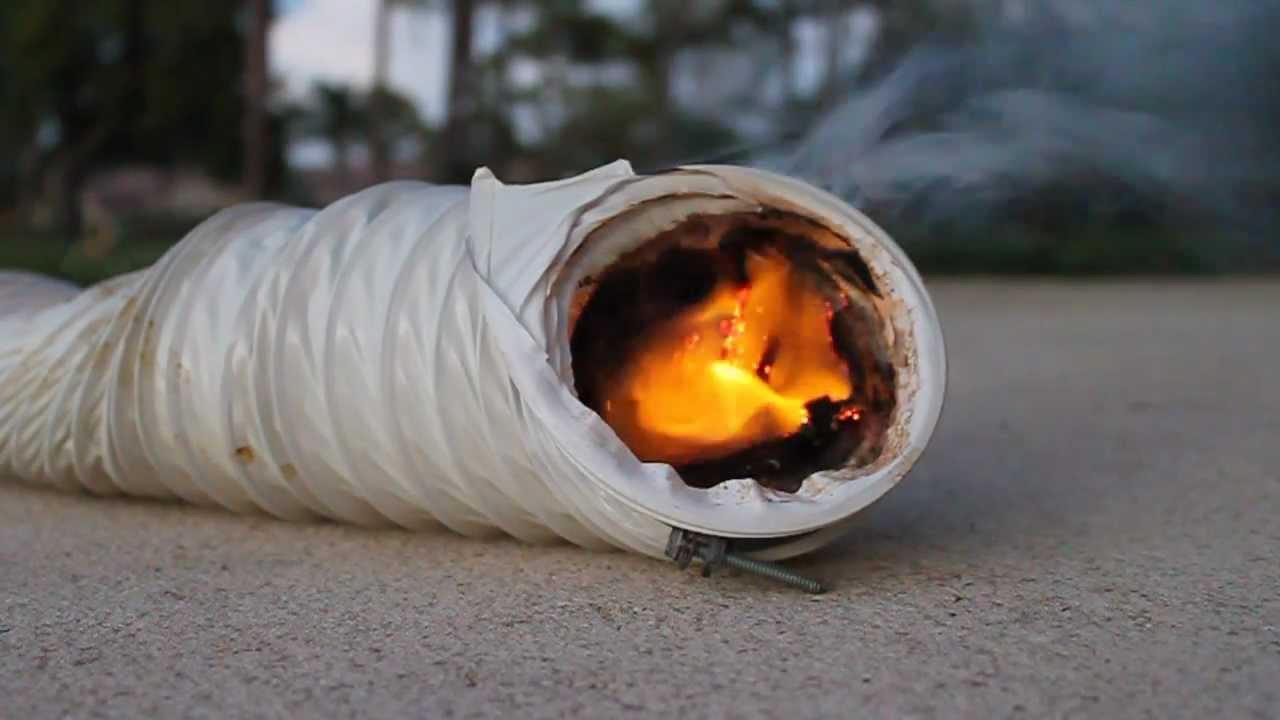
Make sure to use rigid metal ducting to vent your dryer in the basement, as it is more durable and less likely to collect lint and cause a fire hazard. Be sure to follow local building codes and regulations.
Step 6: Vent the Dryer to the Outside
In this step, we will guide you through the process of venting your basement dryer to the outside. Venting the dryer effectively is essential for proper airflow and moisture removal. Here are the steps to follow:
- Ensure that the vent hood on the exterior of your home is clean and free from any obstructions, such as debris or lint buildup. Use a brush or vacuum cleaner to remove any blockages.
- Double-check that the vent hood is properly secured and sealed to the exterior wall. Make sure there are no gaps or openings that could allow air to re-enter the house.
- Inspect the area around the vent hood and remove any vegetation or objects that may obstruct the airflow.
- Turn on the dryer and check for any air leaks or vibrations along the ductwork. If you detect any leaks, secure the connections or joints with additional duct clamps or tape to ensure a tight seal.
- Monitor the airflow at the vent hood while the dryer is running. It should be strong and steady, indicating proper ventilation. If the airflow seems weak or restricted, inspect the ductwork for any potential blockages.
- Regularly clean the dryer vent system to prevent lint buildup and maintain optimal airflow. This includes removing lint from the lint trap after each use and scheduling periodic professional cleanings to thoroughly remove lint from the ductwork.
- Consider installing a vent cover or bird guard to prevent animals or debris from entering the vent hood. This will protect the system from potential blockages.
- Monitor the dryer for any signs of reduced efficiency or performance, such as longer drying times or overheating. If you notice any issues, inspect the venting system for potential problems and address them promptly.
Venting the dryer to the outside is crucial for removing hot air, moisture, and lint from the dryer. This not only ensures the optimal performance of the dryer but also reduces the risk of moisture buildup and potential fire hazards associated with lint accumulation.
Now that you have successfully vented your basement dryer to the outside, you can proceed to the next step: testing the dryer ventilation. This will be covered in Step 7.
Read more: How To Vent A Dryer
Step 7: Test the Dryer Ventilation
In this step, we will guide you through testing the ventilation of your basement dryer to ensure it is working efficiently and effectively. Testing the dryer ventilation is essential to verify proper airflow and identify any potential issues. Here are the steps to follow:
- Ensure that the dryer is turned off and disconnected from the power source before proceeding with the test.
- Remove the vent hose from the back of the dryer and inspect it for any blockages or obstructions. Clear out any lint or debris that may have accumulated.
- Reattach the vent hose securely to the back of the dryer, making sure it is tightly connected.
- Turn on the dryer and allow it to run for a few minutes on a medium heat setting. This will create airflow and simulate a drying cycle.
- While the dryer is running, check the exterior vent hood for strong and steady airflow. The air should be expelled forcefully and without any noticeable obstructions.
- If you observe weak airflow or suspect a blockage, turn off the dryer and inspect the vent hose and ductwork for any potential problems.
- Carefully inspect the lint trap inside the dryer for any excessive lint accumulation. Clean the lint trap if necessary, as a clogged lint trap can impede airflow and affect dryer performance.
- Monitor the dryer during its normal operation and check for any signs of reduced drying efficiency, such as longer drying times or overheating. Excessive heat or unusual noises could indicate a ventilation issue.
- If you notice any issues or suspect a problem with the dryer ventilation, it is recommended to consult a professional technician to assess and address the situation properly.
Regularly testing the dryer ventilation ensures that it is functioning properly, promoting efficient drying and reducing the risk of fire hazards associated with lint accumulation. If you notice any abnormalities or issues during the testing process, it is crucial to address them promptly to maintain the safety and performance of your basement dryer.
Now that you have successfully tested the dryer ventilation, you can proceed to the final step: regular maintenance tips to keep your dryer functioning optimally. This will be covered in Step 8.
Step 8: Regular Maintenance Tips
In this final step, we will provide you with some essential maintenance tips to keep your basement dryer operating at its best. Regular maintenance ensures optimal performance, efficiency, and safety. Here are some tips to follow:
- Clean the lint trap after each use: Remove lint from the lint trap located inside the dryer. This helps to improve airflow and prevent lint buildup, which can reduce drying performance and increase the risk of fire hazards.
- Inspect and clean the vent hose regularly: Check the vent hose behind the dryer for any blockages or lint buildup. Use a vacuum cleaner or a brush to remove any accumulated lint. Ensure that the vent hose is securely connected to the dryer and the vent hood.
- Schedule professional cleanings: Consider scheduling professional cleanings for your dryer vent system at least once a year. Professionals have the expertise and tools to thoroughly clean the ductwork and remove any stubborn lint or debris that may have accumulated over time.
- Inspect the exterior vent hood regularly: Regularly inspect the vent hood on the exterior of your home for any obstructions, such as debris or bird nests. Clear out any blockages to ensure proper airflow and ventilation.
- Avoid overloading the dryer: Do not overload the dryer with too many clothes at once. Overloading can strain the dryer and reduce its efficiency. It is better to split a large load into smaller loads to ensure proper drying and airflow.
- Avoid using vinyl or foil ducts: Use rigid metal ductwork for venting your basement dryer, as it provides better airflow and durability compared to flexible vinyl or foil ducts. These flexible ducts can easily accumulate lint and restrict airflow.
- Keep the area around the dryer clean: Regularly clean the area around the dryer, removing any dust, lint, or debris. This helps to prevent airflow obstructions and reduces the risk of fire hazards.
- Check the dryer for proper installation: Ensure that your dryer is properly installed, level, and stable. Improper installation can cause vibrations and noise, impacting the performance and longevity of the dryer.
Following these regular maintenance tips will help you keep your basement dryer in excellent condition. Consistent maintenance not only promotes efficient drying but also enhances safety and prolongs the lifespan of your dryer.
Now that you have completed all the steps and gained a comprehensive understanding of venting a dryer in the basement, you are well-equipped to maintain a properly functioning and safe dryer in your home.
Remember, if you encounter any issues or are uncertain about any aspect of the installation or maintenance process, do not hesitate to consult a professional for assistance. Safety should always be a top priority.
We hope this guide has been informative and helpful. Enjoy efficient and effective drying with your basement dryer!
Conclusion
Venting a dryer in the basement is crucial for proper airflow, efficient operation, and safety. By following the steps outlined in this guide, you can successfully vent your basement dryer to ensure optimal performance and minimize the risk of indoor air pollution and moisture-related issues.
Throughout the process, it is essential to prioritize safety and follow local building codes and regulations. If you are unsure about any step or uncomfortable with certain tasks, consulting a professional is always a wise decision.
From determining the ventilation route to installing the vent hood, connecting the ductwork, and securing it properly, each step plays a vital role in creating a well-ventilated system for your basement dryer. Regular maintenance, including cleaning the lint trap, inspecting and cleaning the vent hose, and scheduling professional cleanings, will help to ensure optimal performance and prevent potential hazards.
Remember to regularly monitor the dryer for any signs of reduced efficiency or performance, and address any issues promptly. By taking a proactive approach to dryer vent maintenance, you can enjoy efficient drying, improved energy savings, and peace of mind.
We hope that this guide has provided you with the knowledge and confidence to successfully vent your basement dryer. With proper ventilation, you can effectively remove moisture, lint, and pollutants from your home, creating a healthier and safer environment for you and your family.
Thank you for following along, and we wish you all the best in your basement dryer venting journey!
Now that you've mastered venting your dryer in the basement, you might wonder who's qualified to handle such a task. Our next guide dives into professional dryer vent installation, ensuring you know exactly who to call and what credentials they should have. This article is perfect for anyone looking to ensure their home improvements meet current safety standards and are executed flawlessly. Don't miss out on securing expert help for your home projects!
Frequently Asked Questions about How To Vent A Dryer In The Basement
Was this page helpful?
At Storables.com, we guarantee accurate and reliable information. Our content, validated by Expert Board Contributors, is crafted following stringent Editorial Policies. We're committed to providing you with well-researched, expert-backed insights for all your informational needs.


0 thoughts on “How To Vent A Dryer In The Basement”