
Articles
How To Replace Bathroom Sink
Modified: October 19, 2024
Learn how to replace your bathroom sink in this comprehensive guide. Follow our step-by-step articles for a hassle-free DIY project.
(Many of the links in this article redirect to a specific reviewed product. Your purchase of these products through affiliate links helps to generate commission for Storables.com, at no extra cost. Learn more)
Introduction
Welcome to our comprehensive guide on how to replace a bathroom sink. Whether you’re looking to upgrade your current sink or need to fix a plumbing issue, replacing a bathroom sink can seem like a daunting task. However, with the right tools, materials, and a step-by-step approach, you can easily tackle this project and give your bathroom a fresh new look.
Replacing a bathroom sink not only improves the aesthetic appeal of the space but also ensures proper functionality. Over time, sinks can become cracked, stained, or outdated, making it necessary to replace them. Additionally, if you’re experiencing leaks or other plumbing problems, replacing the sink can help resolve these issues.
Before we dive into the step-by-step process of replacing a bathroom sink, let’s go over the tools and materials you’ll need:
Key Takeaways:
- Replacing a bathroom sink is a manageable DIY project with the right tools and step-by-step guidance. It not only enhances the aesthetic appeal but also ensures proper functionality and can be a satisfying accomplishment.
- Attention to detail, proper preparation, and thorough testing for leaks are crucial for a successful bathroom sink replacement. Take your time, follow the steps, and enjoy the refreshed look and improved functionality of your new sink.
Read more: How To Replace Pedestal Sink With Vanity
Tools and Materials
- Adjustable wrench
- Screwdriver
- Plumber’s tape
- Bucket or container
- Putty knife
- New sink and faucet
- Plumbing supplies (drain assembly, P-trap, water supply lines)
- Measuring tape
- Pencil
- Silicone caulk and caulk gun
- Towels or rags
Now that you have all the necessary tools and materials, let’s get started with the step-by-step process of replacing your bathroom sink.
Step 1: Gather the Necessary Tools and Materials
Before you begin the process of replacing your bathroom sink, it’s crucial to gather all the necessary tools and materials. This will ensure that you have everything on hand and minimize interruptions during the project.
Here are the tools and materials you’ll need:
- Adjustable wrench: This will be used to disconnect the water supply lines and loosen any nuts or bolts.
- Screwdriver: You’ll need a screwdriver to remove any screws that hold the sink in place.
- Plumber’s tape: Plumber’s tape, also known as Teflon tape, is a thin white tape used to create a tight seal between threaded plumbing connections.
- Bucket or container: This will be useful for catching any water that may drain from the sink during the removal process.
- Putty knife: A putty knife is essential for removing any old caulk or adhesive from the sink and countertop.
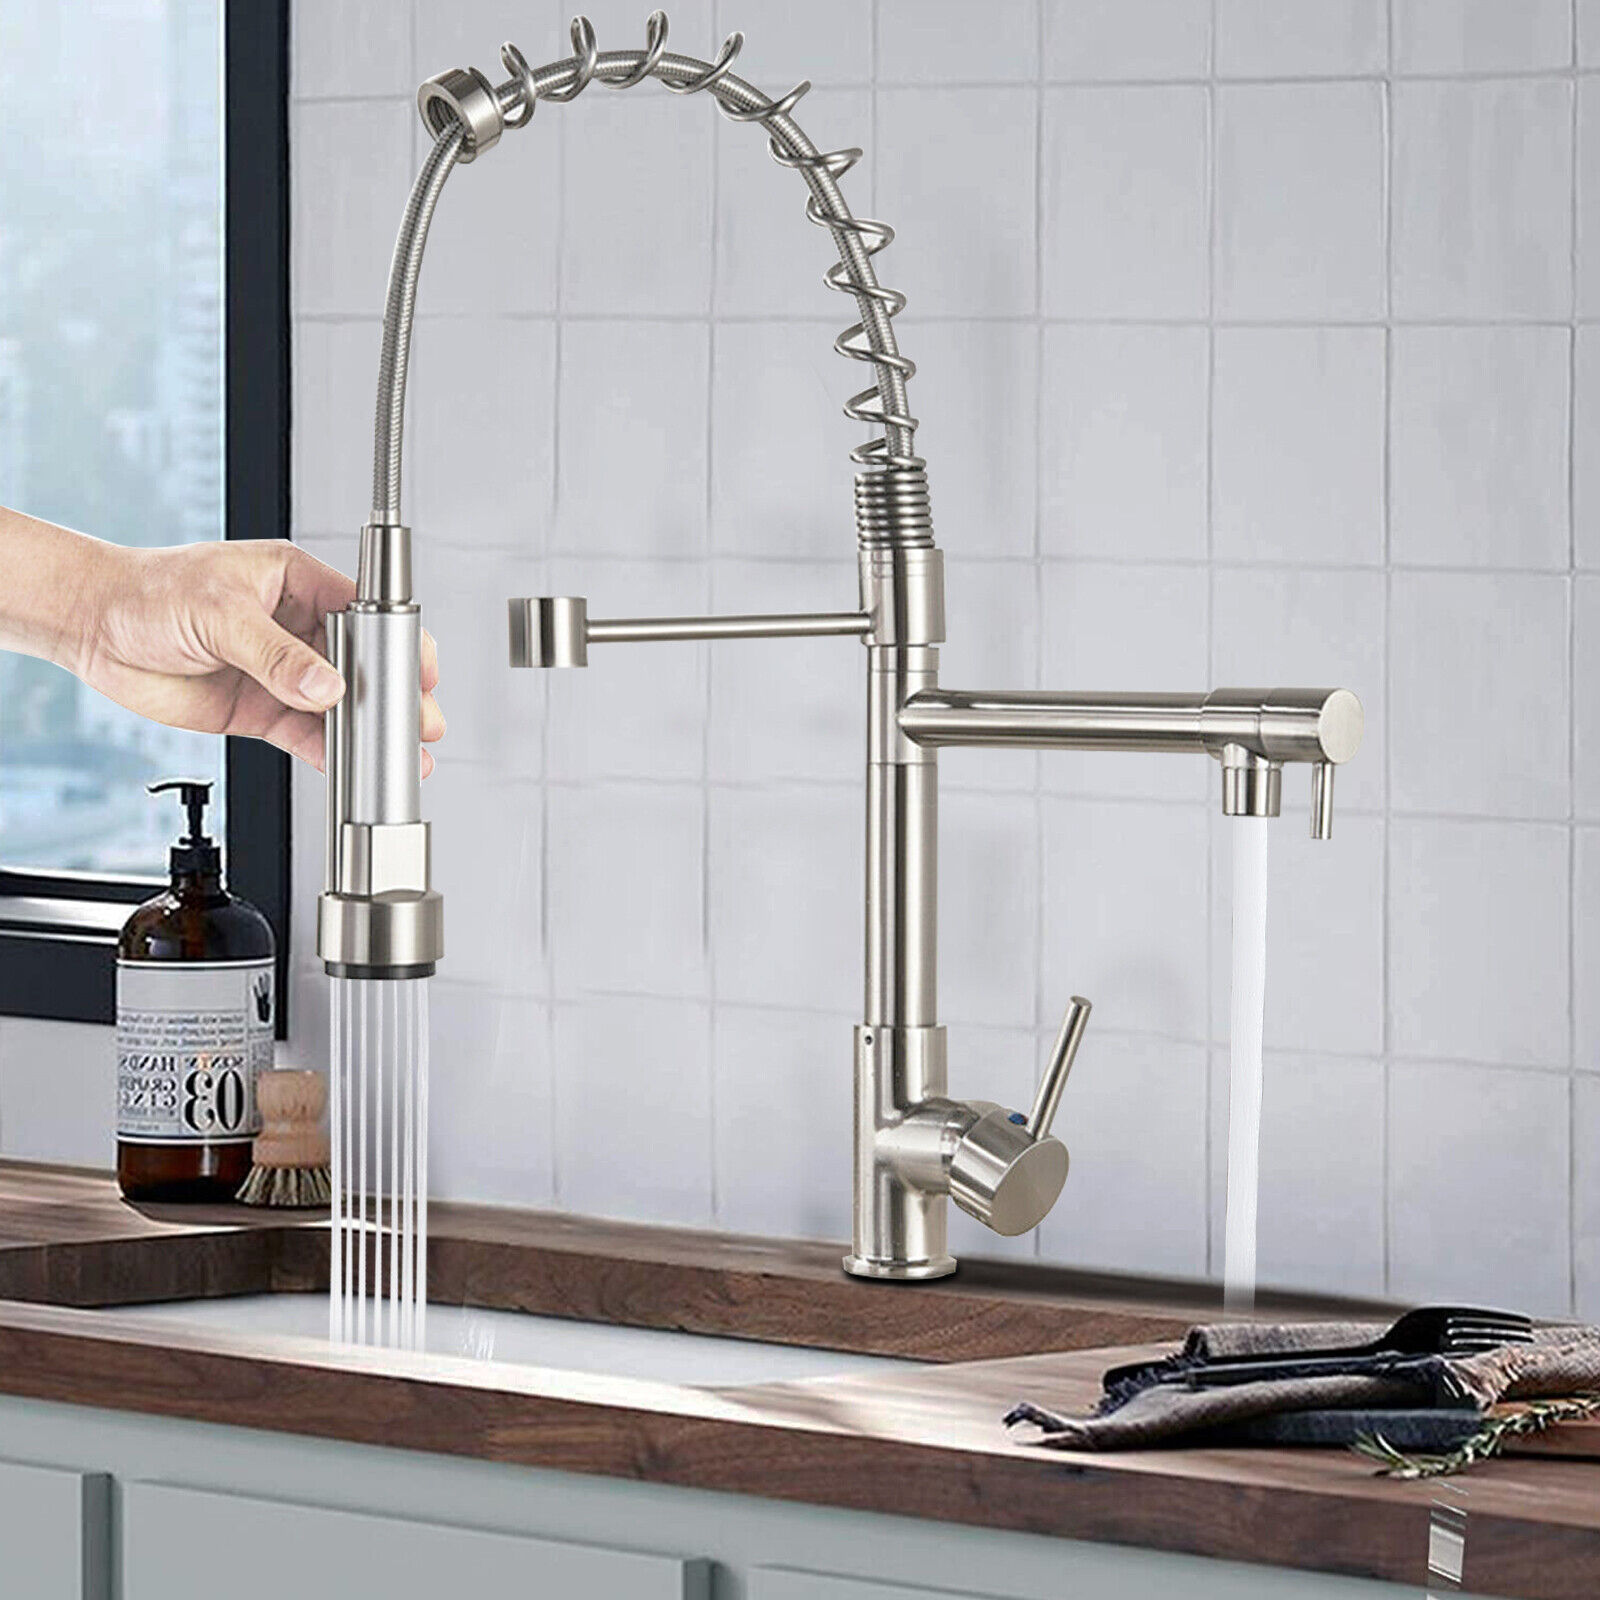
- New sink and faucet: Depending on your preferences and needs, choose a new sink and faucet that fits the style and dimensions of your bathroom.
- Plumbing supplies: You’ll need a new drain assembly, P-trap, and water supply lines to connect the new sink to the plumbing system.
- Measuring tape and pencil: These tools will help you accurately measure and mark the placement of the new sink.
- Silicone caulk and caulk gun: Silicone caulk is used to create a watertight seal around the edges of the sink and countertop.
- Towels or rags: Keep some towels or rags nearby to wipe up any spills or water that may occur during the installation process.
Once you have gathered all the necessary tools and materials, you’ll be ready to move on to the next step: shutting off the water supply.
Step 2: Shut off the Water Supply
Before you begin the process of replacing your bathroom sink, it is crucial to shut off the water supply to avoid any leaks or water damage. Here’s how you can do it:
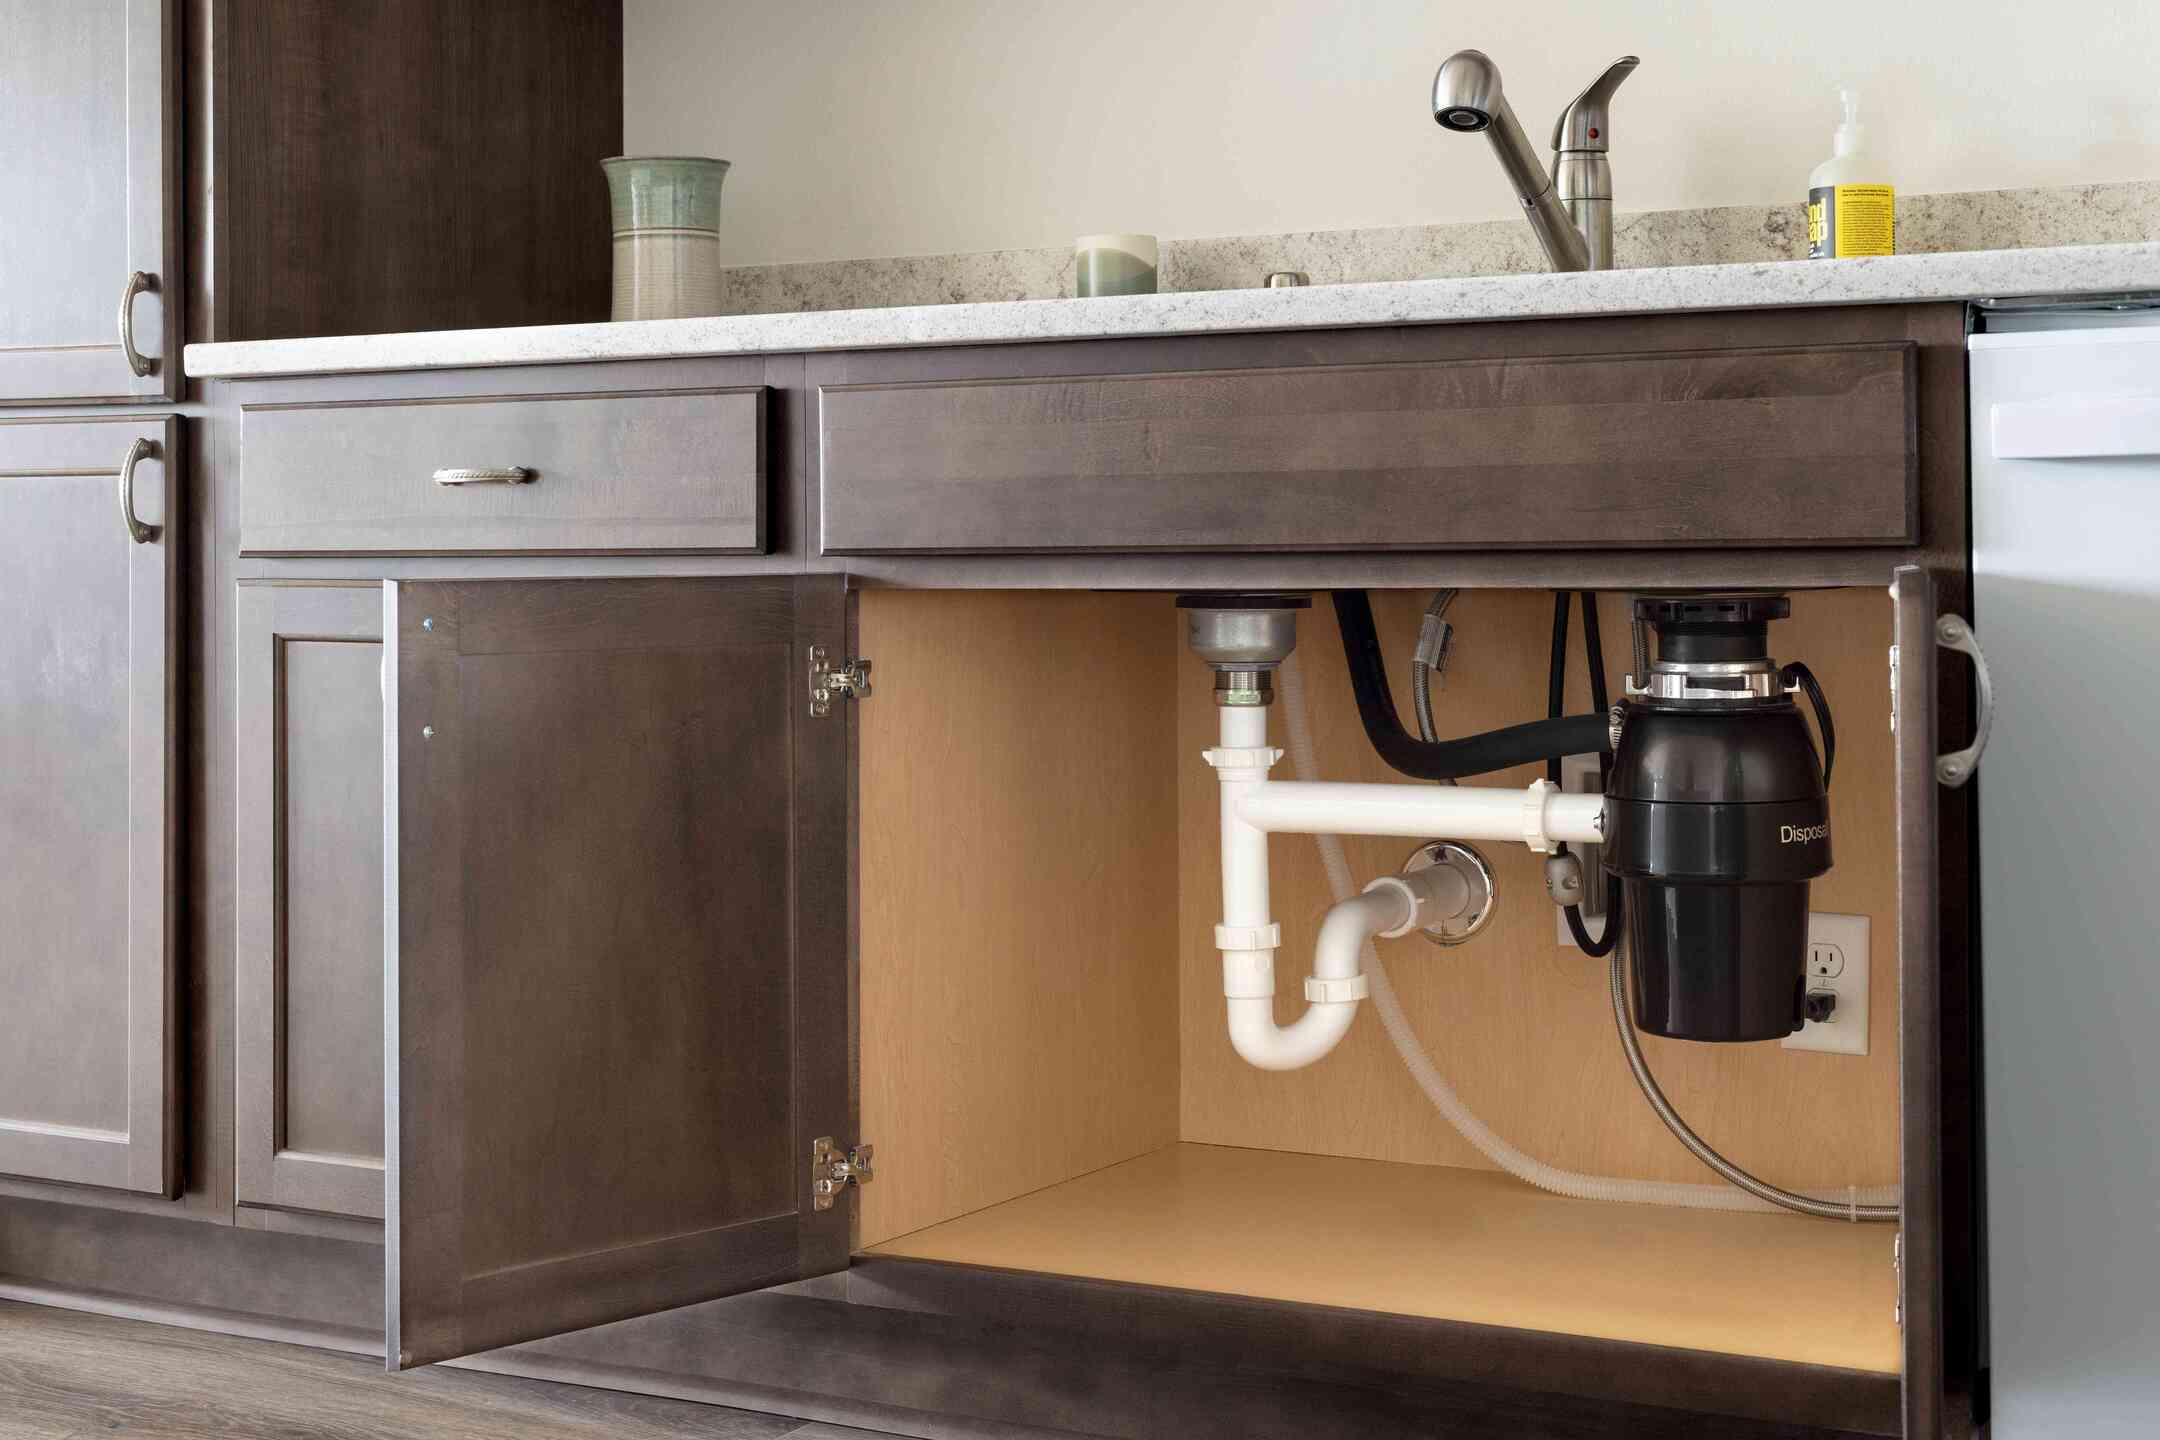
- Locate the shut-off valves: Look under your sink for the shut-off valves. These are usually small valves connected to the hot and cold water supply lines. Turn both valves clockwise to shut off the water supply. If you cannot locate shut-off valves under the sink, you may need to shut off the main water supply to your entire house.
- Test the water supply shut-off: To ensure that the water supply is shut off, turn on the faucet in your bathroom. If no water comes out, then you have successfully shut off the water supply. If water continues to flow, double-check the valves to ensure they are fully closed. If necessary, consult a plumber for assistance.
- Release any pressure: Open the faucet handles to release any remaining water pressure. This will help prevent any water from spraying out when you disconnect the water supply lines.
Shutting off the water supply is a critical step to prevent any water damage or flooding during the sink replacement process. Make sure to double-check that the water is fully shut off before proceeding to the next steps.
Now that you have successfully shut off the water supply, you can move on to the next step: removing the old sink.
Step 3: Remove the Old Sink
Now that you have shut off the water supply, it’s time to remove the old sink. Here’s the step-by-step process:
- Clear the area: Remove any items from under the sink and clear the countertop or vanity area to create a workspace.
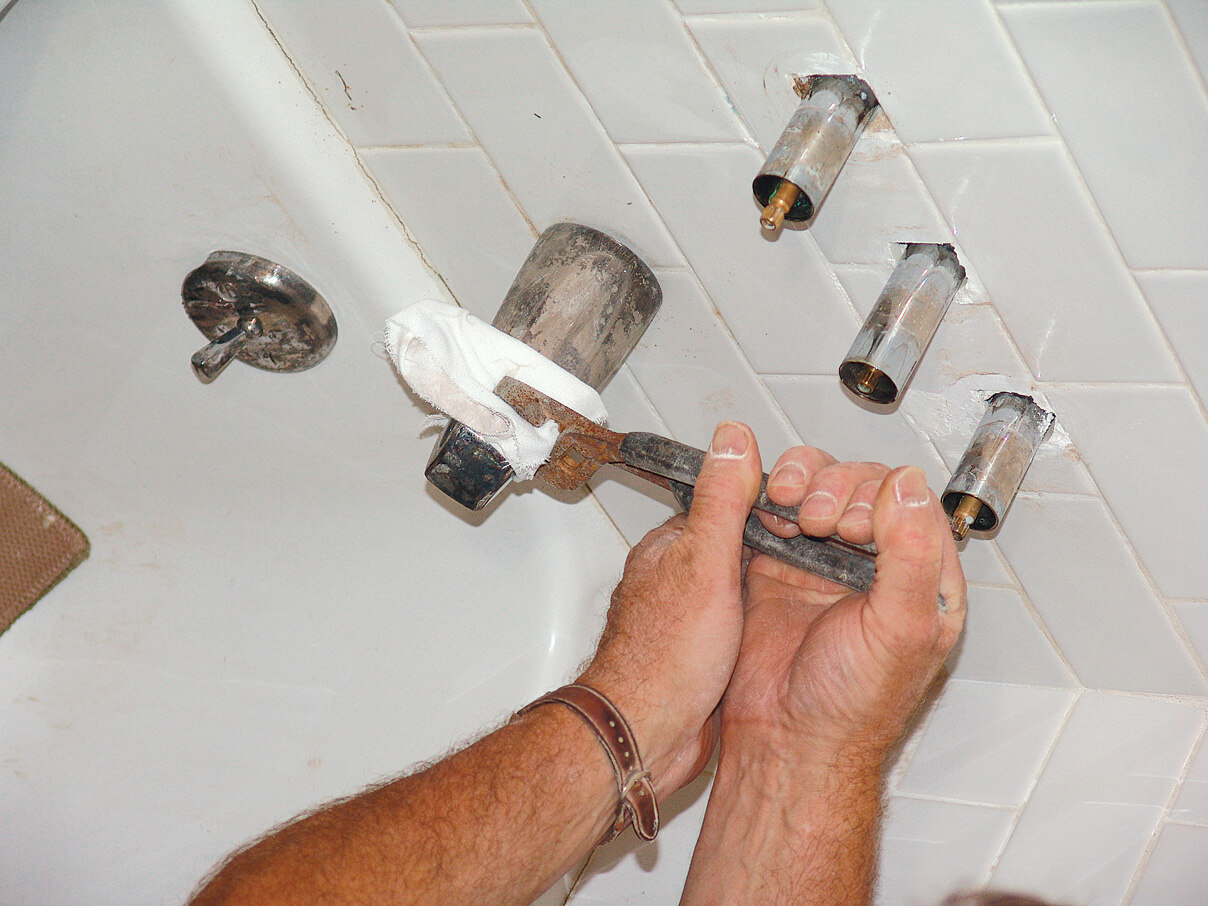
- Disconnect the water supply lines: Using an adjustable wrench, loosen the nuts connecting the water supply lines to the faucet. Be sure to have a bucket or container ready to catch any water that may drain out.
- Remove the P-trap: Place a bucket or container underneath the P-trap, which is the curved pipe beneath the sink. Use an adjustable wrench to loosen the nuts, allowing you to remove the P-trap. Carefully empty any water or debris from the P-trap into the bucket.
- Detach the sink from the countertop or vanity: Look underneath the sink for any screws or brackets holding it in place. Use a screwdriver to remove any screws or loosen any brackets. Once detached, carefully lift the sink upward to detach it from the countertop or vanity.
- Clean the area: Use a putty knife to scrape off any old caulk or adhesive from the countertop or vanity. This will ensure a clean surface for the installation of the new sink.
Removing the old sink can be a bit messy, so be prepared with towels or rags to clean up any spills or water. Take your time and be gentle when detaching the sink to avoid any damage to the countertop or vanity.
With the old sink removed, you are now ready to move on to the next step: preparing the area for the installation of the new sink.
Read more: How To Replace Sink Faucet
Step 4: Prepare the Area
With the old sink removed, it’s time to prepare the area for the installation of the new sink. Here’s what you need to do:
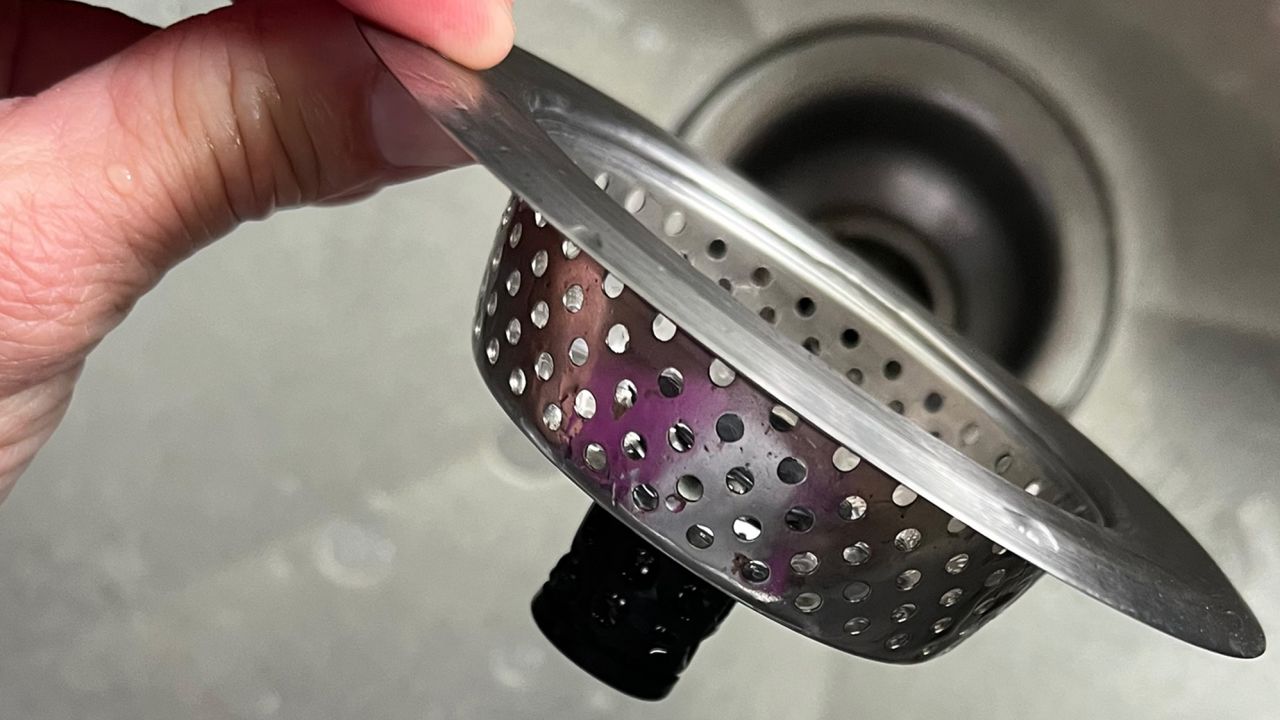
- Inspect the plumbing connections: Take a moment to inspect the plumbing connections and drainpipe to ensure they are in good condition. Replace any damaged or worn-out parts, such as the drain assembly or P-trap, before proceeding.
- Measure and mark the new sink placement: Use a measuring tape to determine the exact placement of the new sink on the countertop or vanity. Mark the measurements with a pencil, ensuring accuracy and alignment.
- Apply plumber’s tape: Wrap a few layers of plumber’s tape around the threads of the water supply lines and the drainpipe. Plumber’s tape helps create a tight seal and prevents leaks.
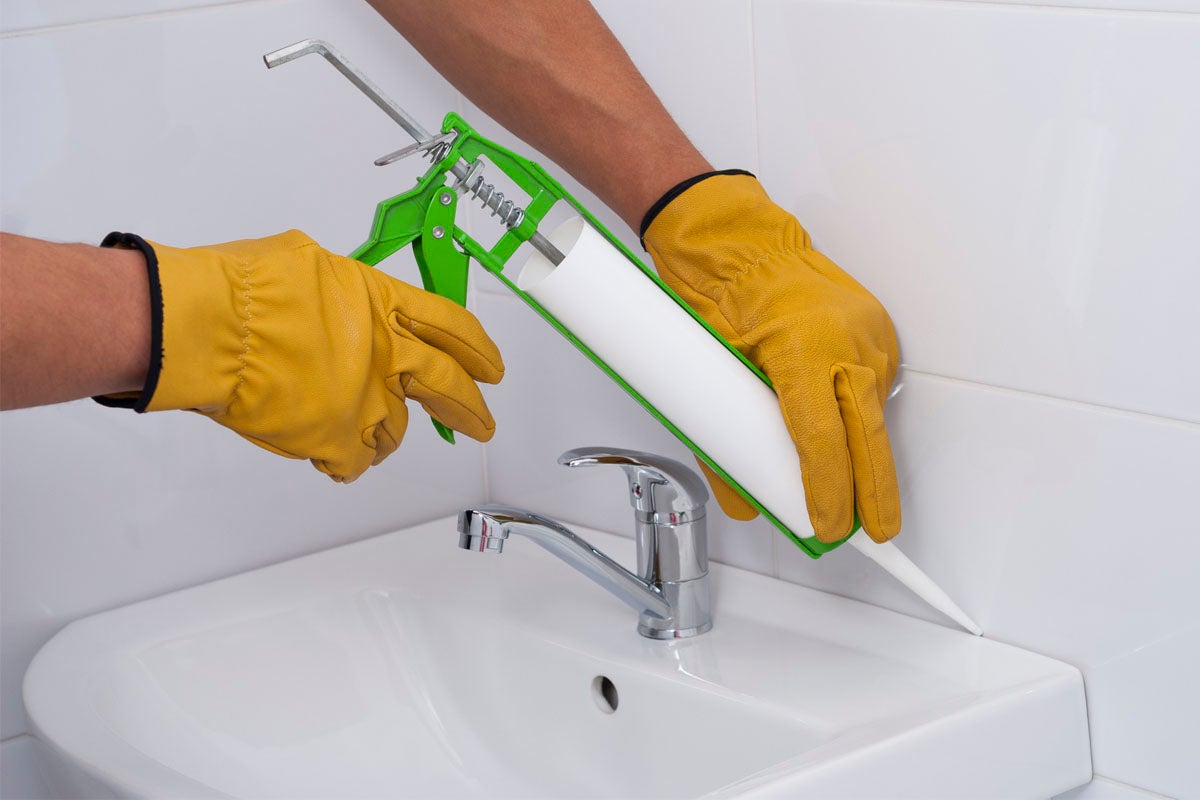
- Apply silicone caulk: Apply a thin, even bead of silicone caulk around the outer edge of the sink cutout on the countertop or vanity. This will create a watertight seal once the new sink is installed.
- Position the new sink: Carefully lower the new sink into the marked placement on the countertop or vanity. Adjust the position as needed to ensure a proper fit and alignment with the plumbing connections.
- Secure the sink: Once the sink is in place, secure it by tightening any mounting brackets or screws underneath. Follow the manufacturer’s instructions for proper installation.
Preparing the area is an important step to ensure a smooth and secure installation of the new sink. Take your time to measure and mark the placement accurately and apply plumber’s tape and silicone caulk properly for a leak-free connection.
Now that the area is prepared, you are ready to move on to the next step: installing the new sink.
When replacing a bathroom sink, be sure to turn off the water supply before disconnecting the old sink. This will prevent any potential flooding or water damage during the replacement process.
Step 5: Install the New Sink
Now that the area is prepared, it’s time to install the new sink. Follow these steps for a successful installation:
- Connect the water supply lines: Attach the water supply lines to the corresponding hot and cold water valves. Tighten the nuts with an adjustable wrench to secure the connections. Make sure they are snug but not overly tightened.
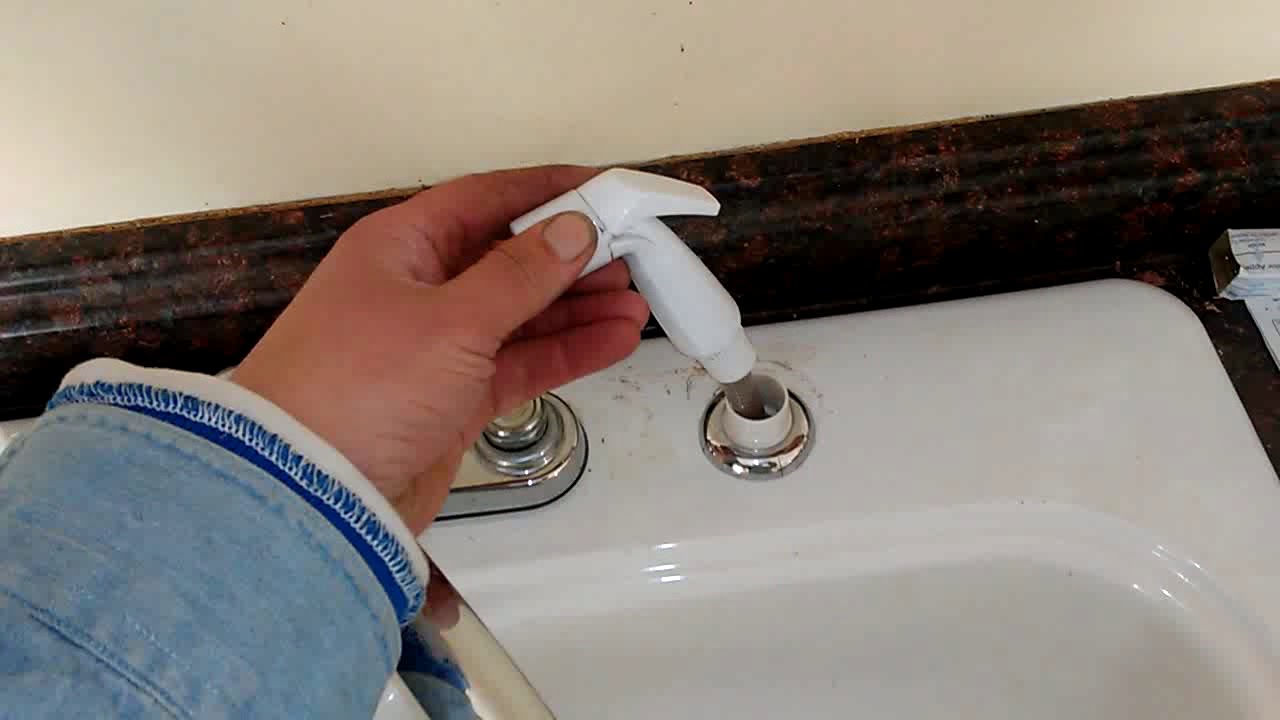
- Connect the drain assembly: Install the new drain assembly by inserting it into the drain hole at the bottom of the sink. Use an adjustable wrench to tighten the locking nut underneath the sink, securing the drain assembly in place.
- Attach the P-trap: Connect one end of the P-trap to the drainpipe coming out of the wall, and the other end to the bottom of the drain assembly. Ensure that the P-trap is properly aligned and tightened, but be cautious not to overtighten it.
- Check for alignment and stability: Make sure the sink is level and properly aligned with the countertop or vanity. Adjust the position if necessary, and ensure that the sink is stable and securely attached.
- Test the faucet and drain: Turn on the water supply and test the faucet to check for any leaks. Also, let the water run for a few minutes to check if the drain is working properly and draining water without any issues.
As you install the new sink, be careful not to overtighten any nuts or connections. Over-tightening can damage the fittings and cause leaks. Double-check all connections and ensure everything is properly aligned before moving on to the next step.
With the new sink installed, you’re one step closer to enjoying a refreshed and functional bathroom. The next step is to reconnect the plumbing.
Step 6: Reconnect the Plumbing
After installing the new sink, it’s time to reconnect the plumbing to ensure proper functionality. Here’s how you can do it:
- Connect the water supply lines: Attach the water supply lines to the corresponding hot and cold water valves. Use an adjustable wrench to tighten the nuts securely, but be careful not to overtighten.
- Secure the drain assembly: Make sure the drain assembly is properly aligned and snug. If necessary, tighten the locking nut underneath the sink to secure the drain assembly in place. Ensure that the rubber gasket or seal is properly seated to prevent any leaks.
- Attach the P-trap: Connect one end of the P-trap to the drainpipe coming out of the wall, and the other end to the bottom of the drain assembly. Tighten the nuts securely, but be cautious not to overtighten, as it may damage the connections and cause leaks.
- Check for leaks: Turn on the water supply and check for any leaks around the water supply lines, drain assembly, and P-trap. If you notice any leaks, tighten the connections as needed or add plumber’s tape to create a better seal.
It’s important to take your time and ensure that all plumbing connections are secure and watertight. A proper plumbing connection will prevent leaks and ensure the smooth operation of your new sink.
With the plumbing reconnected, you’re almost done! The next step is to turn on the water supply and test for any leaks.
Step 7: Turn on the Water Supply
With the plumbing reconnected, it’s time to turn on the water supply and get your new sink up and running. Follow these steps to ensure a smooth transition:
- Open the shut-off valves: Locate the shut-off valves underneath the sink and turn them counterclockwise to open the water supply. If you don’t have shut-off valves under the sink, you may need to turn on the main water supply to your house.
- Slowly test the water flow: Slowly turn on the faucet handles and let the water flow. Check for any signs of leaks around the water supply lines, drain assembly, and P-trap. If you notice any leaks, turn off the water supply and tighten the connections as needed.
- Check for proper water pressure: Ensure that the water pressure is normal and consistent. If you notice any issues with water flow or pressure, you may need to consult a plumber to diagnose and resolve the problem.
Turning on the water supply is an exciting moment as you see your new sink come to life. However, it’s important to be cautious and attentive for any leaks or irregularities in the water flow.
Once you have verified that the water is flowing properly and there are no leaks, you’re almost done! The next step is to test for any remaining leaks.
Read more: How To Replace A Bathroom Sink Drain
Step 8: Test for Leaks
Testing for leaks is a crucial step to ensure that your new sink installation is watertight and functioning properly. Follow these steps to effectively test for any leaks:
- Inspect all connections: Carefully inspect all the connections, including the water supply lines, drain assembly, and P-trap. Look for any signs of leaks, such as water dripping or pooling around the connections.
- Check for water damage: Look underneath the sink, inside the vanity or cabinet, and on the floor surrounding the sink for any signs of water damage. This can include water stains, mold, or a musty odor.
- Run water and observe: Slowly turn on the faucet and let the water run for a few minutes. Pay close attention to the connections and areas that you have previously inspected for leaks. Look for any signs of water leakage or irregularities in water flow.
- Address any leaks or issues: If you discover any leaks during the testing process, promptly address them. Turn off the water supply, tighten the affected connections, or replace any faulty parts if necessary. Double-check the connections and retest for leaks until you have resolved the issue.
Testing for leaks is an essential final step to ensure the functionality and durability of your new sink installation. By being thorough in your inspection and resolving any leaks promptly, you can prevent water damage and maintain a fully functional bathroom.
Once you have successfully tested for leaks and addressed any issues, you’re almost done! The final step is to clean up and finalize the installation.
Step 9: Clean up and Finalize
Now that your new sink installation is complete and any leaks have been resolved, it’s time to clean up and finalize the project. Follow these steps to ensure a polished and finished look:
- Clean the sink and surrounding area: Use a mild cleanser or soap and water to clean the surface of the sink and remove any dirt, dust, or residue. Wipe down the countertop or vanity surrounding the sink, ensuring a clean and fresh appearance.
- Apply silicone caulk: If necessary, apply a small bead of silicone caulk around the edges of the sink where it meets the countertop or vanity. This will create a neat and watertight seal. Smooth the caulk with a caulk smoothing tool or your finger for a professional finish.
- Reassemble the vanity or cabinet: If you had to remove any parts of the vanity or cabinet during the sink replacement process, now is the time to reassemble them. Ensure that everything is properly aligned and secured.
- Dispose of old sink and materials: Properly dispose of the old sink, packaging, and any other materials that are no longer needed. Follow local regulations and recycling guidelines for appropriate disposal methods.
Taking the time to clean and finalize the installation will give your bathroom sink a polished and professional appearance. It’s important to pay attention to details and ensure that everything is in its proper place before considering the project complete.
Congratulations! You have successfully replaced your bathroom sink and completed the installation process. Take a moment to admire your new sink and enjoy the refreshed look and improved functionality it brings to your bathroom.
Remember, if you have any doubts or encounter difficulties during the process, don’t hesitate to consult a professional plumber for assistance. Their expertise will help ensure a successful and seamless installation.
Conclusion
Replacing a bathroom sink may seem like a daunting task, but with the right tools, materials, and step-by-step guidance, it can be a manageable DIY project. By following the steps outlined in this guide, you can successfully replace your old sink and enjoy a fresh and updated look in your bathroom.
Throughout the process, it is important to gather all the necessary tools and materials, shut off the water supply, remove the old sink carefully, prepare the area for the installation, install the new sink, reconnect the plumbing, turn on the water supply, test for leaks, and finally, clean up and finalize the installation.
Remember, take your time and pay attention to detail at each step. Testing for leaks and ensuring proper alignment and stability are crucial to avoid any issues in the future. If you encounter any difficulties or need additional assistance, don’t hesitate to consult a professional plumber for guidance.
Replacing your bathroom sink not only improves the functionality of your space but also enhances its overall aesthetic appeal. You can enjoy the satisfaction of a job well done and bask in the beauty of your newly installed sink.
Now that you have the knowledge and confidence to replace a bathroom sink, you can embark on this project with ease, turning your bathroom into a more stylish and functional space.
Frequently Asked Questions about How To Replace Bathroom Sink
Was this page helpful?
At Storables.com, we guarantee accurate and reliable information. Our content, validated by Expert Board Contributors, is crafted following stringent Editorial Policies. We're committed to providing you with well-researched, expert-backed insights for all your informational needs.


0 thoughts on “How To Replace Bathroom Sink”