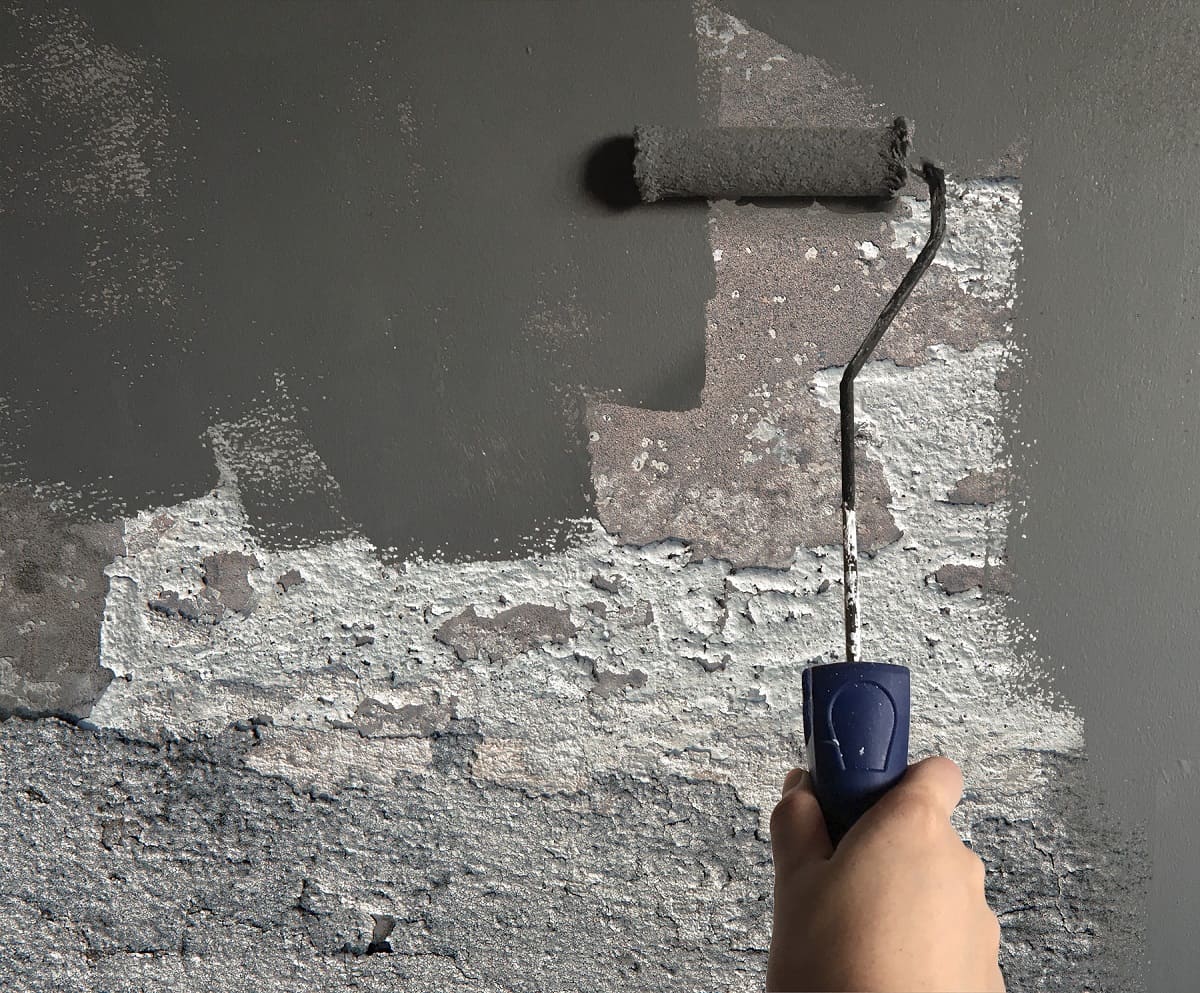

Articles
How To Paint Concrete Basement Walls
Modified: January 19, 2024
Learn how to paint your concrete basement walls with these helpful articles. Step-by-step instructions and tips for a successful project.
(Many of the links in this article redirect to a specific reviewed product. Your purchase of these products through affiliate links helps to generate commission for Storables.com, at no extra cost. Learn more)
Introduction
Welcome to the world of DIY home improvement! If you’re looking to transform your dull and dreary concrete basement walls into a vibrant and inviting space, then this article is for you. Painting your basement walls is a fantastic way to add personality and character to an otherwise forgotten area of your home.
Before you dive into the process of painting your concrete basement walls, it’s important to understand a few key factors. First and foremost, you’ll need to choose the right type of paint for this specific application. Concrete walls require a paint that is durable, moisture-resistant, and able to withstand the unique challenges of a basement environment.
Once you’ve selected the appropriate paint, proper preparation is critical for a successful outcome. This includes cleaning the walls, repairing any damages, and applying a primer to ensure proper adhesion and longevity of the paint. Finally, you’ll be ready to apply the paint and seal it to protect your hard work.
In this article, we will guide you through each step in detail, ensuring that you have all the information you need to tackle this project successfully. So, grab your paintbrushes and let’s get started on the journey to transform your basement walls!
Key Takeaways:
- Choose the right paint for your concrete basement walls based on moisture resistance and desired aesthetic, such as masonry paint for durability or concrete stain for a natural look.
- Properly prepare, clean, repair, prime, and seal your basement walls before painting to ensure a professional, long-lasting, and visually pleasing finish.
Read more: How To Clean Concrete Basement Walls
Choosing the Right Paint
When it comes to painting concrete basement walls, using the right type of paint is crucial for achieving a long-lasting and professional finish. Considering the unique characteristics of basement environments, it’s important to choose a paint that is specifically designed for concrete surfaces and can withstand moisture, humidity, and potential water damage.
There are a few different types of paint that work well for basement walls:
- Masonry Paint: This type of paint is specifically formulated for masonry surfaces, including concrete. It is highly durable and typically water-resistant, making it an excellent choice for basement walls. Masonry paint is available in a variety of finishes, such as flat, gloss, and semi-gloss, allowing you to choose the look that best suits your desired aesthetic.
- Epoxy Paint: Epoxy paint is a popular choice for basement walls due to its superior durability and resistance to moisture. It forms a thick, hard coating that helps to protect against water infiltration and is easy to clean. Epoxy paint is available in various colors and finishes, making it a versatile option for both functional and decorative purposes.
- Concrete Stain: If you prefer a more natural and rustic look, concrete stain is an excellent option. Unlike paint, which completely covers the surface, concrete stain penetrates the pores of the concrete, creating a translucent and variegated appearance. It allows the texture and imperfections of the concrete to show through, providing a unique and artistic finish.
Before choosing a specific paint, it’s important to consider the specific needs of your basement. Evaluate the level of moisture and humidity in the space, as well as the potential for water seepage. If your basement is prone to water issues, selecting a moisture-resistant paint, such as epoxy, is highly recommended.
Additionally, consider the desired aesthetic of your basement. Are you looking for a sleek, modern look? In that case, masonry paint in a glossy or semi-glossy finish may be the perfect choice. If you prefer a more natural and organic feel, concrete stain could be the ideal option.
Finally, ensure that the paint you choose is compatible with concrete surfaces and suitable for interior use. Check the product labels and consult with a knowledgeable salesperson at your local home improvement store to ensure you select the right type of paint for your specific needs.
By choosing the right paint for your basement walls, you’ll set yourself up for a successful and visually pleasing transformation. Now that you have a clear understanding of the different options available, it’s time to move on to the important step of preparing your basement walls for painting.
Preparing the Basement Walls
Before you can start painting your concrete basement walls, it is crucial to properly prepare the surface. This step is essential for achieving a smooth and professional-looking finish, as it ensures that the paint adheres correctly and lasts for years to come.
Here are the steps to follow when preparing your basement walls:
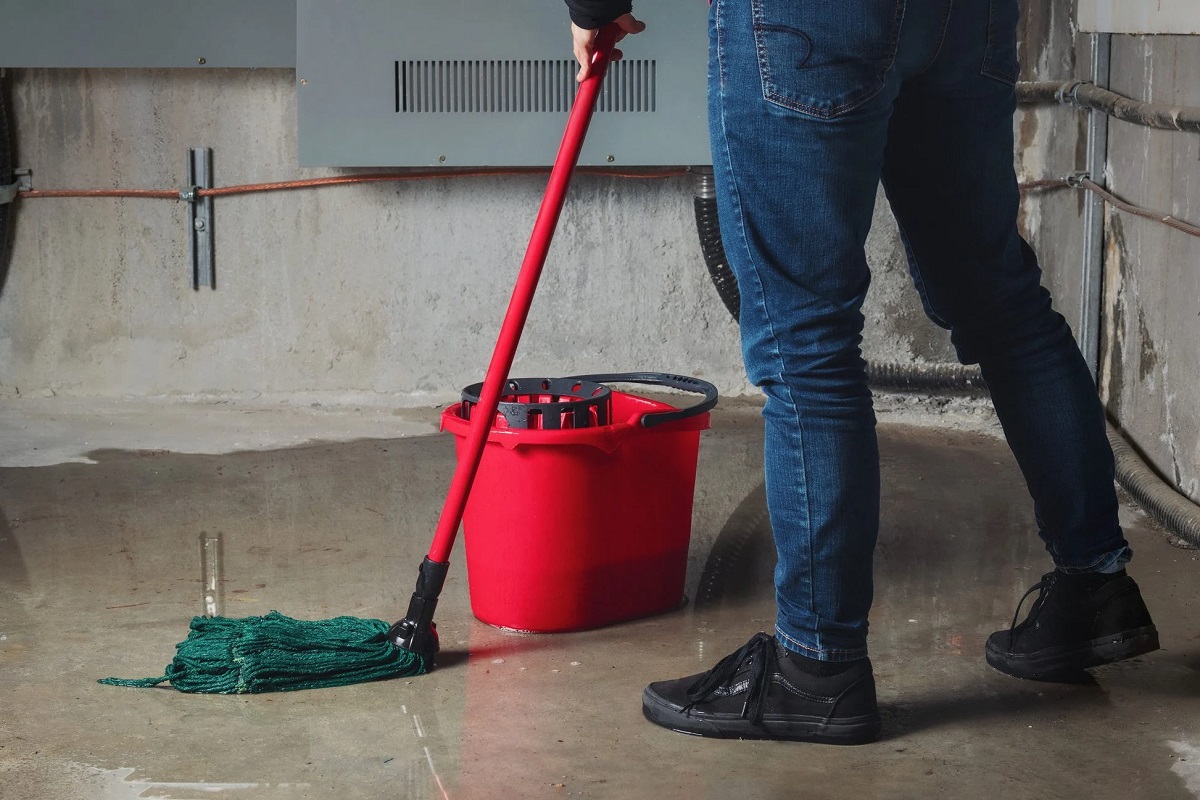
- Cleaning the Walls: Begin by cleaning the walls thoroughly to remove any dirt, dust, or grease. Use a broom or brush to sweep away loose debris, and then wipe the walls down with a damp cloth or sponge. For stubborn stains, you may need to use a mild detergent and scrub gently to remove them. Make sure to rinse the walls well with clean water to remove any residue from the cleaning solution.
- Repairing any Damages: Inspect the walls for any cracks, holes, or other damages that need to be repaired before painting. Use a concrete patching compound to fill in any cracks or holes, and smooth it out with a putty knife. Allow the compound to dry completely according to the manufacturer’s instructions. If there are any significant structural issues or water infiltration problems, it is recommended to consult with a professional before proceeding.
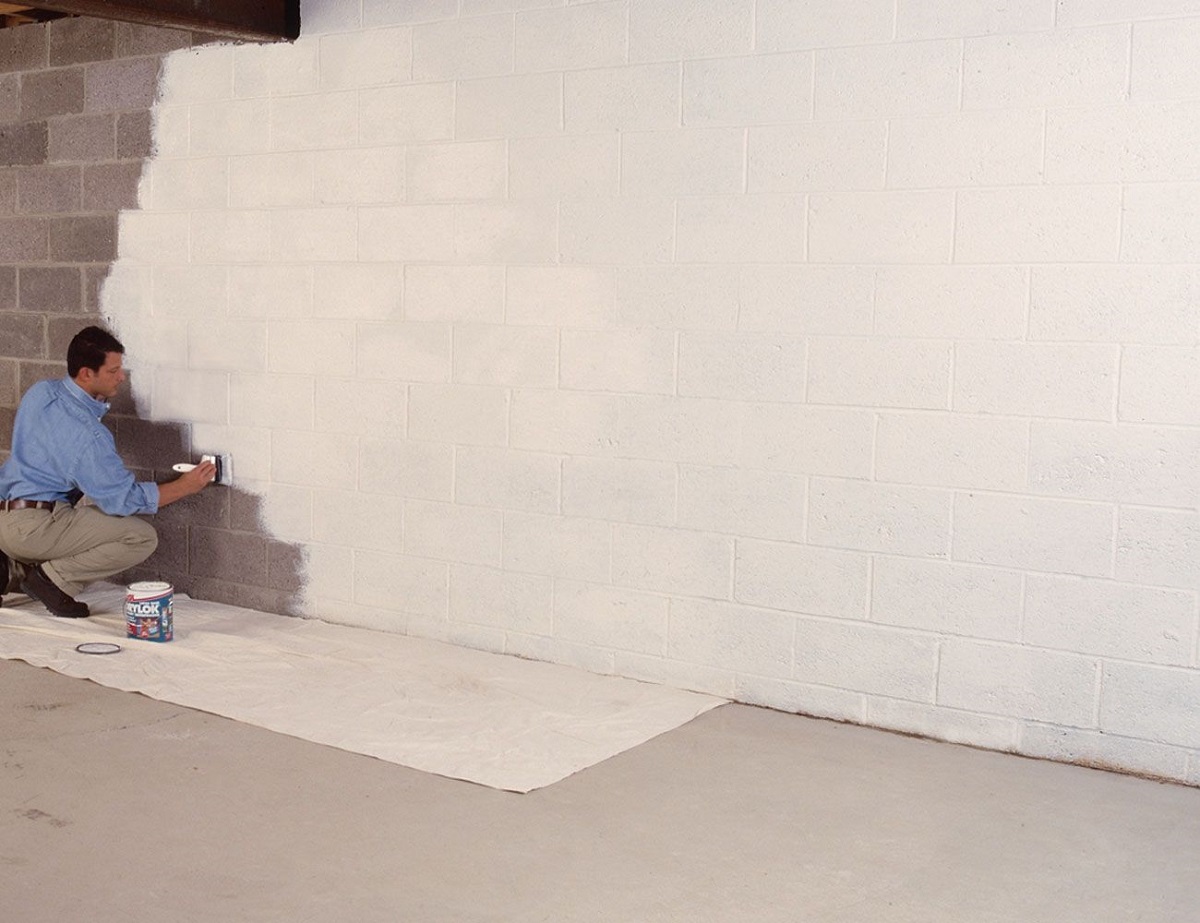
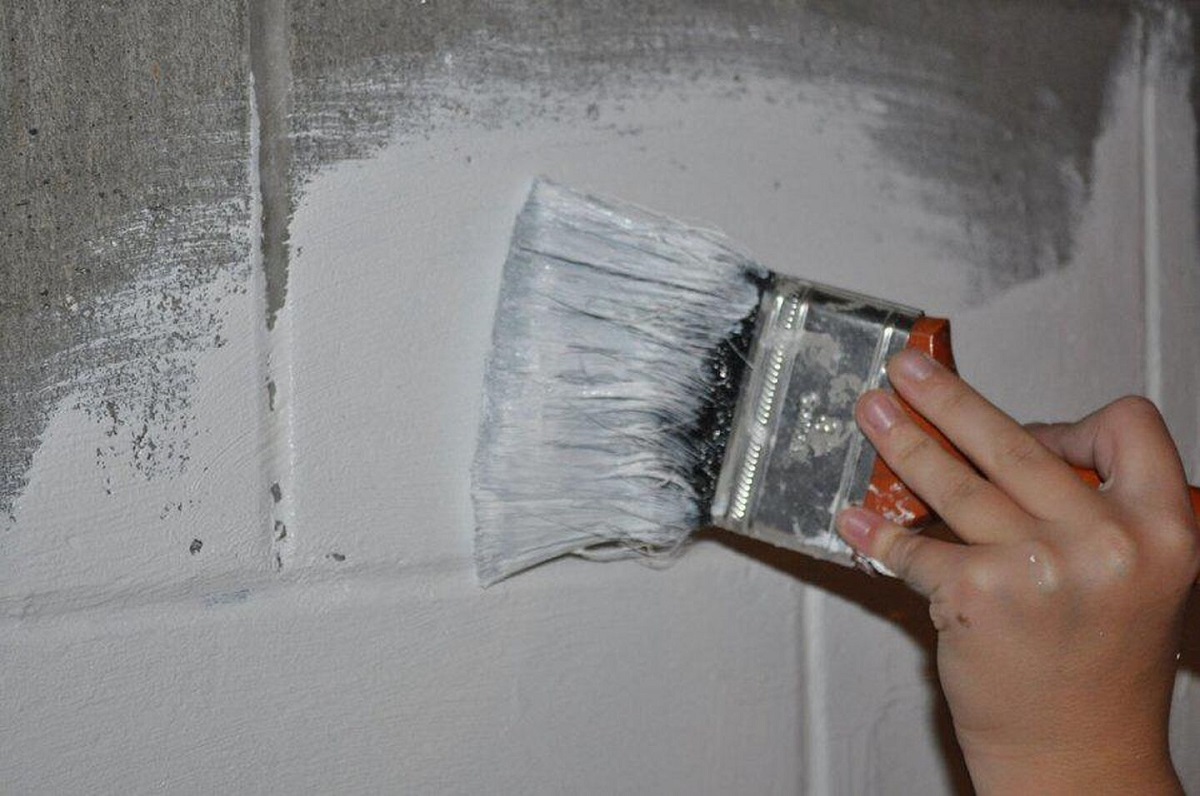
- Priming the Walls: Applying a primer to your basement walls is an essential step that helps the paint adhere properly and ensures better coverage. Choose a high-quality concrete primer that is suitable for your chosen paint type. Apply the primer with a paintbrush or roller, following the manufacturer’s instructions. Allow the primer to dry completely before moving on to the next step.
By taking the time to thoroughly clean and repair your basement walls, you will create a solid foundation for your paint to adhere to. This will result in a smooth and uniform finish, enhancing the overall appearance of your basement.
Once the walls are cleaned, repaired, and primed, you are now ready to paint your basement walls. In the next section, we will guide you through the process of painting your concrete basement walls, ensuring that you achieve a professional-quality finish.
Cleaning the Walls
Properly cleaning your basement walls is a crucial step in preparing them for painting. This process removes dirt, dust, grease, and any other contaminants that may hinder the adhesion of the paint. Cleaning the walls thoroughly will ensure a smooth and professional-looking finish.
Follow these steps to effectively clean your basement walls:
- Remove Loose Debris: Start by removing any loose debris from the walls. Use a broom, brush, or vacuum cleaner with a brush attachment to sweep away any dirt, cobwebs, or loose particles.
- Prepare Cleaning Solution: Mix a solution of warm water and a mild detergent or cleaner. Avoid using harsh chemicals or abrasive cleaners, as they may damage the surface of the walls. Alternatively, you can use a specialized concrete cleaner recommended for this purpose.
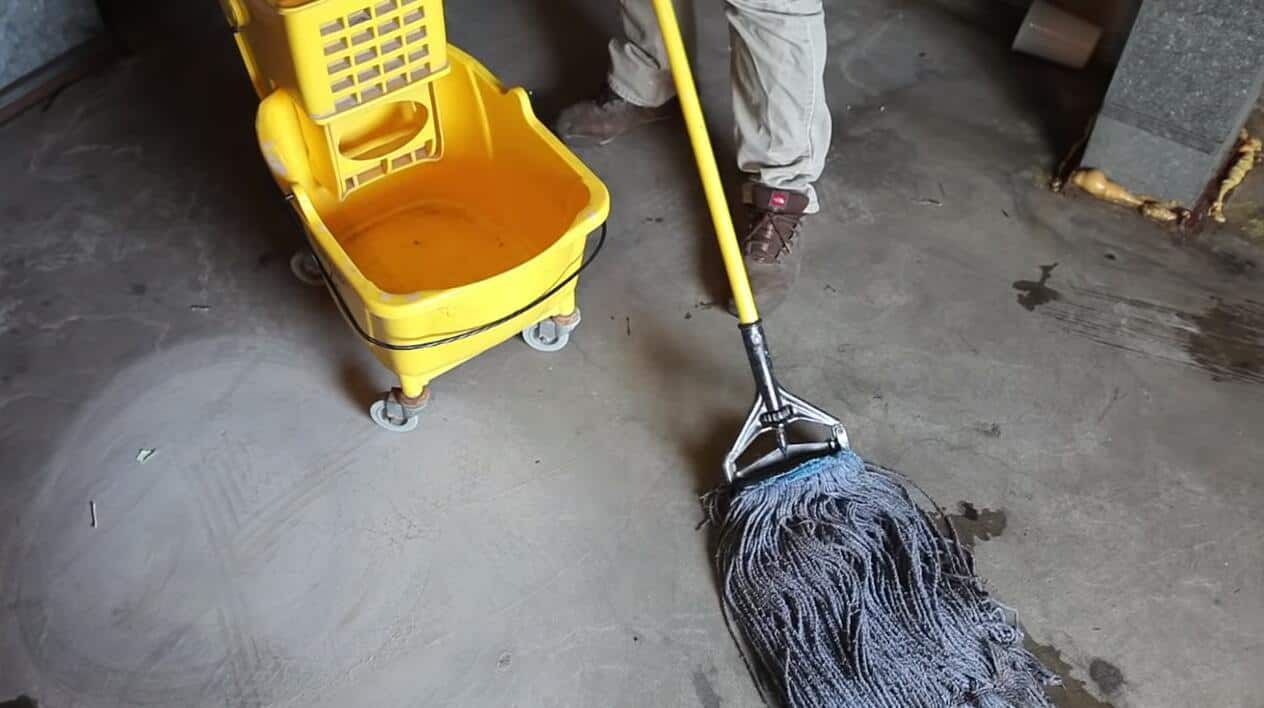
- Apply Cleaning Solution: Use a sponge, brush, or mop to apply the cleaning solution to the walls. Work in small sections to ensure thorough cleaning. Scrub the walls gently, focusing on areas with visible stains or grime. Pay special attention to corners, crevices, and areas near the floor, as these tend to accumulate more dirt and dust.
- Rinse with Clean Water: After scrubbing the walls, rinse them thoroughly with clean water. This will remove any residue from the cleaning solution and ensure a clean surface for painting. You can use a bucket of clean water or a hose with a gentle spray attachment to rinse the walls.
- Allow Walls to Dry: Once you have finished cleaning, allow the walls to dry completely before proceeding with any repairs or priming. Depending on the humidity level in your basement, this may take several hours or even a full day. Ensure that the walls are completely dry to prevent any moisture-related issues during the painting process.
It’s important to note that cleaning the walls is not a one-time task. If you are dealing with persistent stains or mold and mildew growth, you may need to repeat the cleaning process or consult with a professional for proper remediation.
By taking the time to clean your basement walls thoroughly, you will create a clean and receptive surface for paint. This will help ensure better adhesion and a more professional-looking finish for your newly painted basement walls.
In the next section, we will discuss how to repair any damages on the walls before proceeding with the painting process.
Repairing any Damages
Before painting your basement walls, it’s essential to inspect them for any cracks, holes, or other damages that may need to be repaired. Properly addressing these issues will help ensure a smooth and flawless finish, as well as prevent further deterioration of the walls.
Here are the steps to follow when repairing damages on your basement walls:
- Identify the Damages: Carefully examine the walls for any cracks, holes, or other visible damages. Pay attention to areas where water infiltration or structural issues are more likely to occur, such as corners, joints, or areas near windows or doors.
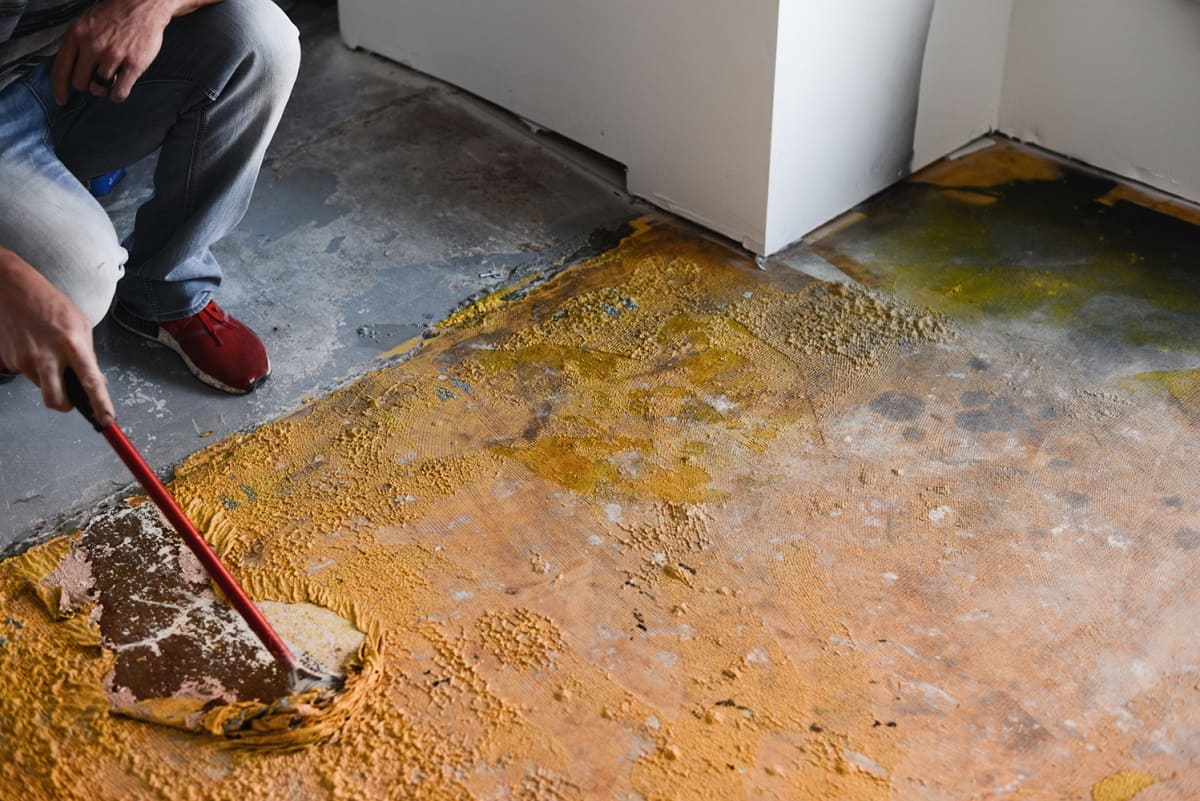
- Clean the Damaged Area: Before making any repairs, clean the damaged area by removing any loose debris, dust, or paint chips. Use a brush or vacuum cleaner with a brush attachment to ensure a clean surface for repair.
- Fill in the Cracks or Holes: For smaller cracks and holes, use a high-quality concrete patching compound. Follow the manufacturer’s instructions to properly mix the compound and then apply it to the damaged area using a putty knife or trowel. Smooth out the patching compound and ensure it is level with the surrounding surface. Allow the compound to dry completely according to the manufacturer’s instructions.
- Sand the Repaired Area: Once the patching compound has dried, use sandpaper or a sanding block to smooth out the repaired area. Carefully sand the surface until it is even and blends seamlessly with the surrounding wall. Wipe away any dust or debris with a damp cloth or sponge.
- Inspect for Structural Issues: If you notice any major structural issues, such as significant cracks or signs of severe water damage, it is recommended to consult with a professional before proceeding with the painting process. They can assess the extent of the damage and provide appropriate solutions.
- Consider Waterproofing: If your basement has a history of water infiltration or you want to take extra precautions, consider applying a waterproofing product to the repaired areas. These specialty products create an additional barrier against moisture and can help protect your walls in the long run.
By repairing any damages on your basement walls, you not only ensure a better surface for painting but also prevent potential issues from worsening over time. Remember to follow the manufacturer’s instructions for any patching compound or waterproofing products you use and allow sufficient drying time before proceeding.
Now that your basement walls are cleaned and repaired, it’s time to prepare them for painting by applying a primer. In the next section, we will discuss the importance and steps involved in priming the walls.
Before painting concrete basement walls, make sure to clean and etch the surface to ensure proper adhesion of the paint. Use a concrete primer to further improve adhesion and durability of the paint.
Read more: How To Paint Basement Walls
Priming the Walls
Priming the basement walls is a crucial step in the painting process. A primer acts as a preparatory layer that helps the paint adhere properly and ensures better coverage, durability, and longevity of the paint job. It creates a smooth surface, seals the underlying material, and provides a uniform base for the paint color.
Here are the steps to follow when priming your basement walls:
- Gather the Necessary Supplies: Before you begin, make sure you have all the necessary supplies on hand. This includes a high-quality concrete primer compatible with your chosen paint type, a paintbrush, a roller, a tray, and painter’s tape to protect any adjacent surfaces.
- Prepare the Walls: Ensure that the walls are clean, dry, and free from any loose debris or dust. If necessary, use a damp cloth or sponge to wipe down the walls and remove any remaining particles or residue.
- Apply Painter’s Tape: Use painter’s tape to protect any adjacent surfaces, such as baseboards, trim, or windows. This will prevent the primer from accidentally getting on these areas and help ensure clean and crisp edges.
- Mix and Apply the Primer: Follow the manufacturer’s instructions to properly mix the primer. Pour the primer into a paint tray and load your paintbrush or roller with an appropriate amount of primer. Begin by cutting in the edges with a brush, applying primer close to the tape and in corners. Then, use a roller to cover the rest of the wall, working in small sections and applying an even coat of primer. Work in vertical or horizontal strokes, depending on your preference, and ensure complete coverage.
- Allow the Primer to Dry: Once you have finished applying the primer, allow it to dry completely. The drying time can vary depending on the product and environmental conditions, so consult the manufacturer’s instructions for guidance. Avoid touching or disturbing the primer while it’s drying to ensure a smooth finish.
Priming the walls not only helps the paint adhere better but also provides a neutral base for your chosen paint color. It evens out the surface, hides imperfections, and enhances the overall appearance of the finished paint job. Additionally, using a primer can reduce the amount of paint needed for full coverage, saving you both time and money.
Once the primer is dry, you are now ready to move on to the exciting part – painting the basement walls. In the next section, we will guide you through the process of painting, ensuring that you achieve a professional and beautifully transformed space.
Painting the Walls
Now that your basement walls are properly cleaned, repaired, and primed, it’s time to bring them to life with a fresh coat of paint. Painting the walls is an exciting and transformative step that will add color, personality, and a sense of warmth to your basement space.
Follow these steps to ensure a smooth and successful painting process:
- Gather Supplies: Before you begin, gather all the necessary supplies. This includes your chosen paint color, paintbrushes, a roller and tray, a paint can opener, drop cloths or plastic sheets to protect the floor, and a stir stick to mix the paint.
- Prepare the Area: Clear the space by removing any furniture, decorations, and other items that could get in the way during the painting process. Cover the floors and any remaining items with drop cloths or plastic sheets to protect them from accidental paint splatters or drips.
- Stir the Paint: Open the paint can using a paint can opener and thoroughly stir the paint with a stir stick. This will ensure that any settling or separation is properly mixed, resulting in consistent color and texture.
- Cut in the Edges: Begin by cutting in the edges of the walls using a paintbrush. Start at the top of the wall and carefully paint along the edges, corners, and around trim and baseboards. This will create clean lines and help with a neater and more professional finish.
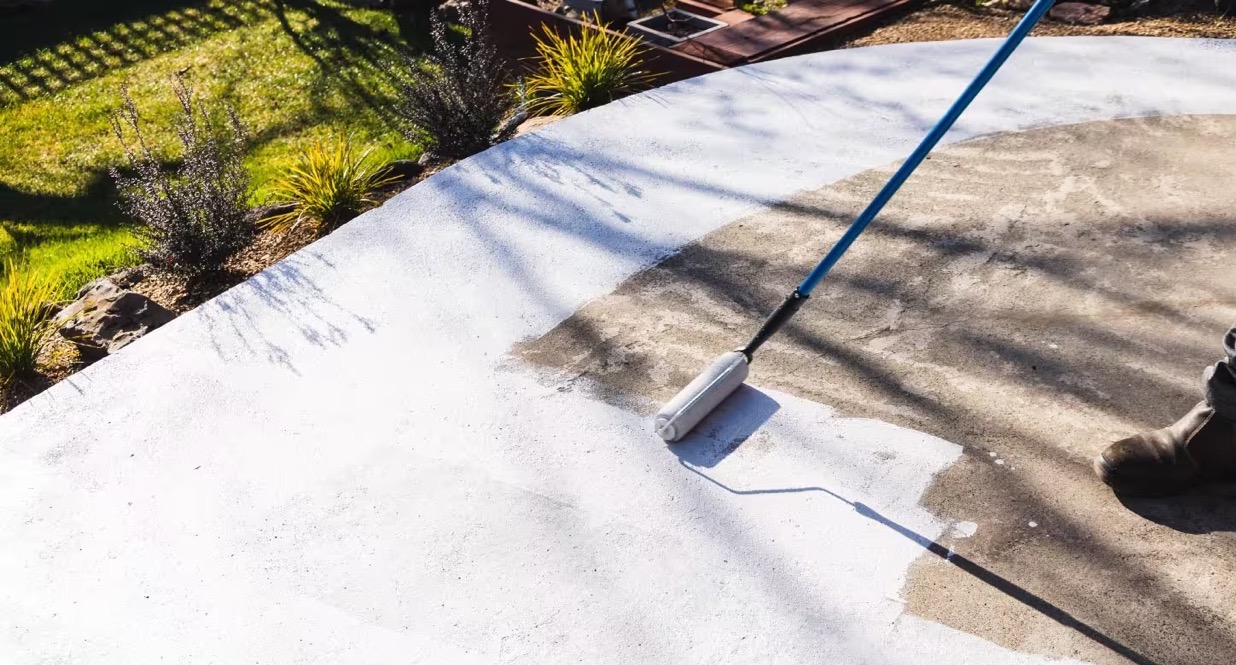
- Roll the Walls: Once the edges are painted, use a roller to cover the rest of the walls. Dip the roller into the paint tray, ensuring that the roller is evenly coated but not overloaded with paint. Begin rolling the paint onto the wall in a “W” or “M” motion. Work in small sections, overlapping each stroke slightly to ensure even coverage. Apply the paint in thin, even coats rather than one thick coat to prevent drips, runs, and uneven drying.
- Allow the Paint to Dry: After applying the first coat of paint, allow it to dry completely according to the instructions on the paint can. Drying time can vary depending on factors such as humidity and ventilation. Once the first coat is dry, follow up with a second coat for a more vibrant and consistent finish. Allow the second coat to dry as well.
- Clean Up: After you have finished painting, clean your brushes and rollers thoroughly with soap and water. Remove the drop cloths or plastic sheets, and carefully dispose of any paint cans or other waste according to local regulations.
Remember to take breaks and pace yourself throughout the painting process to avoid fatigue and ensure quality work. If necessary, ventilate the area by opening windows or using fans to help promote faster drying.
With each stroke of the brush or roll of the roller, you are one step closer to transforming your basement into a vibrant and inviting space. In the next section, we will discuss the importance of sealing the paint to protect your hard work.
Sealing the Paint
Sealing the paint on your newly painted basement walls is an important final step in the painting process. A sealer or topcoat adds a protective layer to the paint, enhancing its durability and longevity. It helps to prevent damage from moisture, stains, and general wear and tear, ensuring that your newly painted walls stay looking fresh and vibrant for years to come.
Here are the steps to follow when sealing the paint on your basement walls:
- Choose the Right Sealer: Select a sealer or topcoat that is suitable for the type of paint you used and the specific needs of your basement. There are various options available, including clear sealers, waterproof sealers, and protective coatings. Read the product labels and consult with a knowledgeable professional to ensure you choose the right sealer for your needs.
- Gather Supplies: Gather all the necessary supplies for sealing the paint. This may include a paintbrush or roller, a paint tray, a stir stick, and any other equipment recommended by the sealer manufacturer.
- Prepare the Area: Clear the space around the walls and make sure the painted surface is clean and dry. If needed, remove any debris or dust from the walls using a soft brush or cloth.
- Stir the Sealer: Open the sealer container and stir it thoroughly using a stir stick. This will ensure that any settling or separation is properly mixed before application.
- Apply the Sealer: Dip a brush or roller into the sealer and apply it evenly to the painted walls. Work in small sections, starting from the top and working your way down. Use smooth and even strokes to ensure consistent coverage. Avoid overloading the brush or roller with sealer, as this can lead to drips or uneven application.
- Allow the Sealer to Dry: Follow the manufacturer’s instructions regarding drying time. Allow the sealer to dry completely before touching or placing any objects against the walls. Keep the room well-ventilated during the drying process to help facilitate the evaporation of solvents.
- Apply Additional Coats if Necessary: Depending on the product and your desired level of protection, you may need to apply multiple coats of sealer. Follow the recommended guidelines for re-coating, which will be provided by the sealer manufacturer.
- Clean Up: Clean your brushes or rollers thoroughly using soap and water or the appropriate cleaning agent recommended by the sealer manufacturer. Dispose of any leftover sealer or waste materials according to local regulations.
Sealing the paint on your basement walls adds an extra layer of protection, prolonging the life and beauty of your newly painted space. It helps to resist stains, moisture damage, and fading, making it easier to clean and maintain the paint over time.
With the paint now sealed, you can enjoy your beautifully transformed basement with confidence, knowing that it is well-protected. In the final section, we will recap the key steps we’ve covered and conclude our guide to painting concrete basement walls.
Conclusion
Congratulations! You have successfully completed the journey of transforming your concrete basement walls into a vibrant and inviting space. By following the steps outlined in this guide, from choosing the right paint to sealing the final coat, you have gained the knowledge and skills necessary to tackle this DIY project with confidence.
Painting concrete basement walls is a rewarding endeavor that not only enhances the aesthetics of your home but also adds value and makes the space more functional. With the right paint, proper preparation, and a little creativity, you can turn a dull and dreary basement into a cozy retreat, an entertainment hub, or even a home office.
Remember, when choosing the paint, go for a product specifically formulated for concrete surfaces and suited for the conditions of a basement environment. Take the time to clean and repair any damages on the walls before applying a primer to ensure optimal adhesion and a smooth finish. When it’s time to paint, be diligent in your application, and consider adding a sealer or topcoat for added protection and longevity.
Throughout the process, don’t be afraid to let your creativity shine by choosing colors and finishes that reflect your personal style and desired atmosphere for the space. Experiment with different techniques, patterns, or even accent walls to bring character to your basement.
As with any DIY endeavor, it’s important to take breaks, follow safety precautions, and ask for help if needed. Painting can be a time-consuming task, but the results are worth the effort. So, roll up your sleeves, grab your brushes, and enjoy the journey of transforming your concrete basement walls into a beautiful and functional part of your home.
Now that you have the knowledge and confidence to embark on this project, it’s time to put your skills into action. Get started and enjoy the process of turning your basement walls into a canvas of creativity and style.
Frequently Asked Questions about How To Paint Concrete Basement Walls
Was this page helpful?
At Storables.com, we guarantee accurate and reliable information. Our content, validated by Expert Board Contributors, is crafted following stringent Editorial Policies. We're committed to providing you with well-researched, expert-backed insights for all your informational needs.



0 thoughts on “How To Paint Concrete Basement Walls”