Articles
How To Build A Porch Stair Railing
Modified: February 23, 2024
Learn how to build a porch stair railing with our expert articles. Discover step-by-step instructions and valuable tips for a stylish and safe railing installation.
(Many of the links in this article redirect to a specific reviewed product. Your purchase of these products through affiliate links helps to generate commission for Storables.com, at no extra cost. Learn more)
Introduction
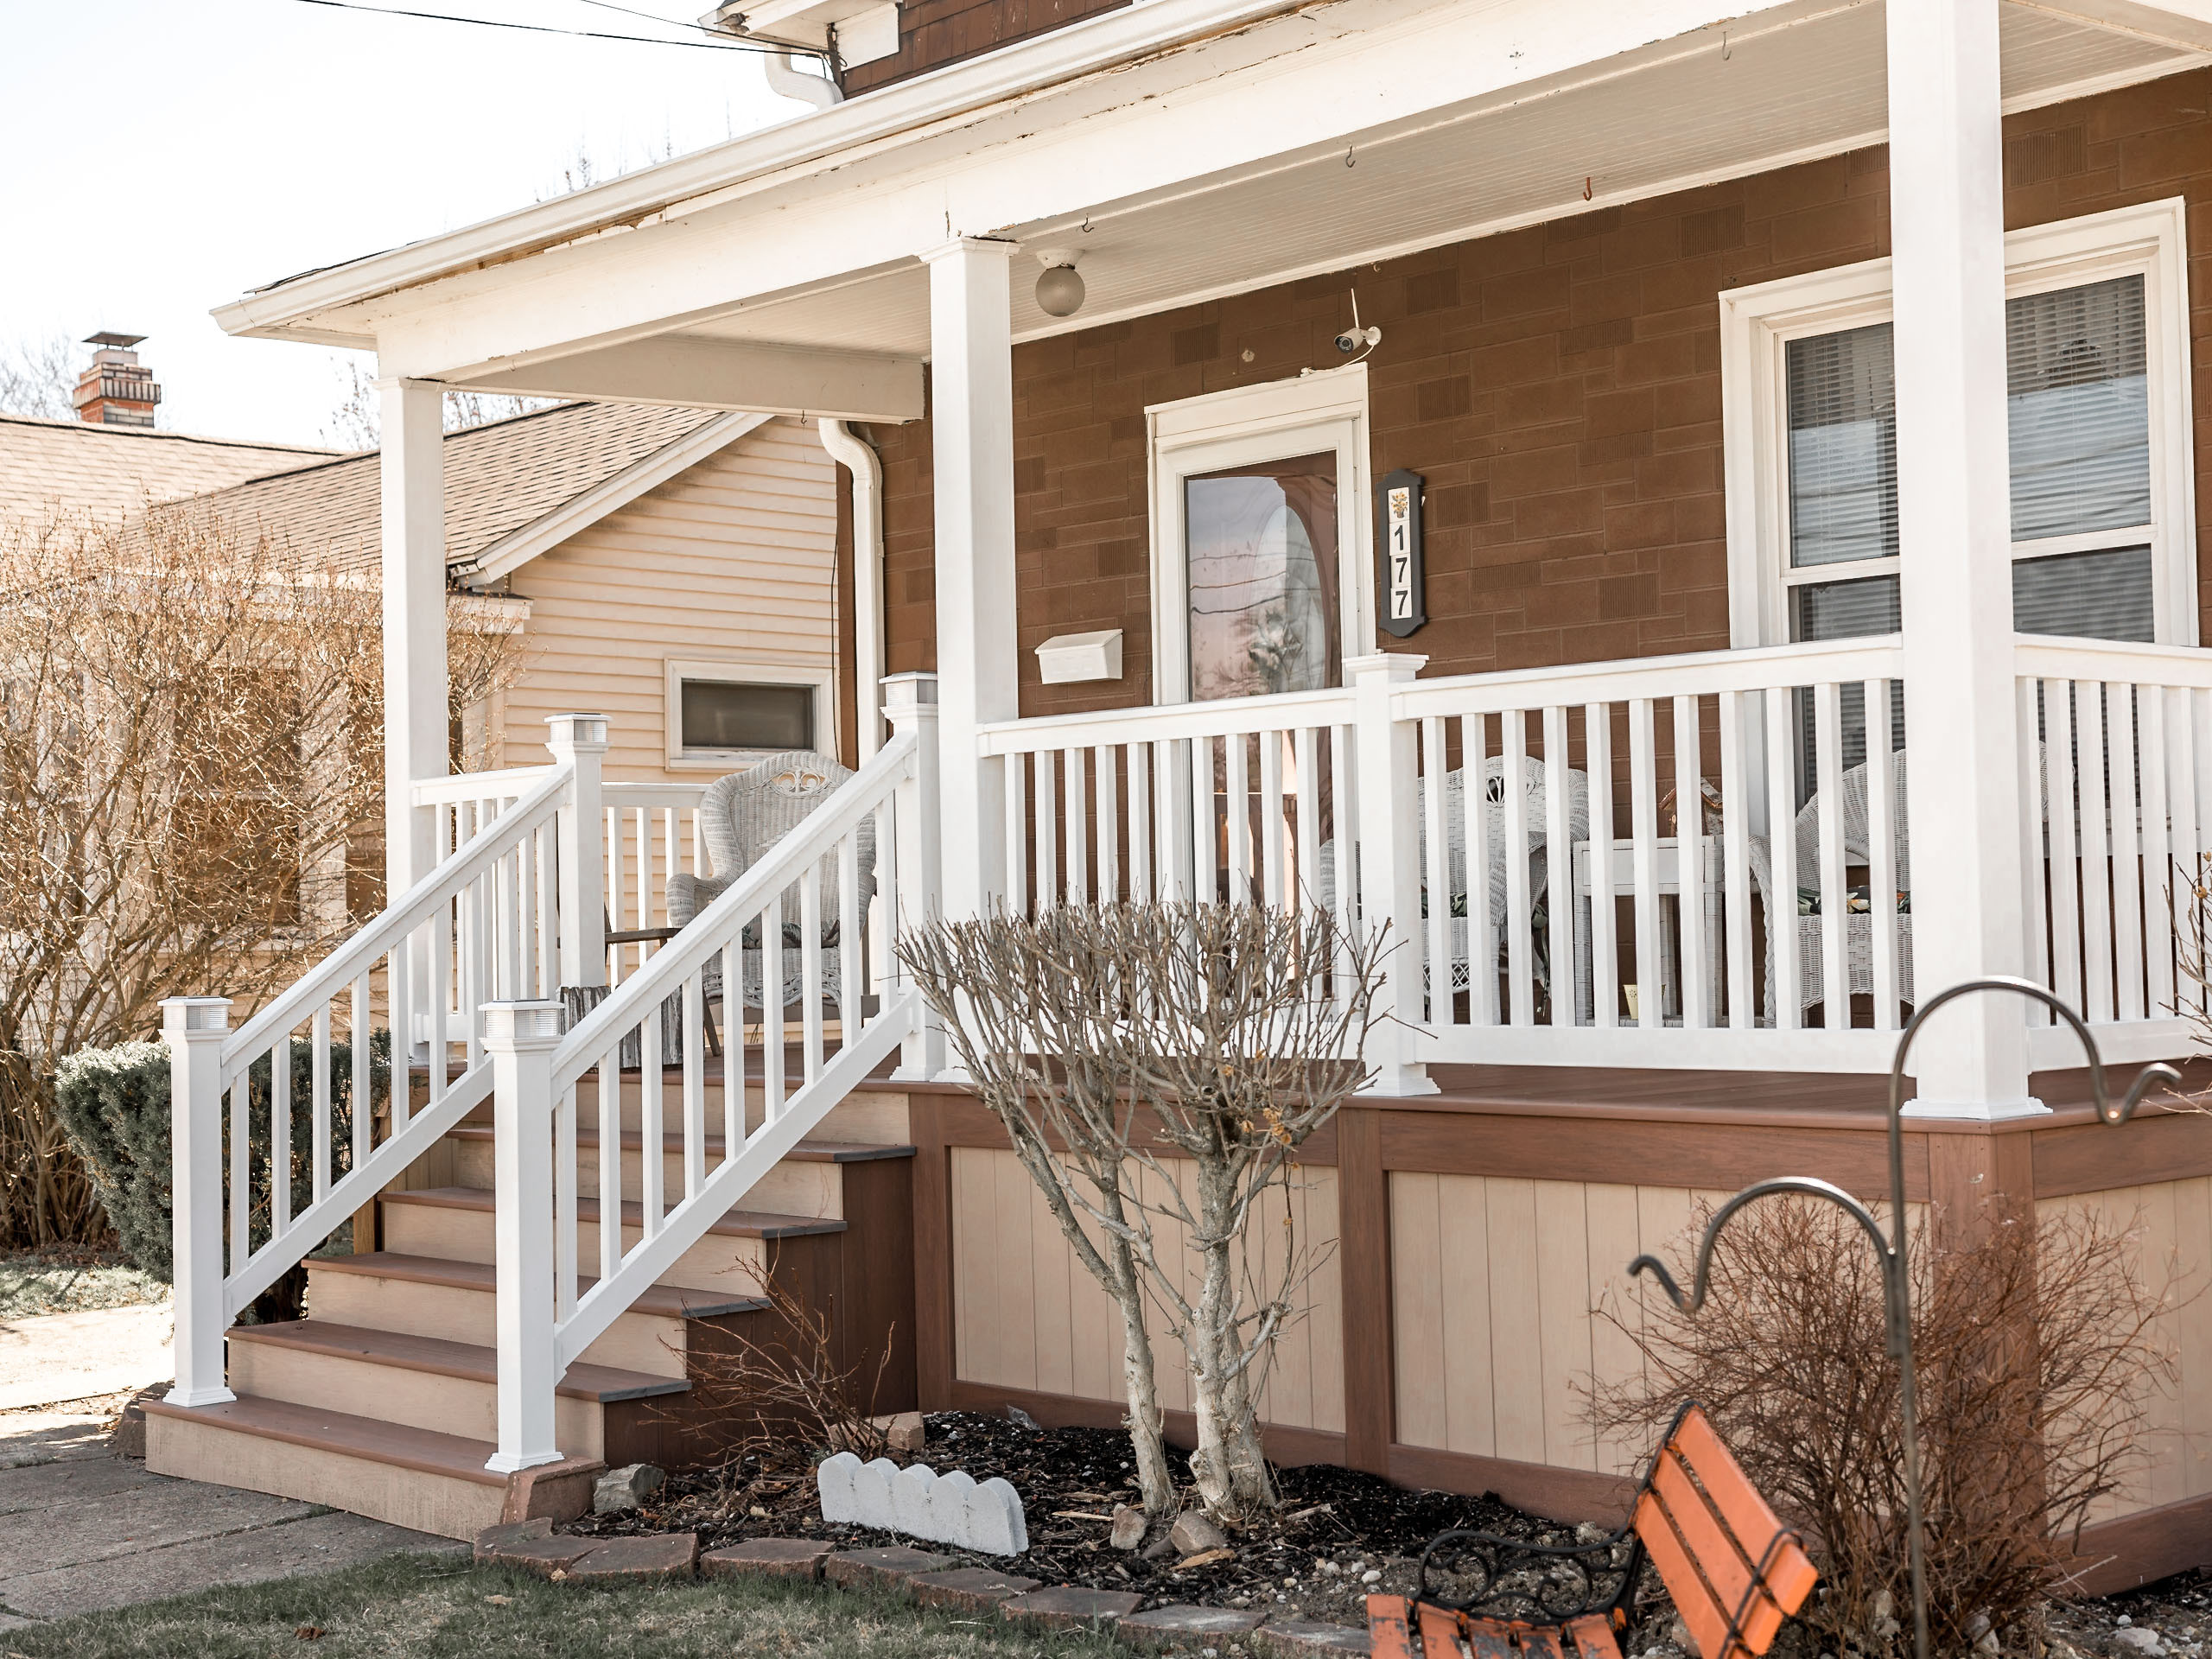
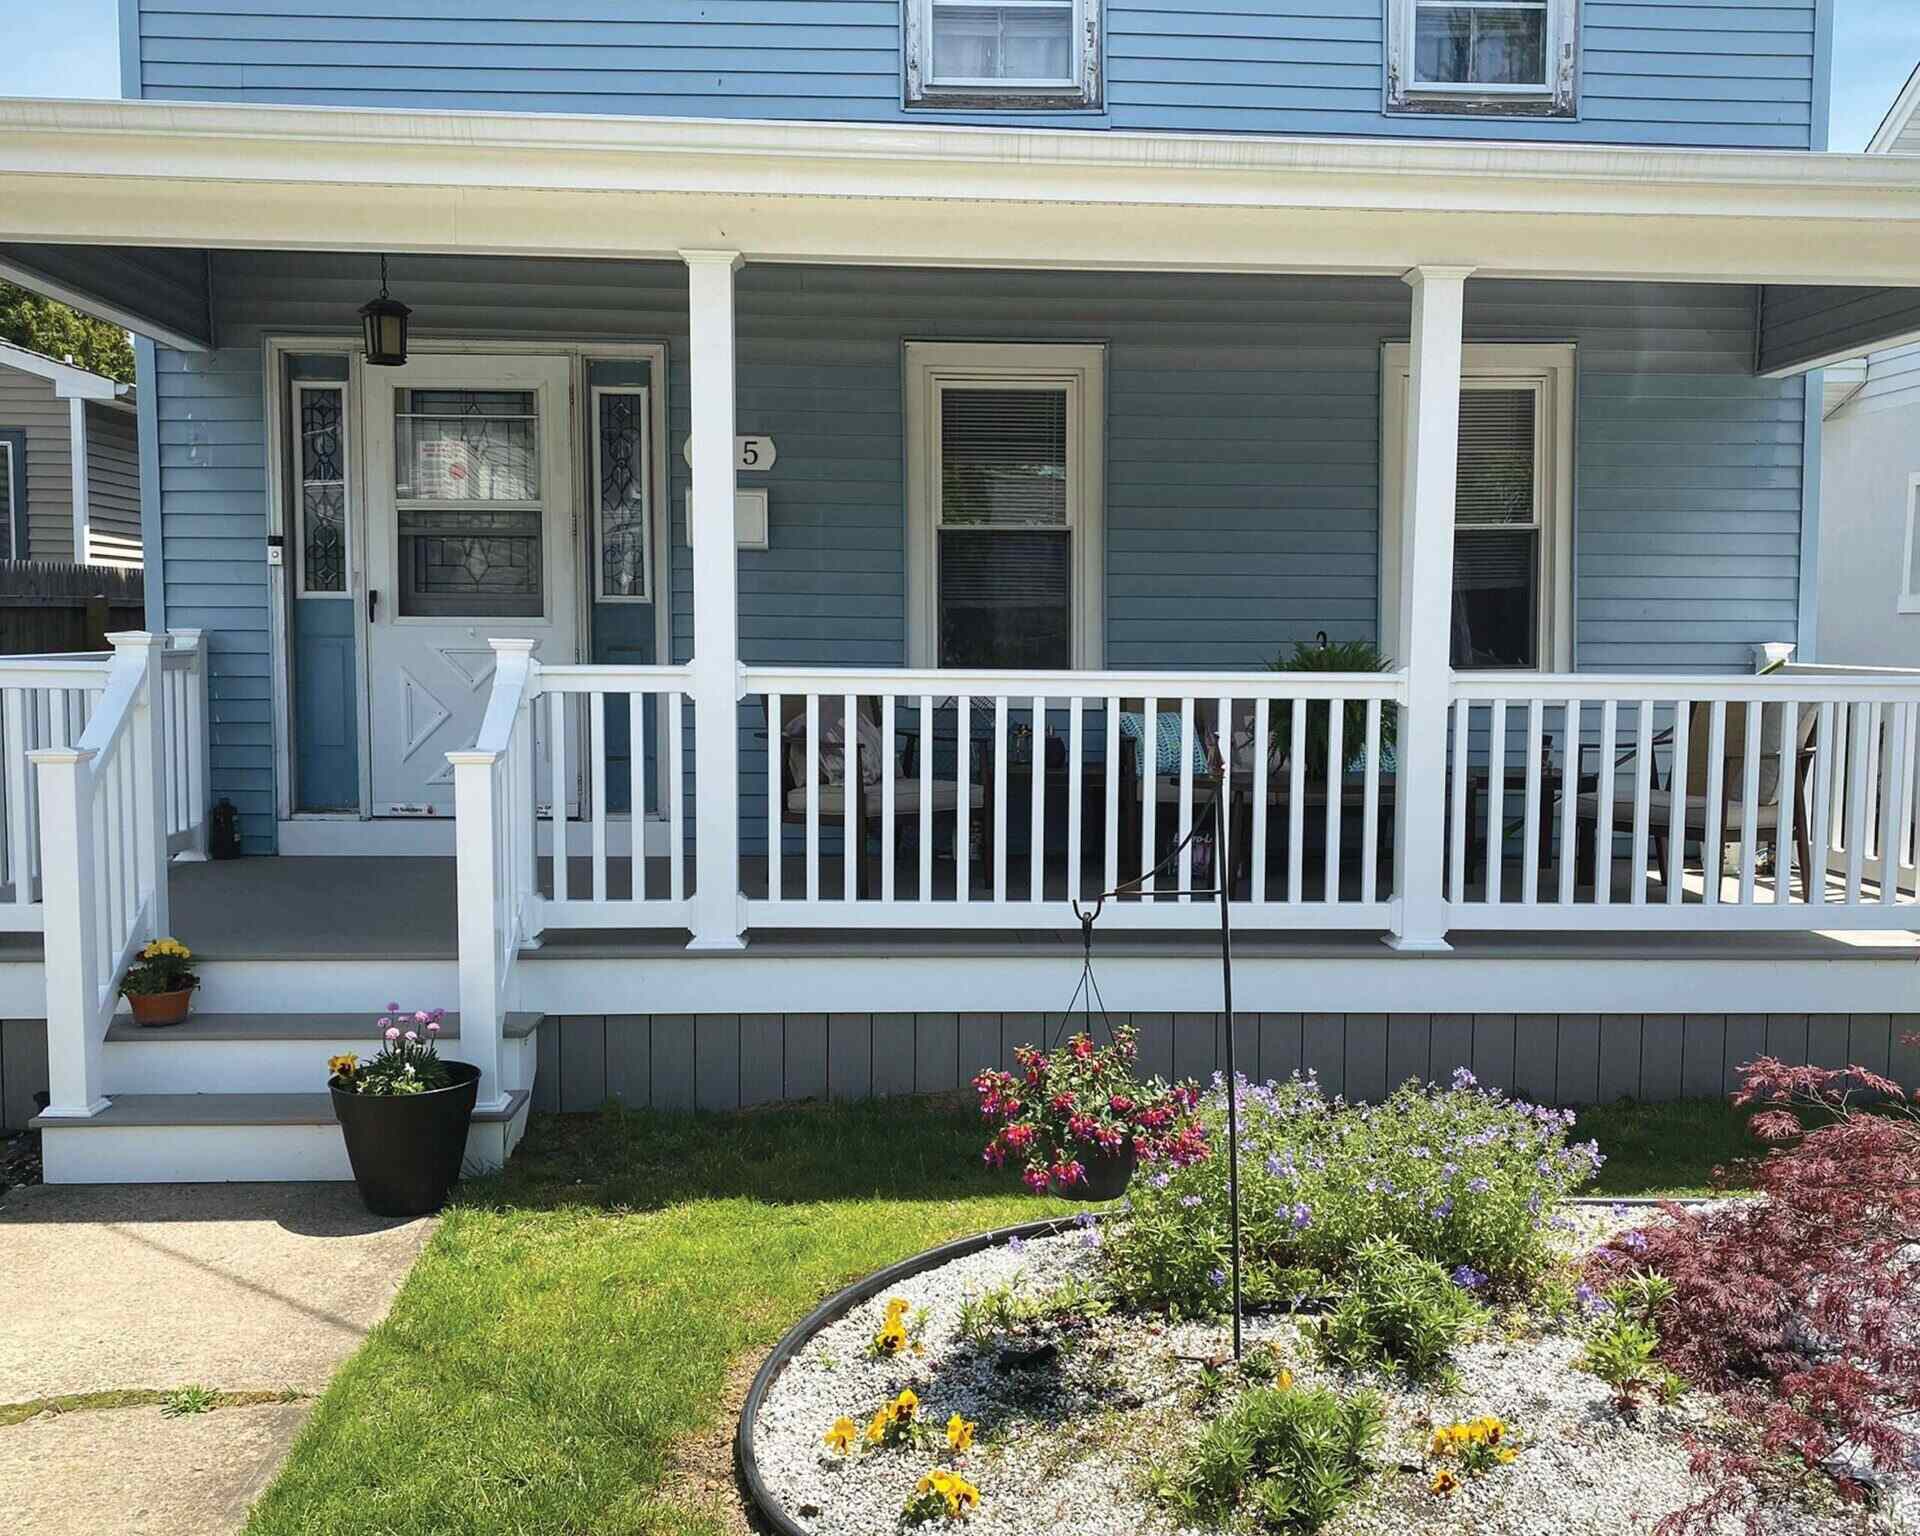
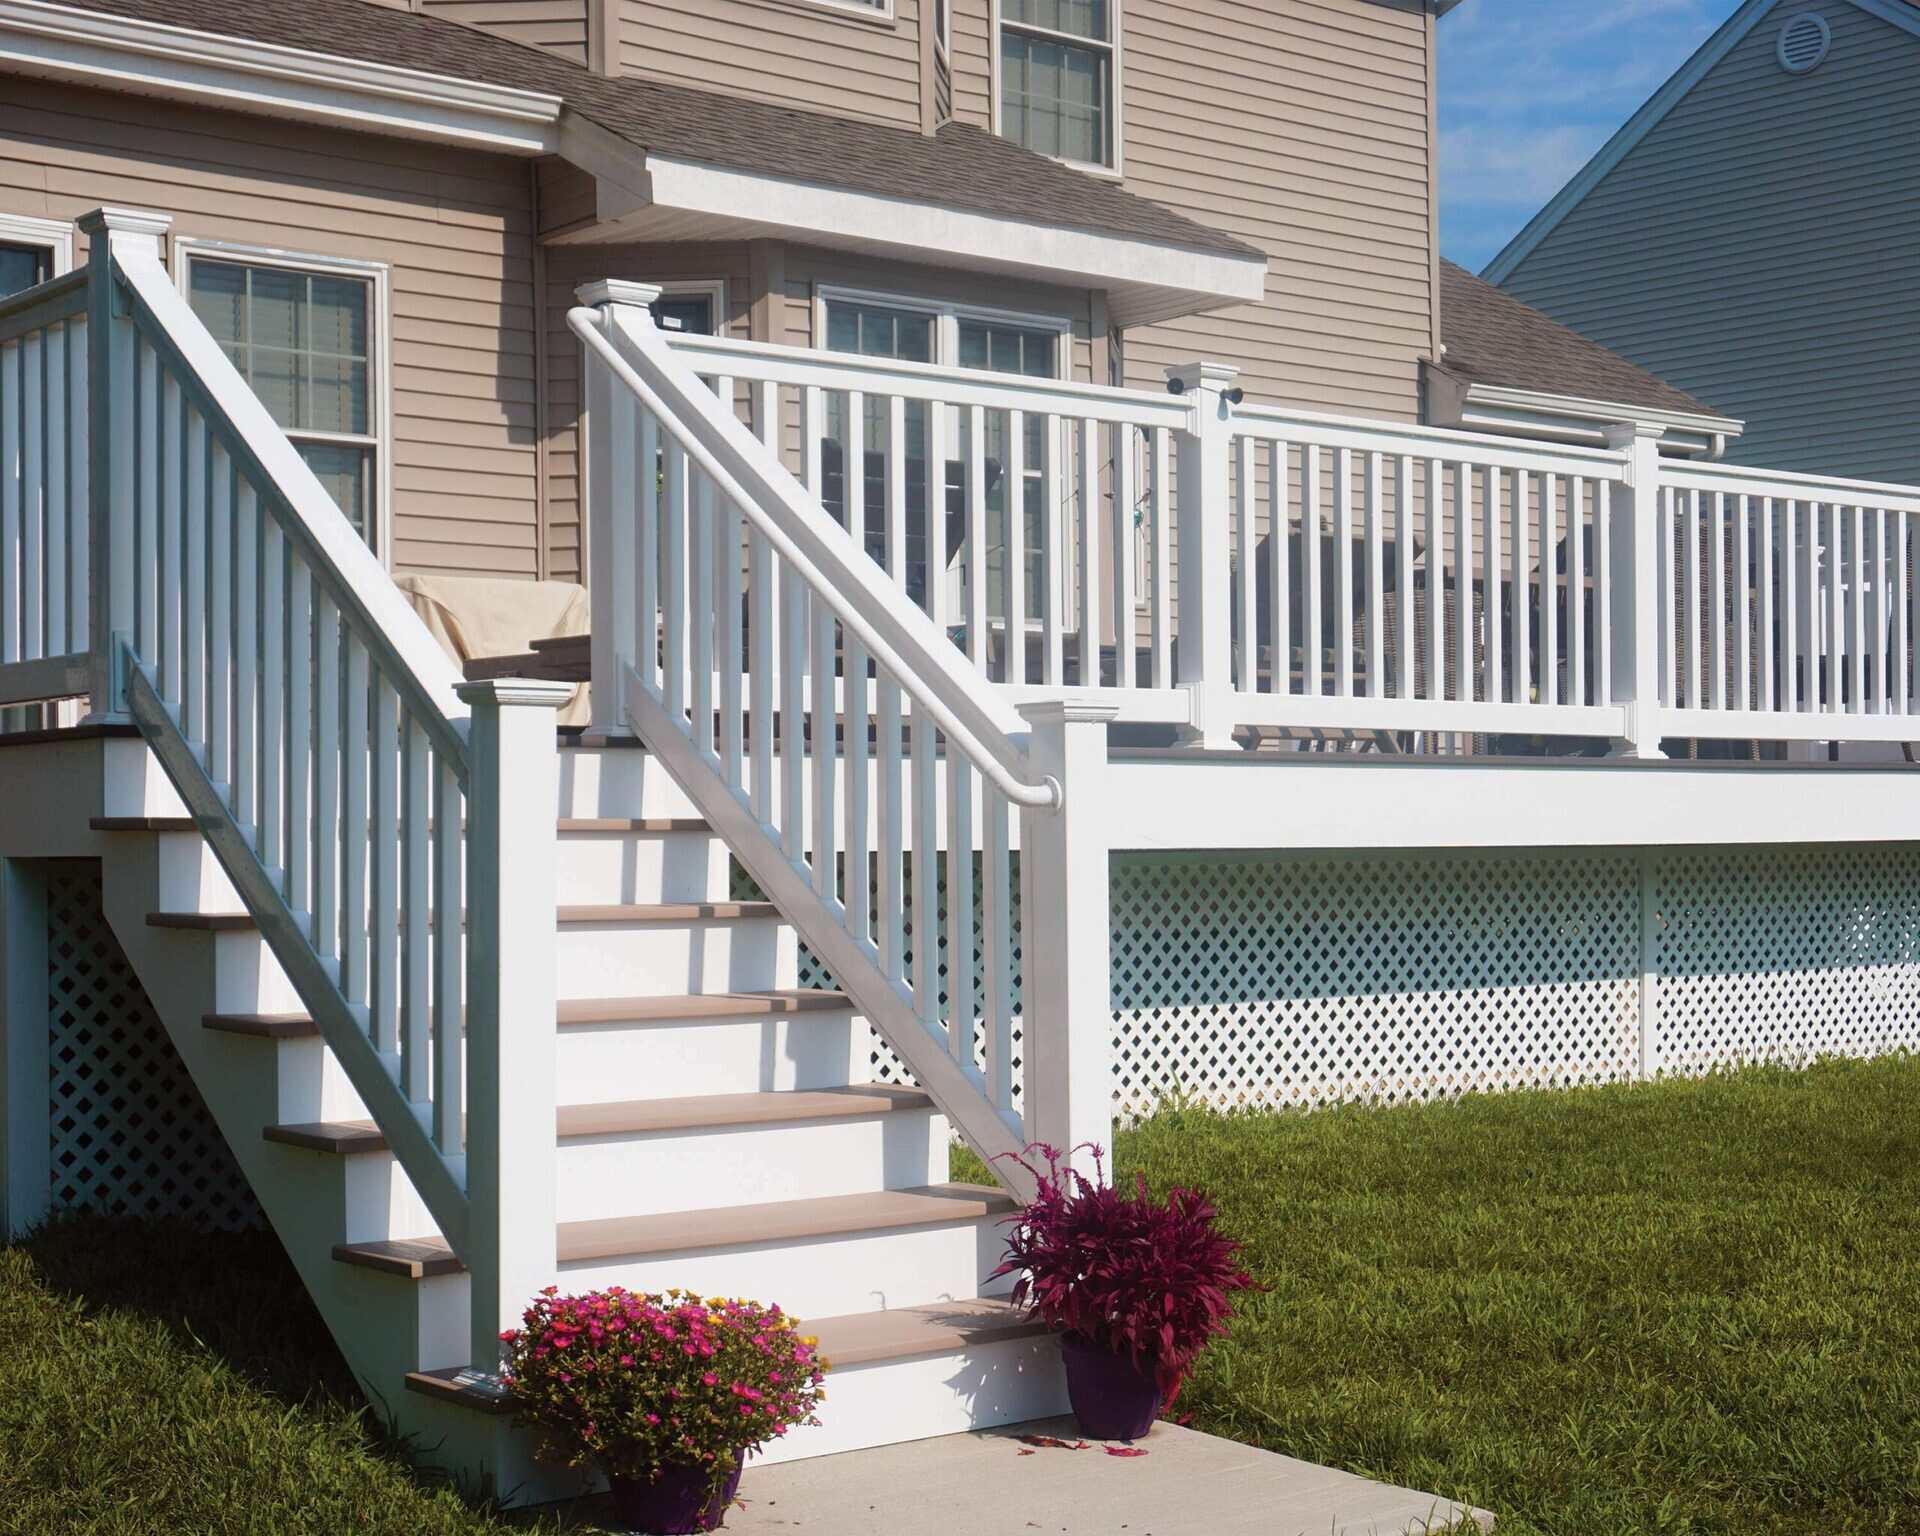
Welcome to this comprehensive guide on how to build a porch stair railing. Adding a railing to your porch stairs not only enhances the safety of your home but also adds aesthetic appeal. Whether you are a DIY enthusiast or just looking to add a personal touch to your home, this step-by-step tutorial will help you successfully build a porch stair railing.
Before we dive into the details, let’s take a moment to understand the importance of a porch stair railing. Porch stairs provide a means of access to your home and can pose a potential tripping hazard. By installing a sturdy and secure railing, you provide support and stability for anyone using the stairs, ensuring their safety.
Additionally, a porch stair railing serves as a visual guide, enhancing the overall look of your home and creating a welcoming entrance. It can be customized to match your personal style and the architectural design of your home, whether it’s modern, traditional, or rustic.
Now that we understand the significance of a porch stair railing, let’s get started on the step-by-step process of building one.
Key Takeaways:
- Building a porch stair railing is a rewarding DIY project that enhances safety and adds aesthetic appeal to your home. By following the step-by-step guide, you can create a sturdy and visually pleasing railing that complements your personal style and architectural design.
- Prioritize safety and compliance with local building codes when constructing a porch stair railing. From gathering materials to applying finishing touches, attention to detail and precision are essential for creating a durable and elegant addition to your home.
Read more: How To Build Porch Rails
Step 1: Gather Materials
Before you begin building your porch stair railing, it’s essential to gather all the necessary materials. This will ensure that you have everything you need at hand and can work efficiently without interruptions. Here are the materials you’ll need:
- Pressure-treated wood or composite boards for the handrail, posts, and bottom rail
- Balusters (also known as spindles), available in various materials such as wood, metal, or composite
- Post caps to provide a decorative finish to the top of the posts
- Post anchors or brackets for securing the posts to the porch or stairs
- Wood screws or nails for attaching the railing components
- Measuring tape and pencil for marking the dimensions
- Circular saw or miter saw for cutting the wooden components
- Drill with appropriate drill bits for pre-drilling holes
- Screwdriver or screw gun for driving screws
- Level to ensure the railing is straight and aligned
- Sanding block or sandpaper for smoothening the wood surfaces
- Paint, stain, or sealant for protecting and finishing the railing
- Personal protective equipment, including safety glasses and gloves
Once you have gathered all the materials, make sure to inspect them for any defects or damages. Replace any faulty items to ensure the railing is structurally sound and durable.
With all the necessary materials in hand, you’re now ready to move on to the next step: measuring and marking the dimensions for your porch stair railing.
Step 2: Measure and Mark
Accurate measurements are crucial when building a porch stair railing. Before you start cutting the railing components, take precise measurements and mark the dimensions on the porch and stairs. Here’s a step-by-step guide to help you with this process:
- Start by determining the height of your railing. The standard height for porch stair railings is typically between 36 to 42 inches. Check your local building codes to ensure compliance with regulations.
- Measure the length of your stair railing. This will be the distance between the starting and ending points of the railing.
- Using a measuring tape, mark the location of the posts on the porch and stairs. The spacing between the posts should be no more than 8 feet for optimal support.
- Ensure that the railing is positioned at a comfortable height. Mark the top and bottom rail positions accordingly, leaving enough space for the balusters.
- If you’re using wooden balusters, mark the desired spacing between each baluster. The spacing should typically be no more than 4 inches to prevent small children from getting stuck.
- Double-check all the measurements and marks to ensure accuracy. It’s better to take your time at this stage and make any necessary adjustments before moving forward.
Remember, accuracy is key when measuring and marking the dimensions for your porch stair railing. Taking the time to do it right will ensure a seamless installation process and a professional end result.
Once you’ve completed the measuring and marking process, you’re ready to proceed to the next step: preparing the balusters.
Step 3: Prepare the Balusters
Now that you have measured and marked the dimensions for your porch stair railing, it’s time to prepare the balusters. Balusters not only provide support and safety but also contribute to the overall aesthetic appeal of your railing. Follow the steps below to get started:
- Count the number of balusters needed for your railing. This will depend on the length of your railing and the desired spacing between them.
- If you’re using wooden balusters, measure and mark the desired length for each baluster on a piece of material. Use a circular saw or miter saw to cut them to size. Sand the cut ends to ensure a smooth finish.
- If you’re using metal or composite balusters, check if they need any adjustments or trimming. Follow the manufacturer’s instructions for cutting and preparing these types of balusters.
- Once all the balusters are cut and prepared, lay them out next to your railing to ensure the spacing is even and visually appealing. Make any necessary adjustments as needed.
Preparing the balusters is an important step in the process as it sets the foundation for the rest of the installation. Take your time to ensure that each baluster is properly cut and aligned before moving on to the next step.
With the balusters prepared and ready, it’s time to move on to the next step: installing the posts for your porch stair railing.
Step 4: Install the Posts
Installing the posts is a crucial step in building a sturdy and secure porch stair railing. The posts will provide the structural support for the railing, ensuring its stability and durability. Follow these steps to install the posts:
- Position the first post at one end of the porch or staircase, aligning it with the marked location. Use a level to ensure that the post is plumb vertically and straight horizontally.
- Secure the post in place by attaching post anchors or brackets to the porch or stairs. Follow the manufacturer’s instructions for proper installation.
- Repeat the process for the remaining posts, making sure to space them evenly according to your measurements and marked locations.
- Check each post with a level to ensure they are all properly aligned.
- Tightly secure the posts using screws or nails, ensuring they are firmly anchored to the porch or stairs.
It’s important to note that the number of posts needed will depend on the length of your railing and the spacing requirements. Be sure to follow your local building codes and regulations to determine the appropriate number of posts for your specific situation.
With the posts securely installed, you’re ready to move on to the next step: attaching the handrail to your porch stair railing.
When building a porch stair railing, make sure to use pressure-treated wood to prevent rot and decay. Additionally, ensure that the railing is securely attached to the porch and meets local building codes for safety.
Read more: How To Build Outdoor Railing For Stairs
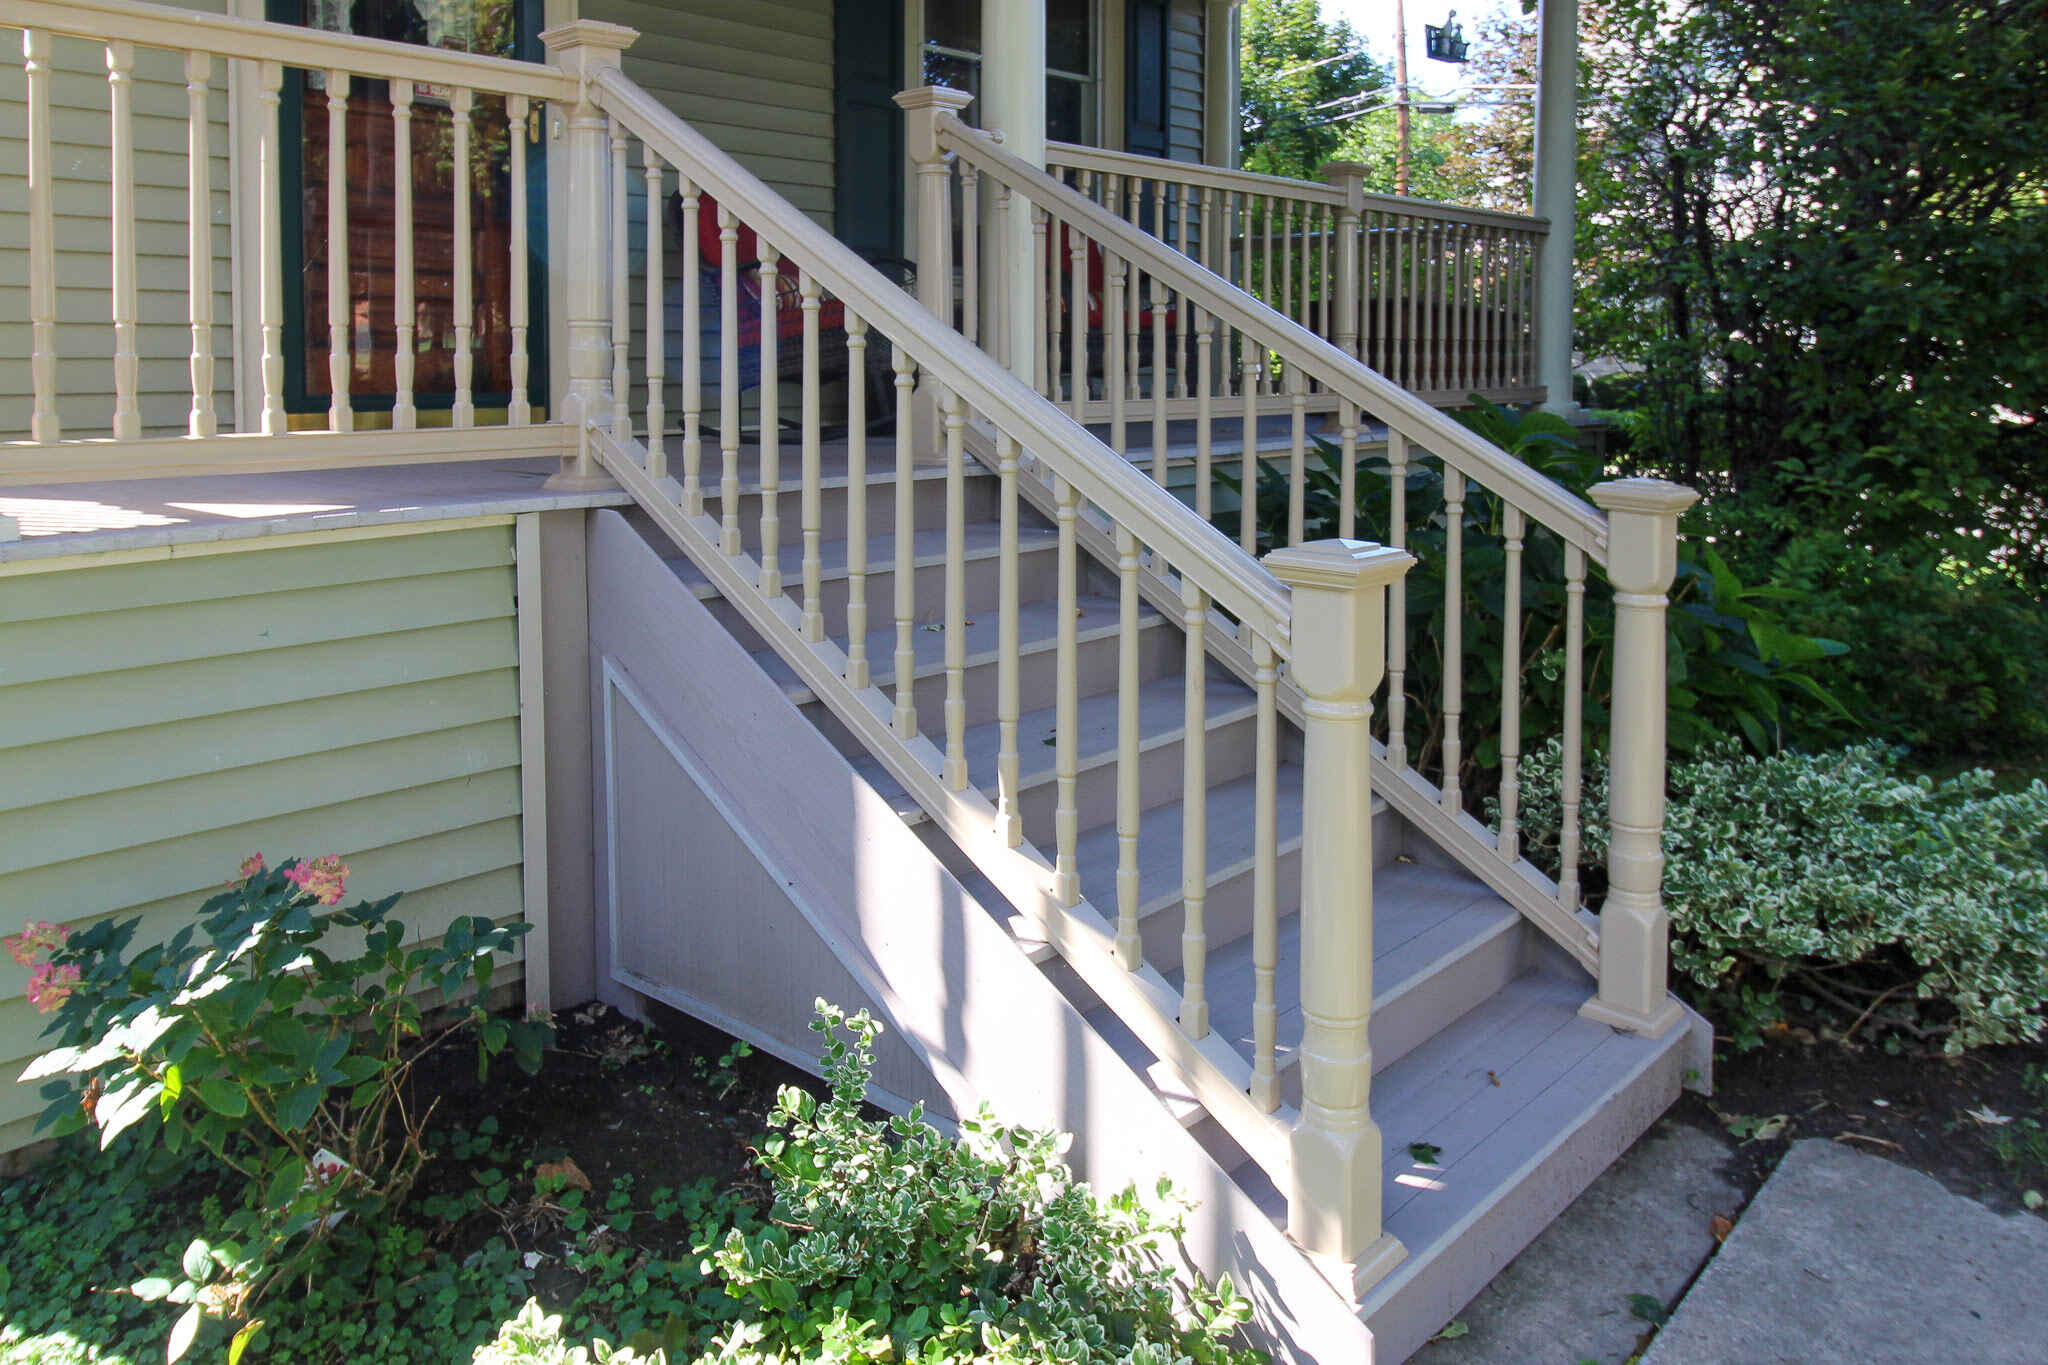
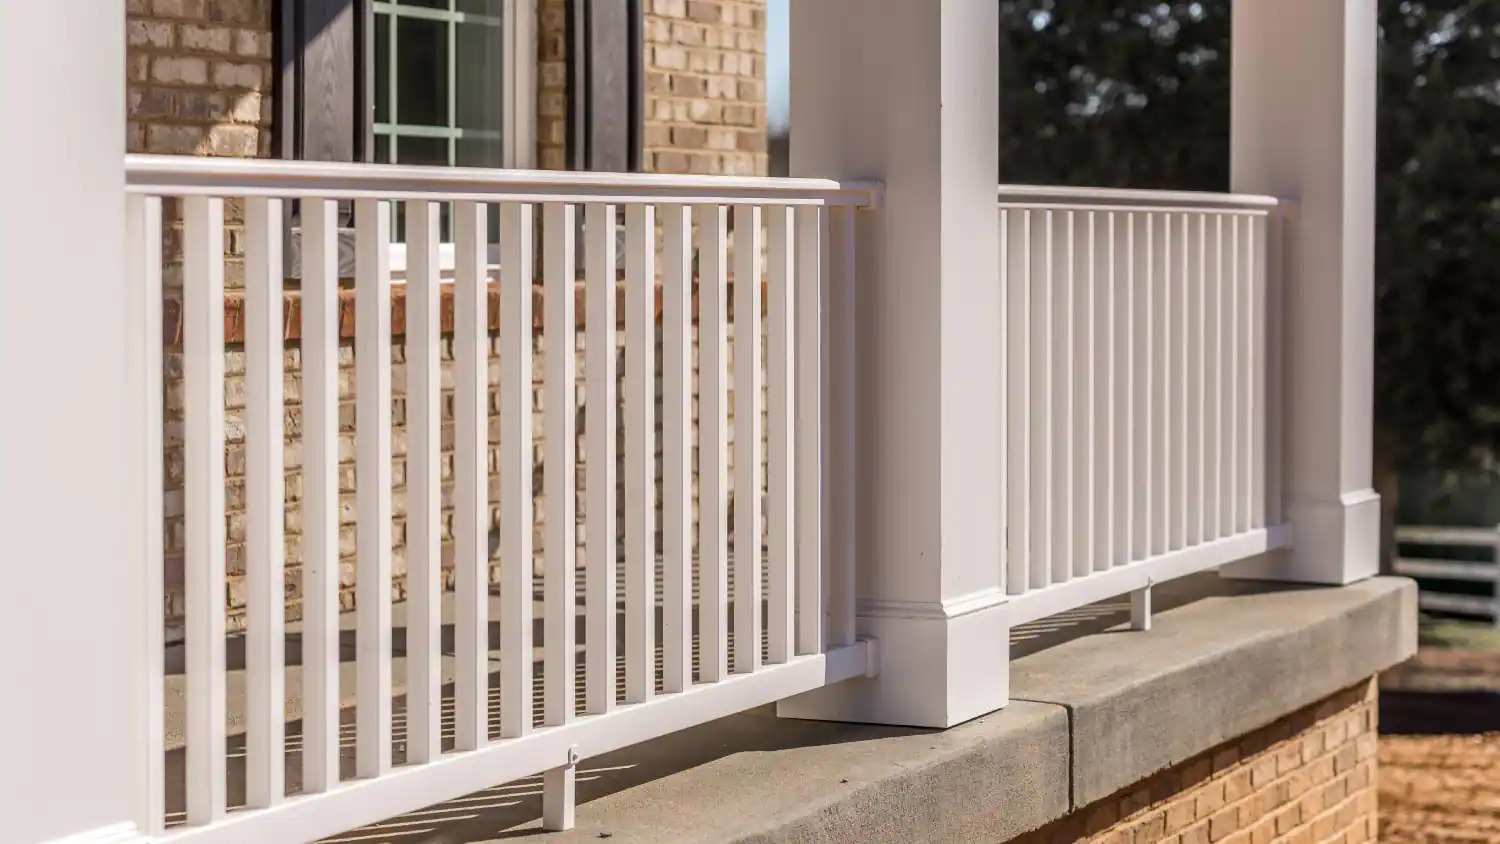
Step 5: Attach the Handrail
The handrail is a crucial component of your porch stair railing, providing support and stability for anyone using the stairs. Attaching the handrail to the posts is a straightforward process. Follow these steps to complete this step:
- Measure and mark the desired height for your handrail on each post. The height should be in compliance with local building codes and provide a comfortable gripping surface.
- Using a circular saw or miter saw, cut the handrail to the appropriate length. If necessary, sand the ends to ensure a smooth finish.
- Position the handrail on top of the posts, aligning it with the marked height and making sure it is centered.
- Use a drill and appropriate drill bit to pre-drill holes for the screws or nails that will secure the handrail to the posts.
- Attach the handrail to the posts using screws or nails, ensuring a tight and secure fit. Repeat this process for each post.
- Check that the handrail is level and aligned with a straight edge or level. Make any necessary adjustments to ensure a proper fit.
It’s important to note that the method of attaching the handrail may vary depending on the type of railing system you’re using. Some systems may require the use of brackets or connectors specifically designed for that system. Follow the manufacturer’s instructions for the specific handrail system you’re working with.
With the handrail securely attached, you can move on to the next step: installing the balusters for your porch stair railing.
Step 6: Install the Balusters
The balusters play a crucial role in providing safety and visual appeal to your porch stair railing. Installing them properly is essential for a well-constructed and aesthetically pleasing railing. Follow these steps to install the balusters:
- Start by positioning the first baluster against the handrail and bottom rail, aligning it with the marked spacing. Use a level to ensure that it is plumb vertically and straight horizontally.
- Secure the baluster in place by using screws or nails, attaching it to both the handrail and bottom rail.
- Repeat the process for the remaining balusters, spacing them evenly according to your measurements and marked spacing.
- Check each baluster with a level to ensure they are all properly aligned.
- Ensure that the spacing between each baluster is uniform and visually pleasing.
- Double-check all the balusters to ensure they are securely fastened and provide proper support.
It’s essential to follow your local building codes and regulations regarding the spacing requirements for balusters. The gap between each baluster should typically be no more than 4 inches to prevent small children from getting stuck.
With the balusters securely installed, you’re ready for the next step: securing the bottom rail of your porch stair railing.
Step 7: Secure the Bottom Rail
Securing the bottom rail of your porch stair railing is an important step to ensure stability and structural integrity. The bottom rail provides additional support and helps to maintain the overall balance of the railing. Follow these steps to securely attach the bottom rail:
- Position the bottom rail at the desired height and align it with the marked locations of the posts.
- Use a level to ensure that the bottom rail is level and straight.
- Secure the bottom rail to the posts using screws or nails.
- Check that the bottom rail is securely attached and provides a stable base for the balusters.
It’s important to note that the method of attaching the bottom rail may vary depending on the railing system you’re using. Some systems may require the use of specialized brackets or connectors specifically designed for that system. Follow the manufacturer’s instructions for the specific bottom rail attachment method.
Once the bottom rail is securely attached, take a moment to ensure that all the components of your porch stair railing are straight, level, and properly aligned. This will help to create a visually appealing and structurally sound railing.
With the bottom rail in place, it’s time to move on to the final step of the installation process: applying the finishing touches to your porch stair railing.
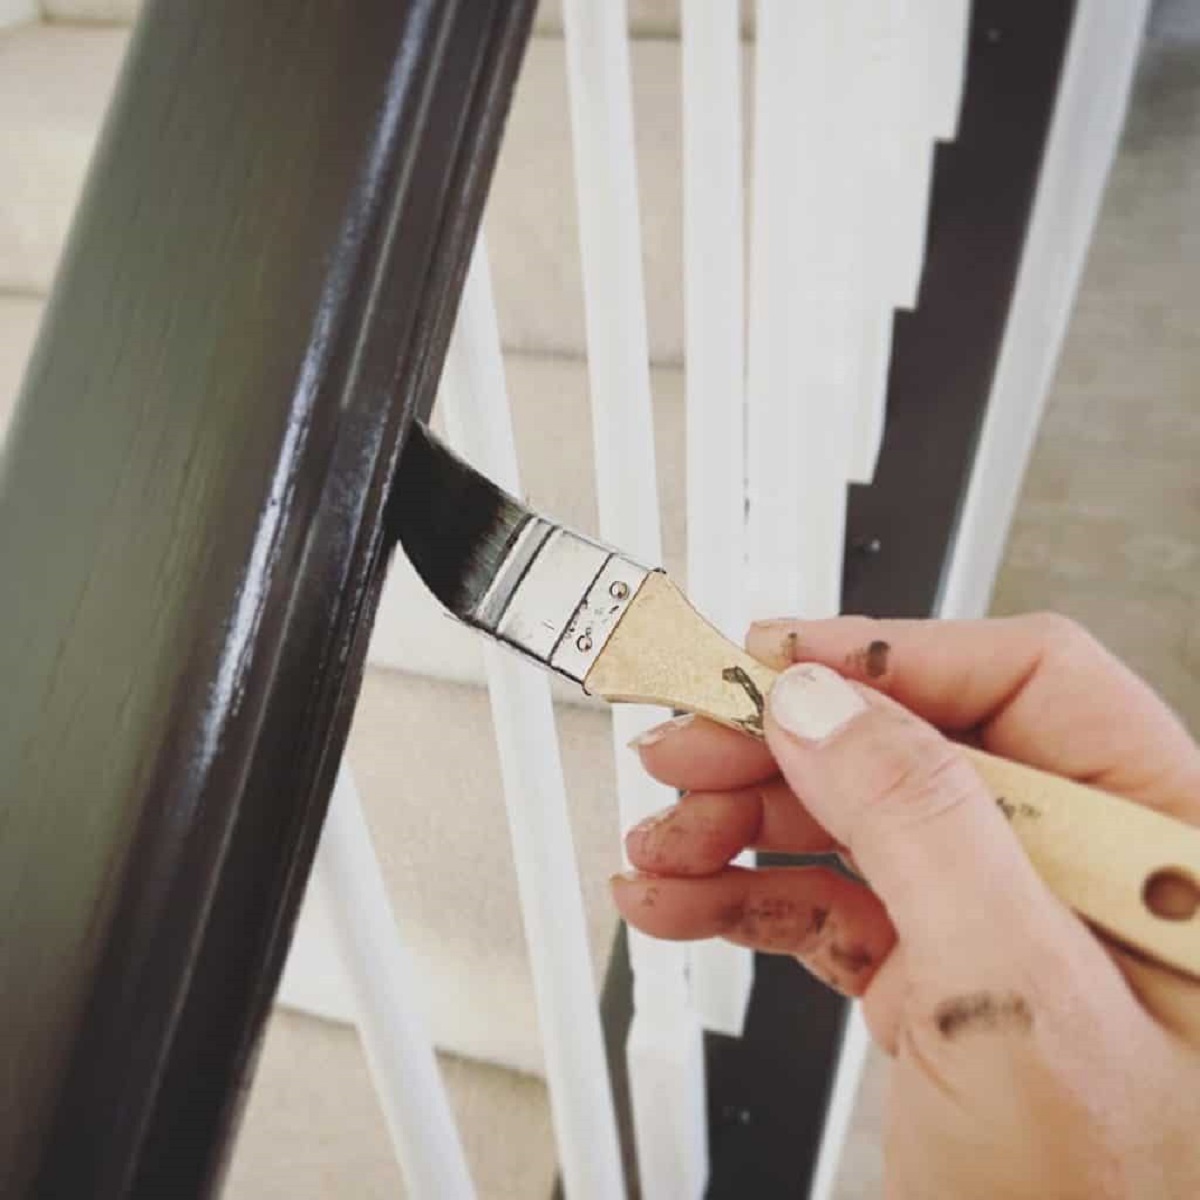
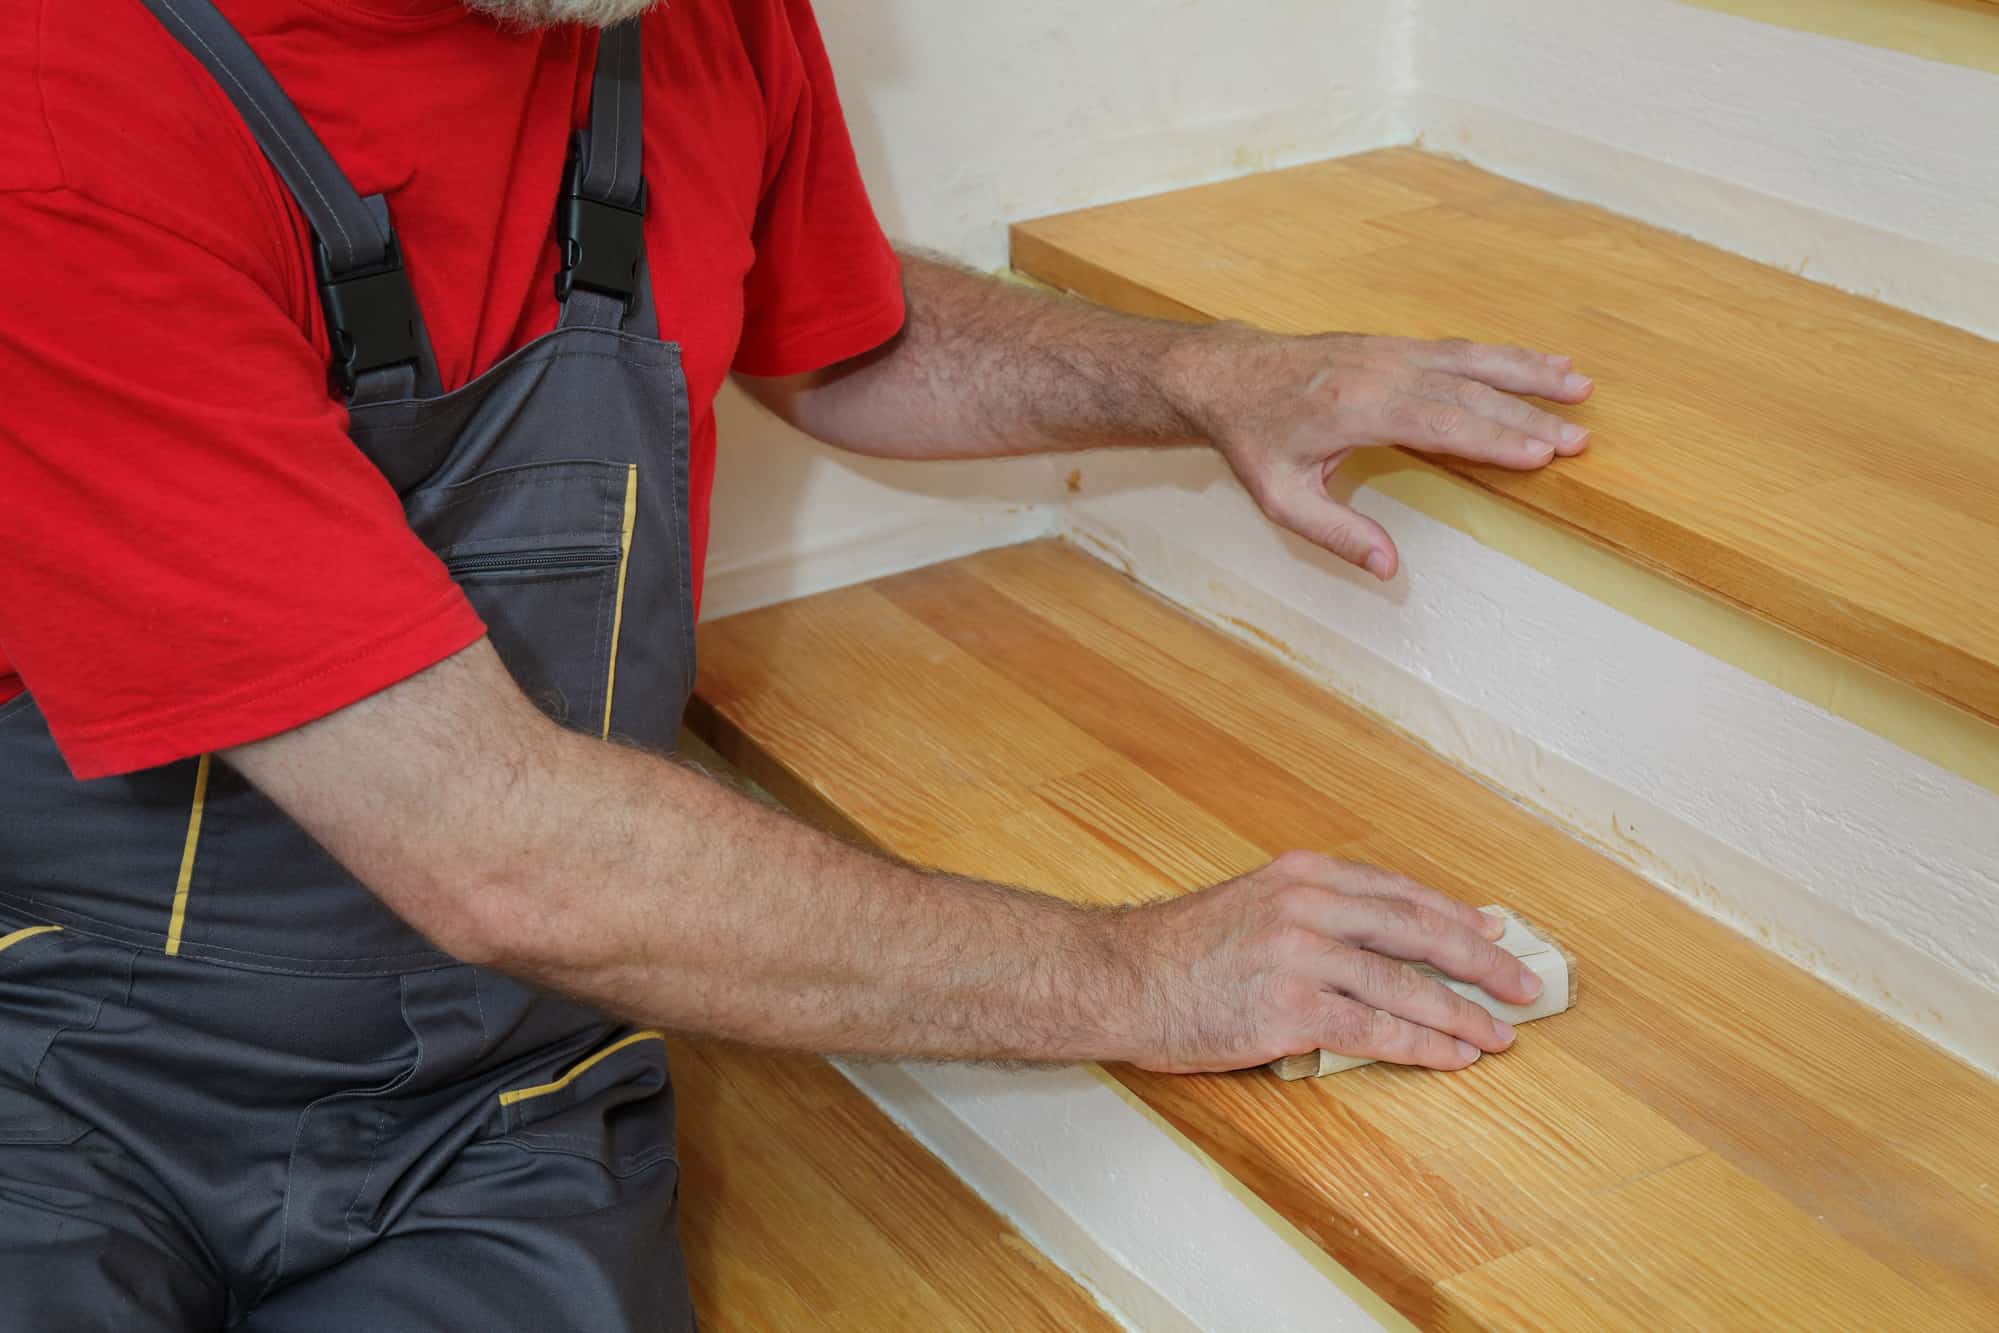
Step 8: Apply Finishing Touches
Applying the finishing touches to your porch stair railing will not only enhance its appearance but also protect it from the elements and increase its longevity. Follow these steps to complete the final stage of your railing installation:
- If desired, sand any rough edges or surfaces of the railing to ensure a smooth finish. You can use a sanding block or sandpaper to achieve this.
- Remove any dust or debris from the railing to ensure a clean surface for finishing.
- Apply a protective finish to the wood components of the railing. This can be in the form of paint, stain, or sealant. Choose a finish that complements the style of your home and provides sufficient protection against moisture and UV rays.
- Carefully apply the finish according to the manufacturer’s instructions, ensuring even coverage and paying attention to any nooks and crannies.
- If using metal or composite balusters, clean and polish them as necessary to maintain their appearance and prevent corrosion or discoloration.
- Allow the finish to dry completely before using the porch stair railing. This will ensure that it is fully protected and ready for regular use.
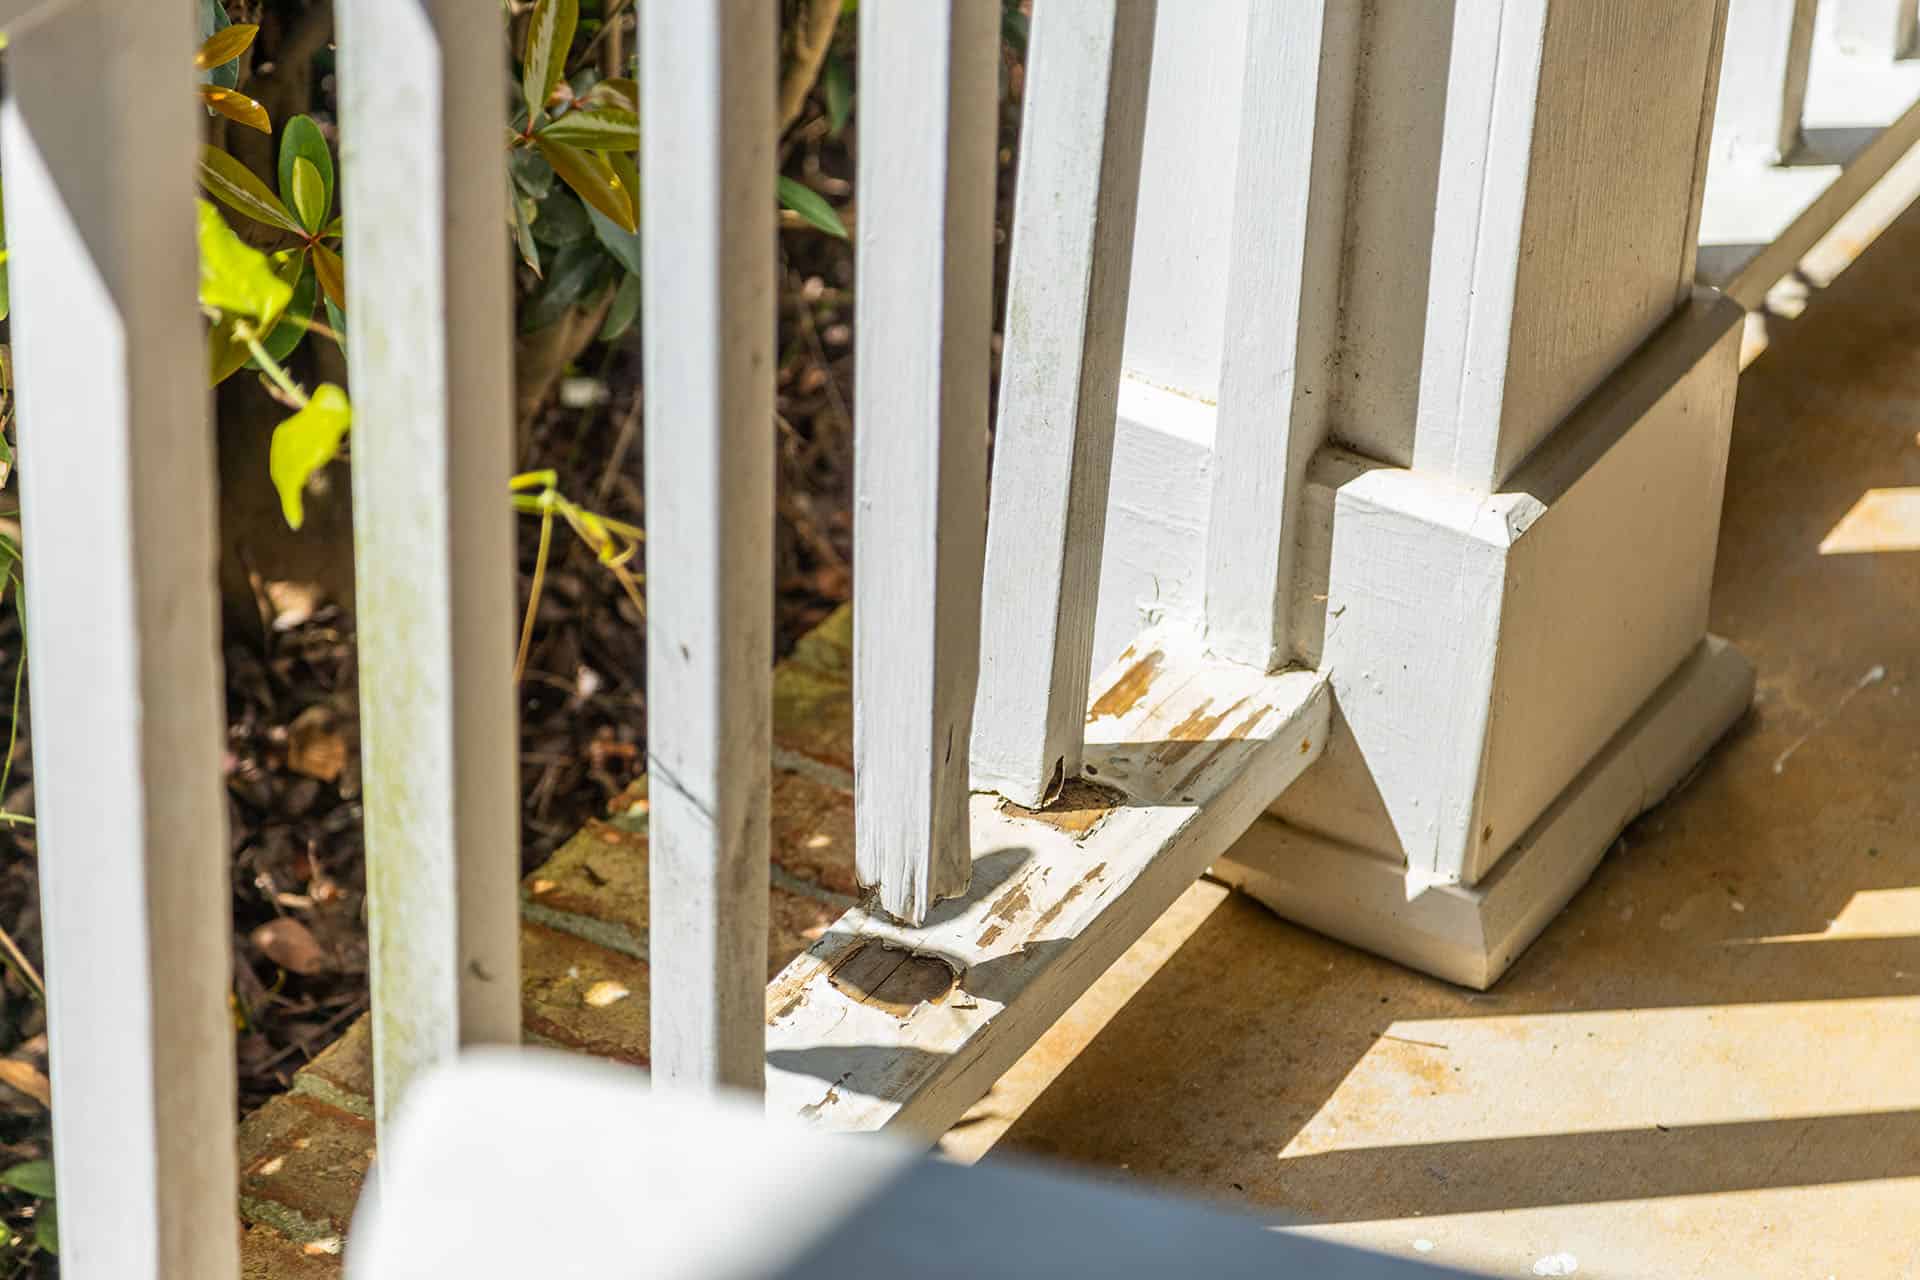
By applying a protective finish, you will not only enhance the visual appeal of your porch stair railing but also extend its lifespan by protecting it from the elements. Regular maintenance, such as cleaning and reapplying the finish as needed, will help to preserve the beauty and functionality of your railing for years to come.
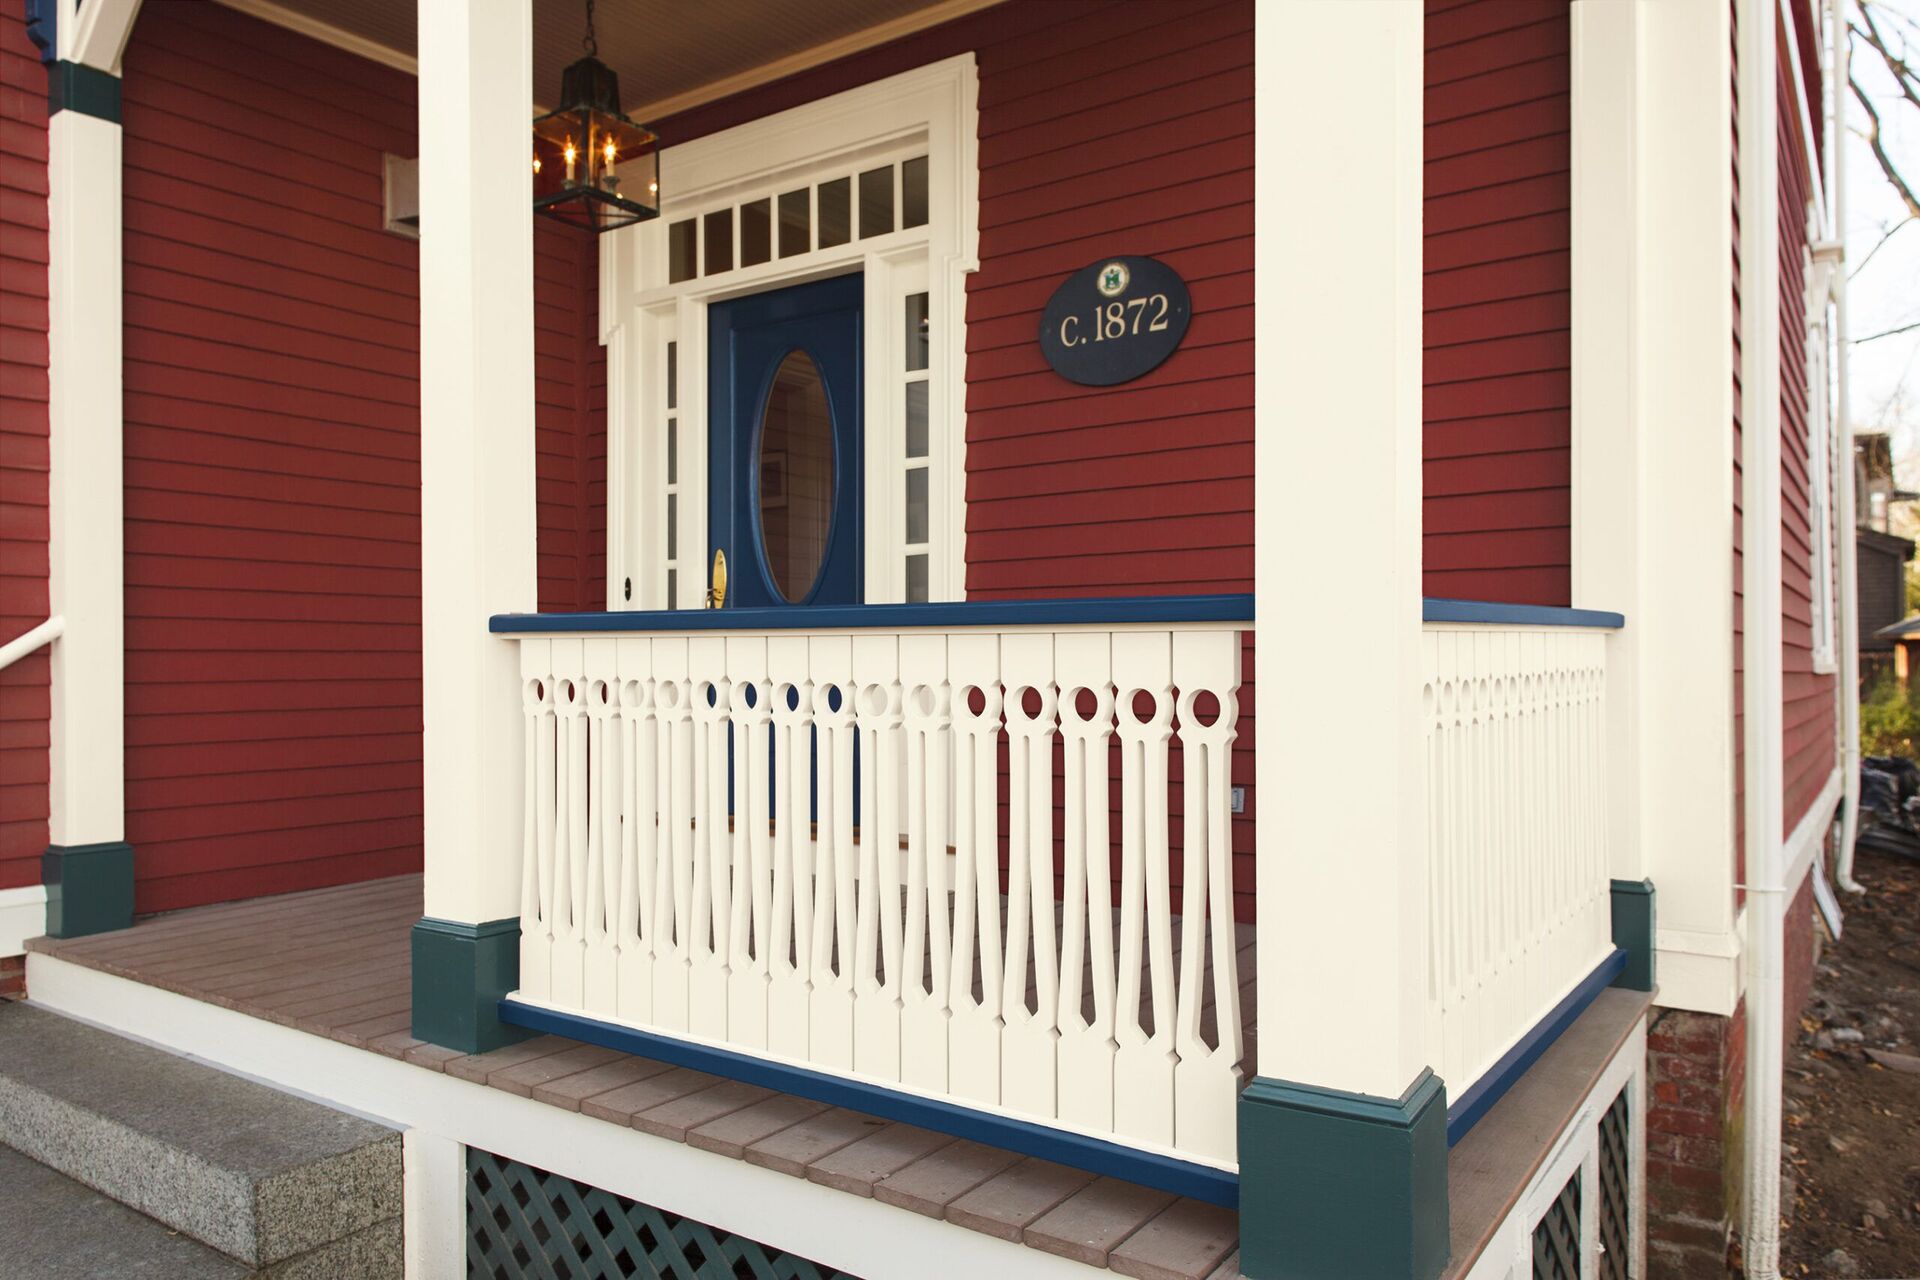
Congratulations! You have successfully completed the process of building a porch stair railing. Take a step back and admire your handiwork. Your newly installed railing will not only provide safety and support but also add a touch of elegance to your home.
Remember, safety should always be the top priority. If you are unsure about any step of the installation process or if you encounter any difficulties, it is recommended to consult a professional or seek guidance from experienced individuals before proceeding.
Enjoy your beautiful and functional porch stair railing!
Note: The information provided in this article is for educational purposes only. Always adhere to local building codes and regulations, and use appropriate safety precautions when building or installing a porch stair railing.
Read more: How To Build A Railing For Stairs Outdoors
Conclusion
Building a porch stair railing not only improves the safety of your home but also enhances its aesthetic appeal. By following the step-by-step guide outlined in this article, you have learned how to successfully construct a porch stair railing that is both sturdy and visually pleasing.
Throughout the process, you gathered the necessary materials, measured and marked the dimensions, prepared the balusters, installed the posts, attached the handrail, installed the balusters, secured the bottom rail, and applied the finishing touches. Each step was crucial in creating a well-constructed and functional railing.
Remember to adhere to your local building codes and regulations when designing and installing your porch stair railing. Safety should always be the top priority, ensuring that your railing is secure and meets all necessary standards.
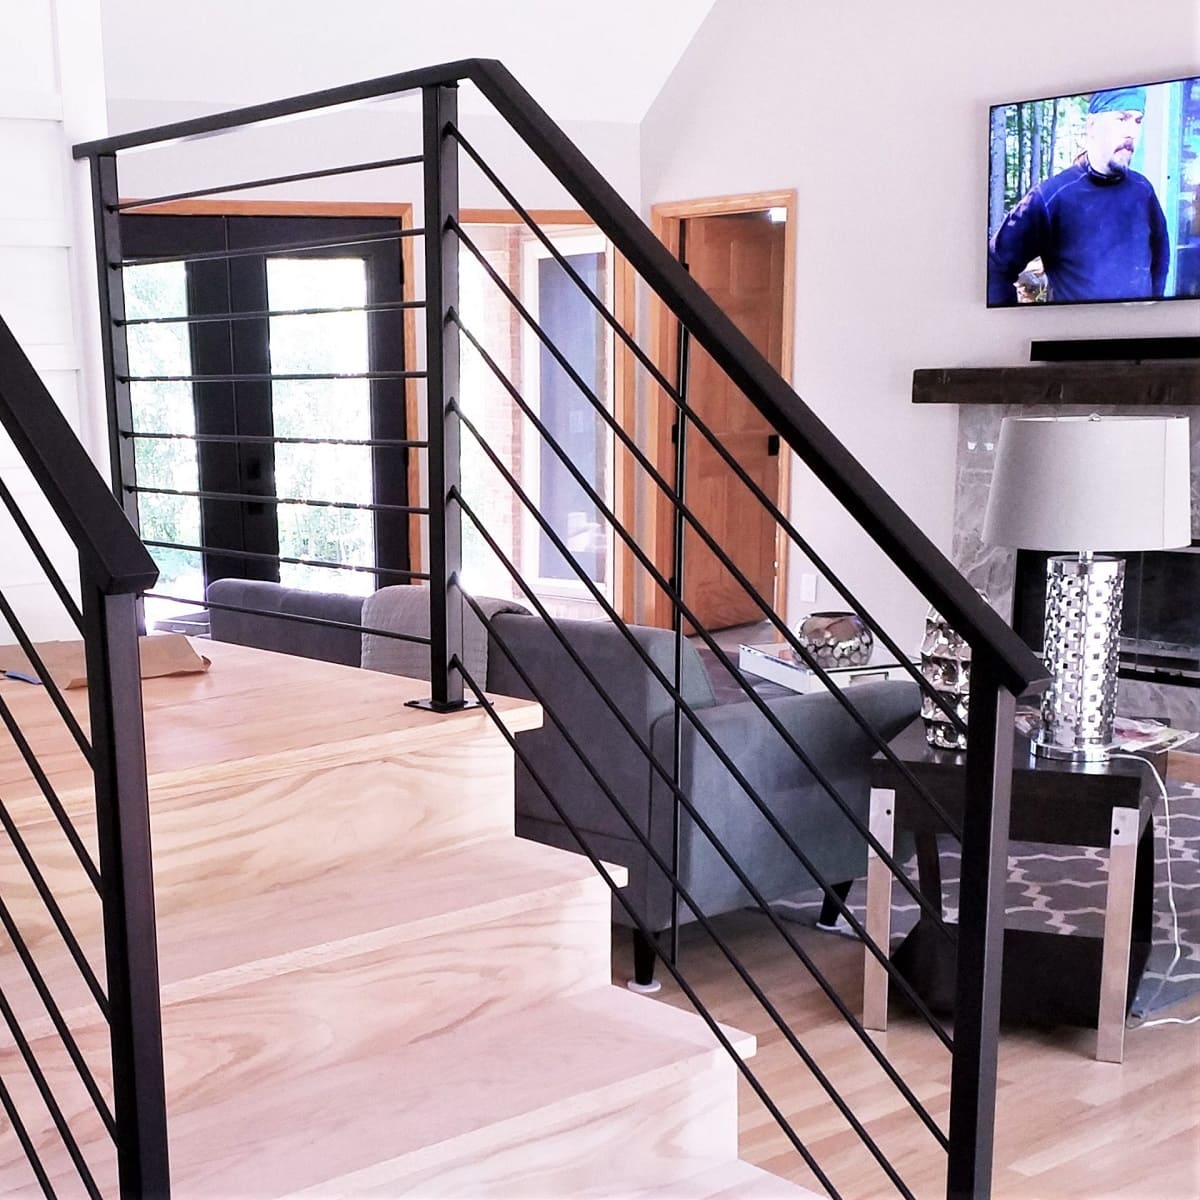
Additionally, take the time to personalize your porch stair railing to match your style and the architectural design of your home. Whether you choose a traditional wood railing or a sleek and modern metal railing, the possibilities are endless.
Regular maintenance, such as cleaning and applying a protective finish, will help to preserve the beauty and functionality of your porch stair railing over time. Inspect your railing periodically and address any repairs or touch-ups as needed.
Now that you have completed the process of building a porch stair railing, take a moment to appreciate your hard work and dedication. Your new railing not only adds value to your home but also provides a safe and inviting entryway.
Thank you for following this comprehensive guide. We hope it has been informative and has empowered you to confidently build your own porch stair railing. Enjoy the benefits of your beautiful and functional addition to your home!
Frequently Asked Questions about How To Build A Porch Stair Railing
Was this page helpful?
At Storables.com, we guarantee accurate and reliable information. Our content, validated by Expert Board Contributors, is crafted following stringent Editorial Policies. We're committed to providing you with well-researched, expert-backed insights for all your informational needs.


0 thoughts on “How To Build A Porch Stair Railing”