Articles
How To Do Vinyl Flooring On Stairs
Modified: October 18, 2024
Discover the best articles on how to install vinyl flooring on stairs. Get step-by-step instructions, tips, and expert advice for a flawless installation.
(Many of the links in this article redirect to a specific reviewed product. Your purchase of these products through affiliate links helps to generate commission for Storables.com, at no extra cost. Learn more)
Introduction
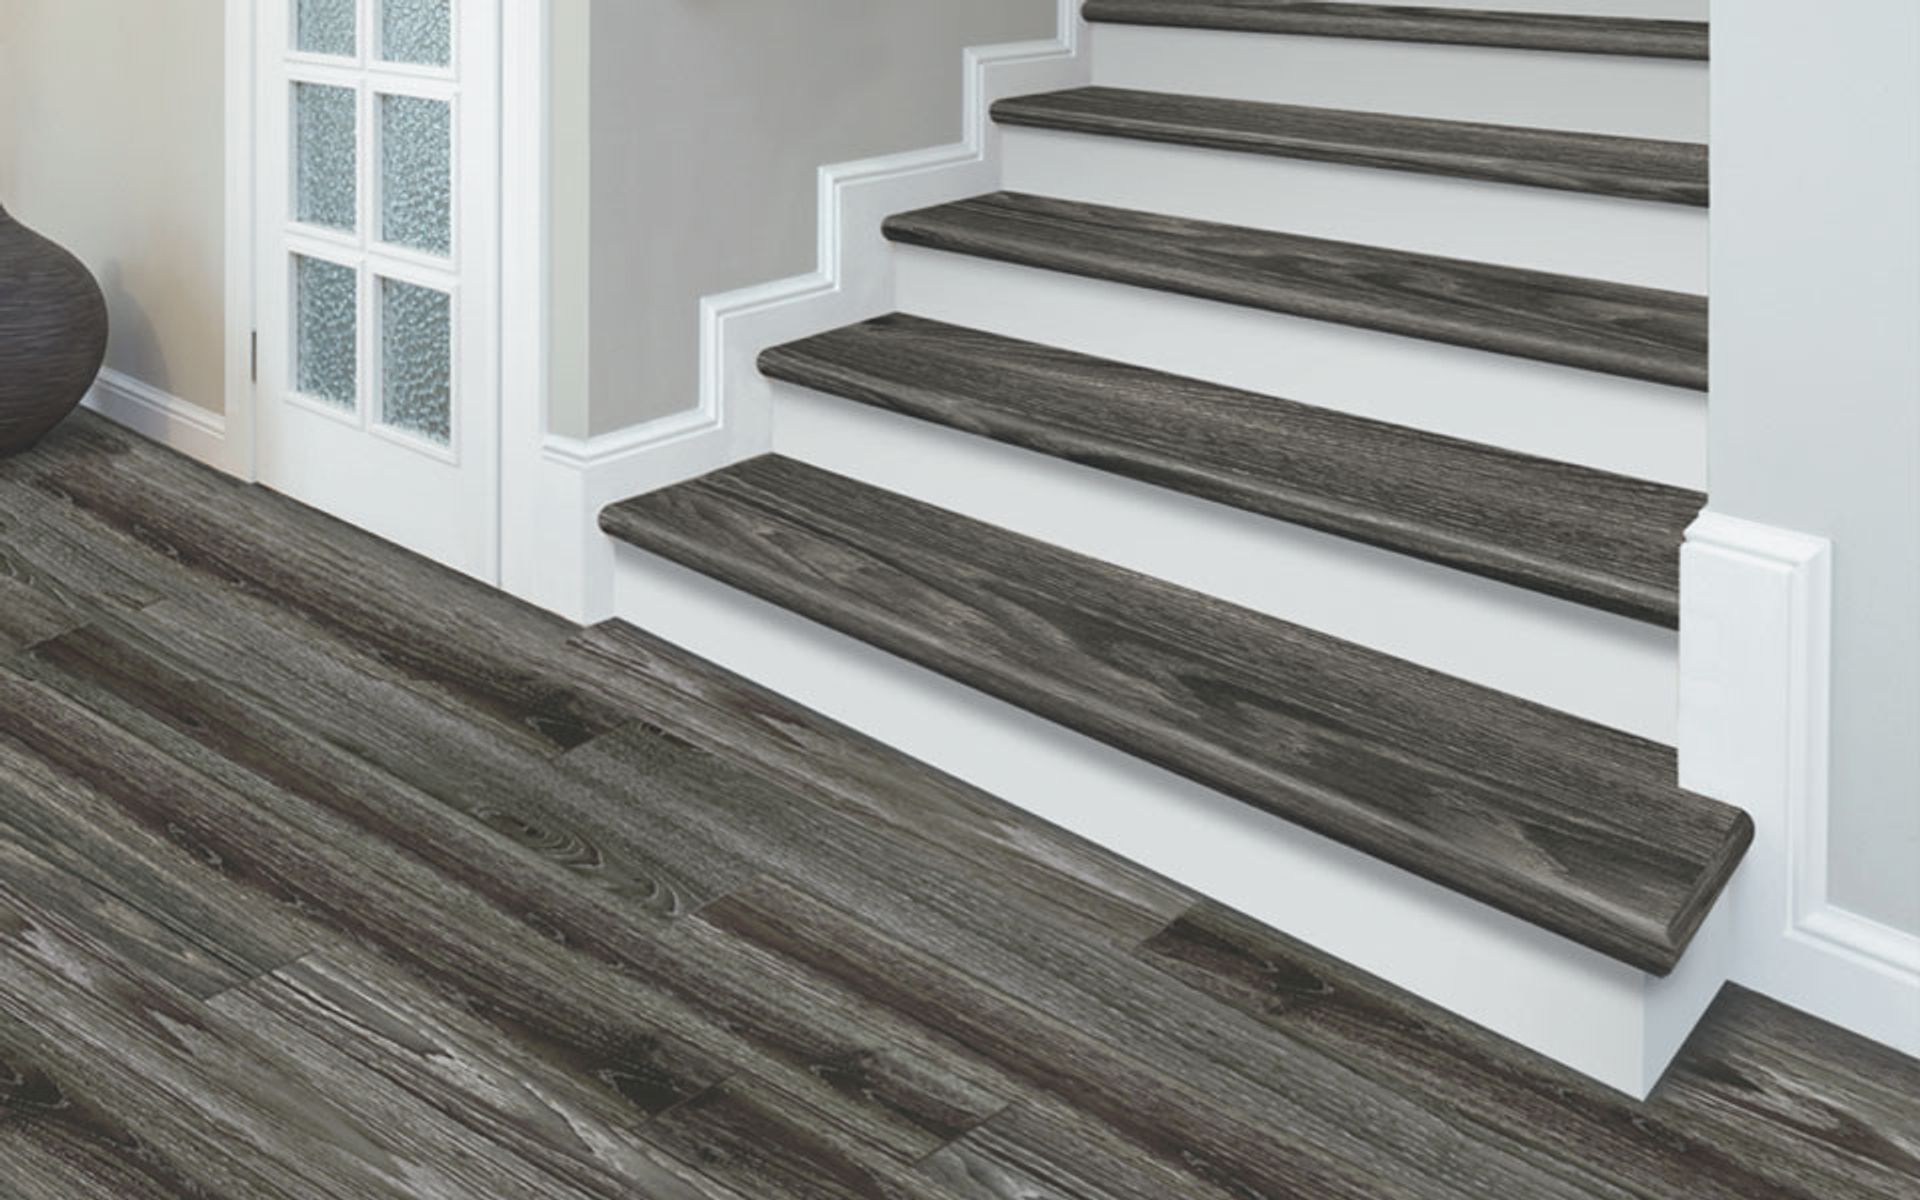
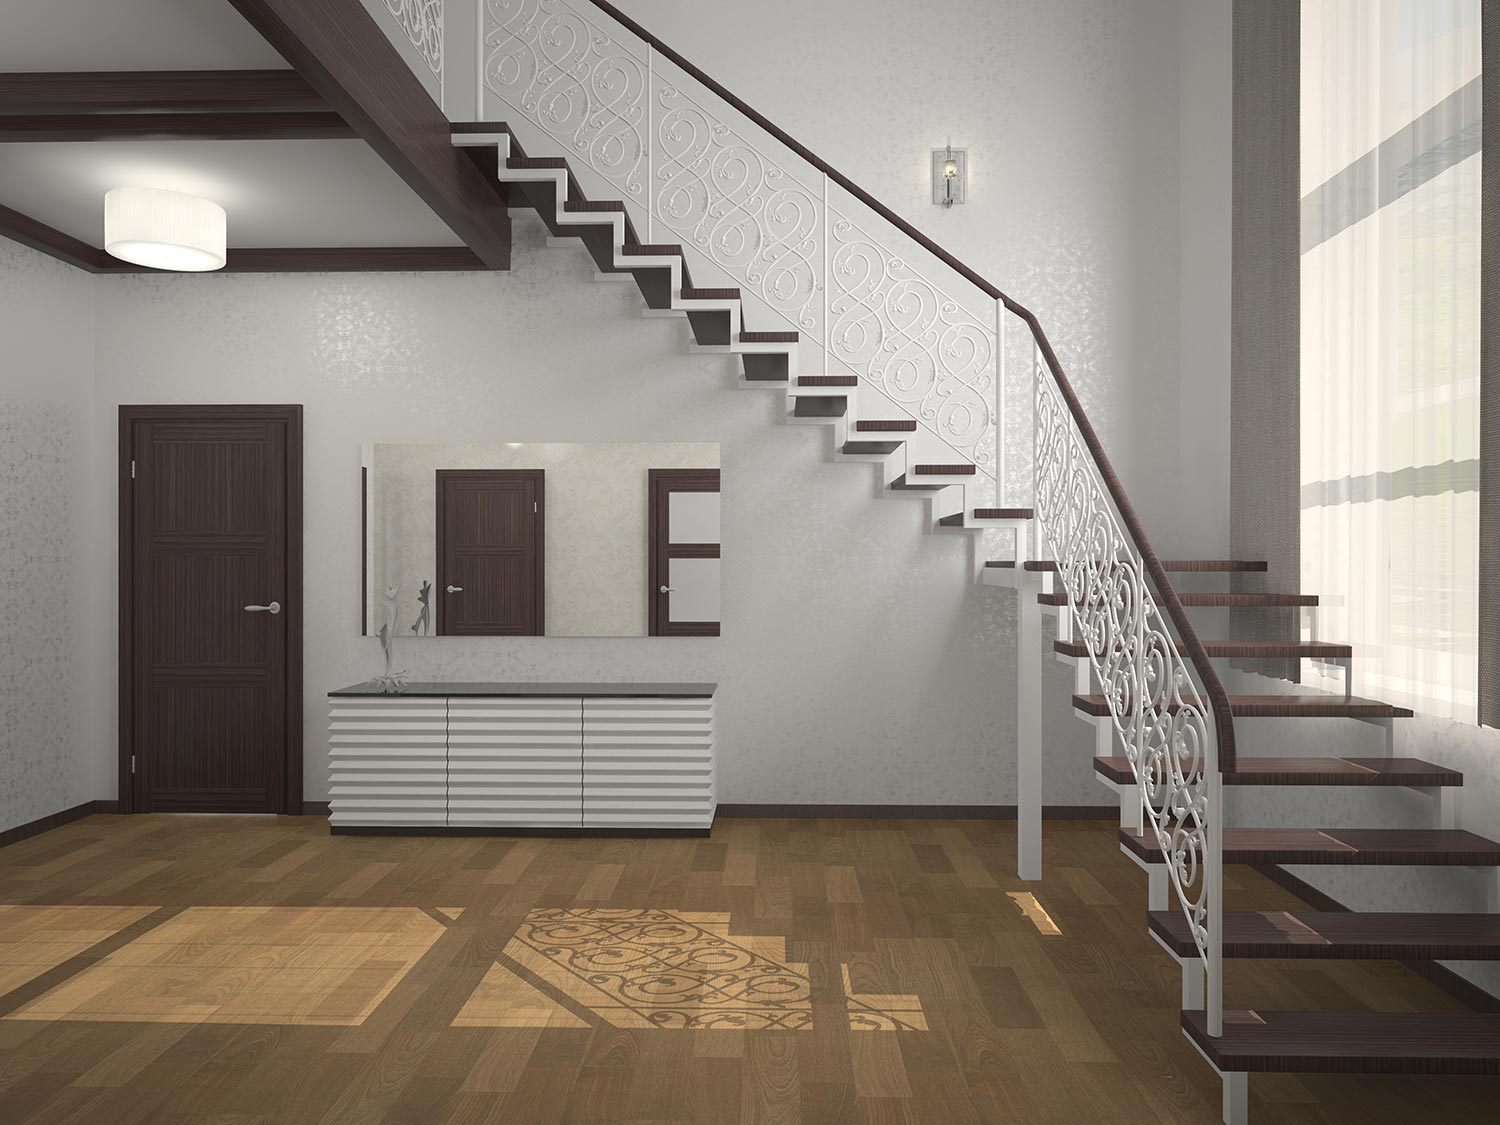
When it comes to giving your stairs a fresh and stylish makeover, vinyl flooring is a versatile and cost-effective option to consider. Vinyl flooring on stairs not only adds beauty and durability but also provides a slip-resistant surface for enhanced safety.
In this comprehensive guide, we will walk you through the step-by-step process of installing vinyl flooring on stairs. Whether you are a seasoned DIY enthusiast or a beginner, with the right tools and a little patience, you can achieve professional-looking results.
Before we dive into the installation process, it’s important to note that there are two main types of vinyl flooring: sheet vinyl and luxury vinyl plank (LVP). Sheet vinyl comes in large rolls and is ideal for covering flat surfaces with minimal seams. On the other hand, LVP consists of individual planks that mimic the look of wood or stone, making it perfect for stairs.
Now that you have a basic understanding of vinyl flooring, let’s get started on transforming your stairs into a stunning focal point of your home.
Key Takeaways:
- Transform your staircase with vinyl flooring for beauty, durability, and safety. Follow the step-by-step guide for precise measurements, proper preparation, and professional installation.
- Maintain your vinyl flooring with regular cleaning and care to preserve its longevity and beauty. Enjoy your transformed staircase for years to come!
Read more: How To Do Vinyl Plank On Stairs
Step 1: Measure and Prepare
Before you begin the installation process, it’s essential to accurately measure your stairs to determine how much vinyl flooring you will need. This will help you avoid any last-minute trips to the store and ensure a smooth installation.
Here’s a simple step-by-step guide to measuring your stairs:
- Start by measuring the width and depth of each stair tread. Use a measuring tape to get the most precise measurements.
- Next, measure the height of each stair riser. This measurement will determine the amount of vinyl flooring you will need for the vertical surfaces.
- Add an extra inch to each measurement to account for any trimming and adjustments during installation.
- Multiply the width of each stair tread by the number of stairs to calculate the total square footage of the horizontal surfaces.
- Multiply the height of each stair riser by the number of stairs to calculate the total vertical footage.
- Add the total square footage and vertical footage together to get the overall total footage of vinyl flooring needed.
Once you have your measurements, it’s time to prepare your stairs for the vinyl flooring installation:
- Clear the stairs of any obstructions, such as rugs, nails, or debris.
- Inspect the stairs for any damage or uneven surfaces. If there are any significant issues, it’s important to address them before proceeding with the installation.
- If your stairs have a carpet or existing flooring, it needs to be removed. Carefully pull up the carpet or flooring, starting from the top step and working your way down.
- Remove any adhesive residue or staples left behind from the previous flooring. A scraper or pliers can help with this task.
- Thoroughly clean the stairs to remove any dirt, dust, or grease. A broom and a damp cloth or mop will do the trick.
With your measurements taken and your stairs prepared, you’re now ready to move on to the next step: gathering the materials and tools needed for the vinyl flooring installation.
Step 2: Gather Materials and Tools
Before diving into the installation process, it’s important to gather all the necessary materials and tools. Having everything on hand will make the installation process smoother and more efficient.
Here’s a list of the materials and tools you’ll need:
Materials:
- Vinyl flooring: Choose a vinyl flooring option that is specifically designed for stairs, such as luxury vinyl plank (LVP) or vinyl stair treads.
- Adhesive: Select a high-quality adhesive recommended for vinyl flooring installations.
- Underlayment (optional): Depending on the condition of your stairs, you may need to install an underlayment for added cushioning and sound reduction.
- Transition strips: These are used to create a smooth transition between the vinyl flooring on the stairs and the adjacent flooring.
- Tape measure: Essential for accurate measurements during the installation process.
- Straight edge or T-square: Helps ensure straight and precise cuts.
- Utility knife: Used for cutting the vinyl flooring to the desired size and shape.
- Roller or hand roller: For securely pressing down the vinyl flooring and adhesive.
- Chalk line or pencil: Used for marking guidelines on the stairs.
- Level: Ensures that the stairs are properly aligned and level during installation.
- Safety equipment: Gloves, safety glasses, and a dust mask are recommended for protection during the installation process.
Once you have gathered all the necessary materials and tools, you’re ready to move on to the next step: removing the existing flooring from the stairs.
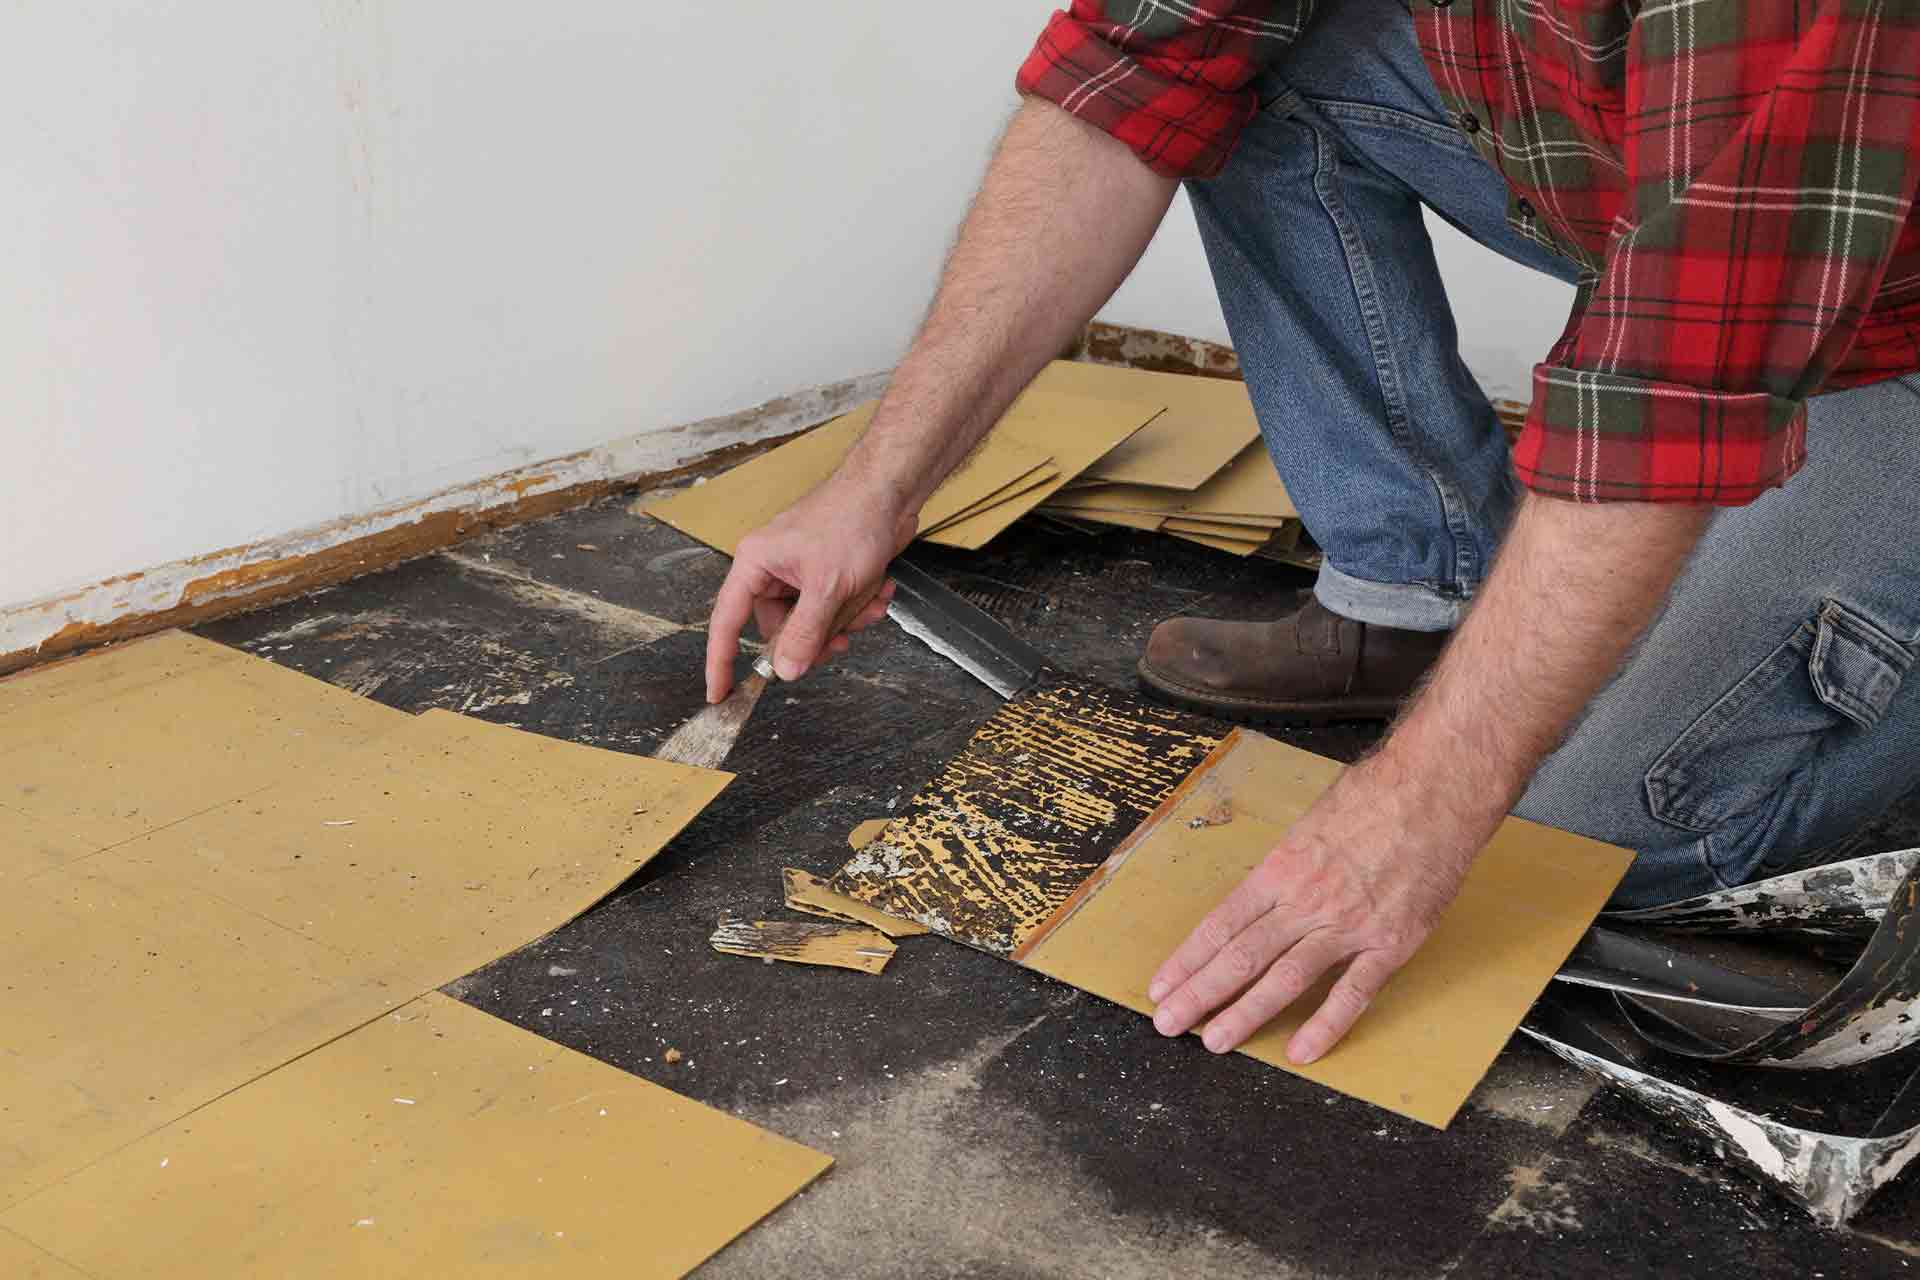
Step 3: Remove Existing Flooring
Before you can start installing vinyl flooring on your stairs, you need to remove any existing flooring material. This step is crucial to ensure a smooth and even surface for the vinyl installation.
Follow these steps to remove the existing flooring:
- Start at the top of the stairs and work your way down.
- If there is carpet, use a utility knife to cut it into manageable sections. Carefully pull up the carpet, rolling it as you go.
- If there is laminate or hardwood flooring, remove the baseboards first to prevent damage.
- Using a pry bar or crowbar, gently lift the flooring from the edges. Take care not to damage the stairs underneath.
- Remove any adhesive residue left on the stairs using a scraper or putty knife.
- Once the existing flooring is completely removed, thoroughly clean the stairs to remove any dust, debris, or adhesive residue.
It’s important to note that if your stairs have a concrete subfloor, you may need to use a floor scraper or grinder to remove any stubborn adhesive or residue. For wooden subfloors, inspect for any nails or staples that need to be removed or hammered down.
With the existing flooring removed and the stairs cleaned, you are now ready to move on to preparing the stairs for the vinyl flooring installation in Step 4.
Step 4: Prepare the Stairs
Now that you have removed the existing flooring from your stairs, it’s time to prepare the surface for the vinyl flooring installation. Proper preparation is essential to ensure a successful and long-lasting result.
Follow these steps to prepare your stairs:
- Inspect the stairs for any structural issues, such as loose or squeaky steps. Address any necessary repairs before proceeding with the installation.
- If your stairs have large gaps or cracks, fill them with a floor-leveling compound to create a smooth surface. Allow the compound to dry and sand it down for a seamless finish.
- Check the stairs for any protruding nails or staples. Use a hammer or pliers to remove or secure them, ensuring a flat surface.
- If you have chosen to install an underlayment, now is the time to do so. Measure and cut the underlayment to fit each step and secure it in place using an adhesive or staples.
- Ensure that the stairs are clean, dry, and free from any dust or debris. Use a vacuum or broom to remove any loose particles.
- For added protection and durability, some homeowners choose to apply a primer to the stairs before installing the vinyl flooring. Check the manufacturer’s instructions for the primer application process.
- Before proceeding further, it’s a good idea to test fit the vinyl flooring on one step to ensure that it fits properly and aligns with the edges. Make any necessary adjustments before moving on to the installation process.
With the stairs properly prepared and ready for installation, you are now one step closer to achieving the beautiful and durable vinyl flooring on your stairs. In the next step, we will guide you through the process of installing the vinyl flooring.
When installing vinyl flooring on stairs, make sure to measure and cut the vinyl carefully to fit each step. Use a high-quality adhesive to ensure the vinyl stays in place and consider adding stair nosing for added durability and safety.
Read more: How To Polish Vinyl Floor
Step 5: Install the Vinyl Flooring
Now that your stairs are prepared, it’s time to start installing the vinyl flooring. This step-by-step guide will walk you through the process:
- Starting from the bottom of the stairs, measure and cut the vinyl flooring to fit each step. Use a straight edge or T-square for precise cuts.
- Apply a thin layer of adhesive to the back of the vinyl flooring using a trowel or recommended application tool. Be sure to follow the manufacturer’s instructions for the adhesive and allow sufficient drying time.
- Carefully place the vinyl flooring onto the prepared step, aligning it with the edges and ensuring proper coverage. Smooth out any air bubbles or wrinkles using a roller or hand roller.
- Continue this process for each step, working your way up the stairs. Take care to align the vinyl flooring correctly and maintain a consistent pattern if using multiple planks.
- For the vertical risers, measure and cut the vinyl flooring to the appropriate size. Apply adhesive to the back and press it firmly onto the riser. Use a roller to ensure proper adhesion.
- Repeat steps 2-5 until all the steps and risers are covered with the vinyl flooring.
- Allow the adhesive to fully dry according to the manufacturer’s instructions before proceeding to the next step.
It’s important to note that during the installation process, you should continually check for any misalignments, air bubbles, or imperfections. Smooth out any issues immediately for a professional finish.
Remember to take breaks as needed and work at a steady pace to ensure accuracy and consistency. If you encounter any difficulties or have specific questions, consult the manufacturer’s instructions or seek professional advice.
With the vinyl flooring installed, you’re now ready to move on to the final step: trimming and finishing the edges for a polished look.
Step 6: Trim and Finish the Edges
Once the vinyl flooring is installed on your stairs, it’s time to trim and finish the edges for a clean and polished appearance. This step adds the final touches to your newly transformed staircase.
- Start with the bottom step and work your way up. Measure and mark the excess vinyl flooring that overhangs the edge of the step.
- Using a straight edge or T-square, carefully cut along the marked line with a utility knife. Take caution to avoid cutting into the step or damaging the vinyl flooring.
- Smooth out any rough edges or imperfections with a fine-grit sandpaper or sanding block.
- Repeat this process for each step, ensuring a neat and precise trim along the edges.
- For a professional finish, install transition strips along the edges where the vinyl flooring meets any adjacent flooring. These strips will create a smooth and seamless transition.
- Secure the transition strips in place using an adhesive or recommended fasteners, following the manufacturer’s instructions.
- Take a moment to inspect the entire staircase, ensuring that all edges are properly trimmed and finished. Make any necessary adjustments or touch-ups.
Trimming and finishing the edges is a crucial step to achieve a polished and seamless look. It adds the final touch to your vinyl flooring installation and enhances the overall aesthetic of your staircase.
With the edges trimmed and finished, you’re almost done! The final step is to clean and maintain your newly installed vinyl flooring to ensure its longevity and beauty.
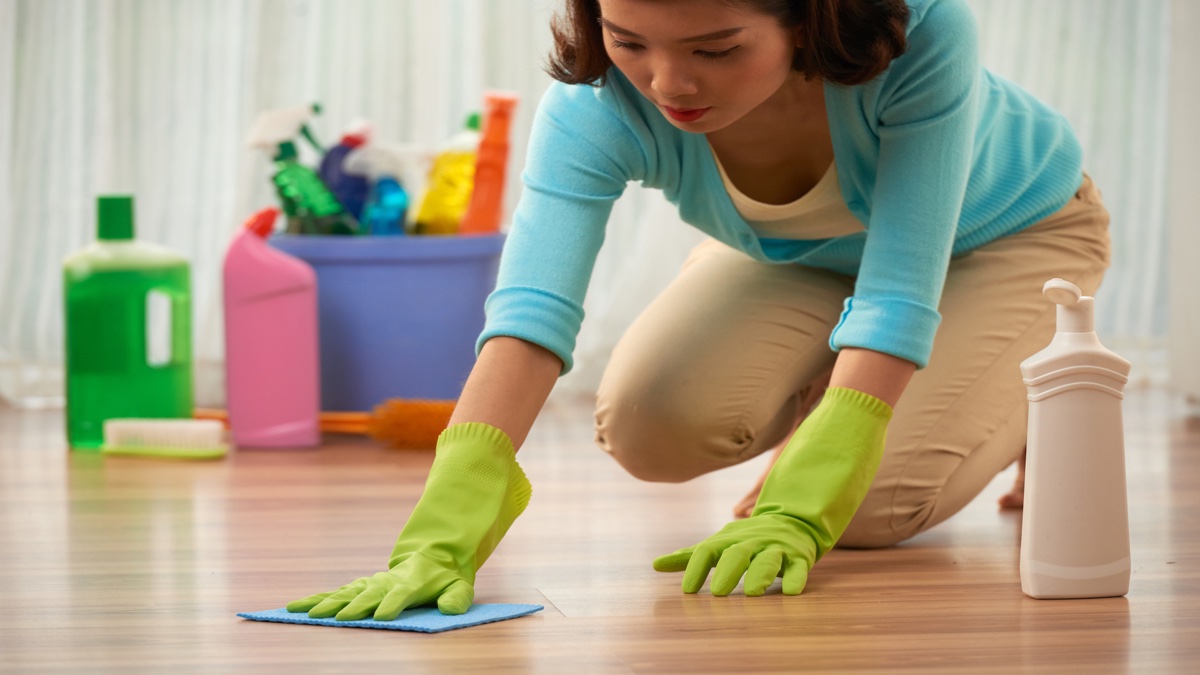
Step 7: Clean and Maintain
After completing the installation of vinyl flooring on your stairs, it’s important to adopt a regular cleaning and maintenance routine. This will help preserve the beauty and longevity of your vinyl flooring, ensuring it remains in excellent condition for years to come.
Here are some tips for cleaning and maintaining your vinyl flooring:
- Sweep or vacuum your stairs regularly to remove dirt, dust, and debris. This helps prevent scratches and keeps the surface looking clean.
- For more thorough cleaning, use a damp mop or cloth with a mild, non-abrasive vinyl floor cleaner. Avoid using excessive water, as it can seep into the seams and damage the adhesive.
- Wipe up any spills or stains immediately to prevent potential damage to the vinyl flooring. Blot the area gently with a clean cloth or sponge.
- Avoid using abrasive cleaning tools or harsh chemicals that can cause discoloration or damage to the vinyl surface. Stick to recommended vinyl floor cleaning products.
- Place doormats or rugs at the entrance of your stairs to trap dirt and moisture, preventing them from being tracked onto the vinyl flooring.
- Avoid dragging heavy furniture or sharp objects across the vinyl flooring, as these can cause scratches or tears. Use furniture pads or protective mats under heavy items.
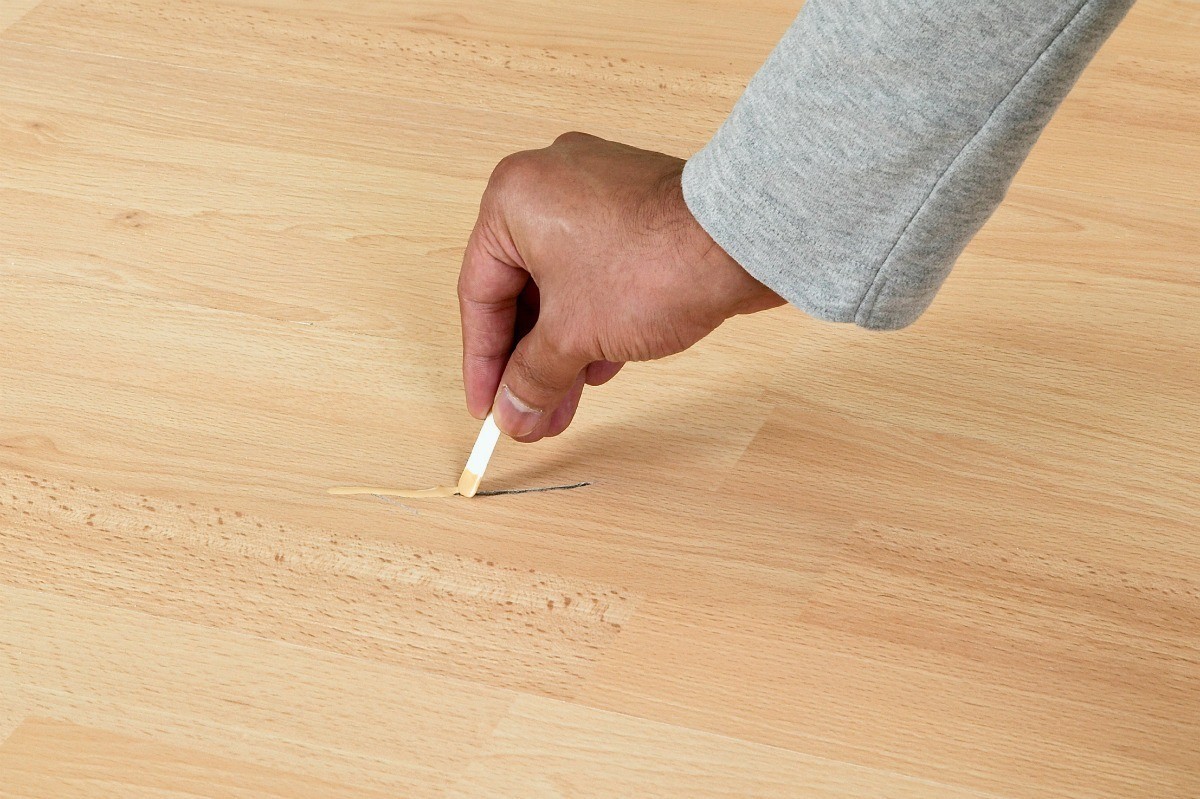
- Regularly inspect the vinyl flooring for any signs of wear, damage, or loose edges. Address any issues promptly to prevent further damage and ensure the safety of your stairs.
By following these cleaning and maintenance practices, you can keep your vinyl flooring on stairs looking its best and prolong its lifespan. Additionally, it’s a good idea to refer to the manufacturer’s guidelines for specific cleaning instructions and recommendations.
Congratulations! You have successfully installed vinyl flooring on your stairs and learned how to clean and maintain it. With proper care, your stairs will continue to exude beauty and durability for years to come.
Now sit back, relax, and enjoy your transformed staircase!
Conclusion
Congratulations on completing the installation of vinyl flooring on your stairs! With your newly transformed staircase, you have not only added beauty and style to your home but also increased safety and durability.
Throughout this comprehensive guide, we have walked you through the step-by-step process of measuring, preparing, and installing vinyl flooring on stairs. From removing the existing flooring to trimming the edges and implementing a cleaning routine, you have gained valuable knowledge and skills to achieve professional-looking results.
Vinyl flooring is a versatile and cost-effective option that offers numerous benefits for stair applications. Its slip-resistant surface provides an added layer of safety, while its wide range of styles and colors allows for creative expression and customization.
Remember to measure your stairs accurately and prepare the surface properly before installing the vinyl flooring. Take your time during the installation process to ensure precise cuts, proper alignment, and a seamless finish. Once installed, maintain your vinyl flooring by adopting a regular cleaning routine and promptly addressing any issues that may arise.
Whether you are a seasoned DIY enthusiast or a beginner, installing vinyl flooring on stairs is an achievable project that can elevate the aesthetics of your home while providing functionality and durability. With the information and guidance provided in this guide, you have the tools to embark on this journey with confidence.
We hope you enjoy your newly transformed stairs and that they bring joy and admiration for years to come. Happy decorating!
Frequently Asked Questions about How To Do Vinyl Flooring On Stairs
Was this page helpful?
At Storables.com, we guarantee accurate and reliable information. Our content, validated by Expert Board Contributors, is crafted following stringent Editorial Policies. We're committed to providing you with well-researched, expert-backed insights for all your informational needs.


0 thoughts on “How To Do Vinyl Flooring On Stairs”