Articles
How To Prep A Garden Bed
Modified: October 20, 2024
Learn how to prep a garden bed for successful gardening. Get expert tips and advice on soil preparation, weed control, and more to ensure a healthy and thriving garden.
(Many of the links in this article redirect to a specific reviewed product. Your purchase of these products through affiliate links helps to generate commission for Storables.com, at no extra cost. Learn more)
Introduction
Welcome to the world of gardening! Whether you’re a seasoned green thumb or just starting out, preparing a garden bed is a crucial step in creating a thriving and bountiful garden. A well-prepped garden bed provides a healthy foundation for your plants, allowing them to grow strong and produce abundant yields.
In this article, we’ll guide you through the process of prepping a garden bed, from choosing the right location to preparing the soil and everything in between. By following these steps, you’ll be on your way to cultivating a flourishing garden that will be the envy of your neighborhood.
So, are you ready to roll up your sleeves and get started? Let’s dive in!
Key Takeaways:
- Choose a sunny, well-drained location for your garden bed, ensuring easy access to water and convenience for regular maintenance. This sets the stage for a successful gardening venture.
- Preparing the soil with compost, organic matter, and fertilizer creates a nutrient-rich foundation for healthy plant growth and a bountiful harvest. Enjoy the journey of gardening and appreciate the beauty of your flourishing plants.
Read more: How To Create A Garden Bed
Choosing the Right Location
When it comes to preparing a garden bed, selecting the right location is paramount. The success of your garden depends on the amount of sunlight, soil quality, and accessibility to water.
Start by observing your yard and identifying the areas that receive ample sunlight. Most vegetables, herbs, and flowers thrive in full sun, which means they need at least six to eight hours of direct sunlight each day. Find a spot in your yard that receives maximum sunlight and is free from shading trees or nearby structures.
In addition to sunlight, the soil quality plays a crucial role in the success of your garden. Take some time to assess the soil in your chosen location. The ideal soil should be well-drained, loose, and rich in organic matter. Avoid areas with compacted soil or those prone to flooding.
Accessibility to water is another important consideration. Make sure your garden bed is within reach of a water source, such as a hose or irrigation system. This will make it easier for you to water your plants and ensure they receive adequate hydration.
Lastly, consider the convenience of the location. Choose a spot that is easily accessible for you to tend to your garden regularly. It should be convenient to transport tools, supplies, and harvest your crops without any hassle.
By carefully selecting the right location for your garden bed, you are setting the stage for a successful gardening venture.
Clearing the Area
Now that you have chosen the perfect location for your garden bed, it’s time to clear the area and remove any obstacles that may hinder your gardening efforts. This step is essential to create a clean and organized space for your plants to thrive.
Begin by removing any existing vegetation, such as grass, weeds, or debris, from the area. Depending on the size of your garden bed, you can use various methods to clear the area. These include manually pulling out weeds, using a garden hoe or rake to loosen the soil, or employing a tiller for large spaces.
When clearing the area, take care to remove the entire root system of weeds to prevent regrowth. You can also lay down a layer of landscape fabric or cardboard over the cleared area to further suppress any weed growth.
If you’re dealing with a particularly stubborn and weed-infested area, you may consider applying an organic weed killer. Be sure to follow the instructions on the product label and opt for environmentally friendly alternatives.
Once you have cleared the area of vegetation, take some time to level the ground and remove any large rocks or obstructions. This will create a smooth surface for your garden bed.
Clearing the area not only helps in the aesthetic aspect of gardening but also ensures that your plants have ample space and resources to grow without competition from unwanted plants. It’s a crucial step in creating a thriving garden bed.
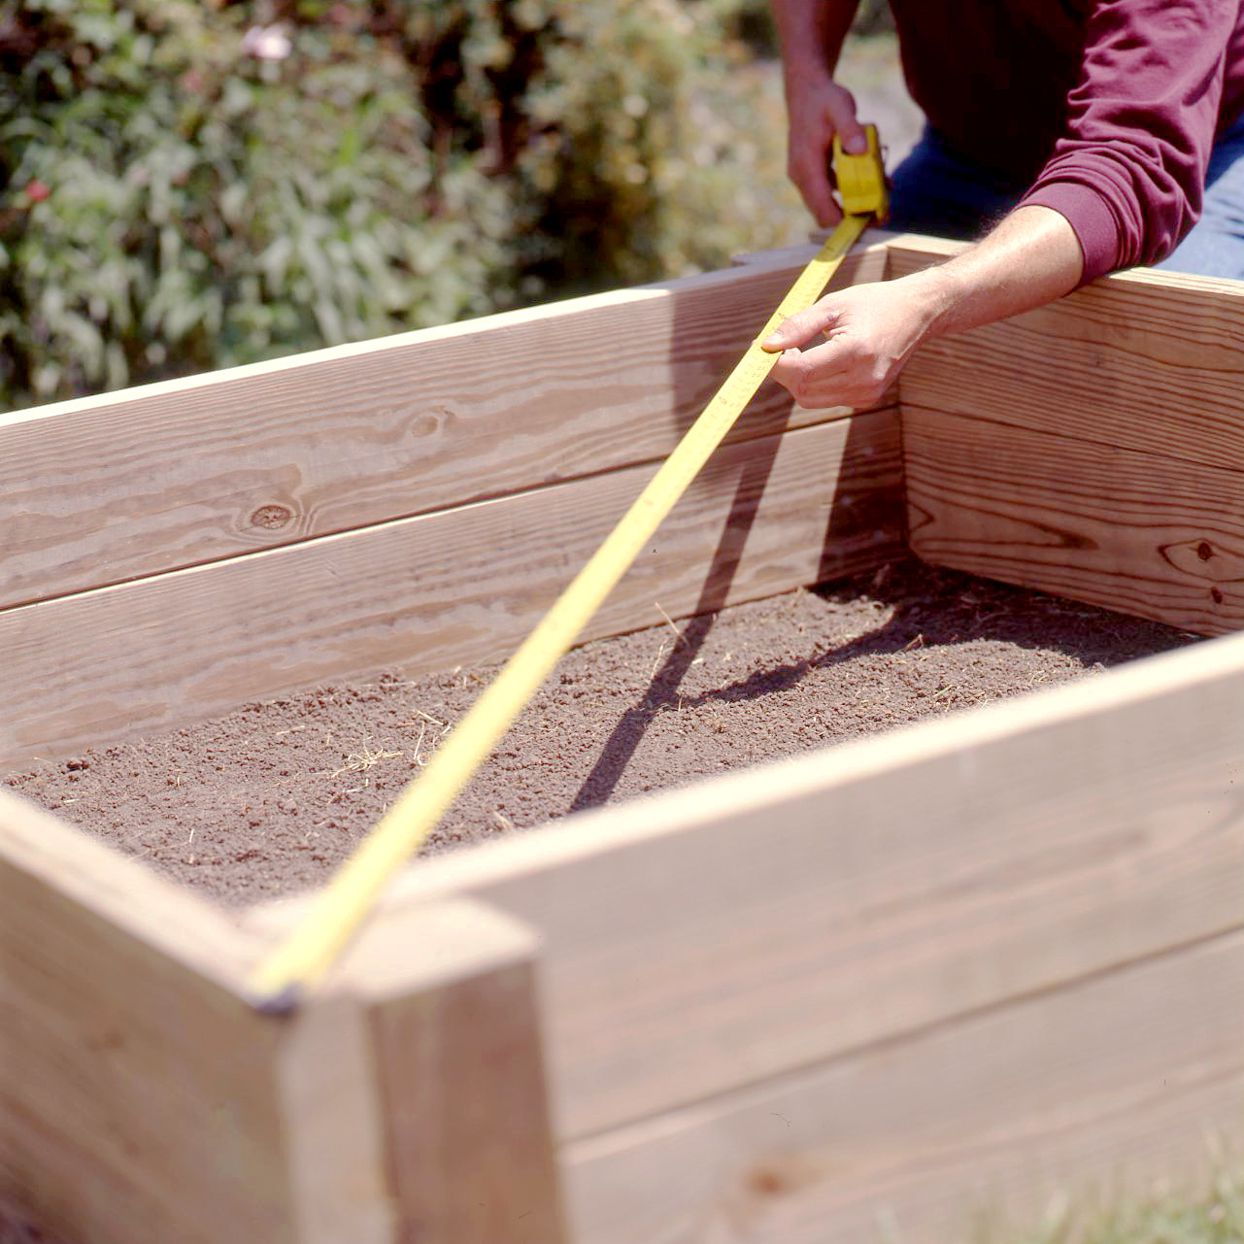
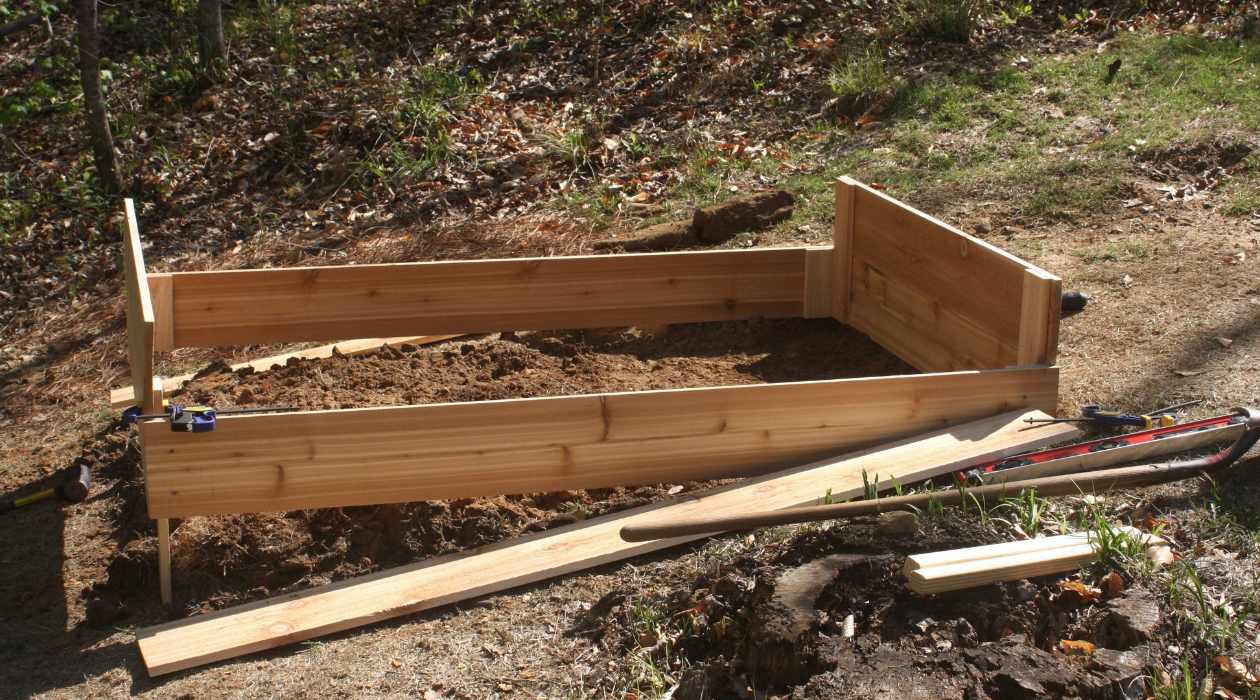
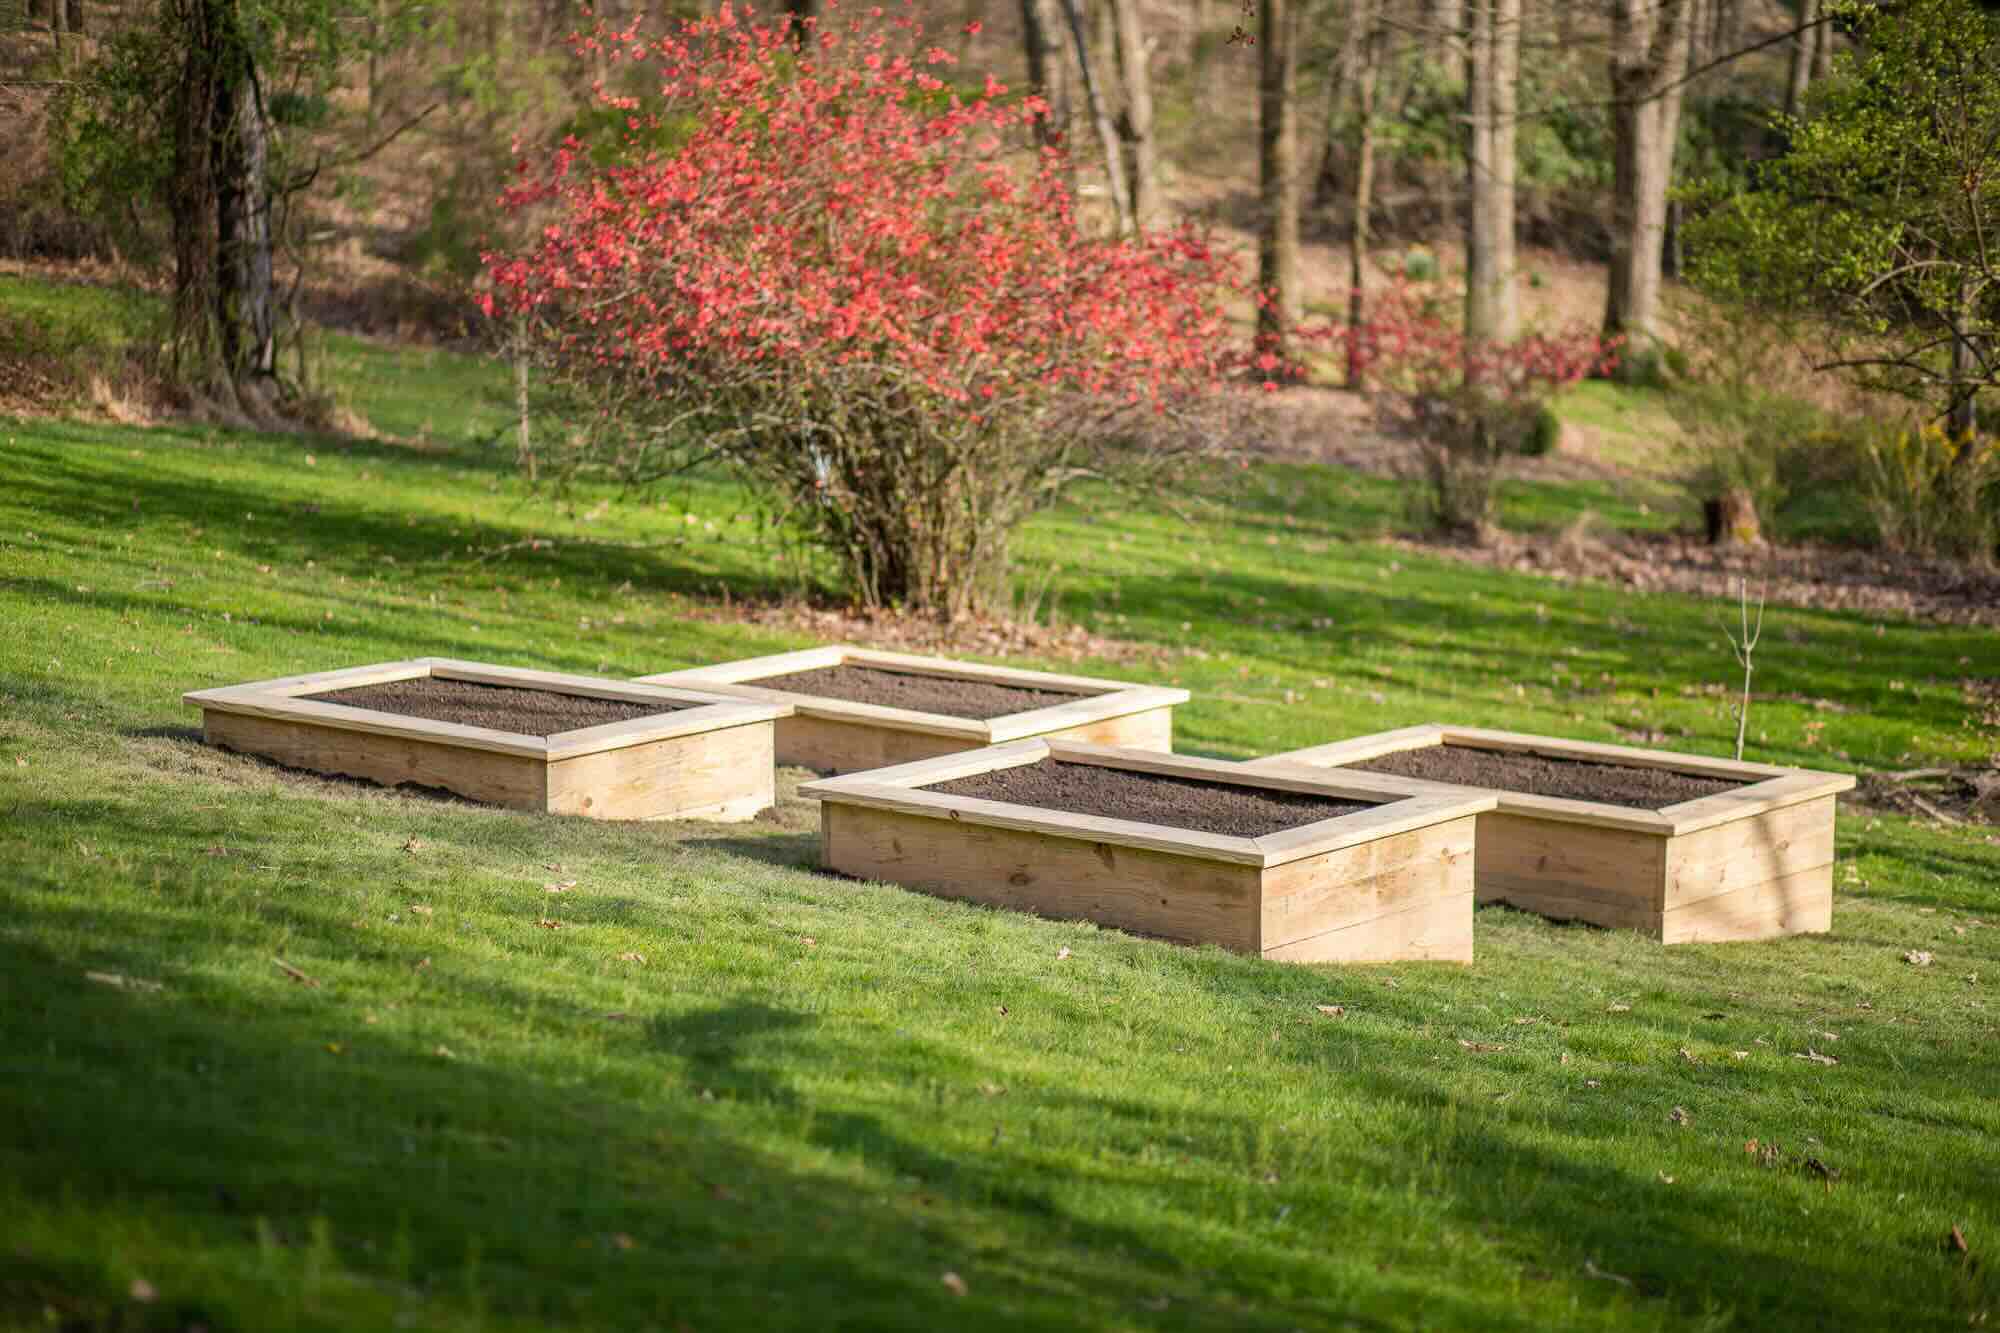
Measuring and Marking
After clearing the area for your garden bed, it’s time to measure and mark the boundaries. This step will help you establish the size and shape of your garden bed, ensuring that it fits seamlessly into your outdoor space.
Start by determining the dimensions of your desired garden bed. Consider the available space and the amount of plants you intend to grow. A general rule of thumb is to keep the width of your garden bed no wider than 4 feet. This allows for easy access and maintenance.
Using a measuring tape or a garden hose, measure and mark the desired length and width of your garden bed on the ground. Make sure the lines are straight and accurate. You can also use stakes and string to create a visual boundary for your garden bed.
In addition to measuring the dimensions, it’s also recommended to mark any additional features you may need in your garden bed, such as pathways, trellises, or designated areas for specific plants. This will help you visualize the layout and optimize the space for efficient gardening.
Remember to leave sufficient space between each plant and pathway to allow for easy access and future growth. It’s important to consider the mature size of the plants you’ll be growing to ensure they have enough room to thrive.
By taking the time to measure and mark the boundaries of your garden bed, you’ll have a clear plan in place for planting and landscaping. This step ensures that your garden bed is well-organized and maximizes the use of available space.
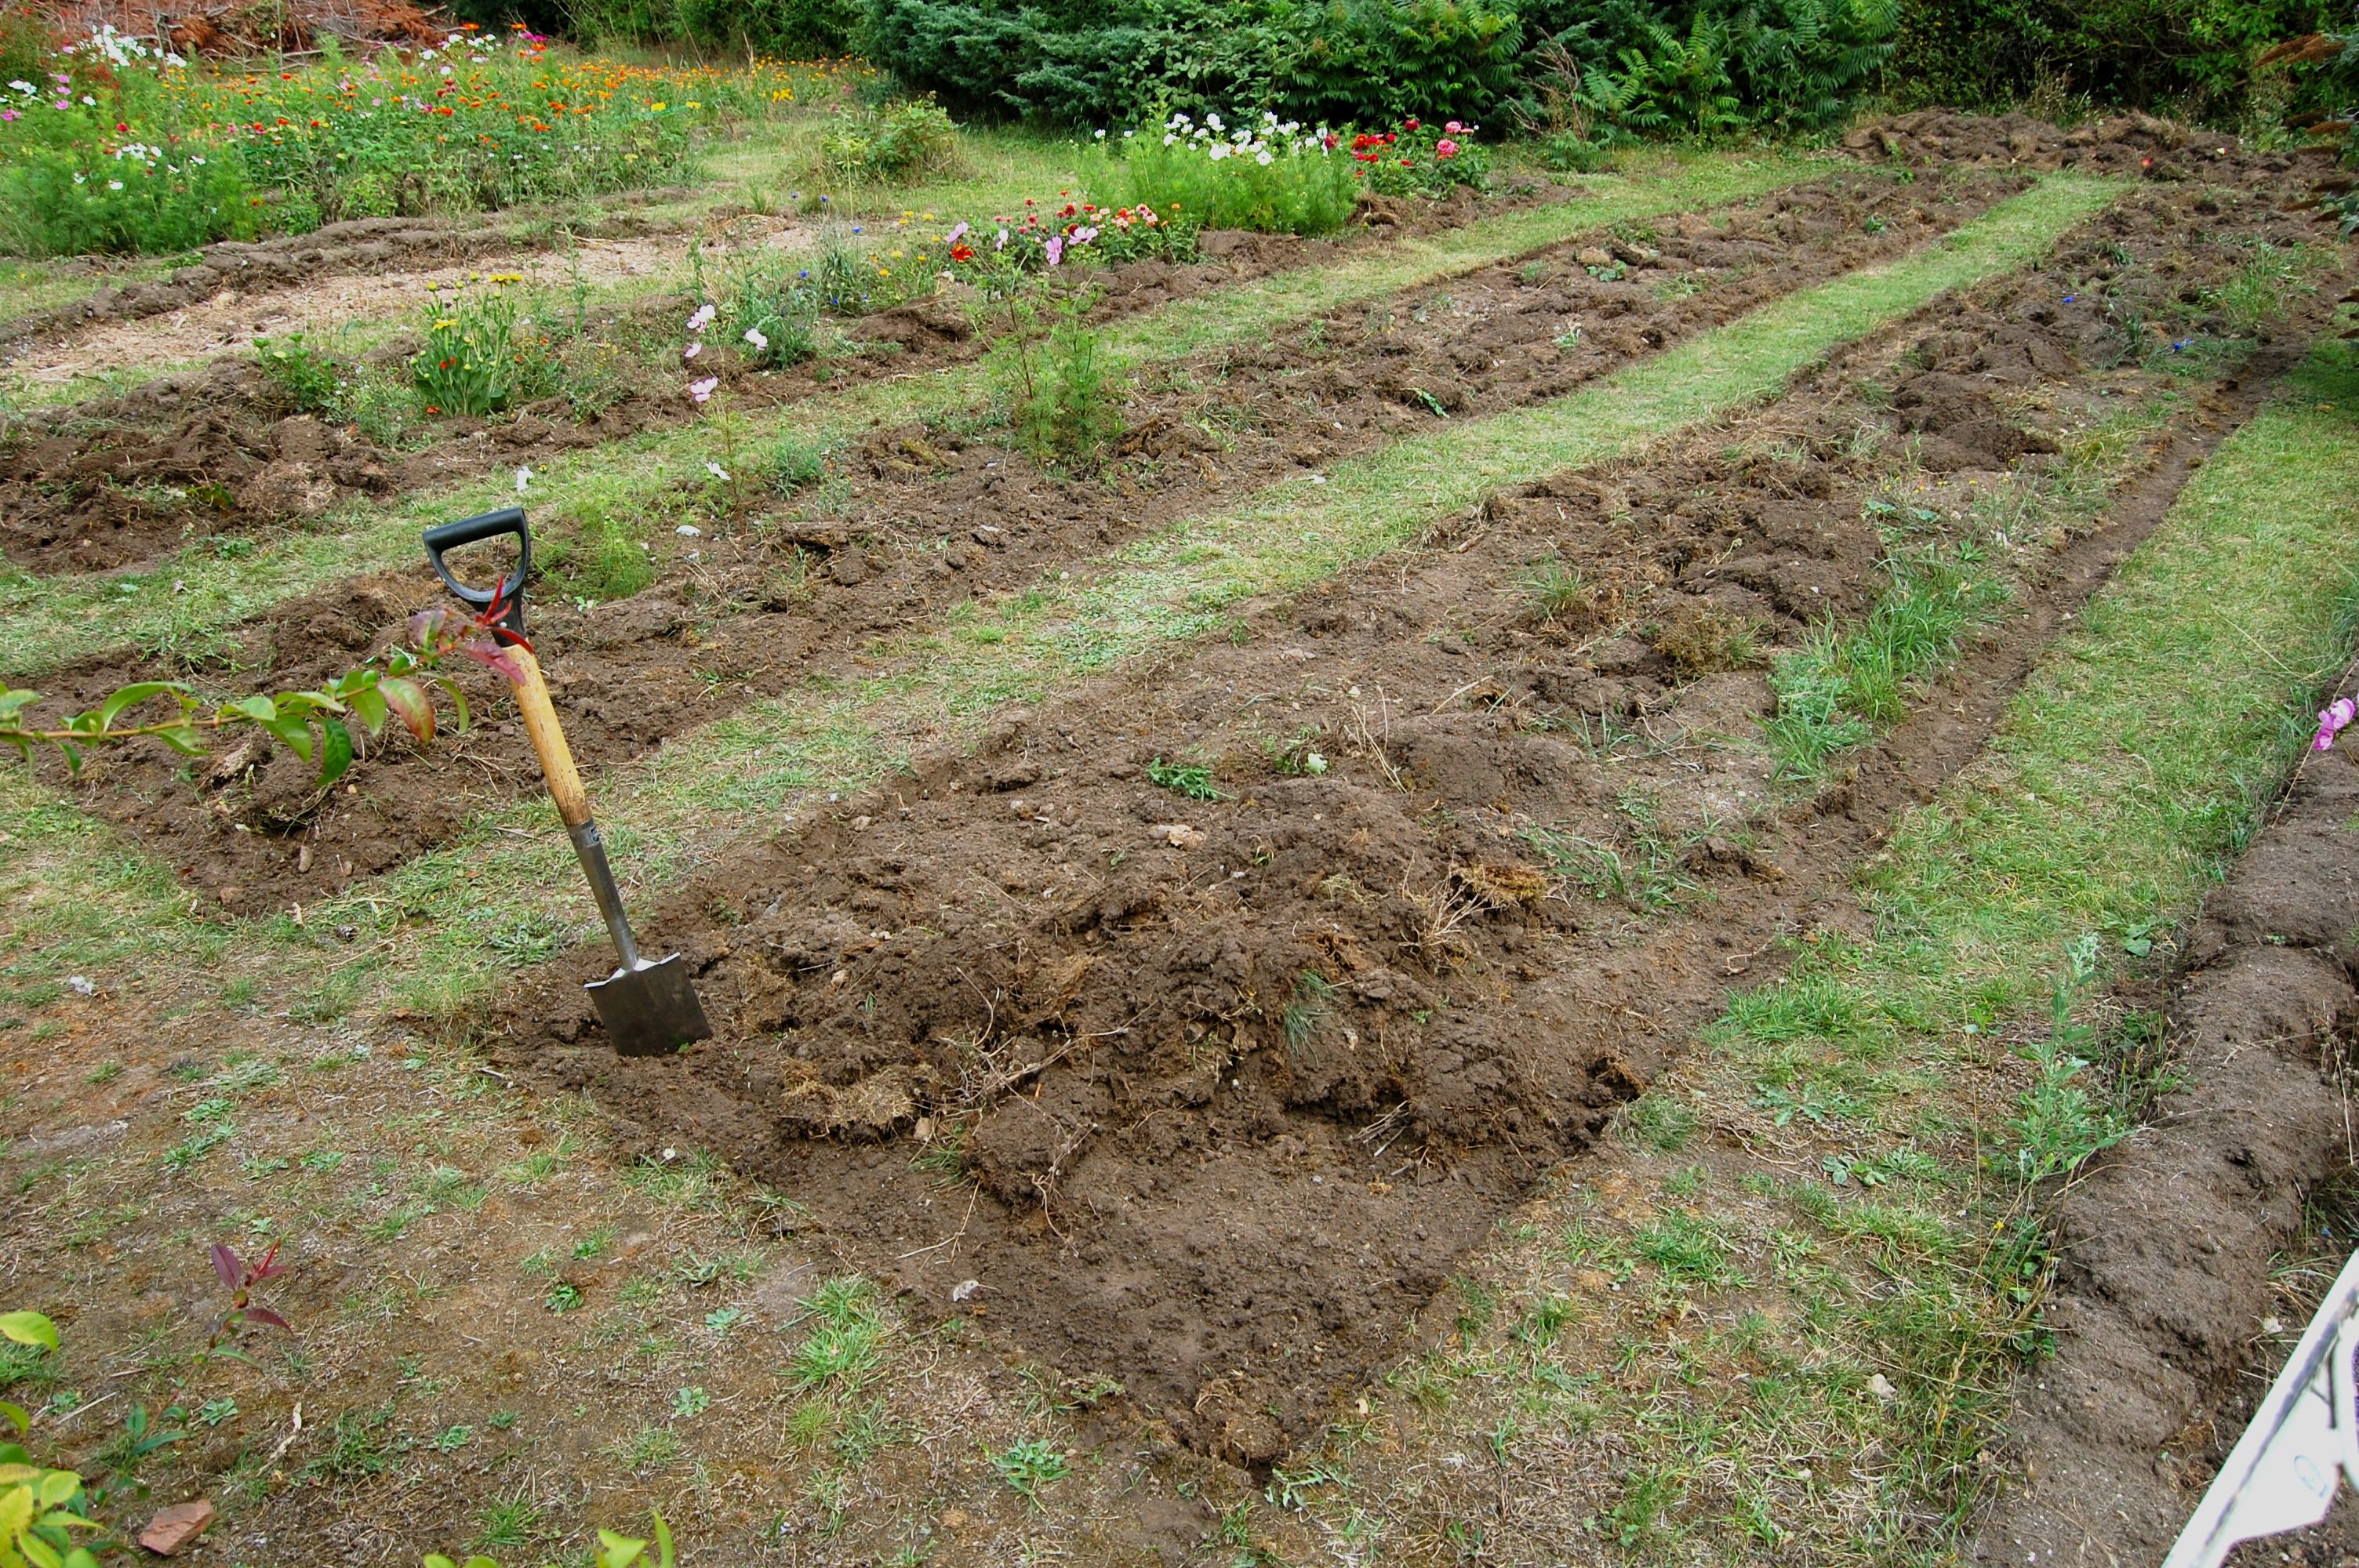
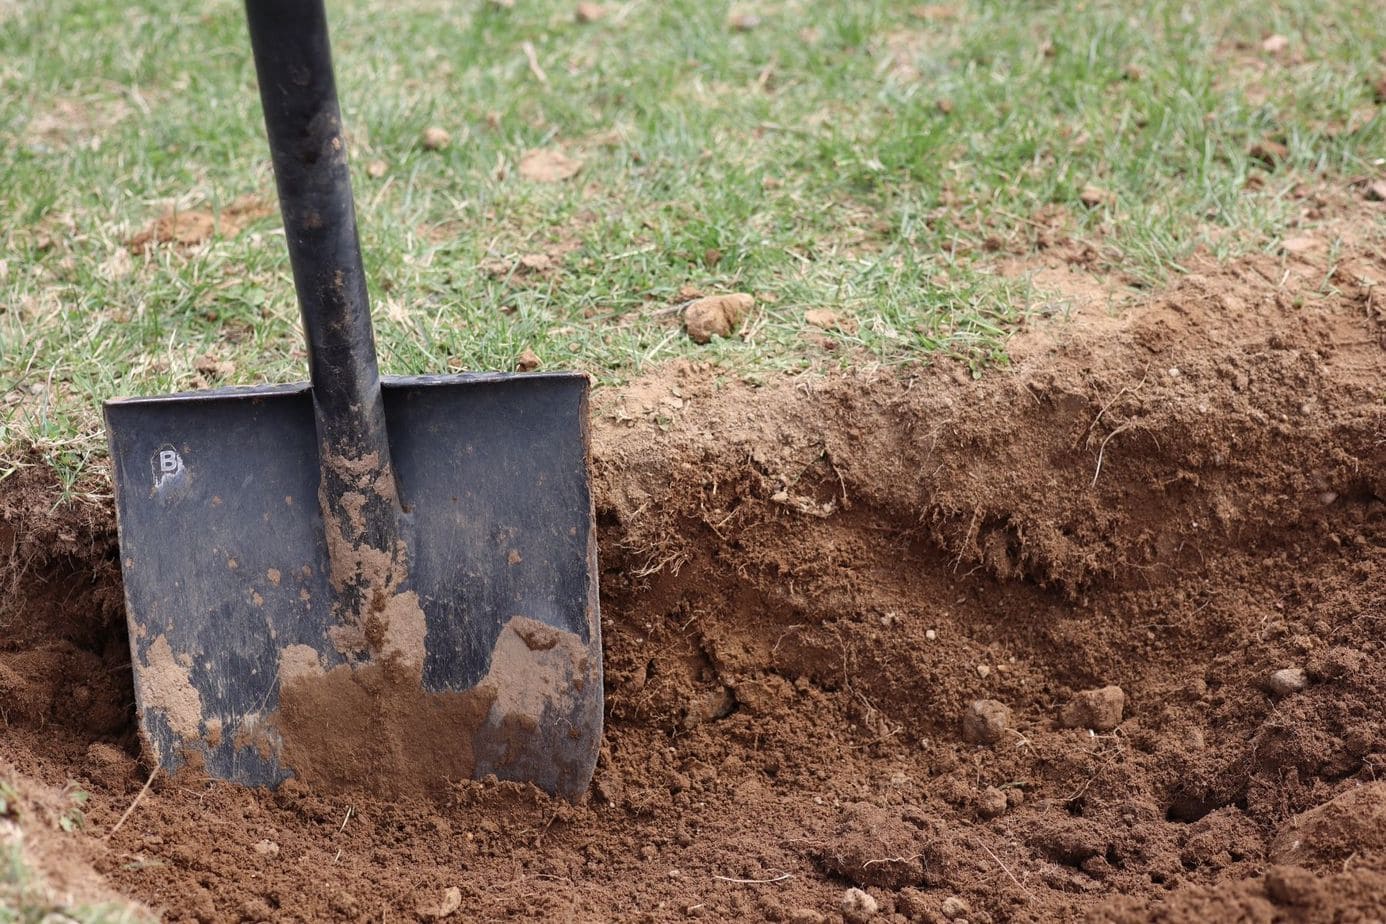
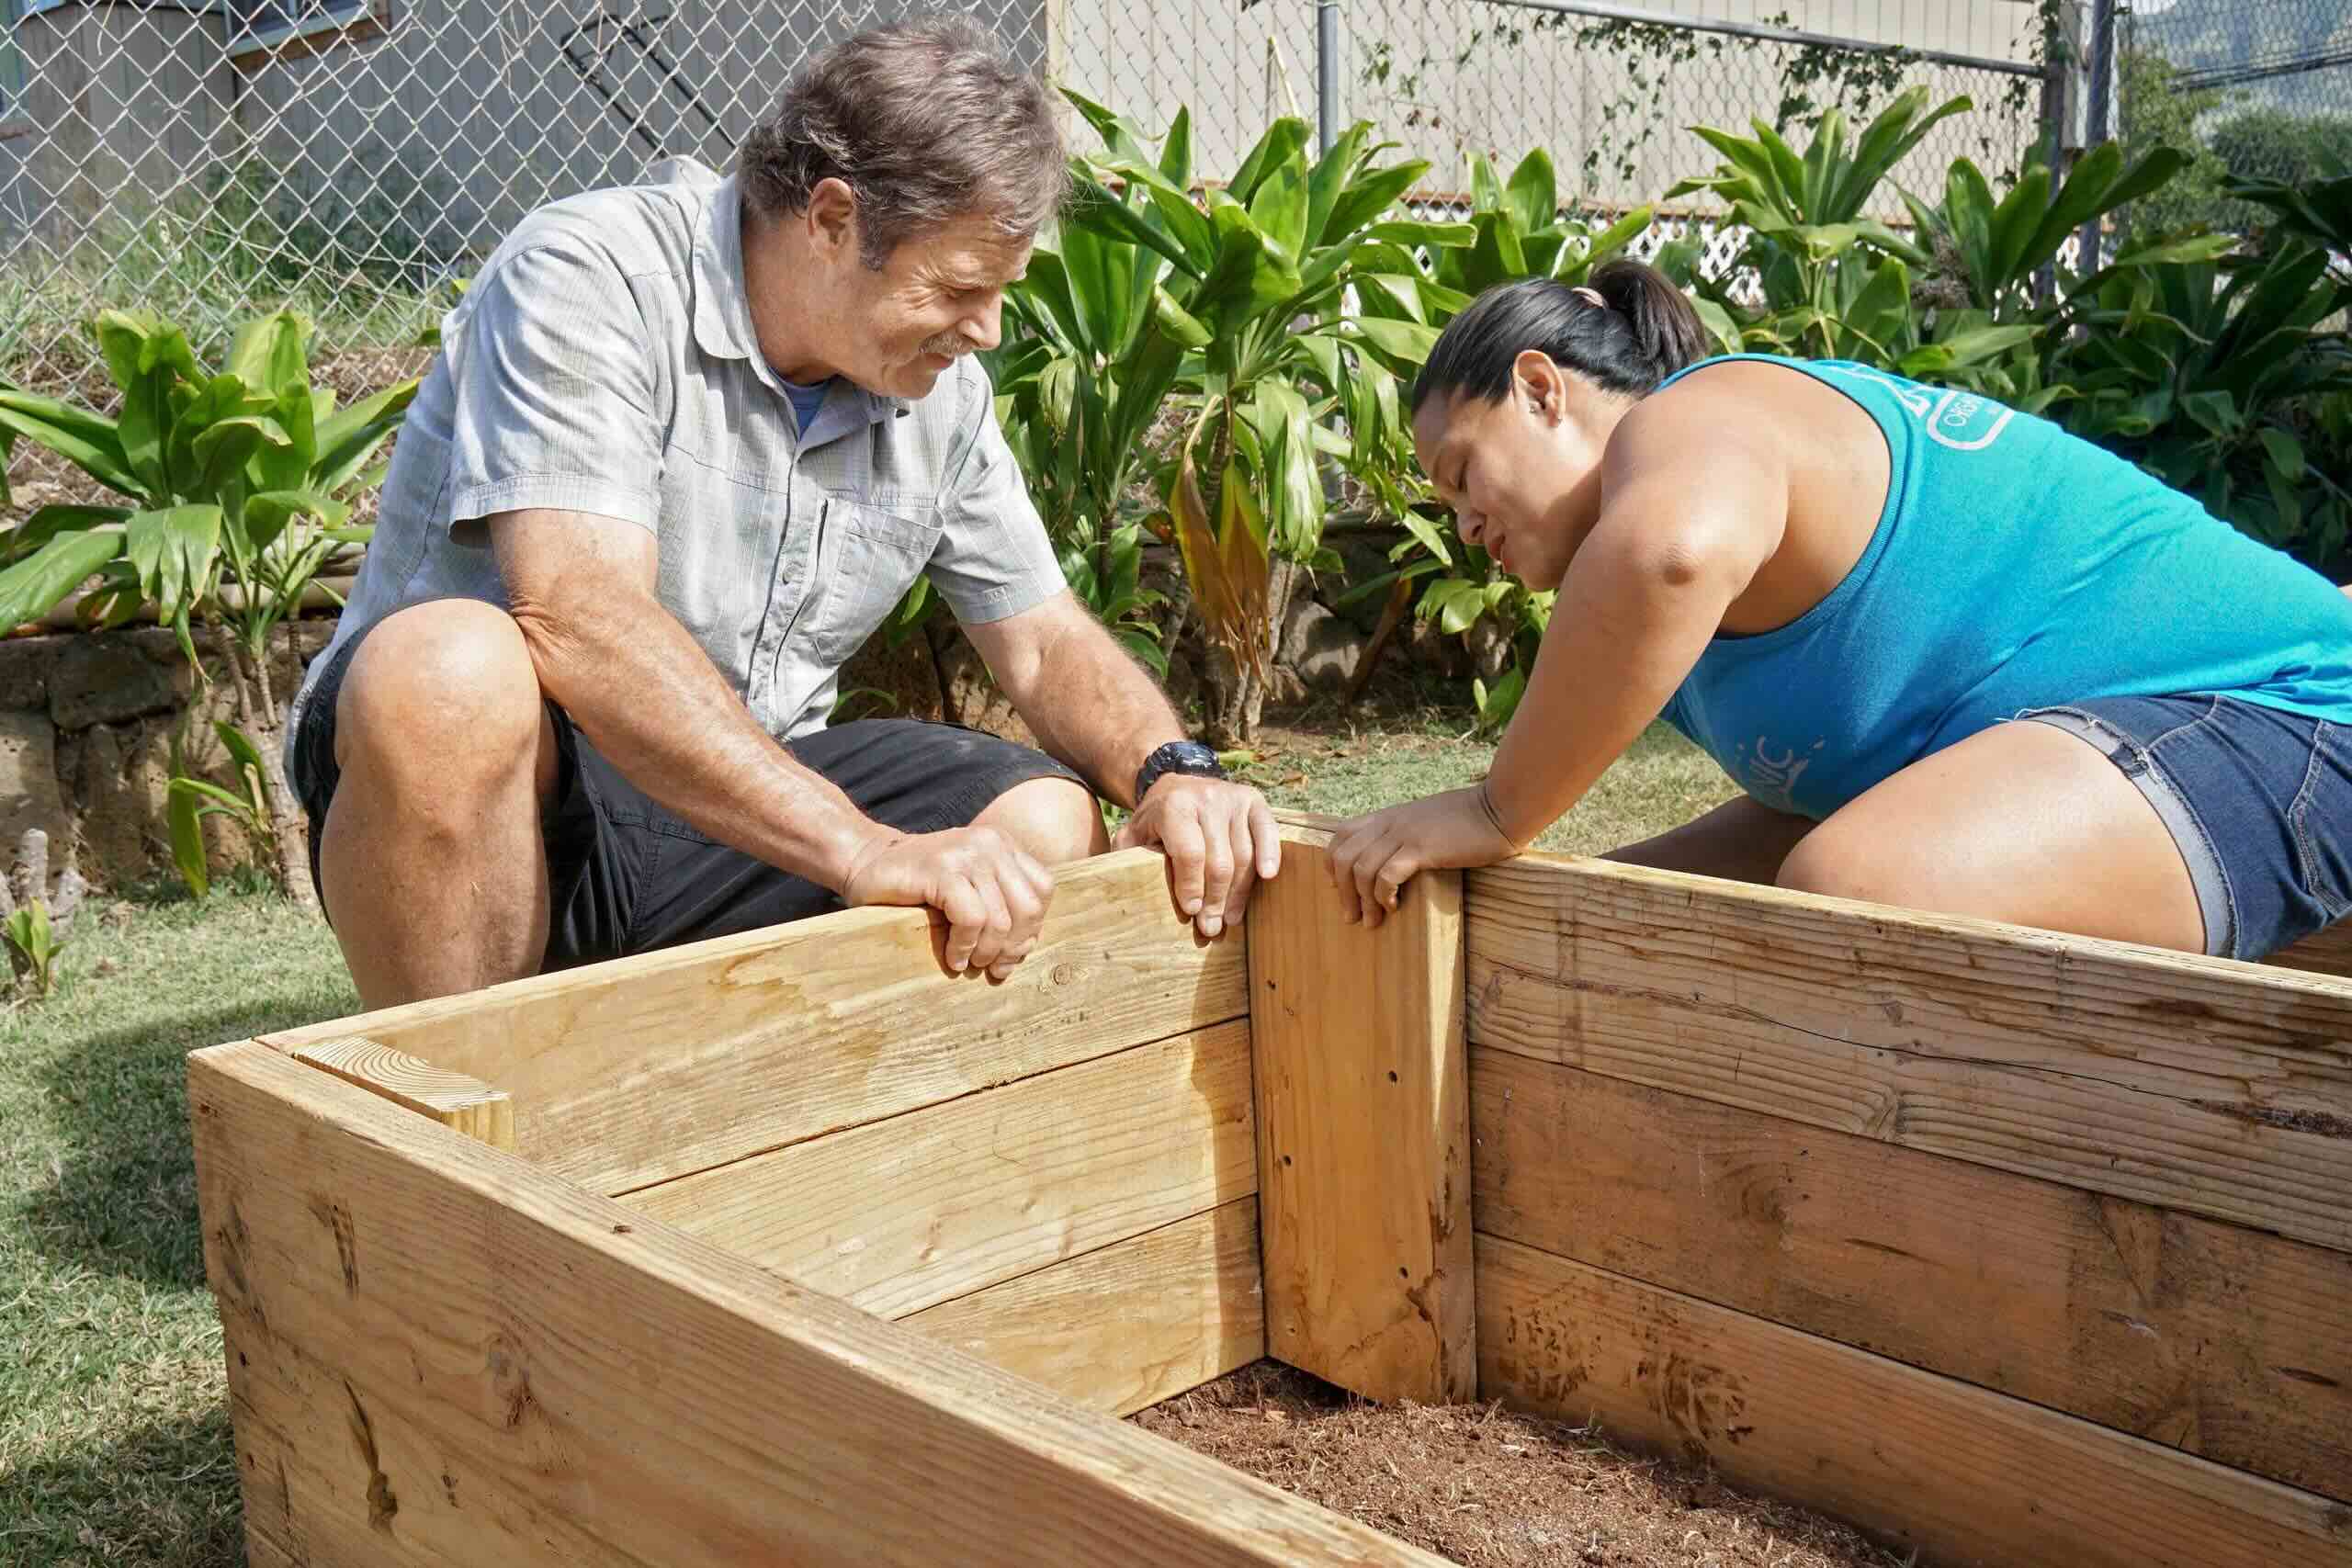
Removing Sod or Weeds
With your garden bed properly measured and marked, the next step is to remove any remaining sod or persistent weeds from the area. This is an important step in creating a clean and weed-free environment for your plants to thrive.
If there is still existing sod on the ground, you have a few options for removal. One common method is to use a garden spade or shovel to cut under the sod, lifting it away in sections. Alternatively, you can rent a sod cutter, which is a machine specifically designed for this purpose. Simply follow the manufacturer’s instructions to operate the sod cutter and remove the sod efficiently.
After removing the sod, inspect the ground for any remaining weed roots or underground rhizomes. These can quickly regrow and invade your garden bed. Use a garden fork or hand cultivator to carefully loosen and remove any remaining weed roots from the soil.
If you come across particularly stubborn weeds, such as dandelions or bindweed, consider using a weed killer specifically formulated for these types of plants. Follow the instructions on the product label and opt for organic or natural weed control methods whenever possible.
By thoroughly removing sod and eliminating weeds, you are creating a healthy and weed-free environment for your plants to establish themselves in. This sets the stage for a successful garden bed that is not competing with unwanted vegetation for nutrients and resources.
Read more: How To Design A Garden Bed
Preparing the Soil
Now that the area is clear of sod and weeds, it’s time to focus on preparing the soil for your garden bed. Properly preparing the soil is vital for providing your plants with the necessary nutrients and a favorable environment for growth.
Start by using a garden fork or a tiller to loosen the soil to a depth of at least 8 to 12 inches. This will help break up any compacted soil and improve drainage, allowing the plant roots to penetrate deep into the ground.
Next, remove any rocks, roots, or debris that you encounter while working the soil. These can impede root growth and hinder the overall health of your plants.
Once the soil is loosened and cleared, take a moment to assess its composition. Depending on your location, the soil may be predominantly clay, sandy, or loamy. Each soil type has its own advantages and challenges, so it’s important to understand the characteristics of your soil.
If you have clay soil, it tends to retain moisture and can become compacted easily. To improve drainage and create a more friable soil texture, incorporate organic matter like compost, well-rotted manure, or peat moss into the soil. This will help break up the clay particles and improve its structure.
If you have sandy soil, it tends to drain quickly and may have difficulty retaining nutrients. Incorporating organic matter like compost or aged manure into the soil will help improve its water- and nutrient-holding capacity. Additionally, adding organic matter will enhance the overall fertility of the soil.
If you have loamy soil, you’re in luck! Loam is considered the ideal soil type as it is a balance of sand, silt, and clay particles. It offers good drainage while retaining moisture and nutrients. However, even loamy soil can benefit from the addition of organic matter to enrich its fertility.
By preparing the soil and optimizing its composition, you are creating a nutrient-rich and well-structured foundation for your plants to thrive. This step sets the stage for healthy growth, robust yields, and a flourishing garden bed.
Before prepping a garden bed, make sure to remove any existing weeds and grass. This will help prevent them from regrowing and competing with your plants for nutrients.
Adding Compost or Organic Matter
One of the key factors in nourishing your garden bed and promoting healthy plant growth is adding compost or organic matter to the soil. Compost and organic matter enrich the soil by improving its structure, fertility, and ability to retain moisture.
Compost is a dark, crumbly material that is created through the decomposition of organic waste such as kitchen scraps, yard trimmings, and plant materials. It is rich in nutrients and beneficial microorganisms that help break down organic matter and release nutrients into the soil.
Start by acquiring or creating your own compost. If you’re making your own, create a compost pile or use a compost bin. Add a mix of “green” nitrogen-rich materials such as vegetable scraps, grass clippings, and fresh plant trimmings, along with “brown” carbon-rich materials like dried leaves, straw, or shredded newspaper. Turn the pile regularly to ensure proper decomposition.
Once the compost has fully decomposed, spread a layer of it on top of the prepared soil. Aim for a thickness of about 2 to 3 inches. Gently work the compost into the soil using a garden fork or a tiller, mixing it thoroughly.
In addition to compost, consider incorporating other organic matter into the soil. This could include aged manure, leaf mold, or peat moss. These materials enhance the soil’s fertility, water-holding capacity, and overall structure.
When adding compost and organic matter, make sure to distribute it evenly throughout the entire garden bed area. Pay attention to any specific areas where you plan to grow certain plants that may have specific soil requirements. Mix the compost into the soil to a depth of around 6 to 8 inches, ensuring that it’s well-blended.
Adding compost and organic matter not only improves the soil’s nutrient content but also enhances its ability to retain moisture and support beneficial soil organisms. It creates a fertile and thriving environment for your plants to flourish and produce abundant yields.
Incorporating Fertilizer
In addition to adding compost and organic matter to your garden bed, incorporating fertilizer into the soil is another crucial step in providing essential nutrients for your plants. Fertilizers are formulated to supply specific nutrients that may be lacking in the soil, ensuring optimal growth and productivity.
Before applying any fertilizer, it’s important to test your soil to determine its nutrient levels and pH. A soil test will help you identify any deficiencies or imbalances in your soil’s nutrient composition. You can obtain a soil test kit from a garden center or contact your local agricultural extension office for assistance.
Based on the results of your soil test, choose a fertilizer that addresses the specific nutrient needs of your plants. Fertilizers are typically labeled with three numbers, indicating the percentage of nitrogen (N), phosphorus (P), and potassium (K) they contain. For example, a fertilizer labeled 10-10-10 has an equal proportion of these three nutrients.
Apply the chosen fertilizer according to the instructions on the packaging. Generally, you’ll want to spread the fertilizer evenly over the soil surface at the recommended rate. Avoid applying excessive amounts of fertilizer, as it can lead to nutrient imbalance or even harm the plants.
Once you’ve applied the fertilizer, work it into the soil using a garden fork or a tiller. This helps to distribute the nutrients evenly throughout the soil, ensuring that the plants can easily access them through their root systems.
It’s important to note that organic fertilizers, such as compost or well-rotted manure, can also be used to supplement the nutrient content of the soil. These organic fertilizers release nutrients slowly, providing a long-lasting source of nutrition for your plants.
Regularly incorporating fertilizer into the soil helps replenish essential nutrients that may become depleted over time. By ensuring that your plants have access to the proper nutrients, you’ll promote healthy growth, vibrant blooms, and a fruitful harvest.
Leveling the Bed
After incorporating compost, organic matter, and fertilizer into the soil, the next step is to level the bed. Leveling ensures that the soil surface is even and provides a uniform planting area for your crops.
Start by using a garden rake or a leveling tool to distribute the soil evenly across the entire garden bed. This helps to fill in any low spots or depressions and create a smooth, level surface.
Pay attention to the edges of the bed as well, ensuring that they are level with the rest of the soil. Use a straight board or a level to check for evenness along the edges and make adjustments as needed.
While leveling, it’s important to avoid compacting the soil. Be gentle with your movements and avoid excessive pressure, as compacted soil inhibits proper root development and water drainage.
If you notice any large clumps or rocks during the leveling process, remove them from the bed. These can interfere with plant growth or cause uneven watering.
Leveling the bed is particularly important if you plan to use drip irrigation or soaker hoses in your garden. A level surface ensures that the water is distributed evenly to all plants, preventing dry spots or water pooling.
By taking the time to level the bed, you create a well-prepared and uniform surface for planting. This allows for better water distribution, nutrient absorption, and overall plant health.
Read more: How To Mulch A Garden Bed
Watering and Settling the Soil
After leveling the bed, it’s time to give your garden bed a good watering. Properly watering the soil helps settle it, ensuring that it’s well-packed around the roots of your plants and providing the necessary moisture for their initial establishment.
Before planting, thoroughly water the garden bed using a hose or a watering can with a gentle shower nozzle. Aim for a slow and steady flow of water, allowing it to penetrate the soil evenly without causing erosion or puddling.
The goal is to moisten the soil to a depth of about 6 to 8 inches, ensuring that the water reaches the root zone of your plants. This encourages the roots to grow downward in search of moisture and promotes strong root development.
After watering, give the soil some time to settle. This allows any air pockets that may have formed during the watering process to naturally collapse. Lightly firm the soil surface using the back of a rake or your hands, but avoid pressing too firmly to prevent compaction.
As the soil settles, you may notice that the soil level has slightly decreased or there are small depressions. If necessary, add more soil to fill any low spots and ensure an even surface.
Once the soil has settled, it’s time to move forward with planting your desired crops. Dig planting holes or furrows according to the specific requirements of each plant, ensuring they are at the appropriate depth for optimal growth.
Throughout the growing season, it’s important to continue watering your garden bed regularly. Monitor the moisture levels in the soil and adjust your watering schedule as needed to keep it consistently moist, but avoid overwatering which can lead to root rot and other issues.
By watering and settling the soil, you provide the necessary moisture for plant roots to thrive and establish themselves in the garden bed. This step sets the foundation for healthy plant growth and a successful garden.
Final Thoughts
Congratulations! You have successfully prepped your garden bed and set the stage for a thriving and productive garden. By following the steps outlined in this article, you have created a well-prepared soil foundation, rich in nutrients and organic matter, for your plants to grow.
Remember, gardening is a continuous and rewarding journey. As your plants grow, make sure to provide them with the care they need, including regular watering, weed control, and monitoring for pests or diseases.
Don’t forget to regularly monitor the nutrient levels of your garden bed. Conduct soil tests at least once a year to ensure that your plants have access to the necessary nutrients for optimal growth. Based on the results, you can make any necessary adjustments in terms of fertilization or soil amendments.
Additionally, consider implementing sustainable gardening practices, such as mulching to conserve water and suppress weeds, and employing natural pest control methods to protect your plants without harming beneficial insects.
Lastly, enjoy the journey of gardening! Take the time to observe and appreciate the beauty of your plants as they flourish and provide you with fresh fruits, vegetables, or vibrant flowers.
So get out there, get your hands dirty, and let your garden be a haven of tranquility, a source of nourishment, and a place of pride. Happy gardening!
Frequently Asked Questions about How To Prep A Garden Bed
Was this page helpful?
At Storables.com, we guarantee accurate and reliable information. Our content, validated by Expert Board Contributors, is crafted following stringent Editorial Policies. We're committed to providing you with well-researched, expert-backed insights for all your informational needs.


0 thoughts on “How To Prep A Garden Bed”