Articles
How To Program A Ceiling Fan Remote
Modified: August 27, 2024
Learn how to program your ceiling fan remote with our informative articles. Get step-by-step instructions and troubleshooting tips to control your fan effortlessly.
(Many of the links in this article redirect to a specific reviewed product. Your purchase of these products through affiliate links helps to generate commission for Storables.com, at no extra cost. Learn more)
Introduction
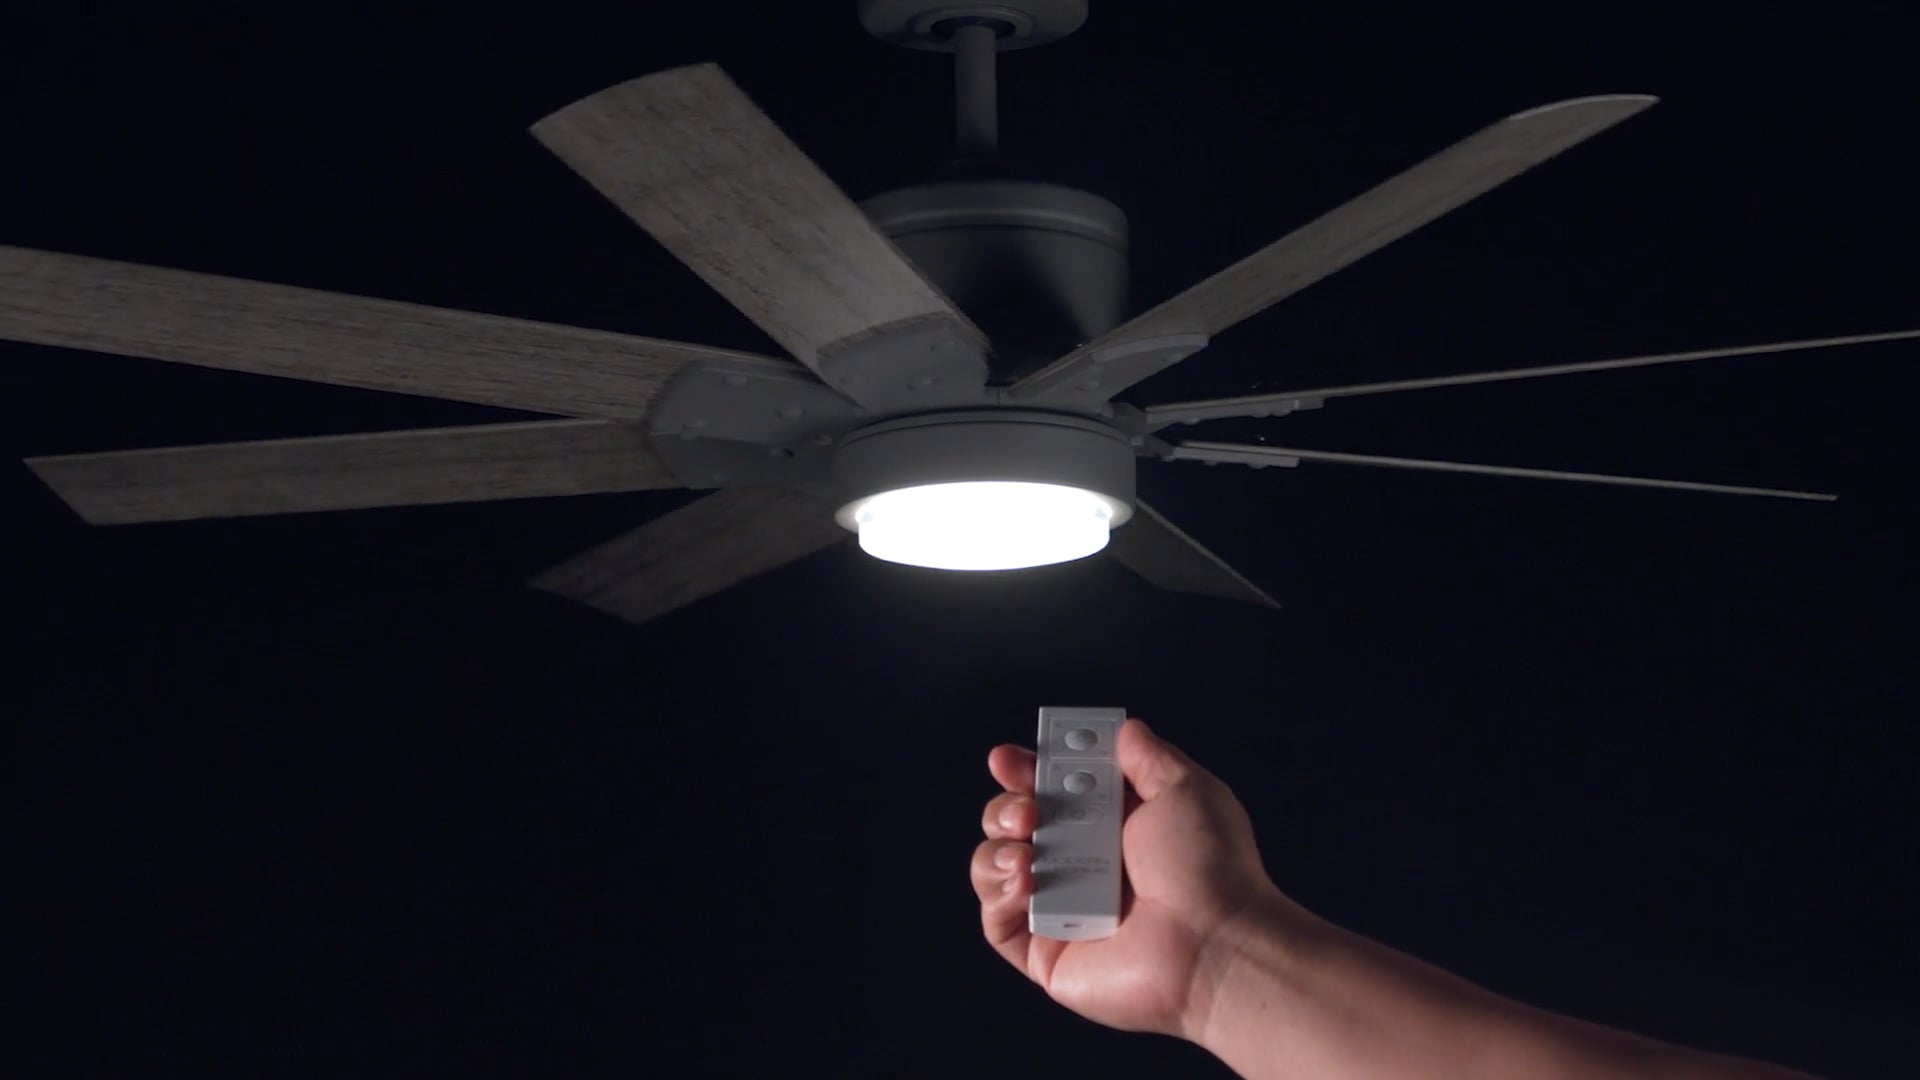
Installing a ceiling fan in your home can help to improve air circulation and create a more comfortable living environment. Many modern ceiling fans come equipped with remotes that allow you to control the fan’s speed, direction, and lighting from the comfort of your couch or bed.
However, sometimes the ceiling fan remote may need to be programmed in order to sync it with your particular fan. This can be a daunting task for those who are not familiar with electrical components and programming procedures.
In this article, we will guide you through the process of programming a ceiling fan remote, step by step. By following these instructions, you will be able to easily program your ceiling fan remote and start enjoying the convenience and comfort it provides.
Before we get started, it is important to note that the exact process may vary slightly depending on the brand and model of your ceiling fan. In general, the steps outlined in this article will apply to most ceiling fan remotes. However, we recommend consulting the manufacturer’s instructions or contacting customer support for your specific fan if you encounter any difficulties during the programming process.
Now, let’s gather the necessary tools and get ready to program your ceiling fan remote!
Key Takeaways:
- Easily program your ceiling fan remote by following simple steps, ensuring safety by turning off the power, setting the DIP switches, and testing the functionality. Enjoy the convenience and comfort of controlling your fan from a distance!
- Gather the necessary tools, turn off the power, and carefully adjust the DIP switches to program your ceiling fan remote. Enjoy the cool breeze of your newly programmed fan, creating a more comfortable living environment.
Read more: How To Program Harbor Breeze Fan Remote
Step 1: Gather the Necessary Tools
Before you begin programming your ceiling fan remote, it’s important to gather all the necessary tools and equipment. Having these items ready will ensure a smooth and hassle-free process. Here are the tools you will need:
- Screwdriver: You’ll need a screwdriver to remove the cover of the remote and access the DIP switches.
- Batteries: Check the remote’s manual to determine the type and number of batteries required.
- Ladder or Step Stool: Depending on the height of your ceiling, you may need a ladder or step stool to reach the fan and access the remote.
- Pen and Paper: It’s a good idea to have a pen and paper handy to jot down any important information during the programming process.
By gathering all these tools beforehand, you can ensure that you have everything you need to successfully program your ceiling fan remote. Once you have the necessary tools, you can proceed to the next step: turning off the power.
Step 2: Turn Off the Power
Safety should always be a top priority when working with electrical components. Before you begin programming your ceiling fan remote, it is crucial to turn off the power to the fan to avoid any potential electrical hazards. Here’s how to do it:
- Locate your home’s electrical panel or circuit breaker box.
- Identify the circuit breaker that controls the power supply to the ceiling fan.
- Switch off the circuit breaker by flipping it to the “Off” position.
- To be extra cautious, use a non-contact voltage tester to ensure that the power is truly turned off. This device can detect the presence of electrical current without direct contact.
By following these steps, you can effectively cut off the power supply to the ceiling fan and ensure your safety during the programming process. It is important to never skip this step or take any shortcuts when working with electrical components.
Once the power is turned off, you can proceed to the next step: removing the cover of the remote to access the DIP switches.
Step 3: Remove the Remote’s Cover
Now that the power is turned off, it’s time to remove the cover of the remote to access the DIP switches. The DIP switches are small switches that need to be adjusted in order to program the remote to work with your ceiling fan. Here’s how to remove the cover:
- Locate the screws on the back or bottom of the remote that secure the cover in place.
- Use a screwdriver that fits the screw heads and carefully unscrew them in a counterclockwise direction.
- Place the screws in a safe place to avoid losing them.
- Gently lift off the cover of the remote to reveal the internal components.
Removing the cover of the remote allows you to access the DIP switches, which are usually located on the inside of the remote. The DIP switches are small, raised switches that can be toggled up or down to program the remote. It is important to handle the remote and its internal components with care to avoid any damage.
Once the cover is removed and you have access to the DIP switches, you are ready to move on to the next step: identifying the DIP switches on your remote.
Step 4: Identify the DIP Switches
Now that the cover of the remote is removed, it’s time to identify the DIP switches. The DIP switches are small switches located on the inside of the remote that need to be adjusted to program the remote to work with your ceiling fan. Here’s how to identify the DIP switches:
- Take a close look at the internal components of the remote, where the cover was removed.
- Look for a set of small, raised switches lined up in a row. These switches are the DIP switches.
- Each DIP switch is typically labeled with a number or letter for identification.
The number of DIP switches and their arrangement may vary depending on the brand and model of your ceiling fan remote. It’s important to correctly identify the DIP switches before proceeding to the next step. Take note of the labeling or numbering of the switches, as you’ll need this information to program the remote in a later step.
Once you have identified the DIP switches, you can move on to the next step: setting the DIP switches to the desired code.
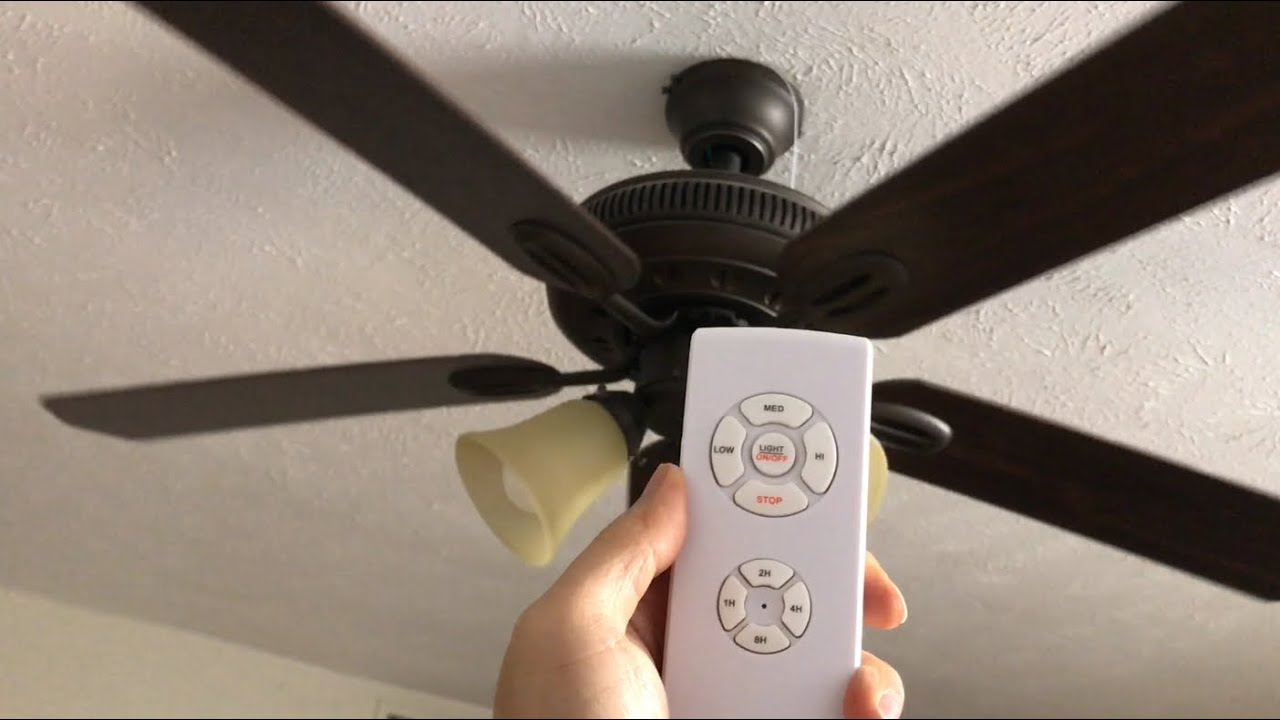
When programming a ceiling fan remote, make sure to follow the specific instructions provided by the manufacturer. This may involve setting the dip switches or holding down certain buttons to sync the remote with the fan.
Read more: How To Wire A Ceiling Fan With A Remote
Step 5: Set the DIP Switches
Now that you have identified the DIP switches on your ceiling fan remote, it’s time to set them to the desired code. The DIP switches determine the unique code that allows the remote to communicate with your specific ceiling fan. Here’s how to set the DIP switches:
- Refer to the documentation or manual that came with your ceiling fan or remote to find the correct DIP switch configuration for your particular model.
- Using a small tool such as a pen or a toothpick, adjust each DIP switch accordingly by flipping it up or down.
- Make sure to match the DIP switch settings on the remote with the DIP switch settings on your ceiling fan.
- Take note of the DIP switch positions or code configuration, as you may need this information in the future if you ever need to reprogram the remote.
It is important to set the DIP switches correctly to ensure proper communication between the remote and your ceiling fan. Incorrect DIP switch settings can result in the remote not functioning properly or not controlling the fan as intended.
Once you have set the DIP switches to the desired code, you can proceed to the next step: replacing the cover of the remote.
Step 6: Replace the Cover
With the DIP switches set to the desired code, it’s time to reassemble the ceiling fan remote by replacing the cover. The cover helps protect the internal components of the remote and gives it a finished look. Here’s how to replace the cover:
- Align the cover with the remote, ensuring that it sits properly and securely.
- Gently press down on the cover to snap it back into place.
- If there were any screws that were removed earlier, use the screwdriver to tighten them back into their original positions.
It’s important to ensure that the cover is securely fastened to the remote to prevent any damage or accidental exposure of the internal components. Double-check that all screws are tightened properly before moving on to the next step.
Now that the cover is back in place, you are ready for the final step: turning on the power and testing the remote.
Step 7: Turn On the Power
With the ceiling fan remote reassembled and the DIP switches set to the desired code, it’s time to turn on the power and test the remote’s functionality. Here’s how to turn on the power:
- Go back to the electrical panel or circuit breaker box in your home.
- Locate the circuit breaker that controls the power supply to the ceiling fan.
- Flip the circuit breaker back to the “On” position.
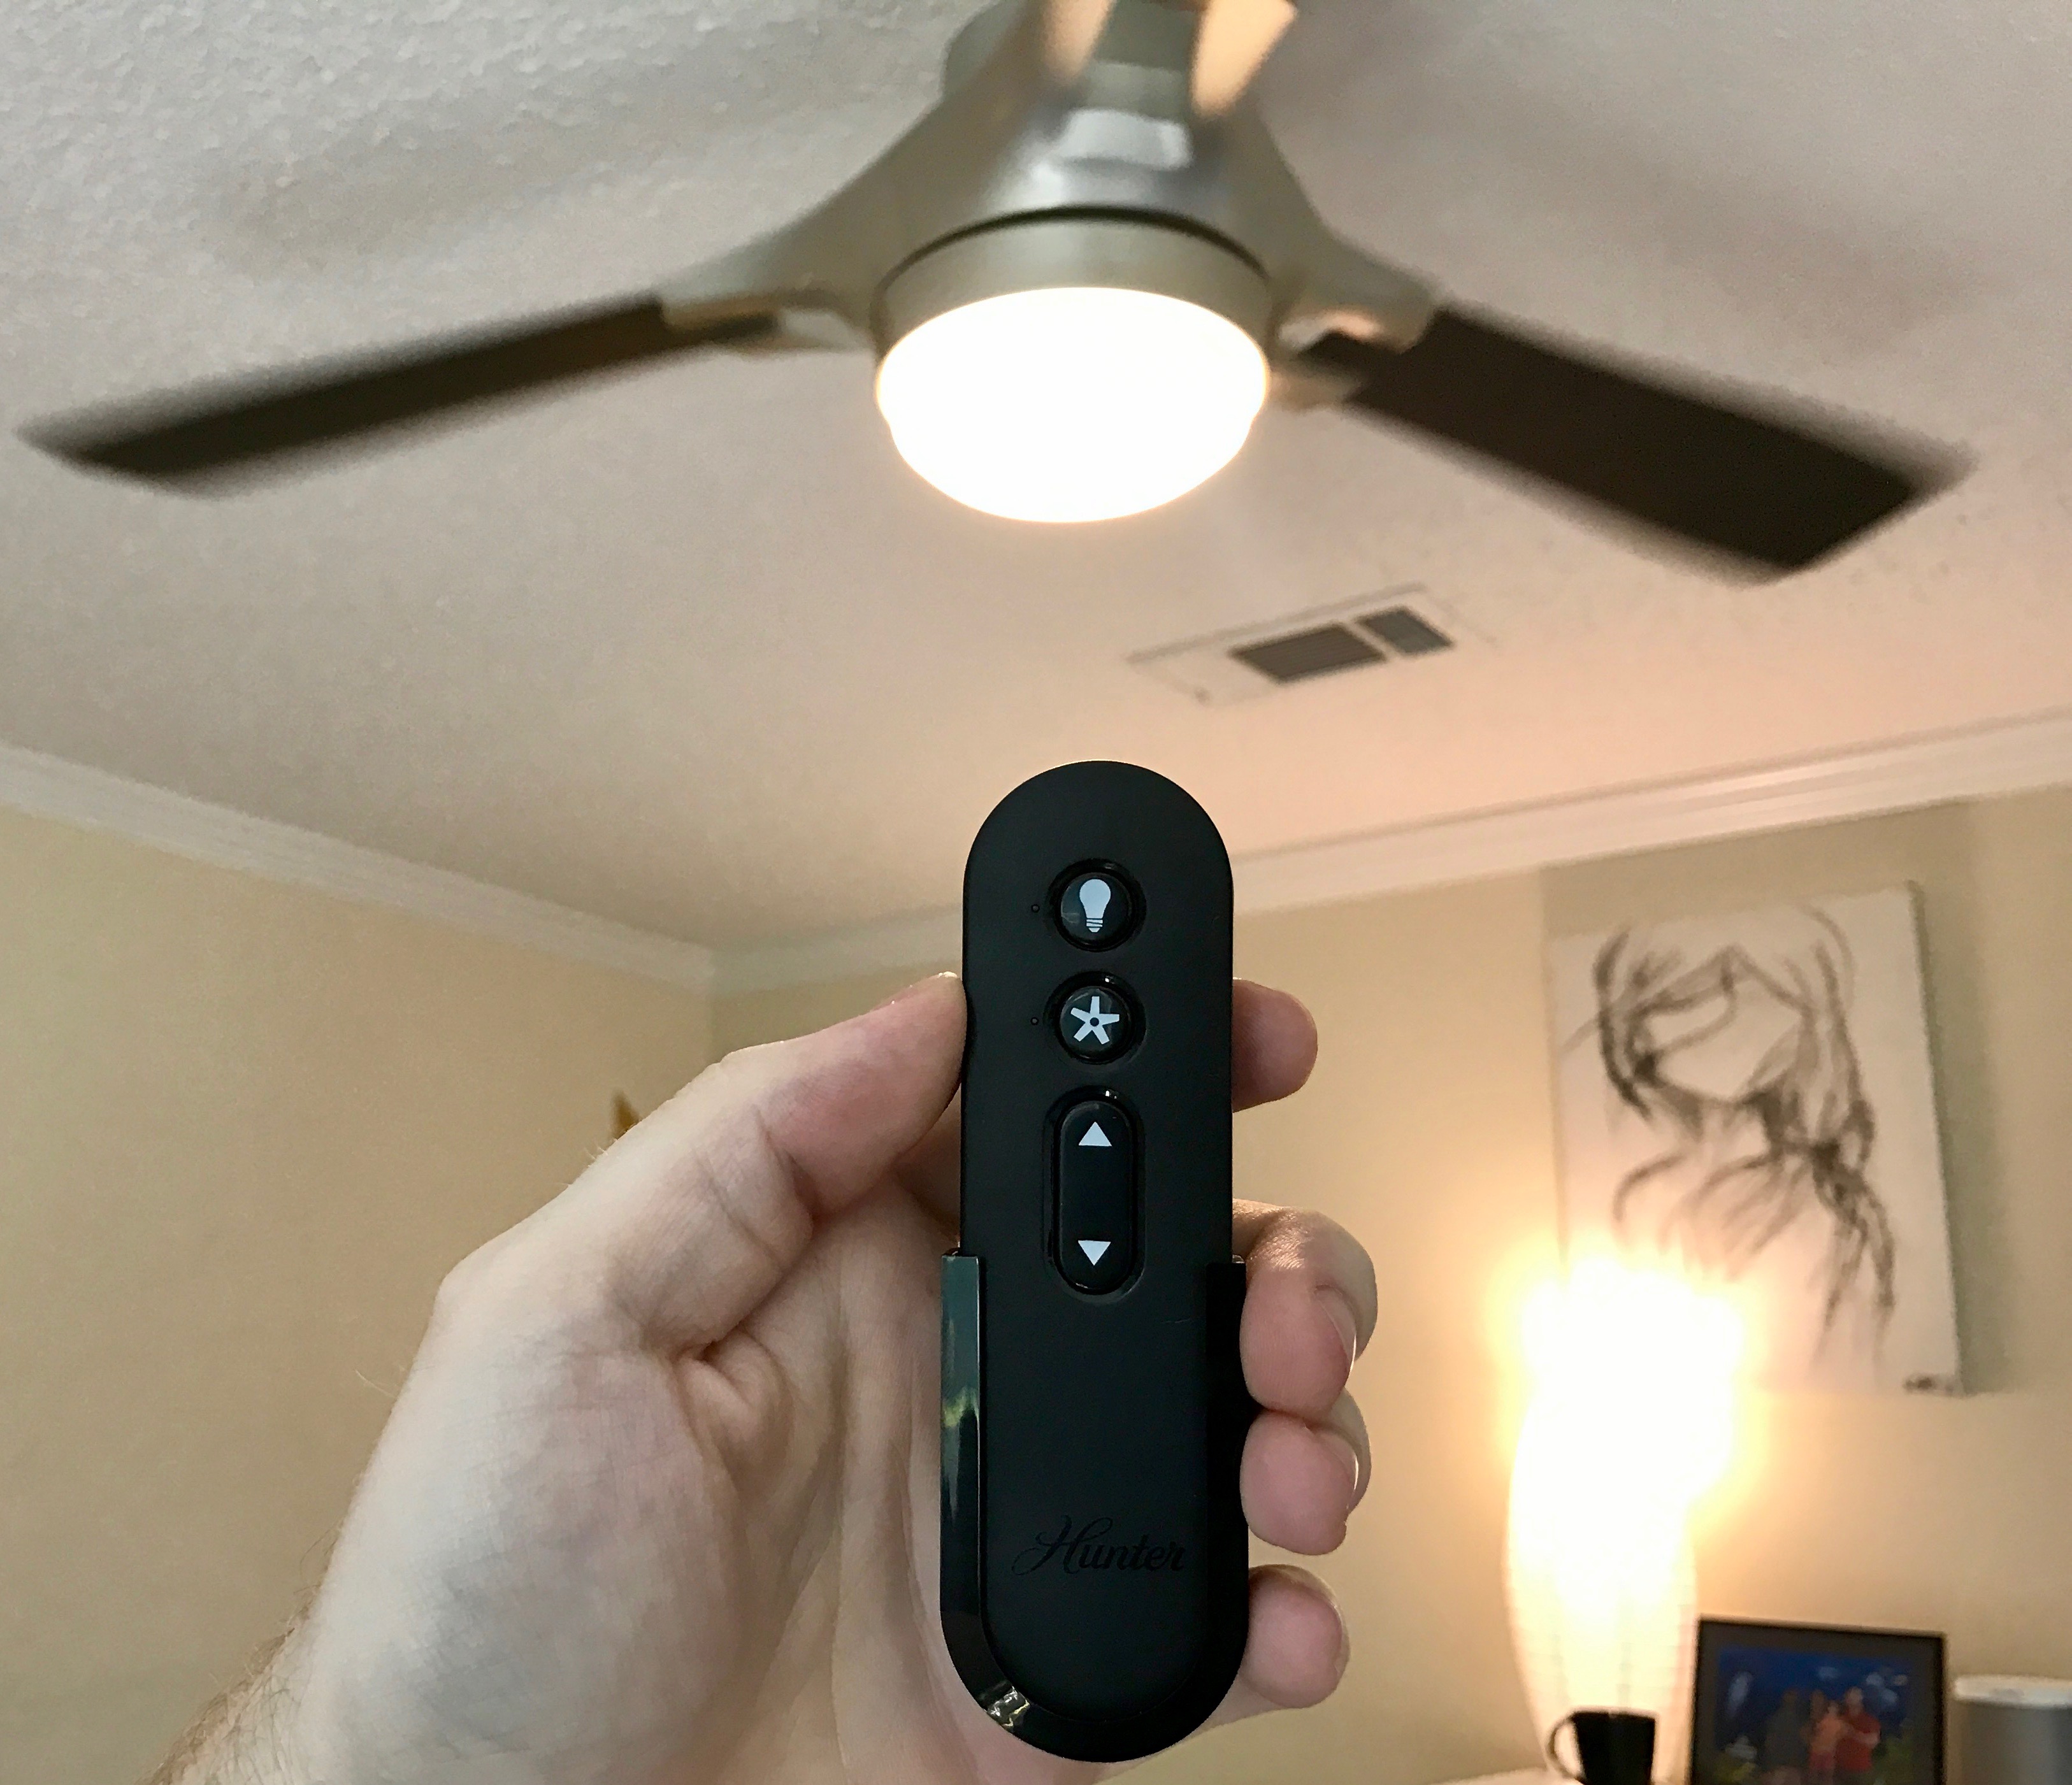
Once the power is restored, you can test the functionality of the remote by operating the fan’s speed, direction, and lighting using the remote control. Here are a few things to keep in mind while testing:
- Ensure that the remote is within the appropriate range for the signal to reach the fan.
- Pay attention to the responsiveness and accuracy of the remote’s controls.
- Check that the fan’s speed, direction, and lighting are adjusted according to the commands sent by the remote.
If the ceiling fan does not respond to the remote’s commands, double-check the DIP switch settings to ensure they match with the fan. Remember that some fans may require additional steps or programming procedures for pairing the remote with the fan.
Congratulations! You have successfully programmed your ceiling fan remote control. Enjoy the convenience and comfort of controlling your fan from a distance.
Remember, if you encounter any difficulties during the programming process, consult the manufacturer’s instructions or contact customer support for your specific ceiling fan model. They will be able to provide you with further assistance and guidance.
Now sit back, relax, and enjoy the cool breeze of your newly programmed ceiling fan!
Conclusion
Programing a ceiling fan remote may seem like a daunting task, but with the right guidance and tools, it can be a straightforward process. By following the steps outlined in this article, you can successfully program your ceiling fan remote and enjoy the convenience of controlling your fan from a distance.
Remember to gather all the necessary tools before you begin, turn off the power to ensure your safety, remove the remote’s cover to access the DIP switches, identify and set the DIP switches to the desired code, and replace the cover to protect the internal components. Finally, turn on the power and test the functionality of the remote.
While the steps provided are generally applicable to most ceiling fan remotes, it’s important to consult the manufacturer’s instructions or contact customer support for your specific fan model if you encounter any difficulties or have any questions during the programming process.
By programming your ceiling fan remote, you can effortlessly control the fan’s speed, direction, and lighting from the comfort of your couch or bed. This not only adds convenience to your daily life but also allows you to create a more comfortable living environment by optimizing the airflow in your home.
Now that you have completed the programming process, sit back, relax, and enjoy the cool breeze of your newly programmed ceiling fan!
Ready to take your home to the next level? If you've successfully programmed your ceiling fan remote, why not tackle installing a ceiling fan where only a light fixture was before? With clear guidelines, you can enhance your living space's comfort and style effortlessly. Also, consider stepping into the future with our guide to the best home automation systems for 2024. Embrace smart technology to make your home more efficient and life much easier.
Frequently Asked Questions about How To Program A Ceiling Fan Remote
Was this page helpful?
At Storables.com, we guarantee accurate and reliable information. Our content, validated by Expert Board Contributors, is crafted following stringent Editorial Policies. We're committed to providing you with well-researched, expert-backed insights for all your informational needs.
0 thoughts on “How To Program A Ceiling Fan Remote”