Articles
How To Properly Wind Up Your Electrical Cord
Modified: August 27, 2024
Learn the best techniques and steps for winding up your electrical cord properly with our comprehensive articles on cord management.
(Many of the links in this article redirect to a specific reviewed product. Your purchase of these products through affiliate links helps to generate commission for Storables.com, at no extra cost. Learn more)
Introduction
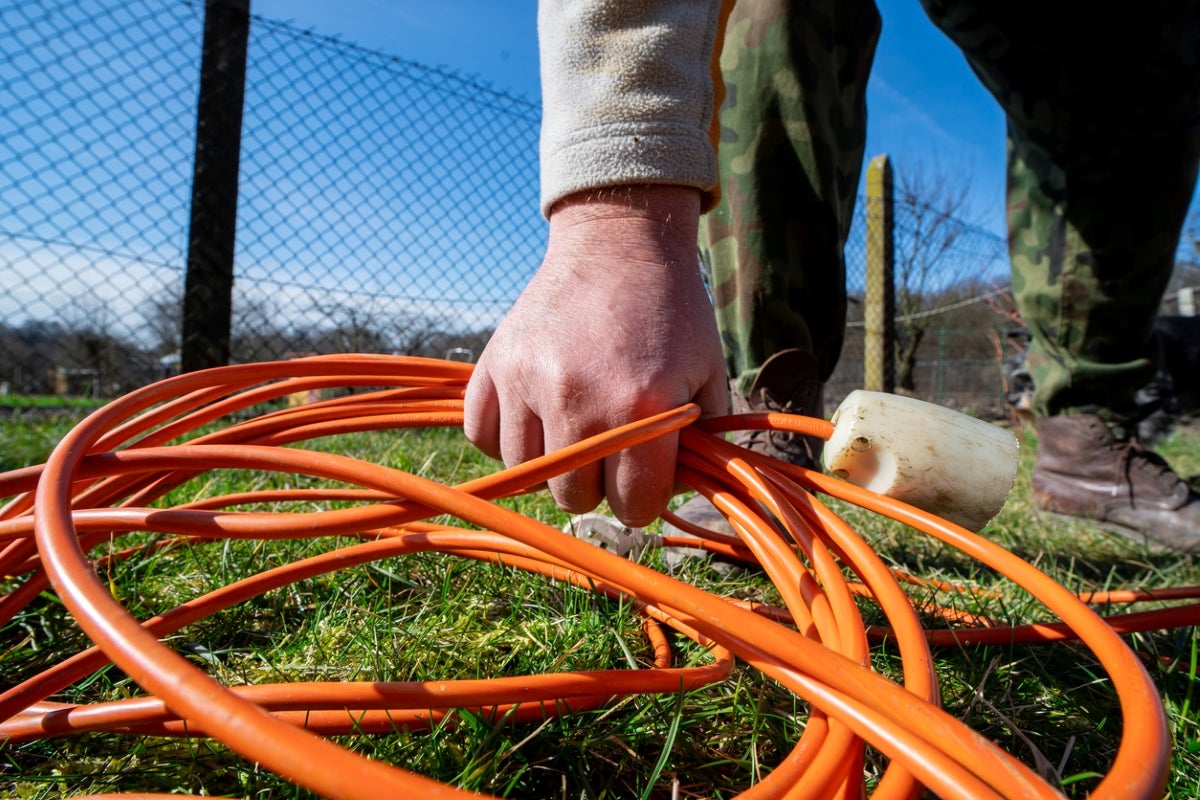
Have you ever found yourself frustrated with a tangled mess of electrical cords? Trying to untangle and wind up cords can be a time-consuming and frustrating task. However, with the right technique, you can easily wind up electrical cords in a neat and organized manner.
In this article, we will guide you through the step-by-step process of winding up electrical cords effectively. Whether it’s a power cord for your electronic devices, an extension cord for outdoor use, or any other type of electrical cord, following these steps will help you keep them neat and tangle-free.
By taking the time to properly wind up your electrical cords, you not only make them easier to store and transport but also extend their lifespan by preventing damage such as fraying or kinks. So, let’s dive in and learn how to wind up electrical cords like a pro!
Key Takeaways:
- Keep your electrical cords neat and tangle-free by following a step-by-step winding process. Properly securing the cords and repeating the process as needed will ensure an organized and clutter-free space.
- Invest a little time and effort into winding up your electrical cords to enjoy a clutter-free space, ease of transport, and extended cord lifespan. With the right technique, you can say goodbye to tangled messes and effortlessly wind up your cords in a neat and organized manner every time.
Read more: How To Wind An Electrical Cord In A Braid
Step 1: Gather the materials
Before you start winding up your electrical cord, it’s a good idea to gather all the necessary materials. This will ensure that you have everything you need to complete the task efficiently. Here are the materials you’ll need:
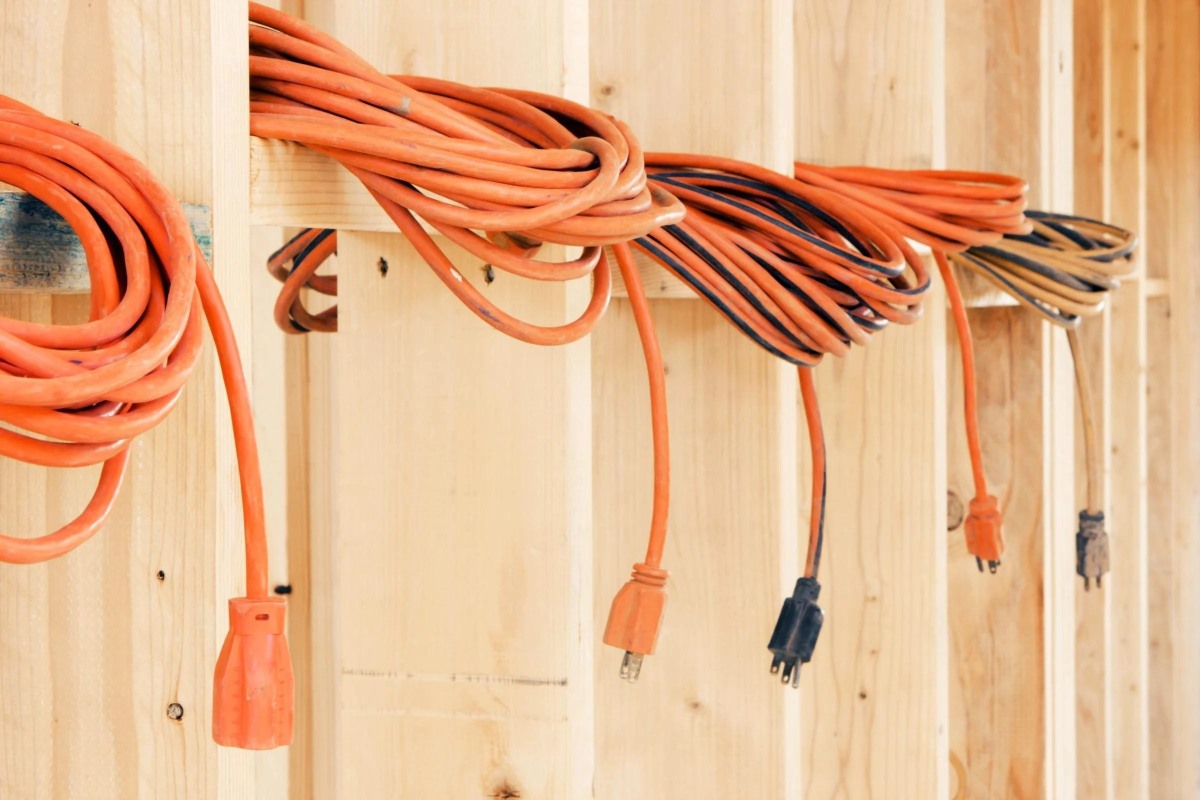
- Electrical cord: The cord that you want to wind up. This can be a power cord, extension cord, or any other type of electrical cord.
- Cable organizer or cord reel: You can use a cable organizer or a cord reel to keep your cords neatly stored. These are readily available at hardware stores or online.
- Velcro straps or twist ties: These are useful for securing the cords once they are wound up. Velcro straps are adjustable and easy to use, while twist ties are a more cost-effective option.
Once you have gathered these materials, you are ready to move on to the next step. Make sure to find a clean and open area where you can easily work without any obstructions. Let’s move on to untangling and straightening the cord.
Step 2: Untangle and straighten the cord
Before you start winding up the electrical cord, it’s important to ensure that it is free from tangles and straightened out. This will make the winding process much easier and ensure a neat and organized result.
Here’s how to untangle and straighten the cord:
- Inspect the cord: Start by examining the entire length of the cord. Look for any knots, kinks, or twists that may be causing it to tangle.
- Untangle knots: Using your fingers or a small tool, gently unravel any knots in the cord. Take your time and be careful not to pull too hard as this can damage the cord.
- Straighten out kinks: If there are any kinks in the cord, carefully straighten them out by running your hand along the length of the cord. You can also lightly tug on the cord to remove any small bends.
- Remove twists: If the cord has any twists in it, hold one end and slowly rotate the other end in the opposite direction to remove the twist. Continue this process until the entire cord is free from twists.
By taking the time to untangle and straighten the cord before winding it up, you will ensure a smoother winding process and avoid any further tangles or knots. Once the cord is untangled and straightened, you’re ready to move on to the next step: grasping the cord correctly.
Step 3: Grasp the cord correctly
Now that you have untangled and straightened the electrical cord, it’s time to grasp it correctly. Gripping the cord properly will give you better control and make the winding process easier.
Follow these steps to grasp the cord correctly:
- Find the midpoint: Locate the midpoint of the cord by folding it in half. This will help you create an evenly wound coil.
- Hold the midpoint: Once you have found the midpoint, place it in the palm of your non-dominant hand. Your fingers should be able to grasp the cord comfortably.
- Extend your dominant hand: With your dominant hand, hold the other end of the cord, allowing it to drape loosely.
By gripping the electrical cord correctly, you have better control over the winding process. This ensures that the cord is wound up neatly and avoids any unnecessary twists or tangles. Now that you have a firm grip on the cord, let’s move on to creating a loop in the next step.
Step 4: Create a loop
Creating a loop in the electrical cord is an essential step in winding it up properly. This loop will allow you to efficiently coil the cord without any knots or tangles.
Follow these steps to create a loop in the cord:
- Hold the midpoint: With the midpoint of the cord in the palm of your non-dominant hand, hold it firmly to maintain control.
- Use your dominant hand: With your dominant hand, grab the end of the cord that is draping loosely and bring it towards the midpoint in your non-dominant hand.
- Create the loop: Fold the cord over itself while keeping a firm grip on both ends. This will form a loop, with one end of the cord overlapping the other.
- Ensure a loose loop: Make sure that the loop is not too tight, as this can put unnecessary strain on the cord. Allow some slack to make it easier to wind up.
Creating a loop in the electrical cord sets the foundation for a neat and orderly winding process. Now that you have successfully created a loop, we can move on to looping the cord around in the next step.
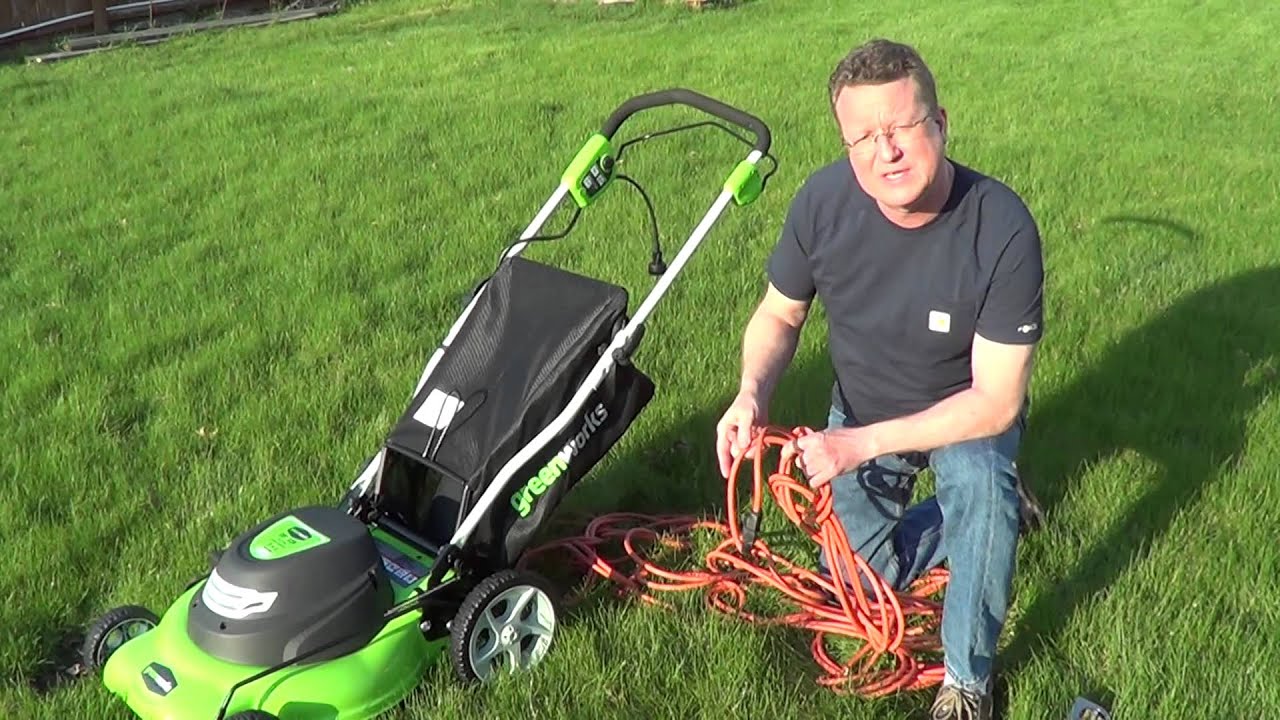
When winding up an electrical cord, start by holding the plug end in one hand and the other end in the other hand. Then, make large loops and avoid twisting the cord to prevent damage.
Read more: How To Wind An Extension Cord
Step 5: Loop the cord around
With the loop now created in the electrical cord, it’s time to start looping it around to form a tight and organized coil. This step is crucial in ensuring that the cord is neatly wound up and easy to store or transport.
Follow these steps to loop the cord around:
- Hold the loop: Maintain a firm grip on the looped section of the cord with your non-dominant hand.
- Use your dominant hand: With your dominant hand, take the end of the cord that is draping loosely and begin looping it around the looped section.
- Wrap it tightly: As you loop the cord around, make sure to wrap it tightly and close together. This will prevent any gaps or loose sections in the coil.
- Continue looping: Repeat the looping motion, gradually moving down the length of the cord. Maintain tension and keep it tight as you go.
- Avoid crossing over: Make sure to avoid crossing the cord over itself as you loop. This can cause tangles and make it difficult to unwind later.
As you continue looping the cord around, you will see a well-defined coil forming. Ensuring that the loops are tight and close together will result in a neat and organized appearance. Once the entire cord is looped around, we can move on to securing the cord in the next step.
Step 6: Secure the cord
After looping the electrical cord around, it is important to secure it to prevent it from unraveling and becoming tangled again. By properly securing the cord, you can ensure that it stays in place and remains neatly coiled.
Follow these steps to secure the cord:
- Hold the coiled cord: With one hand, maintain a firm grip on the coiled section of the cord.
- Wrap the securing material: Take a velcro strap or twist tie and wrap it around the middle or one end of the coiled cord. Make sure to wrap it tightly enough to hold the coils in place but not too tight to damage the cord.
- Secure it in place: Fasten the velcro strap or twist tie securely to keep the coils from unwinding. Double-check that it is firmly attached and that the cord is secure.
Securing the cord is an important step to maintain the integrity of the coil and keep it in place. The type of securing material you choose, such as a velcro strap or twist tie, will depend on your personal preference and availability. By properly securing the cord, you can store it without worrying about it unraveling or becoming tangled.
Step 7: Repeat as needed
Depending on the length of the electrical cord and your storage requirements, you may need to repeat the winding process multiple times. This step allows you to create additional coils and keep the cord organized.
Follow these steps to repeat the winding process:
- Release the secured cord: If you have already secured one coil with a velcro strap or twist tie, carefully release it to free the end of the cord.
- Repeat steps 3-6: Starting from the end of the cord, repeat steps 3 to 6 to create another loop, loop the cord around, and secure it.
- Continue as needed: Repeat the process of creating loops, looping around, and securing the cord until you have wound up the entire length of the cord.
By repeating the winding process, you can create multiple neat coils that are easy to handle, store, and transport. This step allows you to customize the length and size of each coil based on your specific needs.
Remember to secure each coil with a velcro strap or twist tie as you go along to keep them in place. Once you have completed all the necessary coils, your electrical cord will be neatly wound up and ready for storage.
Conclusion
Winding up electrical cords may seem like a simple task, but by following the proper technique, you can save time, prevent tangles, and keep your cords organized. The step-by-step process outlined in this article provides a clear guide to effectively wind up electrical cords.
By gathering the necessary materials, including the electrical cord, cable organizer or cord reel, and securing materials like velcro straps or twist ties, you are well-prepared for the task. Untangling and straightening the cord is crucial to ensure a smooth winding process without any snags or kinks.
Grasping the cord correctly, creating a loop, and looping the cord around tightly are essential steps that contribute to a neat and organized coil. Taking care to secure the cord with velcro straps or twist ties ensures that your hard work doesn’t go to waste.
Remember that the winding process can be repeated as needed to accommodate the length of the cord and your storage requirements. By following these steps consistently, you’ll be able to wind up electrical cords like a pro.
By investing a little time and effort into properly winding up your electrical cords, you can enjoy the benefits of a clutter-free space, ease of transport, and extended cord lifespan. Not only will you save yourself from the frustration of tangled cords, but you’ll also have a more efficient and well-organized work or living area.
Now that you have learned the art of winding up electrical cords, put your knowledge into practice and say goodbye to tangled messes. With a little practice, you’ll effortlessly wind up your cords in a neat and organized manner every time.
Frequently Asked Questions about How To Properly Wind Up Your Electrical Cord
Was this page helpful?
At Storables.com, we guarantee accurate and reliable information. Our content, validated by Expert Board Contributors, is crafted following stringent Editorial Policies. We're committed to providing you with well-researched, expert-backed insights for all your informational needs.


0 thoughts on “How To Properly Wind Up Your Electrical Cord”