Articles
How To Put Up Venetian Blinds
Modified: January 5, 2024
Learn step-by-step how to put up Venetian blinds with our informative articles. Gain insight on installation and improve your home decor.
(Many of the links in this article redirect to a specific reviewed product. Your purchase of these products through affiliate links helps to generate commission for Storables.com, at no extra cost. Learn more)
Introduction
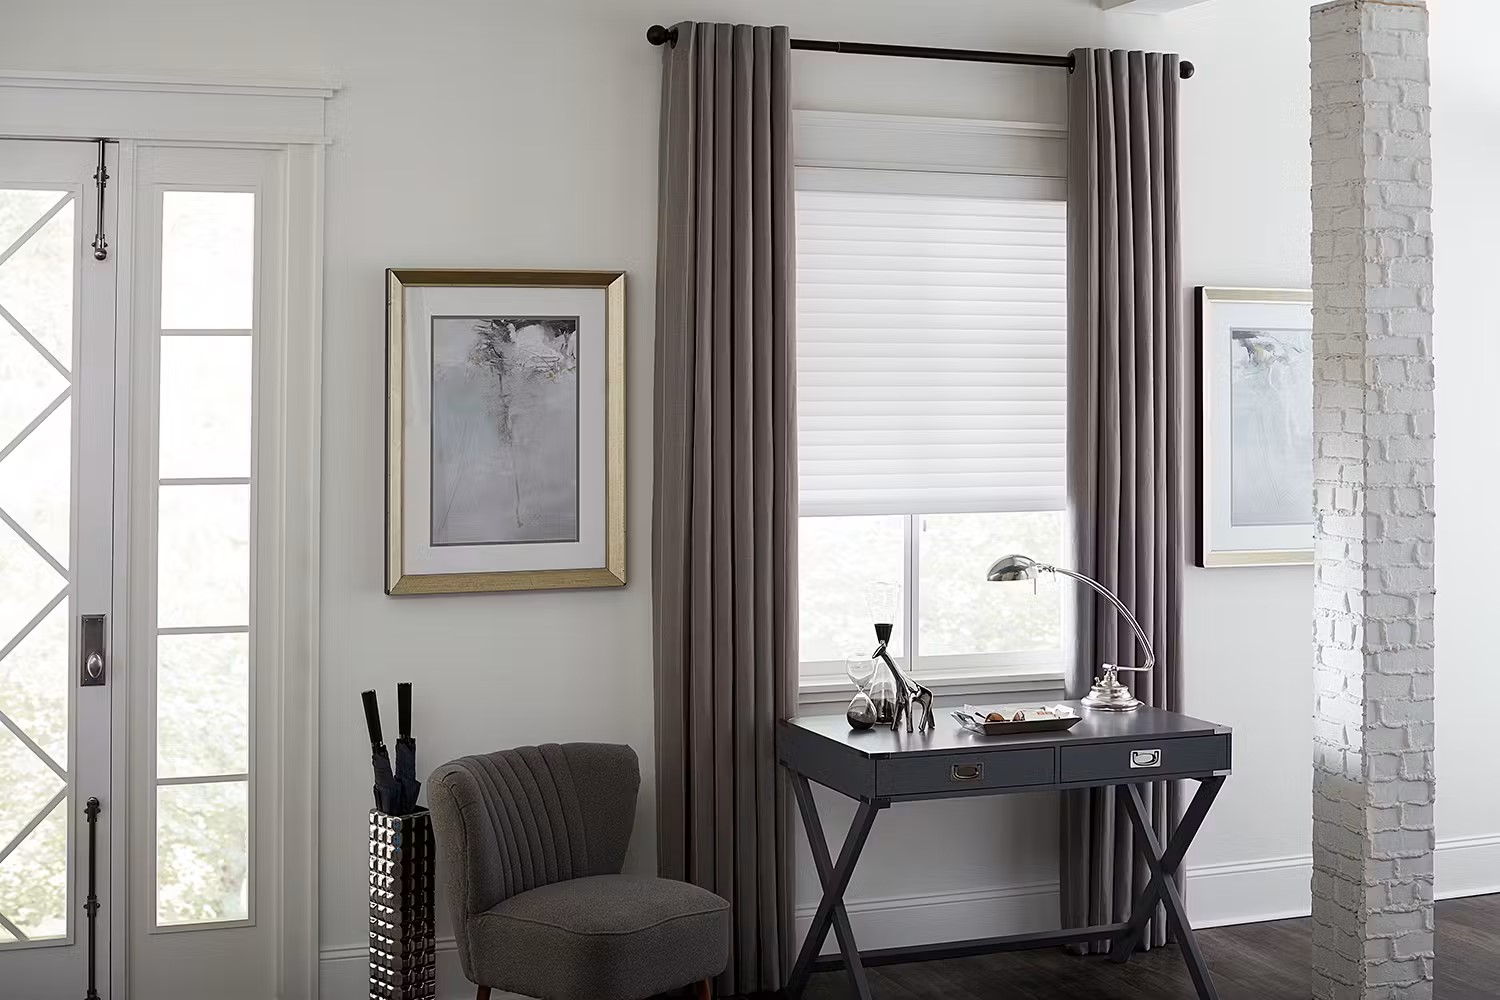
Installing Venetian blinds is a great way to enhance the privacy, control the amount of light entering a room, and add a touch of elegance to your windows. Whether you’re a seasoned DIY enthusiast or a complete beginner, putting up Venetian blinds can be a straightforward and rewarding project.
In this article, we will guide you through the step-by-step process of installing Venetian blinds, from measuring your window to adjusting the controls for optimal functionality. We’ll also provide some helpful maintenance tips to ensure your blinds stay in excellent condition.
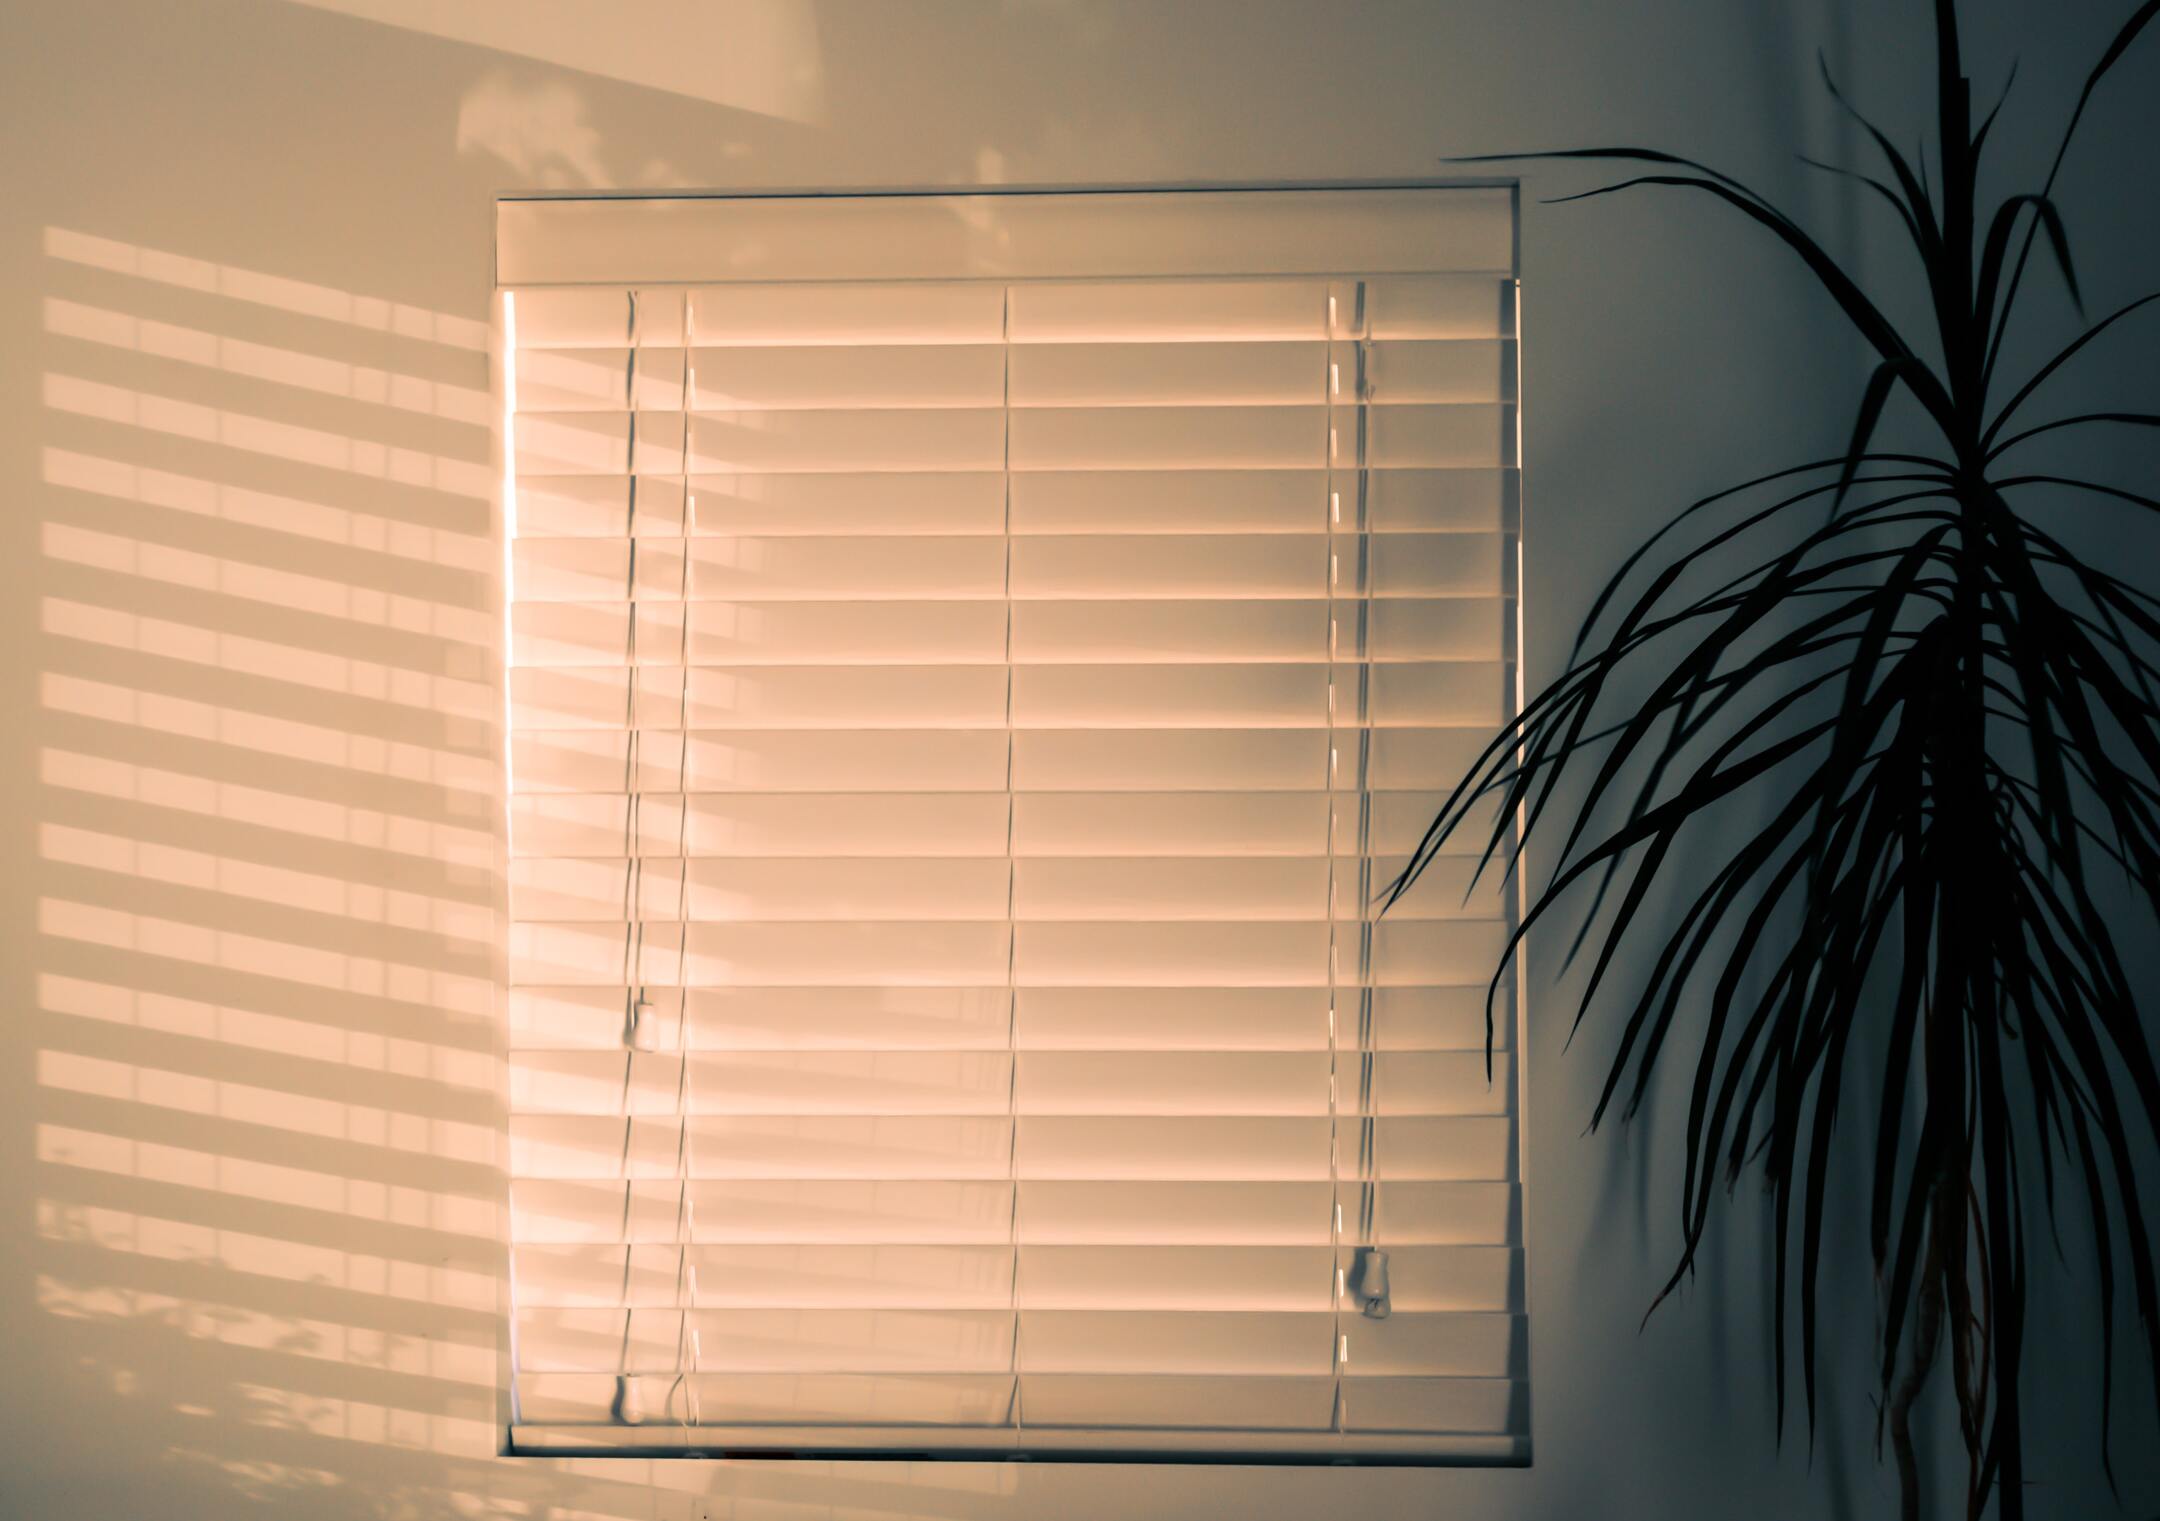
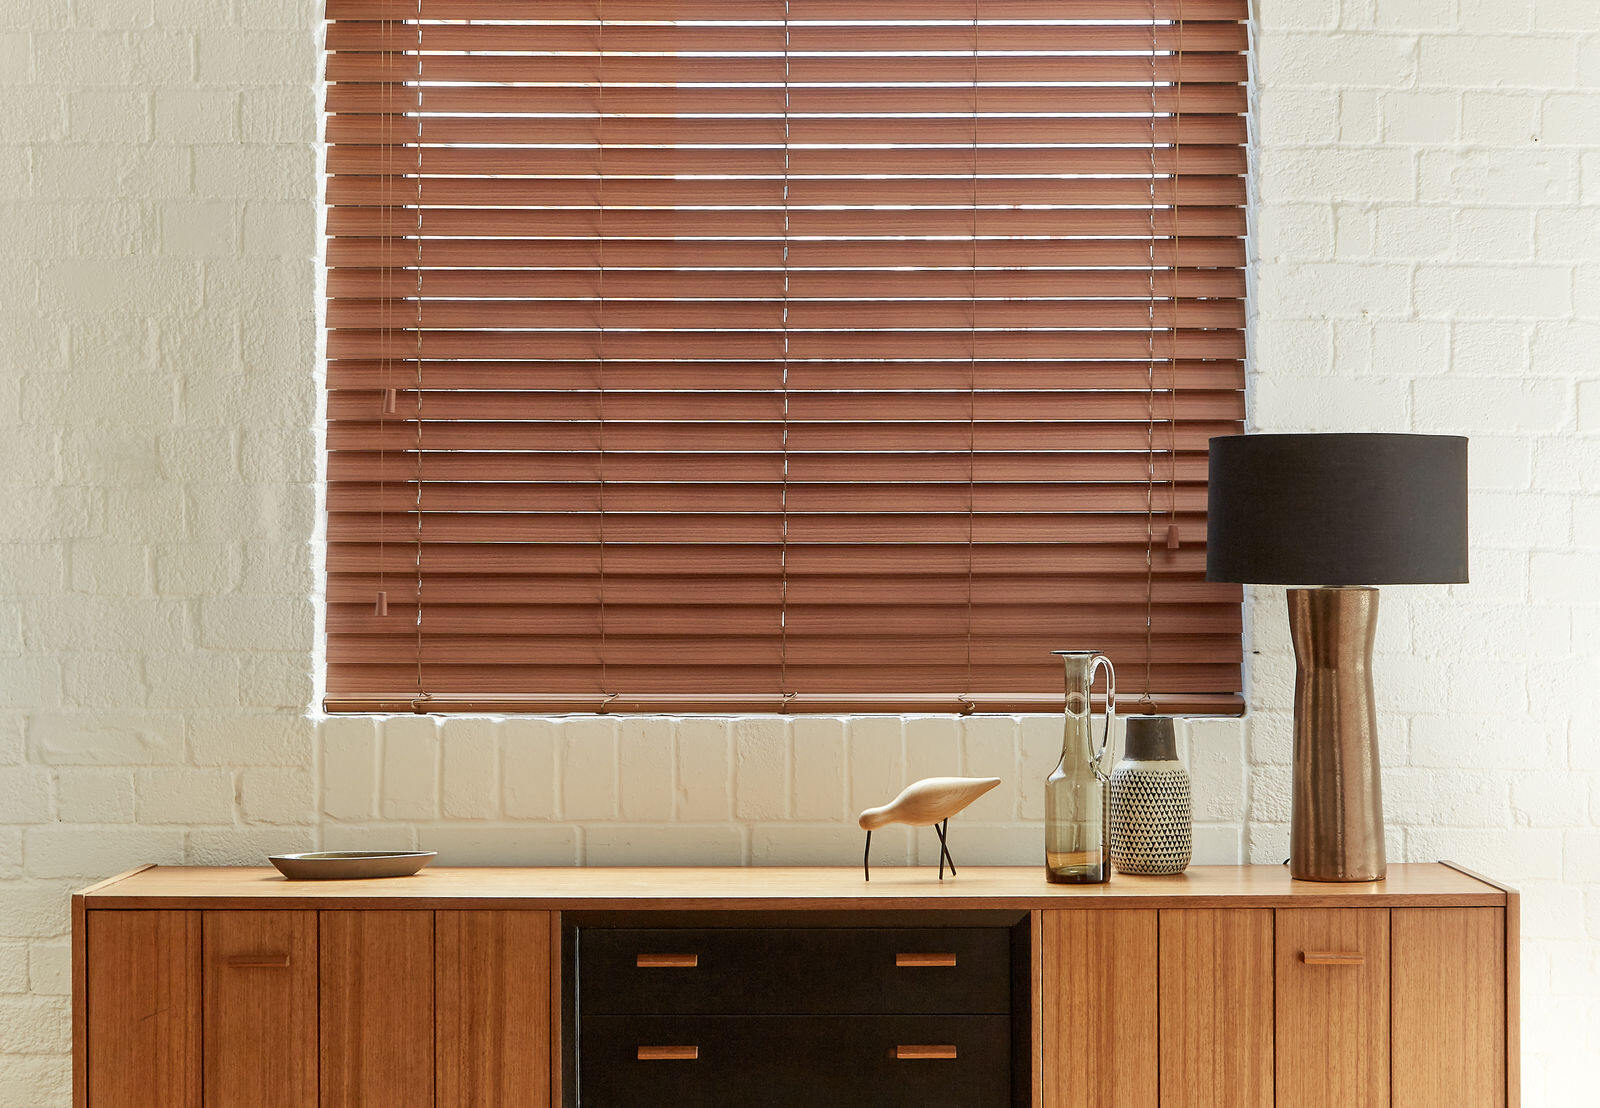
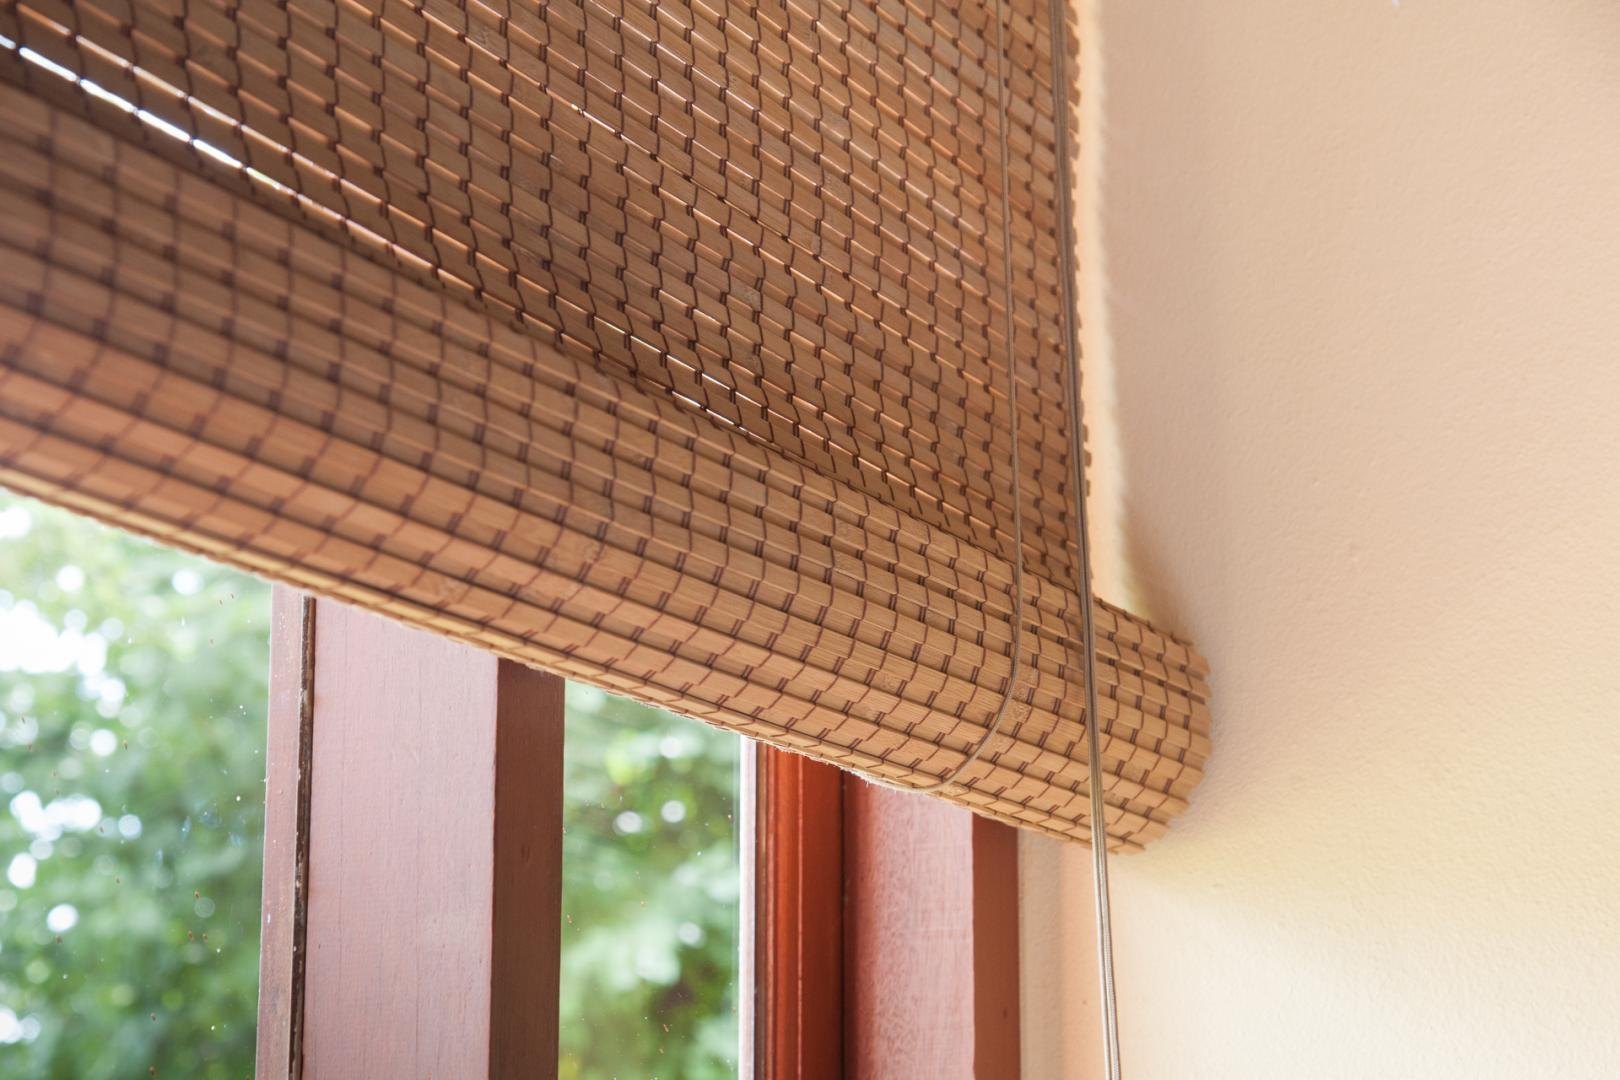
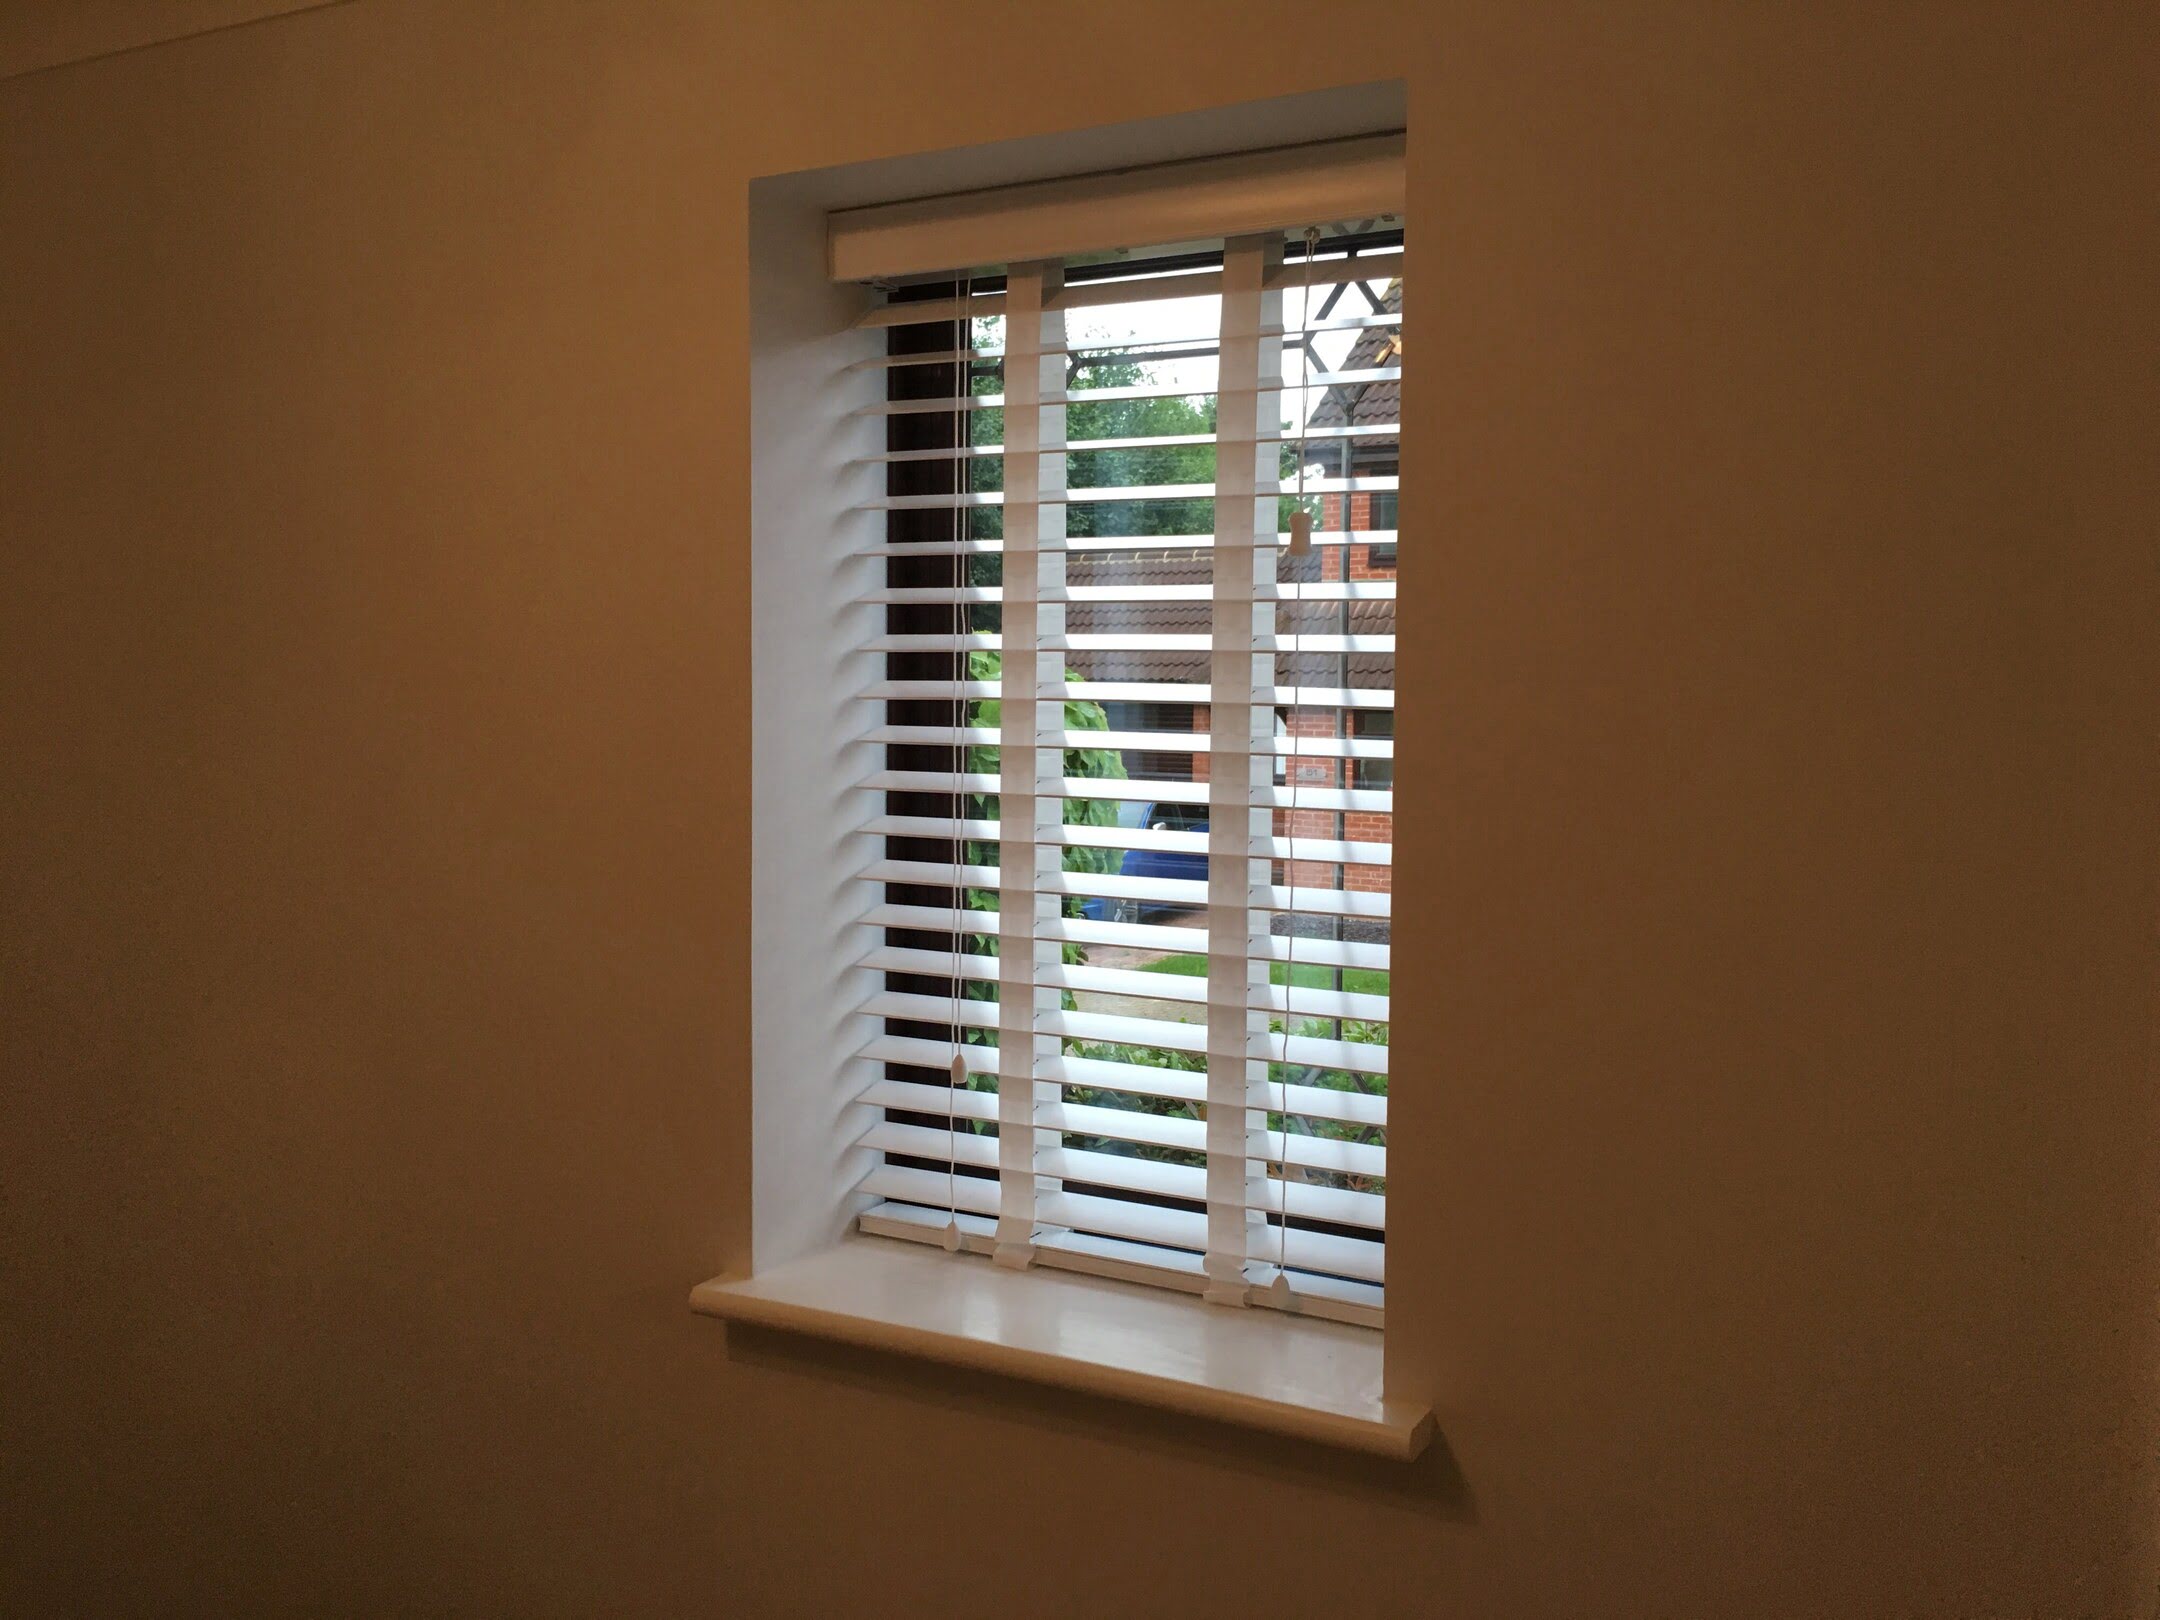
Before we dive into the details, let’s briefly discuss what Venetian blinds are. Venetian blinds consist of horizontal slats that can be tilted open or closed to allow or block light. They are typically made of materials such as wood, aluminum, or vinyl and come in various sizes and colors to suit different interior styles.
Now that you have a basic understanding of Venetian blinds let’s get started with the installation process.
Key Takeaways:
- Installing Venetian blinds is a straightforward DIY project that enhances privacy and adds elegance to your windows. Accurate measurements, proper tool gathering, and careful installation are key to success.
- After installation, testing the blinds for smooth operation and implementing maintenance tips ensures long-lasting functionality and aesthetic appeal. Enjoy the benefits of light control and privacy with your new Venetian blinds!
Read more: What Are Venetian Blinds
Step 1: Measure the window
The first step in installing Venetian blinds is to accurately measure the window where you plan to install them. This ensures that you purchase blinds of the correct size and allows for a precise fit. Follow these steps to measure your window:
- Start by measuring the width of the window frame. Use a tape measure to measure the distance between the inner edges of the frame or the desired width if you want the blinds to extend beyond the frame.
- Next, measure the height of the window from the top of the frame to the bottom. Again, take the measurement from the inside edges of the frame or the desired height if you want the blinds to hang above or below the frame.
- If your window is recessed or has an irregular shape, measure the depth of the recess to ensure that the blinds will fit properly.
- Take note of your measurements and double-check them to ensure accuracy before purchasing your Venetian blinds.
It’s important to measure each window individually, even if they appear to be the same size. Variations in window dimensions are common, and taking precise measurements will save you from buying blinds that are too big or too small. Remember to measure both the width and height of each window you plan to install blinds on.
Once you have your measurements, you can proceed to the next step of gathering the necessary tools and materials.
Step 2: Gather the necessary tools and materials
Before you begin the installation process, it’s essential to gather all the tools and materials you’ll need. Having everything prepared beforehand will make the installation easier and more efficient. Here’s a list of the tools and materials you’ll need:
- Venetian blinds: Make sure you have the correct size and type of blinds for your window.
- Brackets: These are the hardware pieces that hold the blinds in place. Check if the brackets come with the blinds or if you need to purchase them separately.
- Screws: You’ll need screws to secure the brackets to the window frame or wall.
- Drill or screwdriver: Use a drill or screwdriver to insert the screws into the brackets.
- Tape measure: This tool is essential for measuring the window and ensuring a proper fit.
- Pencil: Use a pencil to mark the positions where the brackets will be installed.
- Level: A level will help you ensure that the blinds are straight and properly aligned.
- Step ladder: Depending on the height of your window, you may need a step ladder to reach the top.
- Optional: Additional hardware or mounting accessories may be required for specific window types or installations. Check the instructions provided with your blinds.
Once you have gathered all the necessary tools and materials, you are ready to move on to the next step: installing the brackets.
Step 3: Install the brackets
Installing the brackets is a crucial step in the process of putting up Venetian blinds. The brackets serve as the foundation for the blinds, ensuring stability and proper functioning. Follow these steps to install the brackets:
- Start by positioning the brackets. Hold one bracket against the top left corner or the desired placement on the inside of the window frame. Use a pencil to mark the screw holes on the frame.
- Repeat the process for the top right corner or the corresponding spot on the opposite side of the window. Make sure the brackets are aligned horizontally.
- If you’re mounting the blinds outside the window frame, position the brackets accordingly on the wall above the window. Ensure that they are level and at the desired height.
- Drill pilot holes at the marked spots. Use a drill bit slightly smaller than the screws. This will prevent the wood or wall from splitting during installation.
- Attach the brackets to the window frame or wall using screws. Ensure that they are firmly fixed in place.
- If your blinds have a center support bracket, follow the same process for its installation. This bracket provides extra support and prevents the blinds from sagging in the middle.
- Double-check the alignment and stability of the brackets. They should be level, evenly spaced, and securely fastened.
Remember to refer to the specific instructions provided by the manufacturer of your Venetian blinds. These instructions may vary depending on the type and design of the blinds you have.
Once the brackets are installed, you’re ready to move on to the next step: attaching the blinds to the brackets.
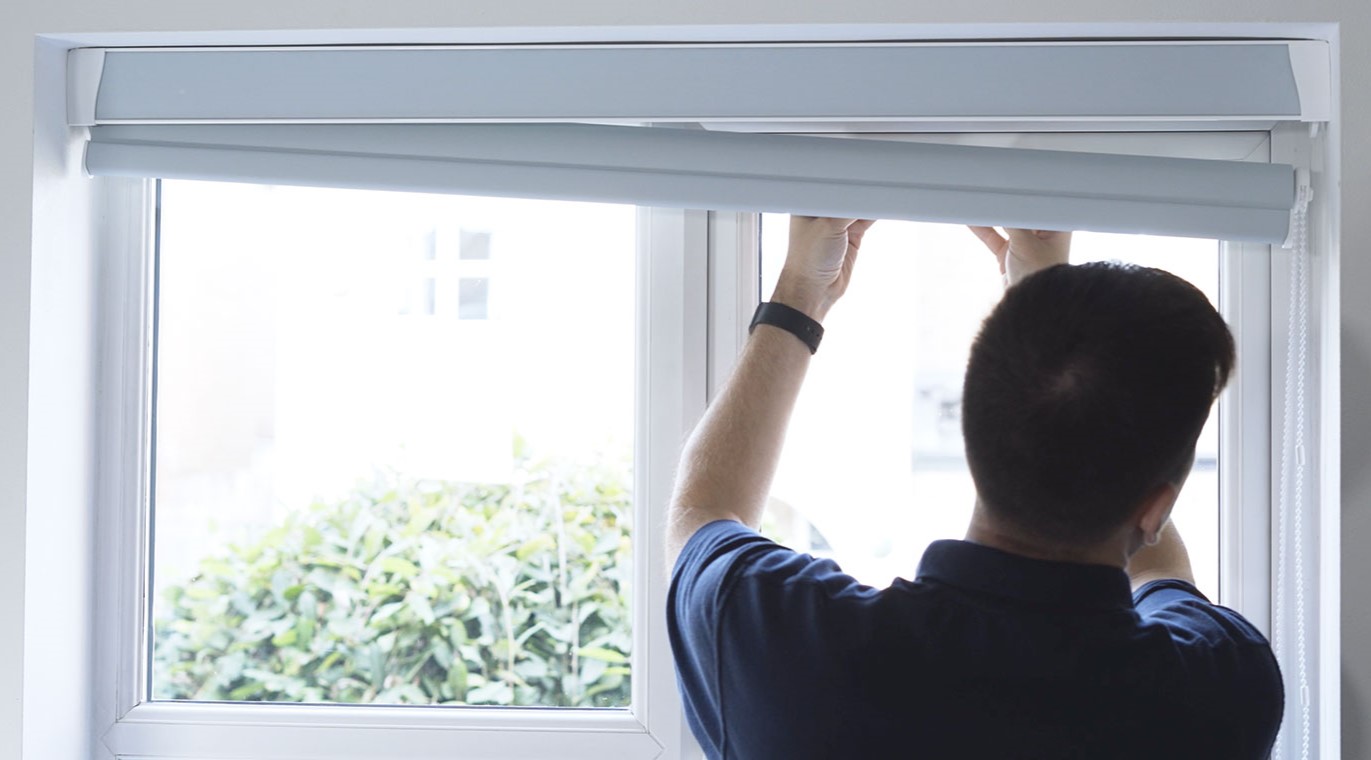
Step 4: Attach the blinds to the brackets
With the brackets securely installed, it’s now time to attach the Venetian blinds. Properly attaching the blinds to the brackets ensures that they are held in place and allows for smooth operation. Follow these steps to attach the blinds:
- Hold the headrail of the blinds and align it with the installed brackets.
- Insert the front lip of the headrail into the corresponding front groove on the bracket. Ensure that it is securely seated.
- Push or snap the back side of the headrail into the back groove of the bracket. You may need to apply a bit of pressure to lock it in place.
- Once the blinds are attached to the brackets, gently tug on the bottom rail to make sure they are secure and properly aligned.
- For blinds with a center support bracket, repeat the process of attaching the headrail to the bracket.
- Double-check that all blinds slats are aligned and hanging straight. If needed, adjust the blinds by gently twisting or tilting them as necessary.
Take care not to force the blinds into place or handle them roughly, as this may cause damage. Make sure that the blinds are securely attached and able to move freely within the brackets.
Once the blinds are properly attached, you can move on to the next step: adjusting the tilt and lift controls for optimal functionality.
When installing Venetian blinds, make sure to measure the window accurately before purchasing the blinds to ensure a perfect fit.
Read more: How To Put Up Blinds With Brackets
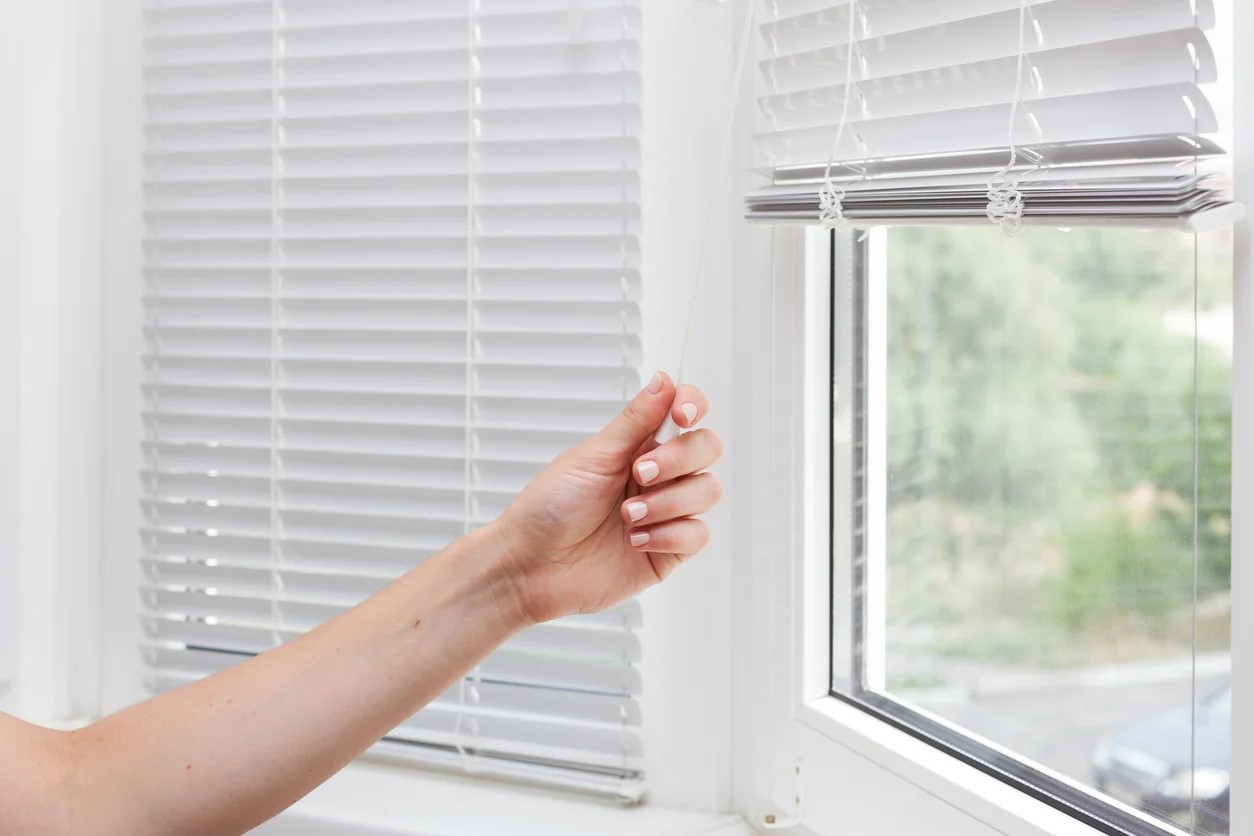
Step 5: Adjust the tilt and lift controls
Adjusting the tilt and lift controls of your Venetian blinds is essential to control the amount of light and privacy in the room. Properly adjusting these controls ensures that you can enjoy the benefits of your blinds to the fullest. Follow these steps to adjust the tilt and lift controls:
- Locate the tilt control wand or rod. This is usually found on the left or right side of the blinds’ headrail.
- To tilt the slats open, rotate the tilt control wand or rod in the desired direction. This allows light to enter the room while maintaining privacy.
- To close the slats and block out light, rotate the tilt control wand or rod in the opposite direction.
- Experiment with the tilt control to find the angle that suits your preferences and lighting needs.
- To raise or lower the blinds, locate the lift control cord or wand.
- Pull the lift control cord downward to lower the blinds. To raise them, gently pull the cord towards the center of the blinds and release it.
- Adjust the blinds to your desired height and ensure that they are evenly balanced.
- Test the tilt and lift controls a few times to ensure smooth and effortless operation. If you encounter any difficulties, double-check the installation and make any necessary adjustments.
It’s important to handle the tilt and lift controls with care to prevent any damage to the blinds or the mechanism. Avoid pulling or twisting them aggressively, as this may cause the blinds to become misaligned or inoperative.
Once you have adjusted the tilt and lift controls to your satisfaction, you’re ready to move on to the next step: testing the blinds for proper functioning.
Step 6: Test the blinds for proper functioning
Testing the blinds for proper functioning is an important step to ensure that they operate smoothly and effectively. By thoroughly testing your Venetian blinds, you can address any potential issues or adjustments needed before finishing the installation process. Follow these steps to test your blinds:
- Operate the tilt control to open and close the slats. Ensure that the slats move smoothly and evenly without getting stuck or misaligned.
- Check the lift control to raise and lower the blinds. Ensure that the blinds move up and down effortlessly and remain at the desired height without slipping.
- Observe the blinds as they move throughout the range of motion. Make sure that they do not sag or tilt to one side and that the bottom rail remains level.
- Test the blinds at different angles of tilt to ensure they maintain stability and proper functionality.
- If you have multiple blinds in a single window or across multiple windows, test each blind individually to ensure consistent performance.
- Listen for any unusual noises or squeaking during operation. While some minor sounds may be normal, excessive noise could indicate a problem that needs attention.
- If you encounter any issues or notice any irregularities during testing, consult the manufacturer’s instructions or seek professional assistance to address the problem.
Testing the blinds not only ensures their proper functioning but also allows you to familiarize yourself with their operation. By addressing any potential issues in the early stages, you can avoid future complications and enjoy long-lasting functionality from your Venetian blinds.
Once you are satisfied with the functionality of the blinds, you can proceed to the final step: adding final touches and considering maintenance tips.
Step 7: Final touches and maintenance tips
After installing and testing your Venetian blinds, there are a few final touches you can add to enhance their appearance and ensure their longevity. Additionally, practicing regular maintenance will help keep your blinds in optimal condition. Follow these final touches and maintenance tips:
- Trim the excess lift cords. If the lift cords are too long, you can trim them to a more manageable length. Be sure to leave a sufficient amount for easy use but avoid excessive cord length, which may pose a safety hazard.
- Adjust the slat angle for optimal lighting. Tweak the slat angle to control the amount of sunlight entering the room. Experimenting with different angles can help you find the perfect balance between natural light and privacy.
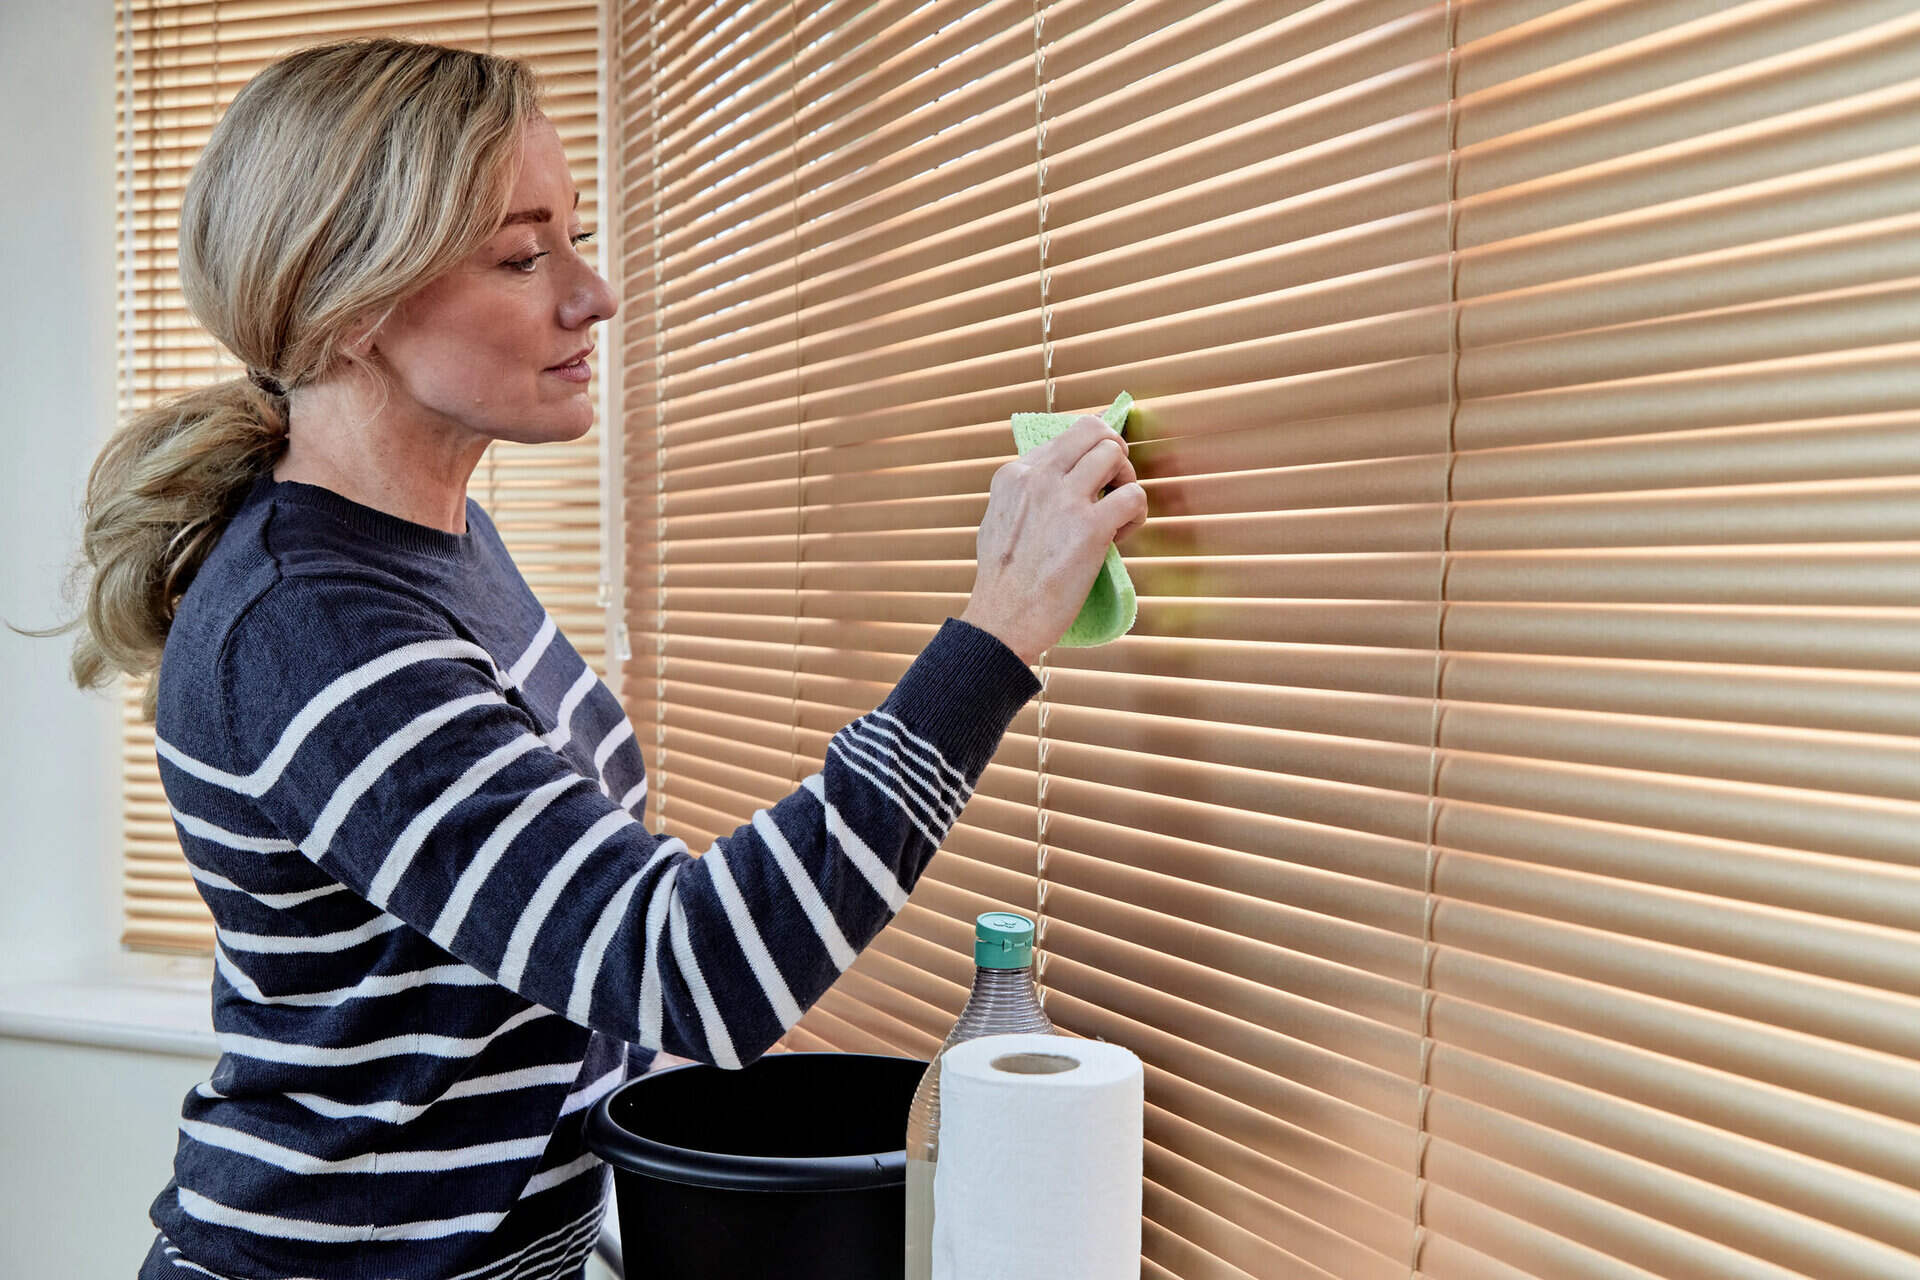
- Dust regularly. Use a soft cloth or duster to remove dust from the blinds. Regular dusting prevents build-up and keeps the blinds looking clean and fresh.
- Clean stains and spills. For stubborn stains or spills, gently wipe the affected area with a damp cloth or use a mild cleaning solution recommended by the manufacturer. Avoid using harsh chemicals or abrasive cleaning tools that may damage the blinds.
- Avoid excessive force. Handle the blinds with care during operation. Avoid yanking on the cords or slats, as this may cause damage to the blinds or the mechanism.
- Inspect and tighten screws. Periodically check the brackets and other hardware for any loose screws. Tighten them as necessary to maintain the stability of the blinds.
- Consider professional help for complex installations or repairs. If you are unsure or uncomfortable with any aspect of installation or maintenance, it’s best to seek assistance from a professional blinds installer or repair service.
- Follow the manufacturer’s guidelines. Always refer to the specific instructions provided by the manufacturer for installation, operation, and maintenance. These guidelines are tailored to the specific type and design of your Venetian blinds.
By following these final touches and maintenance tips, you can prolong the lifespan of your Venetian blinds and ensure their continued functionality and aesthetic appeal.
Congratulations! You have successfully completed the installation and maintenance of your Venetian blinds. Enjoy the privacy, light control, and enhanced beauty that they bring to your living space.
Remember to consult the manufacturer’s instructions for any specific recommendations or considerations related to your particular blinds. Happy blind installation!
Conclusion
Installing Venetian blinds can be a rewarding and relatively simple DIY project that allows you to control light, privacy, and add a touch of sophistication to your windows. By following the step-by-step process outlined in this article, you can successfully install your Venetian blinds and enjoy their benefits.
Starting with accurate measurements of your window, gathering the necessary tools and materials, and installing the brackets, you lay a solid foundation for a successful installation. Attaching the blinds to the brackets and adjusting the tilt and lift controls ensures proper functioning and customization according to your preferences.
Before considering the installation process complete, it’s important to thoroughly test the blinds for smooth operation and address any potential issues. Taking care of final touches, such as trimming excess cords and regular maintenance, helps keep your blinds in excellent shape and prolongs their lifespan.
Remember to consult the manufacturer’s instructions for specific guidelines related to your Venetian blinds, as different models may have unique requirements.
Now that you have successfully installed and maintained your Venetian blinds, you can enjoy the benefits they provide. Control the amount of sunlight entering your space, enhance privacy, and add a stylish element to your windows.
We hope this guide has been helpful in guiding you through the installation process and providing valuable tips for proper maintenance. Enjoy the comfort and beauty of your new Venetian blinds!
Frequently Asked Questions about How To Put Up Venetian Blinds
Was this page helpful?
At Storables.com, we guarantee accurate and reliable information. Our content, validated by Expert Board Contributors, is crafted following stringent Editorial Policies. We're committed to providing you with well-researched, expert-backed insights for all your informational needs.