
Articles
How To Read A Laser Level Rod
Modified: October 20, 2024
Learn how to read a laser level rod accurately with this informative article. Gain the necessary knowledge and skills to use a laser level effectively.
(Many of the links in this article redirect to a specific reviewed product. Your purchase of these products through affiliate links helps to generate commission for Storables.com, at no extra cost. Learn more)
Introduction
Whether you are in the construction industry or simply an avid DIY enthusiast, having a clear understanding of how to read a laser level rod is essential for accurate measurements. Laser levels have revolutionized the way we measure and mark distances, providing a precise and efficient method for ensuring level surfaces and straight lines. However, without the proper knowledge of how to interpret the measurements on a laser level rod, the device can become cumbersome and confusing.
In this article, we will guide you through the process of reading a laser level rod and provide useful tips to obtain accurate measurements. Understanding the components of a laser level rod, preparing it for readings, and knowing how to handle it properly are crucial steps in obtaining precise results. So, let’s dive in and explore the world of laser level rods!
Key Takeaways:
- Mastering the art of reading a laser level rod is crucial for accurate measurements in construction and DIY projects. Understanding the components, proper handling, and avoiding common mistakes are key to achieving precise results.
- By familiarizing yourself with the components of a laser level rod, preparing it meticulously, and handling it with care, you can ensure accurate readings and successful outcomes for your projects. Avoiding common mistakes and following essential tips will enhance the accuracy of your measurements.
Understanding Laser Levels
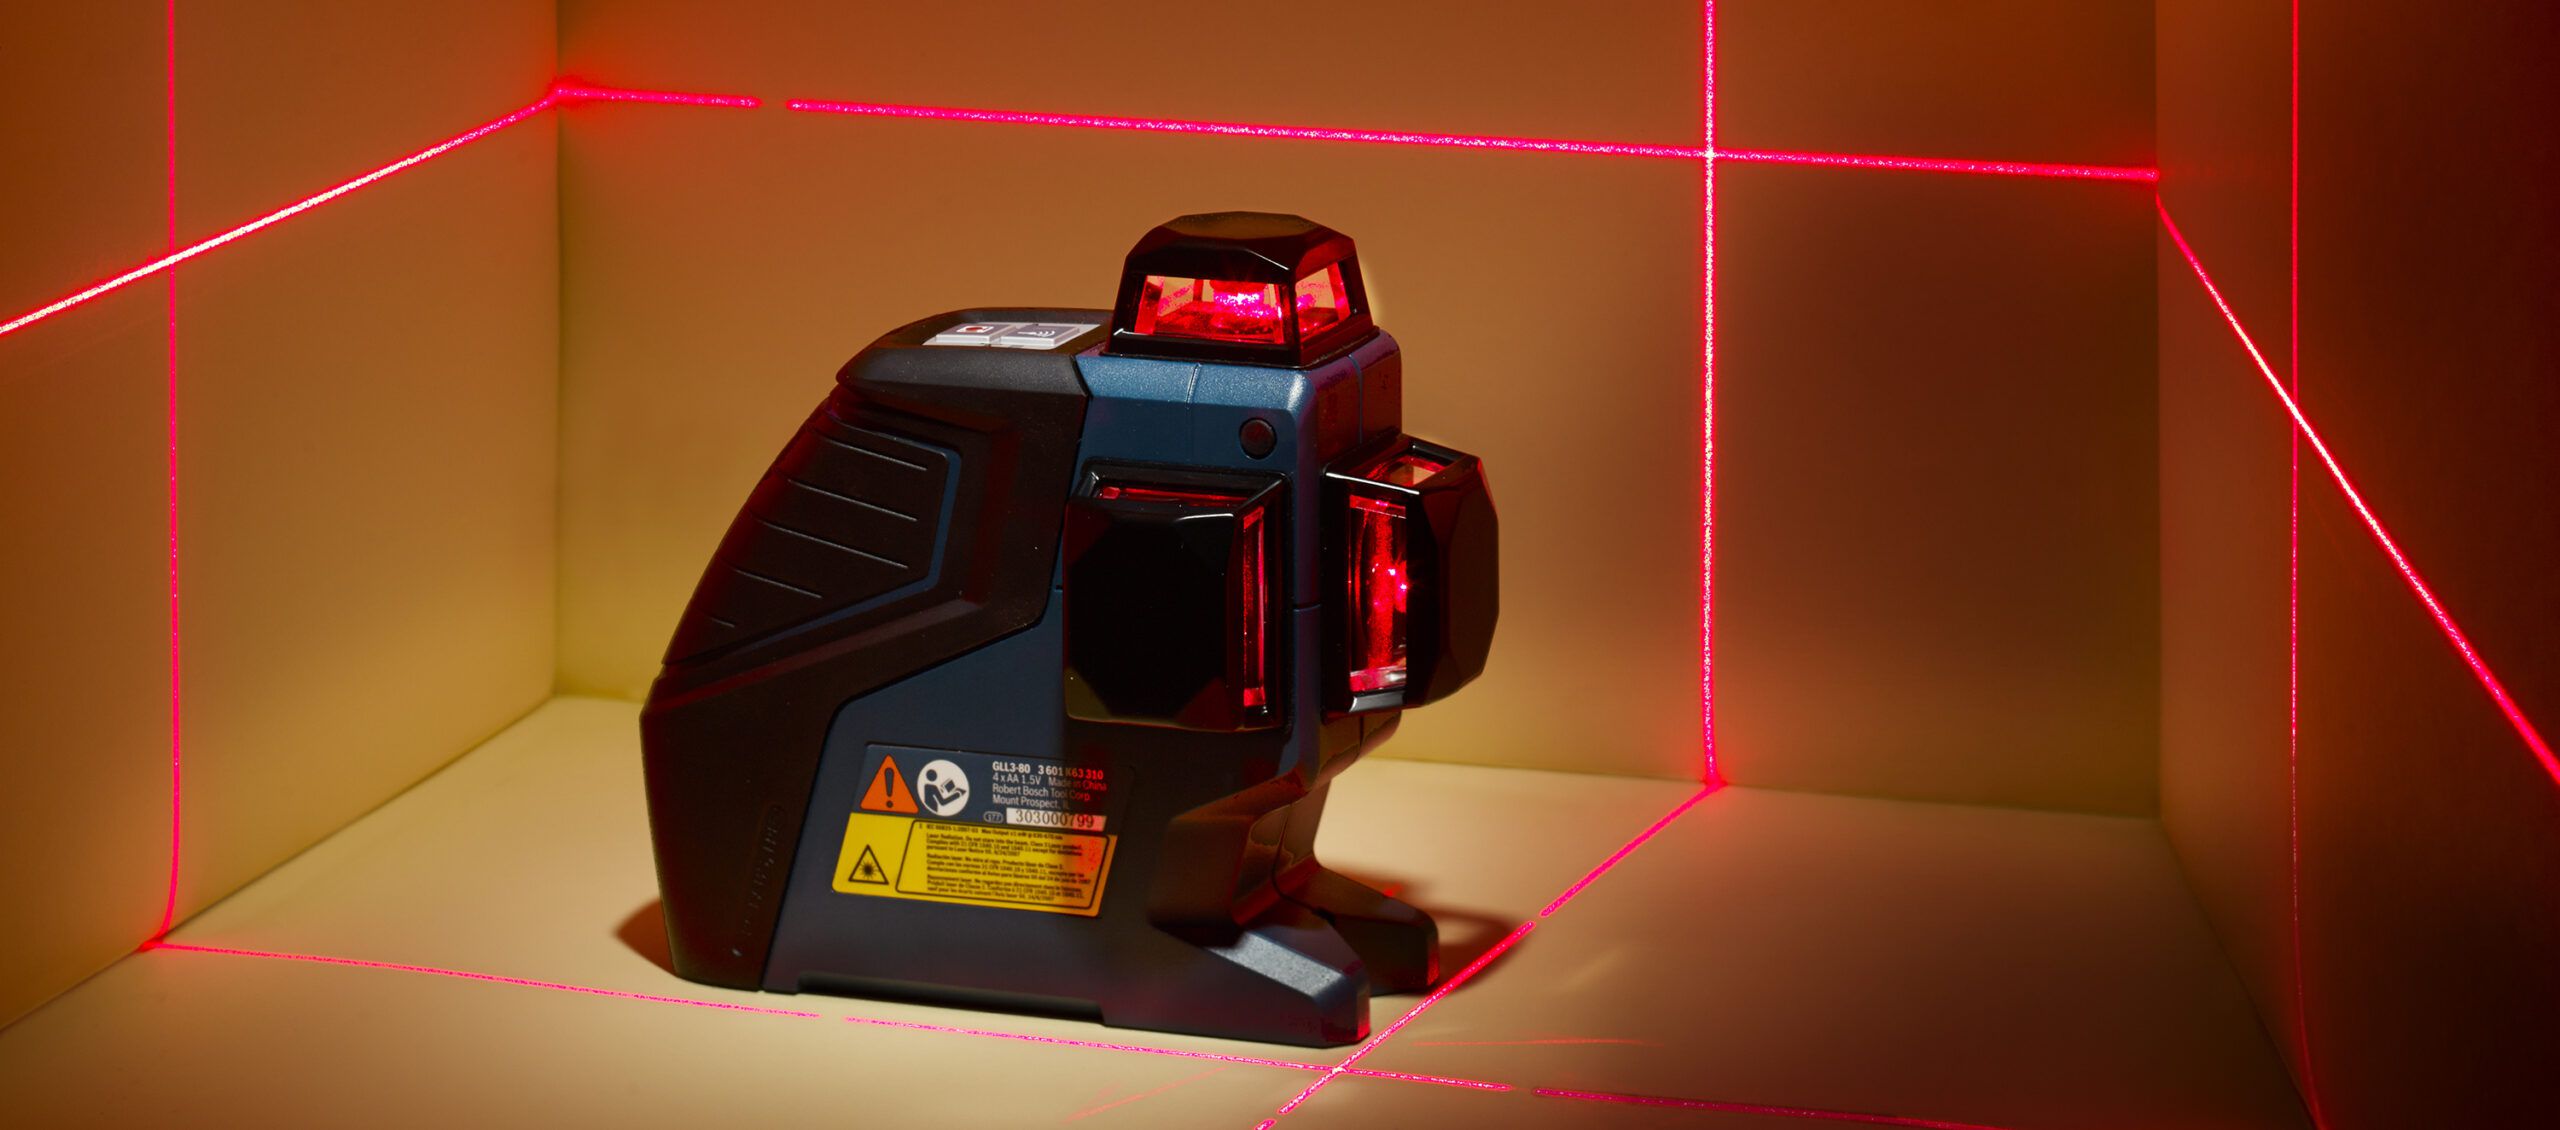
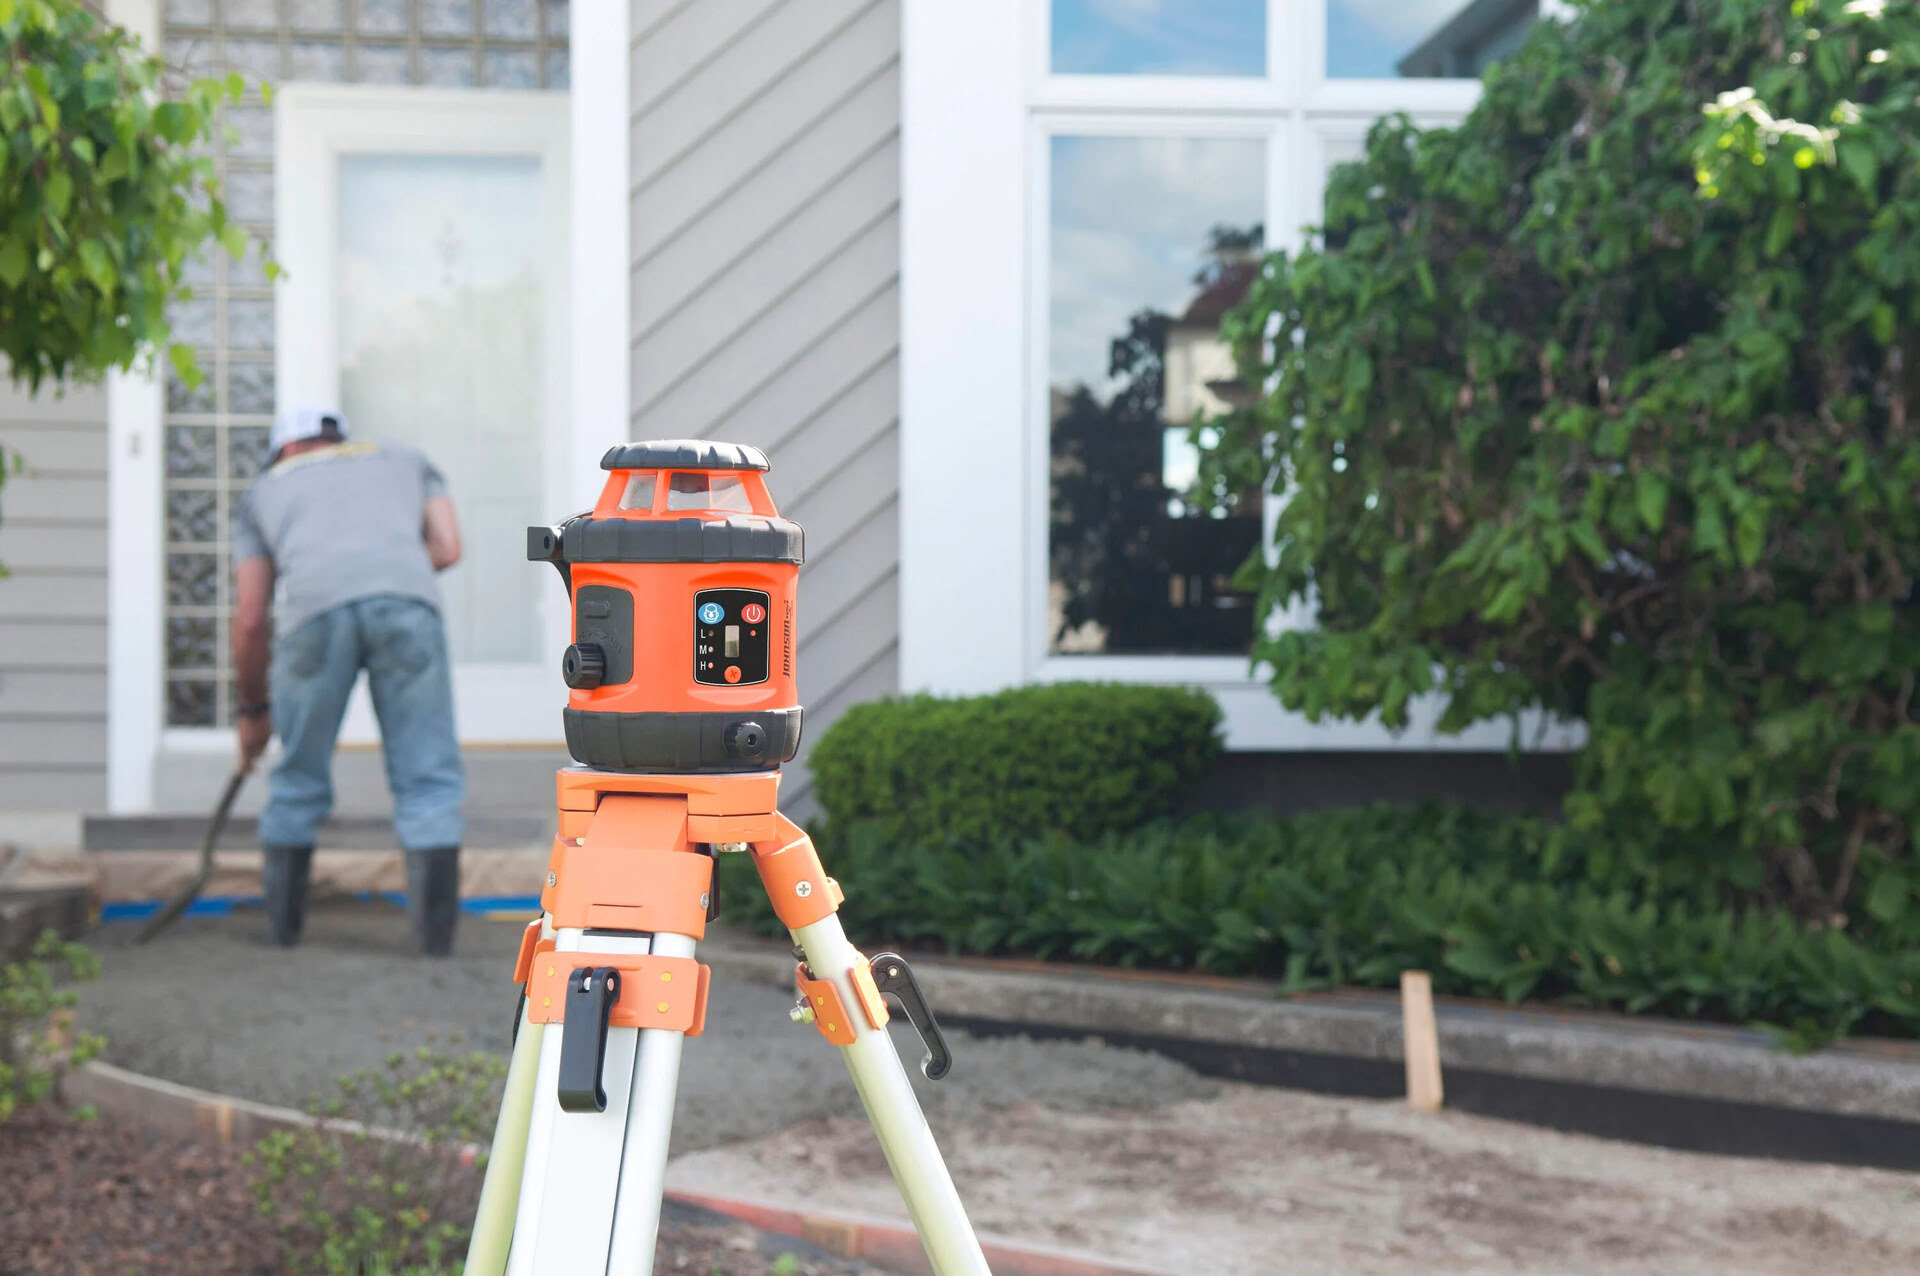
Before we delve into reading a laser level rod, it’s important to have a basic understanding of how laser levels work. A laser level is a device that emits a laser beam that acts as a visual reference for determining level and plumb lines. It is typically used in construction, surveying, and other applications that require accurate measurements and alignments.
There are different types of laser levels available, including rotary laser levels, line laser levels, and dot laser levels. Rotary laser levels emit a laser beam that rotates 360 degrees, creating a horizontal plane. Line laser levels project a straight line, which can be either horizontal or vertical, and are often used for tasks such as aligning tiles or installing shelves. Dot laser levels, as the name suggests, emit multiple laser dots that can be used for various applications, such as aligning pictures or installing electrical outlets.
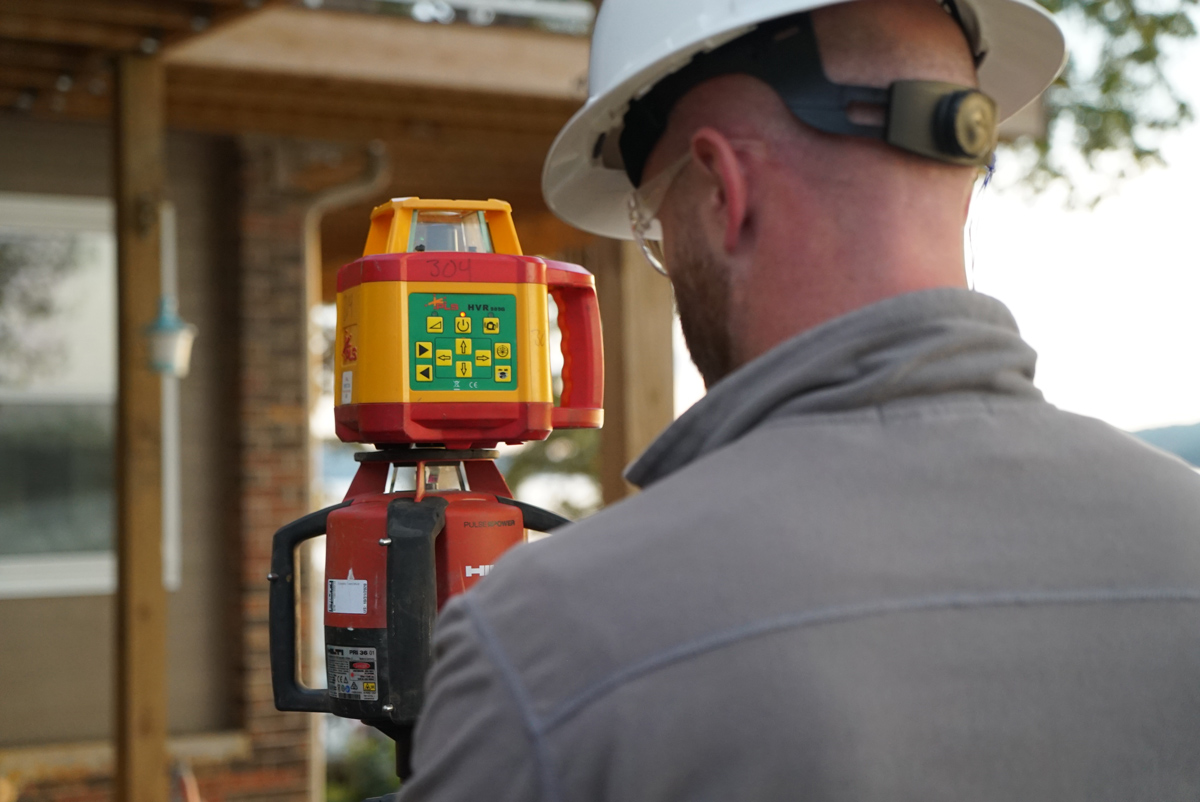
Laser levels rely on a receiver or detector to capture the laser beam and provide accurate measurements. The detector is typically attached to a rod, which is used to measure the height or distance of a point from a reference point. This is where the laser level rod comes into play.
The laser level rod, also known as a grade rod or leveling rod, is a long, slender measuring device that is used in conjunction with a laser level. It is marked with measurements, usually in feet, inches, or meters, and allows users to determine the elevation or height of a certain point in relation to a reference point.
Now that you have a basic understanding of laser levels, let’s move on to the components of a laser level rod and how to prepare it for readings.
Components of a Laser Level Rod
When it comes to using a laser level rod effectively, it’s important to familiarize yourself with its key components. Understanding these components will allow you to make accurate measurements and ensure the proper functioning of your laser level setup.
1. Measuring Graduations: Laser level rods are typically marked with measuring graduations, which indicate the height or distance in feet, inches, or meters. These graduations are crucial for obtaining precise readings.
2. Target: The target is a reflective surface or detector attached to the laser level rod. It captures and reflects the laser beam emitted by the laser level, allowing you to easily identify the height or distance indicated by the beam.
3. Locking Mechanism: Laser level rods are equipped with a locking mechanism that holds the rod in place at a specific height. This ensures stability and prevents the rod from sliding or shifting during measurements.
4. Sections: Laser level rods are often divided into telescoping sections that can be extended or collapsed according to your needs. These sections allow for easy adjustment of the rod’s length and facilitate measurements across various distances.
5. Bubble Level: Some laser level rods feature a bubble level, also known as a spirit level, which helps determine if the rod is perfectly vertical. This ensures accurate readings, especially when working on vertical measurements.
6. Mounting Bracket: Many laser level rods come with a mounting bracket for securely attaching the rod to a tripod or other support. This keeps the rod steady during measurements, minimizing any errors caused by movement.
Understanding these components will enable you to effectively utilize your laser level rod and obtain accurate measurements. In the next section, we will discuss how to properly prepare the laser level rod before taking readings.
Preparing the Laser Level Rod
Properly preparing the laser level rod is crucial for obtaining accurate measurements and ensuring the success of your project. Here are some essential steps to follow in order to prepare your laser level rod:
1. Inspect the Rod: Before each use, carefully inspect the laser level rod for any signs of damage or wear. Check for cracks, dents, or loose components that may affect its functionality. If you notice any issues, it’s important to address them before proceeding.
2. Adjust the Sections: If your laser level rod has telescoping sections, adjust them to the desired length based on the specific requirements of your project. Ensure that each section is securely locked in place to prevent any movement during measurements.
3. Attach the Target: Attach the target or reflective surface to the top of the laser level rod. Make sure it is securely fastened and aligned properly. The target will capture the laser beam and help you read the measurements accurately.
4. Level the Rod: If your laser level rod has a built-in bubble level, use it to ensure that the rod is perfectly vertical. Adjust the rod’s position until the bubble is centered in the level. This step is especially important when precise vertical measurements are required.
5. Mount the Rod: If you are using a tripod or other support for your laser level, securely mount the rod to the support using the provided mounting bracket. Ensure that the rod is stable and won’t move during measurements.
6. Calibrate the Laser Level: Before taking any measurements, it’s essential to calibrate your laser level according to the manufacturer’s instructions. This step ensures that the laser beam is accurately projected and aligns with the measurements on the rod.
By following these preparation steps, you can ensure that your laser level rod is in optimal condition and ready for accurate measurements. In the next section, we will discuss how to handle the laser level rod properly during measurements.
Proper Handling of the Laser Level Rod
Handling the laser level rod properly is essential for obtaining accurate measurements and avoiding errors. Here are some important tips to ensure the proper handling of the laser level rod:
1. Hold the Rod Firmly: When holding the laser level rod, make sure to grip it firmly but without exerting excessive pressure. This ensures stability and prevents the rod from shaking or moving during measurements.
2. Avoid Touching the Target: It’s crucial not to touch the target or reflective surface attached to the laser level rod while taking measurements. Touching the target can interfere with the laser beam and result in inaccurate readings. Use the rod handle or the sections below the target to hold the rod.
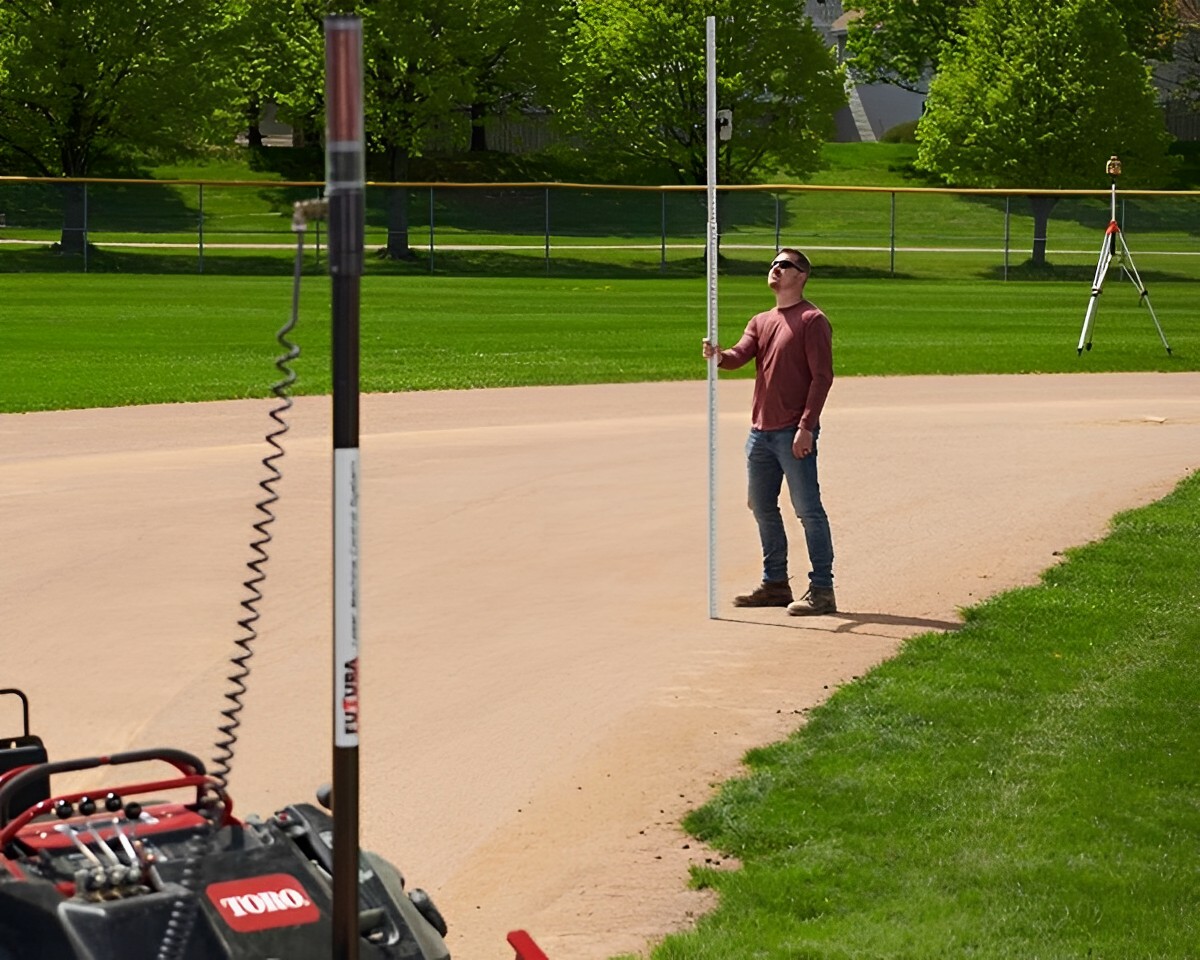
3. Position Yourself Correctly: Stand in a position where you have a clear line of sight to the laser level and the rod. This allows you to easily read the measurements on the rod and ensures accuracy. Avoid standing too close to the laser level to prevent obstruction of the laser beam.
4. Keep the Rod Vertical: Maintain the vertical position of the laser level rod throughout the measurement process. This is especially important when working with vertical measurements. Check the bubble level on the rod regularly to ensure it remains centered and the rod is perfectly vertical.
5. Read the Measurements Properly: Take your time to read the measurements on the laser level rod accurately. Align your eyes horizontally with the measurement markings to avoid parallax errors. Use a steady hand and focus on the target to ensure precise readings.
6. Record the Measurements: It’s a good practice to record the measurements as you go, either on paper or using a digital device. This helps in keeping track of the measurements and prevents any confusion or errors during data interpretation.
Keeping these handling tips in mind will ensure that you can effectively use the laser level rod and obtain precise measurements. In the next section, we will discuss how to correctly read the measurements on the laser level rod.
When reading a laser level rod, ensure that the rod is held vertically and the laser beam is hitting the target directly. Take multiple readings and calculate the average for accuracy.
Reading the Measurements on the Laser Level Rod
Reading the measurements on a laser level rod is the key to obtaining accurate data for your project. Here are the steps to follow to properly read the measurements on the laser level rod:
1. Align Your Line of Sight: Position yourself in a way that allows you to clearly see the laser level beam and the laser level rod. Make sure your line of sight is aligned horizontally with the measurement markings on the rod.
2. Identify the Zero Point: The zero point on the laser level rod represents the reference height or elevation. It is typically indicated by a small line or number at the bottom of the rod. This is where your measurements will start from.
3. Read the Graduations: Look for the graduation markings on the rod, which indicate the height or distance in feet, inches, or meters. These markings are usually displayed in increments, such as every foot or half-foot, depending on the rod’s scale. Read the value at the center of the laser beam on the rod.
4. Take Multiple Measurements: It is advisable to take multiple measurements at different points along the laser beam to ensure accuracy. Move the rod along the beam and record the measurements at each position. This helps detect any inconsistencies or errors in your readings.
5. Note the Reading: Record the measurements carefully, either digitally or on paper, for future reference. Pay attention to any decimals or fractions that may be present in the reading to ensure precision in your calculations.
6. Consider Compensation Factors: Depending on your project requirements, there may be compensation factors to consider when interpreting the measurements. For example, if you are working on a slope or uneven surface, you may need to adjust the measurements to account for the angle or grade.
By following these steps and taking the necessary precautions, you will be able to read the measurements on the laser level rod accurately. In the next section, we will discuss some useful tips to ensure accurate readings with your laser level rod.
Tips for Accurate Readings
To ensure accurate readings with your laser level rod, it’s important to keep the following tips in mind:
1. Steady the Rod: When taking measurements, hold the laser level rod as steady as possible to minimize any movement that could affect the accuracy of your readings. Use both hands, and if necessary, lean the rod against a stable surface for added support.
2. Use a Level Surface: Ensure that both the laser level and the rod are placed on a level surface before taking measurements. Any incline or slope can introduce errors in the readings. Use a spirit level or a leveling tool to accurately level the surface if needed.
3. Avoid Obstructions: Make sure there are no obstructions blocking the laser beam between the laser level and the rod. Objects such as walls, trees, or equipment can interfere with the laser and result in inaccurate measurements.
4. Check Battery Life: If your laser level operates on batteries, regularly check the battery level before starting your measurements. A low battery can cause fluctuations or inconsistencies in the laser beam, leading to inaccurate readings.
5. Take Repeat Measurements: To ensure consistency and accuracy, take multiple readings at each position along the laser beam. This helps identify any anomalies or variations and allows you to average out the measurements for a more precise result.
6. Double-Check Alignments: Before taking measurements, double-check the alignment of the laser level and the laser beam. Ensure that the laser is projecting in a straight line and that it aligns with the zero point or reference point on the rod.
7. Minimize Environmental Interference: Be aware of any external factors that may interfere with your readings, such as strong winds, vibrations, or extreme temperatures. These factors can affect the stability of the laser level and the rod, impacting the accuracy of your measurements.
By following these tips, you can achieve more accurate readings with your laser level rod and ensure precise results for your project. However, it’s also important to be aware of common mistakes to avoid, which we will discuss in the next section.
Common Mistakes to Avoid
When using a laser level rod, it’s important to be aware of common mistakes that can compromise the accuracy of your measurements. By avoiding these mistakes, you can ensure that your readings are reliable and precise. Here are some common mistakes to watch out for:
1. Improper Calibration: Failing to properly calibrate your laser level can lead to inaccurate readings. Always follow the manufacturer’s instructions to ensure that the laser level is correctly calibrated for accurate measurements.
2. Incorrect Rod Positioning: Placing the laser level rod at the wrong height or angle can result in incorrect readings. Be attentive to ensure that the rod is aligned correctly and held vertically throughout the measurement process.
3. Ignoring Environmental Factors: Environmental factors such as sunlight, dust, or atmospheric conditions can interfere with the laser beam and impact the accuracy of your readings. Take note of these factors and consider appropriate adjustments or precautions.
4. Neglecting to Level the Surface: Failing to level the surface on which the laser level and rod are placed can introduce significant errors in your measurements. Always ensure that the surface is flat and level before taking readings.
5. Disregarding Stability: Any movement or instability in the laser level or the rod can compromise the accuracy of your measurements. Be sure to secure and stabilize both the laser level and the rod to minimize any potential errors.
6. Not Taking Repeat Measurements: Relying solely on a single reading can be risky. To ensure accuracy, take multiple measurements at different points along the laser beam and compare the results to identify any inconsistencies.
7. Failure to Maintain the Rod: Regularly inspect and maintain your laser level rod to ensure its proper functioning. Clean it of any debris or dirt that can affect the measurements, and address any damage or wear promptly.
By being aware of these common mistakes and taking steps to avoid them, you can ensure that your measurements with the laser level rod are precise and reliable. Now let’s summarize the key points discussed in this article.
Conclusion
Reading a laser level rod accurately is crucial for obtaining precise measurements in various construction and DIY projects. By understanding the components of a laser level rod, preparing it properly, and handling it with care, you can ensure accurate readings and successful outcomes for your projects.
Remember to familiarize yourself with the measuring graduations, target, locking mechanism, sections, bubble level, and mounting bracket of the laser level rod. Properly adjusting the rod, attaching the target, and calibrating the laser level are essential steps to prepare for accurate measurements.
When handling the rod, hold it firmly, avoid touching the target, position yourself correctly, keep the rod vertical, and record the measurements diligently. Following these tips will help you obtain accurate readings and prevent errors.
Some common mistakes to avoid include improper calibration, incorrect rod positioning, neglecting environmental factors, failure to level the surface, lack of stability, not taking repeat measurements, and inadequate maintenance of the rod. By being mindful of these mistakes, you can enhance the accuracy of your measurements.
Ultimately, understanding how to read a laser level rod empowers you with the ability to ensure level surfaces, straight lines, and precise measurements. By applying the knowledge and tips outlined in this article, you can confidently use a laser level rod in your projects, saving time, effort, and avoiding costly errors.
So, go ahead and equip yourself with a laser level rod, prepare it correctly, handle it with care, and read the measurements accurately. Advance confidently in your projects, knowing that your measurements are precise and reliable.
Frequently Asked Questions about How To Read A Laser Level Rod
Was this page helpful?
At Storables.com, we guarantee accurate and reliable information. Our content, validated by Expert Board Contributors, is crafted following stringent Editorial Policies. We're committed to providing you with well-researched, expert-backed insights for all your informational needs.


0 thoughts on “How To Read A Laser Level Rod”