Home>Home Appliances>Laundry Appliances>How To Remove A Washing Machine Agitator
Laundry Appliances
How To Remove A Washing Machine Agitator
Published: February 22, 2024
Learn how to easily remove a washing machine agitator with our step-by-step guide. Keep your laundry appliances running smoothly with our expert tips.
(Many of the links in this article redirect to a specific reviewed product. Your purchase of these products through affiliate links helps to generate commission for Storables.com, at no extra cost. Learn more)
Introduction
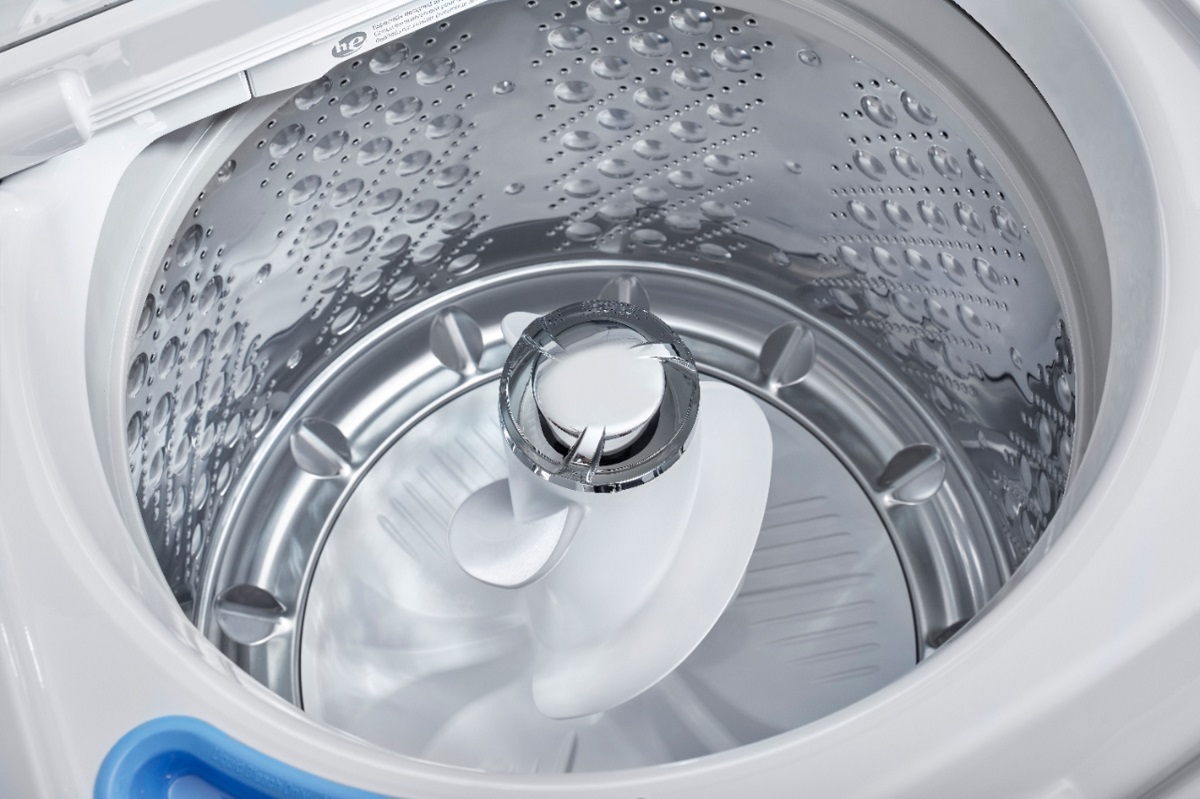
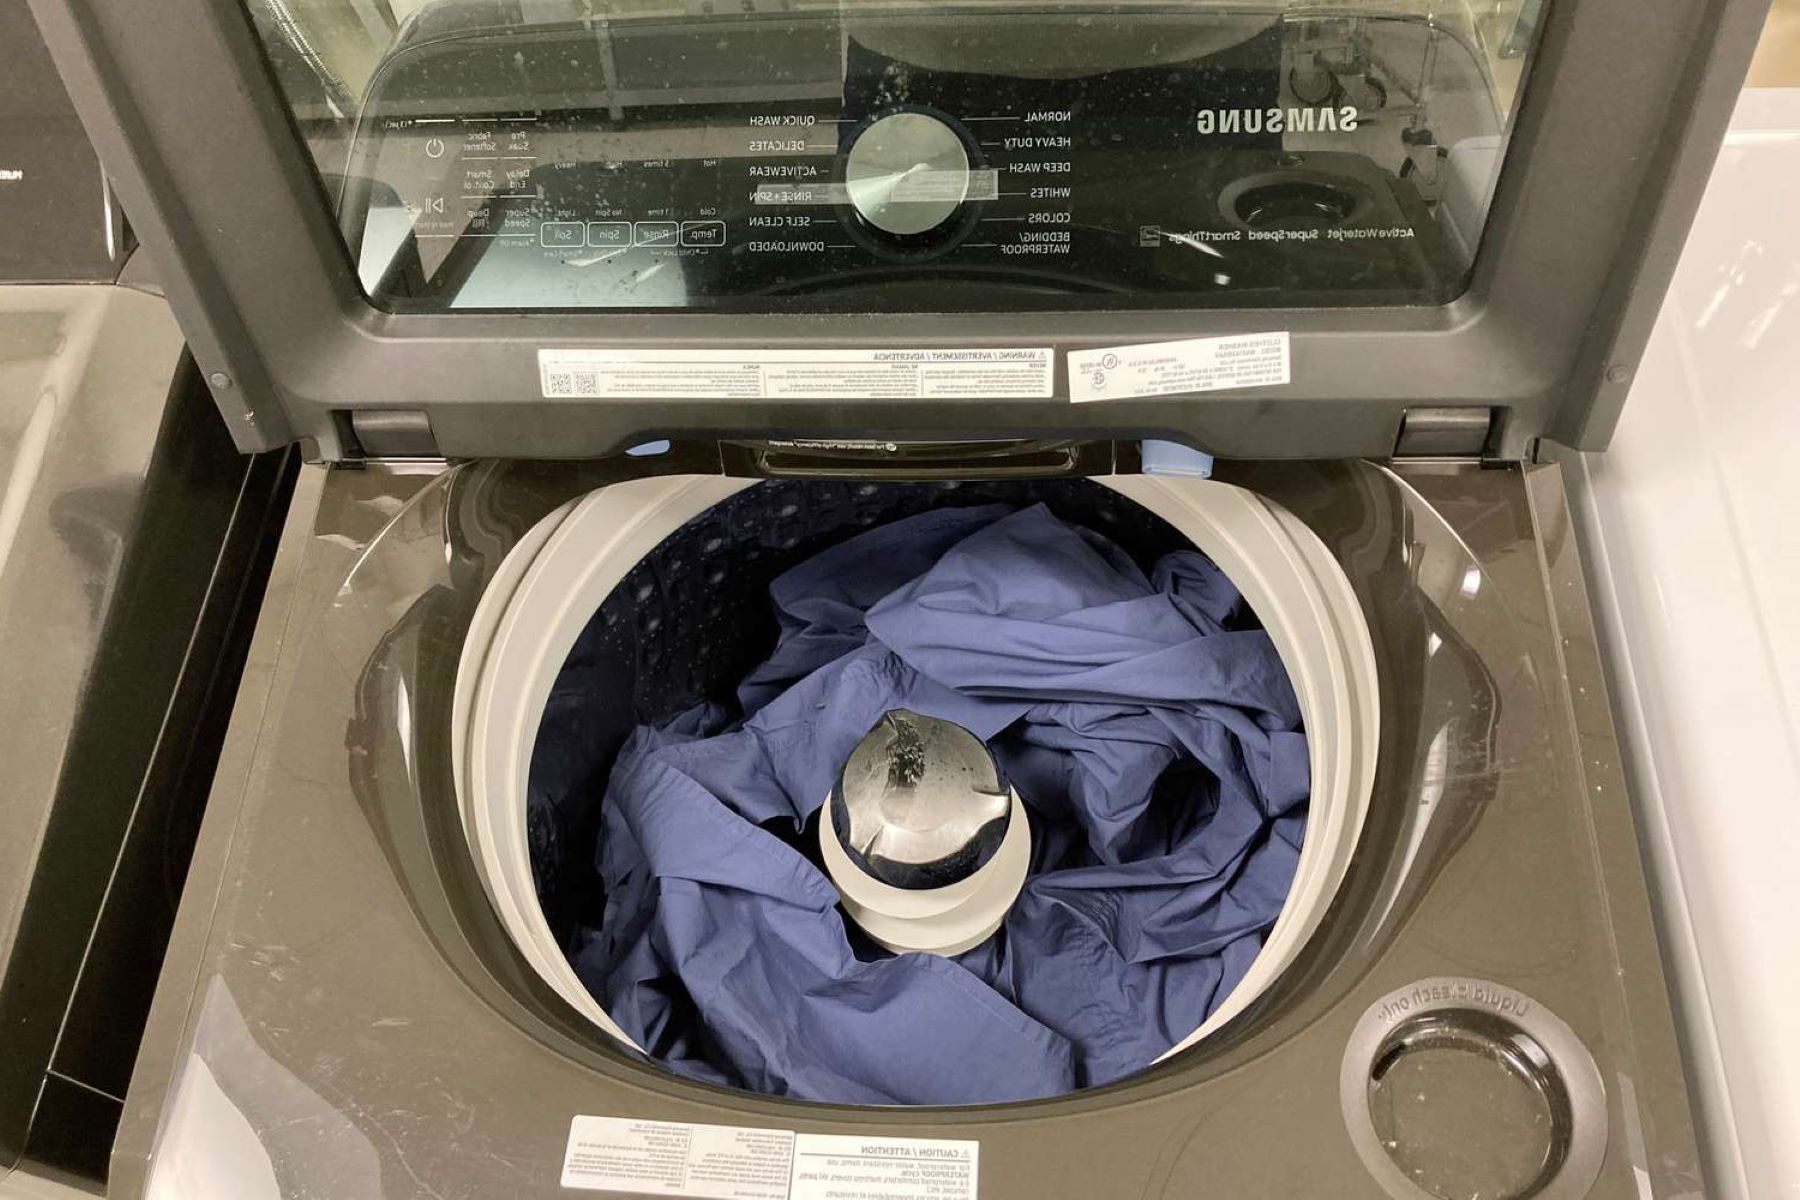
Removing a washing machine agitator may become necessary if you need to clean or replace it. The agitator is a vital component of the washing machine that facilitates the cleaning process by moving the clothes around in the tub. Over time, it's not uncommon for fabric softener, detergent, and other residues to accumulate underneath the agitator, leading to unpleasant odors and affecting the washing machine's performance.
By learning how to remove a washing machine agitator, you can ensure that your appliance continues to function optimally. This guide will walk you through the step-by-step process, providing you with the knowledge and confidence to tackle this task effectively. With the right tools and a clear understanding of the process, you can maintain your washing machine and keep it running smoothly for years to come.
Let's dive into the essential steps and materials needed to remove a washing machine agitator, ensuring that you can complete the task with ease and precision.
Key Takeaways:
- Keep your washing machine running smoothly by removing the agitator for cleaning or replacement. Gather the right tools and materials, and follow the step-by-step process to maintain your appliance with confidence and precision.
- Ensure a safe and efficient agitator removal process by preparing your washing machine, removing the fabric softener dispenser, and loosening the agitator bolt. With careful maneuvering, lift out the agitator to complete the maintenance task.
Read more: How To Remove Washer Agitator
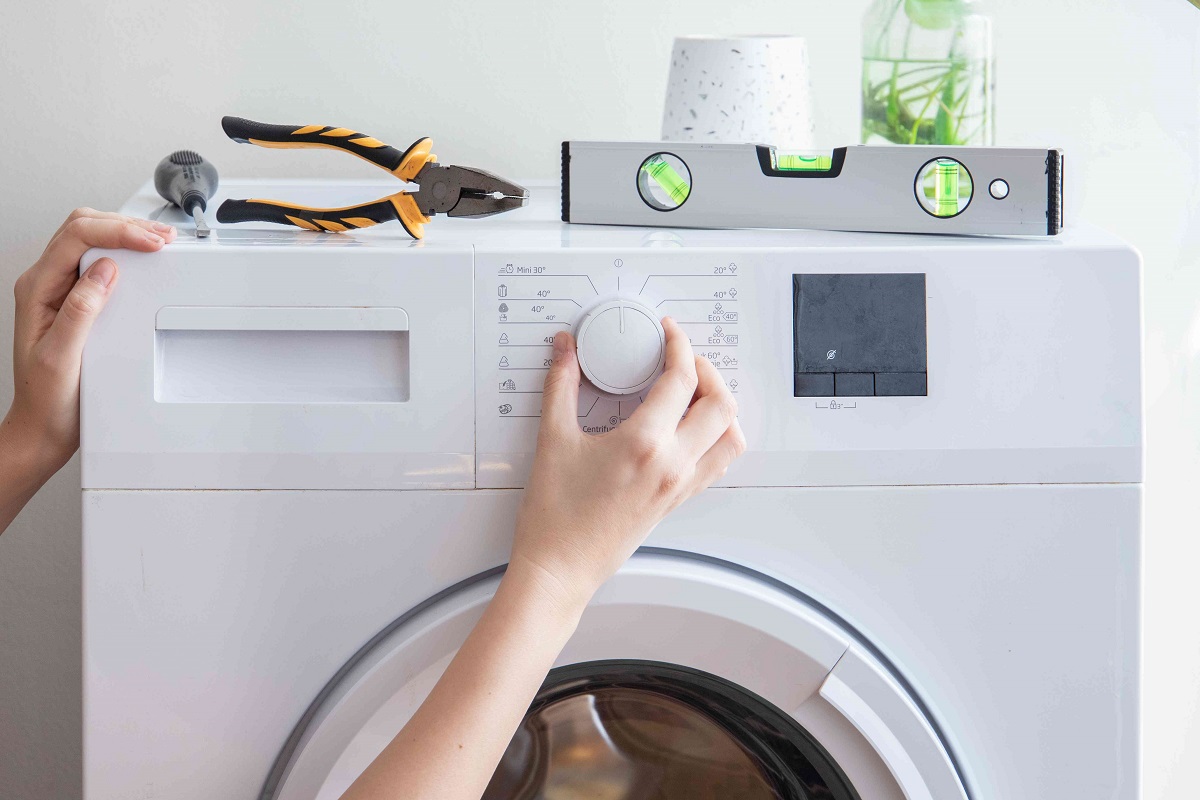
Tools and Materials Needed
Before embarking on the process of removing a washing machine agitator, it's crucial to gather the necessary tools and materials. Having the right equipment at your disposal will streamline the task and ensure a smooth and efficient removal process. Here's a comprehensive list of the tools and materials you'll need:
Tools:
-
Socket Wrench: This tool is essential for loosening the agitator bolt, which secures the agitator to the driveshaft. Ensure that the socket wrench fits the size of the agitator bolt to prevent slippage and facilitate a secure grip.
-
Extension Bar: An extension bar can be attached to the socket wrench to provide additional reach and leverage, especially if the agitator is deeply set within the washing machine.
-
Flathead Screwdriver: A flathead screwdriver is useful for prying off the agitator cap, which covers the agitator bolt. It can also aid in releasing any clips or fasteners that secure the agitator assembly.
-
Pliers: Pliers can be handy for gripping and maneuvering components within the washing machine, such as the fabric softener dispenser or any stubborn parts of the agitator.
-
Flashlight: Since the agitator is located inside the washing machine, a flashlight can illuminate the internal components, making it easier to identify and access the agitator assembly.
Materials:
-
Protective Gloves: It's advisable to wear protective gloves to shield your hands from sharp edges or potential debris within the washing machine.
-
Cleaning Cloth: A cleaning cloth or rag will come in handy for wiping away any accumulated grime or residue from the agitator and its surrounding area.
-
Replacement Parts (Optional): If you're planning to clean or replace the agitator, it's beneficial to have any replacement parts readily available. This may include a new agitator, agitator cap, or fabric softener dispenser, depending on your maintenance requirements.
By ensuring that you have these tools and materials on hand, you'll be well-prepared to tackle the task of removing the washing machine agitator. With the right equipment at your disposal, you can proceed with confidence, knowing that you have everything you need to complete the process effectively.
Step 1: Prepare the Washing Machine
Before delving into the process of removing the washing machine agitator, it's essential to prepare the appliance to ensure a safe and efficient maintenance procedure. Proper preparation can help minimize potential complications and facilitate easier access to the agitator assembly. Here's a detailed breakdown of the steps involved in preparing the washing machine for agitator removal:
-
Unplug the Washing Machine: Safety should always be a top priority when working on any appliance. To prevent the risk of electrical shock or injury, start by unplugging the washing machine from the power source. This simple yet crucial step ensures that the appliance is completely disconnected from the electrical supply, creating a safe working environment.
-
Turn Off the Water Supply: If your washing machine is connected to a water supply, it's important to turn off the water valves to prevent any potential leaks or spills during the maintenance process. By shutting off the water supply, you can avoid unnecessary water wastage and minimize the risk of water-related mishaps while working on the appliance.
-
Clear the Surrounding Area: Create a clear and unobstructed workspace around the washing machine. Remove any nearby objects, laundry baskets, or items that may impede your access to the appliance. This step ensures that you have ample space to maneuver and perform the necessary tasks without any hindrances.
-
Inspect the Agitator Area: Take a moment to visually inspect the agitator and its surrounding components. Look for any visible signs of damage, wear, or obstruction that may impact the removal process. This initial assessment can provide valuable insights into the condition of the agitator and help you anticipate any potential challenges that may arise during the removal procedure.
-
Refer to the User Manual: If available, consult the washing machine's user manual for specific instructions related to agitator removal. The user manual can offer valuable insights into the unique features and mechanisms of your washing machine, providing guidance on the best practices for preparing the appliance and accessing the agitator assembly.
By meticulously preparing the washing machine for agitator removal, you can set the stage for a smooth and methodical maintenance process. These preparatory steps create a safe and organized environment, allowing you to focus on the task at hand without unnecessary distractions or safety concerns. With the washing machine properly prepared, you're ready to proceed with the subsequent steps of agitator removal, ensuring that the process unfolds seamlessly and effectively.
Read more: Maytag Washer How To Remove Agitator
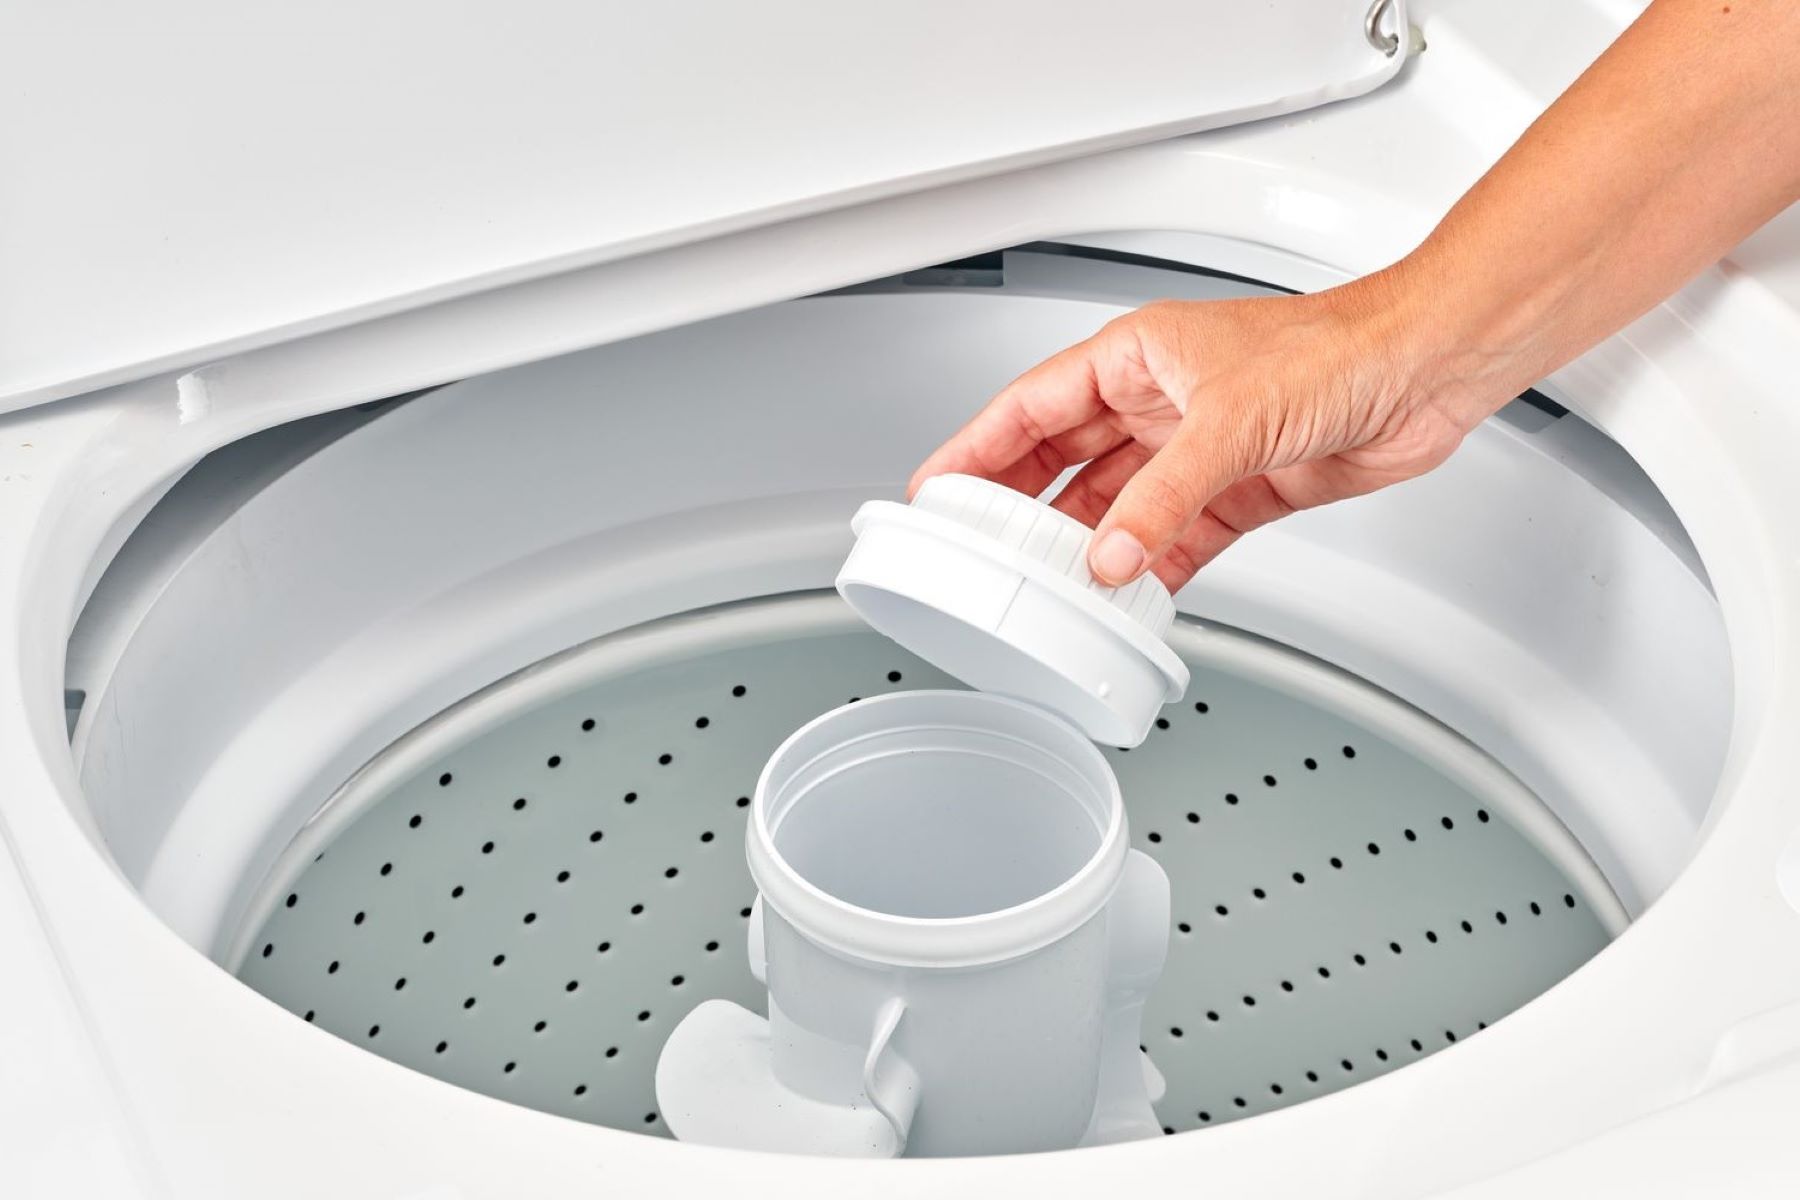
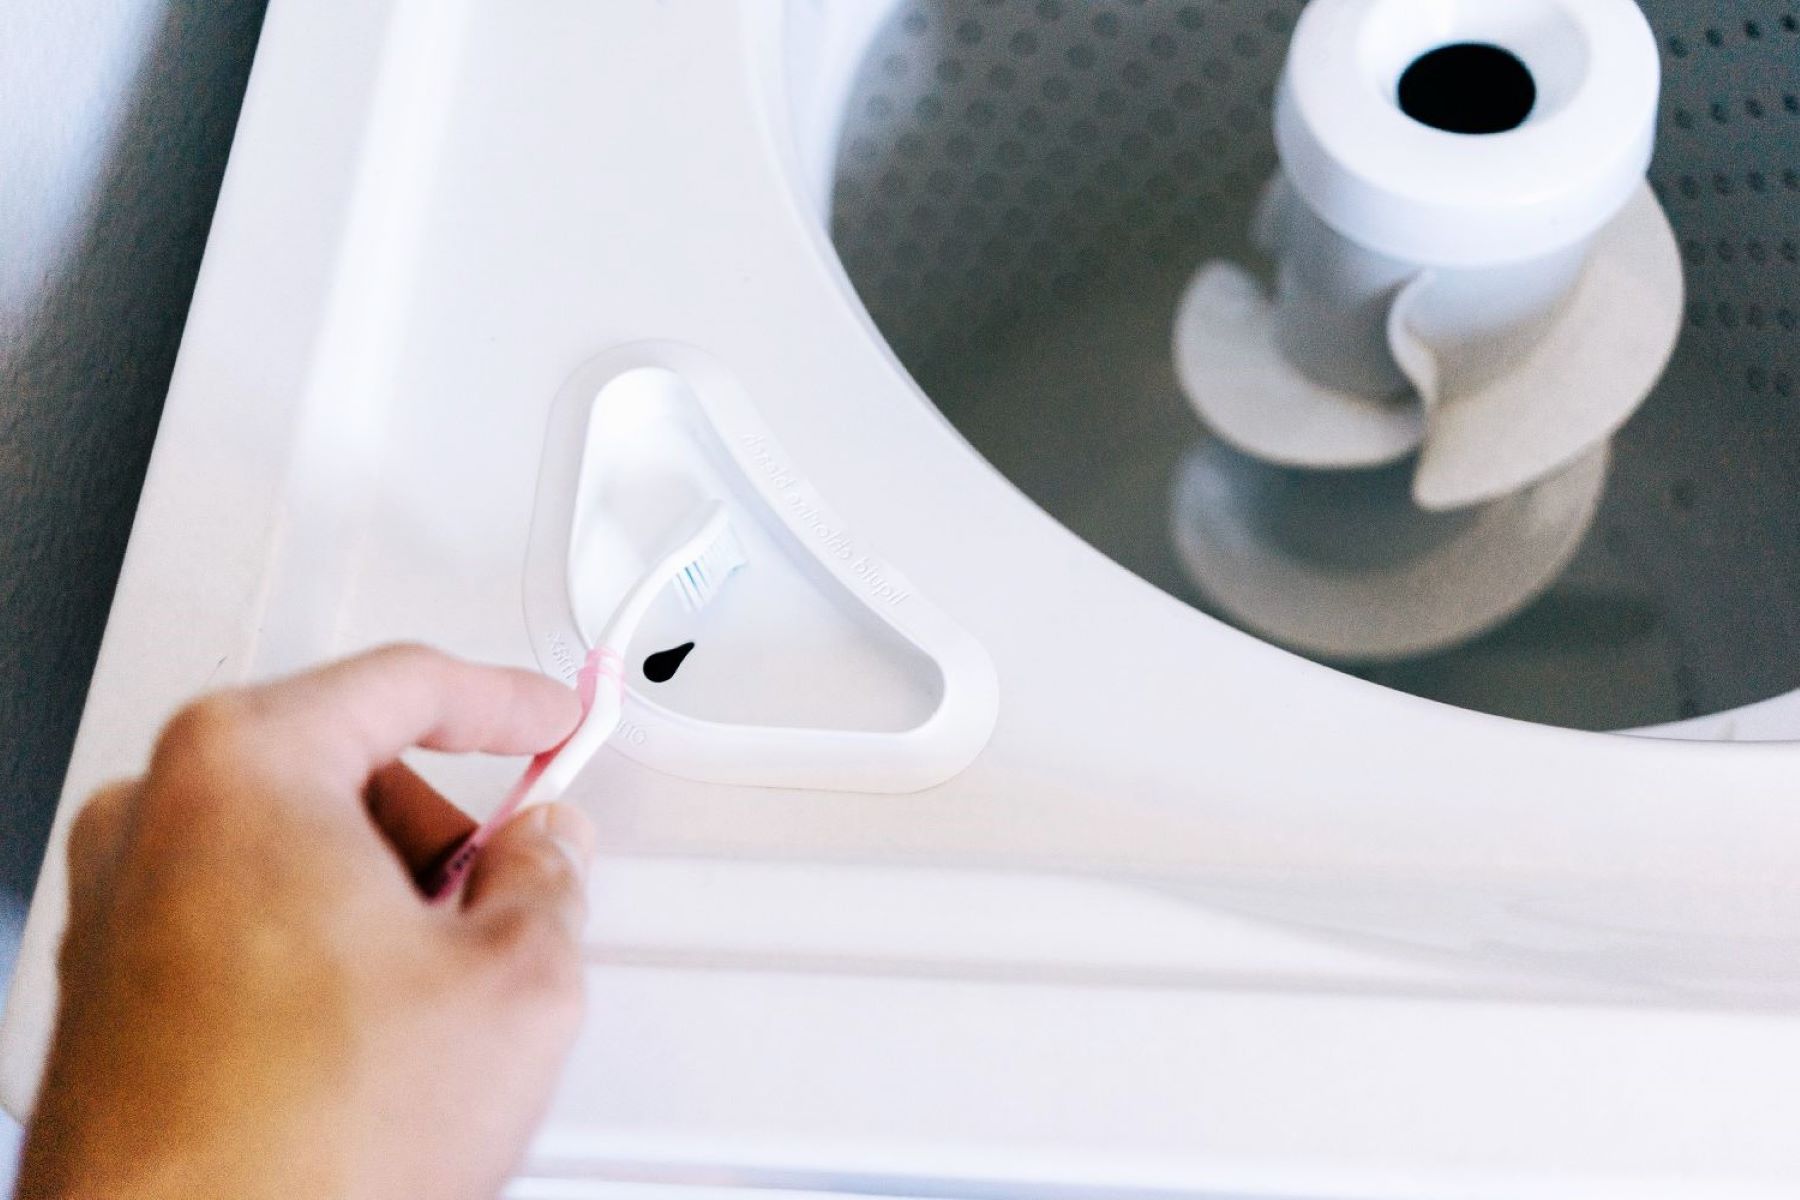
Step 2: Remove the Fabric Softener Dispenser
The fabric softener dispenser is a common feature found atop the agitator in many washing machines. Its purpose is to dispense fabric softener during the wash cycle, contributing to the overall cleanliness and freshness of the laundry. Before proceeding with the removal of the agitator, it's essential to remove the fabric softener dispenser to gain unobstructed access to the agitator assembly. Here's a detailed guide on how to remove the fabric softener dispenser from your washing machine:
-
Locate the Fabric Softener Dispenser: Identify the fabric softener dispenser on the agitator. It is typically a removable component that sits on the center of the agitator and is often marked with indicators or labels denoting its function.
-
Gently Lift the Dispenser: With a firm yet gentle grip, lift the fabric softener dispenser upwards. Apply steady pressure to detach it from the agitator. In some models, the dispenser may twist or lock into place, so be mindful of any securing mechanisms as you lift it.
-
Inspect for Residue: Once the fabric softener dispenser is removed, take a moment to inspect it for any accumulated residue or blockages. Over time, fabric softener can leave behind sticky residues that may hinder the dispenser's functionality. Use a cleaning cloth or mild detergent to wipe away any buildup and ensure that the dispenser is clean and free from obstructions.
-
Set Aside the Dispenser: Place the removed fabric softener dispenser in a safe and easily accessible location. This ensures that it remains secure and undamaged during the agitator removal process. Additionally, setting it aside prevents any interference as you proceed with the subsequent steps of agitator maintenance.
By carefully removing the fabric softener dispenser, you pave the way for unobstructed access to the agitator, setting the stage for the next phase of the removal process. This preparatory step ensures that the agitator assembly can be accessed and serviced effectively, allowing you to proceed with confidence and precision. With the fabric softener dispenser safely removed, you're ready to advance to the subsequent steps of agitator removal, bringing you one step closer to maintaining your washing machine with thoroughness and expertise.
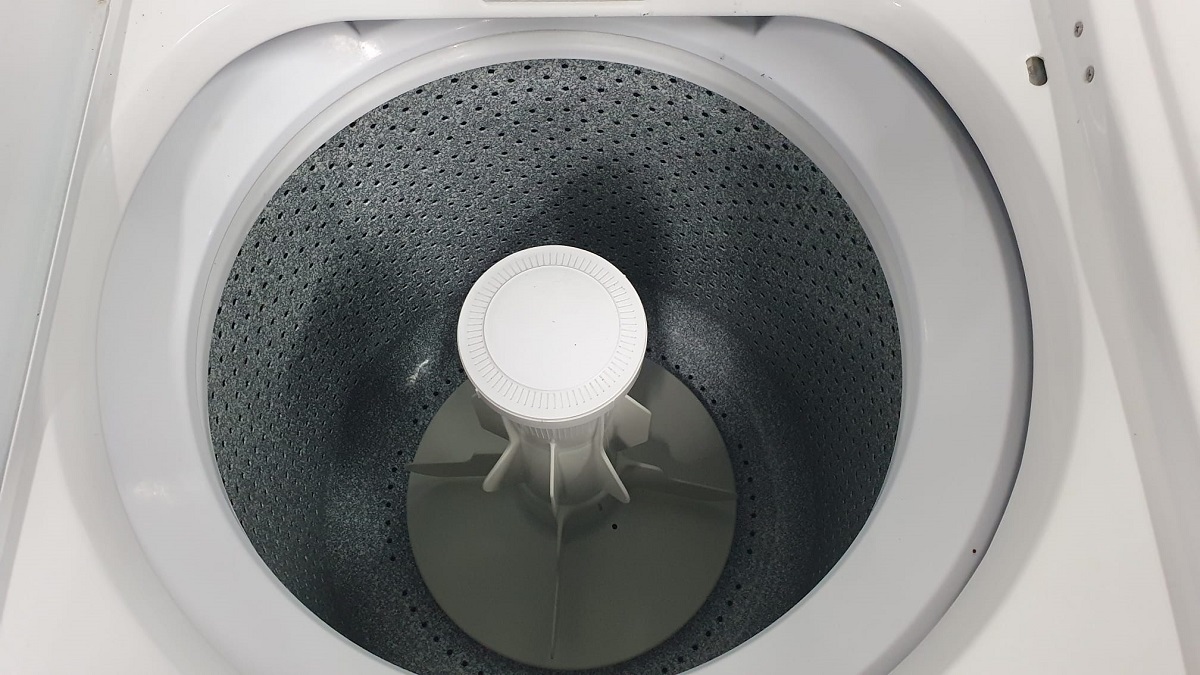
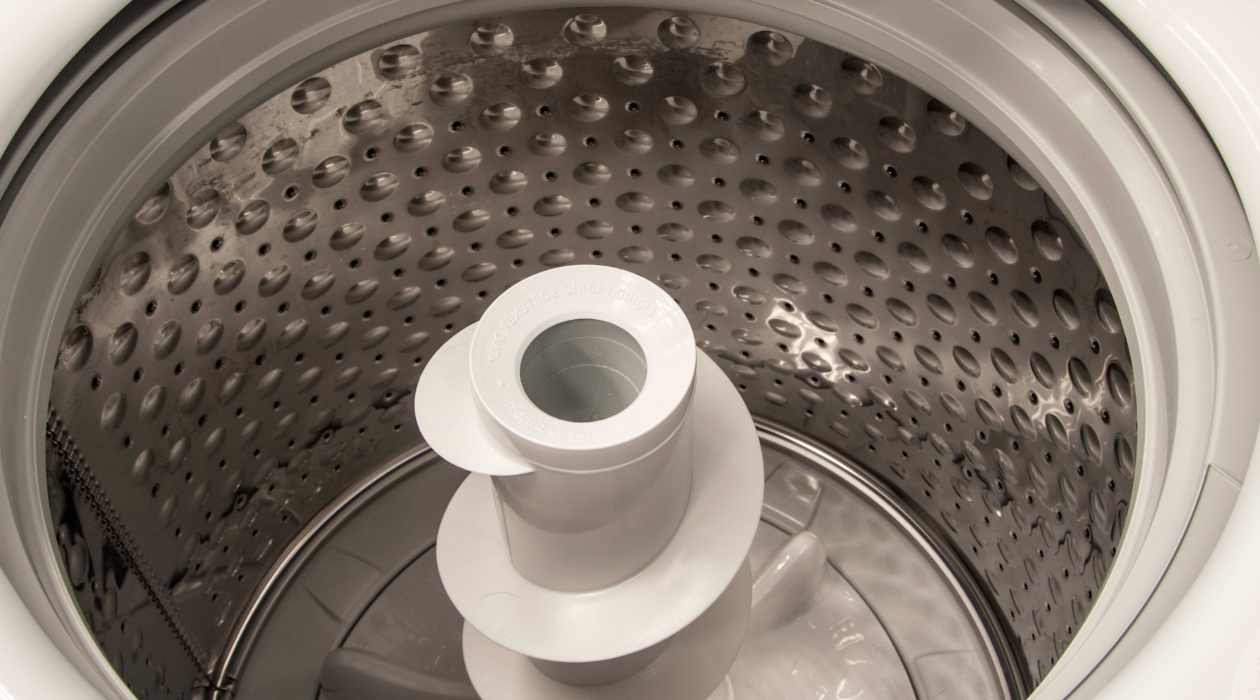
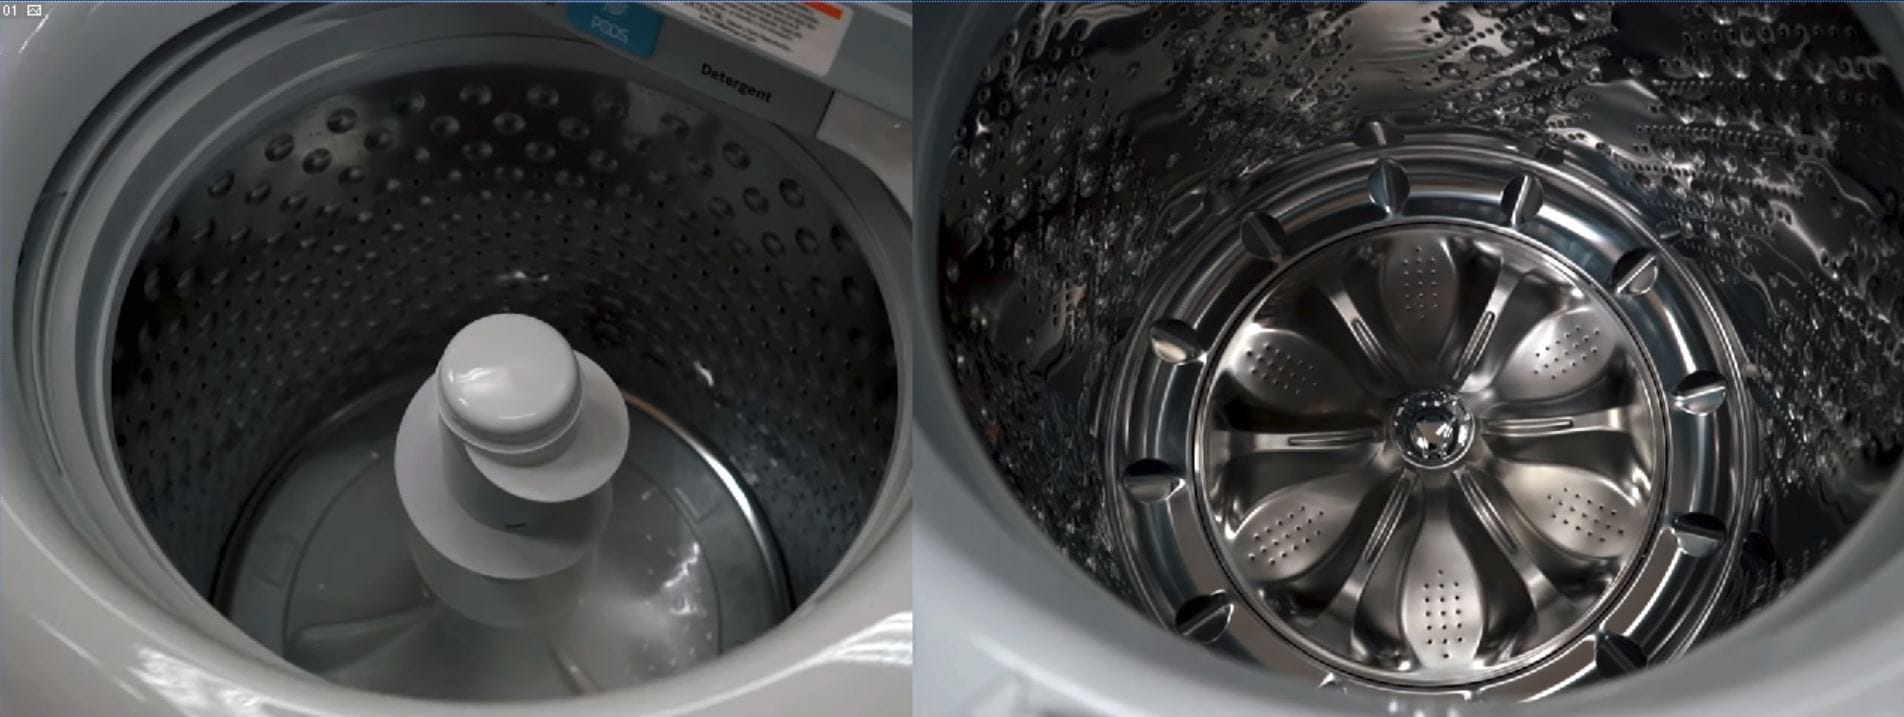
Step 3: Remove the Agitator Cap
The agitator cap serves as a protective cover for the agitator bolt, which secures the agitator to the driveshaft within the washing machine. Removing the agitator cap is a crucial step in gaining access to the underlying components of the agitator assembly. Here's a detailed walkthrough of the process to remove the agitator cap, ensuring a systematic and effective approach to agitator maintenance:
-
Locate the Agitator Cap: The agitator cap is typically situated at the top of the agitator assembly. It may feature a prominent design or logo indicating its position. Take a moment to identify the cap and familiarize yourself with its appearance and placement on the agitator.
-
Inspect for Fasteners or Latches: Depending on the washing machine model, the agitator cap may be secured in place by fasteners, clips, or latches. Carefully examine the cap to determine if it has any visible locking mechanisms or retention features. Some caps may simply snap into position, while others may require specific actions to release them.
-
Use a Flathead Screwdriver: To remove the agitator cap, gently insert a flathead screwdriver into the designated slot or edge of the cap. Apply gradual pressure to pry the cap upwards, leveraging the screwdriver as a tool to release any securing clips or tabs. Exercise caution to avoid damaging the cap or the agitator during this process.
-
Rotate and Lift the Cap: In some instances, the agitator cap may need to be rotated in a specific direction to disengage it from the agitator assembly. While maintaining a firm grip, rotate the cap in the indicated direction, if applicable, until it loosens. Once loosened, carefully lift the cap away from the agitator, ensuring that any attached components or mechanisms are disengaged.
-
Inspect the Cap and Agitator: With the agitator cap removed, take a moment to inspect both the cap and the exposed area of the agitator. Look for any signs of wear, damage, or accumulated debris. This visual assessment can provide valuable insights into the condition of the agitator assembly and guide your subsequent maintenance steps.
By successfully removing the agitator cap, you've cleared the path to accessing the agitator bolt, a pivotal component that secures the agitator to the driveshaft. This essential step sets the stage for the subsequent phase of agitator removal, allowing you to proceed with confidence and precision. With the agitator cap safely removed, you're ready to advance to the next critical step in the process, bringing you closer to effectively maintaining your washing machine with expertise and thoroughness.
To remove a washing machine agitator, first remove the fabric softener dispenser or cap. Then, use a socket wrench to unscrew the bolt holding the agitator in place. Once the bolt is removed, lift the agitator out of the machine.
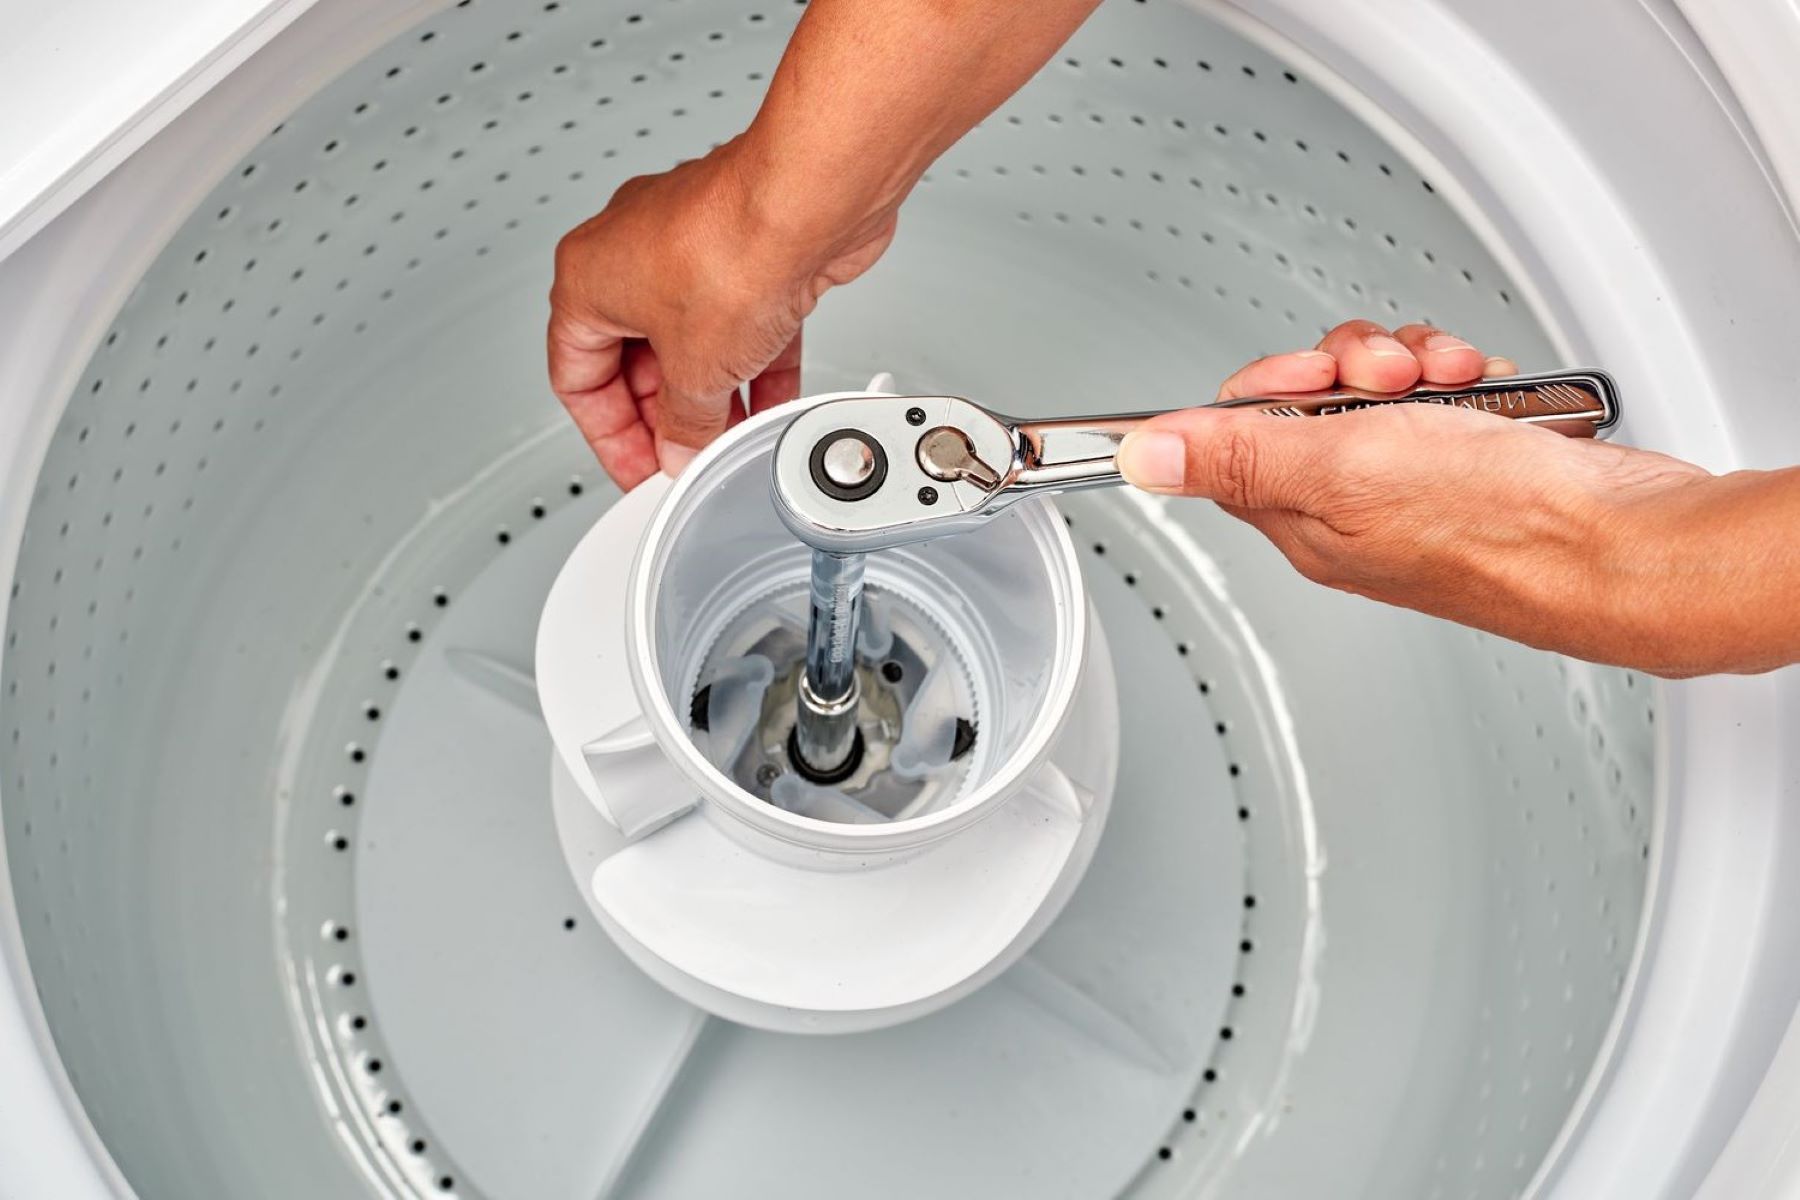
Step 4: Loosen the Agitator Bolt
With the agitator cap successfully removed, the next pivotal step in the process of removing a washing machine agitator involves loosening the agitator bolt. The agitator bolt plays a crucial role in securing the agitator to the driveshaft within the washing machine, and loosening it is essential to facilitate the removal of the agitator assembly. Here's a detailed guide on how to effectively loosen the agitator bolt, ensuring a methodical and precise approach to agitator maintenance:
-
Locate the Agitator Bolt: Upon removing the agitator cap, the agitator bolt should become visible at the center of the agitator assembly. It is often a prominent bolt or nut that holds the agitator in place. Take a moment to identify the agitator bolt and familiarize yourself with its size and position within the agitator.
-
Prepare the Socket Wrench: Select a socket wrench that fits the size of the agitator bolt to ensure a secure and snug fit. Attach the appropriate socket to the wrench, ensuring that it matches the dimensions of the agitator bolt. Additionally, consider using an extension bar if the agitator bolt is deeply set within the washing machine, providing additional reach and leverage.
-
Position the Socket Wrench: With the socket wrench and extension bar, if necessary, position the wrench over the agitator bolt. Ensure that the wrench is firmly seated on the bolt to prevent slippage and facilitate a secure grip. The extension bar can provide added leverage, making it easier to apply the necessary force to loosen the bolt.
-
Apply Gradual Pressure: Using the socket wrench, apply gradual and controlled pressure in a counterclockwise direction to loosen the agitator bolt. It's important to maintain a steady grip on the wrench and exert consistent force to overcome any initial resistance. If the bolt proves challenging to loosen, consider using penetrating oil to help lubricate and ease the loosening process.
-
Check for Loosening: As you continue to turn the socket wrench counterclockwise, periodically check for signs of the agitator bolt loosening. You may feel a distinct release of tension or observe slight movement in the bolt as it begins to disengage from the driveshaft. Continue to apply pressure until the bolt is sufficiently loosened and can be removed.
By effectively loosening the agitator bolt, you've successfully cleared a significant hurdle in the process of removing the washing machine agitator. This critical step sets the stage for the final phase of agitator removal, bringing you closer to achieving a thorough and meticulous maintenance outcome. With the agitator bolt loosened, you're ready to advance to the subsequent step, marking significant progress in your endeavor to maintain your washing machine with expertise and precision.
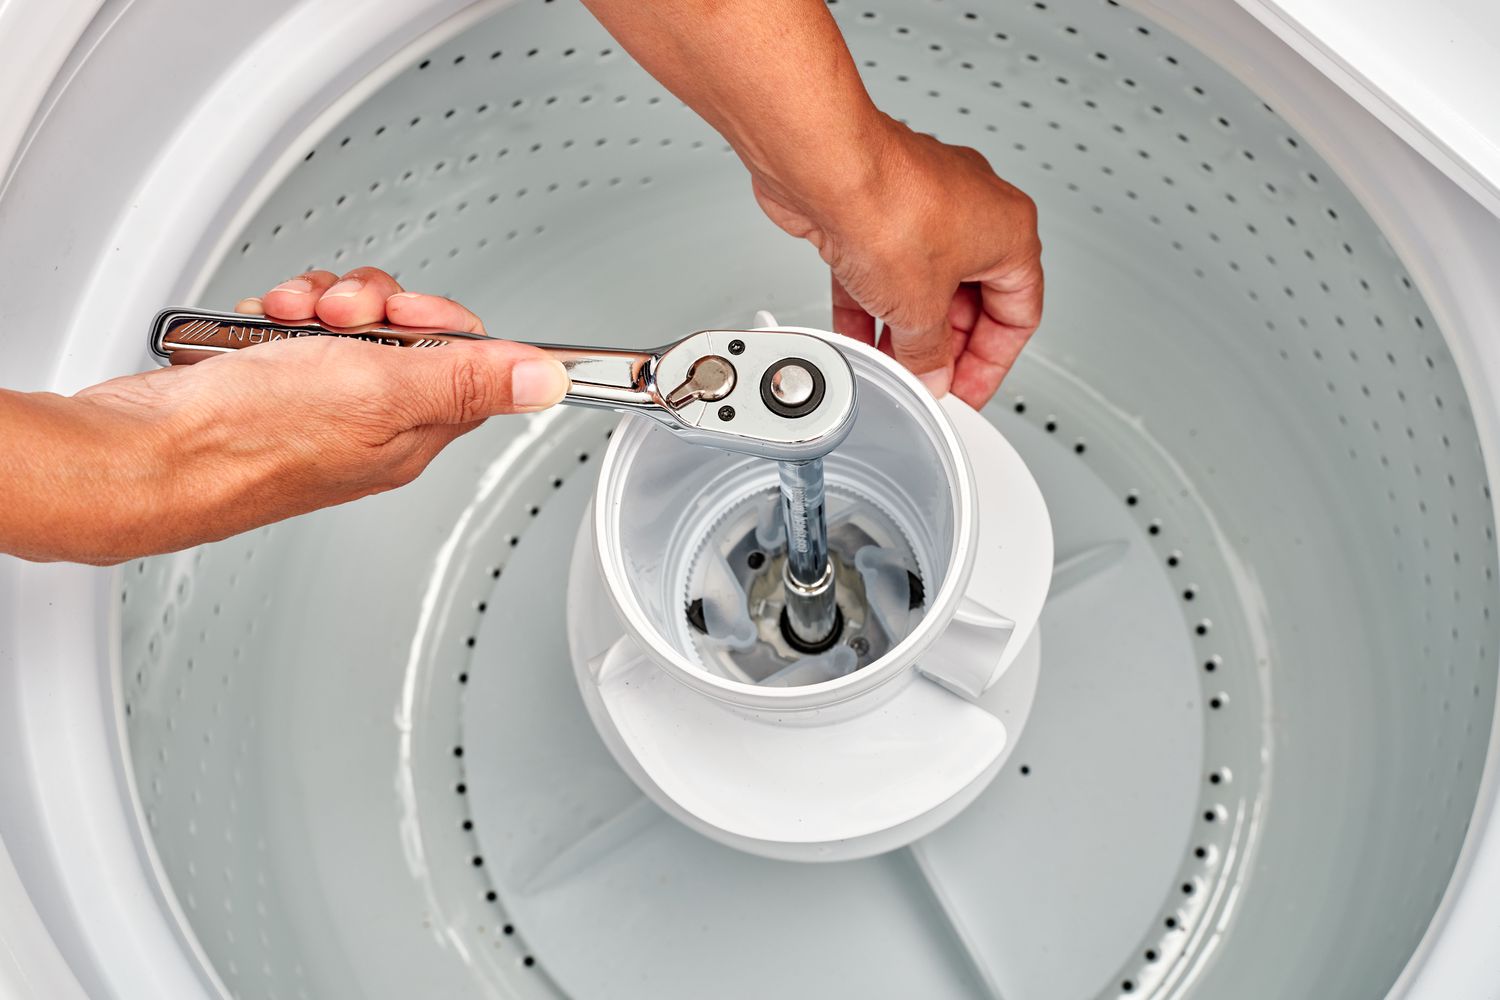
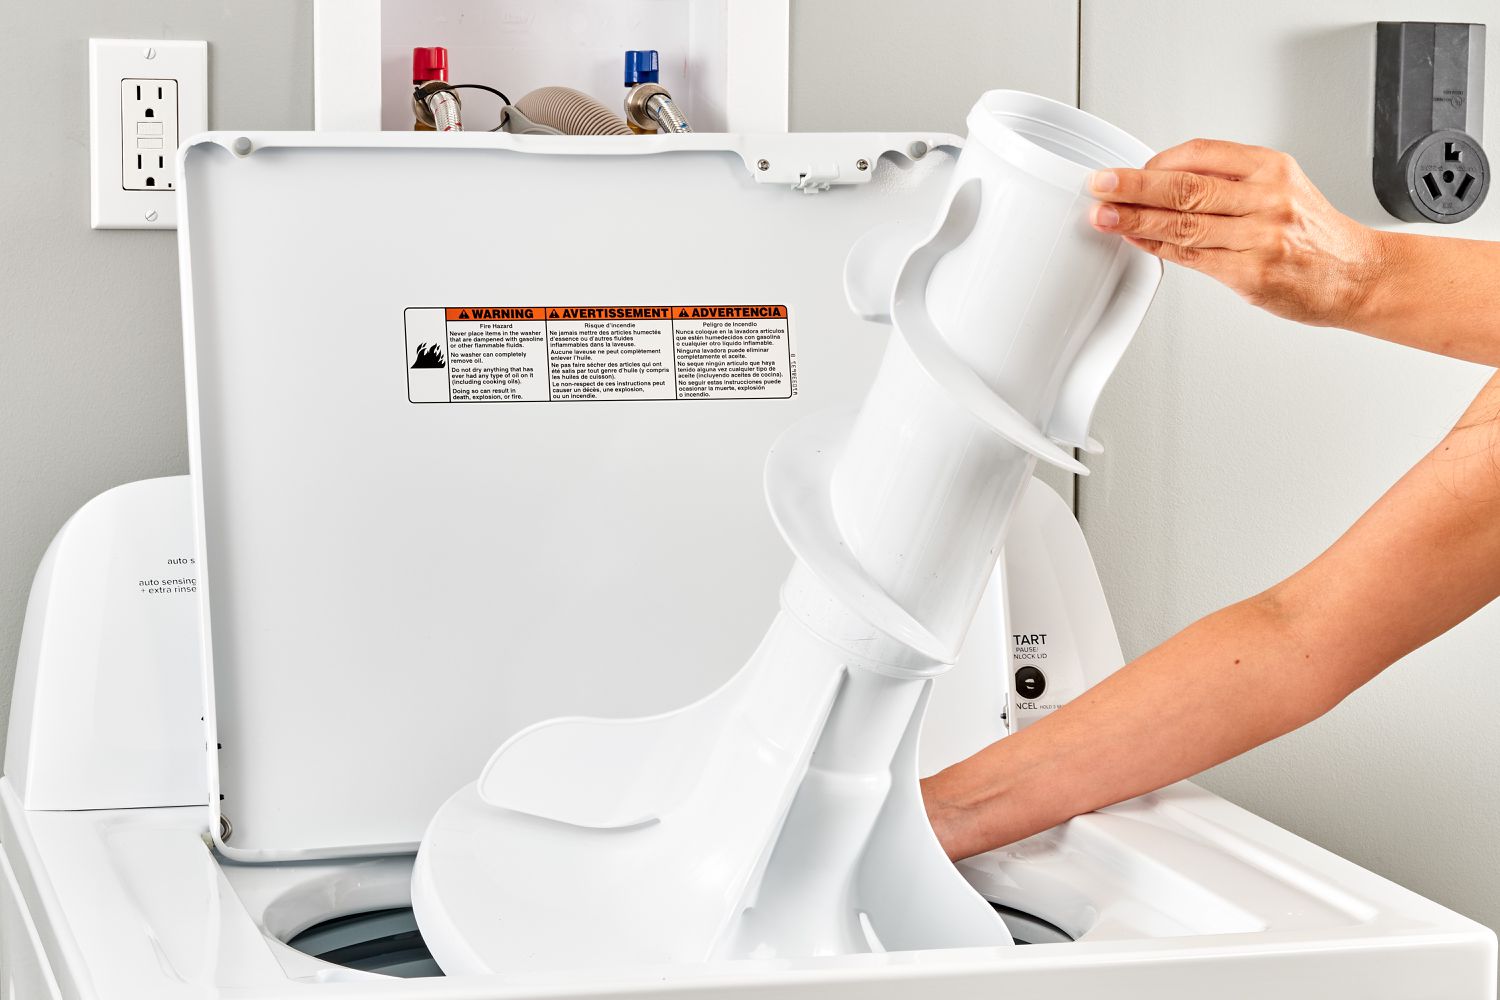
Step 5: Lift Out the Agitator
With the agitator bolt successfully loosened, the final and pivotal step in the process of removing a washing machine agitator involves lifting the agitator out of its position within the appliance. This step requires precision and careful maneuvering to ensure the agitator is safely and effectively dislodged from the driveshaft and removed from the washing machine. Here's a detailed guide on how to lift out the agitator, marking the culmination of the agitator removal process:
-
Grip the Agitator: With the agitator bolt loosened, firmly grip the agitator near its base. Ensure that you have a secure hold on the agitator to prevent any accidental slippage or instability during the lifting process. Additionally, consider wearing protective gloves to safeguard your hands and provide a better grip on the agitator.
-
Apply Upward Force: While maintaining a steady grip, apply gradual upward force to the agitator. It's essential to exert consistent and controlled pressure to disengage the agitator from the driveshaft. As you lift the agitator, be mindful of any resistance or residual tension that may need to be overcome.
-
Rocking Motion: In some instances, gently rocking the agitator from side to side can help loosen it from its position. This rocking motion can aid in dislodging the agitator from any remaining friction or resistance, making it easier to lift out of the washing machine. Exercise caution to avoid excessive force that may damage the agitator or the internal components of the appliance.
-
Inspect for Obstructions: As you lift the agitator, periodically inspect the surrounding area for any potential obstructions or entanglements. Ensure that no hoses, wires, or other components are impeding the removal process. Clear any obstacles that may hinder the smooth extraction of the agitator from the washing machine.
-
Lift Clear of the Driveshaft: Continue to lift the agitator until it is clear of the driveshaft and completely disengaged from its position within the washing machine. Once lifted, set the agitator aside in a safe and designated area, ensuring that it remains secure and undamaged during the maintenance procedure.
By successfully lifting out the agitator, you've completed the crucial process of removing the washing machine agitator, marking the culmination of a comprehensive and meticulous maintenance endeavor. With the agitator safely removed, you've achieved a significant milestone in ensuring the optimal functionality and cleanliness of your washing machine. This final step signifies the successful completion of the agitator removal process, allowing you to proceed with any necessary cleaning, repairs, or replacement with confidence and expertise.
Frequently Asked Questions about How To Remove A Washing Machine Agitator
Was this page helpful?
At Storables.com, we guarantee accurate and reliable information. Our content, validated by Expert Board Contributors, is crafted following stringent Editorial Policies. We're committed to providing you with well-researched, expert-backed insights for all your informational needs.


0 thoughts on “How To Remove A Washing Machine Agitator”