Articles
How To Remove Towel Bar Without Set Screw
Modified: August 27, 2024
Learn how to remove a towel bar without a set screw in this informative article. Follow these simple steps to easily take down your towel bar.
(Many of the links in this article redirect to a specific reviewed product. Your purchase of these products through affiliate links helps to generate commission for Storables.com, at no extra cost. Learn more)
Introduction
Have you ever encountered a towel bar that seems to be stuck and you can’t figure out how to remove it? Don’t worry, you’re not alone. Removing a towel bar without a set screw can be a challenge, but with the right techniques, it can be done efficiently and without causing any damage to your walls or fixtures.
In this article, we’ll explore four different methods that you can use to remove a towel bar without a set screw. These methods include using a rubber mallet, a hair dryer or heat gun, a flathead screwdriver and hammer, and even a power drill if necessary. Each method has its own advantages and can successfully help you tackle the task.
So, if you’re ready to say goodbye to that stubborn towel bar, let’s dive into the step-by-step instructions on how to remove it using these various methods.
Key Takeaways:
- Say goodbye to stubborn towel bars without set screws using gentle methods like a rubber mallet or heat application, ensuring damage-free removal and a clean space.
- Whether it’s adhesive, screws, or anchors, there’s a method for every type of towel bar attachment, from gentle tapping to power drilling, making removal a breeze.
Read more: How To Remove Towel Bar With No Screws
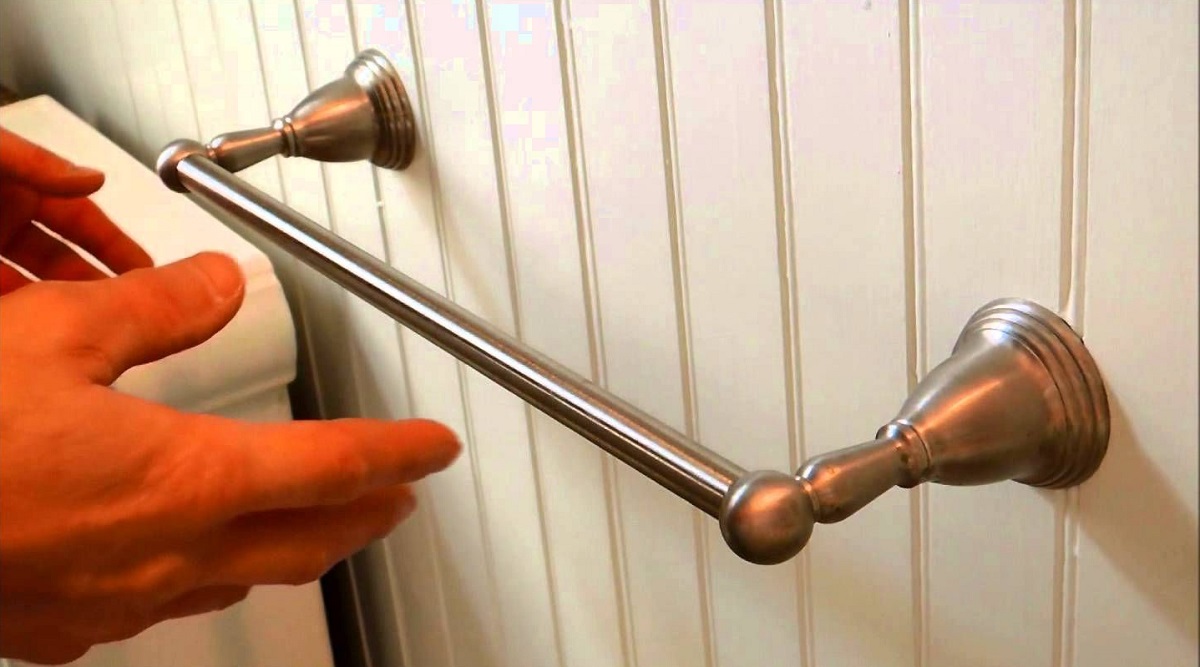
Method 1: Using a Rubber Mallet
Using a rubber mallet is a gentle and effective method for removing a towel bar without a set screw. This method is especially useful if the towel bar is secured with adhesive or caulk. Here’s how to do it:
- Start by protecting the surrounding area. Place a drop cloth or towel on the floor to catch any debris that may fall during the removal process.
- Inspect the towel bar to identify any points of attachment. Look for visible signs of adhesive or caulking.
- Once you’ve identified the attachment points, grip the towel bar firmly with one hand.
- Using the rubber mallet, carefully and gently tap the bottom side of the towel bar near the attachment points.
- Continue tapping and applying pressure with the mallet until the adhesive or caulk starts to loosen.
- If necessary, you can also try wiggling the towel bar back and forth to further loosen the grip.
- Once the adhesive or caulk has sufficiently loosened, the towel bar should be easy to remove by pulling it away from the wall.
It is important to be patient and gentle when using this method to prevent any damage to the wall or fixtures. As you tap with the rubber mallet, ensure that you’re applying enough force to break the attachment, but not so much that you cause any undue stress.
Using a rubber mallet is a popular method because it effectively breaks the bond of the adhesive or caulk without leaving any noticeable marks on the wall. This approach is particularly useful if you’re looking to reuse or repair the towel bar in the future.
Now that you’ve learned how to remove a towel bar using a rubber mallet, let’s move on to the next method: using a hair dryer or heat gun.
Method 2: Using a Hair Dryer or Heat Gun
If the towel bar is attached with adhesive or caulk that is resistant to tapping, using heat can be an effective method to soften the bond and make the removal process easier. Here’s how you can remove a towel bar using a hair dryer or heat gun:
- Before starting the removal process, ensure that the area is clear and protected. Use a drop cloth or towel to cover the surrounding surfaces and flooring.
- Plug in the hair dryer or heat gun and set it to a low or medium heat setting. You want to apply enough heat to soften the adhesive or caulk without causing any damage to the wall or fixtures.
- Aim the heat directly at the attachment points of the towel bar. Hold the hair dryer or heat gun a few inches away from the surface and move it in a circular motion to evenly distribute the heat.
- Continue applying heat for a few minutes, periodically checking the towel bar’s attachment points for any signs of loosening.
- Once the adhesive or caulk has sufficiently softened, use a firm grip and gently pull the towel bar away from the wall.
- If needed, you can also use a flathead screwdriver or putty knife to help pry the towel bar off, but be cautious to avoid damaging the wall or fixtures.
The application of heat helps to break down the adhesive or caulk, making it easier to remove the towel bar without exerting excessive force. It is essential to be patient and cautious during this process to minimize the risk of any damage.
Using a hair dryer or heat gun is a versatile method that can be applied to different towel bar materials, such as metal or plastic. However, it is important to note that this method may not be suitable for towel bars attached with other types of fasteners, such as screws or brackets.
Now that you’ve learned how to remove a towel bar using a hair dryer or heat gun, let’s move on to the next method: using a flathead screwdriver and hammer.
If your towel bar doesn’t have a set screw, it likely has a spring-loaded clip. Look for a small slot or hole on the base of the bracket and use a flathead screwdriver to release the clip and remove the bar.
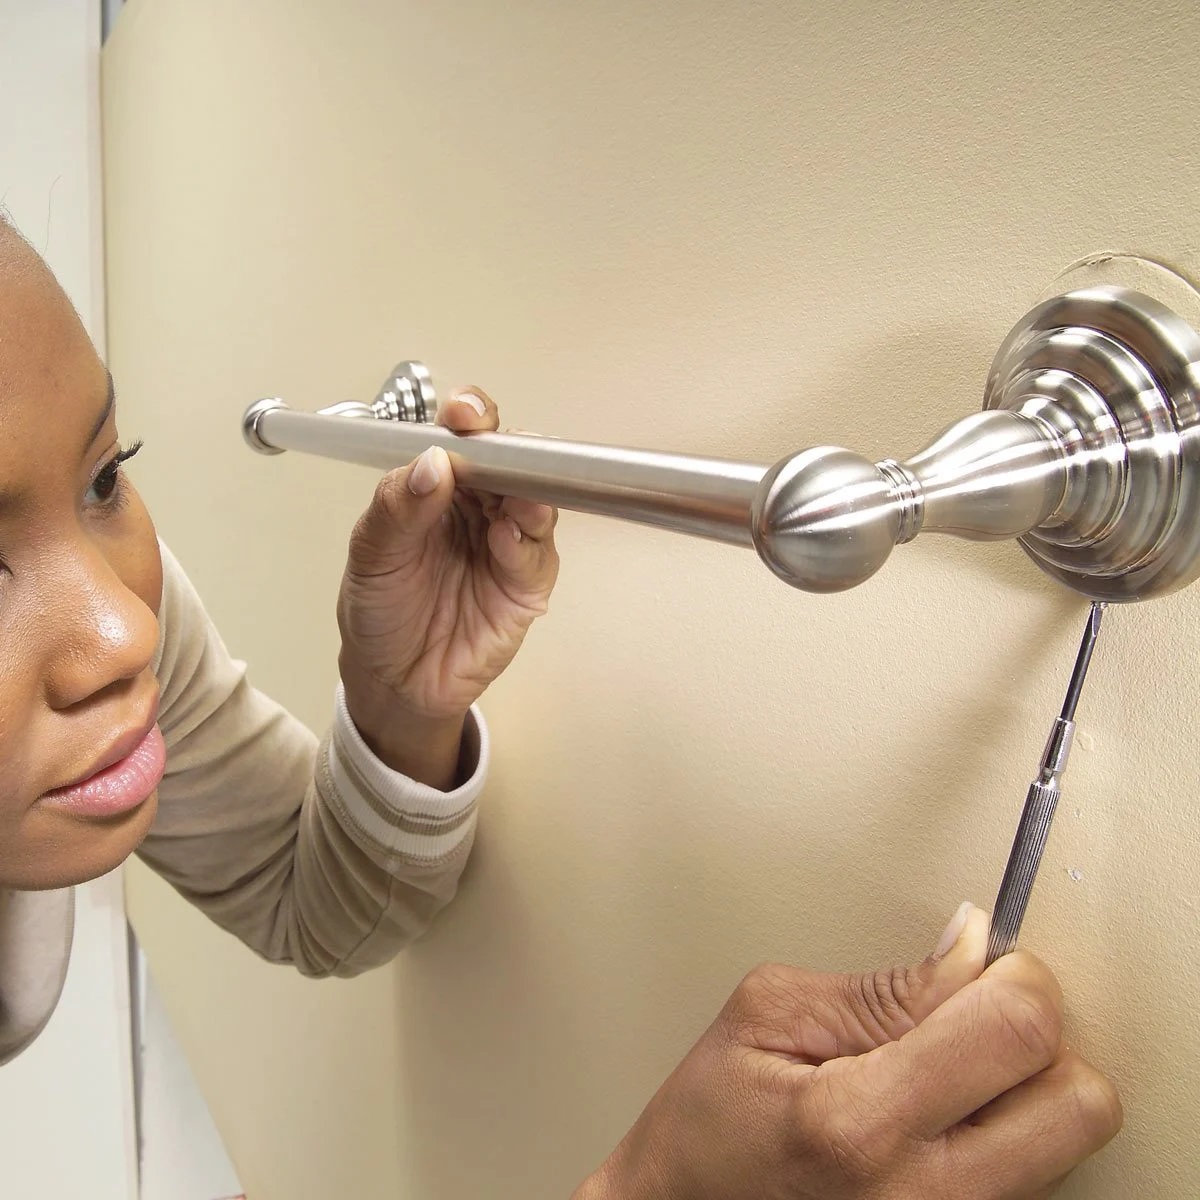
Method 3: Using a Flathead Screwdriver and Hammer
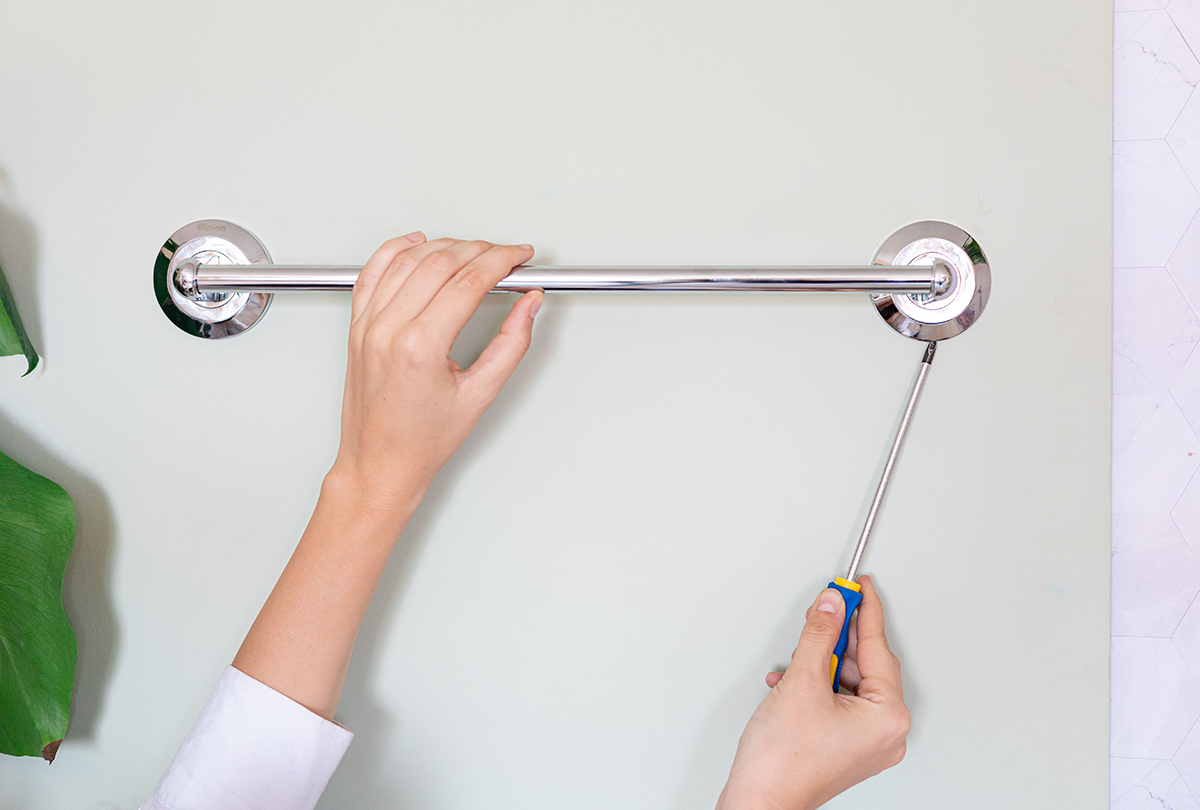
If the towel bar is secured with screws, using a flathead screwdriver and hammer can help you remove it. Here’s a step-by-step guide on how to remove a towel bar using this method:
- Start by assessing the towel bar to locate the screws that hold it in place. Typically, there are two screws on each end of the towel bar.
- Using a flathead screwdriver, insert it into the slot of one of the screws and turn it counterclockwise to loosen the screw.
- If the screw is stubborn and difficult to turn, you can use the hammer to gently tap the back of the screwdriver. This should provide additional leverage and help loosen the screw.
- Repeat the process for the remaining screws, gradually loosening each one until they are completely removed from the wall.
- Once all the screws are removed, the towel bar should be free from the wall. Gently pull it away to detach it completely.
It is important to be careful while using this method to prevent any damage to the towel bar, wall, or other fixtures. Ensure that you have a good grip on the screwdriver and avoid applying excessive force that could strip or damage the screw head.
Using a flathead screwdriver and hammer is a straightforward and effective method for removing towel bars secured with screws. Just ensure that you have the appropriate size of flathead screwdriver that fits snugly into the screw slot to avoid slipping and potentially damaging the screw or the towel bar.
If you come across a towel bar that does not have visible screws or set screws, you can try one of the other methods mentioned earlier, such as using a rubber mallet, a hair dryer or heat gun, or even a power drill.
Now that you’ve learned how to remove a towel bar using a flathead screwdriver and hammer, let’s move on to the final method: using a power drill.
Method 4: Using a Power Drill
If the towel bar is securely attached with screws or anchors, using a power drill can be an effective method for removal. Here’s a step-by-step guide on how to remove a towel bar using a power drill:
- Begin by examining the towel bar to locate the screws or anchors that hold it in place. These are typically found on both ends of the towel bar.
- Choose the appropriate drill bit size for the screws or anchors. Ensure that the drill bit matches the size of the screw head or anchor for a secure fit.
- Insert the drill bit into the chuck of the power drill and tighten it securely.
- Set the power drill to reverse or counterclockwise rotation. This will allow the drill to remove the screws or anchors rather than driving them in further.
- Place the drill bit onto the screw or anchor head and apply gentle pressure to engage the drill.
- Slowly and steadily rotate the power drill in reverse, allowing it to gradually loosen the screws or anchors.
- Continue drilling until the screws or anchors are completely removed from the wall, and the towel bar is free.
- Gently pull the towel bar away from the wall to detach it completely.
It is crucial to handle the power drill with care to avoid any mishaps or injuries. Be sure to wear safety goggles and follow the manufacturer’s instructions for operating the power drill safely.
Using a power drill provides a quick and efficient way to remove towel bars that are firmly secured with screws or anchors. However, be cautious not to over-tighten the drill or apply excessive force, as it could cause damage to the towel bar or wall.
If you are not confident in using a power drill or do not have access to one, it is recommended to explore the other methods mentioned earlier, such as using a rubber mallet, a hair dryer or heat gun, or a flathead screwdriver and hammer.
Now that you’ve learned how to remove a towel bar using a power drill, it’s time to wrap up our discussion.
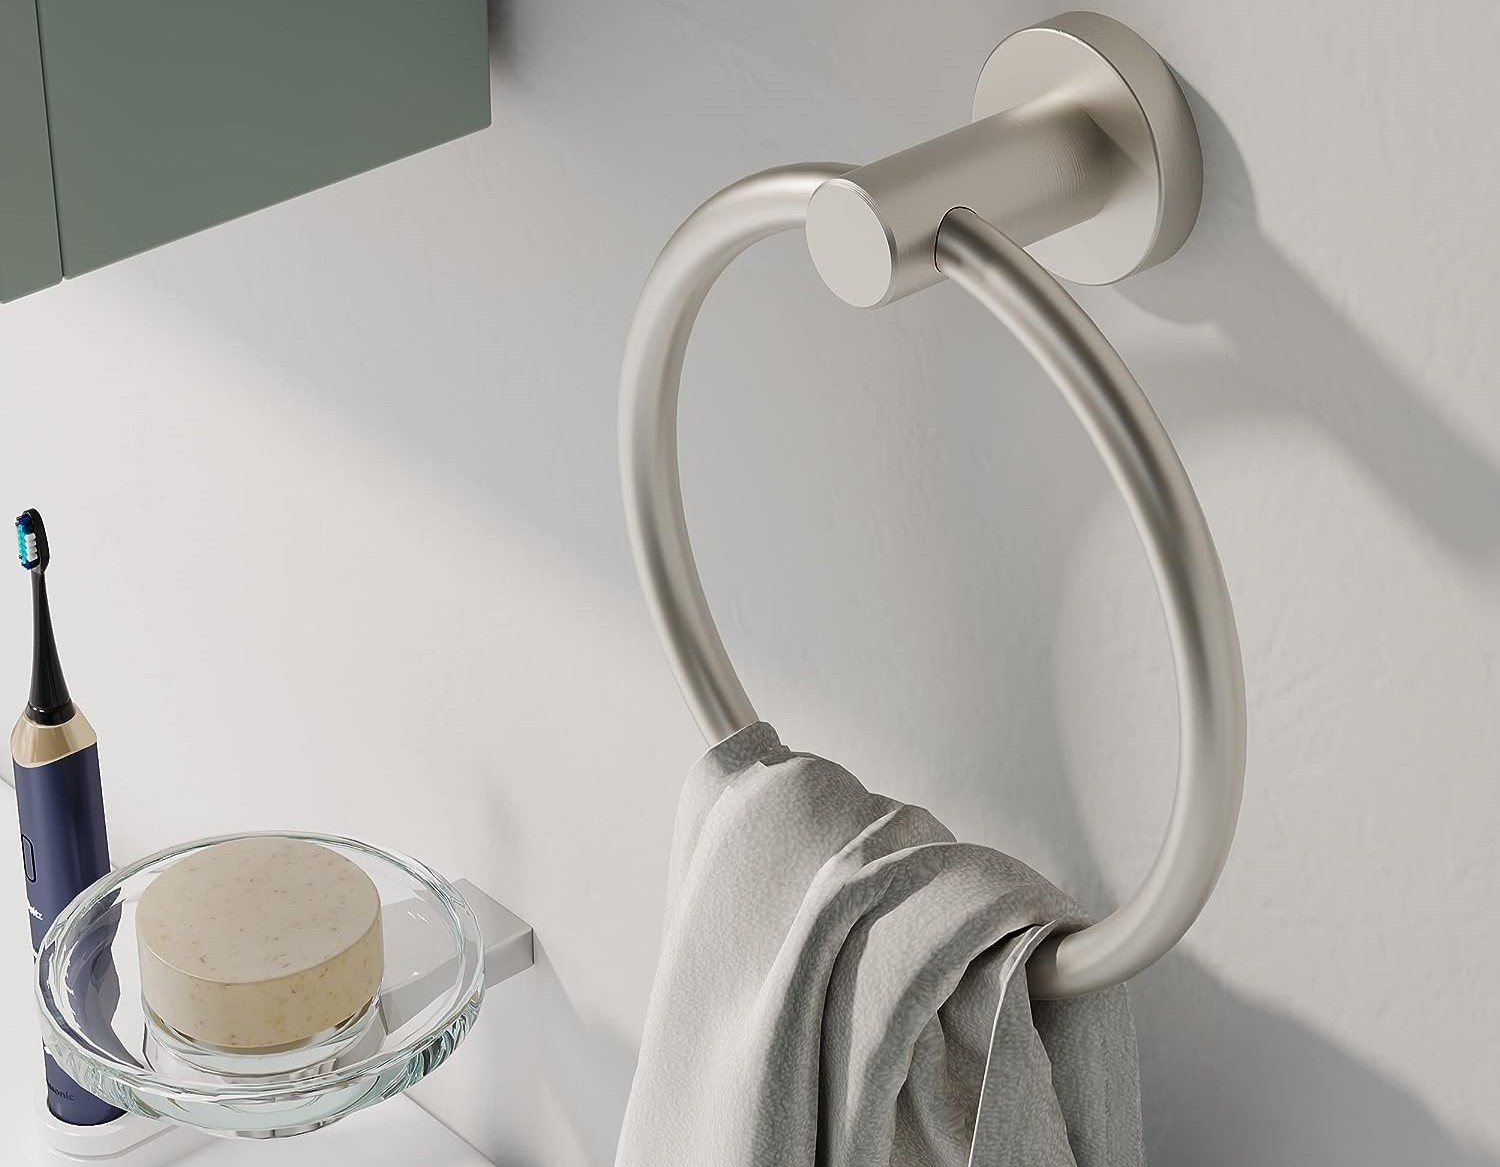
Read more: How To Remove Towel Ring Without Set Screw
Conclusion
Removing a towel bar without a set screw may seem like a daunting task, but with the right methods, it can be done effectively and without causing any damage. In this article, we explored four different methods for removing a towel bar: using a rubber mallet, a hair dryer or heat gun, a flathead screwdriver and hammer, and a power drill.
Each method offers its own unique advantages and is suitable for different types of towel bar attachments. The rubber mallet method is gentle and effective for adhesive or caulk, while the hair dryer or heat gun method is ideal for softening the bond. The flathead screwdriver and hammer method is great for towel bars secured with screws, and the power drill method provides efficiency for firmly attached screws or anchors.
Throughout the removal process, it is important to be cautious, patient, and attentive to prevent any damage to the wall, fixtures, or the towel bar itself. Take the necessary precautions, such as using drop cloths or towels to protect the surrounding area, and ensure the tools you’re using are appropriate for the specific method you choose.
If you encounter any difficulties or are unsure about using these methods, it is always recommended to seek professional assistance. Hiring a handyman or a professional can ensure the proper removal of the towel bar without causing any unnecessary damage.
Now that you have a variety of techniques at your disposal, you can confidently tackle the task of removing a towel bar without a set screw. Remember to choose the method that best suits your situation and enjoy the convenience of a clean and tidy space without that stubborn towel bar.
Now that you've mastered removing a towel bar without a set screw, why stop there? If you're eyeing a bigger project, perhaps considering a bathroom overhaul, you might wonder about the time commitment involved. Our detailed guide on how long a bathroom renovation takes offers insights into timelines and planning. Additionally, if you're facing challenges with other fixtures, our step-by-step instructions on how to get a towel bar off the wall could simplify your DIY tasks. Keep your toolbelt handy and continue enhancing your home improvement skills!
Frequently Asked Questions about How To Remove Towel Bar Without Set Screw
Was this page helpful?
At Storables.com, we guarantee accurate and reliable information. Our content, validated by Expert Board Contributors, is crafted following stringent Editorial Policies. We're committed to providing you with well-researched, expert-backed insights for all your informational needs.


0 thoughts on “How To Remove Towel Bar Without Set Screw”