Furniture
How To Remove Drawers From An Ashley Dresser
Modified: May 6, 2024
Learn how to easily remove drawers from an Ashley dresser and enhance your furniture rearranging experience. Expert tips and step-by-step instructions for removing drawers safely.
(Many of the links in this article redirect to a specific reviewed product. Your purchase of these products through affiliate links helps to generate commission for Storables.com, at no extra cost. Learn more)
Introduction
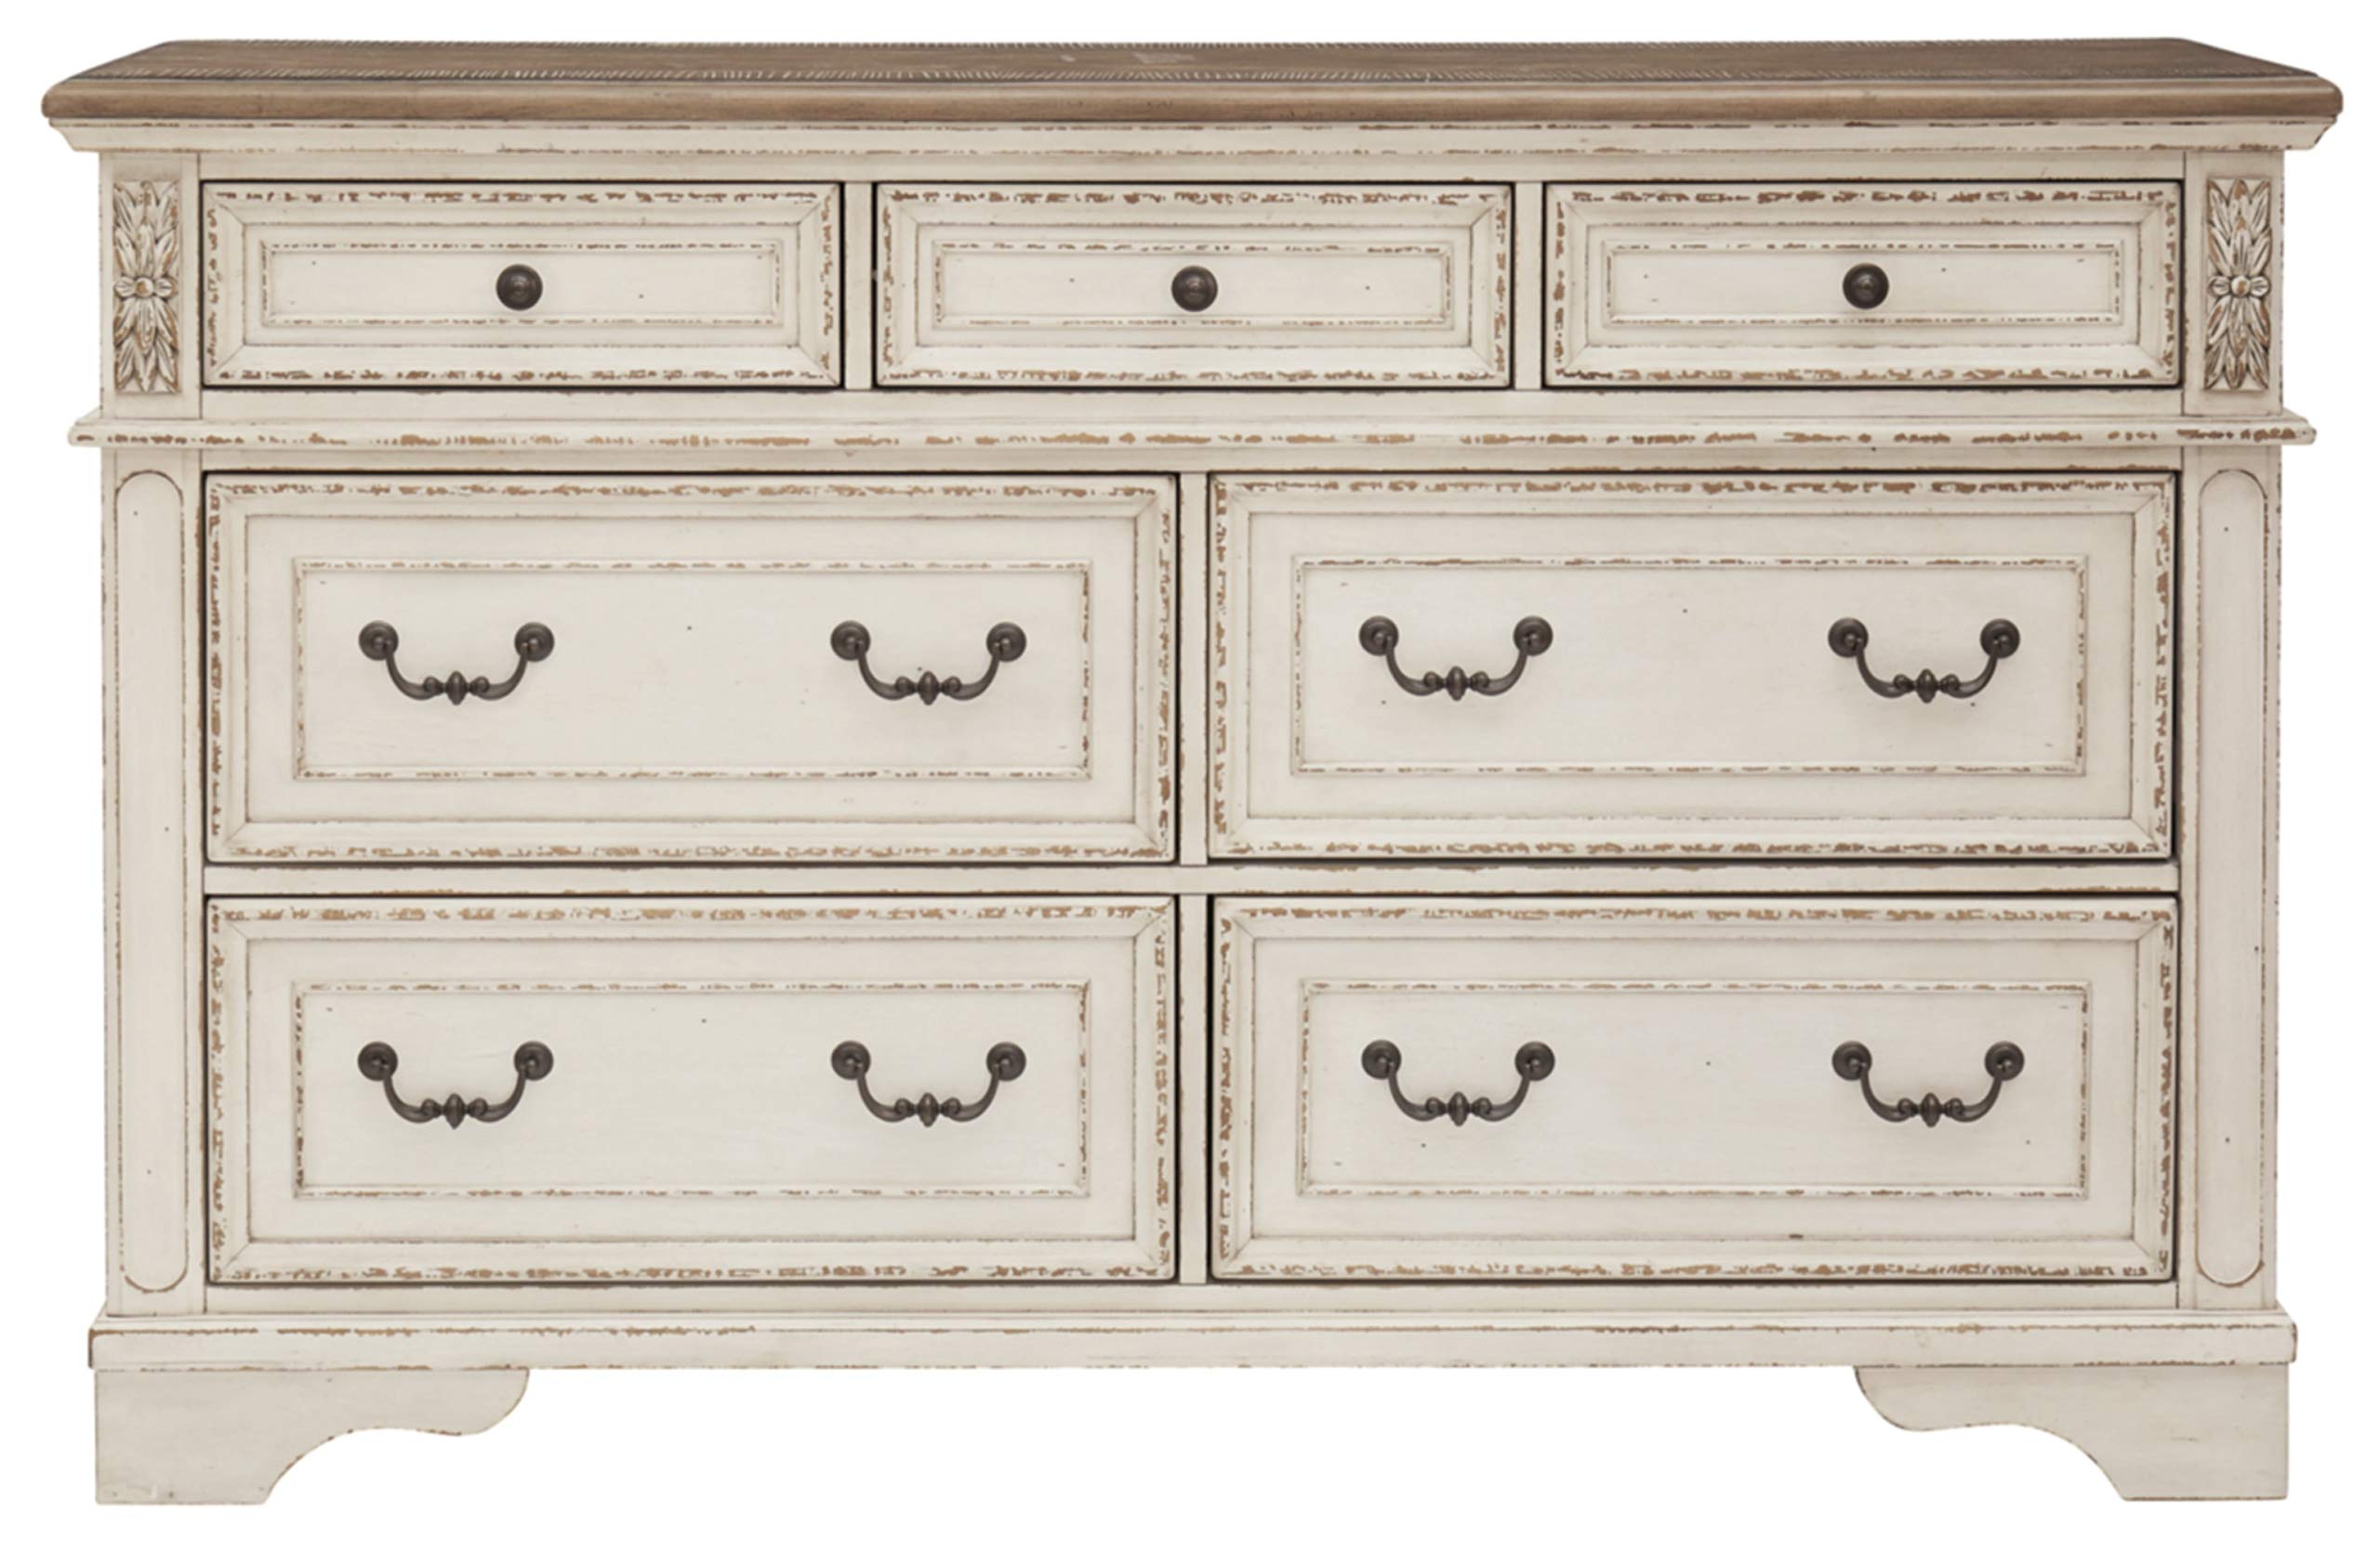
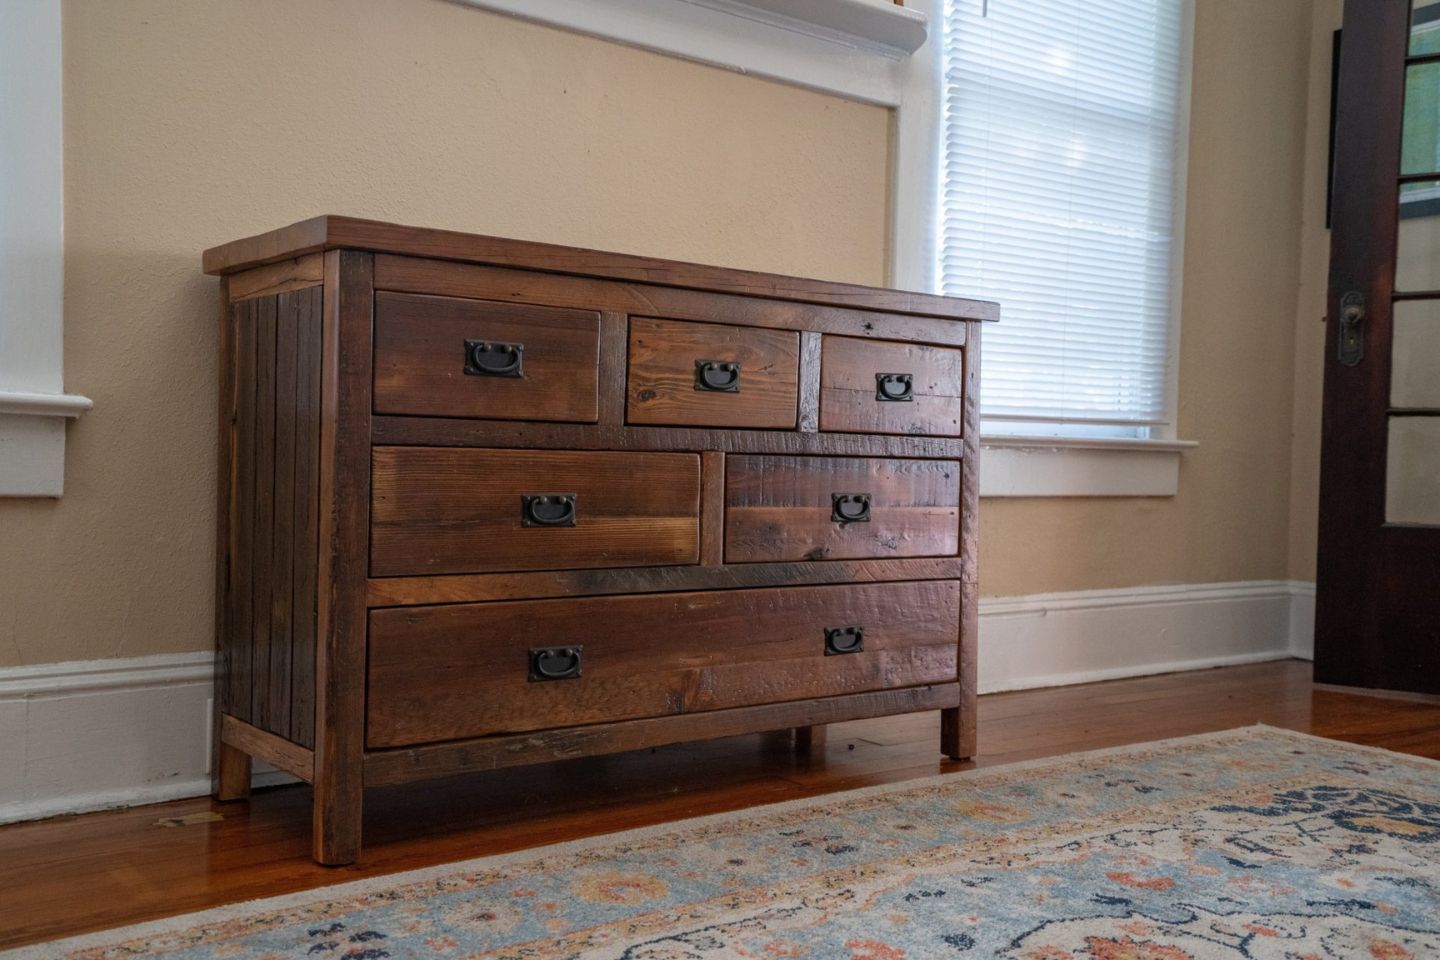
When it comes to furniture, a dresser is an essential and practical piece that offers both storage and style. Ashley dressers, in particular, are known for their quality craftsmanship and timeless designs. Whether you’re moving, redecorating, or simply need to clean, removing the drawers from your Ashley dresser is a necessary task.
Properly removing the drawers not only allows for easier access to the inside of the dresser but also ensures the safety of the drawers and the longevity of the piece. However, removing the drawers from an Ashley dresser may seem like a daunting task, especially if you’ve never done it before.
In this article, we will guide you through the step-by-step process of removing drawers from an Ashley dresser. Whether you have a large dresser with multiple drawers or a smaller one with just a few, our comprehensive instructions will help you complete this task with ease.
Before we dive into the steps, it’s important to note that the exact method of removing drawers may vary slightly depending on the specific model of your Ashley dresser. However, the general principles remain the same, and our instructions will provide you with a solid foundation to work from.
So, let’s get started and learn how to remove drawers from your Ashley dresser, ensuring a smooth and hassle-free process.
Key Takeaways:
- Properly removing and reinstalling drawers from your Ashley dresser ensures easy access, longevity, and functionality of your furniture piece, while also providing an opportunity to declutter and organize your belongings.
- Whether your Ashley dresser drawers slide or lift, following the step-by-step instructions in this guide will help you confidently tackle the task, maintain a well-organized living space, and keep your furniture in optimal condition for years to come.
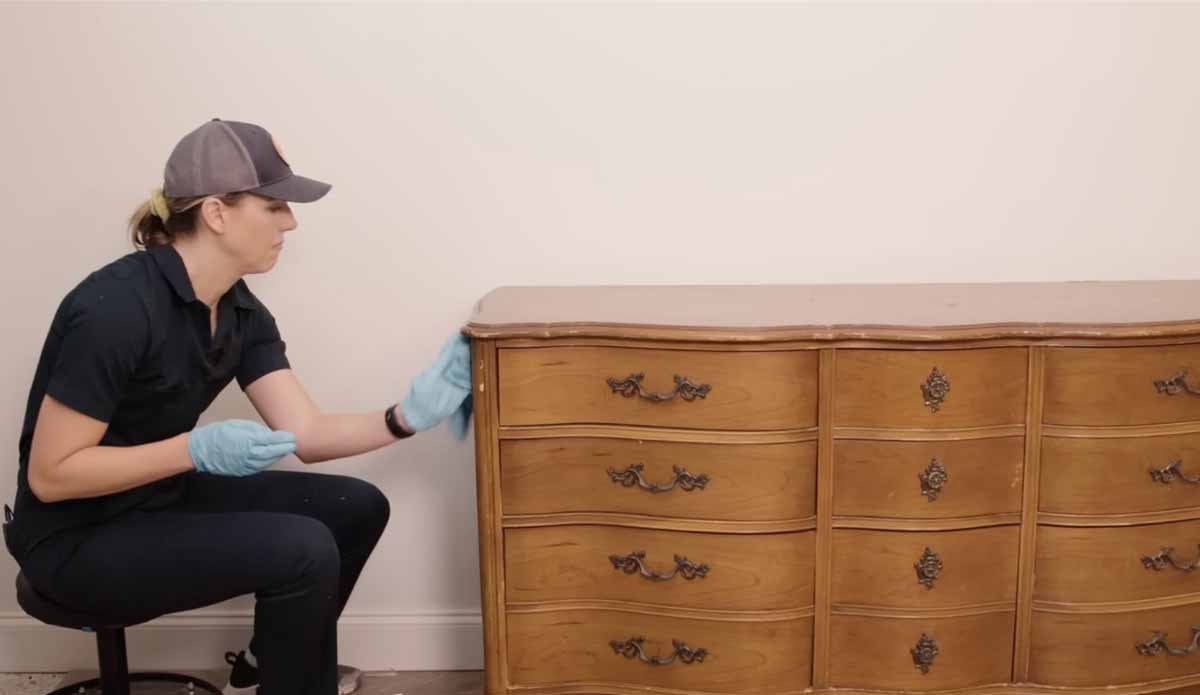
Step 1: Clearing the Dress drawers
Before you begin removing the drawers from your Ashley dresser, it’s important to clear out any items that may be stored inside. Take the time to empty the drawers completely, ensuring that there are no loose items or clothing left behind.
It’s a good idea to organize the items as you remove them, placing them in designated piles or boxes. This will make the process of reorganizing and returning the items to the dresser much easier later on.
As you clear out each drawer, take the opportunity to declutter and organize. Remove any items that you no longer need or want, and set them aside for donation or disposal. This will not only create space in your dresser but also help you maintain a more organized and clutter-free living environment.
Once the drawers are emptied, it’s time to move on to the next step of removing the drawers. Follow along with our instructions for a smooth and successful drawer removal process.
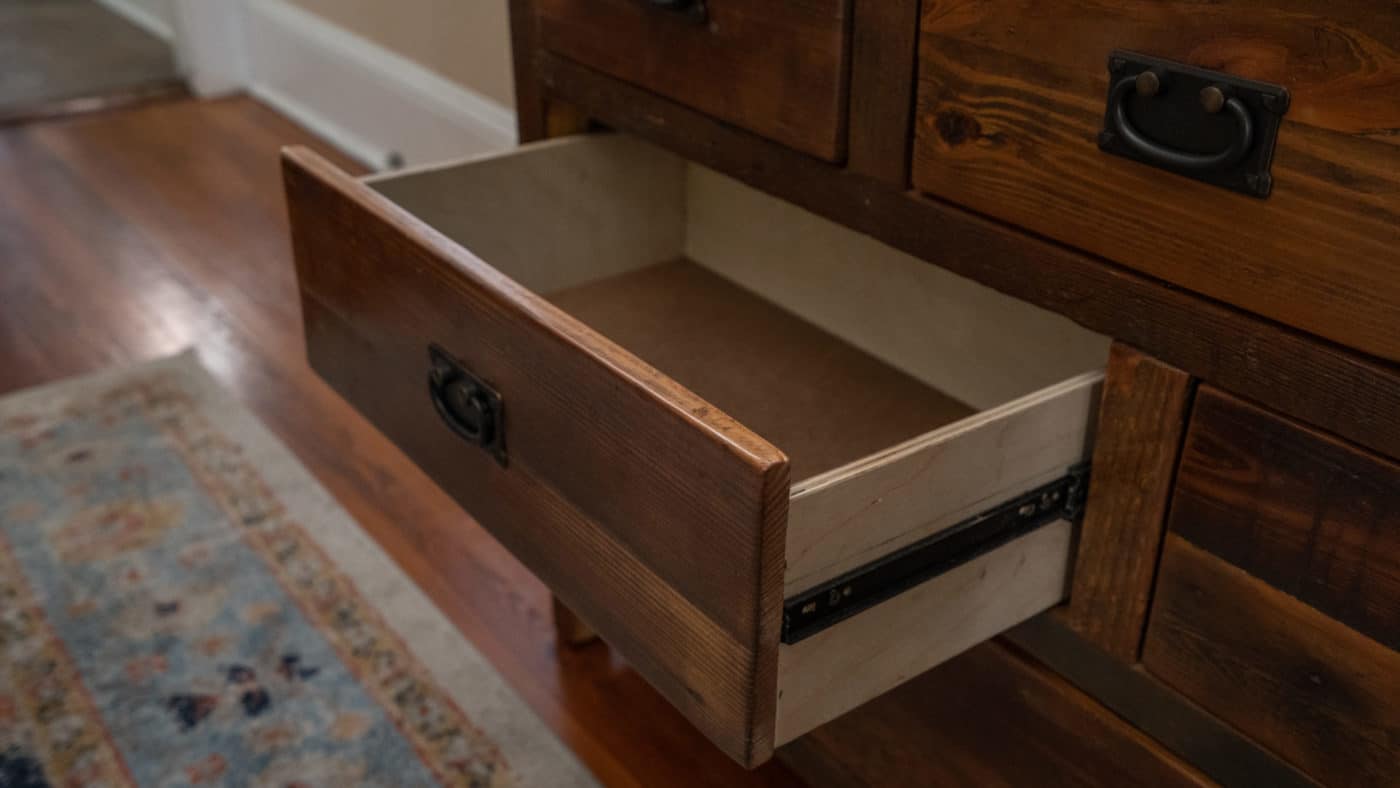
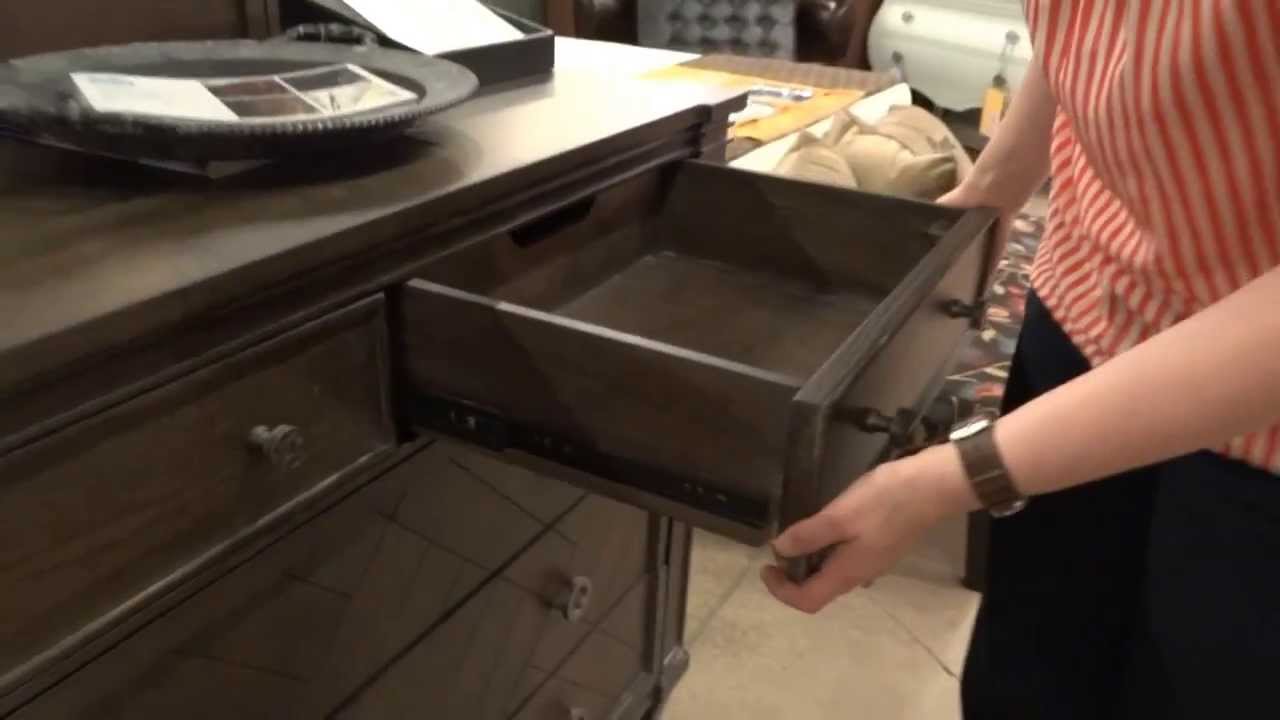
Step 2: Sliding Drawer Removal
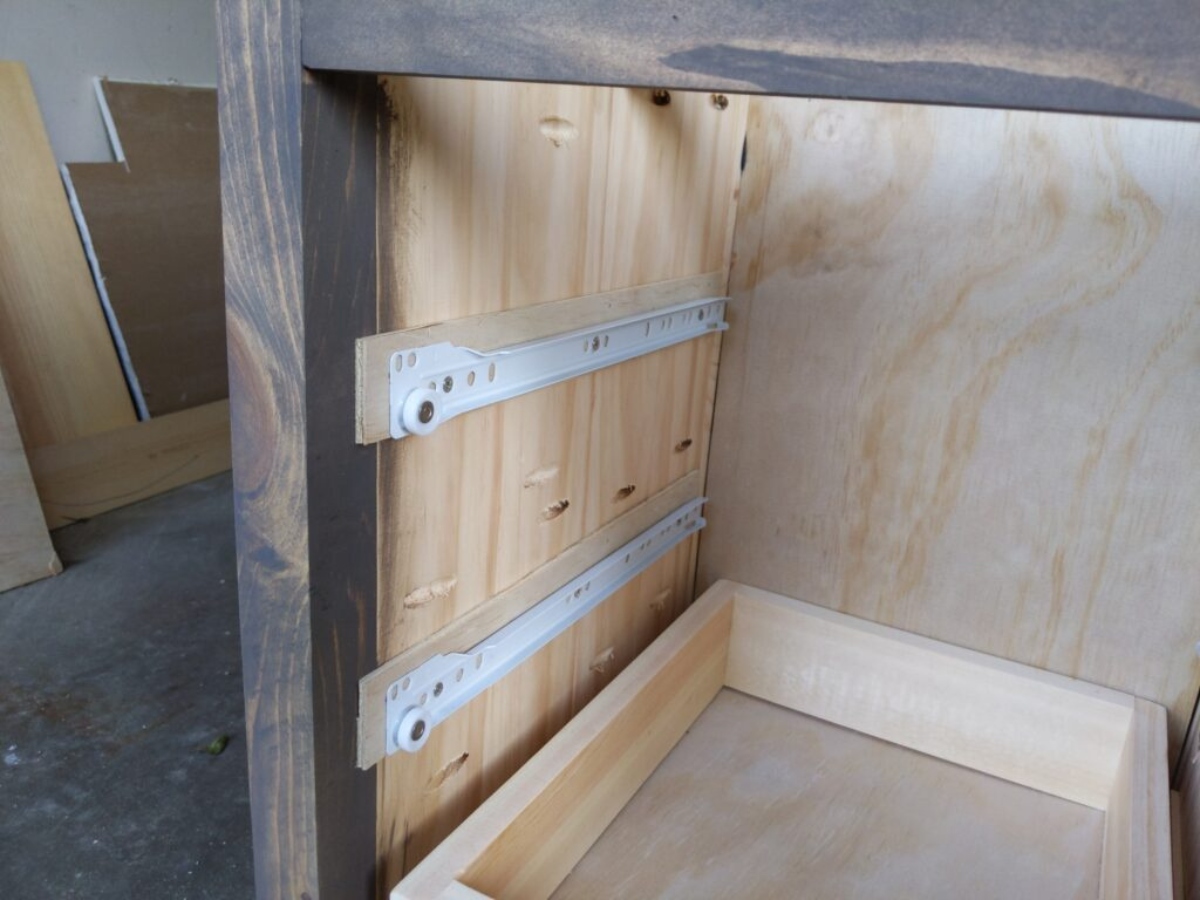
In this step, we will guide you through the process of removing a sliding drawer from your Ashley dresser. This method is commonly used for dressers that have drawers with metal or wooden glides.
1. Start by fully opening the drawer. Look for any stops or locks that may be preventing the drawer from being removed. In some cases, there may be a latch or release mechanism that needs to be disengaged. If you encounter any stops, consult the dresser’s manual or contact the manufacturer for specific instructions on how to remove them.
2. Once any stops or locks have been disengaged, locate the metal or wooden glides on either side of the drawer. These are typically located on the inner sides of the dresser.
3. With a firm grip on the drawer, slowly and steadily pull the drawer towards you. As you do this, you will feel the glides sliding along the tracks. Continue pulling until the drawer is fully extended from the dresser.
4. Once the drawer is fully extended, lift it slightly to disengage it from the glides. Be cautious not to tilt the drawer too much, as this can cause it to tip forward and potentially damage the dresser or the drawer itself.
5. Carefully lower the drawer and set it aside in a safe location. Repeat this process for each sliding drawer in your Ashley dresser.
Removing sliding drawers is typically straightforward and requires minimal effort. However, if you encounter any difficulties or resistance during the process, it’s important to stop and assess the situation. Avoid exerting excessive force, as this can lead to damage or injury. Instead, consult the dresser’s manual or seek professional assistance if needed.
With the sliding drawers successfully removed, you can move on to the next step of the process: lifting drawer removal. Stay tuned for our instructions on how to remove drawers that are lifted out of the dresser.
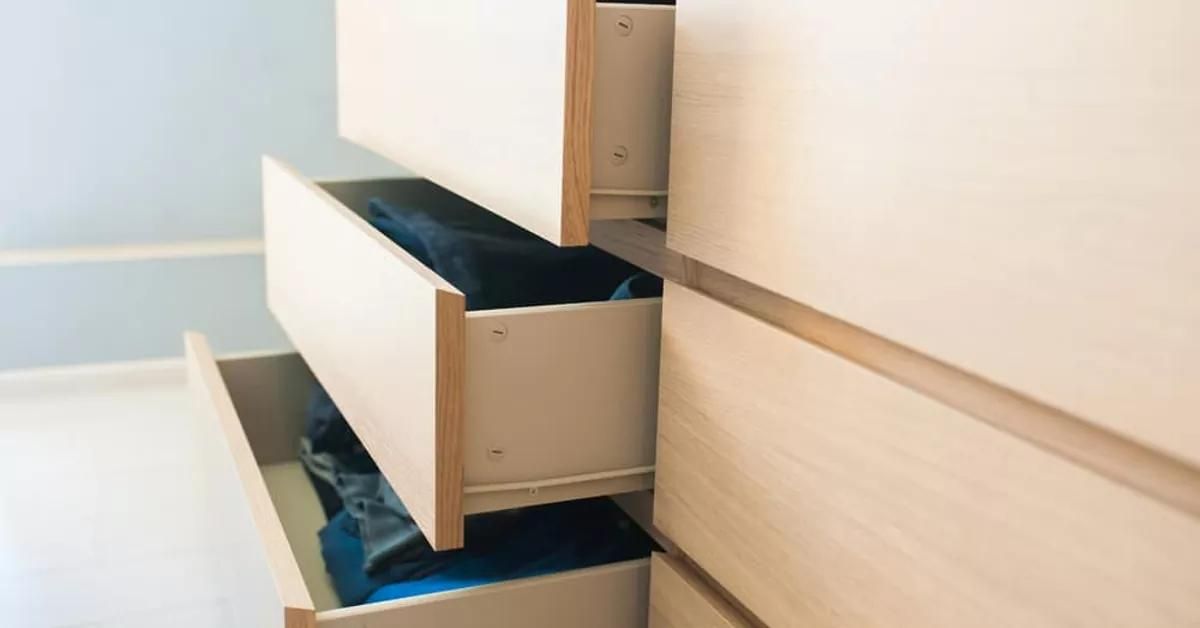
Step 3: Lifting Drawer Removal
In this step, we will walk you through the process of removing a lifting drawer from your Ashley dresser. This method is commonly used for dressers that have drawers without glides, where the drawers are simply lifted and pulled out.
1. Begin by fully opening the drawer and emptying its contents, just as you did in Step 1. Make sure there is no obstruction or any items left inside the drawer.
2. Locate the drawer stops or safety locks on the side or back of the drawer. These stops prevent the drawer from accidentally being pulled out too far. Depending on the specific model of your Ashley dresser, the stops may take different forms, such as pins, levers, or metal tabs. Use your fingers or a screwdriver to release or disengage these stops.
3. Once the stops are disengaged, firmly grip both sides of the drawer with your hands. Be cautious of any sharp edges or corners and use gloves if necessary for added protection.
4. Lift the drawer slightly upward while simultaneously pulling it towards you. Use a steady and controlled motion to ensure the drawer smoothly disengages from the dresser’s frame.
5. Once the drawer is fully lifted, carefully pull it out completely from the dresser. Set it aside in a safe location.
6. Repeat the process with each lifting drawer in your Ashley dresser until all drawers have been removed.
Removing lifting drawers may require a bit more strength and effort compared to sliding drawers, as you need to lift and pull them out. Take your time and be cautious to avoid any strain or damage to yourself or the dresser.
Now that you have successfully removed the lifting drawers, it’s time to move on to the next step: removing safety stops. Follow along for our instructions on how to remove safety stops from your Ashley dresser.
To remove drawers from an Ashley dresser, start by pulling the drawer out as far as it will go. Then, lift the front of the drawer slightly and tilt it downward to release the drawer from the track. Finally, carefully pull the drawer out completely.
Step 4: Removing Safety Stops
In this step, we will guide you through the process of removing safety stops from your Ashley dresser. Safety stops are mechanisms that prevent the drawers from being fully removed or accidentally falling out of the dresser. Removing these stops will allow for complete drawer removal and easier access to the interior of the dresser.
1. Examine each drawer carefully, looking for any safety stop mechanisms. These stops are typically located on the sides or back of the drawer, near the tracks or glides.
2. Depending on the specific model of your Ashley dresser, the safety stops may take different forms. Some common types include metal levers, plastic tabs, or spring-loaded mechanisms. Identify the type of safety stop present in your dresser.
3. To remove a metal lever or plastic tab, locate the release or disengaging point. This may require pushing or pulling the lever or tab in a specific direction. Follow the natural movement of the mechanism to release it from the drawer or the dresser’s frame.
4. If the safety stop is a spring-loaded mechanism, carefully push or compress the mechanism to release the drawers. This may involve pushing in a certain direction or applying pressure on specific points.
5. Once the safety stops are disengaged, you should be able to pull the drawers completely out of the dresser. Set them aside in a safe location.
6. Repeat this process for each drawer, ensuring that all safety stops have been properly removed.
By removing the safety stops, you have now gained full access to the interior of your Ashley dresser. This makes cleaning, organizing, or any other necessary tasks much easier and more convenient to perform.
Now that the safety stops have been removed, let’s move on to the final step: reinstalling the drawers. Stay tuned for our instructions on how to properly reinstall the drawers in your Ashley dresser.
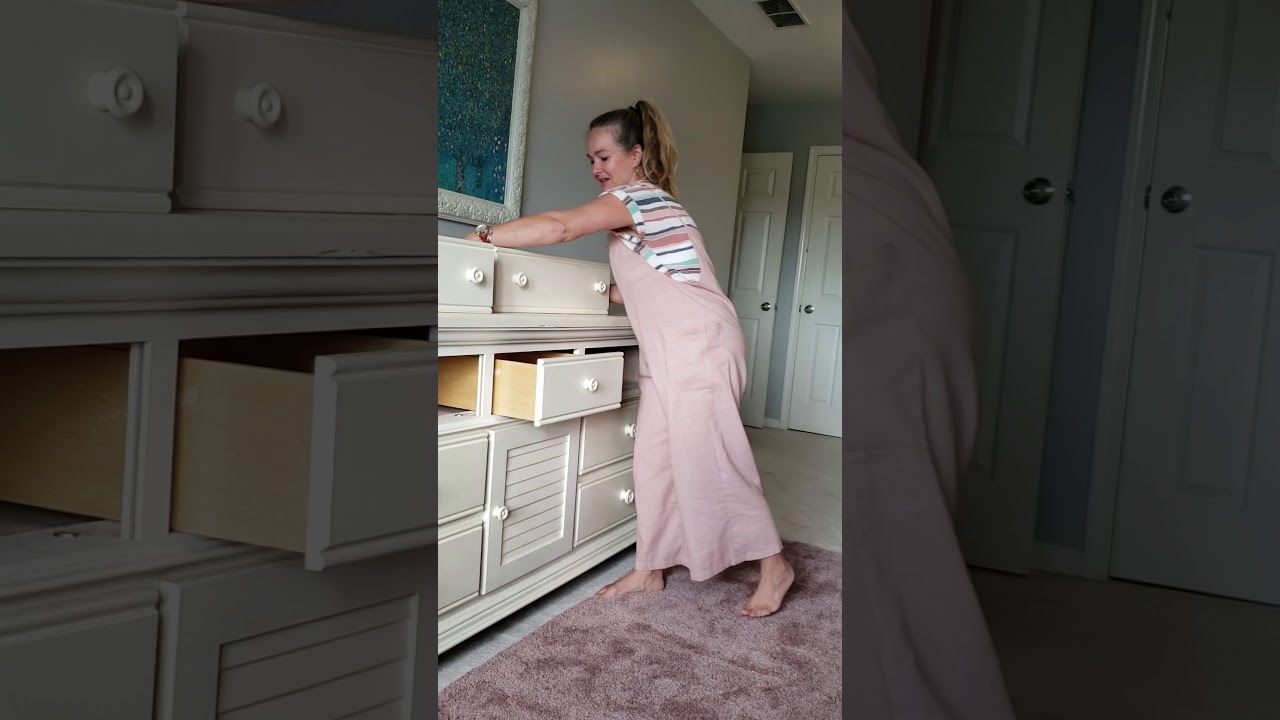
Step 5: Reinstalling the Drawers
In this final step, we will guide you through the process of reinstalling the drawers back into your Ashley dresser. Properly reinstalling the drawers is essential to ensure they fit snugly and function correctly within the dresser.
1. Before reinstalling the drawers, make sure the interior of the dresser is clean and free from any debris or dust. This will prevent any unwanted particles from getting inside the drawers.
2. Starting with the bottom drawer, align the drawer with the opening in the dresser. Ensure that the drawer slides or glides are properly lined up with the tracks or grooves.
3. Slowly and carefully push the drawer back into the dresser, making sure it glides smoothly along the tracks or slides. Apply even pressure on both sides of the drawer to avoid any tilting or jamming.
4. Continue with each drawer, working your way up from the bottom. Ensure that each drawer is properly aligned and fully inserted into the dresser before moving on to the next one.
5. Once all the drawers are reinstalled, test them by opening and closing each one. Check for smooth movement and ensure that they are securely in place.
6. If your Ashley dresser has safety stops, now is the time to reengage them. Follow the manufacturer’s instructions or consult the dresser’s manual to properly reset the safety stops and ensure the drawers are secure.
With the drawers successfully reinstalled in your Ashley dresser, take a moment to admire your newly organized and functional storage space. Make any necessary adjustments to ensure the drawers are aligned and level within the dresser.
Congratulations! You have completed the process of removing and reinstalling drawers from your Ashley dresser. This task not only allows for better access and organization but also helps maintain the longevity and functionality of your beloved furniture piece.
Remember to consult the specific instructions provided by the manufacturer or refer to the dresser’s manual if you encounter any challenges or have any doubts during the process.
Now that you’re well-equipped with the knowledge and skills to remove and install drawers, you can confidently tackle any future furniture-related tasks that come your way.
Thank you for following along with our step-by-step guide. We hope this article has been helpful in assisting you with your Ashley dresser drawer removal process.
Conclusion
Removing and reinstalling drawers from your Ashley dresser can seem like a daunting task, but with the right guidance, it can be a straightforward and rewarding process. We have provided you with step-by-step instructions to help you successfully remove and reinstall drawers, whether they slide or lift, from your Ashley dresser.
By following these instructions, you can easily access the interior of your dresser for cleaning, organizing, or any other necessary tasks. Properly removing and reinstalling drawers also ensures their longevity and functionality, keeping your dresser in optimal condition for years to come.
Remember to always take precautions when removing or installing drawers, such as emptying the drawers beforehand and being mindful of any safety stops or mechanisms. If you encounter any difficulties or have concerns about your specific Ashley dresser model, consult the manufacturer’s instructions or seek professional assistance.
Taking the time to remove and reinstall drawers not only enhances the functionality of your Ashley dresser but also provides an opportunity to declutter and organize your belongings. Use this process as an opportunity to reassess the items stored in your dresser and make decisions about what to keep, donate, or discard.
We hope this comprehensive guide has helped you navigate the process of removing and reinstalling drawers from your Ashley dresser with ease. By following the steps provided, you can maintain the beauty and functionality of your furniture piece while enjoying a well-organized living space.
Thank you for choosing Ashley furniture, and we wish you success in all of your furniture-related endeavors!
Now that you've mastered removing drawers from your Ashley dresser, why not delve deeper into the origins of this stylish furniture? Our article on Ashley Furniture will reveal fascinating facts about where and how these elegant pieces are crafted. If your bedroom is bursting at the seams, don't fret! We've got practical advice on Bedroom Organization to help you streamline your space in just ten steps, making room for what truly matters.
Frequently Asked Questions about How To Remove Drawers From An Ashley Dresser
Was this page helpful?
At Storables.com, we guarantee accurate and reliable information. Our content, validated by Expert Board Contributors, is crafted following stringent Editorial Policies. We're committed to providing you with well-researched, expert-backed insights for all your informational needs.


0 thoughts on “How To Remove Drawers From An Ashley Dresser”