Home>Furniture>How To Remove Drawers From A Pottery Barn Dresser
Furniture
How To Remove Drawers From A Pottery Barn Dresser
Modified: May 6, 2024
Learn the easy step-by-step process of removing drawers from your Pottery Barn dresser. Discover the best techniques to safely handle your furniture.
(Many of the links in this article redirect to a specific reviewed product. Your purchase of these products through affiliate links helps to generate commission for Storables.com, at no extra cost. Learn more)
Introduction
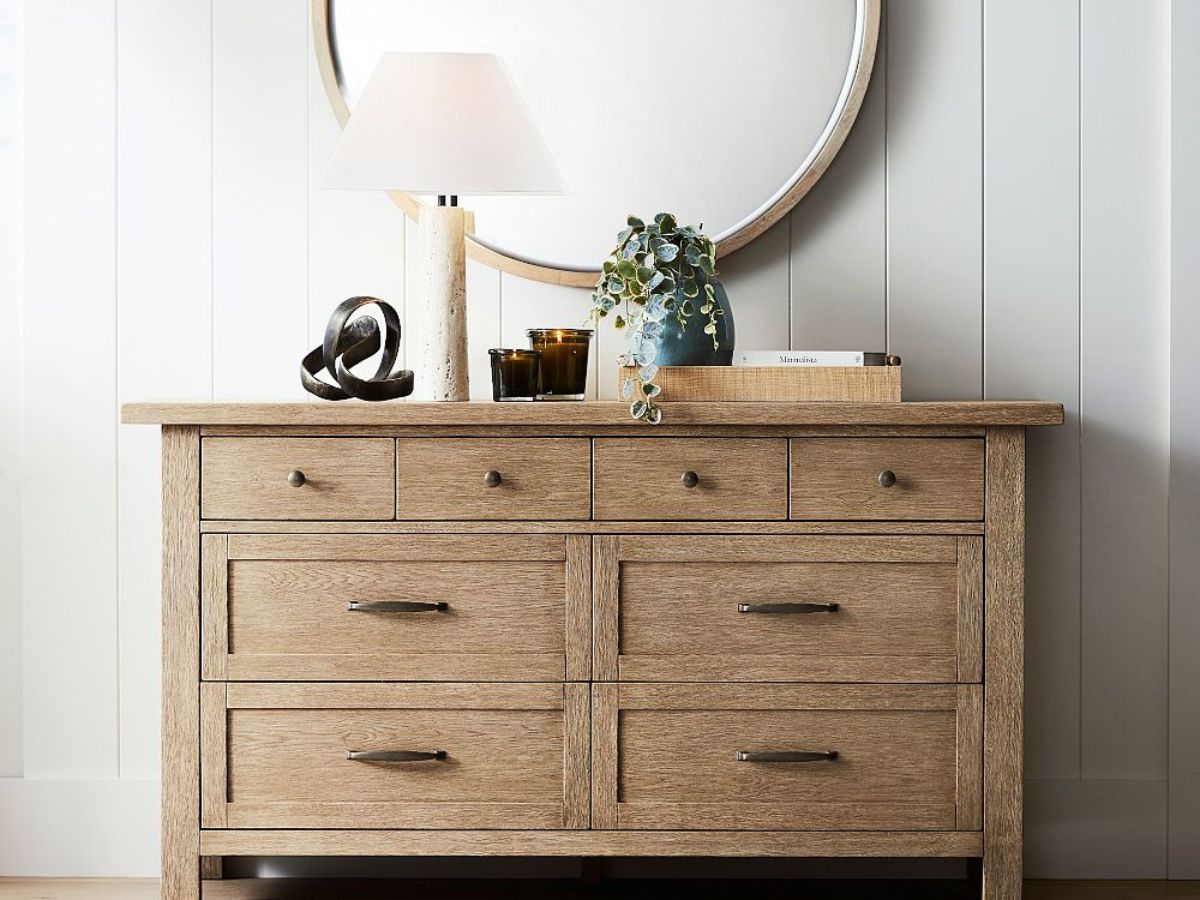
Furniture is an essential aspect of any home, providing both functionality and aesthetic appeal. One popular piece of furniture that can be found in many households is the dresser. Dressers are versatile storage solutions that offer ample space for organizing clothes, accessories, and other items.
If you own a Pottery Barn dresser and are looking to rearrange your furniture or give your room a fresh look, you may need to remove the drawers. While it may seem like a simple task, it’s important to approach it with caution to avoid any damage to the dresser or yourself. In this article, we will guide you through the step-by-step process of safely removing drawers from a Pottery Barn dresser.
Key Takeaways:
- Safely remove drawers from your Pottery Barn dresser by clearing and assessing the dresser, identifying the drawer type, and following specific removal steps based on the drawer design. Enjoy the flexibility to reassemble or use the dresser without drawers temporarily.
- Understanding the specific drawer design and type of your Pottery Barn dresser is crucial for safe removal. Whether it’s screw-on drawer fronts, pre-assembled drawers, or roller drawers, following the appropriate removal steps ensures the integrity of both the dresser and the drawers.
Read more: How To Remove Drawers From An Ashley Dresser
Step 1: Clearing the Dresser
Before you begin removing the drawers from your Pottery Barn dresser, it’s crucial to clear the dresser of any items that may obstruct the process. Take out all the clothes, accessories, or other items that may be stored inside the drawers. Clearing the dresser will not only make it easier to remove the drawers but also reduce the risk of any items getting damaged during the process.
Once you have cleared the dresser of its contents, take a moment to assess the overall condition of the dresser. Look for any loose or damaged parts that may need to be repaired or replaced. Addressing any existing issues before removing the drawers will ensure that you can safely and smoothly complete the task.
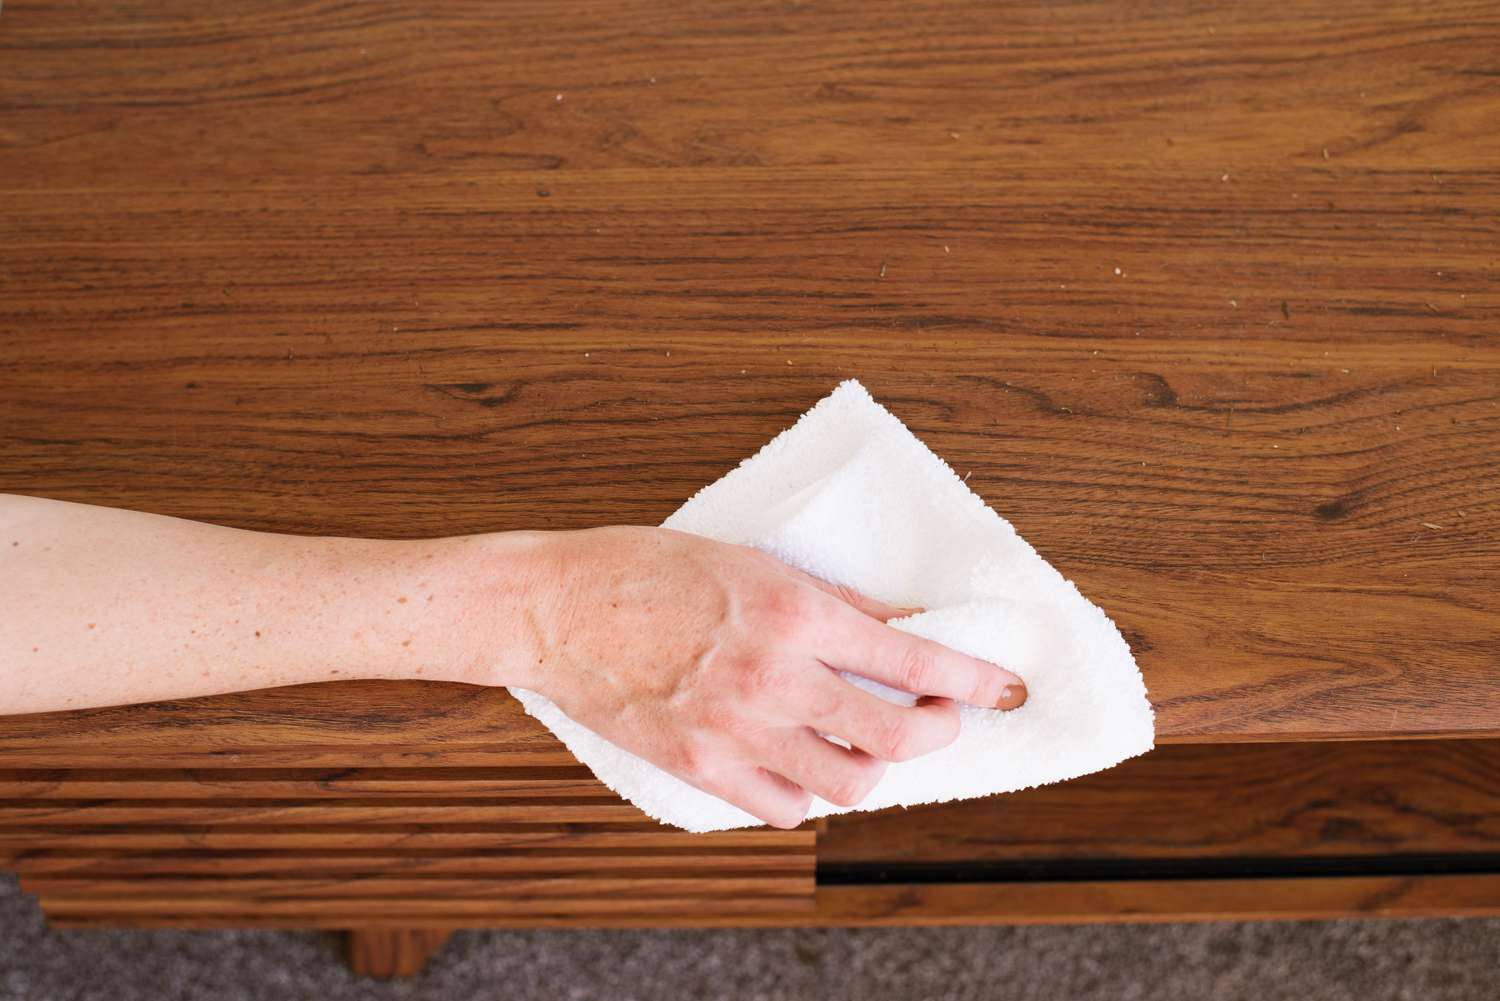
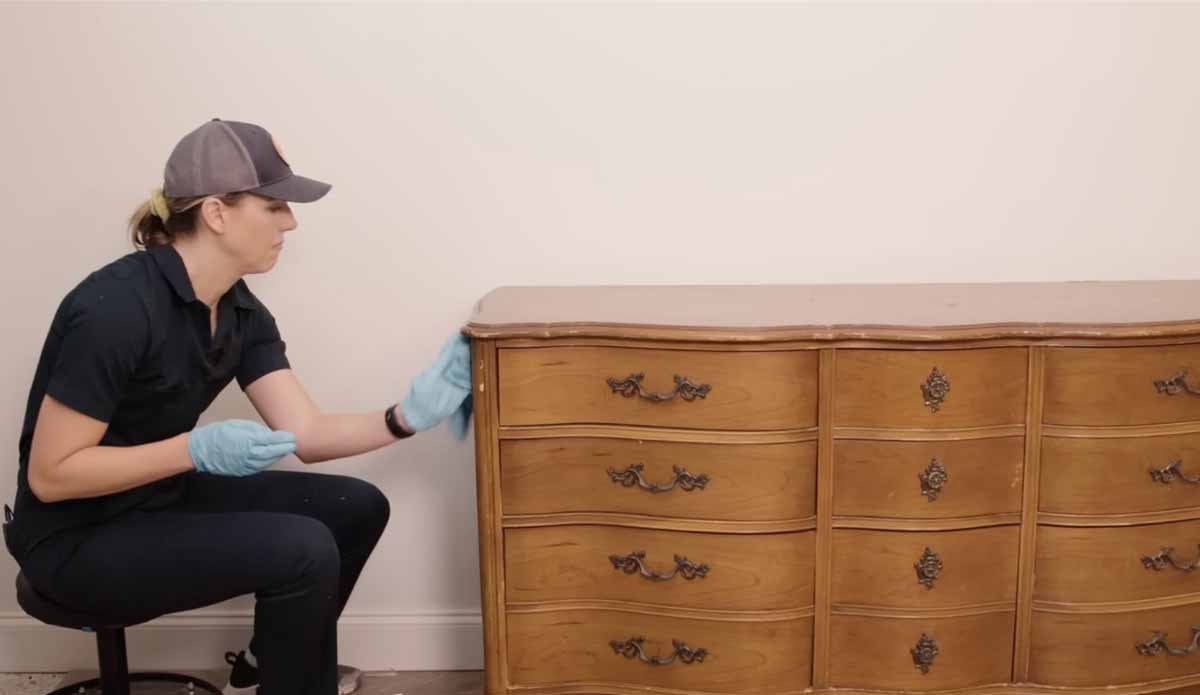
It’s also a good idea to clean the inside of the dresser while it’s empty. Wipe down the surfaces with a mild cleaning solution or a damp cloth to remove any dust or debris. This will not only make the dresser look more appealing but also help prevent any dirt from getting into the drawer tracks or mechanisms during the removal process.
By clearing and cleaning the dresser beforehand, you set the stage for a smoother and more efficient drawer removal process. It’s important to approach each step with care and attention to detail to ensure the integrity of both the dresser and the drawers.
Step 2: Assessing the Drawer Design
Before you dive into removing the drawers from your Pottery Barn dresser, it’s essential to assess the design and construction of the drawers. Pottery Barn dressers often come with different types of drawer designs, and understanding the specific design of your dresser will help you determine the best approach for removing the drawers.
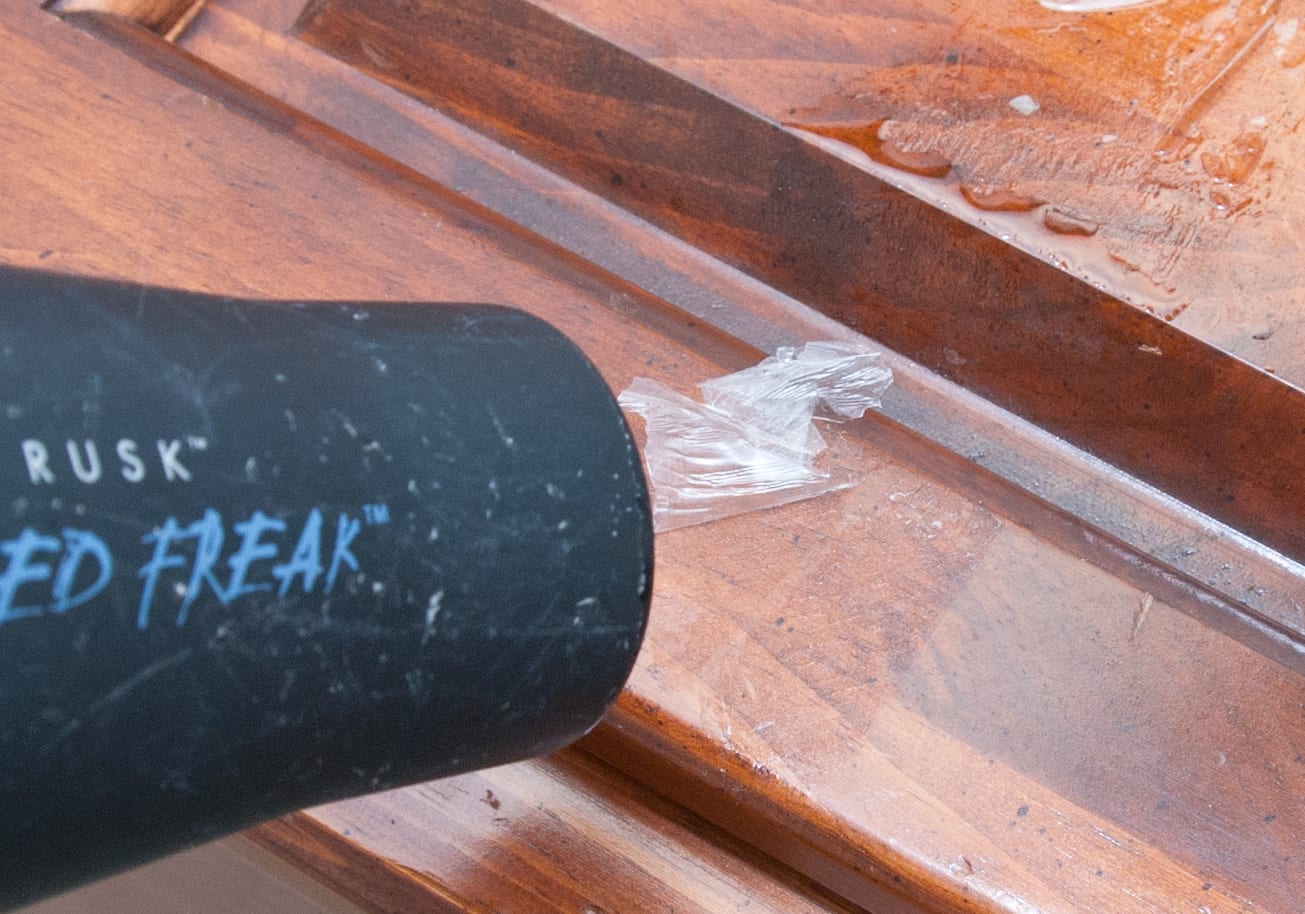
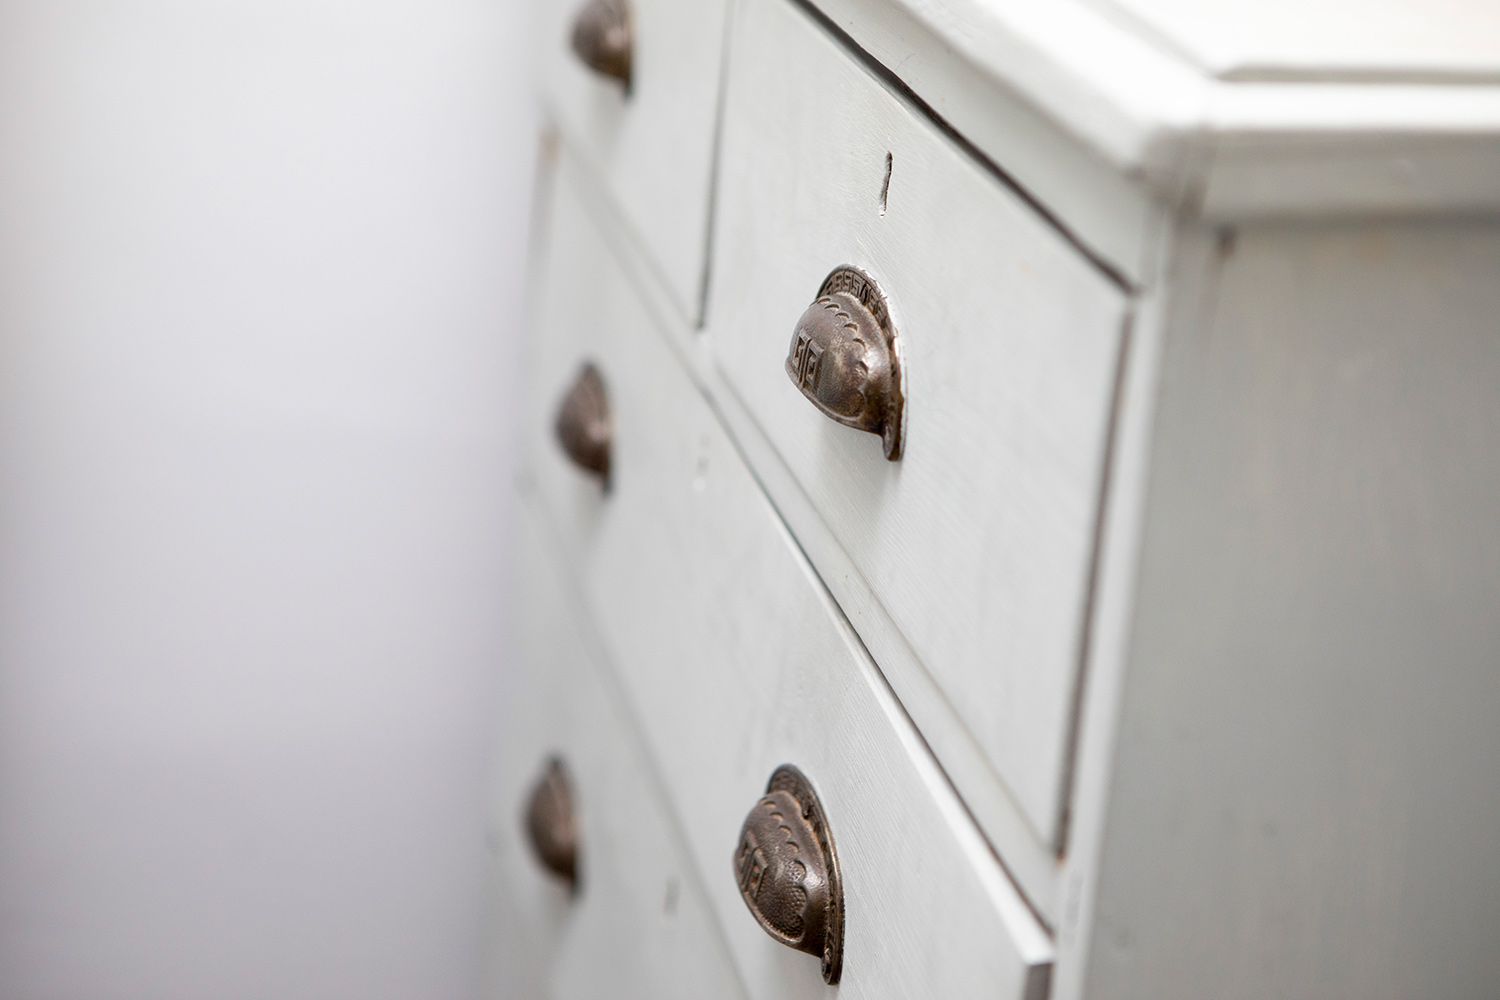
One common type of drawer design is the screw-on drawer front. In this design, the front panel of the drawer is attached to the drawer box using screws. To remove this type of drawer, you will need to locate and remove the screws holding the front panel in place.
Another type of drawer design is the pre-assembled drawer. This type of drawer is typically made up of several pieces joined together with glue or dowels. Removing this type of drawer requires disengaging the connection points, such as glued joints or dowels.
Lastly, some Pottery Barn dressers may have roller drawers. These drawers are equipped with rollers or slides that allow them to glide smoothly in and out of the dresser. To remove roller drawers, you will need to release the drawer from the sliders or tracks.
Take a close look at your Pottery Barn dresser and identify the type of drawer design it has. Refer to the instruction manual or reach out to Pottery Barn customer service if you need further assistance in determining the design. Having a clear understanding of the drawer design will help you choose the appropriate technique for removing the drawers without causing any damage to the dresser or the drawers themselves.
By assessing the drawer design, you can ensure that you approach the drawer removal process with the right knowledge and tools, making it easier and safer to complete.
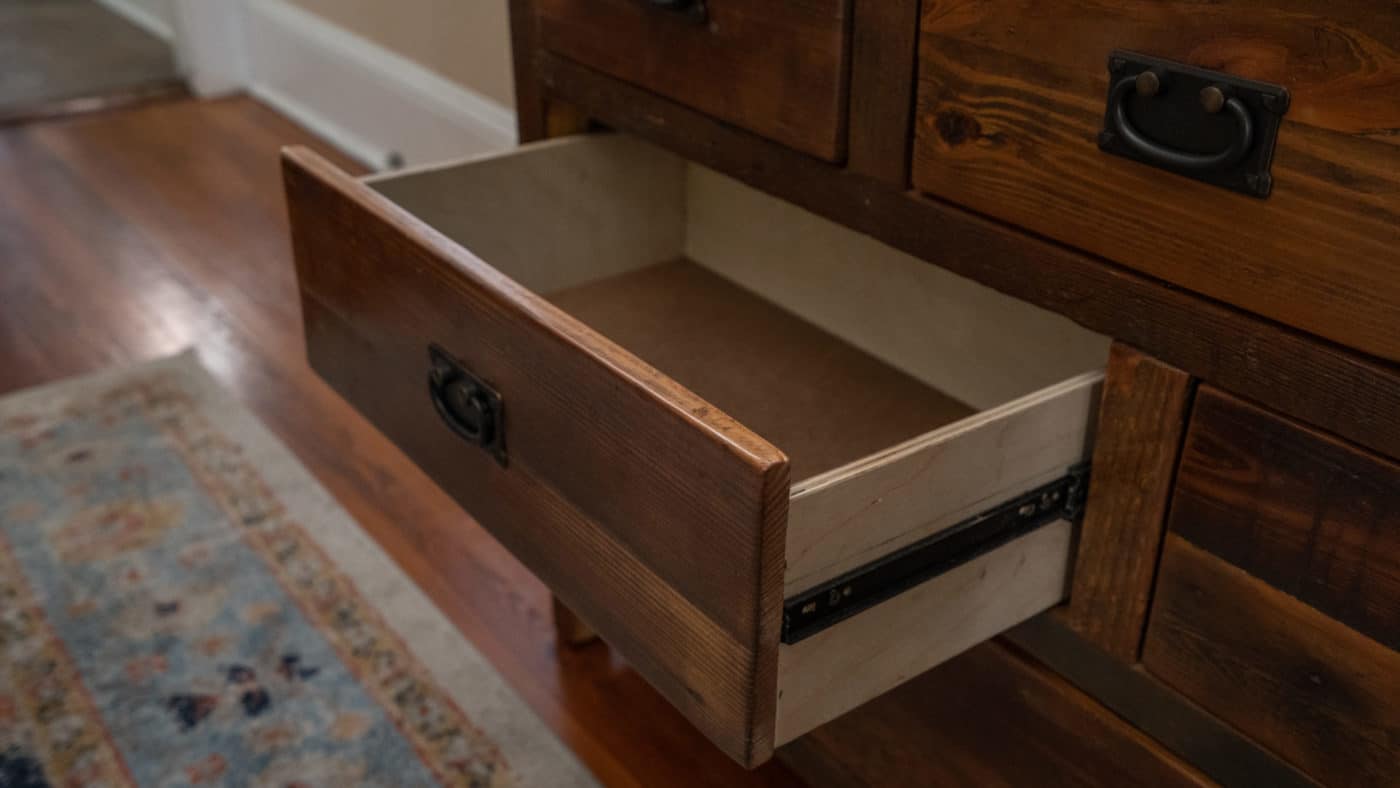
Step 3: Identifying Drawer Type
Once you have assessed the overall design of your Pottery Barn dresser and familiarized yourself with its specific drawer design, the next step is to identify the type of drawer you are working with. Understanding the type of drawer will help you determine the most efficient and appropriate method for removing it.
Here are common types of drawers you may encounter:
- Screw-on Drawer Front: This type of drawer has a front panel that is attached to the drawer box with screws. You’ll notice screws on the inside of the drawer box, securing the front panel to the rest of the drawer structure.
- Pre-Assembled Drawer: Pre-assembled drawers are typically made up of several pieces joined together, such as the front, back, and sides. These drawers are often crafted with glues, dowels, or other types of joinery. You won’t see any visible screws or fasteners on the drawer box.
- Roller Drawer: Roller drawers are designed with rollers or slides that allow the drawer to move smoothly in and out of the dresser. You may notice metal tracks or slides on the sides of the drawer box, which enable the drawer to glide.
By identifying the type of drawer you have, you can tailor your approach to remove the drawer without causing any damage. It’s important to note that different types of drawers require different techniques, tools, and precautions.
If you are unsure about the type of drawer in your Pottery Barn dresser, refer to the instruction manual or reach out to Pottery Barn customer service for guidance. Properly identifying the drawer type will ensure that you take the necessary steps to safely and effectively remove the drawer from your dresser.
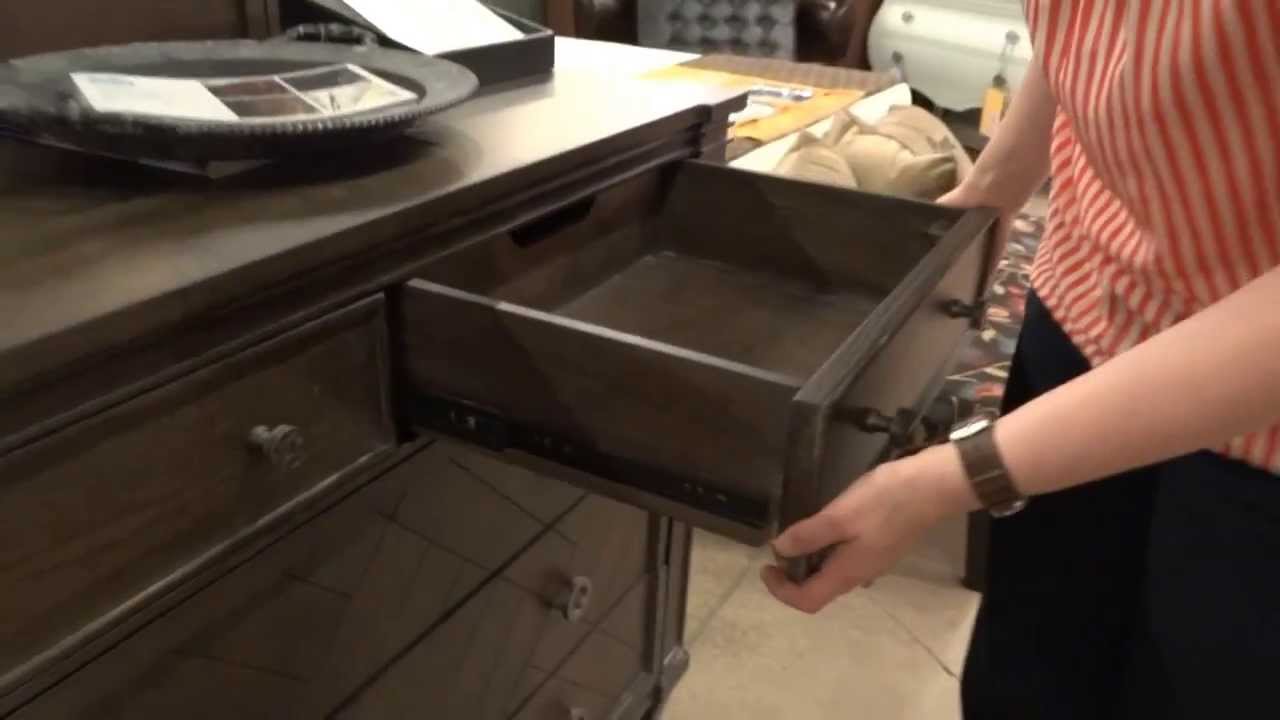
Step 4: Removing Screw-On Drawer Fronts
If your Pottery Barn dresser has screw-on drawer fronts, follow these steps to safely remove them:
- Open the drawer fully and carefully inspect the inside of the drawer box. Look for screws that are attaching the front panel to the rest of the drawer structure.
- Using a screwdriver (appropriate size and type), unscrew the screws that are holding the front panel in place. Make sure to keep track of the screws and set them aside in a safe place.
- Once you have removed all the screws, gently slide the front panel away from the drawer box. Be cautious as you do this, ensuring that you don’t apply excessive force or cause any damage to the drawer or the front panel.
- Set the screw-on drawer front aside in a secure location. Make sure to keep it flat to prevent any warping or damage.
- Repeat this process for each drawer that has a screw-on front.
By following these steps, you can safely detach the screw-on drawer fronts from your Pottery Barn dresser. Remember to handle the front panels with care and avoid any unnecessary force that could lead to damage. Keep the screws organized and readily accessible for reinstallation if needed in the future.
Once the screw-on drawer fronts have been removed, you will have access to the drawer boxes. You can clean the interior, make any necessary repairs, or even use the dresser without the drawers temporarily if desired.
When you’re ready to reassemble the dresser, refer to the manufacturer’s instructions or seek professional assistance if needed.
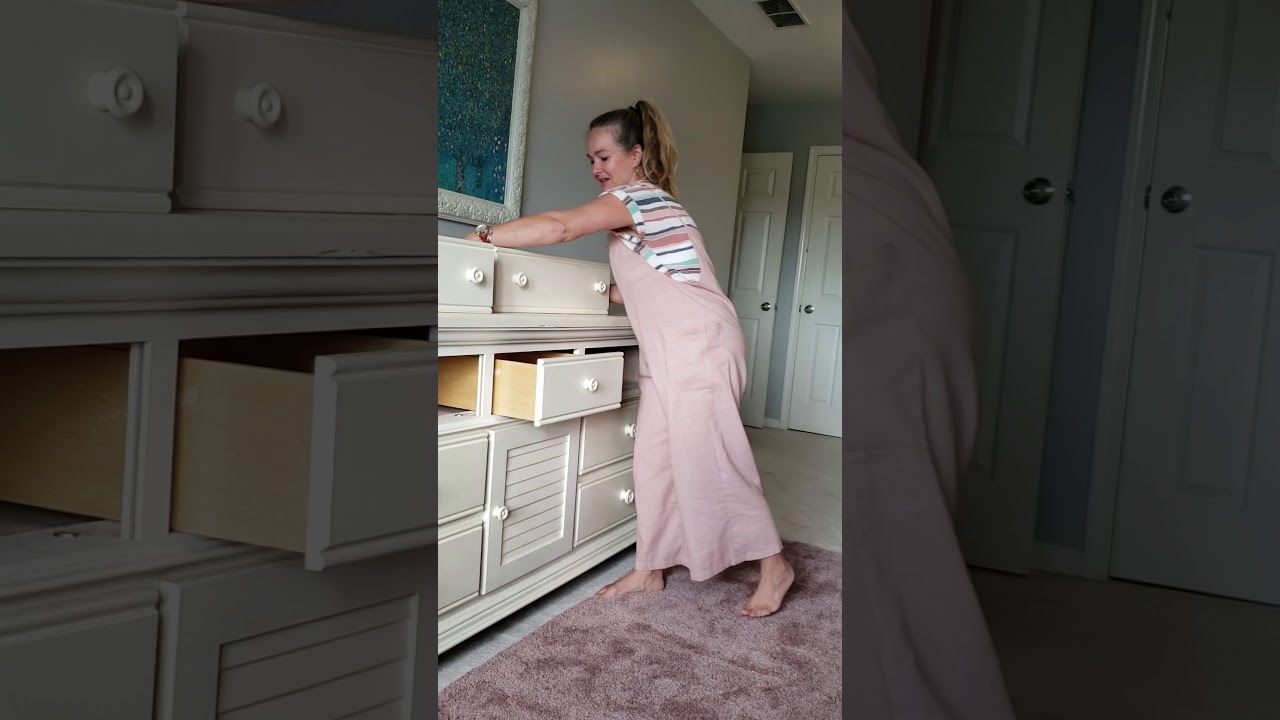
To remove drawers from a Pottery Barn dresser, start by pulling the drawer out completely. Then, locate the release levers on the drawer slides and push them in while pulling the drawer out. Repeat for each drawer.
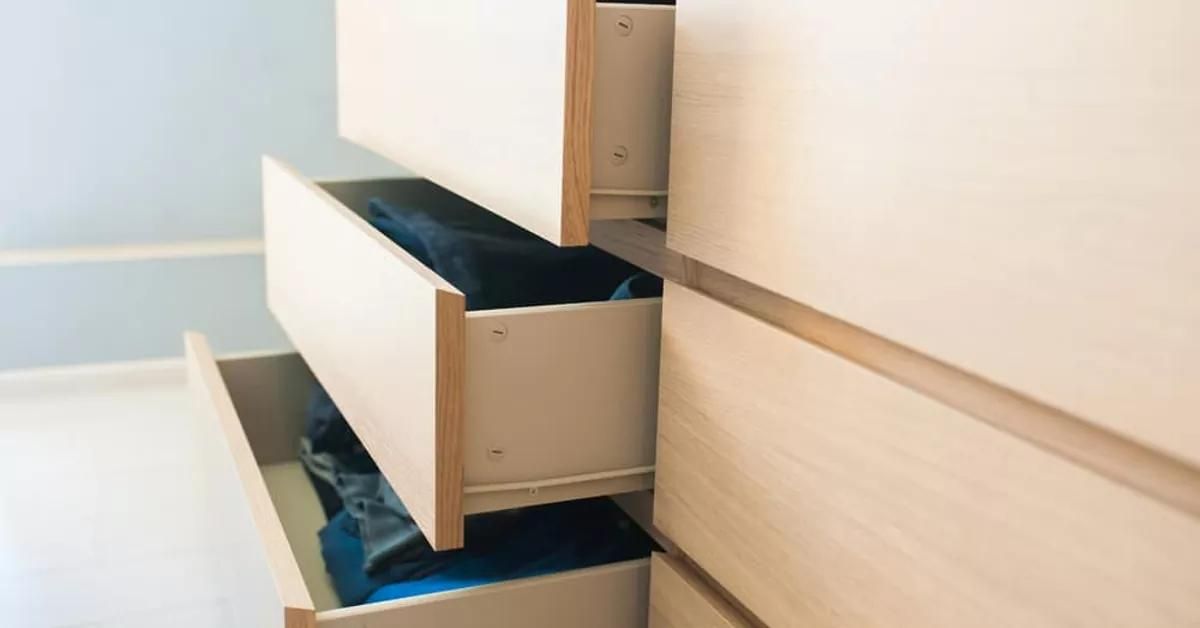
Step 5: Taking Out Pre-Assembled Drawers
If your Pottery Barn dresser has pre-assembled drawers, follow these steps to safely remove them:
- Open the drawer fully and examine the corners of the drawer box where the front, back, and sides meet. Often, pre-assembled drawers are held together with glue or dowels at the joints.
- Gently tap on the corners of the drawer box with a rubber mallet or a soft hammer to loosen any glued joints. If the drawers are held together with dowels, carefully twist and wiggle the drawer to loosen the dowels.
- Once the joints are loosened, grip the sides of the drawer firmly and pull it straight towards you. Use caution and make sure not to apply too much force or twist the drawer.
- Set the pre-assembled drawer aside in a safe location, ensuring that you keep it flat and stable to prevent any warping or damage.
- Repeat this process for each pre-assembled drawer in your Pottery Barn dresser.
By following these steps, you can remove the pre-assembled drawers from your Pottery Barn dresser without causing any damage. It’s crucial to handle the drawers with care and avoid excessive force to prevent any splintering or breakage.
With the pre-assembled drawers removed, you have the opportunity to clean the interior of the dresser, address any repairs, or use the dresser without the drawers temporarily. If you plan on reassembling the drawers, make sure to align the corners properly and use appropriate adhesives or fasteners if needed. Consult the manufacturer’s instructions or seek professional help if necessary.
Enjoy the flexibility that comes with removing and reassembling pre-assembled drawers in your Pottery Barn dresser. It allows you to customize and maintain your furniture with ease.
Step 6: Detaching Roller Drawers
If your Pottery Barn dresser has roller drawers, follow these steps to safely detach them:
- Open the drawer fully and look for any visible mechanisms or tracks on the sides of the drawer box. These mechanisms allow the drawer to glide smoothly in and out of the dresser.
- Locate the release levers or clips that hold the drawer to the roller mechanism. These levers or clips are typically located on the underside of the drawer box or on the sides near the front.
- Using a screwdriver or your fingers, gently depress or release the levers/clips to disengage the drawer from the roller mechanism. Be cautious as you do this to avoid pinching your fingers or damaging the drawer box.
- Once the levers/clips are released, carefully pull the drawer straight towards you, lifting it slightly to clear the rollers or tracks.
- Set the roller drawer aside in a secure location, ensuring that it remains stable and doesn’t tip over or get damaged.
- Repeat this process for each roller drawer in the Pottery Barn dresser.
By following these steps, you can safely detach the roller drawers from your Pottery Barn dresser. It’s important to be gentle when releasing the levers/clips and pulling the drawers, as excessive force can cause damage to the drawer or the roller mechanism.
With the roller drawers removed, you have the opportunity to clean and maintain the interior of the dresser, address any repairs, or even use the dresser without the drawers temporarily. Keep in mind that when reassembling the roller drawers, make sure to align them properly with the roller mechanism and secure them according to the manufacturer’s instructions.
Enjoy the convenience and smooth gliding of roller drawers in your Pottery Barn dresser, and have peace of mind knowing that you can easily remove them when needed.
Step 7: Reassembling the Dresser without Drawers
After removing the drawers from your Pottery Barn dresser, you may find yourself wanting to temporarily use the dresser without the drawers. Whether it’s for a room rearrangement, a desired minimalist look, or to clean and maintain the drawers separately, reassembling the dresser without the drawers can be a simple process.
- Ensure that the interior of the dresser is clean and free from any debris or dust.
- Examine the inside of the dresser and identify any alignment pegs or slots that are designed to secure the drawers in place.
- Align the dresser’s side panels with the slots or pegs, ensuring a proper fit. This will help stabilize the structure and prevent any shifting.
- Carefully push the dresser’s side panels together, making sure they are securely joined.
- If your dresser has a top panel, carefully place it on top of the dresser, aligning it with the edges.
- Check that the dresser is stable and level. Make any necessary adjustments to ensure a secure and balanced structure.
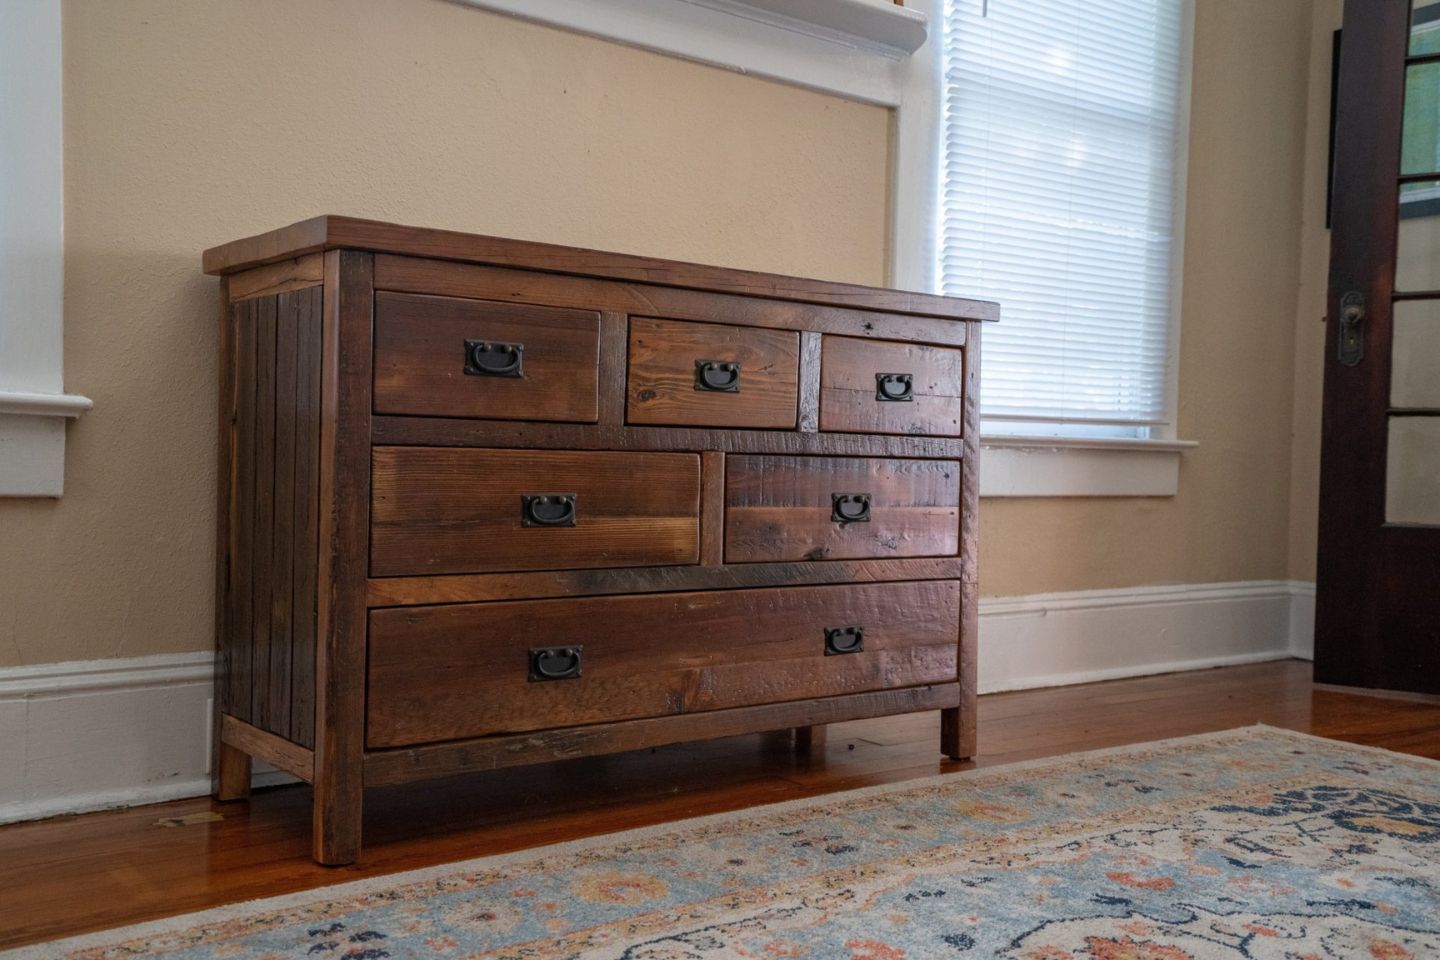
With the dresser properly reassembled, you can now enjoy its aesthetic appeal without the drawers. You can use the surface of the dresser to display decorative items, place a mirror, or utilize it as additional storage by adding baskets or trays.
Remember, if you decide to reassemble the drawers later, make sure to refer to the manufacturer’s instructions or seek professional assistance for a proper and secure installation.
Enjoy the versatility and flexibility that comes with reassembling your Pottery Barn dresser without the drawers. It allows you to customize your space according to your needs and personal style.
Conclusion
Removing drawers from your Pottery Barn dresser may seem like a daunting task, but with the right approach and guidance, it can be a straightforward process. By carefully following the steps outlined in this article, you can safely detach the drawers and reassemble the dresser with ease.
Before starting, it’s important to clear the dresser of any items and assess its overall condition. Take the time to identify the specific drawer design and type of your Pottery Barn dresser, whether it’s a screw-on drawer front, pre-assembled drawer, or roller drawer.
For screw-on drawer fronts, remove the screws to detach the front panel from the drawer box. With pre-assembled drawers, gently loosen the joints and pull the drawer out. And for roller drawers, release the levers or clips and slide the drawer out of the roller mechanism.
Once the drawers are removed, you can choose to use the dresser without the drawers temporarily, clean and maintain the interior, or make any necessary repairs. Reassembling the dresser without the drawers is as simple as aligning the panels and ensuring a stable structure.
Remember, when reassembling the drawers in the future, consult the manufacturer’s instructions or seek professional help for proper installation.
Removing drawers from your Pottery Barn dresser provides you with the opportunity to customize and maintain your furniture. Whether you’re rearranging your space or looking for a temporary change, this process allows you to update your room’s look and functionality.
By following the steps outlined in this article, you can confidently remove and reassemble the drawers in your Pottery Barn dresser, ensuring the integrity of both the dresser and the drawers themselves.
Enjoy the process, and may your Pottery Barn dresser continue to bring style and functionality to your home for years to come!
Now that you've mastered removing drawers from your dresser, why not dive deeper into organizing your space? For those keen on tidying up, our guide on better home organization will help streamline clutter and enhance room aesthetics. And if you're itching for a hands-on project, our DIY home improvement article provides practical steps for revamping your space with flair. Both pieces are packed with actionable advice to get your home looking sharp and staying organized.
Frequently Asked Questions about How To Remove Drawers From A Pottery Barn Dresser
Was this page helpful?
At Storables.com, we guarantee accurate and reliable information. Our content, validated by Expert Board Contributors, is crafted following stringent Editorial Policies. We're committed to providing you with well-researched, expert-backed insights for all your informational needs.


0 thoughts on “How To Remove Drawers From A Pottery Barn Dresser”