Home>Furniture>How To Remove Drawers From A West Elm Dresser
Furniture
How To Remove Drawers From A West Elm Dresser
Modified: May 6, 2024
Learn how to remove drawers from a West Elm dresser with our step-by-step guide. Keep your furniture looking its best with these easy-to-follow instructions.
(Many of the links in this article redirect to a specific reviewed product. Your purchase of these products through affiliate links helps to generate commission for Storables.com, at no extra cost. Learn more)
Introduction
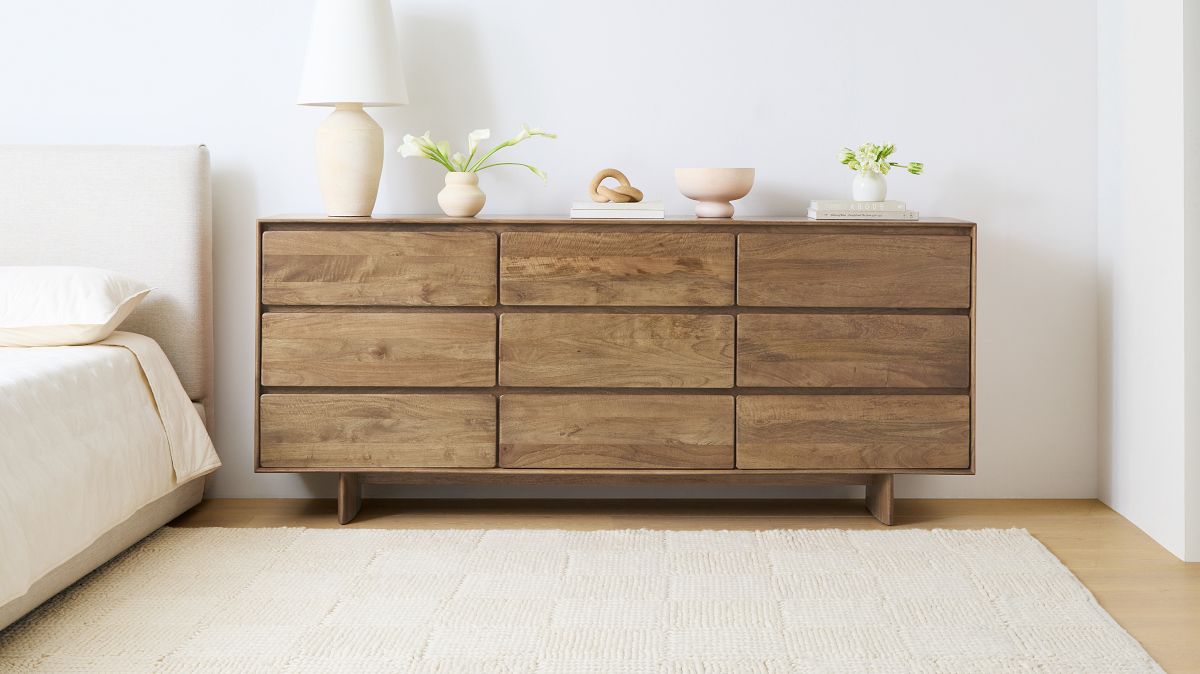
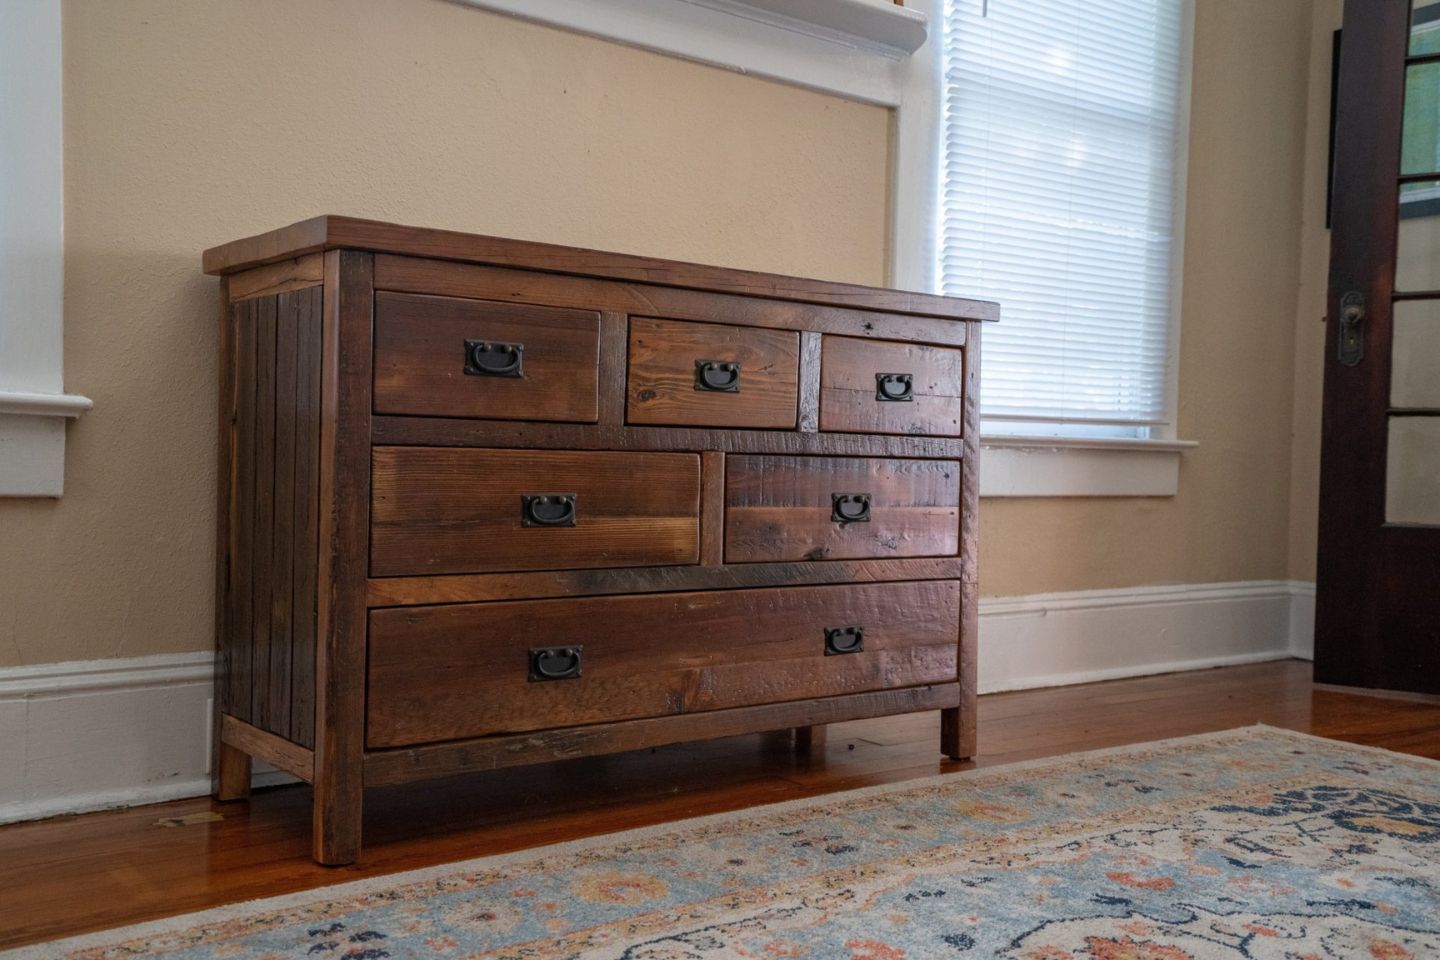
Welcome to the world of furniture where functionality meets style. One of the essential components of any dresser is its drawers. They provide convenient storage solutions and help keep your belongings organized. However, there may come a time when you need to remove the drawers, whether it’s for cleaning, moving, or repairing the dresser. In this article, we will guide you through the process of removing drawers from a West Elm dresser.
West Elm, known for its modern and sleek furniture designs, offers a wide range of dressers that are both stylish and functional. Removing the drawers from a West Elm dresser may seem like a daunting task, but with the right tools and steps, it can be a straightforward process. So, let’s get started!
Key Takeaways:
- Safely remove drawers from your West Elm dresser by identifying the specific drawer mechanism and following the step-by-step instructions. Prepare the work area, empty the drawers, and reinstall them with ease for a well-maintained and functional dresser.
- Whether your West Elm dresser has glides, a center rail, or slides, understanding the proper removal technique is crucial. Take care of your dresser and its drawers to maintain its aesthetic appeal and prolong its lifespan.
Read more: How To Remove Drawers From An Ashley Dresser
Tools and Materials Needed
Before we begin, gather the following tools and materials:
- Screwdriver (flathead or Phillips, depending on the dresser)
- Soft cloth or towel
- Painter’s tape (optional)
- Plastic bag or container (for storing screws)
Having these tools and materials ready will make the process of removing drawers from your West Elm dresser much easier.
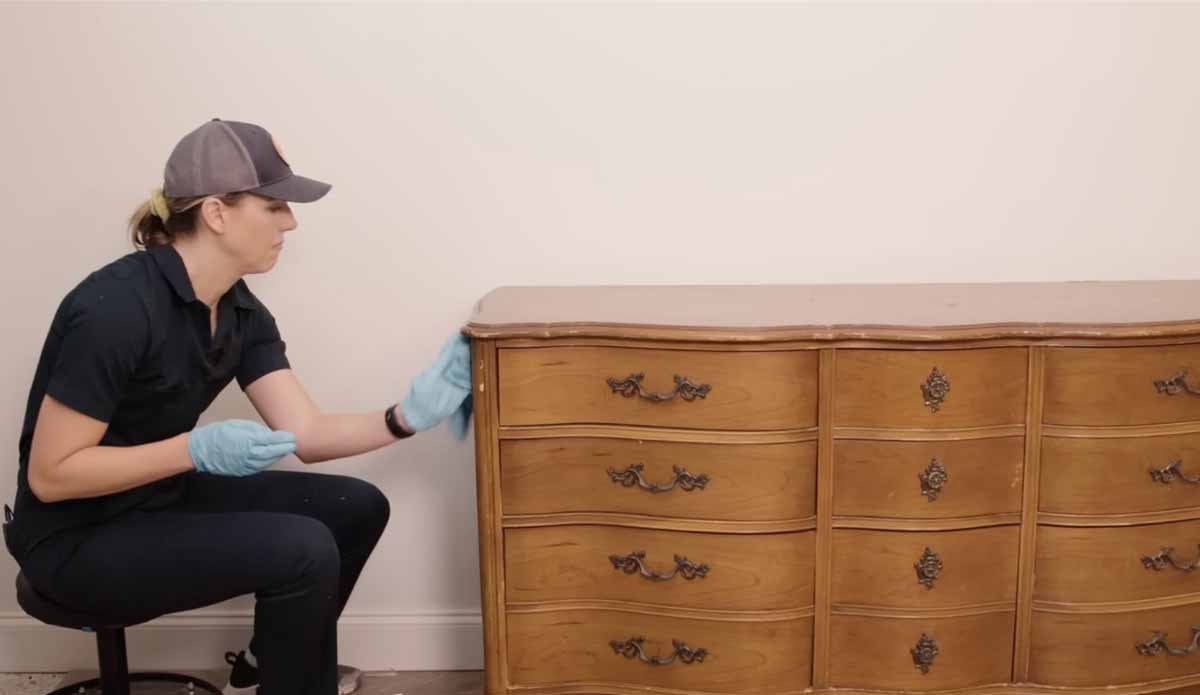
Step 1: Prepare the Work Area
Before you start removing the drawers from your West Elm dresser, it’s important to prepare the work area to ensure a smooth process. Here’s what you need to do:
- Clear the space around the dresser: Move any nearby furniture or objects to create enough room for you to work comfortably. This will help prevent any accidents or damage to adjacent items.
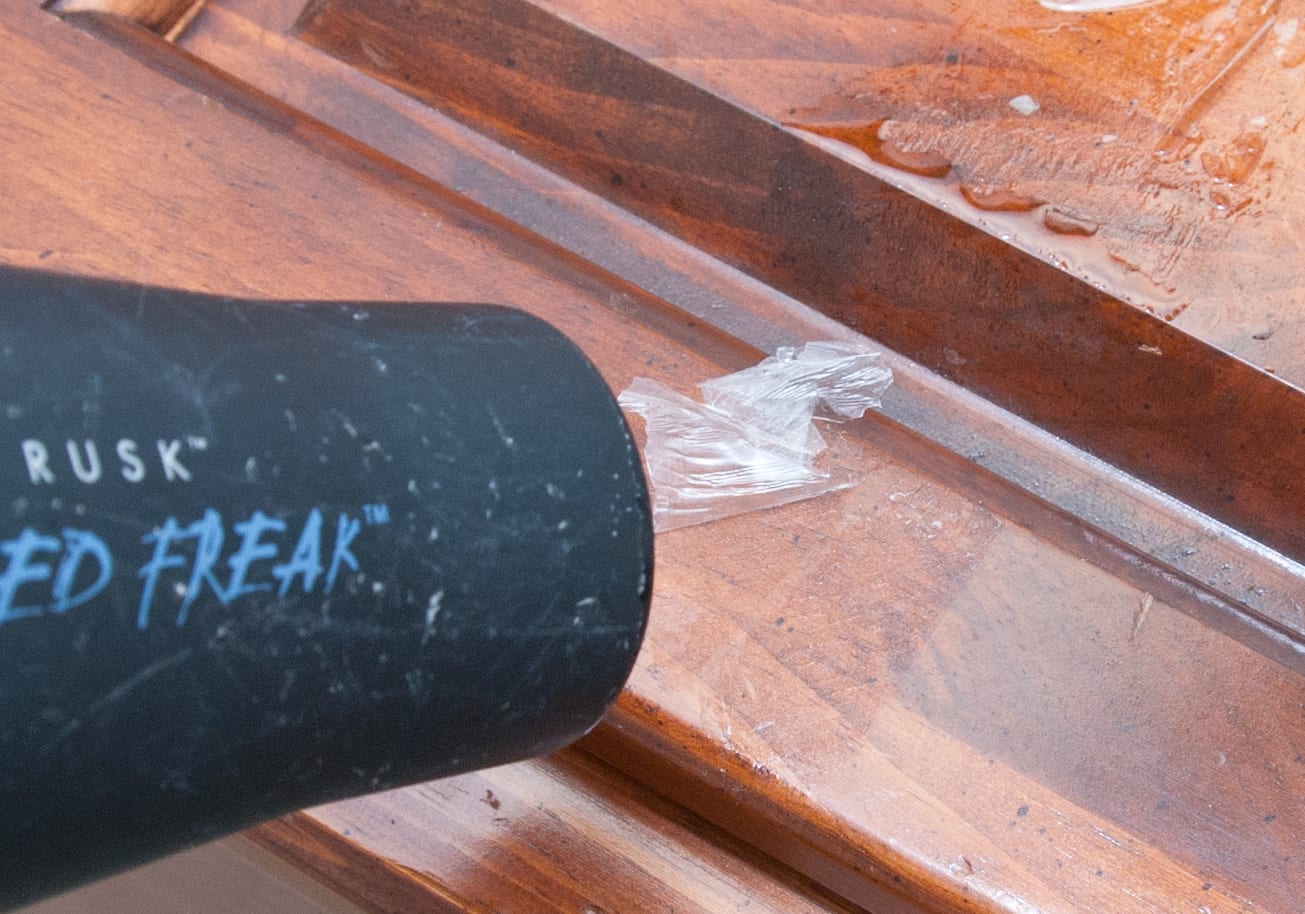
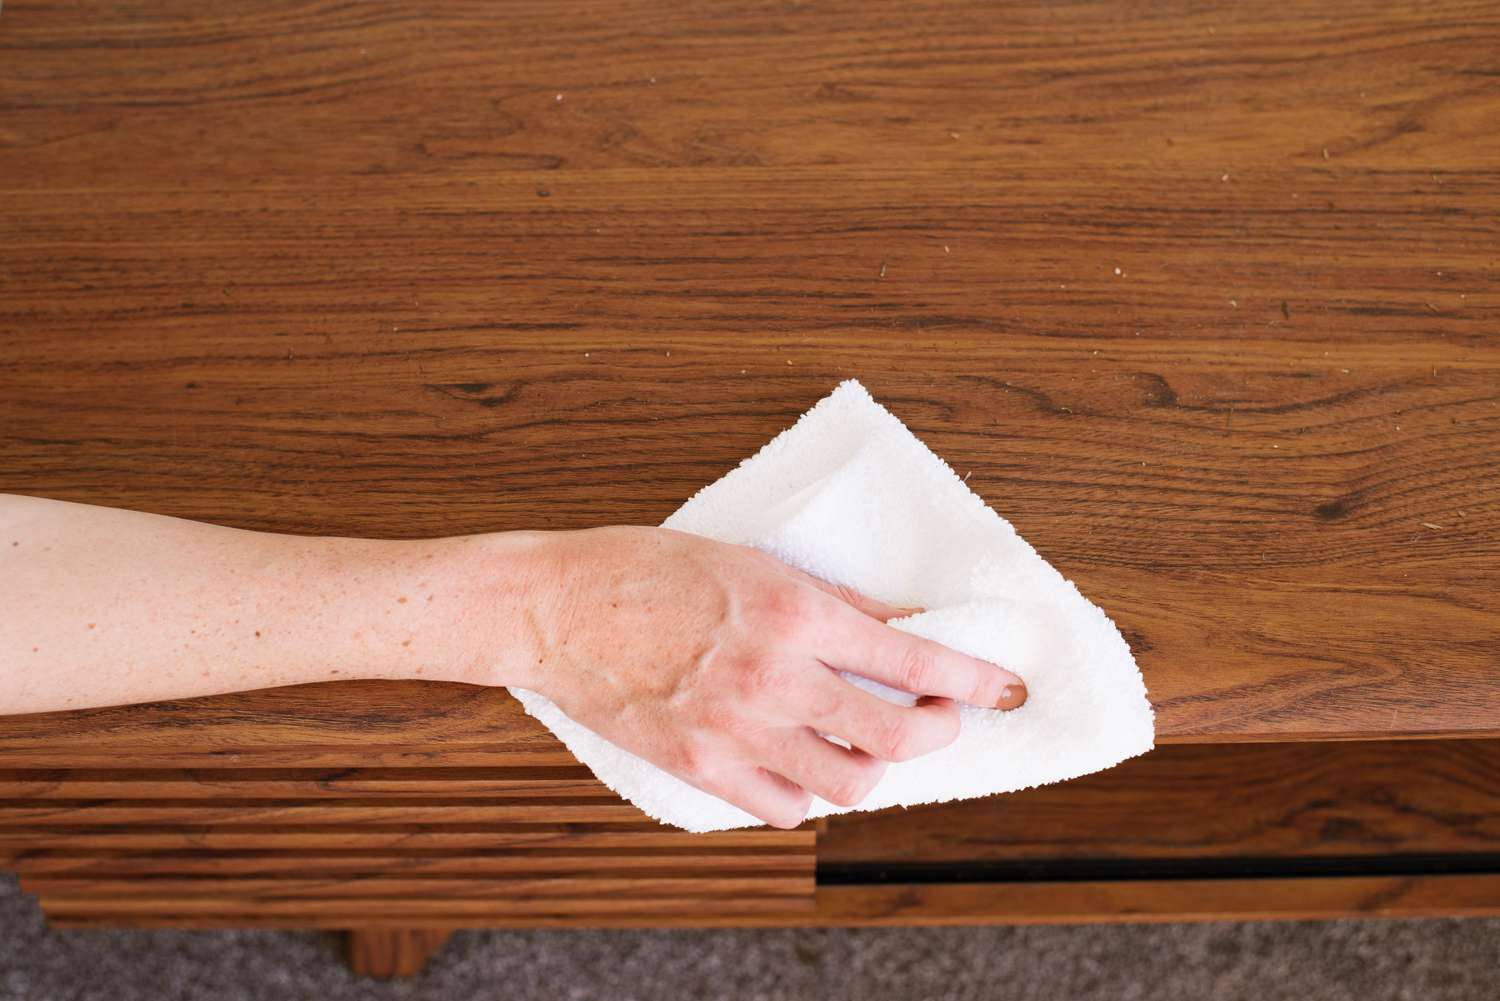
- Protect the dresser surface: Place a soft cloth or towel on top of the dresser to protect the surface from scratches or dents. If you have painter’s tape, you can use it to secure the cloth in place.
- Gather your tools: Make sure you have all the necessary tools and materials mentioned in the previous section. Having them nearby will save you from having to search for them midway through the process.
By preparing the work area, you’ll have a clean and organized space to safely remove the drawers from your West Elm dresser.
Step 2: Empty the Drawers
Before you begin removing the drawers from your West Elm dresser, it’s important to empty them. Start by taking out any items or clothing that may be stored inside the drawers. This will not only make the drawers lighter and easier to handle but also prevent any damage to your belongings.
As you remove the contents, consider organizing them into separate piles or containers. This will make it easier to put everything back in the appropriate drawers once you’ve finished the removal process.
While emptying the drawers, take a moment to inspect the contents. This is a great opportunity to declutter and get rid of any items you no longer need or want. Consider donating or discarding items that are no longer serving a purpose.
Once the drawers are emptied, set aside the items in a safe place. By having a clear and empty space, you’ll be ready to move on to the next step of removing the drawers from your West Elm dresser.
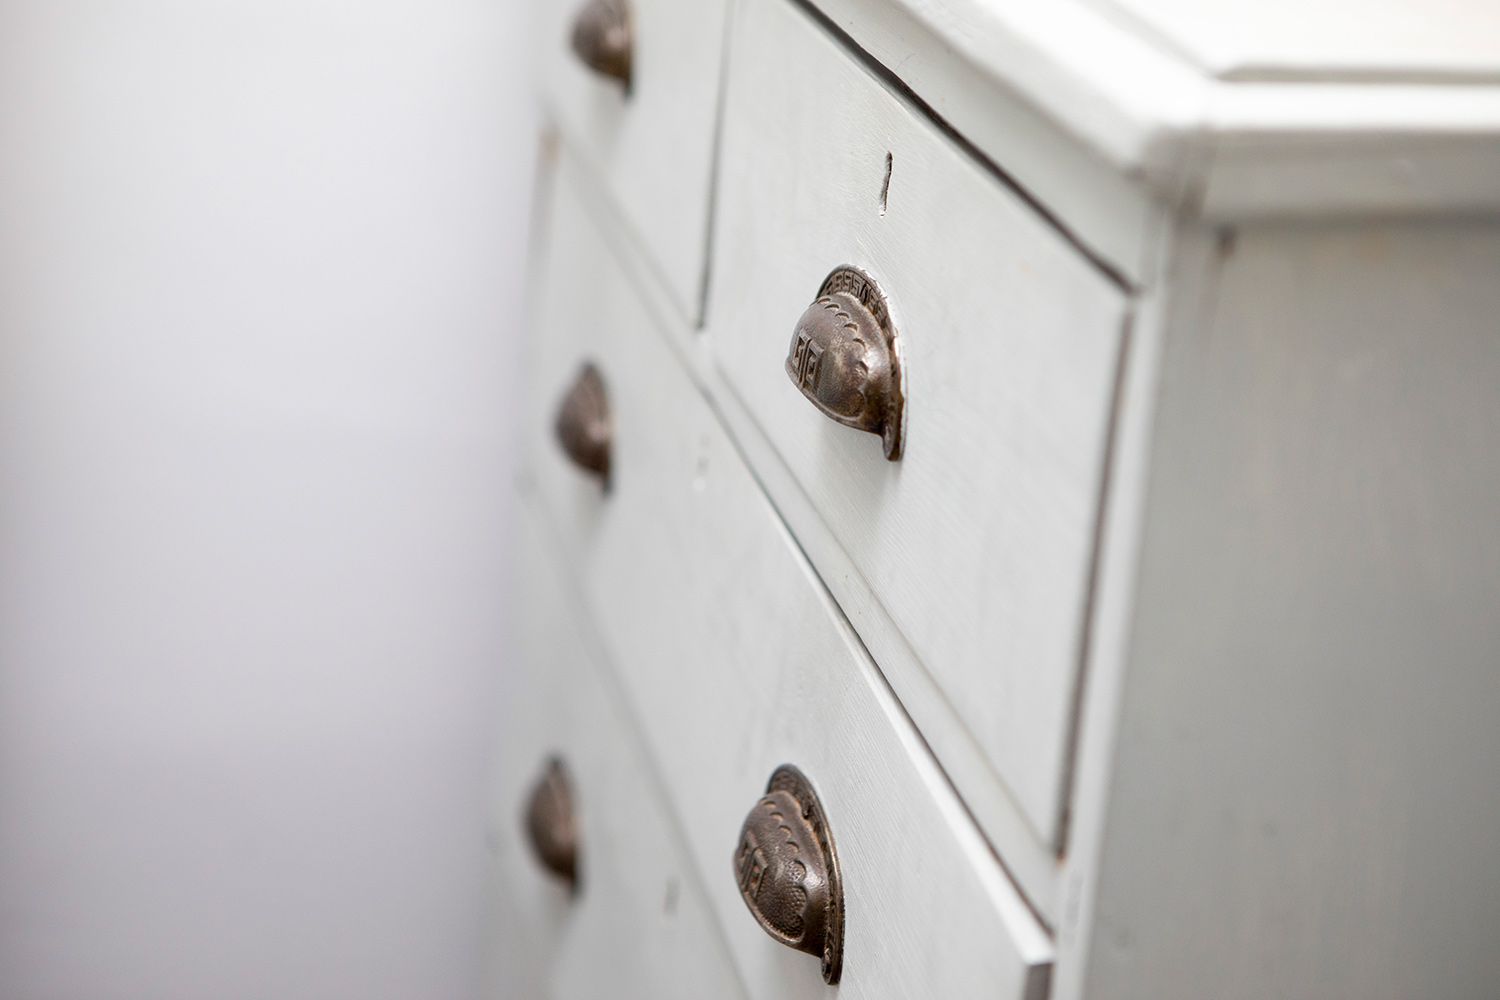
Step 3: Identify the Drawer Type
Before you proceed with removing the drawers from your West Elm dresser, it’s important to identify the type of drawers you’re working with. West Elm dressers may have different mechanisms for attaching and removing the drawers, so knowing the specific type will help you follow the correct steps.
Here are the three common types of drawer mechanisms you may encounter:
- Drawers with glides: These drawers usually have metal or plastic glides on the sides that allow the drawers to slide in and out smoothly.
- Drawers with a center rail: These drawers have a center rail that runs horizontally across the inside of the dresser. The rail helps support and guide the movement of the drawer.
- Drawers with slides: These drawers have slides or runners attached to the sides or bottom of the drawer. These slides enable the drawer to slide in and out of the dresser.
By identifying the drawer type, you’ll have a clear understanding of how the drawers are attached and can proceed with the appropriate removal method for your West Elm dresser.
To remove drawers from a West Elm dresser, start by fully extending the drawer. Then, locate the release lever or tab on the underside of the drawer and press or lift it to release the drawer from the track. Finally, carefully lift the drawer up and out of the dresser.
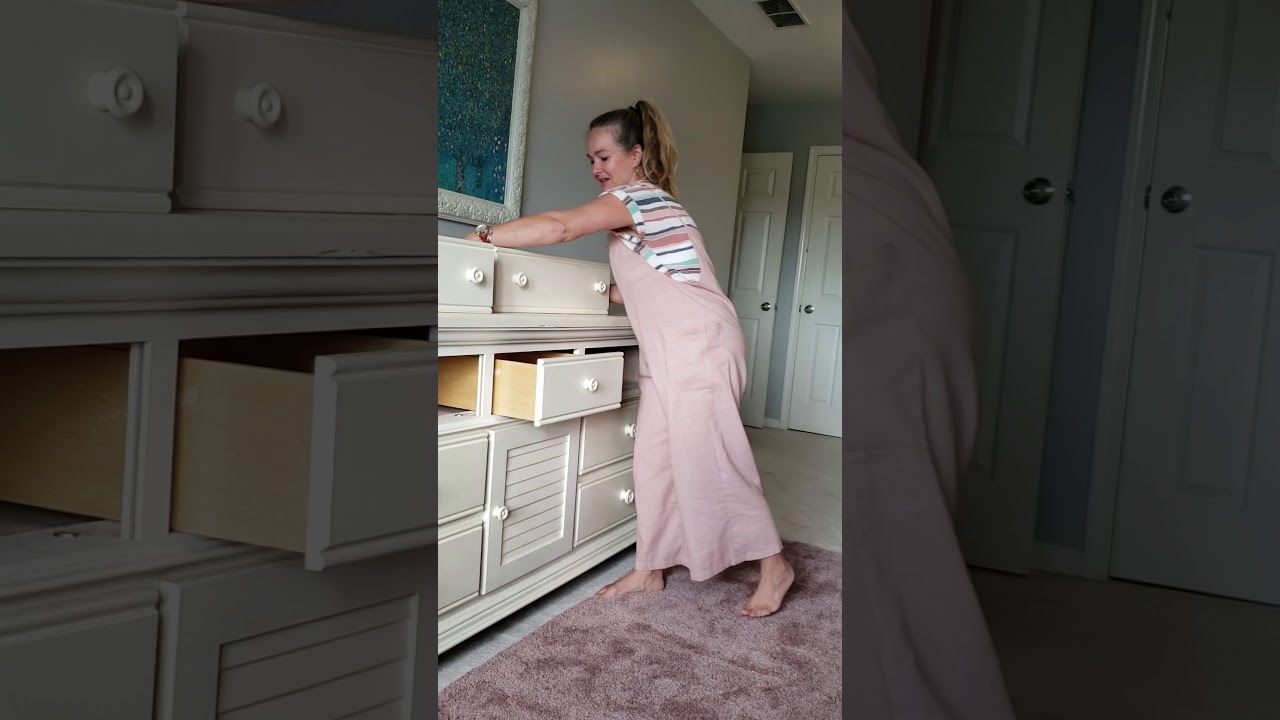
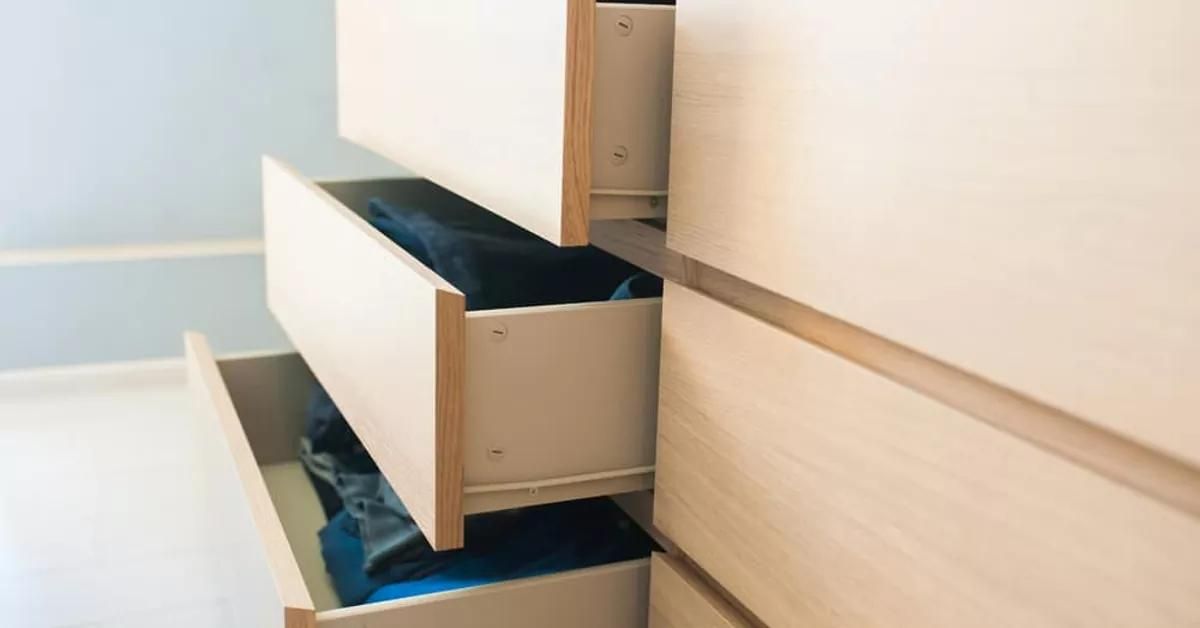
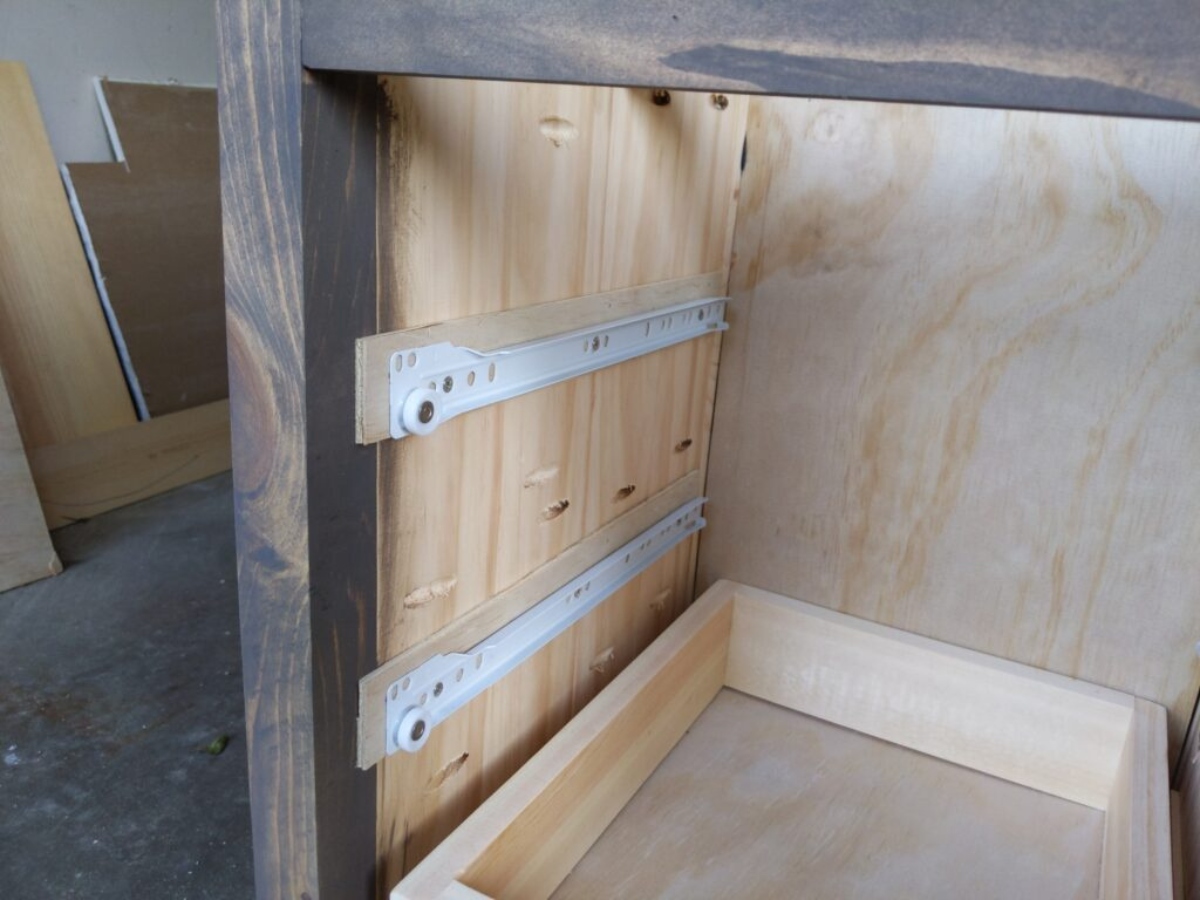
Step 4: Remove Drawers with Glides
If your West Elm dresser has drawers with glides, follow these steps to remove them:
- Extend the drawer fully: Pull the drawer out as far as it will go. This will allow you to access the glides and detach the drawer more easily.
- Locate the release lever or tab: Look for a small lever or tab located on each glide. These are typically located on the sides or underside of the drawer near the glides. The release lever or tab is designed to disengage the glides and allow the drawer to be removed.
- Press or pull the release lever/tab: Depending on the design of the glides, you may need to press downward on the lever or pull it upward. This action will release the drawer from the glides.
- Repeat on the other side: Once you’ve released one side of the drawer, move to the other side and repeat the process. Press or pull the release lever/tab on the second glide to completely detach the drawer.
- Carefully lift and remove the drawer: With both glides released, carefully lift the drawer slightly and pull it straight out from the dresser. Be mindful of any obstructions or obstacles that may be in the way.
By following these steps, you’ll be able to remove the drawers with glides from your West Elm dresser. Remember to handle the drawers with care to avoid any damage or injury.
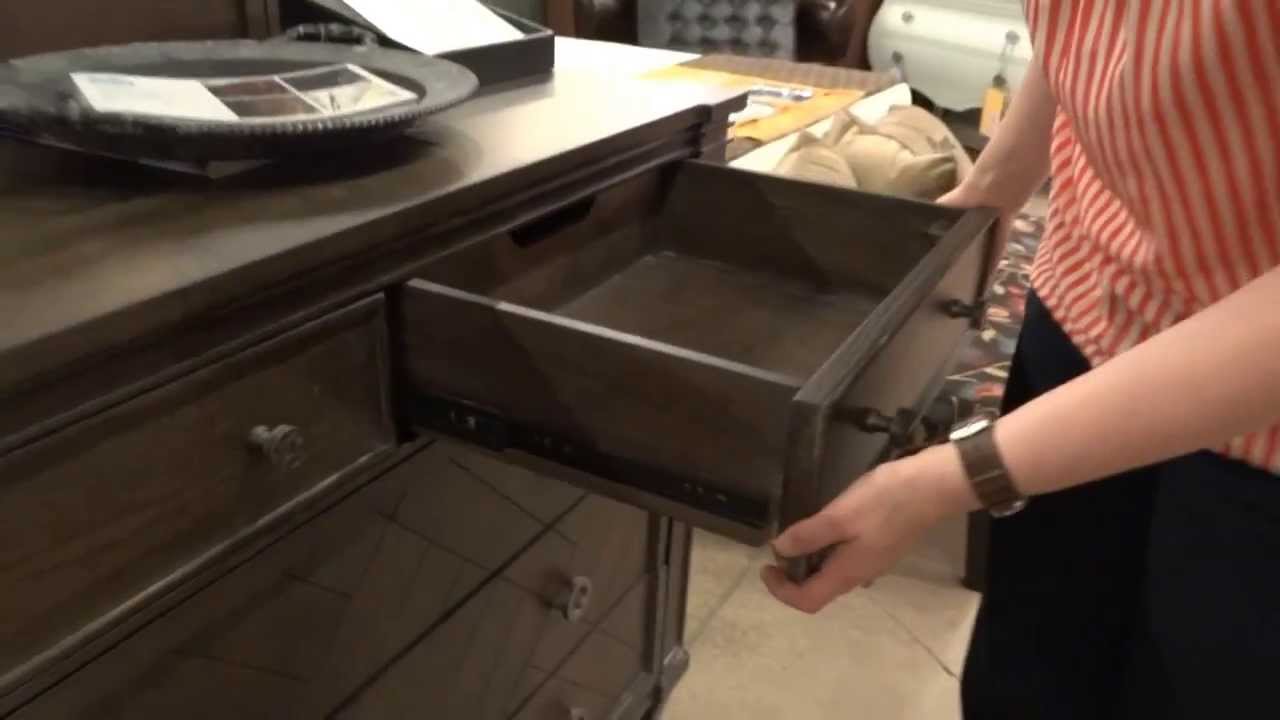
Step 5: Remove Drawers with Center Rail
If your West Elm dresser has drawers with a center rail, you’ll need to follow these steps to remove them:
- Open the drawer fully: Pull the drawer out as far as it will go. This will allow you to access the center rail and detach the drawer.
- Locate the stopper or latch: Look for a stopper or latch located on the center rail. This mechanism is typically located near the back of the drawer and is designed to keep the drawer in place.
- Release the stopper or latch: To remove the drawer, you’ll need to release the stopper or latch. Depending on the design, you may need to press it downward or push it to the side. This action will disengage the stopper or latch and allow the drawer to be lifted out.
- Gently lift and remove the drawer: With the stopper or latch released, gently lift the front of the drawer upward. Simultaneously, tilt the back of the drawer slightly downward to disengage it from the center rail. Once the drawer is disconnected, carefully pull it straight out from the dresser.
It’s important to handle the drawers with care when removing them from a dresser with a center rail. By following these steps, you’ll be able to safely remove the drawers and continue with your dresser maintenance or organizing tasks.
Step 6: Remove Drawers with Slides
If your West Elm dresser has drawers with slides, use the following steps to remove them:
- Pull the drawer out partially: Start by pulling the drawer out a few inches, enough to access the slides.
- Locate the release mechanism: Look for a release mechanism on each slide. This can be a lever, tab, or button that needs to be pressed or pulled to disengage the slides.
- Release the slides: Depending on the design of the slides, press or pull the release mechanism to disengage them. This action will allow the drawer to be lifted out.
- Lift and remove the drawer: With the slides released, carefully lift the front of the drawer slightly, tilting it upward. Simultaneously, tilt the back of the drawer downward to disengage it from the slides. Once the drawer is free, pull it straight out from the dresser.
Be cautious when handling drawers with slides to avoid any damage or injury. By following these steps, you’ll be able to safely remove the drawers and proceed with any necessary tasks, such as repairs or reorganization, on your West Elm dresser.
Step 7: Reinstalling the Drawers
After completing any necessary maintenance or tasks on your West Elm dresser, it’s time to reinstall the drawers. Follow these steps to ensure a proper installation:
- Align the drawer with the slides or glides: If your dresser has drawers with slides or glides, make sure to align the drawer with them. Ensure that the slides or glides are properly lined up with the corresponding grooves on the sides or underside of the drawer.
- Insert the drawer into the dresser: Carefully slide the drawer back into the dresser, keeping it level and aligned with the other drawers. Push it in until it is fully inserted and sits flush with the front of the dresser.
- Engage the slides or glides: For drawers with slides or glides, make sure they are fully engaged. This may involve pressing a lever or pushing the drawer back in until it clicks into place.
- Test the drawer: After reinstalling the drawer, test its movement to ensure it slides smoothly and without any issues. Open and close the drawer a few times to verify its functionality.
By following these steps, you’ll be able to reinstall the drawers in your West Elm dresser with ease. Ensure that all drawers are properly aligned and slide smoothly to maintain the dresser’s functionality and aesthetic appeal.
Read more: How To Remove Dresser Drawers On Tracks
Conclusion
Removing drawers from your West Elm dresser may seem like a complex task, but with the right knowledge and steps, it can be a straightforward process. By following the steps outlined in this article, you’ll be able to safely remove the drawers and carry out any necessary maintenance or tasks.
Remember to prepare your work area, empty the drawers, and identify the specific drawer mechanism before proceeding. Whether your dresser has glides, a center rail, or slides, understanding the proper technique for removal is crucial to avoid any damage or frustration.
Once you have completed the necessary tasks, you can confidently reinstall the drawers, ensuring they are aligned and functioning properly. Take the time to test the drawers to ensure they slide smoothly and engage securely.
By taking care of your West Elm dresser and its drawers, you will not only maintain its aesthetic appeal but also prolong its lifespan. Regular maintenance and proper handling will ensure that your dresser continues to serve as a functional and stylish storage solution for years to come.
Remember, if you have any doubts or concerns about removing the drawers from your West Elm dresser, it’s always a good idea to consult the manufacturer’s instructions or seek professional assistance.
Enjoy your newly acquired knowledge and successfully remove and reinstall the drawers from your West Elm dresser!
Ready to tackle more home projects after mastering drawer removal? Our guide on DIY home improvement is packed with tips and tricks that will empower homeowners to upgrade their spaces efficiently. From selecting the right tools to completing projects that'll transform your home, this article is a must-read for anyone keen to enhance their DIY skills. Don't miss out on creating the living space of your dreams — all while having fun in the process!
Frequently Asked Questions about How To Remove Drawers From A West Elm Dresser
Was this page helpful?
At Storables.com, we guarantee accurate and reliable information. Our content, validated by Expert Board Contributors, is crafted following stringent Editorial Policies. We're committed to providing you with well-researched, expert-backed insights for all your informational needs.


0 thoughts on “How To Remove Drawers From A West Elm Dresser”