Articles
How To Remove Fence Post With Car Jack
Modified: December 7, 2023
Learn how to remove a stubborn fence post with a car jack using our step-by-step guide. Find more helpful articles on DIY fence repairs and maintenance.
(Many of the links in this article redirect to a specific reviewed product. Your purchase of these products through affiliate links helps to generate commission for Storables.com, at no extra cost. Learn more)
Introduction
Removing a fence post can be a challenging and physically demanding task, but with the right technique and tools, it can be made significantly easier. One effective method is using a car jack to leverage the post out of the ground. This approach provides the necessary strength and stability to remove the post without causing damage to the surrounding area.
In this guide, we will walk you through the step-by-step process of removing a fence post with a car jack. By following these instructions and taking the appropriate safety precautions, you can successfully complete this task and save yourself the cost of hiring a professional.
Before we begin, make sure you have all the necessary materials and tools on hand. Proper preparation is key to a successful and smooth removal process.
Key Takeaways:
- Removing a fence post with a car jack requires proper preparation, including gathering materials and clearing the area. Following safety precautions and taking it step by step ensures a smooth and safe removal process.
- Patience and careful control are crucial when using a car jack to lift the fence post. By following the step-by-step instructions and additional safety measures, you can successfully remove the post while minimizing the risk of accidents or injury.
Read more: How To Remove Fence Post
Materials Needed
Before you begin the fence post removal process, gather the following materials:
- Car jack: Choose a sturdy hydraulic car jack that can support the weight of the fence post.
- Wooden blocks: These will be used to provide additional support and stability during the removal process.
- Work gloves: Protect your hands from potential injuries and splinters.
- Shovel: Use a shovel to loosen the soil around the base of the fence post.
- Hardware tools: You may need pliers, a wrench, or a screwdriver depending on the type of fence post you are removing.
- Safety goggles: Wear safety goggles to shield your eyes from any flying debris.
- Protective clothing: Wear appropriate clothing that covers your arms and legs to prevent scratches or cuts.
- Work boots: Sturdy boots with good traction will protect your feet and ankles.
Ensure that you have all these materials readily available before you begin the process. This will help to streamline the removal process and ensure your safety during the task.
Step 1: Preparation
Before you start removing the fence post with a car jack, it’s important to properly prepare the area and gather the necessary tools. Follow these steps:
- Clear the surrounding area: Remove any obstacles, debris, or vegetation around the fence post. This will provide you with a clear and safe workspace.
- Put on safety gear: Wear work gloves, safety goggles, and appropriate clothing to protect yourself from potential hazards.
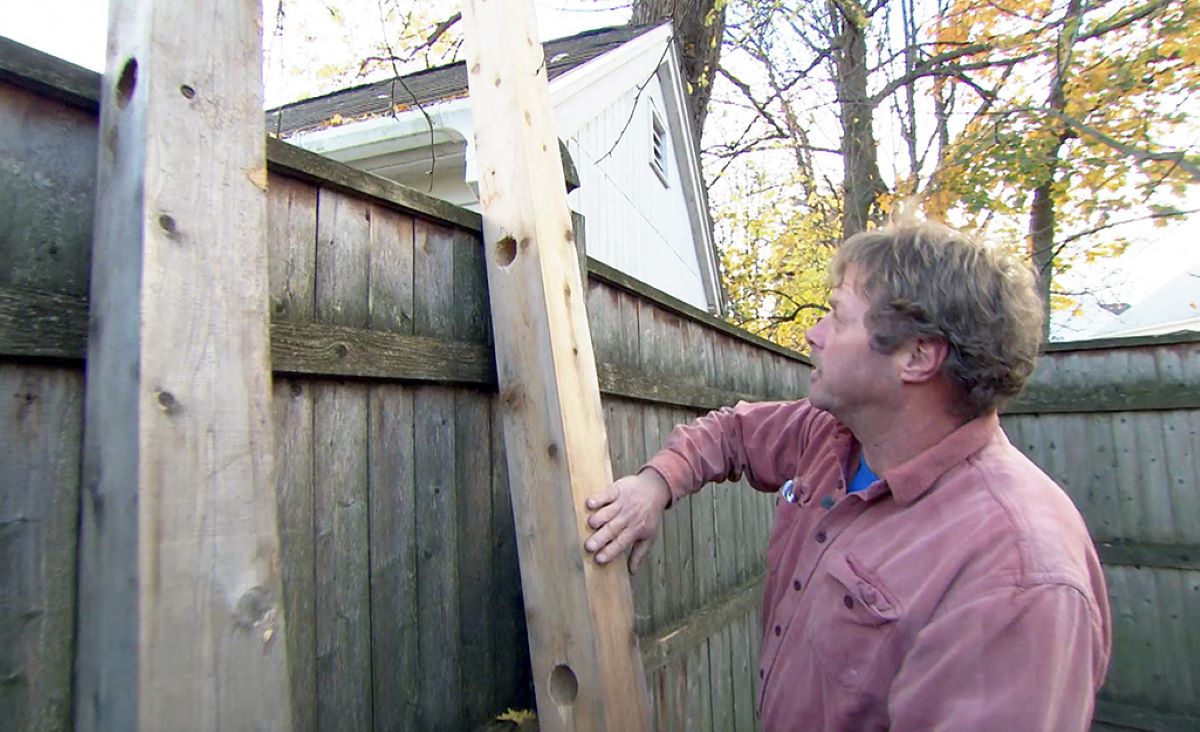
- Inspect the fence post: Examine the condition of the post and its attachments. Determine if there are any screws, nails, or brackets that need to be removed before proceeding.
- Select the car jack: Choose a hydraulic car jack that can safely support the weight of the fence post. Make sure it is in good working condition.
- Secure the wooden blocks: Place sturdy wooden blocks near the base of the fence post. These blocks will provide additional stability and prevent the jack from sinking into the ground.
By taking these preparation steps, you will ensure a smooth and efficient fence post removal process. Safety should be your top priority throughout the entire task.
Step 2: Loosening the Ground
Now that you have prepared the area, it’s time to loosen the ground around the fence post. This step will make it easier to remove the post without causing damage to the surrounding area. Follow these instructions:
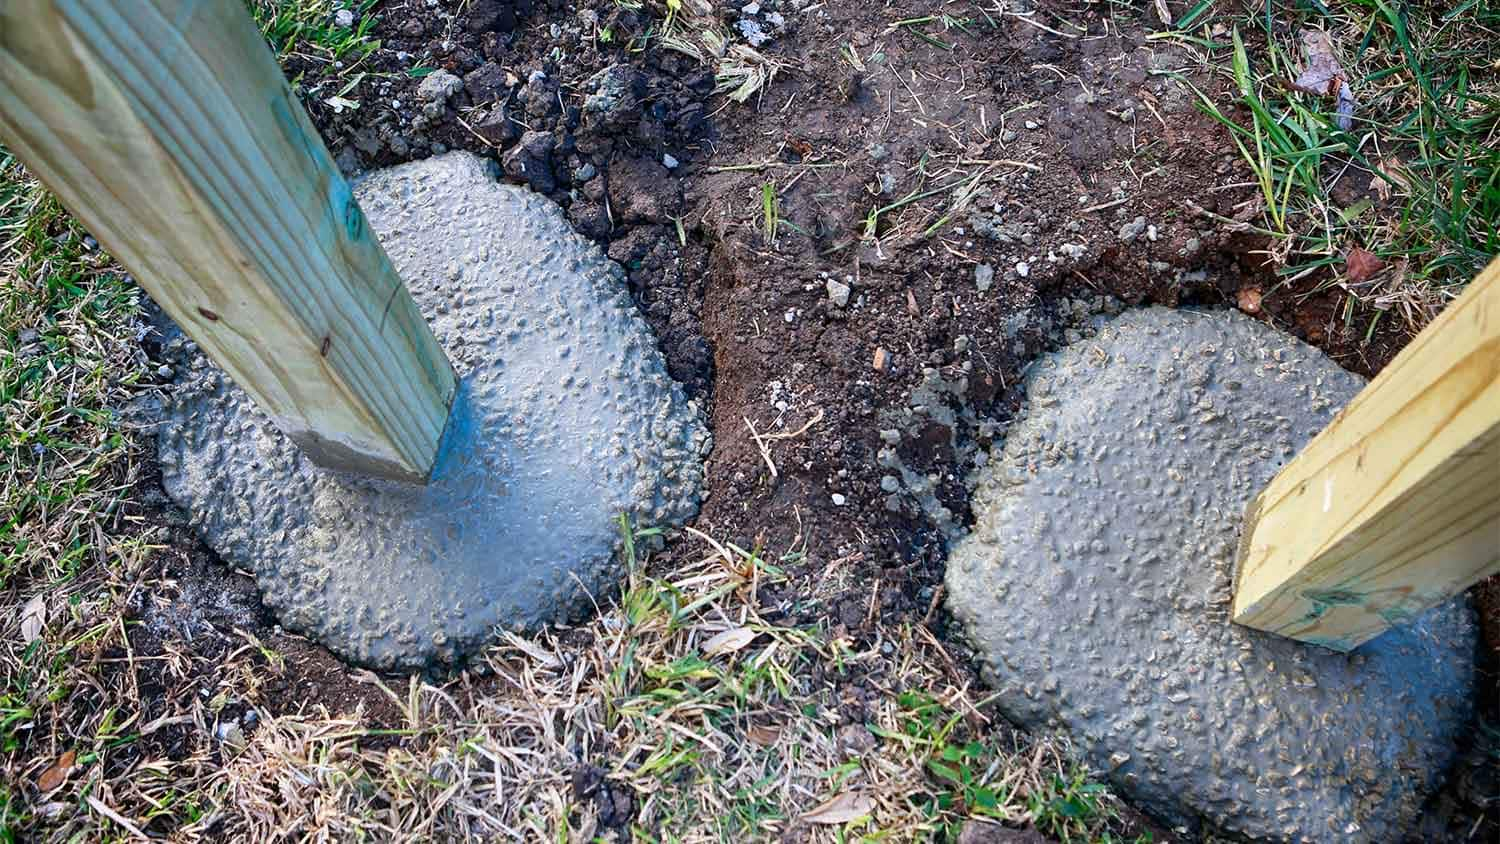
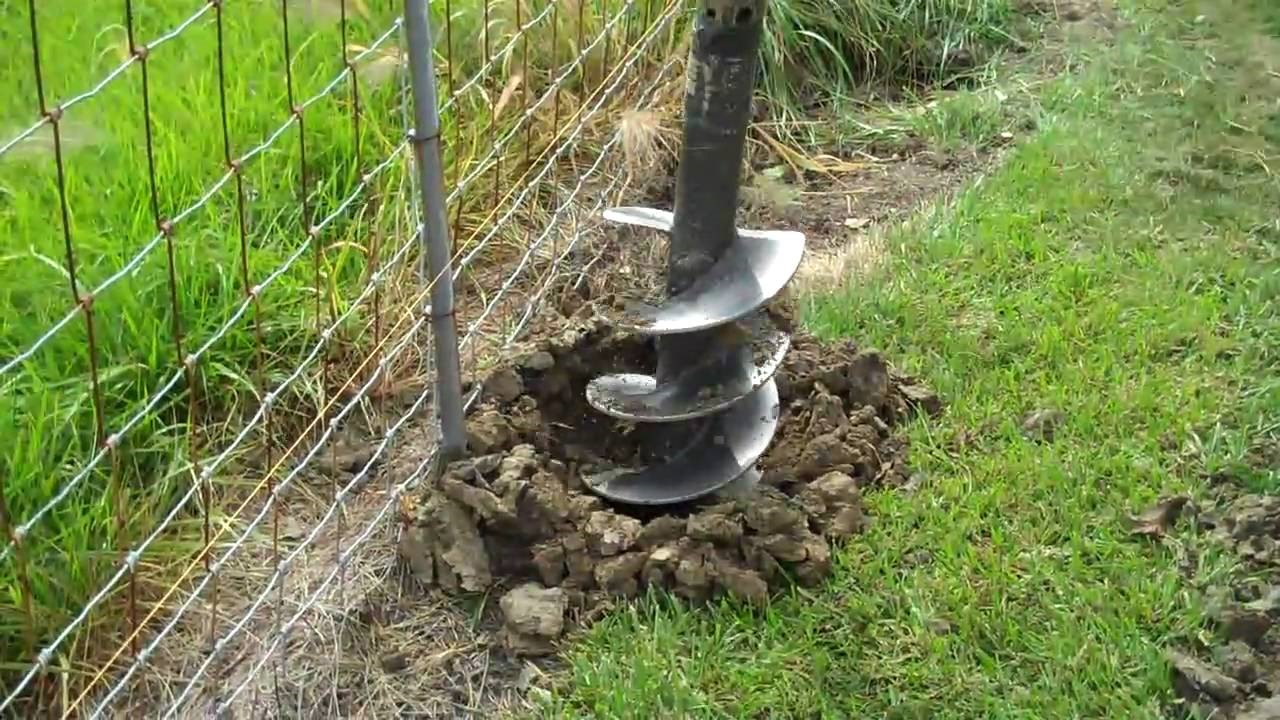
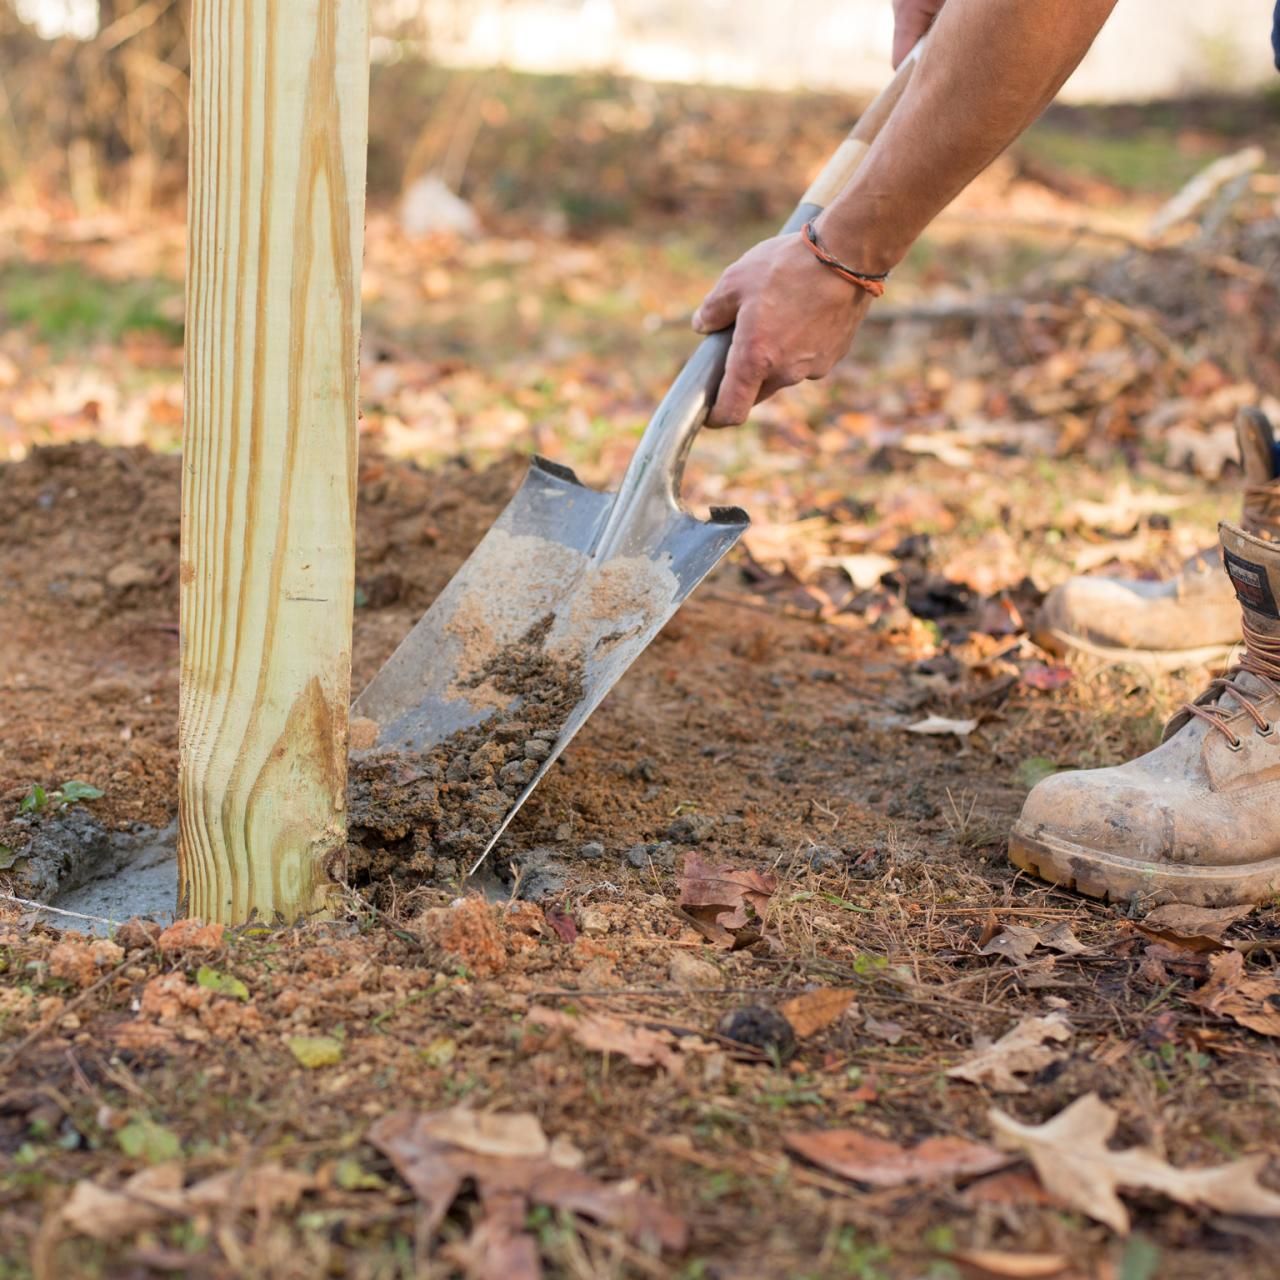
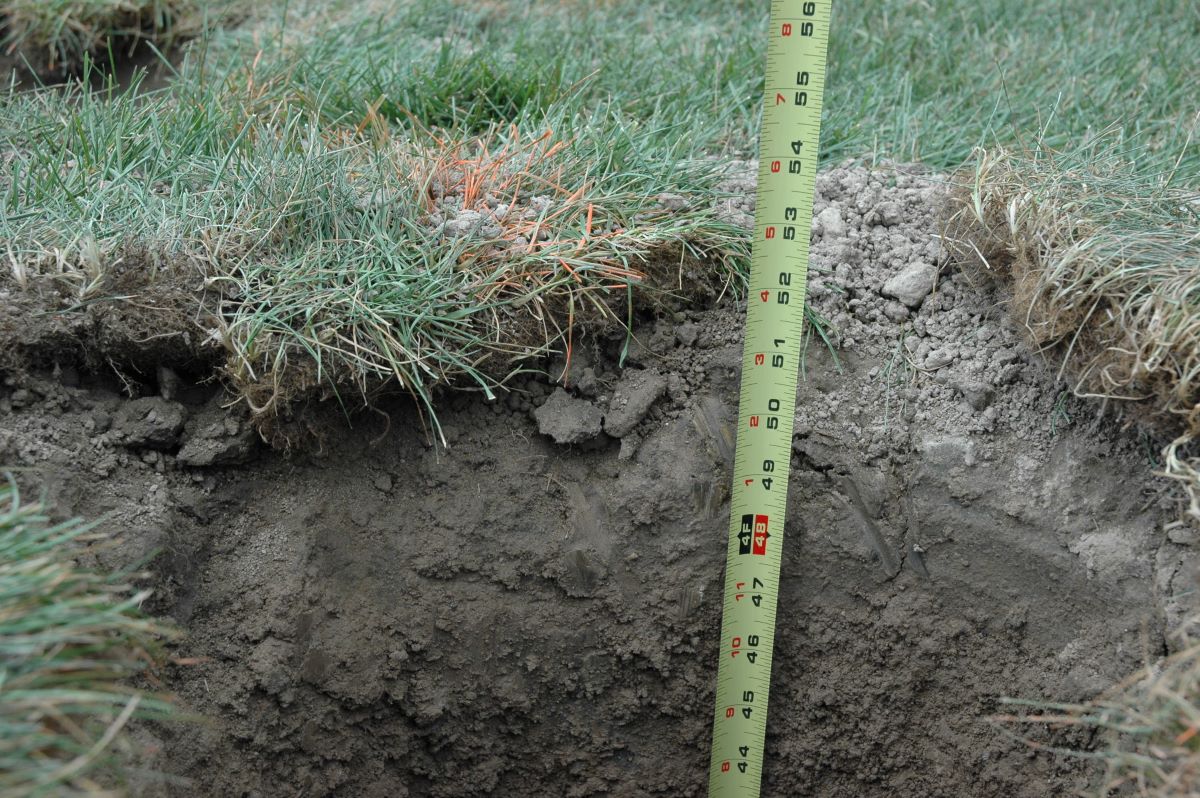
- Use a shovel to dig around the base of the fence post. Start by creating a trench around the post, ensuring that you dig deep enough to reach below the frost line if applicable.
- Push the shovel under the post to break up any compacted soil or roots. This will provide space for the post to be lifted out of the ground.
- Continue digging and loosening the soil around the entire circumference of the post. Take care not to damage any nearby utility lines or irrigation systems.
- If the soil is particularly stubborn, you can pour water around the base of the post to soften it. This can make it easier to dig and remove the post.
Remember to work carefully and avoid putting excessive force on the fence post at this stage. Your goal is to create enough space for the car jack to be securely attached to the post.
Once you have loosened the ground, move on to the next step: attaching the car jack.
Step 3: Attaching the Car Jack
Now that the ground has been loosened, it’s time to attach the car jack to the fence post. This step is crucial for applying the necessary leverage to lift the post out of the ground. Follow these instructions:
- Position the car jack near the fence post. Make sure it is stable and placed on a level surface.
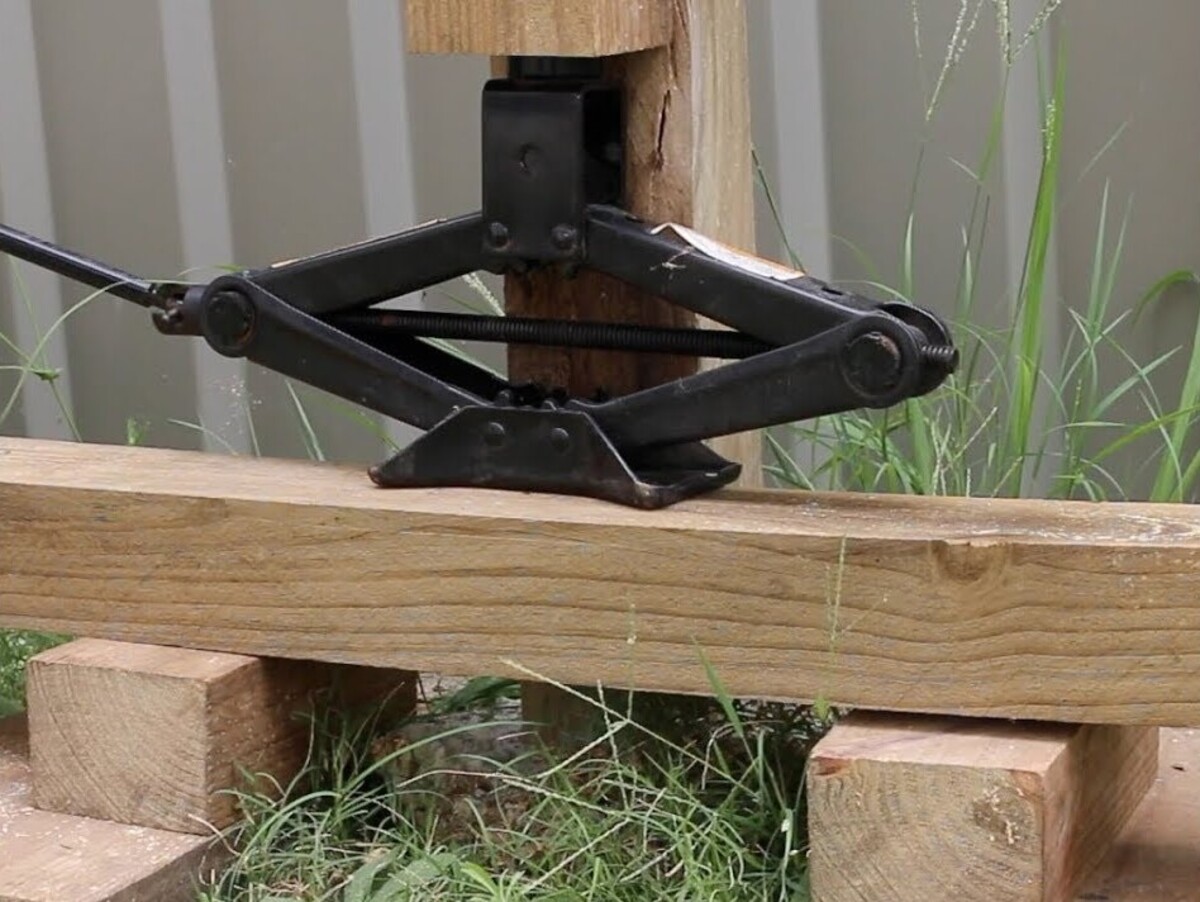
- Attach the car jack to the post by positioning it vertically against the post, ensuring the jack’s lifting pad makes contact with the post.
- Use straps or clamps to secure the car jack to the fence post. This will help keep the jack in place during the lifting process.
- Ensure that the car jack is positioned in such a way that when lifted, it will apply pressure directly under the fence post. Adjust the position as needed.
Double-check that the car jack is securely attached to the post before moving on to the next step. It’s vital to ensure stability and prevent any accidents during the removal process.
With the car jack properly attached, you’re now ready to proceed to the next step: jacking up the post.
Before using a car jack to remove a fence post, make sure to dig around the post to expose the base. Place the jack under the post and slowly apply pressure to lift it out of the ground. Use caution and wear gloves for safety.
Read more: How To Remove A Chain Link Fence Post
Step 4: Jacking Up the Post
With the car jack securely attached to the fence post, it’s time to start jacking up the post. This step will gradually lift the post out of the ground, utilizing the strength of the car jack. Follow these instructions:
- Slowly begin pumping the car jack’s handle to raise the post. Apply steady and even pressure to prevent sudden movements or instability.
- As you pump the car jack, keep an eye on the post to ensure it is lifting evenly. Adjust the placement of the car jack if necessary to maintain balance.
- Continue pumping the car jack until the post is lifted to a desired height. Take breaks if needed to avoid overexertion.
- Periodically check the condition of the ground beneath the post. If the soil is still tightly packed, use the shovel or a pry bar to further loosen it.
It’s important to remember that patience and careful control are key during this step. Avoid rushing or applying excessive force to prevent damage to the post or surrounding area.
Once the post has been lifted to an appropriate height, you can move on to the final step: removing the post from the ground.
Step 5: Removing the Post
Now that the fence post has been lifted, it’s time to remove it from the ground. This step requires careful handling to prevent any accidents or damage. Follow these instructions:
- Inspect the area around the post to ensure there are no obstructions or debris that may interfere with the removal process.
- Slowly and steadily lower the car jack, allowing the post to gradually come down. Keep your hands and feet clear of the post and the jack.
- Once the post is fully lowered, carefully detach the car jack from the post. Ensure that the post is stable before proceeding.
- Using a pry bar or similar tool, gently wiggle the post back and forth to loosen it from the ground. Apply gradual pressure until the post starts to come out.
- If necessary, enlist the help of a friend or use a lever to provide additional leverage in pulling out the post from the hole.
- Once the post is completely free, carefully lift it out of the ground, being cautious of any splinters or sharp edges.
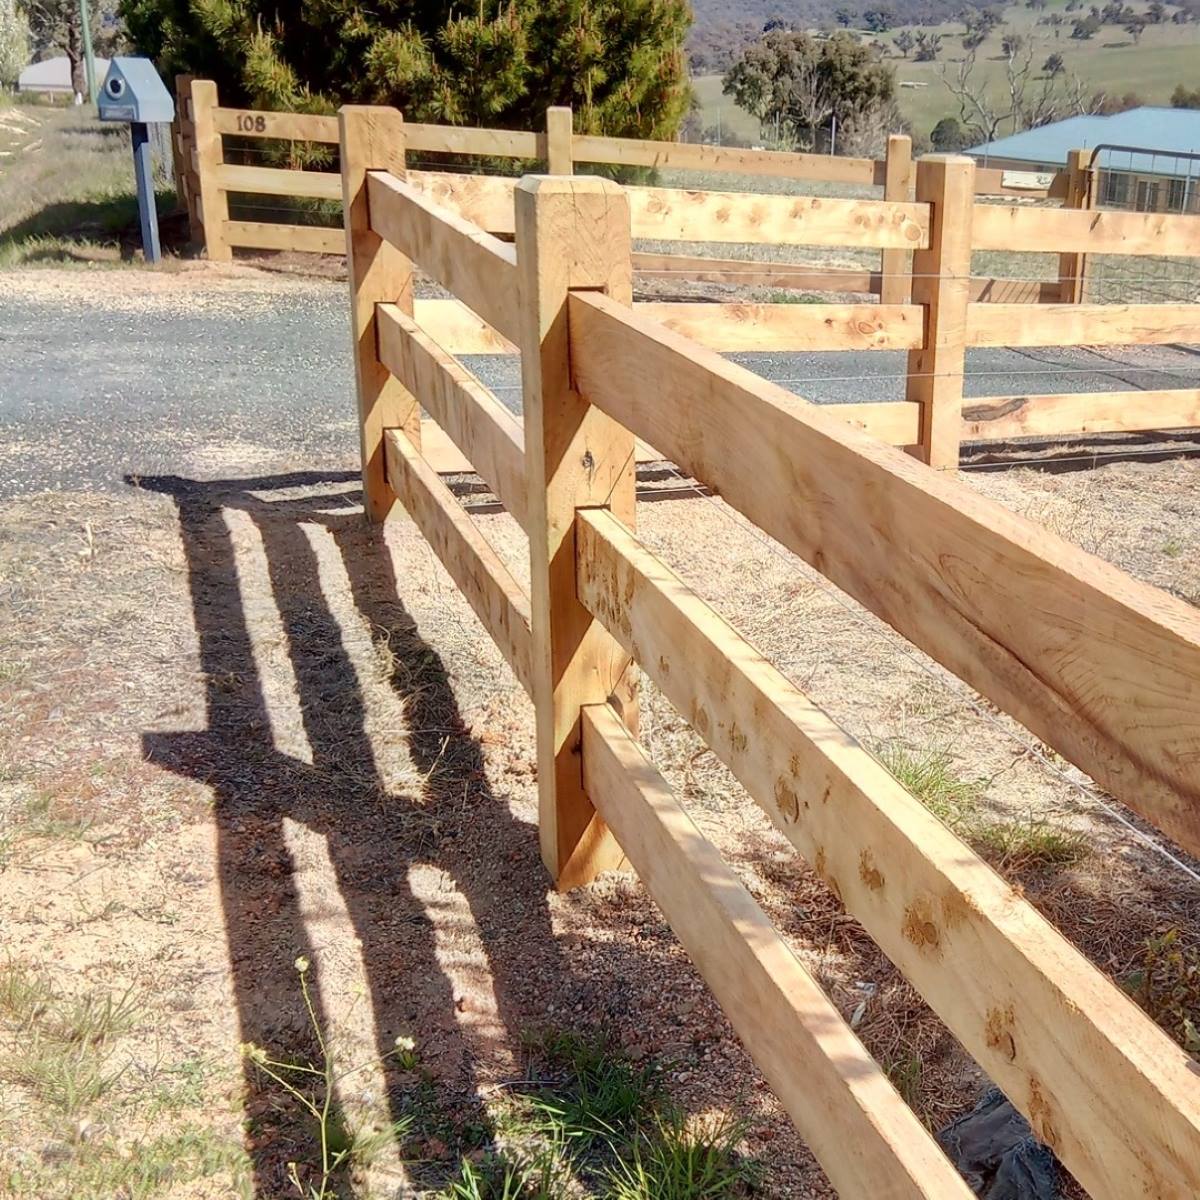
Dispose of the removed post properly according to local regulations or reuse it if still in good condition. Fill the hole left behind with soil or a suitable filler and compact it to ensure stability.
With the fence post successfully removed, take a moment to admire your work and clean up the area. You have now completed the process of removing a fence post with a car jack!
Additional Tips and Safety Precautions
When removing a fence post with a car jack, it’s important to follow these additional tips and safety precautions to ensure a smooth and accident-free process:
- Always wear appropriate safety gear, including work gloves, safety goggles, and protective clothing.
- Inspect the fence post for any signs of instability, rotting, or damage. If the post appears compromised, exercise extra caution during the removal process.
- Before starting the removal process, check for any underground utility lines or irrigation systems in the area to avoid damaging them.
- Take breaks if necessary during the removal process to prevent overexertion or fatigue.
- If you encounter stubborn or compacted soil, use water to soften it, making it easier to dig and loosen around the post.
- If you are unsure of your ability to safely handle the removal process, it’s best to consult a professional for assistance.
- Dispose of the removed fence post properly according to local regulations or repurpose it if possible.
- Once the post is removed, inspect the remaining hole for any loose soil or debris. Fill and compact the hole to ensure stability and prevent potential hazards.
Remember, safety should always be your top priority when working with tools and lifting heavy objects. Use common sense and take necessary precautions at every step of the process.
By following these tips and safety measures, you can successfully remove a fence post with a car jack while minimizing the risk of accidents or injury.
Conclusion
Removing a fence post with a car jack can be a challenging task, but it is certainly achievable with the right technique and precautions. By following the step-by-step process outlined in this guide, you can successfully remove a fence post and save yourself the cost of hiring a professional.
From preparing the area and loosening the ground, to attaching the car jack and jacking up the post, each step is crucial to ensure a smooth and safe removal process. By taking the appropriate safety measures and following the tips provided, you can mitigate risks and complete the task effectively.
Remember to always prioritize safety by wearing the necessary protective gear and being mindful of your surroundings. Take breaks when needed and ask for assistance if you feel unsure about completing the process on your own.
By removing a fence post with a car jack, you have demonstrated resourcefulness and saved yourself the expense of hiring a professional. Whether you’re replacing a damaged post or making changes to your fence, this guide will help you accomplish the task with confidence.
We hope this guide has been informative and helpful. Now, armed with your newfound knowledge, you can proceed with confidence and remove fence posts efficiently and safely.
Frequently Asked Questions about How To Remove Fence Post With Car Jack
Was this page helpful?
At Storables.com, we guarantee accurate and reliable information. Our content, validated by Expert Board Contributors, is crafted following stringent Editorial Policies. We're committed to providing you with well-researched, expert-backed insights for all your informational needs.


0 thoughts on “How To Remove Fence Post With Car Jack”