
Articles
How To Remove Rotted Fence Post Below Ground
Modified: May 6, 2024
Learn the step-by-step process of removing a rotted fence post below ground in this informative article. Expert advice and tips provided. Don't miss out!
(Many of the links in this article redirect to a specific reviewed product. Your purchase of these products through affiliate links helps to generate commission for Storables.com, at no extra cost. Learn more)
Introduction
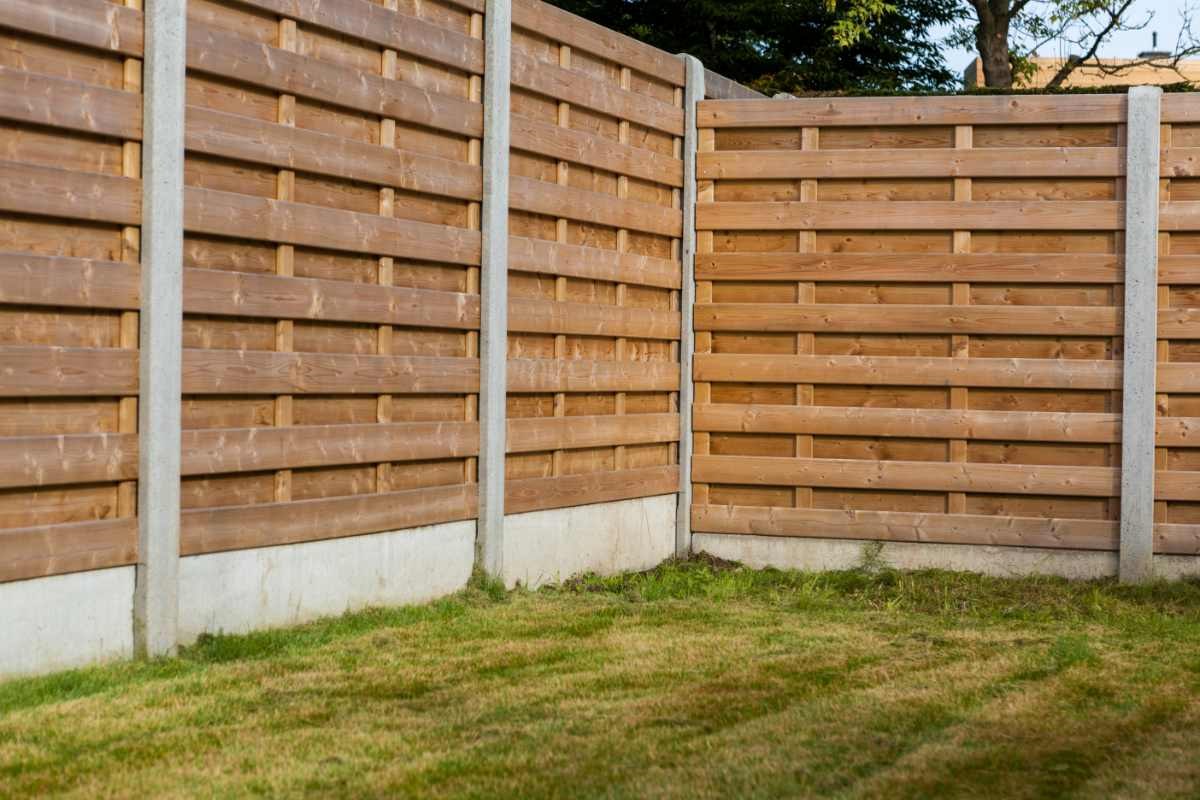
Dealing with a rotted fence post can be a daunting task, but it’s a necessary one to ensure the stability and longevity of your fence. Over time, exposure to the elements and moisture can cause wooden fence posts to decay and weaken, compromising the overall structure. When faced with a rotted fence post below ground level, it’s important to take immediate action to prevent further damage and keep your fence secure.
In this article, we will walk you through the step-by-step process of removing a rotted fence post below ground level. We’ll guide you on how to identify the rotted post, clear the area, dig around the post, detach the fence panels, extract the rotted post, refill the hole, and reinstall the fence panels. Armed with the right tools and a little bit of patience, you can successfully remove the rotted post and restore the stability of your fence.
Before we get started, make sure you have all the necessary tools and materials on hand. It’s important to be prepared before you begin the project to ensure a smooth process. Let’s take a look at what you’ll need:
Key Takeaways:
- Proper preparation and identification of the rotted fence post are crucial for a successful removal process. Clearing the area, locating the post, and gathering the necessary tools and materials are essential steps to ensure a smooth and efficient removal process.
- Careful handling and attention to detail during the removal and replacement process are vital for maintaining the stability and integrity of the fence. Taking the time to loosen, extract, and securely install the replacement post will contribute to the long-term durability of the fence.
Read more: How To Replace A Rotted Fence Post
Tools and Materials Needed
- Shovel
- Post hole digger
- Crowbar
- Hammer
- Level
- New fence post
- Concrete mix
- Gravel
- Measuring tape
Now that we have everything we need, let’s get into the step-by-step process of removing a rotted fence post below ground level.
Key Takeaways:
- Proper preparation and identification of the rotted fence post are crucial for a successful removal process. Clearing the area, locating the post, and gathering the necessary tools and materials are essential steps to ensure a smooth and efficient removal process.
- Careful handling and attention to detail during the removal and replacement process are vital for maintaining the stability and integrity of the fence. Taking the time to loosen, extract, and securely install the replacement post will contribute to the long-term durability of the fence.
Read more: How To Replace A Rotted Fence Post
Tools and Materials Needed
Before you begin the process of removing a rotted fence post below ground level, it’s important to gather all the necessary tools and materials. Having everything at your disposal will make the task much more efficient and ensure you have what is needed to complete the project. Here’s a list of the tools and materials you’ll need:
- Shovel: A shovel is essential for digging around the fence post and removing soil. Choose a sturdy shovel that can withstand the digging process.
- Post hole digger: A post hole digger is a specialized tool used for digging deeper holes. It’s particularly useful when working with larger fence posts or in areas with dense soil.
- Crowbar: A crowbar can help in loosening the rotted fence post and removing it from the ground. Look for a crowbar with a comfortable grip and sturdy construction.
- Hammer: A hammer is useful for various tasks, such as driving in stakes or breaking up the soil. Opt for a hammer with a comfortable handle and a good amount of weight.
- Level: A level is important for ensuring that the new fence post is installed vertically. Look for a level that is easy to use and provides accurate measurements.
- New fence post: You will need a replacement post to install once the rotted post is removed. Choose a post that matches the specifications and dimensions of your existing fence.
- Concrete mix: Concrete mix is used to anchor the new fence post in the ground securely. You can find premixed bags of concrete mix at your local hardware store.
- Gravel: Gravel is used as a stabilizing agent in the hole where the new post will be installed. It helps with drainage and prevents the post from shifting over time.
- Measuring tape: A measuring tape is necessary for accurately measuring the depth of the hole and ensuring that the new fence post is at the correct height.
Having these tools and materials readily available will make the process of removing a rotted fence post below ground level smoother and more efficient. Take the time to gather everything you need before you start the project, and you’ll be well-prepared to tackle the task at hand.
Step 1: Locate the Rotted Fence Post
The first step in removing a rotted fence post below ground level is to locate the exact position of the rotted post. This may require some investigation and observation, especially if the decay is not immediately visible. Here’s how you can locate the rotted fence post:
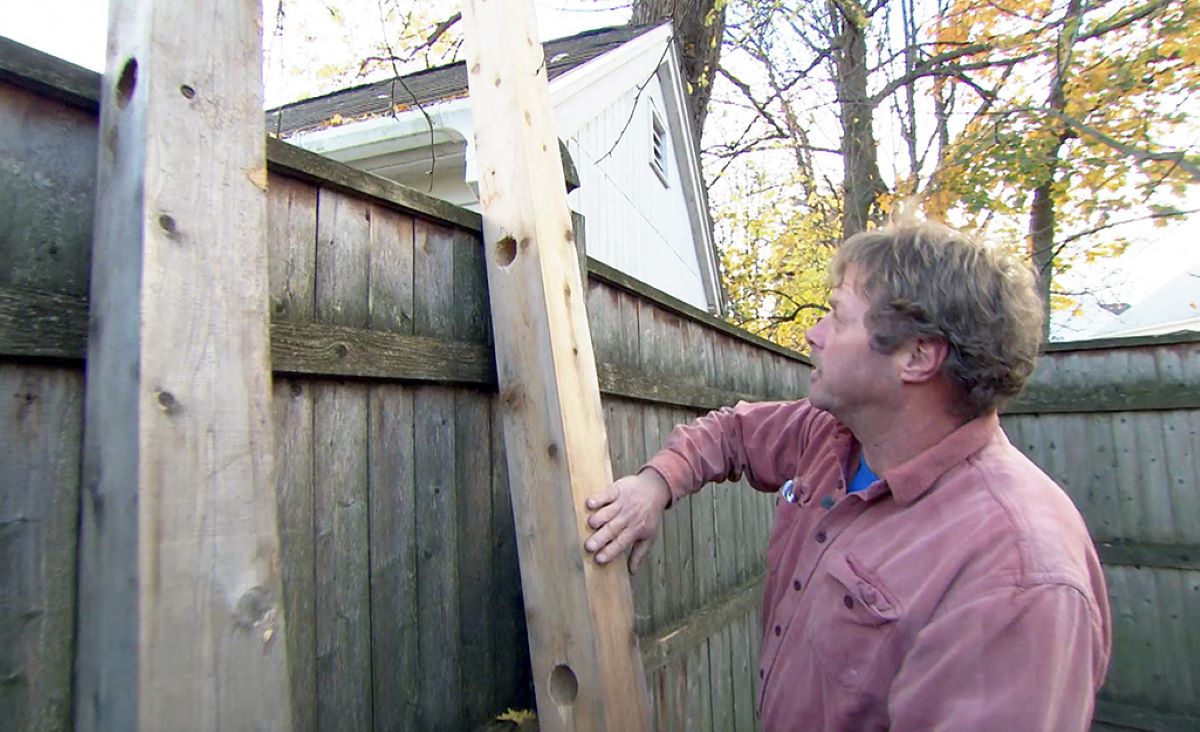
- Inspect the fence: Take a close look at the fence to identify any signs of decay or instability. Look for discoloration, soft spots, or areas where the wood appears to be crumbling. Pay attention to any leaning or wobbling sections of the fence as well.
- Tap the posts: Use a hammer or a mallet to lightly tap the fence posts. Listen for a hollow or dull sound, as this may indicate rotting or decay. Healthy posts will typically produce a solid sound when tapped.
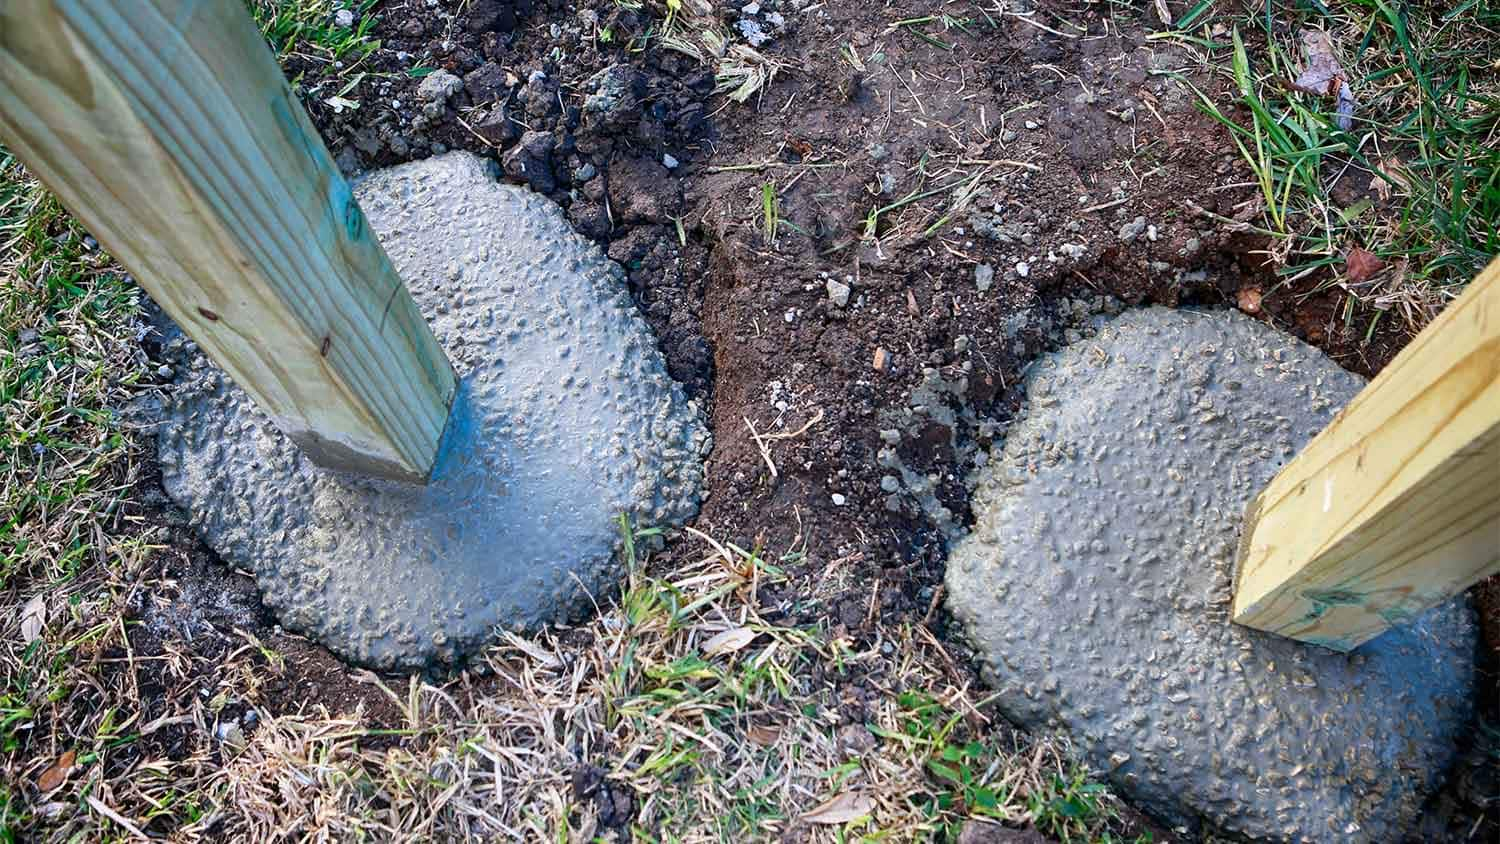
- Check the soil: Examine the soil around the fence posts. Look for signs of moisture, mold, or fungus, as these can contribute to the decay of the wood. Additionally, inspect the bottom portion of the fence post where it meets the ground for any visible signs of rot.
- Test stability: Gently push or wiggle the fence posts to check for stability. If a post moves easily or feels loose, it may be an indication of rotting. Keep in mind that some rotting posts may still appear stable, so it’s important to thoroughly inspect each post.
- Use a moisture meter: If you have access to a moisture meter, you can use it to measure the moisture content of the fence posts. High moisture levels are often a sign of decay, as the wood becomes more susceptible to rot when exposed to excessive moisture.
Once you have located the rotted fence post, mark its position for easy identification during the removal process. Use a small flag, a piece of tape, or any other visible marker to indicate the exact spot. This will help you stay organized and focused as you move through the subsequent steps.
By taking the time to locate the rotted fence post before diving into the removal process, you can ensure that you are targeting the correct post and avoid any unnecessary work. Once you have clearly identified the problematic post, you can proceed to the next step of the removal process.
Step 2: Clear the Surrounding Area
Before you can begin removing the rotted fence post, it’s essential to clear the surrounding area to create a safe and accessible workspace. By removing any obstructions and ensuring a clear path, you can work more efficiently and reduce the risk of accidents. Follow these steps to clear the area:
- Remove any plants or vegetation: Trim back any overgrown plants or vegetation that may be obstructing access to the fence post. Use pruning shears or a trimmer to cut away branches or vines that are in the way. This will give you a clear view of the post and prevent any interference during the removal process.
- Clear debris and loose material: Remove any debris, rocks, or loose soil that may be surrounding the fence post. Use a rake or a shovel to gather and remove these materials. It’s important to have a clean and clear area to work in, as it will make the removal process much easier.
- Ensure adequate workspace: Make sure you have enough space to maneuver and work comfortably around the fence post. Remove any objects or obstacles that may impede your progress. This includes garden tools, potted plants, or any other items that may be in your way.
- Protect nearby structures: If there are any nearby structures, such as other fences or buildings, consider protecting them during the removal process. Use a tarp or plywood to cover and shield these structures from any accidental damage caused during the post removal.
- Secure and store removed fence panels: If you are working on a fence with removable panels, carefully detach and store them in a safe location. This will prevent damage to the panels and make it easier to access the rotted post.
By taking the time to clear the area surrounding the rotted fence post, you can create an optimal working environment. Clearing away plant growth, debris, and obstructions will allow you to have a better view of the post and perform the removal process with ease. Remember to prioritize safety by ensuring adequate workspace and protecting nearby structures. With a clear and organized area, you can move on to the next step confidently.
Read more: How To Keep Fence Posts From Rotting
Step 3: Remove Panels or Sections of the Fence
Removing the panels or sections of the fence is necessary to gain proper access to the rotted fence post. This step allows you to work more effectively and ensures that you can remove the post without any obstructions. Follow these steps to safely remove the fence panels or sections:
- Identify the attachment method: Take a closer look at how the fence panels or sections are attached to the posts. They may be secured with screws, nails, brackets, or other fastening mechanisms. Identify the type of attachment used, as this will determine how you proceed with removal.
- Remove screws or nails: If the panels are attached with screws or nails, use a screwdriver or a pry bar to carefully remove them. Take your time and ensure that all fasteners are fully removed before attempting to detach the panel.
- Release brackets or clips: Some fence panels may be attached using brackets or clips. Locate the attachment points and release the panels by undoing the brackets or clips. Follow the manufacturer’s instructions if available.
- Gradually detach the panels: Start at one end of the fence and work your way along, gradually detaching each panel or section. Use a crowbar or a hammer to gently pry the panels away from the posts if necessary. Take care not to damage the panels or surrounding structures during this process.
- Store the panels safely: As you remove each panel or section, set them aside in a safe location. Keep them well-organized and protected to prevent any damage. This will make the reinstallation process easier once the rotted post has been replaced.
It is important to exercise caution when removing the fence panels or sections. Take your time and be mindful of any potential hazards. Avoid bending or damaging the panels in the removal process, as this will impact their usability when reinstalling them. Store the panels carefully, considering factors such as weather conditions and potential damage from other nearby activities.
By removing the panels or sections of the fence, you create a clear path to address the rotted post. With this step complete, you are now ready to move on to the next phase: digging around the post.
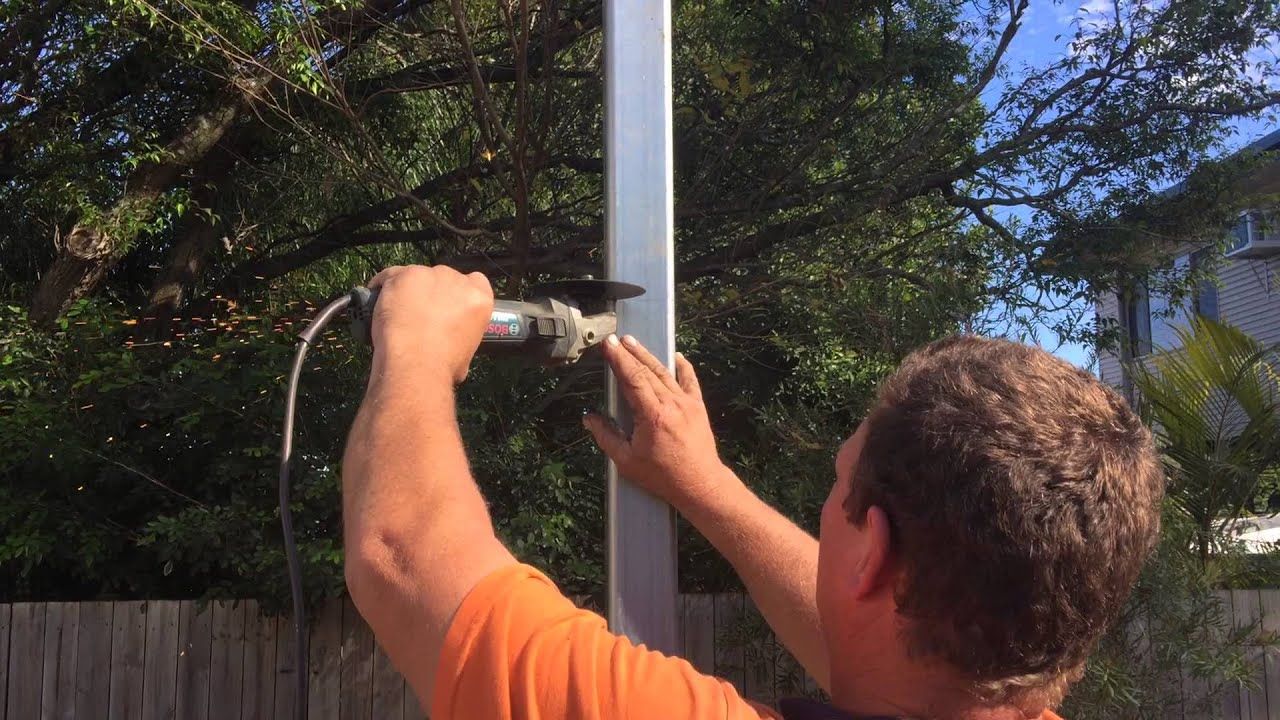
Use a reciprocating saw to cut the rotted post below ground level. Then, use a post hole digger to remove the remaining portion of the post and any surrounding concrete.
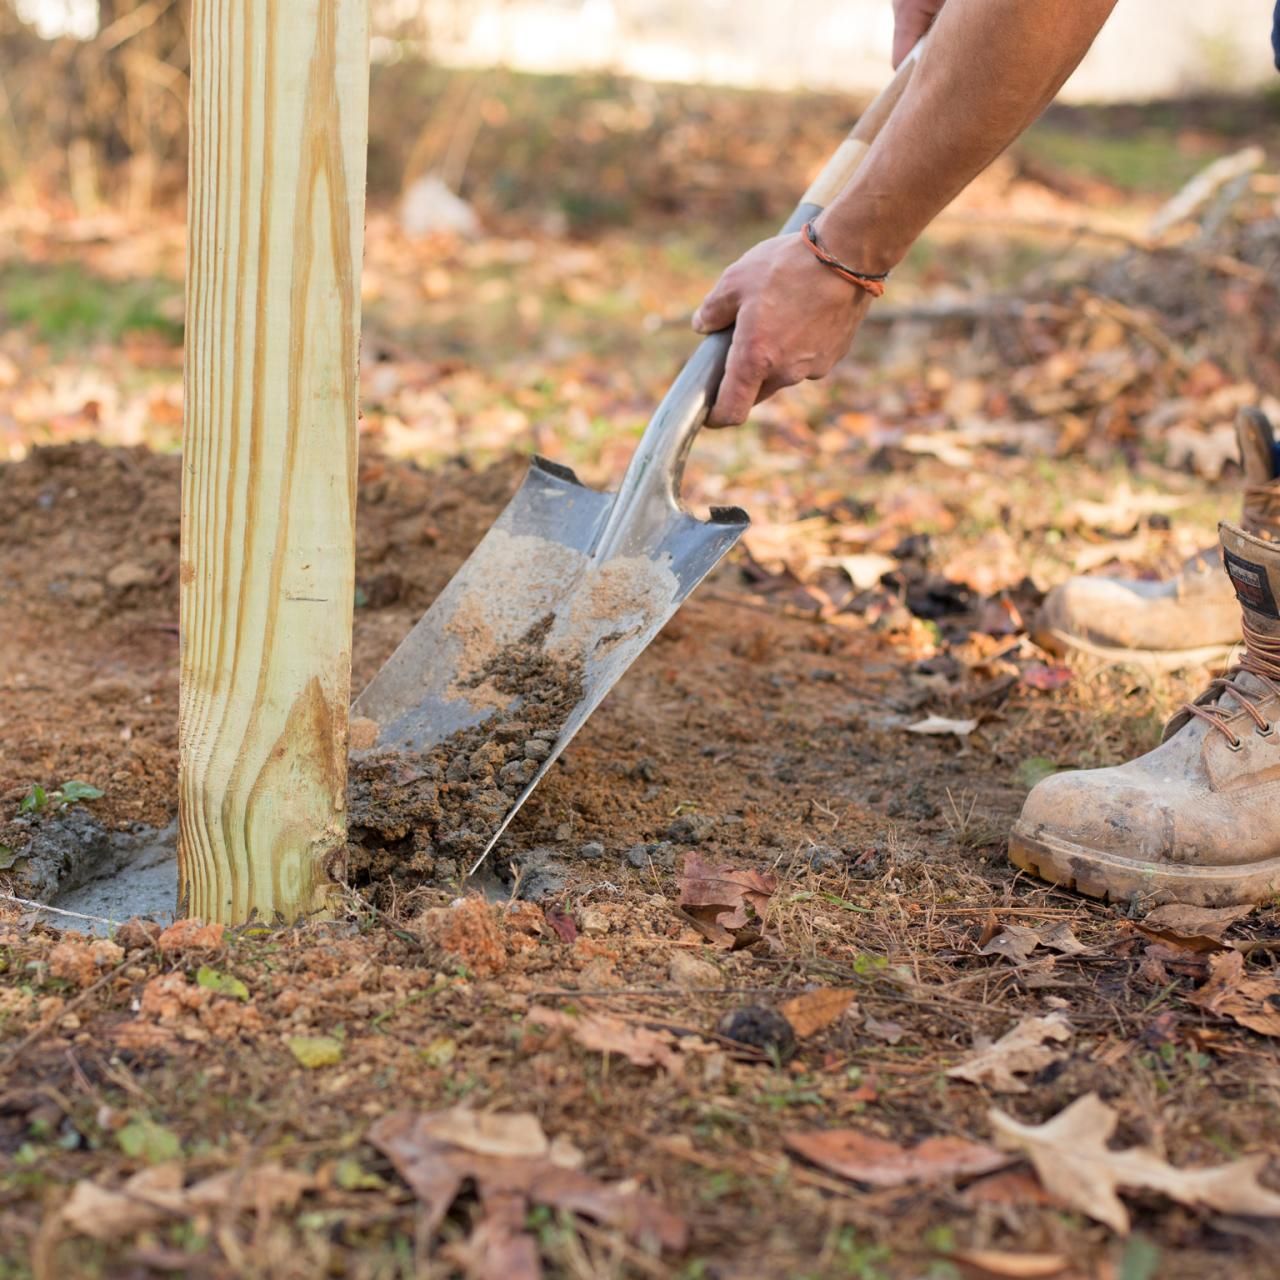
Step 4: Dig Around the Post
Now that the fence panels or sections are removed, it’s time to dig around the rotted fence post. This step involves removing soil to create enough space to access the post and allow for its extraction. Follow these steps to dig around the post:
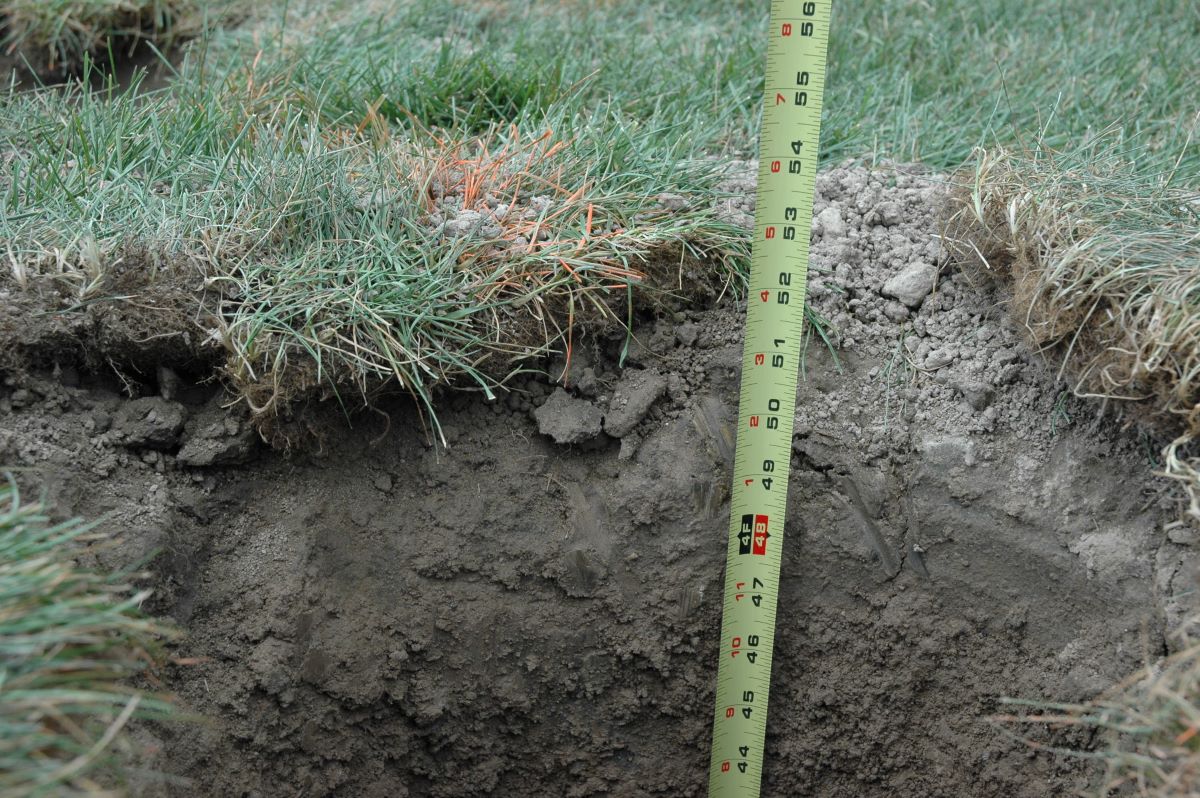
- Measure the depth and diameter: Use a measuring tape to determine the depth and diameter of the hole required for the new post. This will guide you in digging an appropriately sized hole.
- Start digging: Begin digging around the rotted post using a shovel or a post hole digger. Start a few inches away from the post and work your way outward in a circular motion. Dig down to the depth needed for the new post, removing the soil as you go.
- Remove loose soil: As you dig, be sure to remove any loose soil and debris from the hole. This will provide a clean and stable base for the new post.
- Check for any roots or obstacles: While digging, watch out for any tree roots or other obstacles that may obstruct the removal process. Clear away any roots or other obstructions safely to ensure smooth progress.
- Ensure the hole is wide enough: Make sure the hole you dig is slightly wider than the diameter of the rotted post. This will allow enough space to maneuver and remove the post without causing damage to the surrounding area.
Take your time during this step and be careful not to damage any underground utilities, such as water or utility lines. If you encounter any difficulties or are unsure about digging on your property, it’s always a good idea to consult with a professional who can provide guidance and ensure safety.
Once you have completed the process of digging around the post, you are ready to move on to the next step: loosening the post from the ground.
Step 5: Loosen the Post from the Ground
With the hole dug around the rotted fence post, the next step is to loosen the post from the ground. This step requires careful maneuvering and gradual loosening to avoid causing damage to the post or surrounding structures. Follow these steps to properly loosen the post:
- Assess the post’s stability: Before attempting to loosen the post, assess its stability. Determine if it is firmly stuck in the ground or if it already has some movement. This will help you gauge the effort required to loosen it.
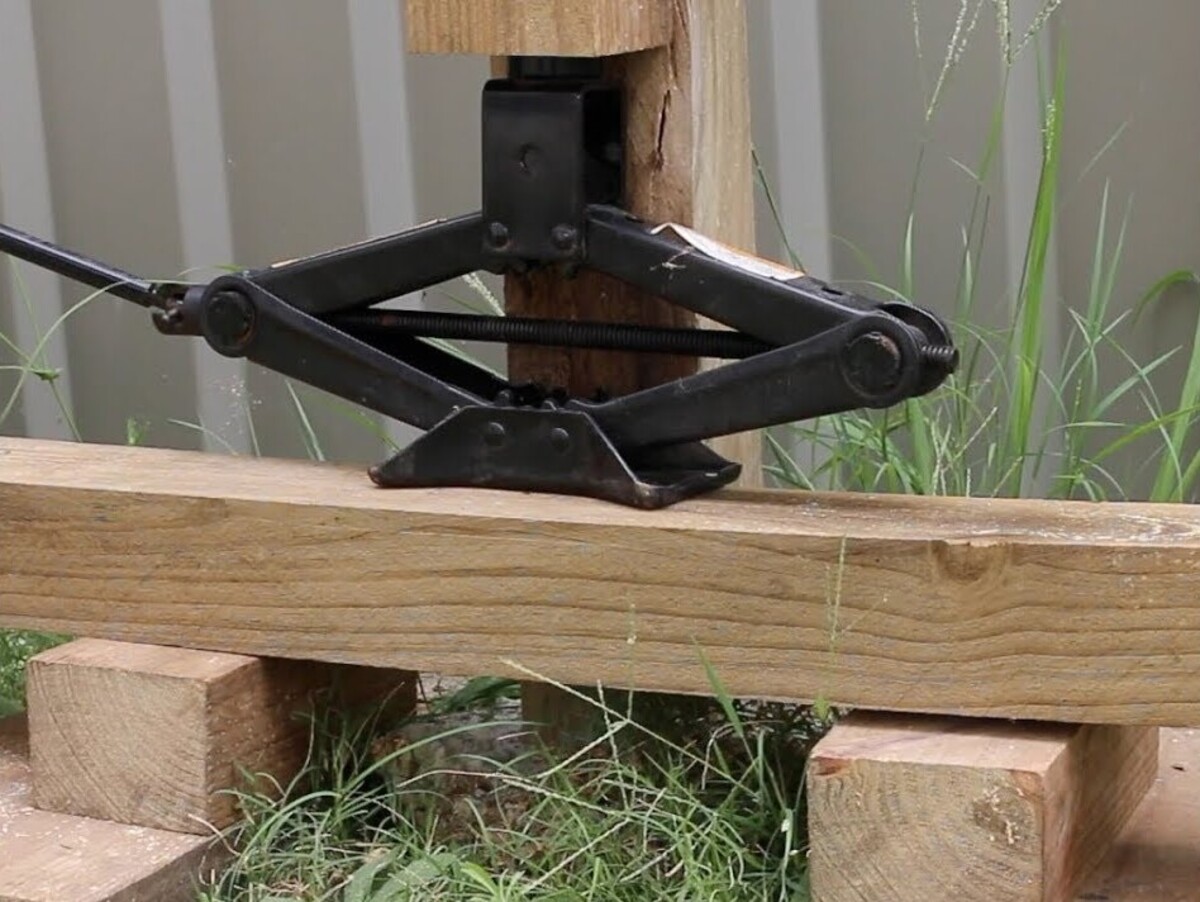
- Apply pressure: Use your body weight or a fulcrum (such as a long 2×4 board) to gradually apply pressure to the post. Push or rock the post back and forth, applying steady pressure to loosen it from the surrounding soil. Be cautious not to exert excessive force, as this can cause the post to snap or bend.
- Use a crowbar: If the post remains stubborn and doesn’t easily loosen with pressure, use a crowbar for additional leverage. Insert the crowbar between the post and the dug-out soil, gradually prying and rocking it to create space and loosen the post.
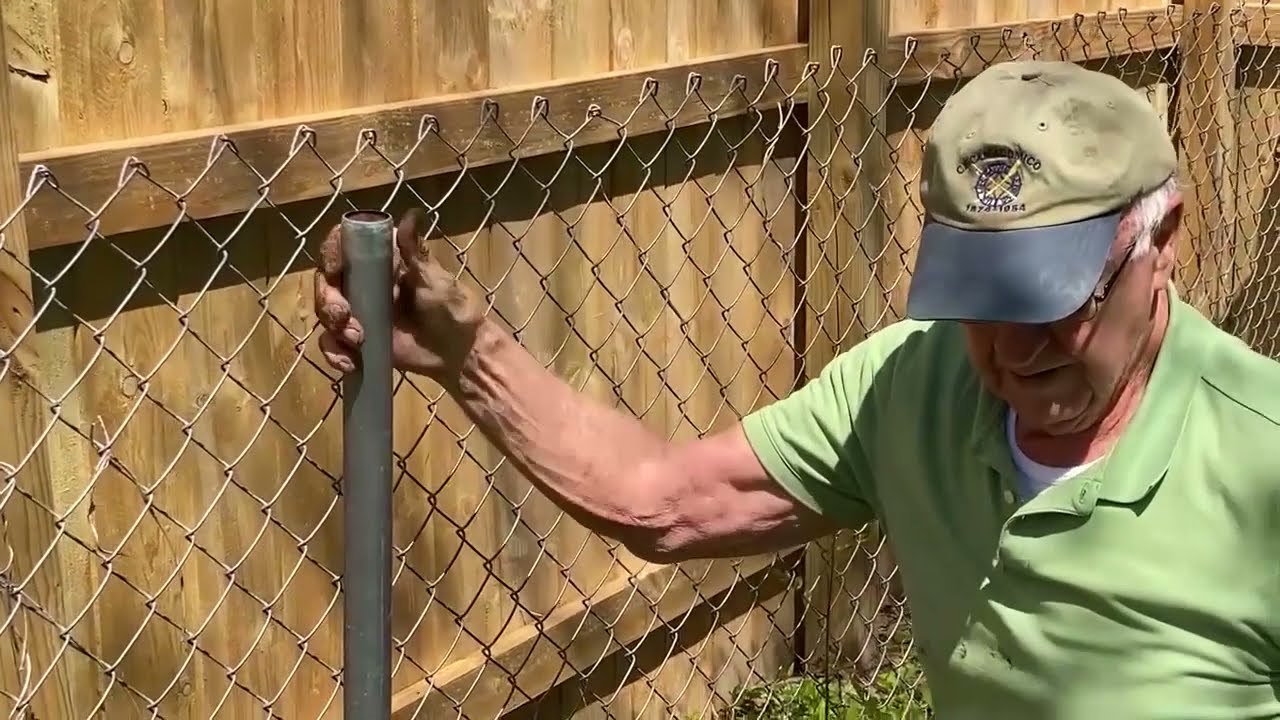
- Rotate the post: Another technique to loosen the post is to rotate it gently. Grab the post near the top and twist it back and forth while pulling upward. This twisting motion can help break up any compacted soil and facilitate the post’s release.
- Continue gradual loosening: Repeat the pressure, crowbar, and rotation techniques until the post becomes noticeably loose or starts to come out of the ground. Take your time and be patient during this process, as rushing may cause more harm than good.
It’s important to exercise caution when loosening the post to avoid injury or damage. Make sure to wear appropriate protective gear, such as gloves and safety goggles, and maintain a stable footing while applying pressure or using tools. If you encounter any significant resistance or are uncertain about how to proceed, consider seeking guidance from a professional.
Once the post is sufficiently loosened, you’ll be ready to proceed to the next step: pulling out the rotted post.
Step 6: Pull out the Rotted Post
After successfully loosening the rotted fence post, it’s time to remove it from the ground. Using the appropriate tools and techniques, you can safely extract the post and prepare the hole for the replacement post. Follow these steps to pull out the rotted post:
- Gather necessary tools: Before attempting to remove the post, ensure you have a firm grip on the necessary tools. These may include a pair of sturdy work gloves, a pry bar, or a post puller tool.
- Secure the post: If the post is partially or fully detached from the ground, hold it securely near the base to prevent it from falling or causing any damage. Use caution and maintain a firm grip while handling the post.
- Apply pulling force: Depending on the size and condition of the post, you may be able to simply pull it out by hand. However, if the post is more stubborn, use a pry bar or a post puller tool for additional leverage. Position the tool securely against the post and apply steady pulling force, incrementally increasing the pressure if necessary.
- Rock and wiggle the post: In some cases, rocking or wiggling the post back and forth can help to loosen it further and facilitate its removal. While maintaining a firm grip, gently rock the post side to side or wiggle it up and down to dislodge it from its remaining hold in the ground.
- Remove the post: Once the post is free from the ground, carefully lift it out of the hole. Be cautious of any loose soil or debris that may fall as you remove the post. Set the rotted post aside for proper disposal.
Throughout the process, be mindful of your safety and the safety of your surroundings. Take breaks as needed and adjust your technique or employ additional tools if you encounter resistance. It’s crucial to handle the post delicately to avoid any injury or damage.
Once the rotted post is successfully removed, you’re ready to move on to the next step: filling the hole with new soil.
Read more: How To Remove Fence Post
Step 7: Fill the Hole with New Soil
With the rotted post removed, it’s time to fill the hole with new soil. This step ensures stability for the replacement post and prepares the ground for proper installation. Follow these steps to fill the hole with new soil:
- Inspect the hole: Before adding new soil, inspect the hole for any remaining debris or loose soil. Use a shovel or rake to remove any obstructions or excess dirt, ensuring a clean and even surface.
- Add a layer of gravel: Start by adding a layer of gravel at the bottom of the hole. This layer will aid in drainage and provide stability for the new post. Spread the gravel evenly across the bottom of the hole, creating a solid base.
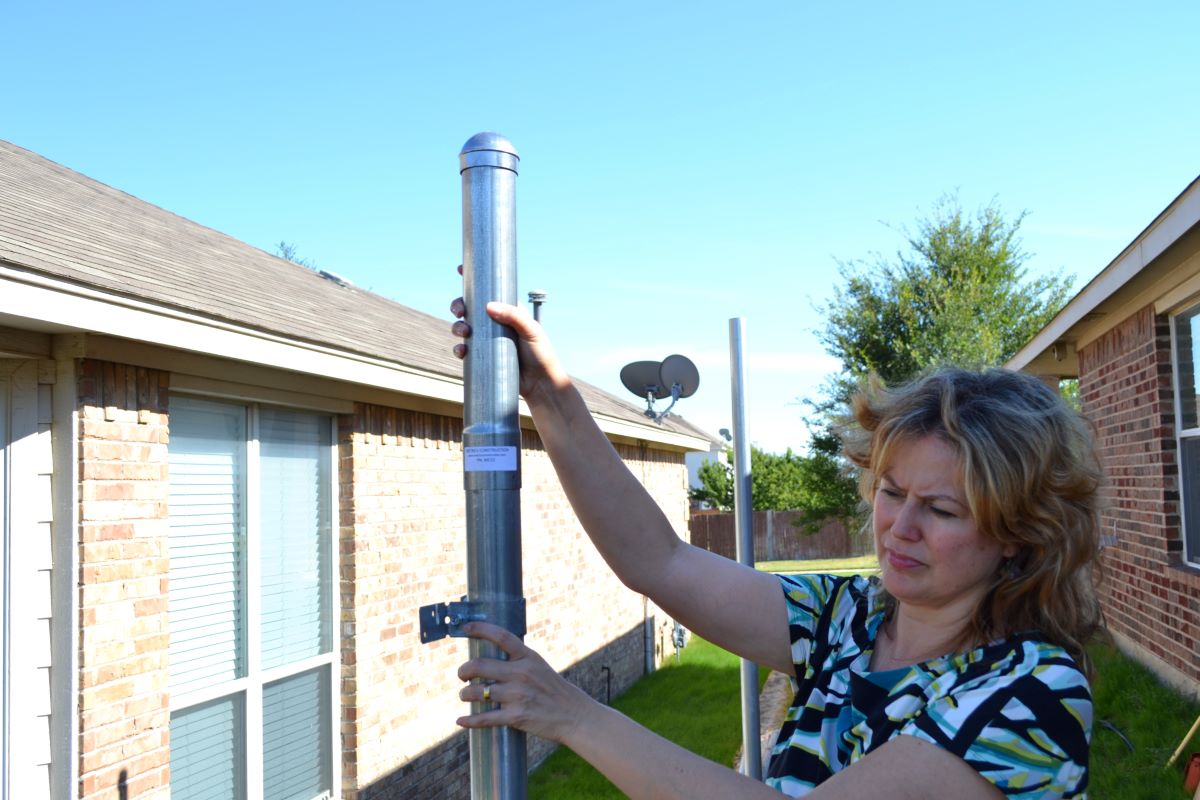
- Insert the replacement post: Place the replacement post into the hole, ensuring it is centered and straight. Use a level to check for proper alignment. The post should be positioned at the correct height to match the surrounding fence line.
- Add new soil: Begin filling the hole with new soil, using a shovel or hands to carefully pack it around the replacement post. Ensure that the soil is evenly distributed and firmly packed to provide stability for the new post.
- Tamp down the soil: As you add soil, periodically tamp it down using the back of a shovel or a tamper tool. This helps to compact the soil and further improve stability.
- Continue filling and tamping: Fill the hole with soil in layers, tamping each layer down before adding the next. Repeat this process until the hole is completely filled, ensuring that the replacement post remains vertical and secure.
It’s important to use proper soil for backfilling, ensuring that it is well-draining and suitable for the surrounding environment. Avoid using soil that is excessively sandy or clay-like, as these types of soil can lead to instability or poor drainage.
Once the hole is filled, the replacement post should be securely anchored in the ground. With this step complete, you’re ready to move on to the final step: reinstalling the fence panels.
Step 8: Reinstall the Fence Panels
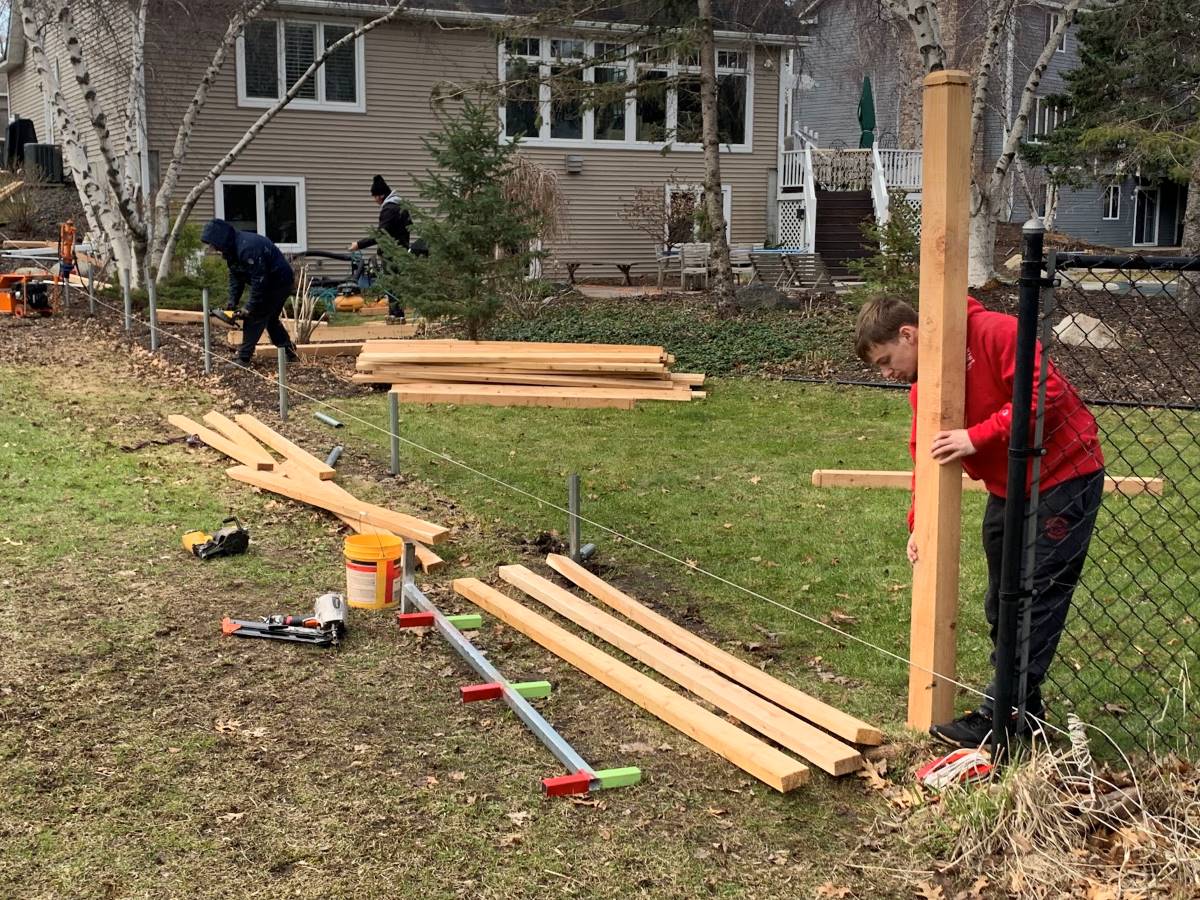
With the new post securely in place and the hole filled with fresh soil, it’s time to reinstall the fence panels. This final step in the process brings your fence back to its full functionality and ensures its stability. Follow these steps to reinstall the fence panels:
- Retrieve the stored fence panels: Take the fence panels that were set aside during the removal process and bring them back to the work area. Ensure that they are clean and undamaged before proceeding.
- Start at one end: Begin the reinstallation process at one end of the fence line. Position the first panel against the replacement post, ensuring it fits snugly and aligns with adjacent panels. Use a level to confirm that the panel is straight.
- Secure the panel: Secure the panel to the replacement post using screws, nails, brackets, or any other appropriate fasteners. Follow the same attachment method used before the removal process. Double-check that the panel is level and properly aligned before fully securing it.
- Continue with additional panels: Move along the fence line, attaching each subsequent panel to the replacement posts. Ensure consistency in spacing between the panels and maintain a level alignment throughout.
- Check for stability: Once all the panels are reinstalled, check the overall stability of the fence. Give it a gentle shake to ensure that the panels are securely attached and that the replacement post is solidly in place.
- Make any necessary adjustments: If you notice any panels that are not properly aligned or are uneven, make the necessary adjustments to restore uniformity. This may involve loosening and readjusting the fasteners or realigning the panel slightly.
- Inspect the fence: Take a step back and visually inspect the fence to ensure it is fully restored. Look for any signs of damage, loose connections, or areas that require further attention. Make any additional adjustments or repairs as needed.
Throughout the reinstallation process, prioritize accuracy and precision to ensure that the fence panels are securely and properly aligned. Taking the time to carefully reinstall the panels will contribute to the overall stability and aesthetics of your fence.
With the fence panels successfully reinstalled, your fence is now restored and ready to provide security, privacy, and curb appeal once again. Congratulations on completing the process of removing a rotted fence post below ground level!
Conclusion
Removing a rotted fence post below ground level may seem like a challenging task, but with the right tools, materials, and approach, it can be accomplished successfully. By following the step-by-step process outlined in this article, you can ensure the stability and longevity of your fence.
Start by locating the rotted post and clear the surrounding area to create a safe workspace. Then, carefully remove the panels or sections of the fence to gain access to the post. Dig around the post, loosening it from the ground using a combination of pressure, leverage, and rotation. Once sufficiently loosened, carefully pull out the rotted post, taking care not to damage nearby structures.
Fill the hole with new soil, ensuring proper drainage and stability, before reinstalling the fence panels. Take your time to align the panels correctly and securely attach them to the replacement post. Double-check the stability of the fence and make any necessary adjustments to ensure uniformity and structural integrity.
Throughout the process, prioritize safety and take precautions to avoid injury or damage. Utilize the appropriate tools, wear protective gear, and seek professional help if needed, especially when dealing with complex or challenging situations.
By following these steps and infusing a bit of time and effort, you can remove a rotted fence post below ground level and restore the strength and beauty of your fence. Regular maintenance and inspection of your fence will help to identify and address any future issues promptly, ensuring its long-lasting functionality.
Remember, if you feel unsure or overwhelmed at any point during the process, do not hesitate to consult with a professional fence contractor who can provide expert guidance and assistance.
Now that you've mastered removing a rotted fence post, why not give your garden a new look with some creative landscaping ideas? Our article on garden fence ideas offers plenty of inspiration to enhance your outdoor space. If you're keen on tackling more home projects, our DIY home improvement guide provides practical tips to get you started. For those who love working under the sky, check out our exciting outdoor projects that make every weekend fun and productive. These guides are perfect for improving your living space while saving money.
Frequently Asked Questions about How To Remove Rotted Fence Post Below Ground
Was this page helpful?
At Storables.com, we guarantee accurate and reliable information. Our content, validated by Expert Board Contributors, is crafted following stringent Editorial Policies. We're committed to providing you with well-researched, expert-backed insights for all your informational needs.


0 thoughts on “How To Remove Rotted Fence Post Below Ground”