Home>Articles>How To Install Levolor Blinds From Outside Mount


Articles
How To Install Levolor Blinds From Outside Mount
Modified: May 6, 2024
Learn how to easily install Levolor blinds from an outside mount with our step-by-step articles. Achieve the perfect window treatment in no time!
(Many of the links in this article redirect to a specific reviewed product. Your purchase of these products through affiliate links helps to generate commission for Storables.com, at no extra cost. Learn more)
Introduction
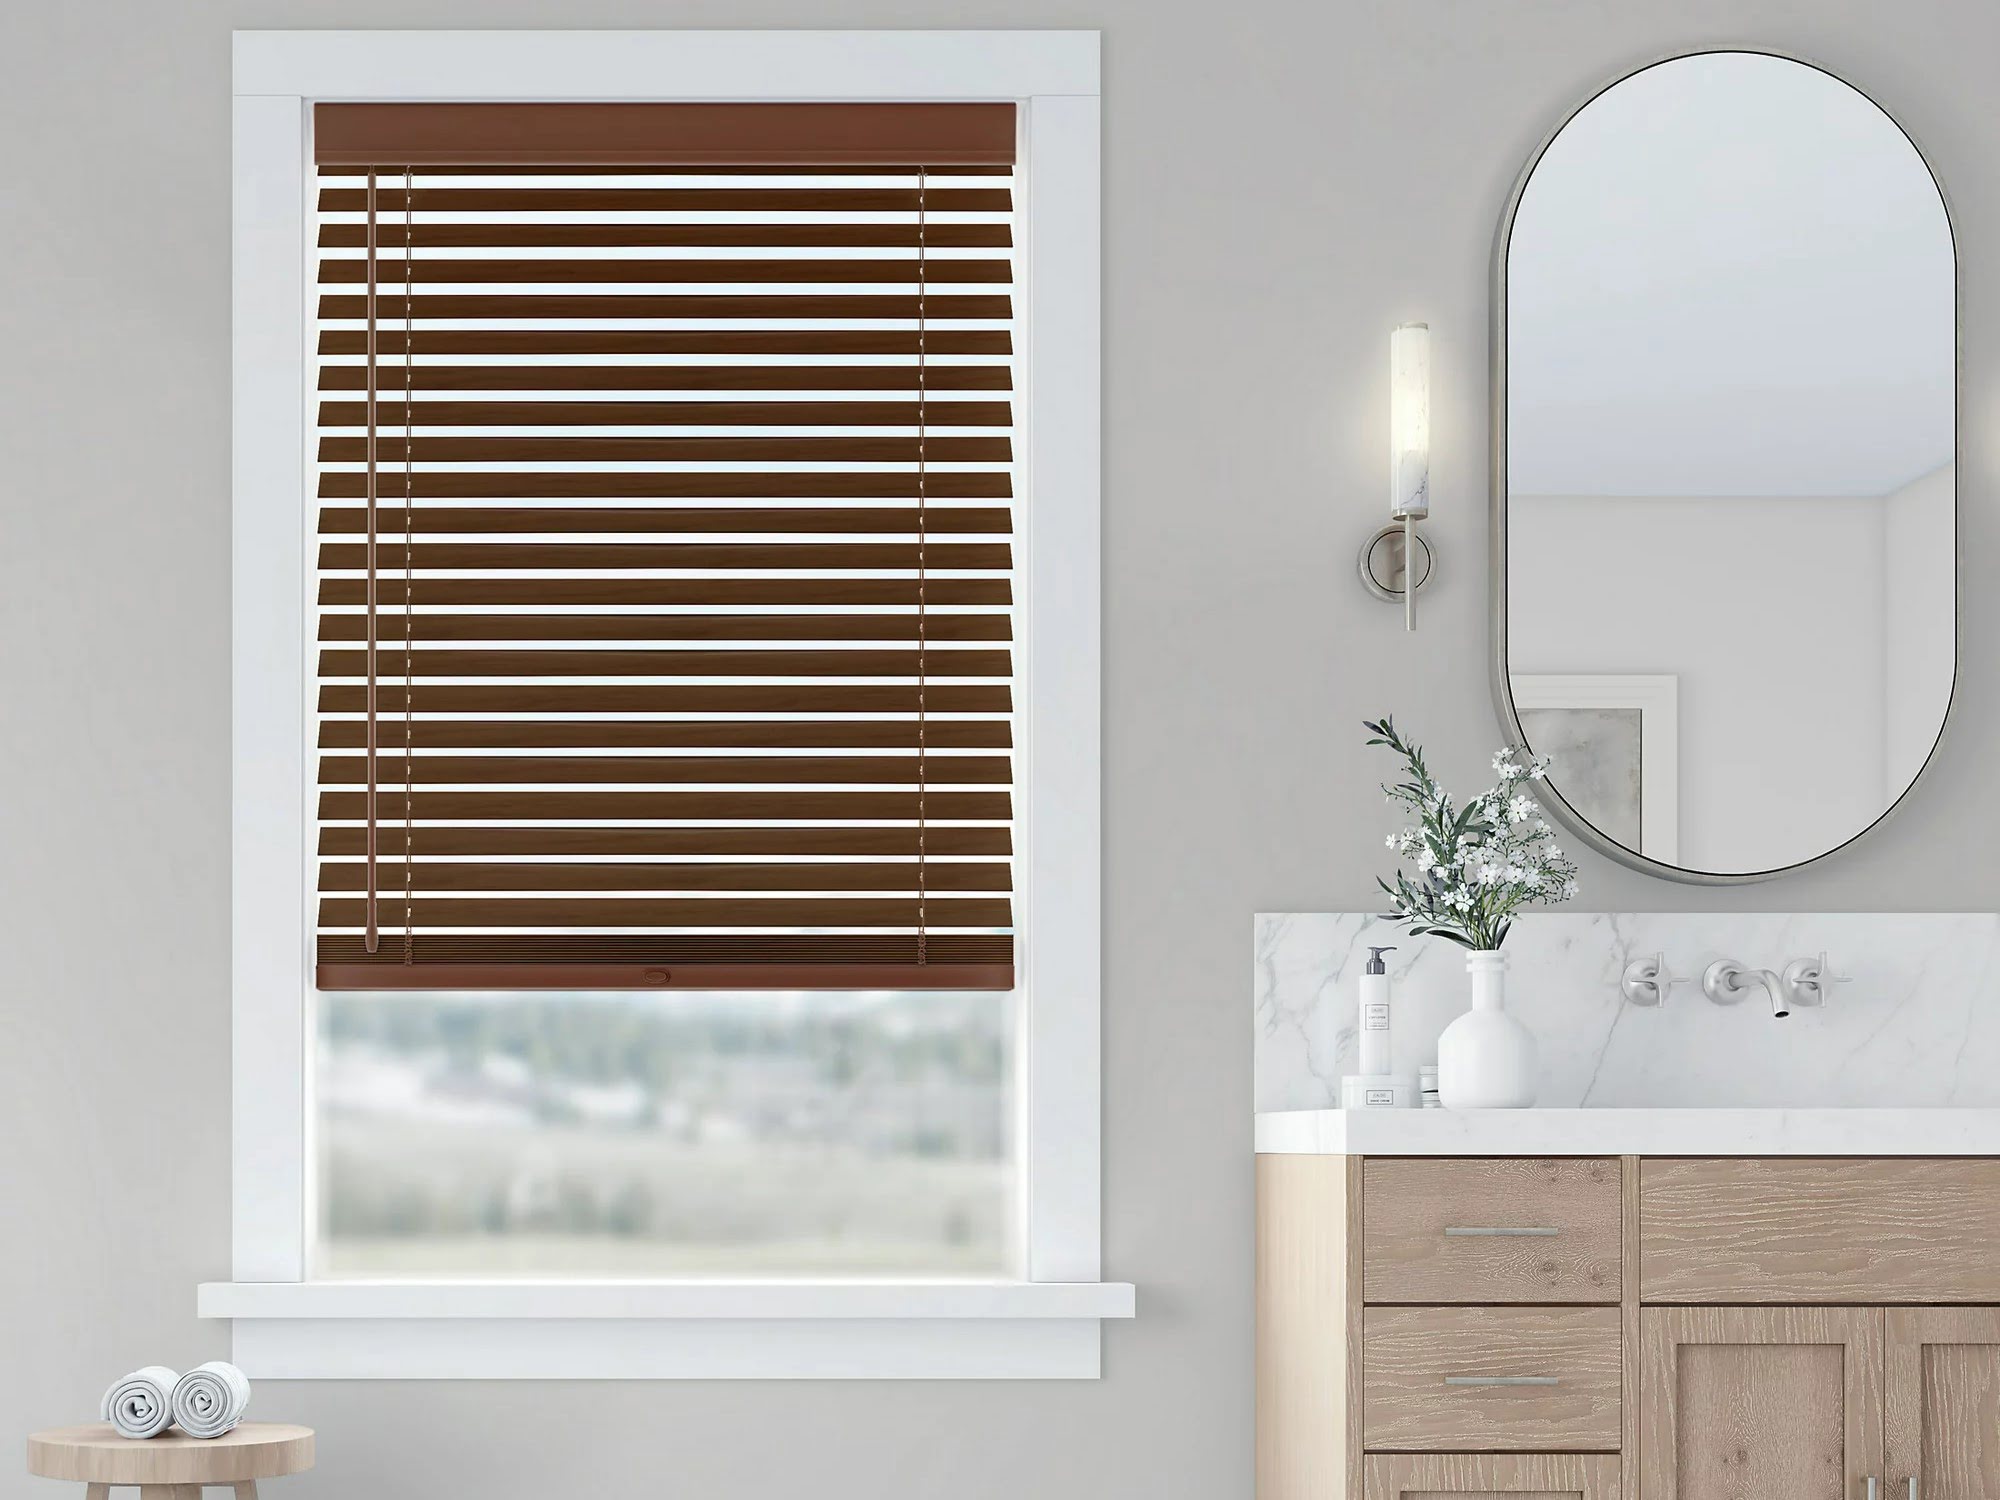
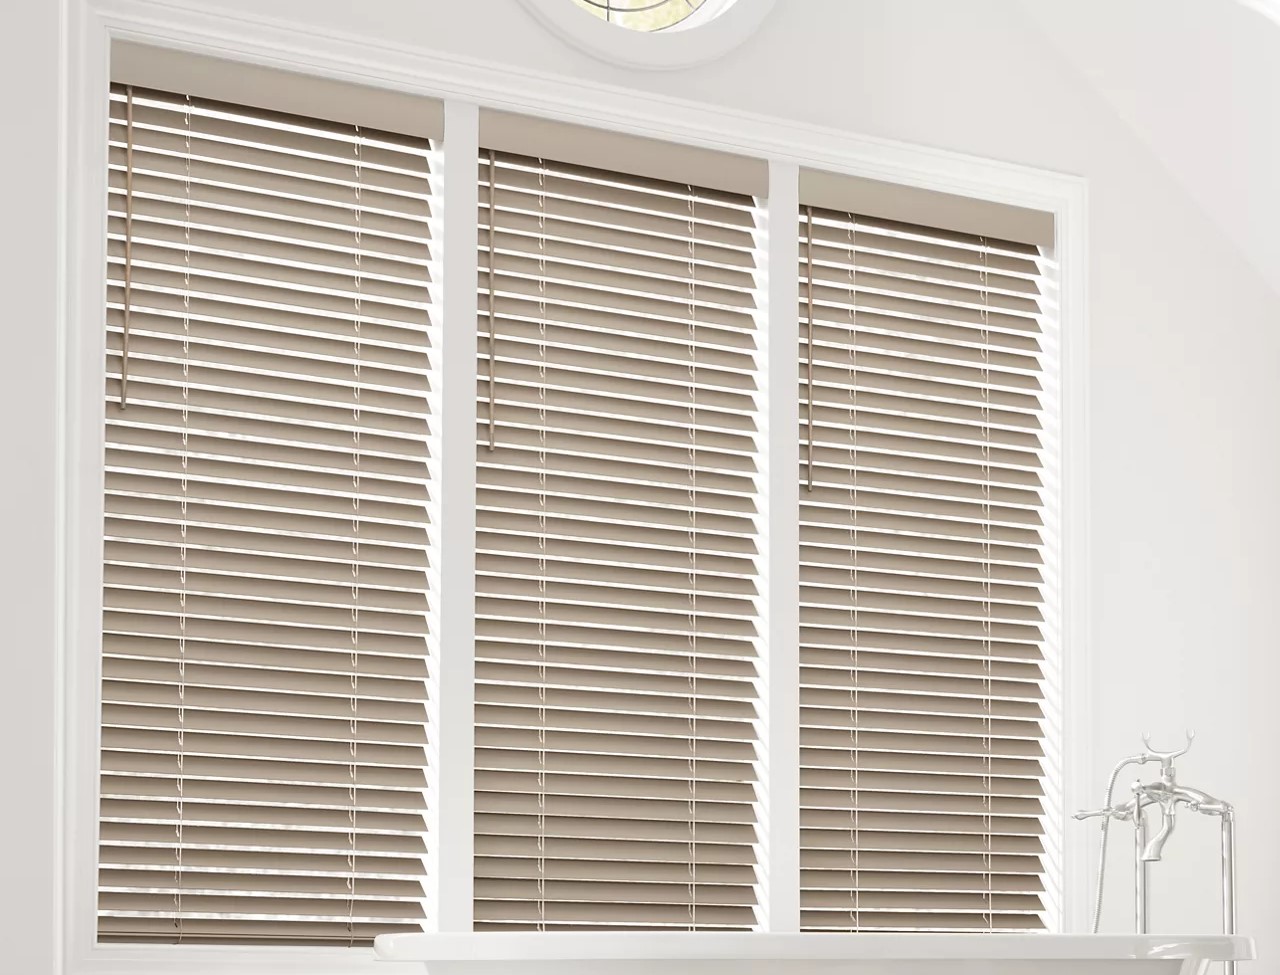
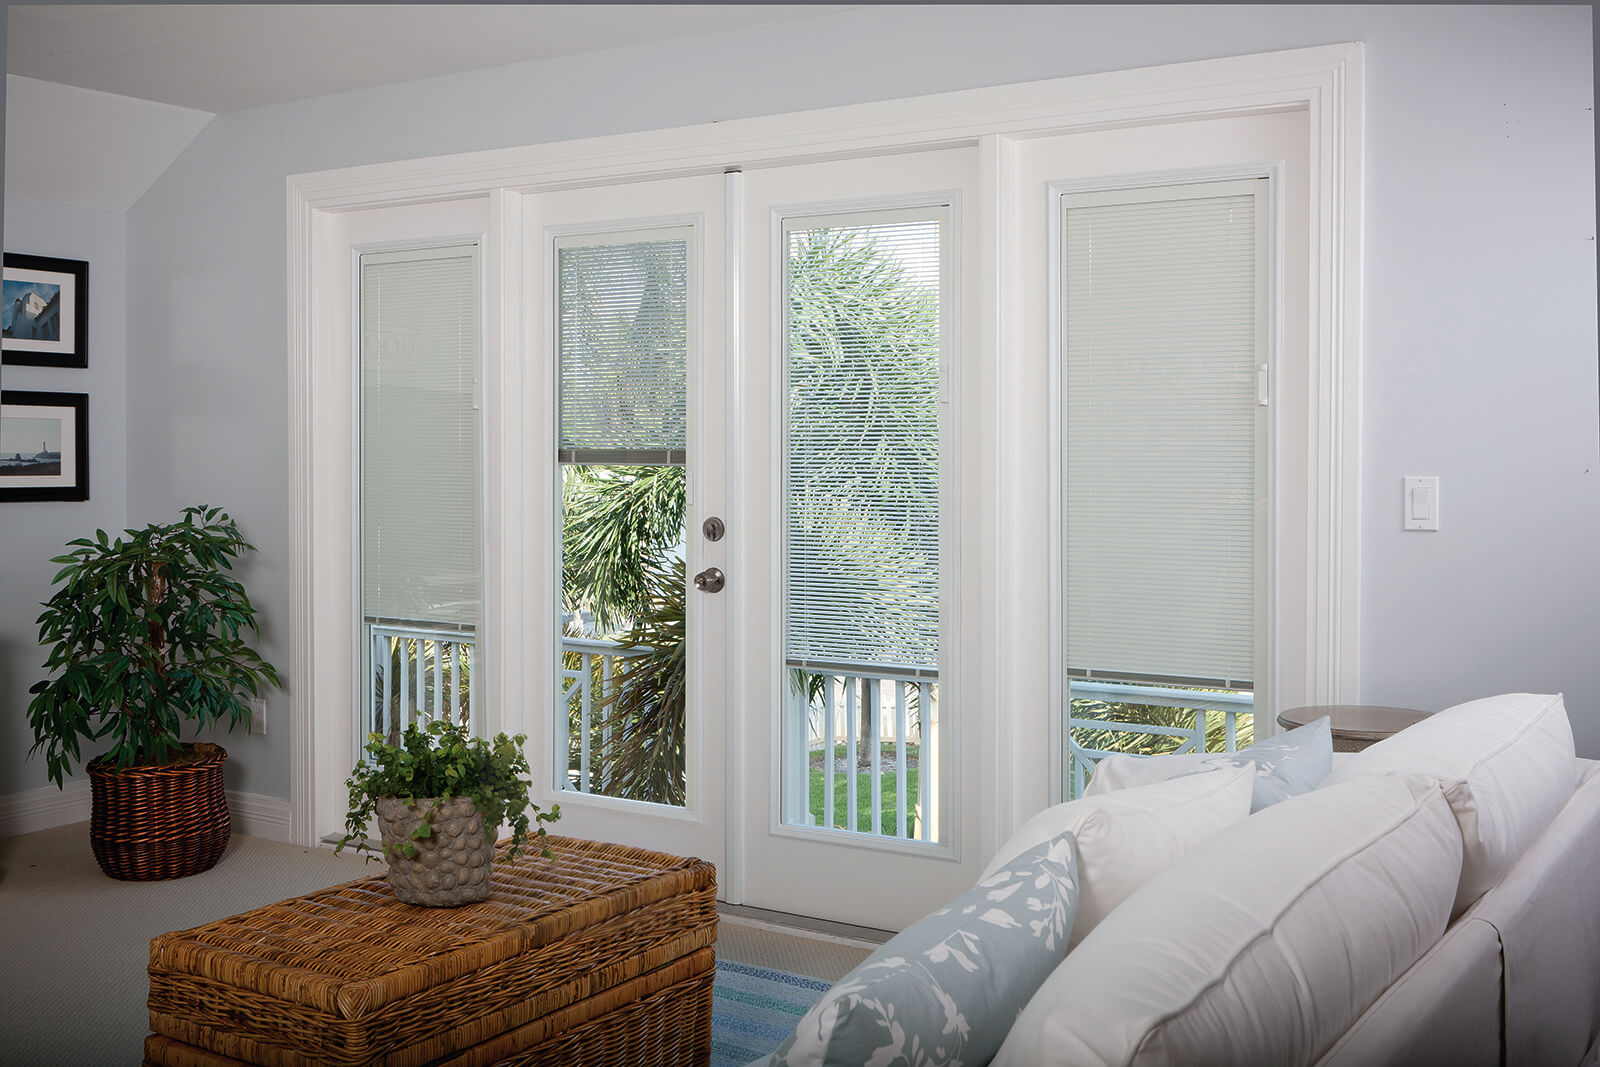
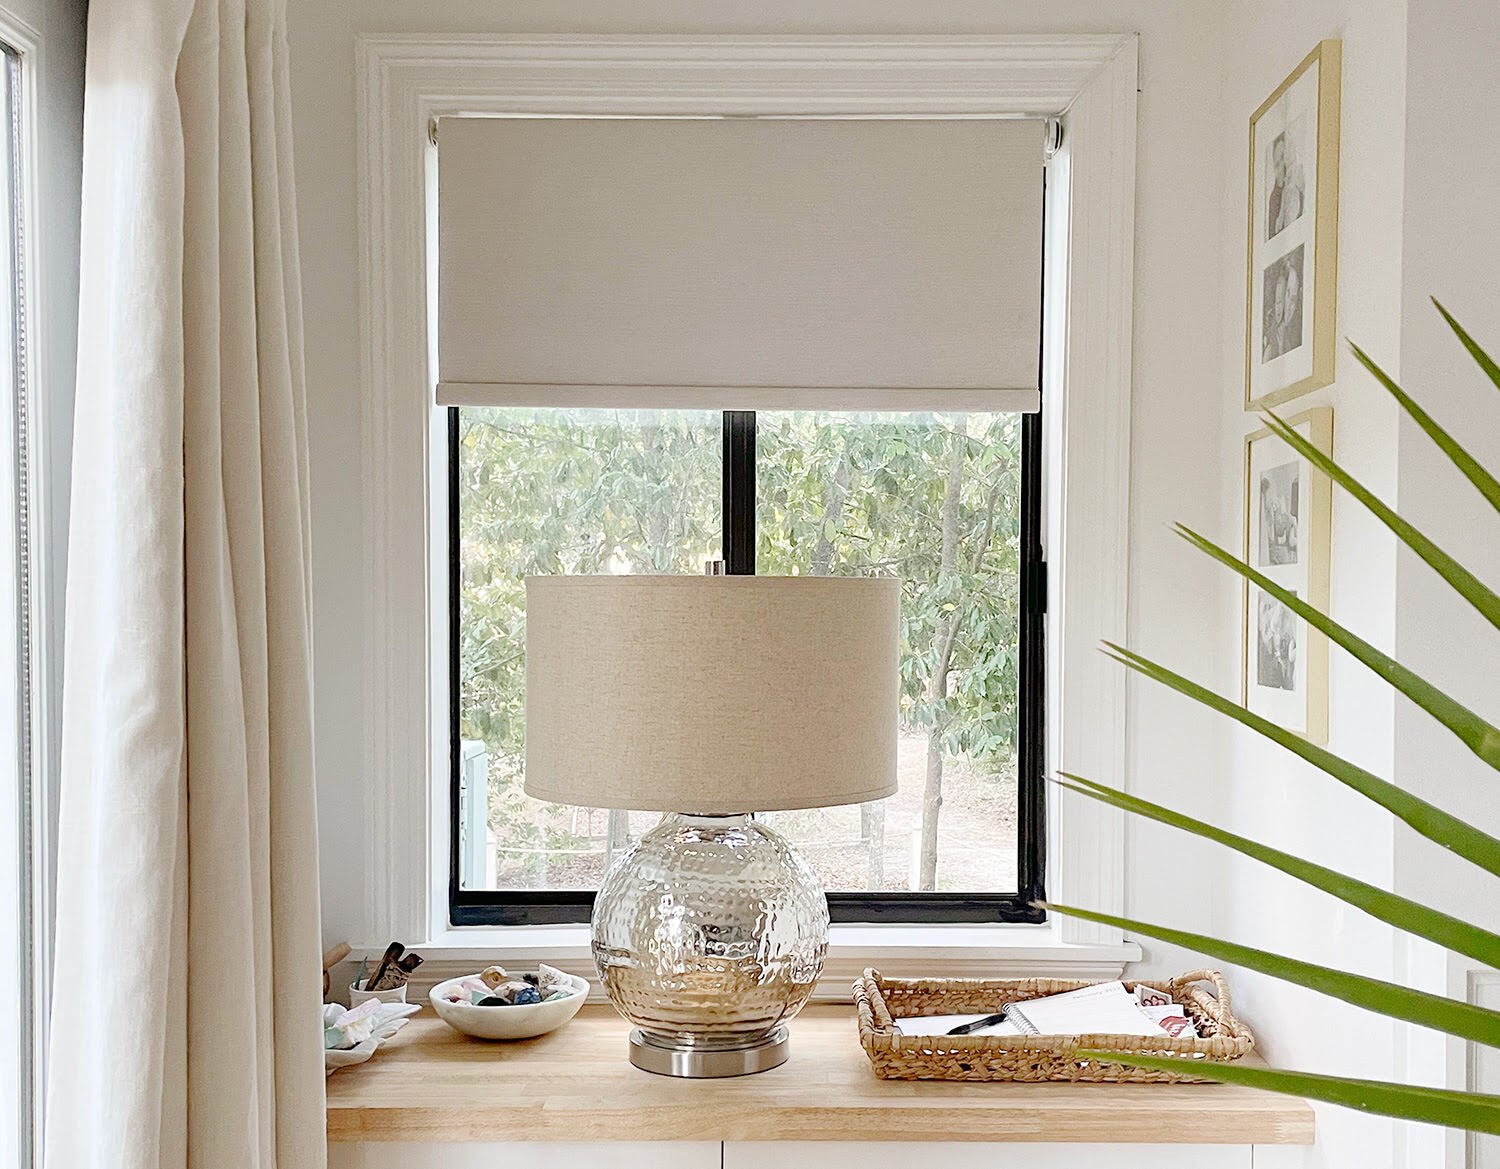
Welcome to this comprehensive guide on how to install Levolor blinds from an outside mount. Levolor blinds are a popular choice for homeowners looking to enhance their windows with style and functionality. Whether you’re a seasoned DIY enthusiast or a novice homeowner, this step-by-step tutorial will walk you through the process of installing Levolor blinds with ease.
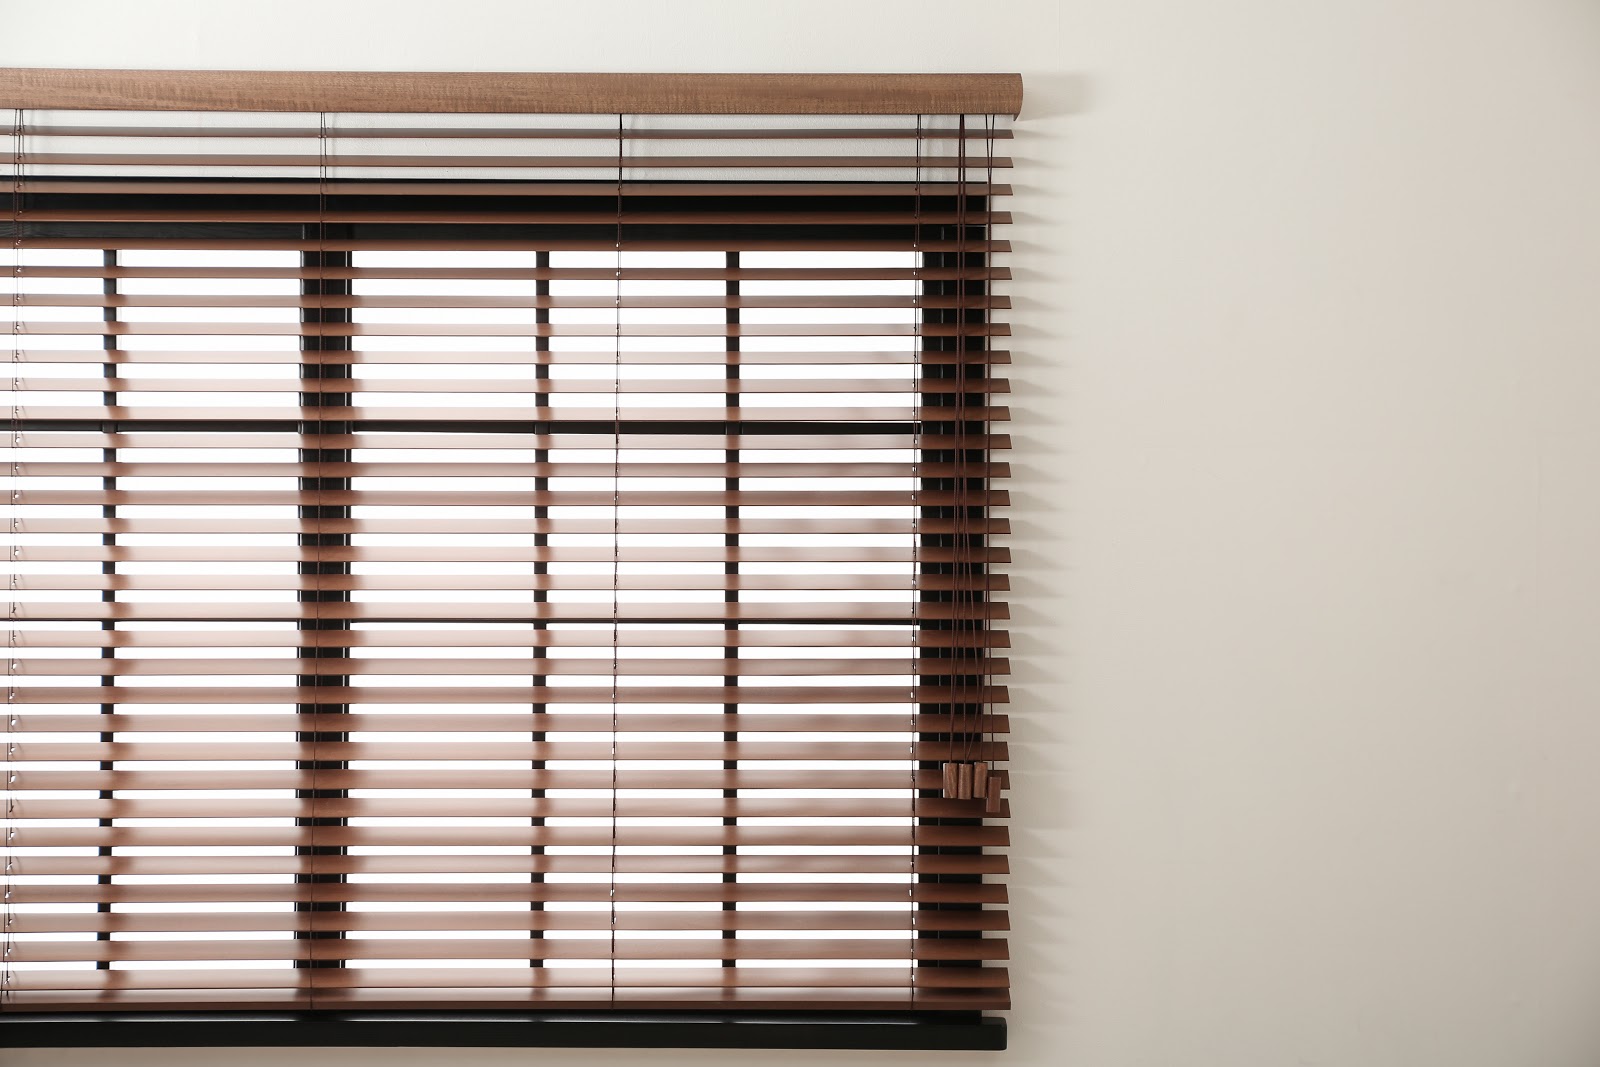
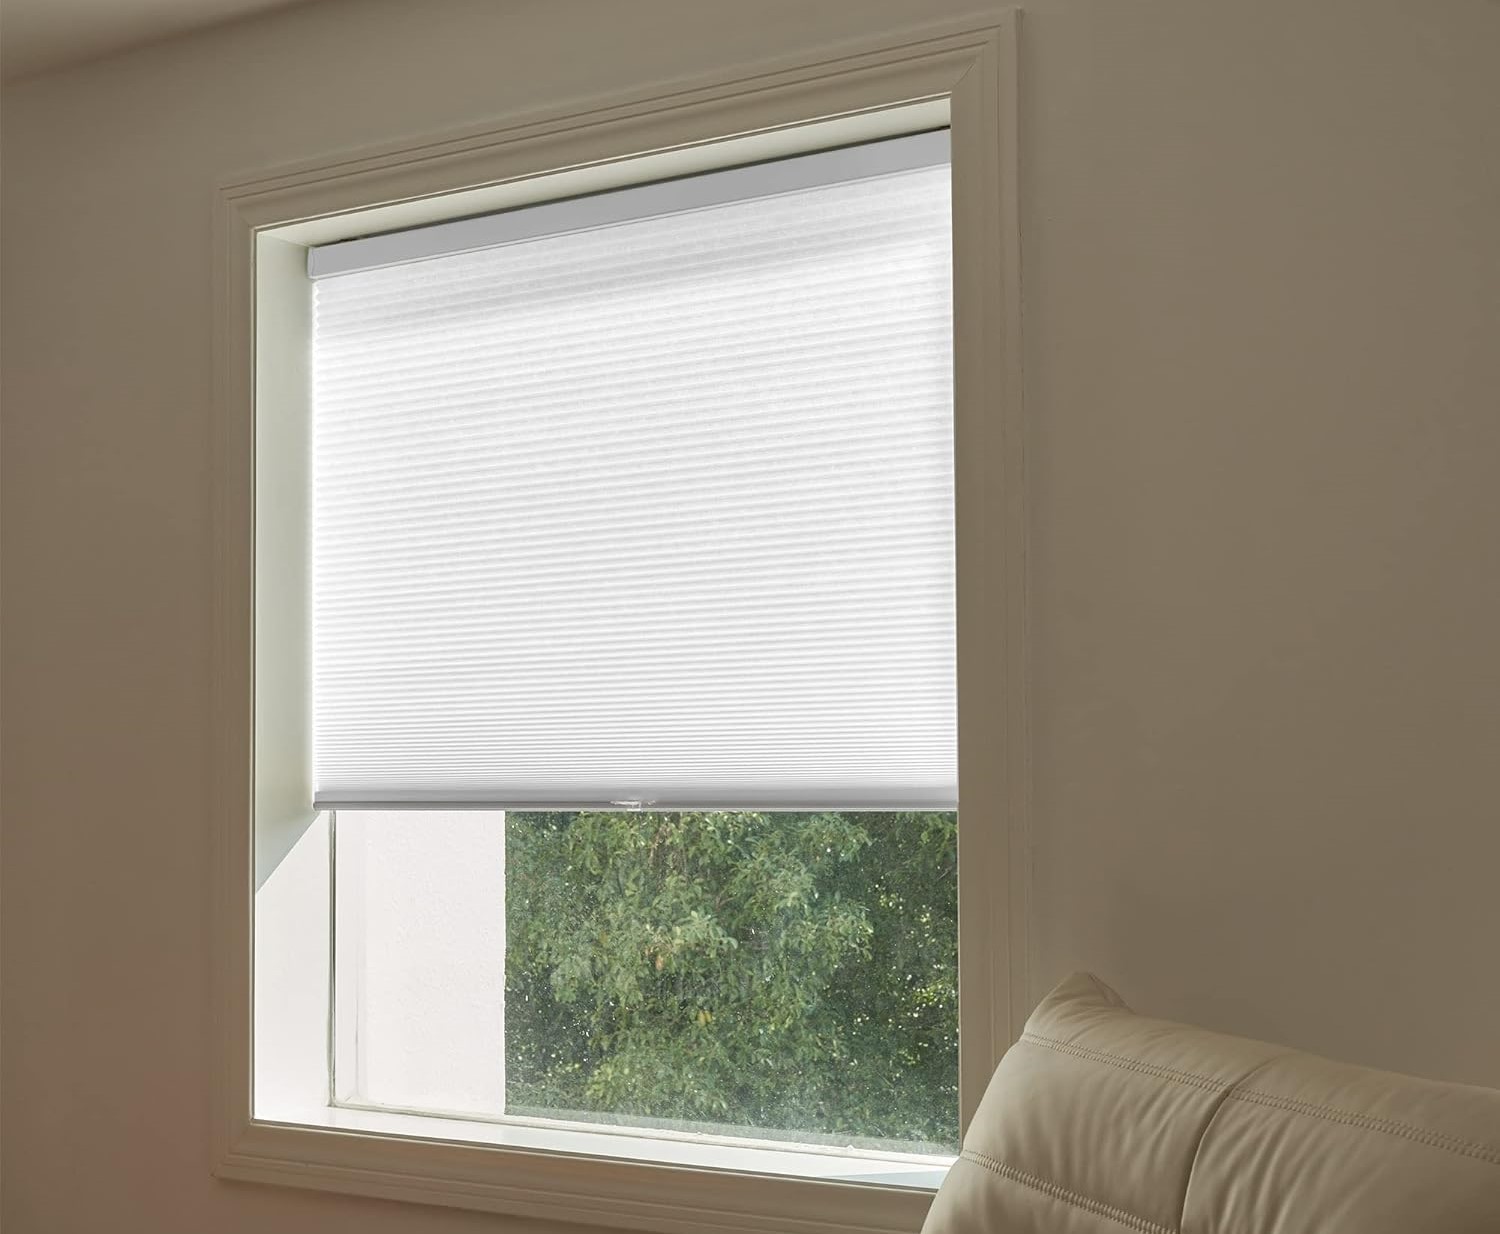
Installing blinds from an outside mount offers numerous benefits. It allows for better light control, increased privacy, and can even make windows appear larger. With Levolor’s high-quality blinds and our detailed instructions, you’ll have your windows transformed in no time.
Before we dive into the installation process, it’s important to emphasize the significance of accurate measurements. Taking precise measurements ensures you purchase the correct blinds and ensures a seamless installation. So grab your measuring tape and let’s get started!
Key Takeaways:
- Accurate measurements and the right tools are crucial for a successful installation of Levolor blinds from an outside mount. Follow the step-by-step process to achieve professional-looking results and enjoy the benefits of enhanced privacy and light control.
- Installing Levolor blinds from an outside mount is a rewarding DIY project that can transform your windows with style and functionality. Take the time to admire your handiwork and enjoy the benefits of your new blinds for years to come.
Step 1: Measure the Window
The first and most crucial step in installing Levolor blinds from an outside mount is to accurately measure the window. Here’s what you need to do:
- Start by measuring the width of the window. Measure from the outer edge of the window trim on the left side to the outer edge of the trim on the right side. Make sure to record the measurement in inches.
- Next, measure the height of the window. Measure from the top of the window trim to the bottom of the trim. Again, record the measurement in inches.
- Keep in mind that when installing blinds from an outside mount, it’s recommended to add an additional 2-3 inches to both the width and height measurements to ensure proper coverage and light blockage.
- Make note of any obstructions around the window that may affect the placement of the blinds, such as handles or window cranks.
Once you have obtained accurate measurements, you can proceed to the next step of gathering the necessary tools and materials to install your Levolor blinds.
Step 2: Gather Necessary Tools and Materials
Before you begin the installation process, it’s important to ensure that you have all the tools and materials you need to successfully install your Levolor blinds. Here’s a list of what you’ll need:
- Levolor blinds: Make sure you have the correct size and style of Levolor blinds that match the measurements you took in Step 1. Levolor offers a wide range of blinds to choose from, so select the one that best suits your needs and preferences.
- Mounting brackets: Levolor blinds typically come with mounting brackets included. However, if yours did not, you can purchase them separately.
- Screws: You’ll need screws to attach the mounting brackets to the wall. Make sure the screws are appropriate for the type of wall you are working with (e.g., drywall, plaster, or wood).
- Drill: A drill will make the installation process faster and easier. Make sure you have the appropriate drill bits for your wall type.
- Measuring tape: You’ll need a measuring tape to double-check your measurements and ensure accuracy.
- Pencil: Use a pencil to mark the placement of the mounting brackets on the wall.
- Screwdriver: A screwdriver will be needed to secure the screws into the wall.
- Level: Use a level to ensure that your blinds are straight and properly aligned.
- Ladder or step stool: Depending on the height of your window, you may need a ladder or step stool to reach the installation area safely.
Once you have gathered all the necessary tools and materials, you’re ready to move on to the next step: attaching the mounting brackets to the wall.
Step 3: Attach Mounting Brackets to the Wall
Now that you have your Levolor blinds and all the necessary tools and materials, it’s time to attach the mounting brackets to the wall. The mounting brackets are what will hold the blinds securely in place. Follow these steps:
- Start by positioning the brackets on the wall, ensuring they are level and aligned properly. Use a measuring tape and pencil to mark the placement of the brackets.
- Double-check your measurements and make any necessary adjustments before proceeding.
- Using a drill and the appropriate drill bit, create pilot holes at the marked locations. These pilot holes will make it easier to screw the mounting brackets into place.
- Align the brackets with the pilot holes and screw them into the wall using the provided screws. Make sure the brackets are securely attached to the wall.
- Once the mounting brackets are securely in place, double-check their alignment and ensure they are level.
With the mounting brackets attached, you are now ready to move on to the next step of the installation process: installing the headrail of the Levolor blinds.
When installing Levolor blinds from an outside mount, make sure to measure the width of the window frame and add extra inches for overlap. This will ensure a proper fit and coverage.
Step 4: Install the Headrail
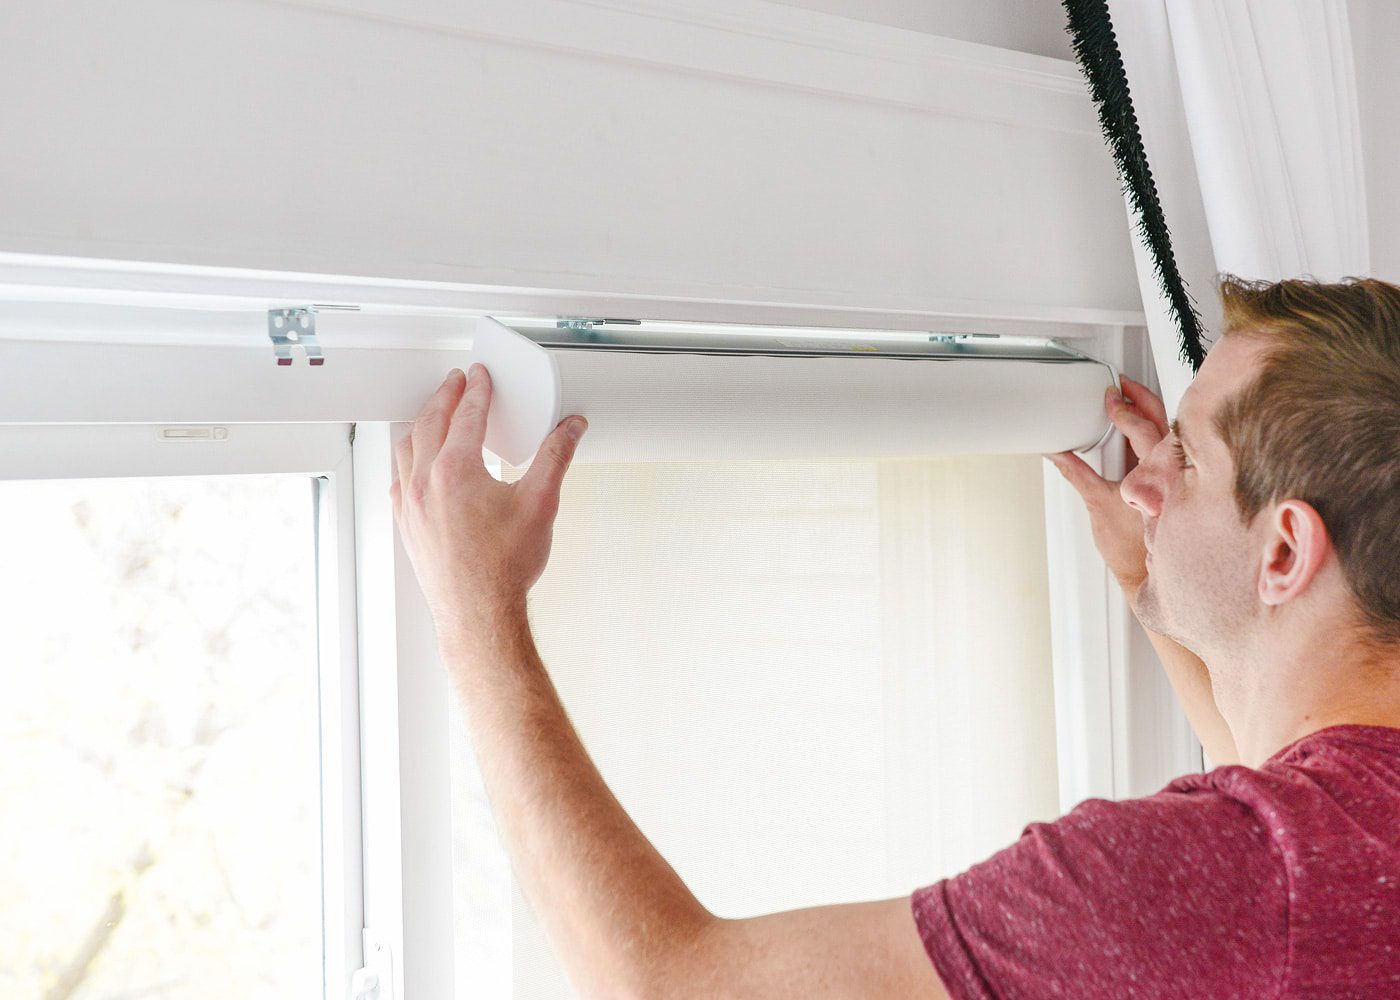
Now that the mounting brackets are securely attached to the wall, it’s time to install the headrail of your Levolor blinds. The headrail is the top part of the blinds that houses the mechanism for raising and lowering the slats. Follow these steps:
- Start by inserting the headrail into the mounting brackets. Ensure that the headrail is properly aligned with the brackets.
- Slide the headrail into the brackets, making sure it is securely in place.
- If your Levolor blinds come with a valance, attach it to the headrail according to the manufacturer’s instructions. The valance is the decorative cover that conceals the headrail.
- Double-check that the headrail is level and properly aligned. Make any necessary adjustments.
- Test the operation of the blinds by pulling the cords or using the control wand to ensure that they raise and lower smoothly.
With the headrail installed, you’re almost done! The next step is to hang the blinds themselves.
Read more: How To Fix Levolor Blinds
Step 5: Hang the Blinds
Now that the headrail is securely installed, it’s time to hang the blinds themselves. Follow these steps:
- Start by positioning the first blind to the left or right side of the window, depending on your preference.
- Insert the tabs on the top of the blind into the corresponding slots on the headrail.
- Slide the blind towards the center of the window until it is positioned properly.
- Repeat the process for the remaining blinds, ensuring that they are evenly spaced and aligned.
- Once all blinds are hung, test their operation by raising and lowering them to ensure they move smoothly.
At this point, your Levolor blinds are securely hung on the headrail and ready to be adjusted and secured.
Move on to the next and final step: adjusting and securing the blinds.
Step 6: Adjust and Secure the Blinds
After hanging the blinds, it’s important to properly adjust and secure them to ensure optimal functionality and appearance. Follow these steps:
- Start by checking the alignment of the blinds. Use a level to ensure that they are straight and properly aligned.
- If necessary, make any adjustments to the individual blinds to ensure they are level and evenly spaced.
- Once the blinds are aligned, secure them in place by tightening any screws or locking mechanisms provided by Levolor.
- If your Levolor blinds come with a cord or wand control, adjust the tension by following the manufacturer’s instructions. This will ensure smooth and effortless operation of the blinds.
- Test the blinds again by raising and lowering them to ensure they are functioning properly and moving smoothly. Make any final adjustments as needed.
With the blinds properly adjusted and secured, step back and admire your newly installed Levolor blinds. Not only do they offer enhanced privacy and light control, but they also add a touch of style to your windows.
Remember, regular maintenance and cleaning of your Levolor blinds will help prolong their lifespan and keep them looking their best. Refer to the manufacturer’s instructions for guidance on cleaning and maintenance.
Congratulations! You have successfully installed Levolor blinds from an outside mount and transformed your windows. Enjoy the benefits of your new blinds for years to come!
With the installation process complete, you can now sit back, relax, and enjoy the beauty and functionality of your Levolor blinds.
Conclusion
Installing Levolor blinds from an outside mount can be a rewarding and relatively easy DIY project. By following the steps outlined in this guide, you can enhance your windows with style, privacy, and control over natural light.
Remember, accurate measurements are key to ensuring a seamless installation. Take your time to measure your window properly and add the necessary allowances for an outside mount.
Having the right tools and materials is also crucial. Make sure you have all the necessary items, including Levolor blinds, mounting brackets, screws, a drill, and a measuring tape.
The step-by-step process from attaching the mounting brackets, installing the headrail, hanging the blinds, and adjusting and securing them is designed to help you achieve a professional-looking result.
Once your Levolor blinds are installed, take the time to admire your handiwork and enjoy the benefits they offer. They not only provide privacy and light control but also enhance the aesthetic appeal of your windows and living space.
Remember to follow the manufacturer’s instructions for cleaning and maintenance to keep your Levolor blinds looking their best for years to come.
We hope this comprehensive guide has been helpful in guiding you through the process of installing Levolor blinds from an outside mount. Now it’s time to put the knowledge you’ve gained into action and transform your windows with Levolor’s quality blinds!
Now that you've mastered installing Levolor blinds from an outside mount, why not check out the latest styles? Our article on Levolor Blinds highlights 14 stunning options for 2024, perfect for refreshing any room. If you're feeling handy, our DIY Home Improvement guide offers nifty tricks and tips to tackle projects all around your home with confidence and creativity. Whether upgrading your living space or embarking on a new project, these reads are packed with valuable insights.
Frequently Asked Questions about How To Install Levolor Blinds From Outside Mount
Was this page helpful?
At Storables.com, we guarantee accurate and reliable information. Our content, validated by Expert Board Contributors, is crafted following stringent Editorial Policies. We're committed to providing you with well-researched, expert-backed insights for all your informational needs.
