Articles
How To Remove Mildew From Exterior Walls
Modified: September 2, 2024
Learn effective ways to remove mildew from your exterior walls with our informative articles. Say goodbye to unsightly mold with our expert tips and advice.
(Many of the links in this article redirect to a specific reviewed product. Your purchase of these products through affiliate links helps to generate commission for Storables.com, at no extra cost. Learn more)
Introduction
Mildew can be a frustrating and unsightly problem on exterior walls. This fungal growth thrives in damp and humid conditions, often appearing as black or green discoloration on surfaces. Not only does mildew detract from the appearance of your home’s exterior, but it can also cause damage if left untreated. Fortunately, removing mildew from exterior walls is a relatively straightforward process that can be done with the right tools and materials.
In this article, we will guide you through the step-by-step process of removing mildew from exterior walls, along with providing tips on preventing its return. Before we delve into the methods of removal, it’s important to understand the causes of mildew on exterior walls.
Excess moisture is the primary reason behind the growth of mildew. Areas that receive limited sunlight, have poor ventilation, or are subjected to consistent moisture, such as condensation, are particularly prone to mildew growth. This makes exterior walls, especially those facing north or shaded by vegetation, susceptible to mildew infestation. It’s essential to address the moisture issue in order to prevent future mildew growth.
To effectively tackle mildew on exterior walls, you will need a few tools and materials. Here’s a list of what you will need:
– Safety goggles
– Disposable gloves
– Protective clothing
– Scrub brush or sponge
– Mildew cleaner or a mixture of bleach and water
– Bucket
– Hose or pressure washer
– Paint or coating (if necessary)
– Ladder or scaffolding (if required)
Before starting the mildew removal process, it’s important to prepare the area properly. Begin by removing any loose dirt or debris from the wall using a brush or broom. If the mildew is on a painted surface, check for any chipping or peeling paint. If necessary, scrape off any loose paint and sand the area to ensure a smooth surface for the cleaning process. Cover nearby plants and protect your eyes and hands with safety goggles and gloves.
Once the area is prepared, it’s time to move on to the step-by-step instructions for removing mildew from exterior walls. Stay tuned for the next section, where we will provide a detailed guide on how to tackle mildew and restore the appearance of your exterior walls.
Key Takeaways:
- Proper preparation is crucial for effective mildew removal. Clear the area, protect nearby plants, and wear safety gear to create a safe and efficient work environment.
- Preventing mildew growth involves improving ventilation, increasing sunlight exposure, and regular maintenance. By implementing these strategies, you can maintain clean and healthy exterior walls.
Read more: How To Remove Mildew From Outdoor Furniture
Causes of Mildew on Exterior Walls
Mildew on exterior walls can be caused by a combination of factors, but the primary culprit is excessive moisture. Understanding the causes of mildew growth is crucial in preventing its recurrence and effectively removing it from your walls.
1. High Humidity: Areas with high humidity levels provide the ideal breeding ground for mildew. Moisture in the air can condense on exterior walls, creating a damp environment that promotes mildew growth. This is especially common in regions with humid climates or during periods of heavy rainfall.
2. Lack of Sunlight: Sunlight plays a crucial role in preventing mildew growth. Exterior walls that receive limited sunlight, such as those in shaded areas or overshadowed by nearby structures or trees, are more susceptible to mildew infestation. Sunlight helps to dry out the moisture on surfaces and inhibits the growth of mildew.
3. Poor Ventilation: Inadequate air circulation can contribute to the growth of mildew on exterior walls. Without proper ventilation, moist air can become trapped against the walls, creating a humid environment that is conducive to mildew growth. This is especially important to consider in enclosed or poorly ventilated spaces, such as covered patios or areas with limited airflow.
4. Water Intrusion: Any form of water intrusion, whether it’s from leaky pipes, faulty gutters, or even rainwater seeping into the walls, can lead to moisture buildup and ultimately result in mildew growth. It’s important to regularly inspect your exterior walls for any signs of water damage or areas where water could be entering, and address these issues promptly to prevent mildew growth.
5. Lack of Maintenance: Neglecting regular maintenance of your exterior walls can make them more susceptible to mildew growth. If the walls are dirty, have chipped paint, or have cracks or gaps, they create an ideal environment for moisture retention and mildew growth. Routine inspections and proper upkeep, including cleaning and repairing any damage, can help prevent mildew growth.
Now that you understand the common causes of mildew on exterior walls, it’s important to address these issues to prevent its recurrence. In the next sections, we will provide step-by-step instructions for removing mildew and offer tips on how to prevent its growth on your exterior walls.
Tools and Materials Needed
To effectively remove mildew from exterior walls, you will need a few essential tools and materials. Having these items on hand will ensure that you can tackle the task efficiently and achieve the best possible results. Here is a list of what you will need:
1. Safety Gear:
– Safety goggles: Protect your eyes from any splashes or debris during the cleaning process.
– Disposable gloves: Keep your hands protected from the cleaning agents and prevent skin irritation.
2. Cleaning Supplies:
– Scrub brush or sponge: Use a sturdy brush with stiff bristles or a sponge to scrub away the mildew from the surface of the walls.
– Mildew cleaner or bleach: Choose a commercial mildew cleaner or create a mixture of bleach and water (1 part bleach to 3 parts water) to effectively remove the mildew stains. Make sure to handle bleach with caution and follow proper dilution and safety instructions.
– Bucket: Use a bucket to mix the cleaning solution and carry it around as you clean.
3. Water Source:
– Hose or pressure washer: Depending on the severity of the mildew growth and the condition of your walls, you can use a garden hose with a spray nozzle attachment or a pressure washer to rinse off the cleaning solution and debris. A pressure washer can provide more effective and thorough cleaning, but be cautious not to blast the water too forcefully, as it may damage the surface.
4. Paint or Coating:
– Paint or coating (if necessary): After removing the mildew, you may need to touch up the affected area with paint or apply a protective coating, depending on the condition and appearance of your walls. Choose a moisture-resistant paint or coating suitable for exterior use to help prevent future mildew growth.
5. Safety Equipment (if required):
– Ladder or scaffolding: If your exterior walls are higher and out of reach, you may need a ladder or scaffolding to safely access and clean the affected areas. Ensure that you follow proper safety protocols when working at heights.
Having these tools and materials readily available before you start the mildew removal process will save you time and ensure that you can complete the task efficiently and effectively. Remember to wear appropriate protective gear and carefully follow instructions when handling cleaning agents. Now that you have gathered the necessary tools and materials, let’s proceed to preparing the area for mildew removal.
Preparing the Area for Mildew Removal
Before you begin the process of removing mildew from your exterior walls, it’s essential to properly prepare the area. Preparing the area ensures that you have a clean and safe working environment, maximizing the effectiveness of your mildew removal efforts. Follow these steps to prepare the area for mildew removal:
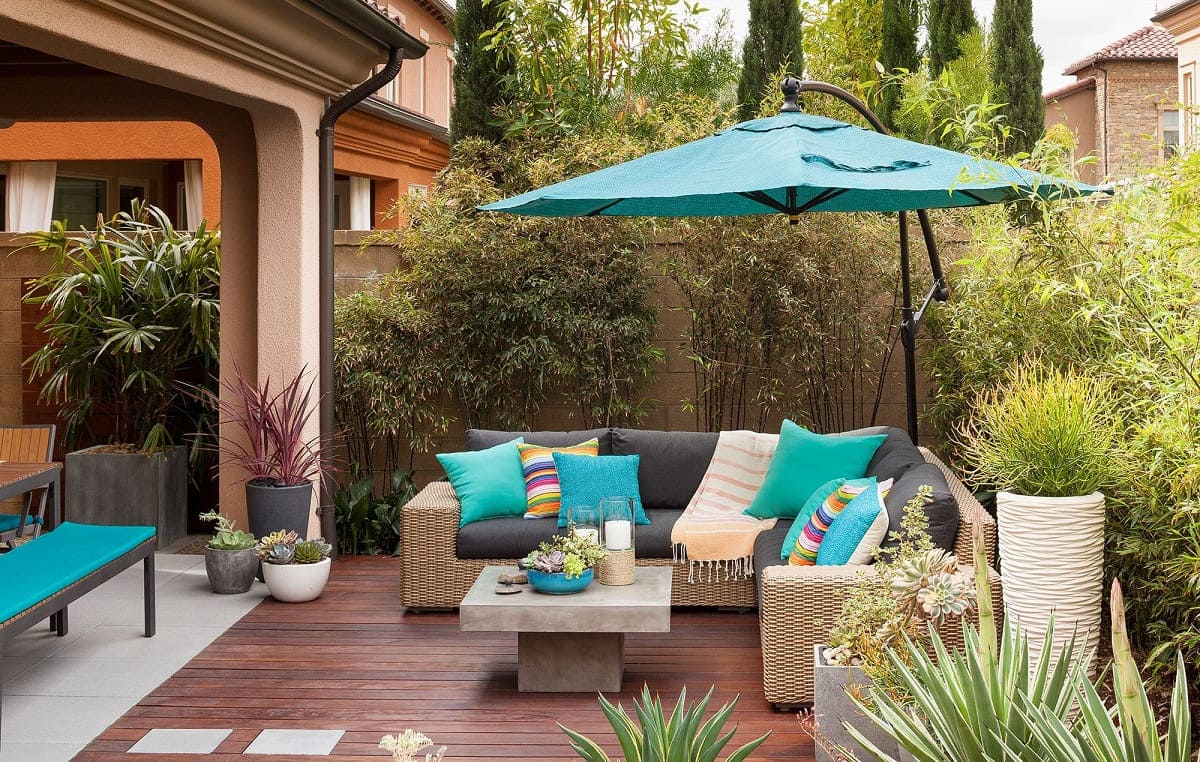
1. Clear the Surrounding Area: Remove any furniture, decorations, or other obstacles near the exterior walls. This will allow you to have unrestricted access to the affected areas and prevent any accidental damage or obstruction during the cleaning process.
2. Protect Nearby Plants and Surfaces: Cover any nearby plants, flowers, or landscaping features that may be affected by the cleaning solution or debris. Use plastic sheets or tarps to shield them from overspray or runoff.
3. Inspect the Walls: Thoroughly examine the exterior walls for any loose dirt, debris, or chipped paint. Use a brush or broom to sweep away any loose particles. If there is chipped or peeling paint, consider scraping it off and sanding the area to create a smooth surface for the cleaning process.
4. Wear Appropriate Protective Gear: Prioritize safety by wearing safety goggles and disposable gloves to protect your eyes and hands from chemical cleaners or debris.
Taking these preparatory steps will help create an optimal environment for mildew removal. By clearing the surrounding area, you can work efficiently without any obstructions, while protecting nearby plants and surfaces from potential damage. Inspecting the walls and addressing any loose dirt or chipped paint ensures a smooth and clean surface for effective mildew removal. Lastly, donning appropriate protective gear helps to keep you safe during the process.
With the area properly prepared, you are now ready to move on to the step-by-step instructions for removing mildew from your exterior walls. Stay tuned for the next section, where we will guide you through the process and provide valuable tips for successful mildew removal.
Mix equal parts of white vinegar and water in a spray bottle. Spray the affected areas and let it sit for 10-15 minutes. Scrub with a brush and rinse with water. Repeat if necessary.
Step-by-Step Instructions for Removing Mildew from Exterior Walls
Now that you have prepared the area, it’s time to dive into the step-by-step process of removing mildew from your exterior walls. Follow these instructions to effectively eliminate mildew and restore the appearance of your walls:
1. Wear Safety Gear: Put on your safety goggles and disposable gloves to protect yourself from chemical cleaners and debris.
2. Mix the Cleaning Solution: If you are using a commercial mildew cleaner, follow the instructions on the label. If you are using bleach, mix one part bleach with three parts water in a bucket. Stir the solution to ensure it is well-mixed.
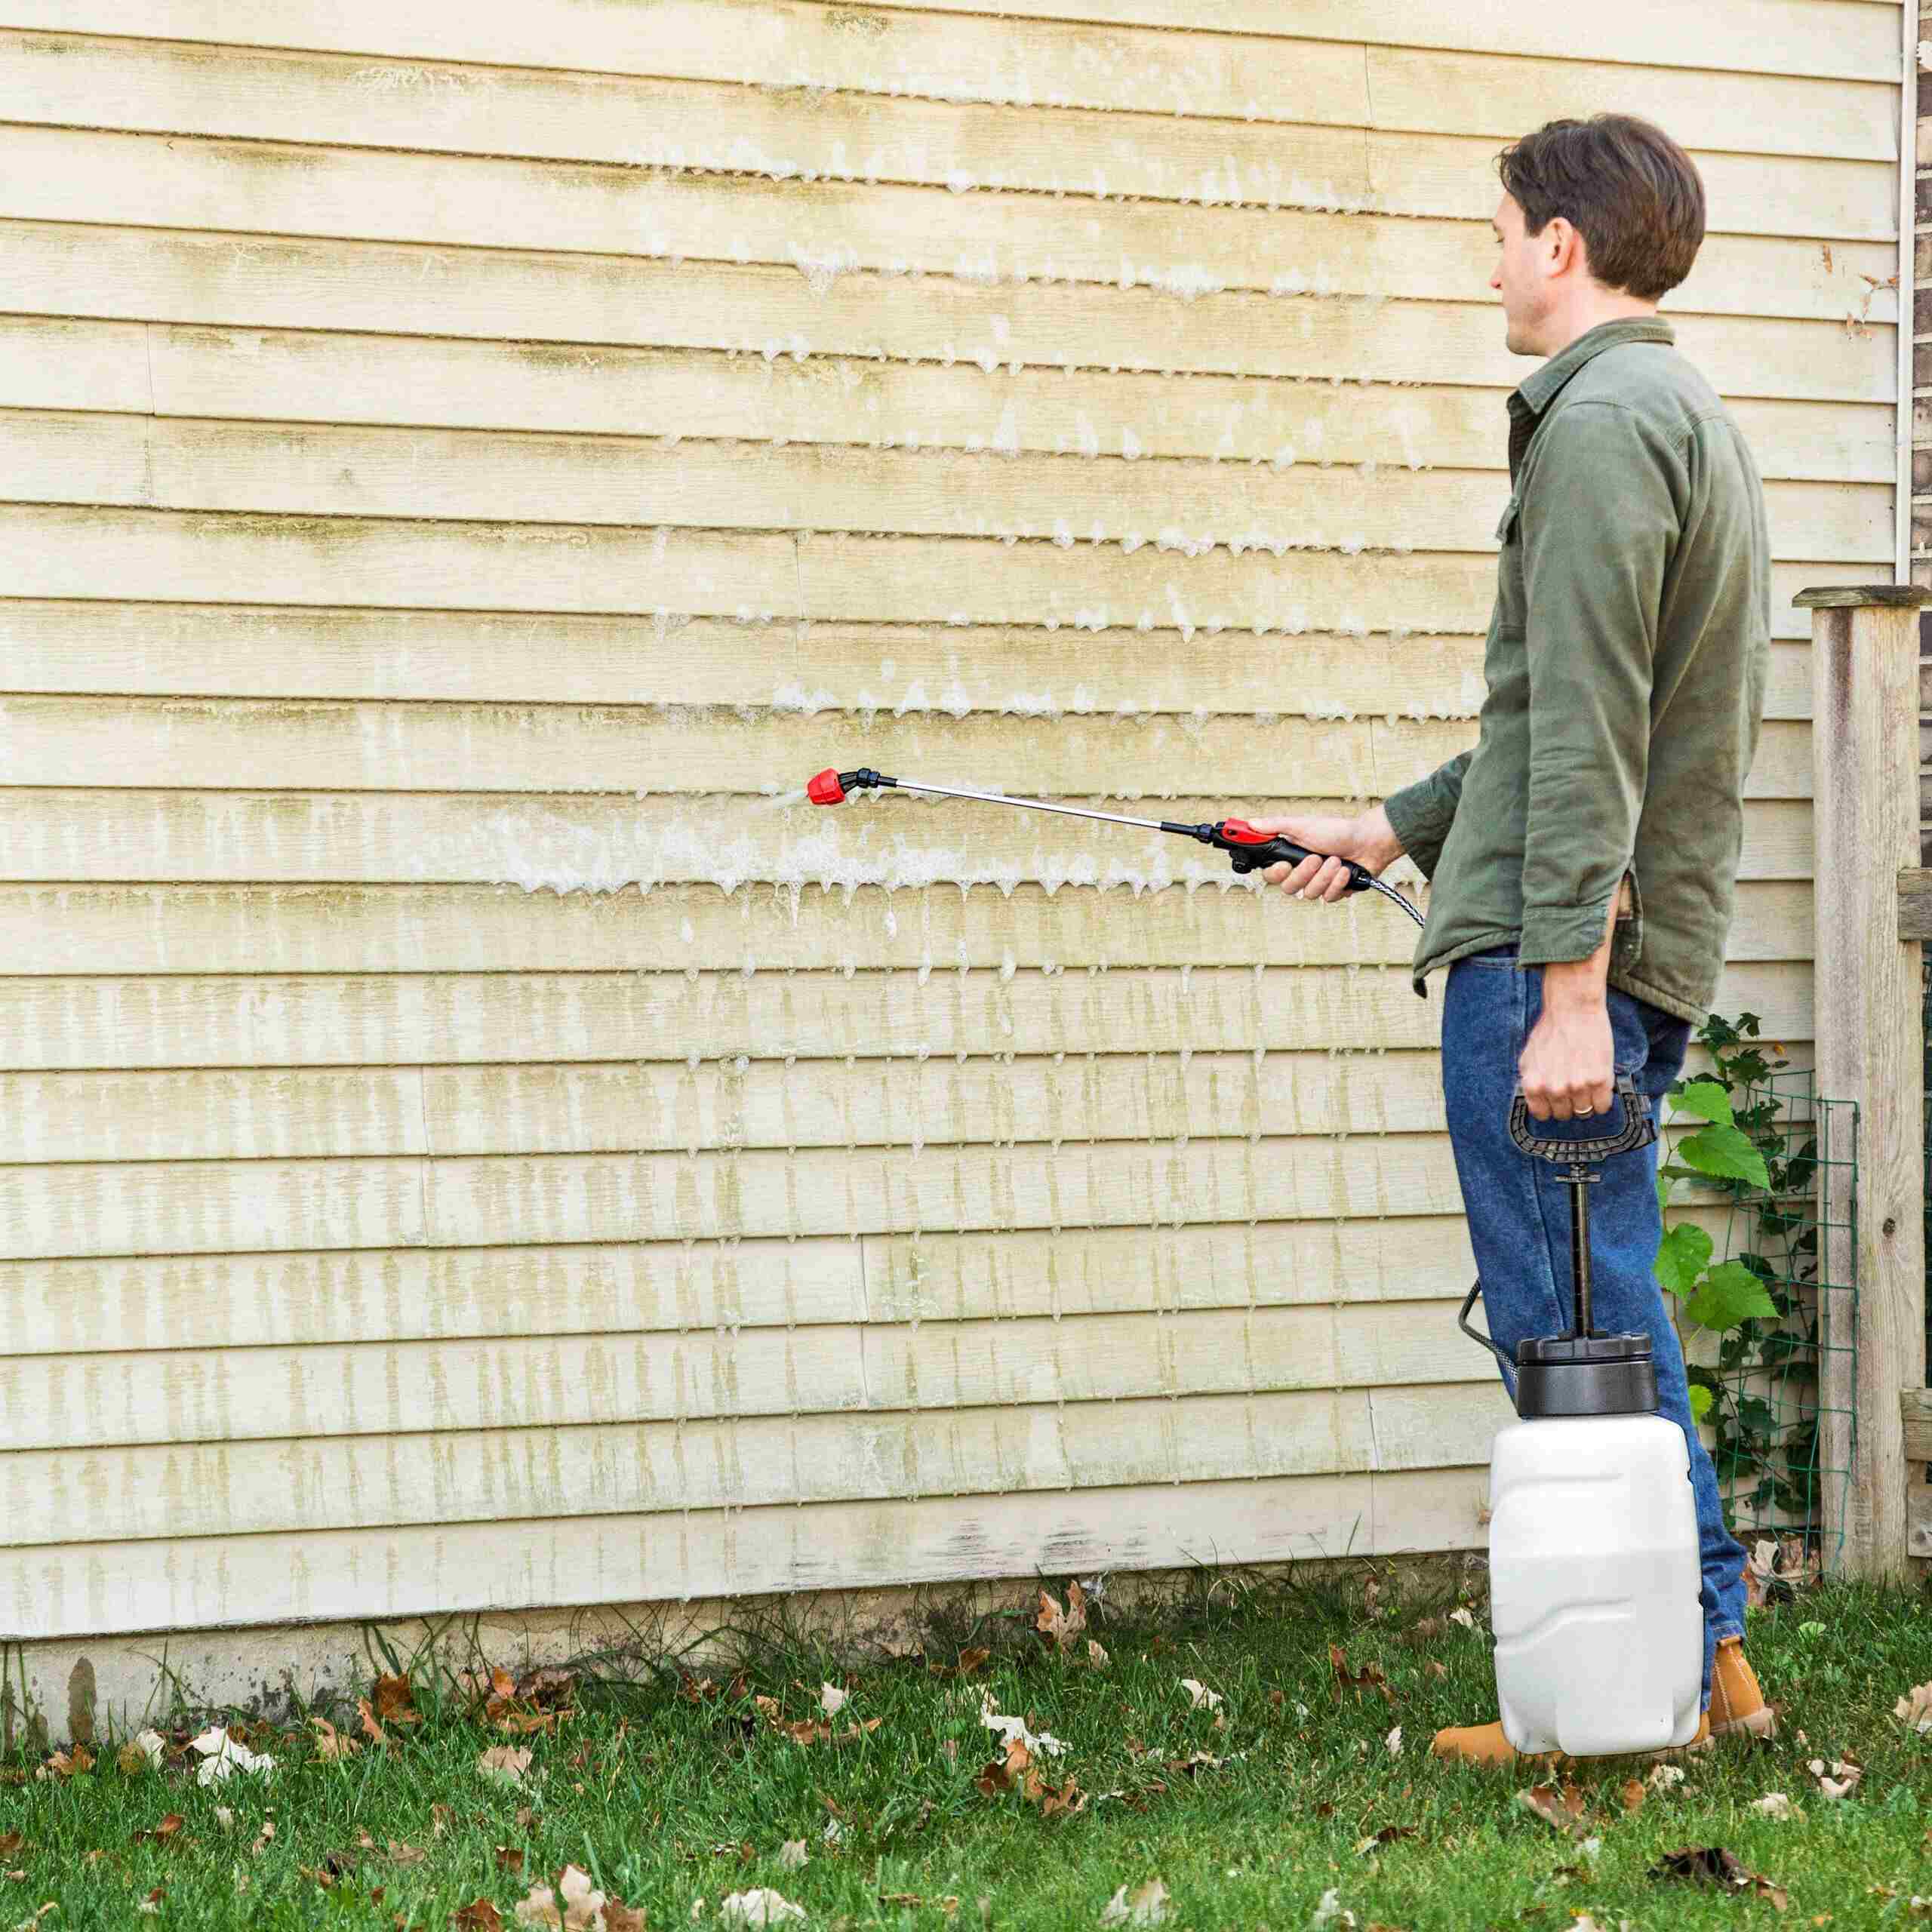
3. Apply the Cleaning Solution: Dip a scrub brush or sponge into the cleaning solution and apply it directly to the mildew-affected areas of the exterior wall. Work in small sections, starting from the bottom and working your way up. Allow the cleaning solution to sit on the wall for a few minutes to penetrate the mildew stains.
4. Scrub the Wall: Using firm pressure, scrub the mildew stains with the scrub brush or sponge. Focus on the areas with visible mildew growth, applying back-and-forth or circular motions. Be thorough but gentle to avoid damaging the surface.
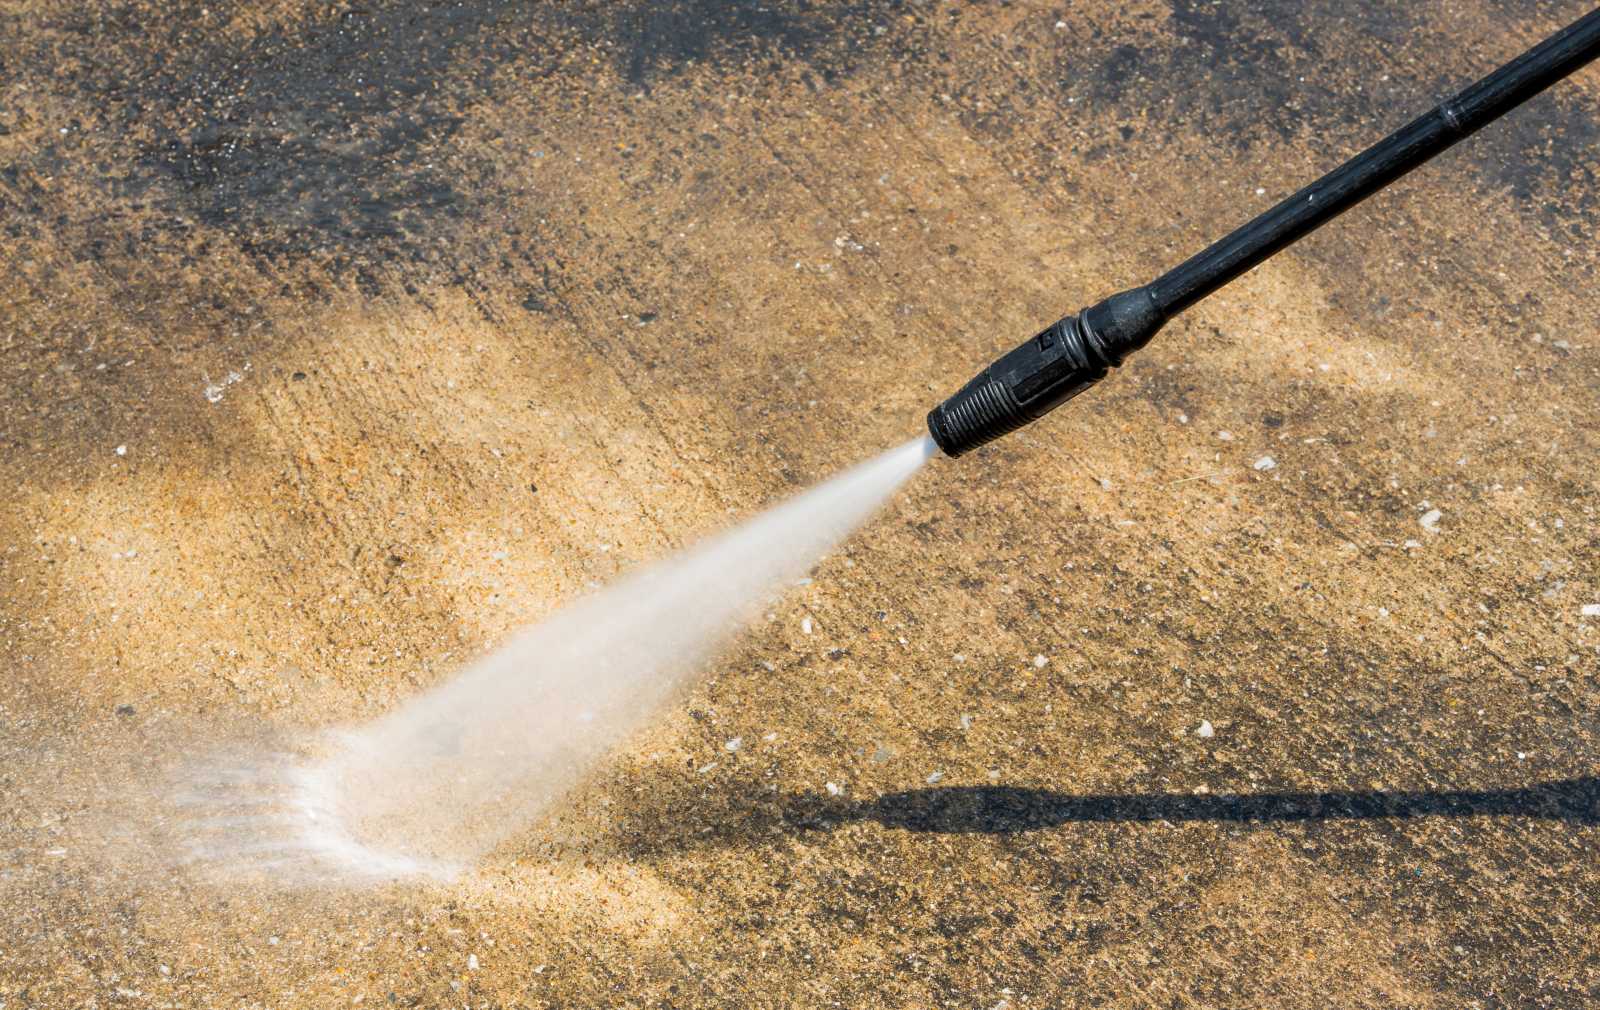
5. Rinse the Wall: Once you have scrubbed the wall, rinse it thoroughly with a garden hose or a pressure washer on a low setting. Start from the top and work your way down, ensuring that all cleaning solution and debris are washed away. Pay close attention to any crevices or grooves where mildew might be hiding.
6. Repeat if Necessary: If there are stubborn mildew stains that persist after the initial cleaning, repeat steps 3 to 5. You may need to use a stronger cleaning solution or increase the concentration of bleach in the mixture.
7. Allow the Wall to Dry: After rinsing, allow the wall to air dry completely. This will prevent any remaining moisture from contributing to future mildew growth.
8. Inspect and Touch Up: Once the wall is dry, inspect it for any remaining mildew stains. If necessary, spot treat the affected areas with an additional round of cleaning or use a specialized mildew stain remover. If the walls have been visibly affected by the cleaning process, consider repainting or applying a protective coating to restore their appearance.
By following these step-by-step instructions, you can effectively remove mildew from your exterior walls. Remember to work in small sections, rinse thoroughly, and always prioritize safety. With the mildew removed, you can now focus on preventing its return. Continue reading for tips and safety precautions to ensure long-lasting results.
Read more: How To Remove Mildew From Outdoor Fabric
Tips and Safety Precautions
While removing mildew from exterior walls, it’s important to keep in mind some helpful tips and safety precautions to ensure the best possible results and protect your well-being. Follow these tips and safety measures:
1. Work in Small Sections: By tackling small sections at a time, you can focus on thorough cleaning without the cleaning solution drying on the walls. This allows for better stain removal and makes rinsing more manageable.
2. Use Protective Clothing: In addition to safety goggles and disposable gloves, consider wearing long-sleeved shirts, long pants, and closed-toe shoes to protect your skin from the cleaning solution and any debris that may come loose during the process.
3. Test the Cleaning Solution: Before applying the cleaning solution to the entire wall, test it on a small, inconspicuous area to ensure it does not damage or discolor the surface. Wait for a few minutes and check for any adverse reactions before proceeding.
4. Ventilate the Area: To prevent inhaling fumes from the cleaning solution, open windows and doors or use fans to improve ventilation. This is especially important if you are using bleach or other harsh chemicals.
5. Avoid Mixing Chemicals: Do not mix different cleaning solutions or chemicals, as this can result in dangerous reactions or fumes. Stick to one cleaning solution and follow the instructions carefully.
6. Protect Surrounding Areas: Use plastic sheets or tarps to cover windows, doors, and nearby objects to prevent the cleaning solution from accidentally damaging or staining them.
7. Dispose of Cleaning Materials Properly: After completing the mildew removal process, dispose of any leftover cleaning solution and materials according to local regulations. Do not pour the cleaning solution down drains or stormwater systems.
8. Preventive Measures: To discourage future mildew growth, ensure proper ventilation and sunlight exposure by trimming vegetation and clearing obstructions around exterior walls. Regularly inspect your walls for any signs of moisture buildup or damage, and address issues promptly.
9. Seek Professional Help if Needed: If you are dealing with extensive or persistent mildew growth, it may be necessary to seek professional help. Professional cleaning services have the expertise and tools to tackle severe cases of mildew and ensure optimal results.
By following these tips and safety precautions, you can effectively remove mildew from your exterior walls while safeguarding your well-being. Remember to work in a well-ventilated area, protect yourself with appropriate safety gear, and take extra care with cleaning solutions and chemicals. Now that you know how to remove mildew and stay safe, let’s explore some preventive measures to minimize the chances of mildew returning to your exterior walls.
Preventing Mildew Growth on Exterior Walls
After successfully removing mildew from your exterior walls, it’s important to take preventive measures to minimize the chances of its recurrence. By implementing these preventive strategies, you can maintain the cleanliness and integrity of your walls. Here are some tips to prevent mildew growth on exterior walls:
1. Improve Ventilation: Proper airflow is essential to prevent excess moisture buildup on your walls. Ensure that your exterior walls have adequate ventilation by installing vents or fans if needed. This allows moisture to escape and reduces the risk of mildew growth.
2. Increase Sunlight Exposure: Mildew thrives in damp, shaded areas. Trim any overhanging branches or vegetation near your exterior walls to allow more sunlight to reach the surface. Sunlight helps to dry out moisture and inhibits the growth of mildew.
3. Maintain Gutters and Downspouts: Clogged gutters and downspouts can lead to water accumulation and seepage onto the exterior walls, creating a conducive environment for mildew growth. Regularly clean and inspect your gutters, removing any debris and ensuring proper water flow away from the walls.
4. Address Water Intrusion: Take proactive steps to prevent water intrusion on your walls. Check for any cracks, gaps, or damaged areas where water can seep into the walls. Repair these issues promptly to minimize moisture buildup and reduce the risk of mildew growth.
5. Regular Cleaning: Regularly clean your exterior walls to remove dirt, dust, and other debris that may provide a breeding ground for mildew. Use a mild detergent and water solution to gently wash the walls, paying attention to any problem areas.
6. Apply Mold-Resistant Coating: Consider applying a mold-resistant coating or paint specifically designed for exterior surfaces. These coatings often contain additives that inhibit the growth of mildew and can provide an additional layer of protection for your walls.
7. Monitor Humidity Levels: Keep an eye on the humidity levels inside your home. If the indoor humidity is consistently high, it can contribute to moisture problems on the exterior walls. Use dehumidifiers or proper ventilation systems to regulate humidity levels and minimize the risk of mildew growth.
8. Regular Inspections: Conduct routine inspections of your exterior walls to identify any signs of moisture buildup, damage, or early signs of mildew growth. Catching and addressing these issues early can prevent the spread of mildew and minimize costly repairs.
By following these preventive measures, you can significantly reduce the chances of mildew growth on your exterior walls. By improving ventilation, increasing sunlight exposure, and addressing water intrusion, you create an environment that is less favorable for mildew to thrive. Regular cleaning and maintenance, along with monitoring humidity levels, help to identify and address potential issues before they escalate. With these preventive strategies in place, you can enjoy clean and healthy exterior walls for years to come.
Efficiently removing mildew from exterior walls and implementing preventive measures is essential in maintaining the appearance and integrity of your home. By following these guidelines, you can confidently tackle mildew issues and keep your exterior walls looking their best.
Conclusion
Removing mildew from exterior walls can be a challenging task, but with the right tools, materials, and techniques, it is entirely manageable. By understanding the causes of mildew growth, preparing the area properly, and following the step-by-step instructions outlined in this article, you can effectively eliminate mildew and restore the appearance of your exterior walls.
Remember to prioritize safety by wearing the appropriate protective gear and following safety precautions when handling cleaning solutions and working at heights. Taking preventive measures, such as improving ventilation, increasing sunlight exposure, and regular maintenance, can help minimize the chances of mildew returning to your exterior walls.
By successfully removing mildew and implementing preventive strategies, you can maintain the cleanliness and integrity of your exterior walls for the long term. A well-maintained exterior not only enhances the aesthetic appeal of your home but also contributes to its overall health and longevity.
If you encounter extensive or persistent mildew growth that proves difficult to remove, do not hesitate to seek professional help. Professional cleaning services have the expertise and tools to tackle severe cases of mildew and provide optimal results.
Remember that regular inspections and prompt attention to any signs of moisture buildup or damage are key to preventing mildew growth. By being proactive and addressing issues early on, you can avoid costly repairs and preserve the beauty of your exterior walls.
In conclusion, with the knowledge and guidance provided in this article, you are well-equipped to remove mildew from your exterior walls and take preventative measures to keep them looking their best. Enjoy a clean, safe, and aesthetically pleasing exterior that enhances the curb appeal of your home for years to come.
Frequently Asked Questions about How To Remove Mildew From Exterior Walls
Was this page helpful?
At Storables.com, we guarantee accurate and reliable information. Our content, validated by Expert Board Contributors, is crafted following stringent Editorial Policies. We're committed to providing you with well-researched, expert-backed insights for all your informational needs.

0 thoughts on “How To Remove Mildew From Exterior Walls”