Home>Articles>How To Remove Siding And Repair Exterior Wall Sheathing
Articles
How To Remove Siding And Repair Exterior Wall Sheathing
Modified: October 31, 2024
Learn how to remove siding and repair exterior wall sheathing with our informative articles. Discover expert tips and tricks in this comprehensive guide.
(Many of the links in this article redirect to a specific reviewed product. Your purchase of these products through affiliate links helps to generate commission for Storables.com, at no extra cost. Learn more)
Introduction
Removing siding and repairing exterior wall sheathing is a necessary task for homeowners who want to maintain the structural integrity and aesthetics of their homes. Over time, siding panels can become damaged or worn out, exposing the underlying sheathing to the elements. This can result in moisture penetration, rot, and other issues that can compromise the integrity of the entire wall.
In this article, we will guide you through the step-by-step process of removing siding and repairing the exterior wall sheathing. By following these instructions and taking the necessary precautions, you can successfully undertake this project and ensure that your home remains in great condition.
Key Takeaways:
- Properly removing siding and repairing exterior wall sheathing is crucial for maintaining a home’s structural integrity and aesthetics. Following the step-by-step process outlined in this article ensures a thorough and effective repair.
- From gathering the necessary tools and safety equipment to reattaching trim and reconnecting utilities, each step in the repair process is essential for restoring the functionality and appearance of your home.
Read more: What Kind Of Sheathing Is For Exterior Walls
Step 1: Gather necessary tools and safety equipment
Before you begin the process of removing siding and repairing exterior wall sheathing, it’s important to gather all the necessary tools and safety equipment. Here are the items you will need:
- Protective clothing: Wear long sleeves, long pants, and sturdy shoes to protect yourself from any potential hazards.
- Safety goggles: Protect your eyes from debris and dust by wearing safety goggles.
- Gloves: Use gloves to protect your hands from sharp edges or splinters.
- Siding removal tool: This specialized tool, such as a pry bar or siding zip tool, will help you safely and efficiently remove the siding panels.
- Hammer: A hammer will be necessary for removing any nails or fasteners holding the siding panels in place.
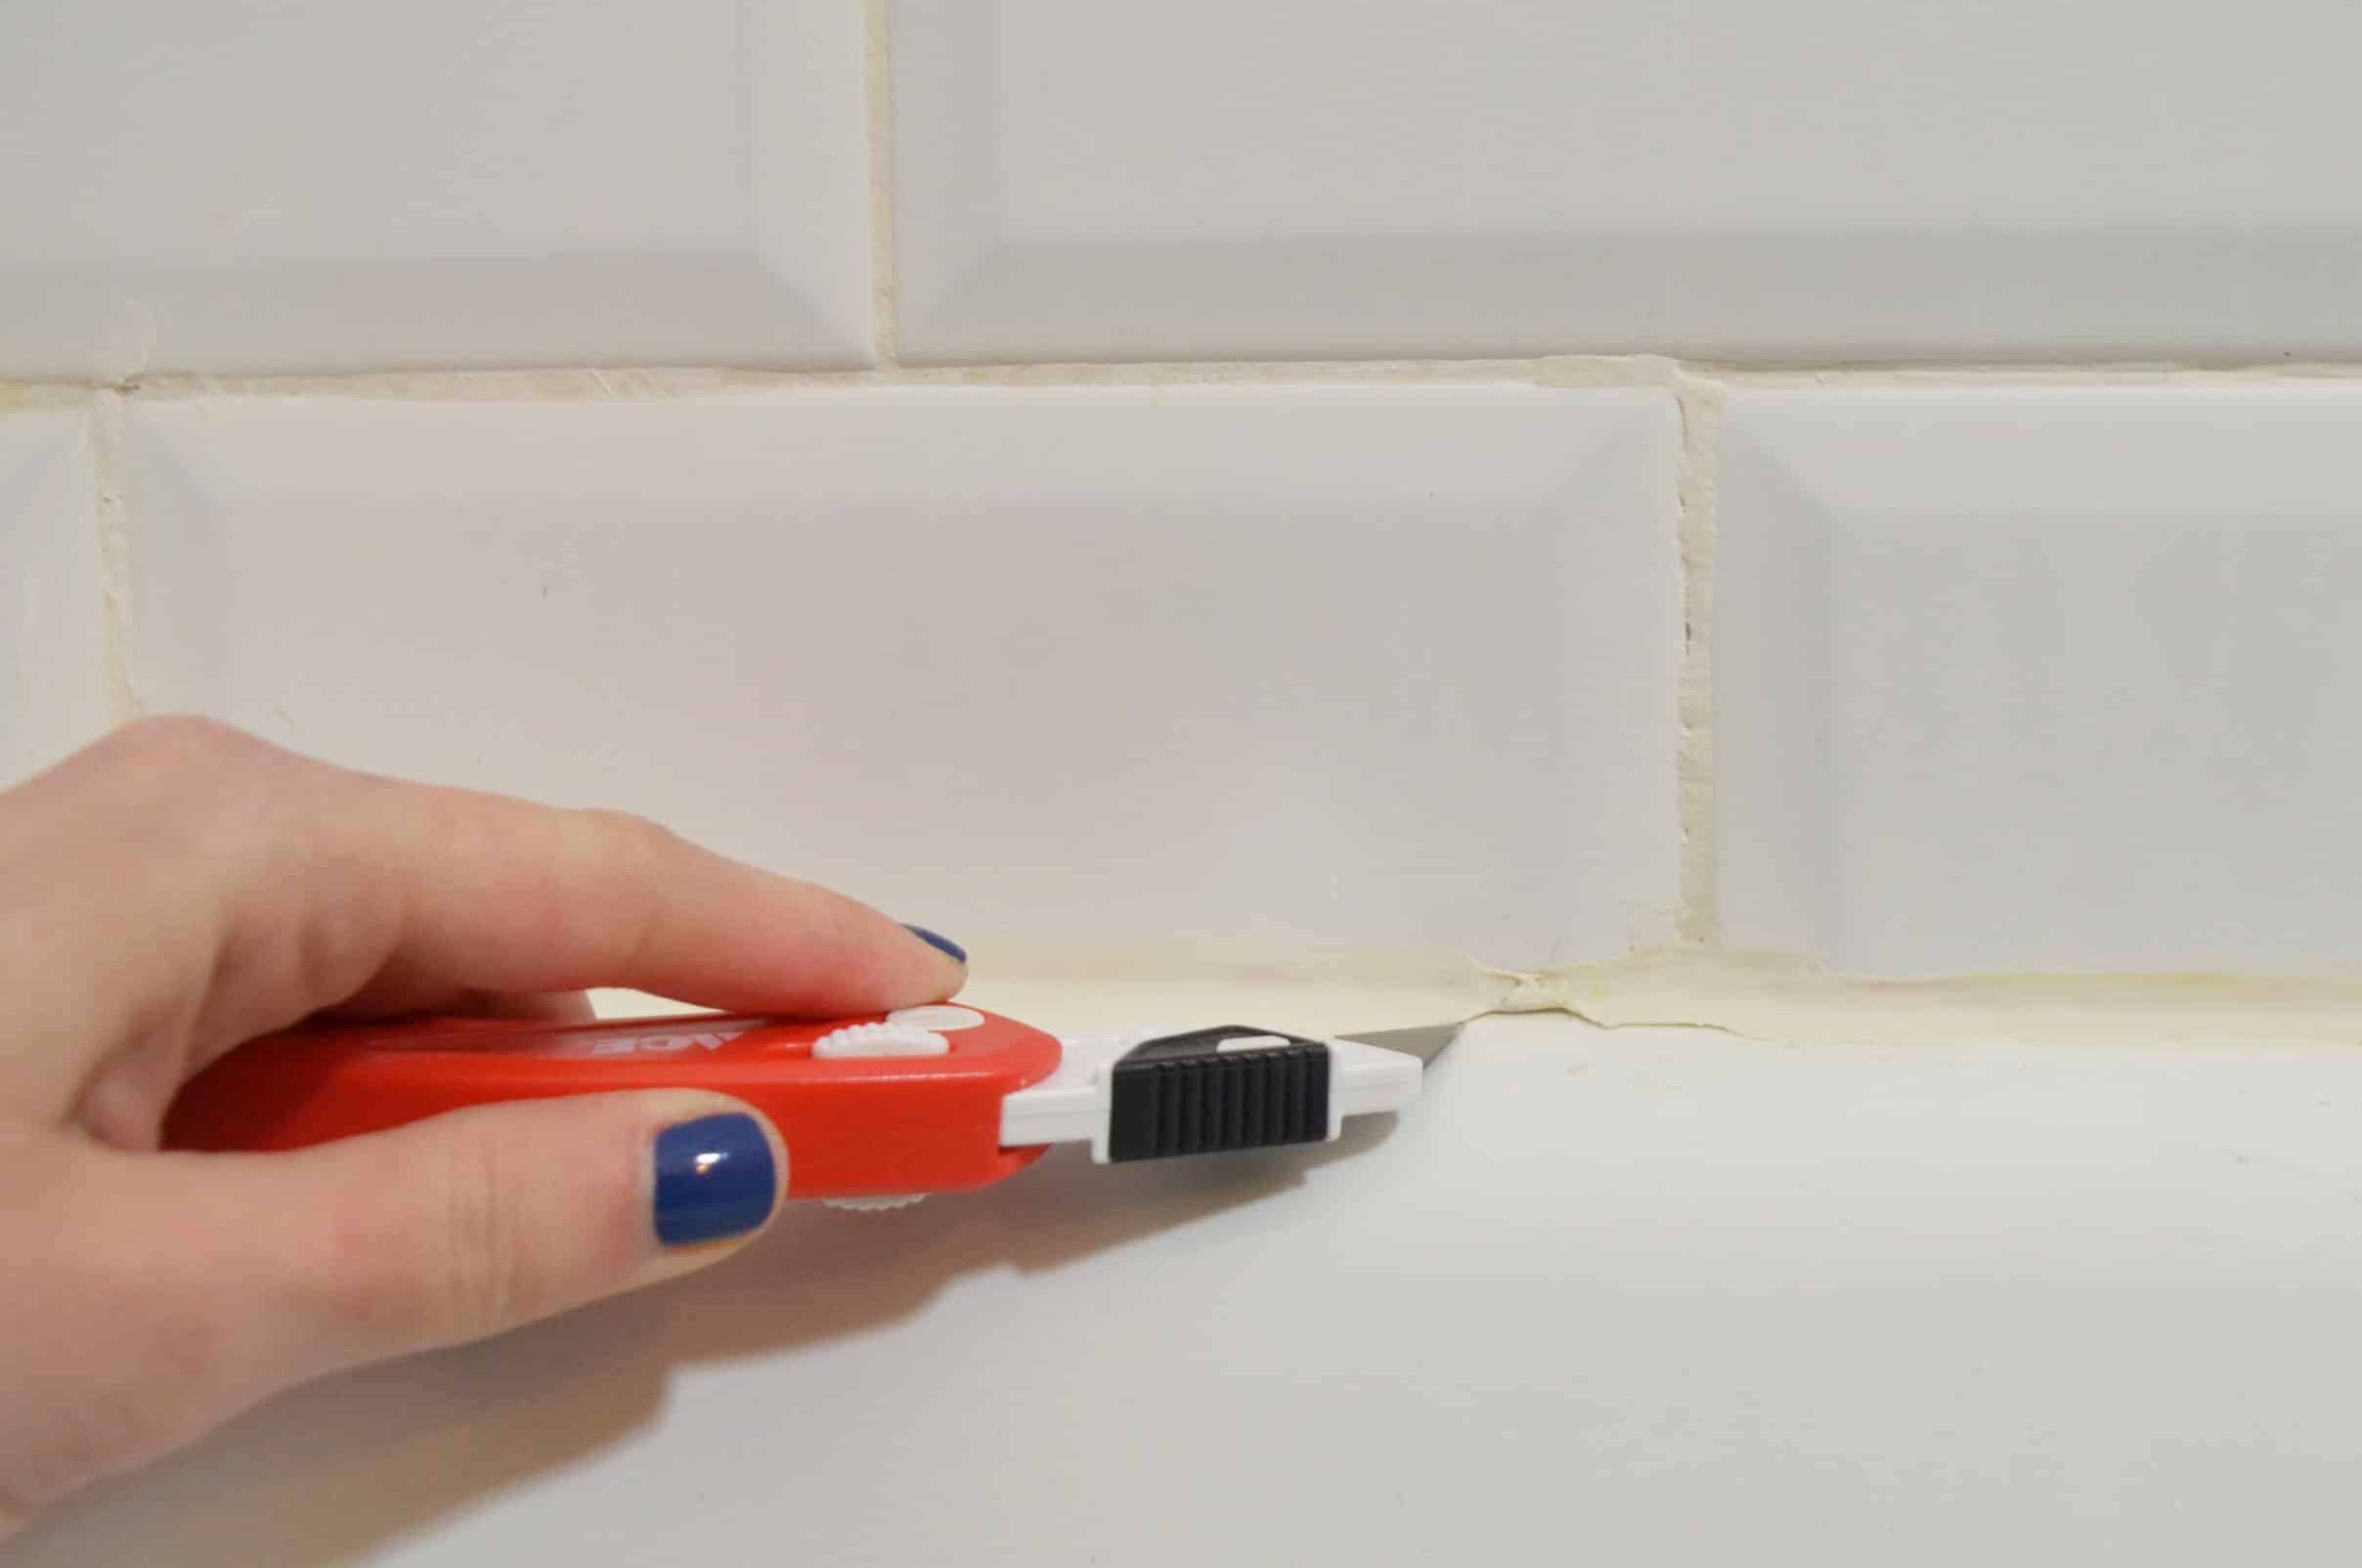
- Utility knife: Use a utility knife to cut through any caulking or sealant around the siding panels.
- Ladder or scaffolding: Depending on the height of your home, you may need a ladder or scaffolding to reach the upper areas where the siding needs to be removed.
- Tape measure: Measure and mark the areas where the siding panels will be removed.
- Replacement materials: Depending on the extent of the damage, you may need replacement siding panels, sheathing, insulation, nails, and screws.
Once you have gathered all the necessary tools and safety equipment, you can proceed to the next step of removing the trim and disconnecting utilities before removing the siding panels.
Step 2: Remove the trim and disconnect utilities
Before you can begin removing the siding panels, it is essential to remove the trim and disconnect any utilities that may be running through or around the area. Follow these steps to complete this task safely and efficiently:
- Start by using a pry bar or a trim removal tool to carefully remove the trim around the edges of the siding panels.
- Be cautious while removing the trim to avoid damaging it. If the trim is in good condition, you can reuse it after the repairs.
- Next, locate any utilities such as water pipes, electrical wiring, or gas lines that may be connected to or running behind the siding.
- Be sure to turn off the utilities and disconnect any connections before proceeding.
- Consult with a professional if you are unsure about how to safely disconnect the utilities.
- Label and mark all disconnected utilities to ensure that they are properly reconnected later.
By carefully removing the trim and disconnecting utilities, you create a safe and accessible work area for the siding removal process. Remember to follow all safety precautions and adhere to local building codes during this step.
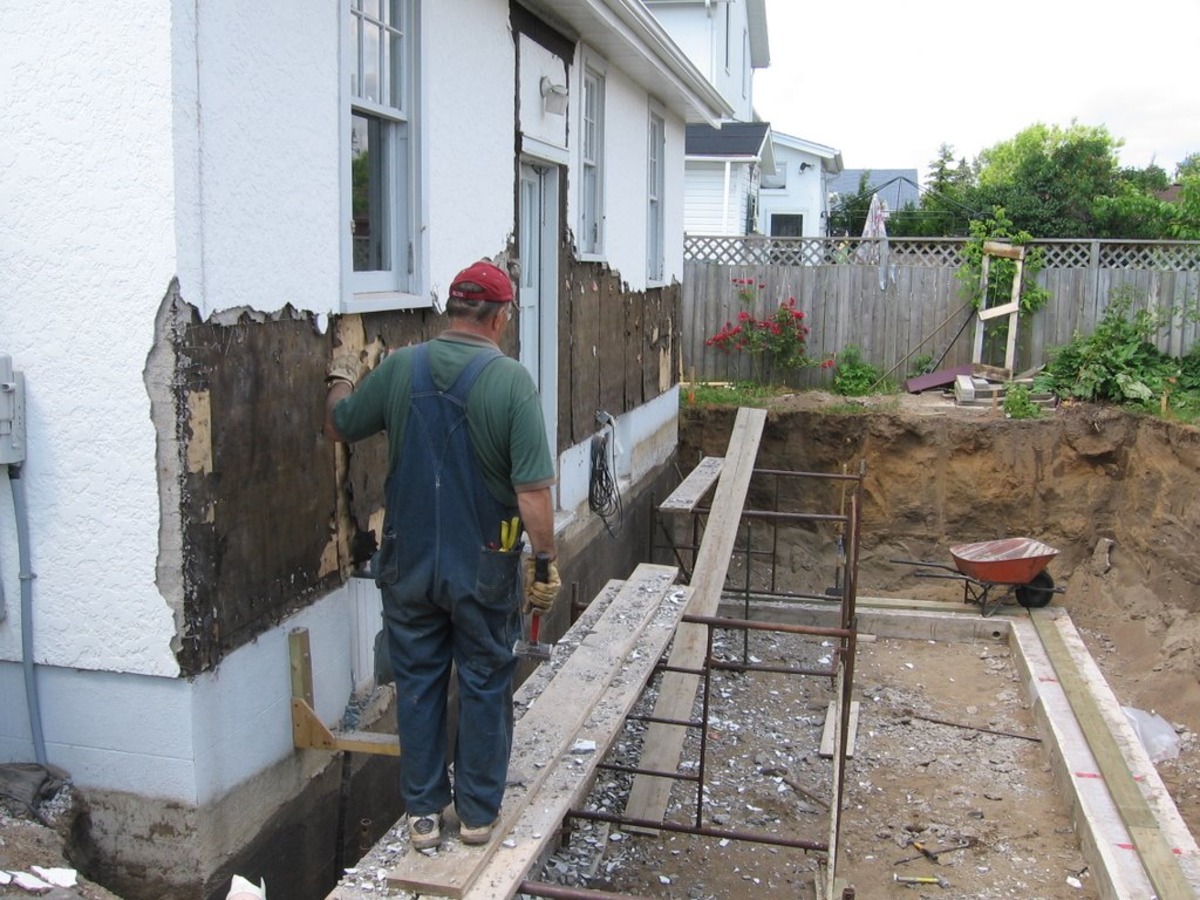
Step 3: Remove the siding panels
Now that you have prepared the work area by removing the trim and disconnecting utilities, you are ready to remove the siding panels. Follow these steps to ensure a smooth and efficient process:
- Start at one corner of the wall and use your siding removal tool to carefully pry off the first siding panel.
- Work your way across the wall, removing one panel at a time.
- Be gentle when removing the panels to avoid damaging the sheathing or neighboring panels.
- If the siding is nailed or screwed into place, use a hammer or screwdriver to remove the fasteners before pulling off the panels.
- Set aside the removed siding panels in a safe place for potential reuse or disposal.
- Continue this process until all the siding panels have been removed.
It is important to take note of any signs of damage or rot on the sheathing as you remove the siding panels. This will help you identify areas that require repair or replacement in the next steps.
Remember to work carefully and take your time during this step to avoid any accidents or unnecessary damage. If you encounter any difficulties or feel unsure about removing the siding panels, it is recommended to consult a professional for assistance.
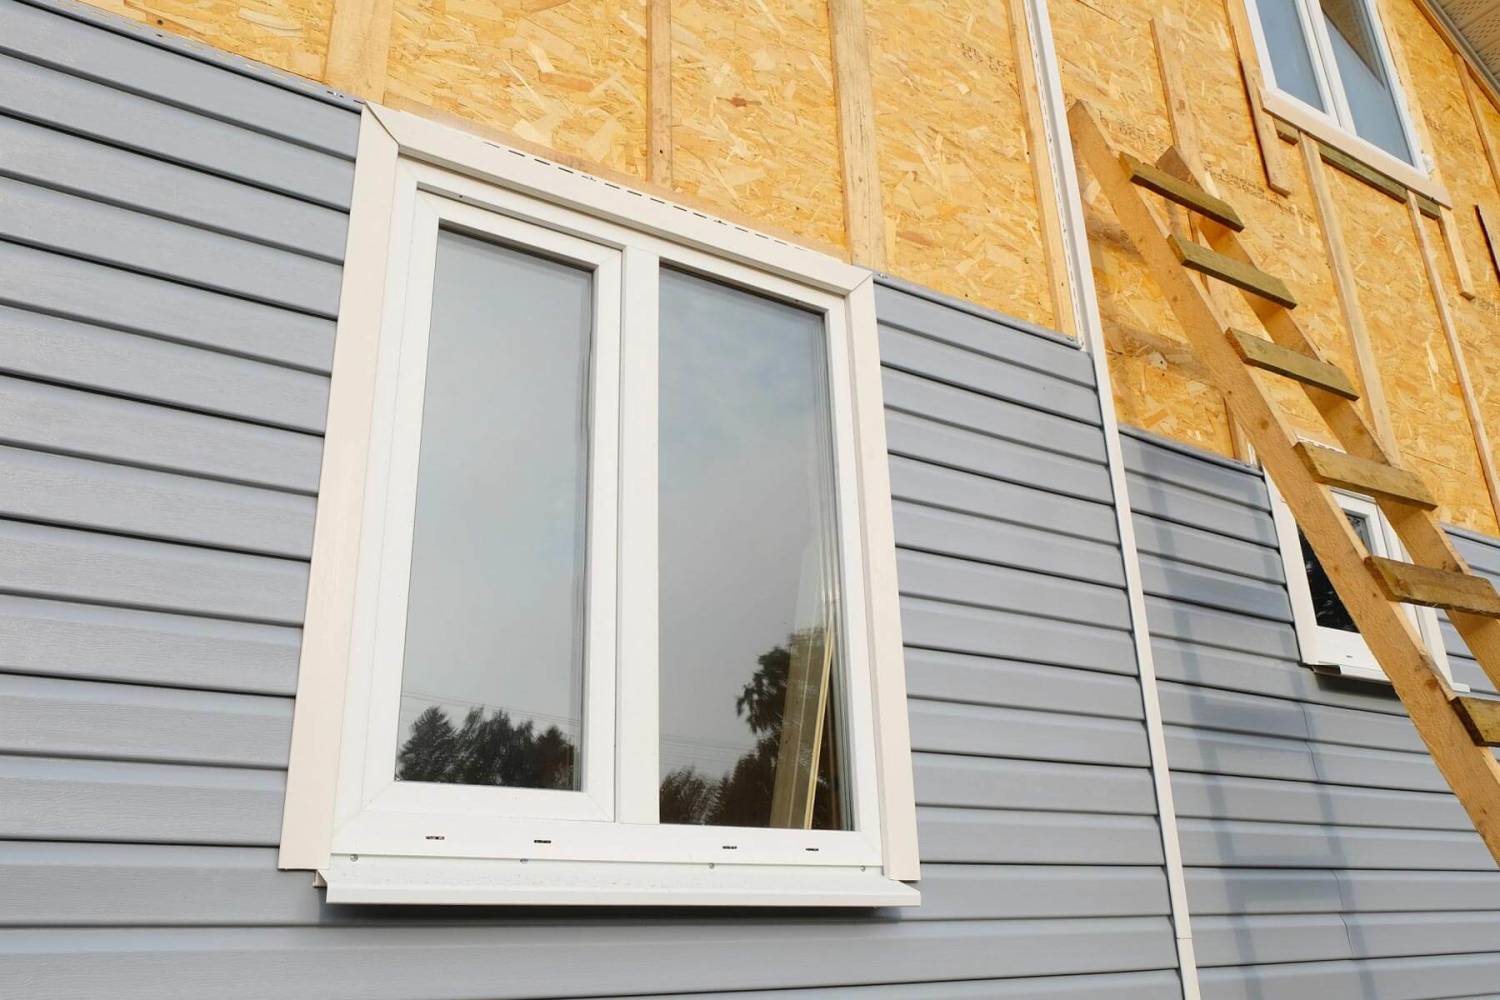
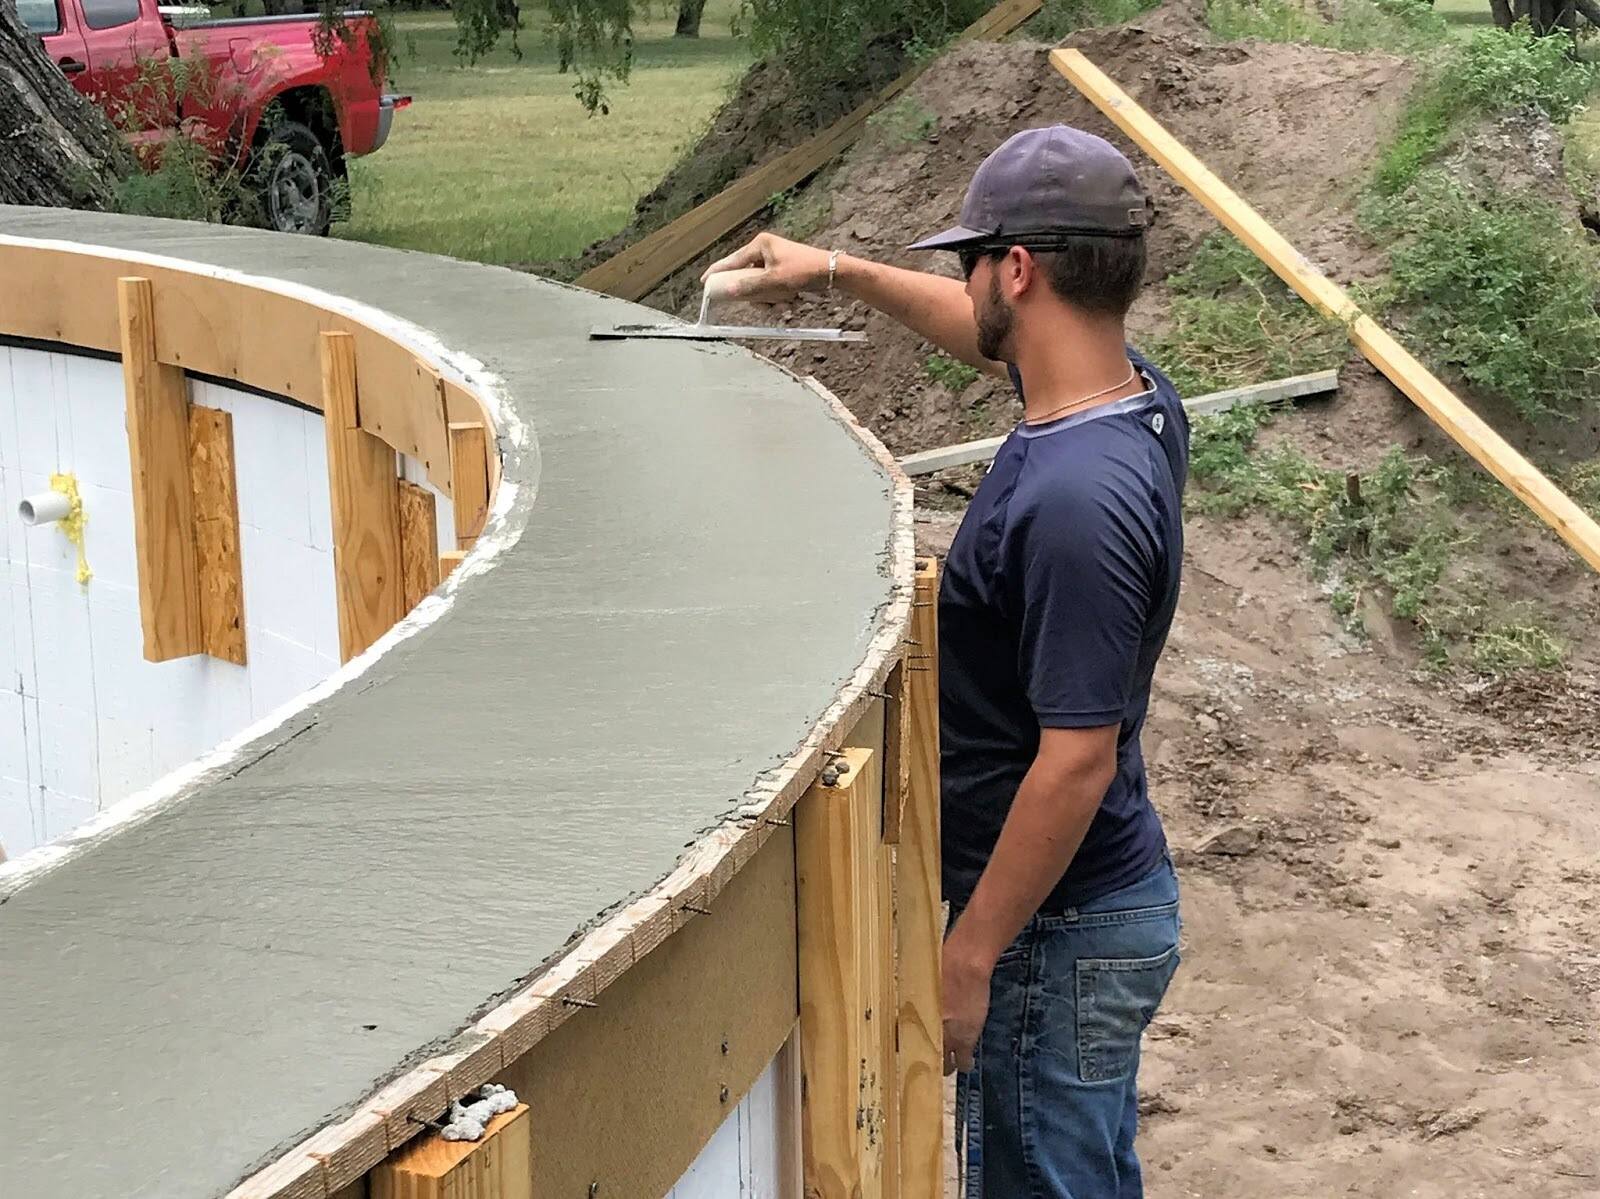
Step 4: Inspect and repair the exterior wall sheathing
Now that the siding panels have been removed, it is time to inspect the exterior wall sheathing for any damage or deterioration. Follow these steps to properly assess and repair the sheathing:
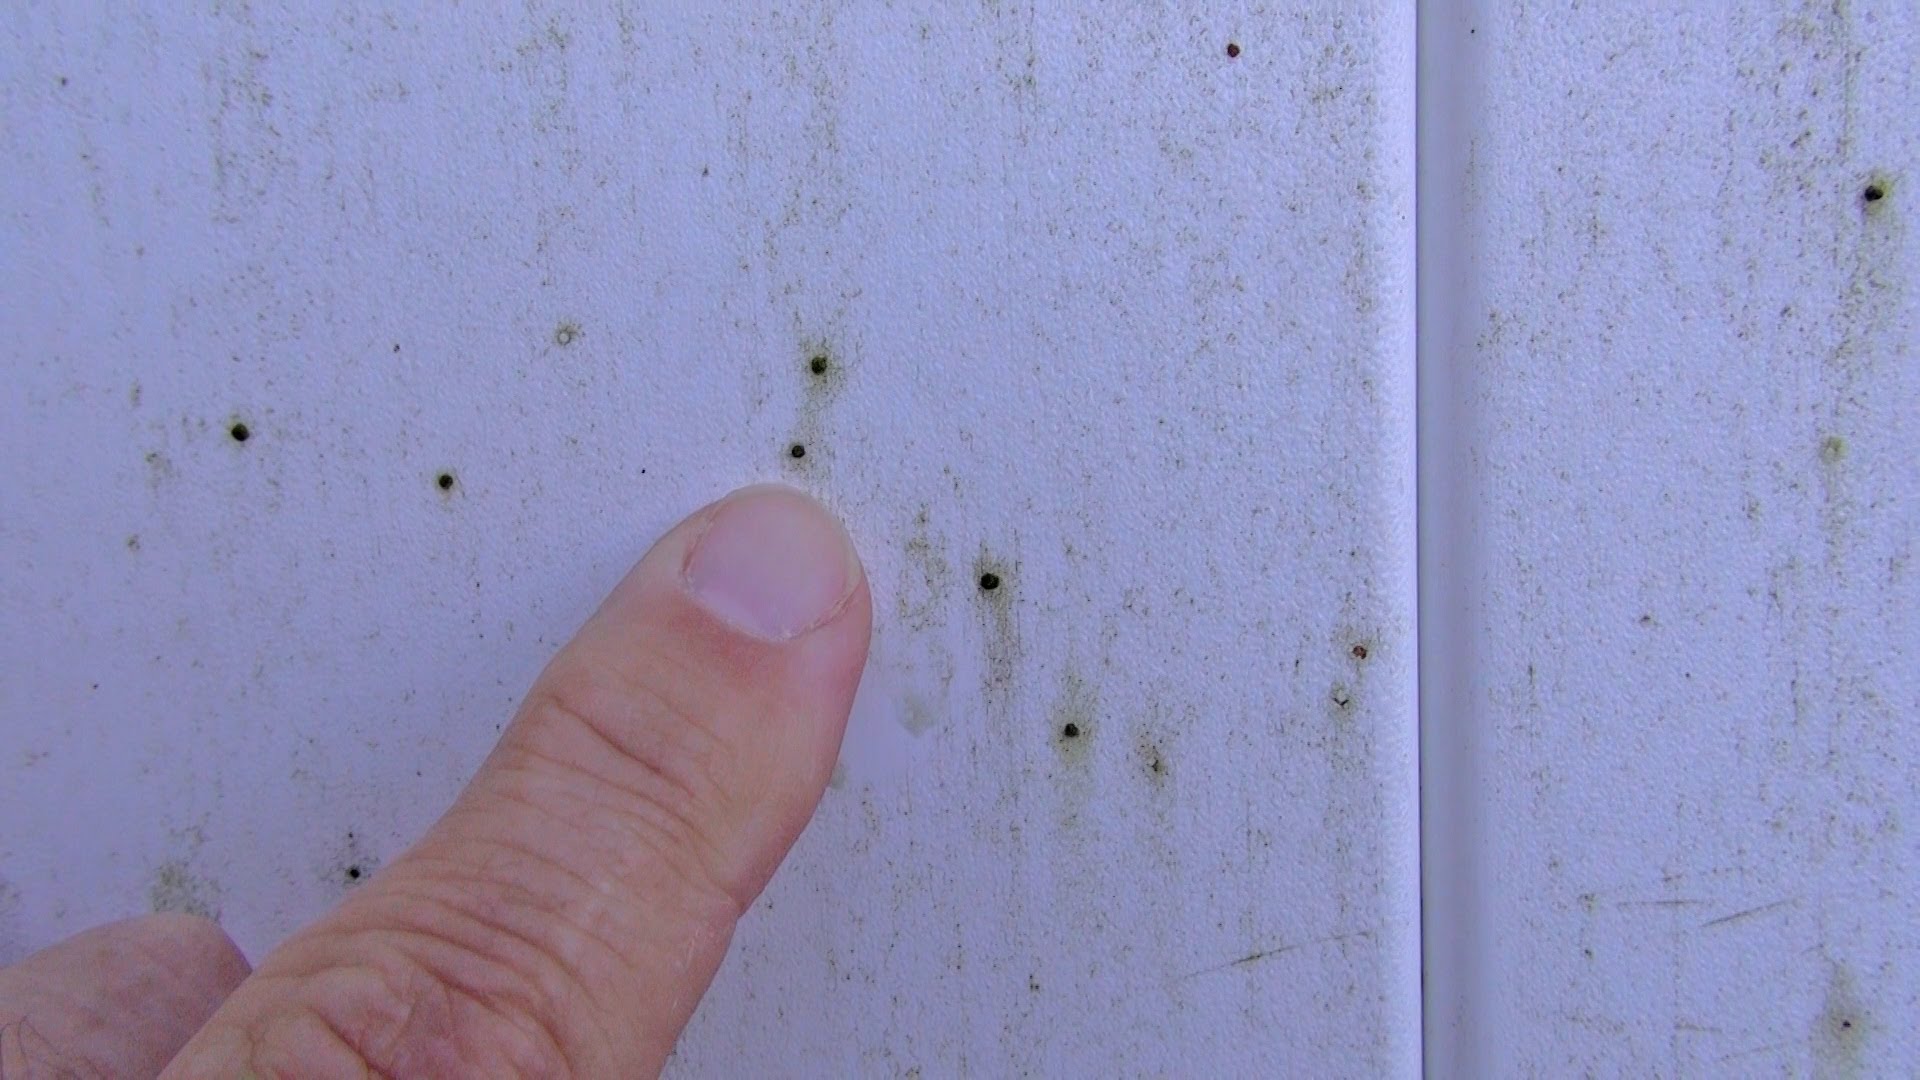
- Visually inspect the sheathing for signs of rot, water damage, or pest infestation.
- If you notice any soft spots, discoloration, or visible signs of damage, mark them for further attention.
- Use a probing tool or a screwdriver to gently poke and test the integrity of the sheathing. Be careful not to cause further damage while doing this.
- If you find areas that are damaged or compromised, carefully remove the affected sections of sheathing using a circular saw or a reciprocating saw.
- Take note of the dimensions of the removed sections to ensure proper replacement.
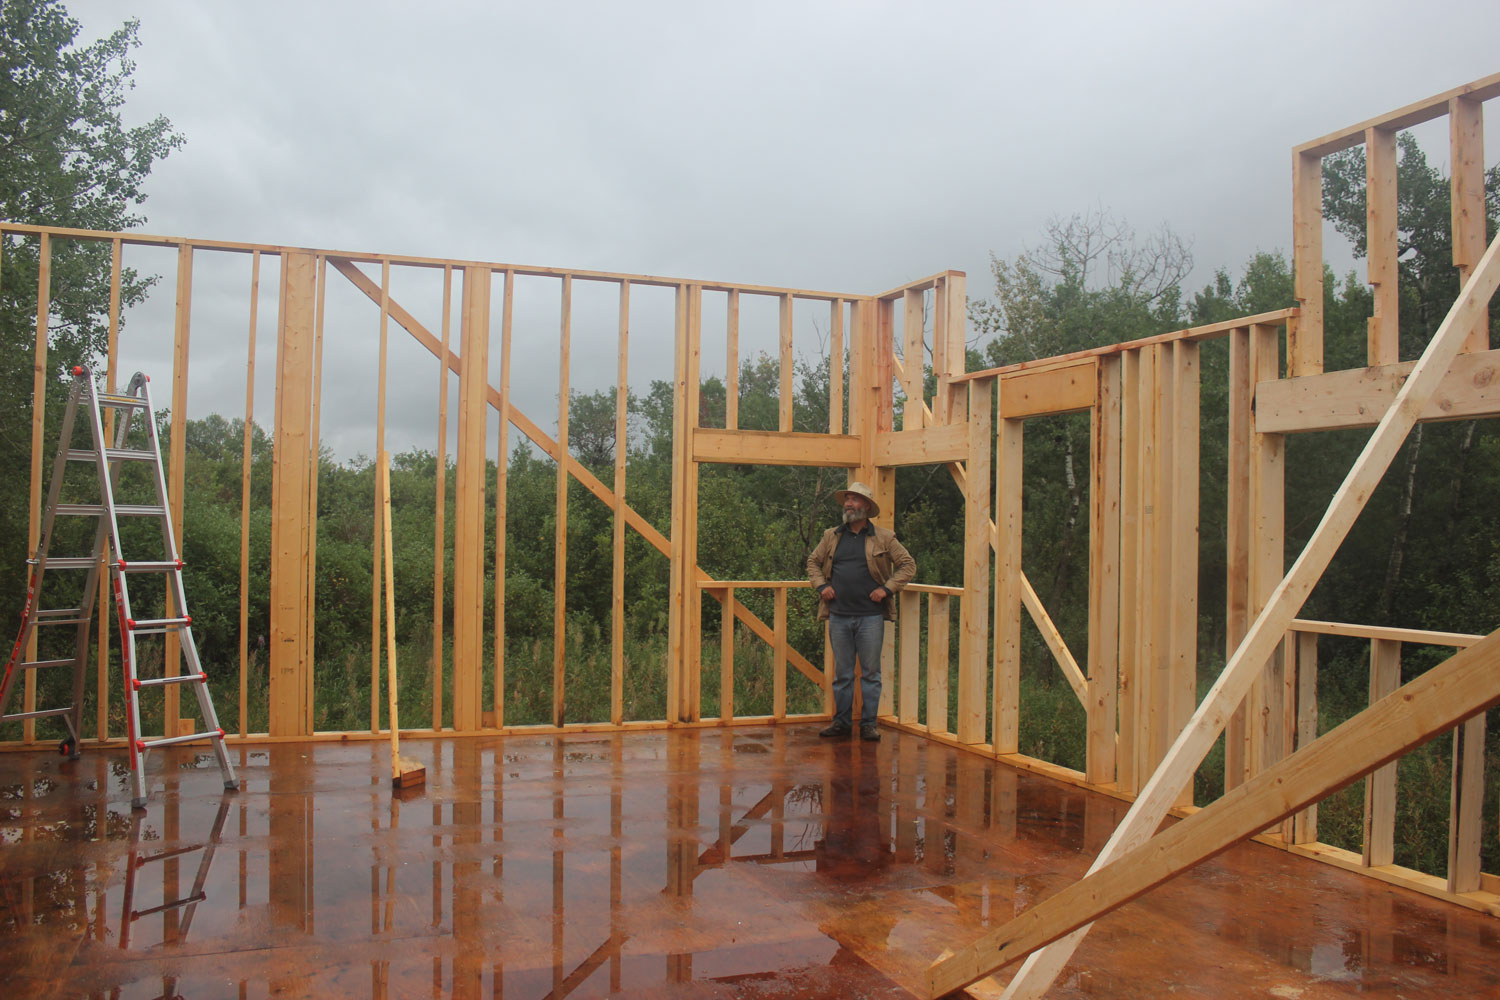
- Once the damaged sections are removed, inspect the underlying framing for any signs of damage or structural issues.
- If any framing elements are damaged, consult a professional for appropriate repairs or reinforcements.
- Replace the damaged sections of sheathing with new plywood or oriented strand board (OSB) of the same thickness as the original sheathing.
- Secure the new sheathing in place using galvanized nails or screws, ensuring a tight and secure fit.
It is crucial to address any sheathing issues promptly to prevent further damage and maintain the structural integrity of your home. By thorough inspection and necessary repairs, you can ensure a solid foundation for the next steps of the siding replacement process.
When removing siding, be sure to inspect the exterior wall sheathing for any damage or rot. Replace any damaged sheathing before installing new siding to ensure a solid and stable exterior surface.
Read more: How To Remove Siding
Step 5: Replace damaged insulation
After repairing the exterior wall sheathing, it is essential to assess the insulation behind it. Insulation plays a crucial role in maintaining energy efficiency and controlling temperature fluctuations within your home. Follow these steps to replace any damaged insulation during the siding repair process:
- Inspect the insulation for signs of moisture damage, mold, or pest infestation.
- If you notice any areas of damage or compromised insulation, mark them for replacement.
- Remove the damaged insulation using a utility knife or insulation removal tool.
- Ensure to wear gloves and a mask during this process to protect yourself from any potential allergens or irritants.
- Carefully dispose of the removed insulation according to local regulations.
- Measure the dimensions of the areas where insulation needs to be replaced.
- Cut new insulation to the appropriate size using a utility knife or insulation cutter.
- Fit the new insulation into the designated areas, ensuring a snug and proper fit.
- If necessary, use insulation tape or adhesive to secure the insulation in place and prevent any gaps.
Properly replacing damaged insulation will help maintain energy efficiency and ensure a comfortable living environment within your home. Additionally, it provides an added layer of protection against moisture and temperature fluctuations.
It is important to choose insulation that is appropriate for your climate and meets local building codes. Consult a professional or refer to manufacturer guidelines for specific recommendations for insulation material and installation techniques.
Step 6: Install new sheathing if necessary
In some cases, the extent of damage to the exterior wall sheathing may require the installation of new sheathing. Follow these steps to properly install new sheathing if necessary:
- Measure the dimensions of the areas where new sheathing needs to be installed.
- Purchase plywood or oriented strand board (OSB) of the appropriate thickness for the replacement sheathing.
- Cut the new sheathing to fit the measured dimensions, using a circular saw or a reciprocating saw.
- Ensure that the new sheathing fits tightly against the existing framing.
- Secure the new sheathing in place using galvanized nails or screws, spaced appropriately to provide structural support.
- Use a level or a straight edge to ensure that the new sheathing is installed evenly and is flush with the surrounding areas.
Installing new sheathing is a critical step to restore the structural integrity and ensure a solid foundation for the siding panels. It is important to follow local building codes and guidelines to ensure proper installation and compliance.
If you are unsure about installing new sheathing or if the damage is extensive, it is recommended to seek the assistance of a professional contractor or carpenter. They will have the expertise and experience to complete the task efficiently and effectively.
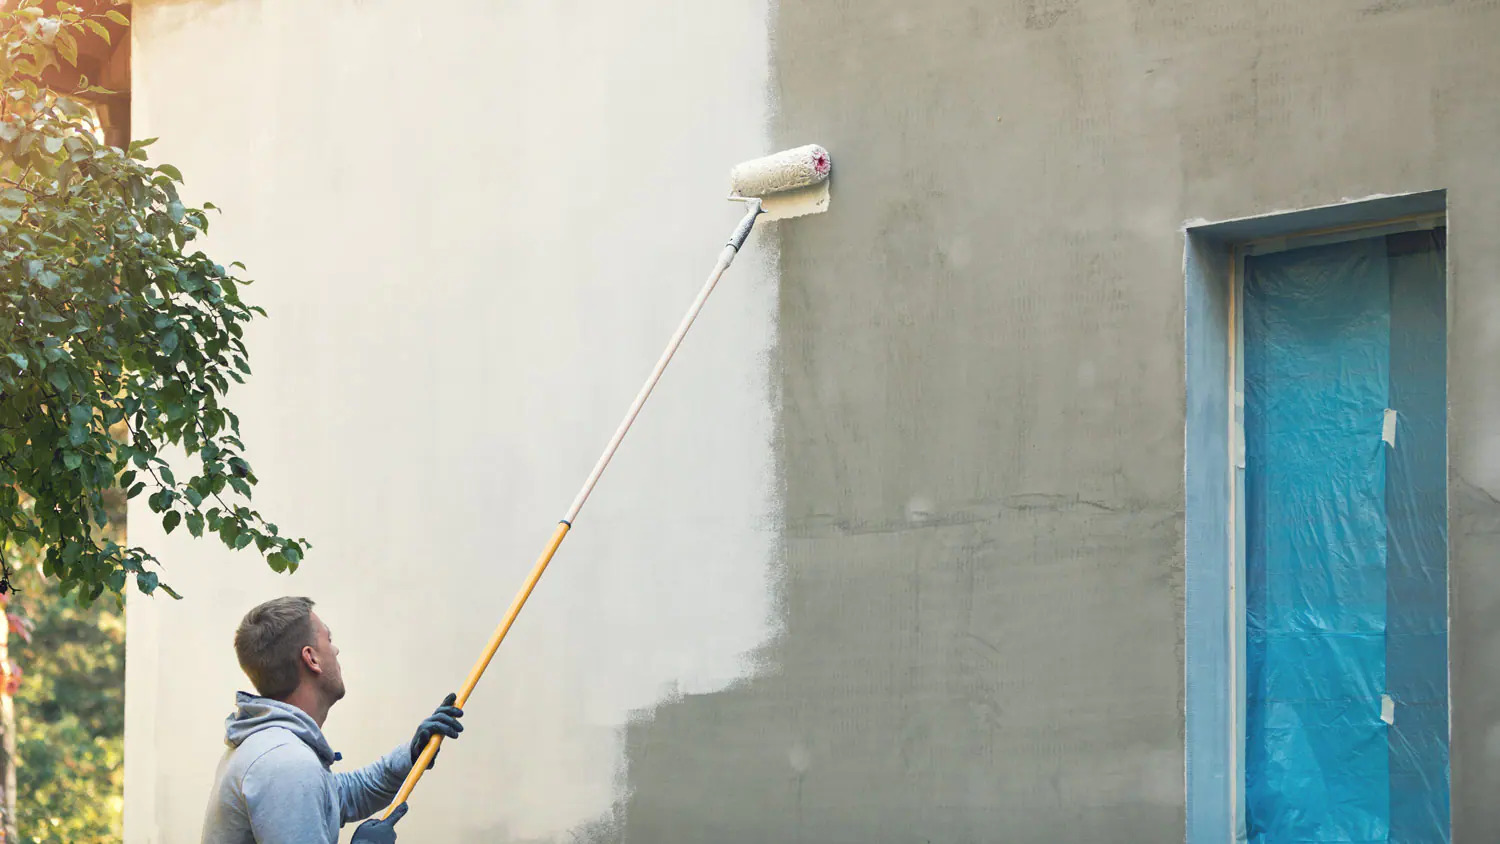
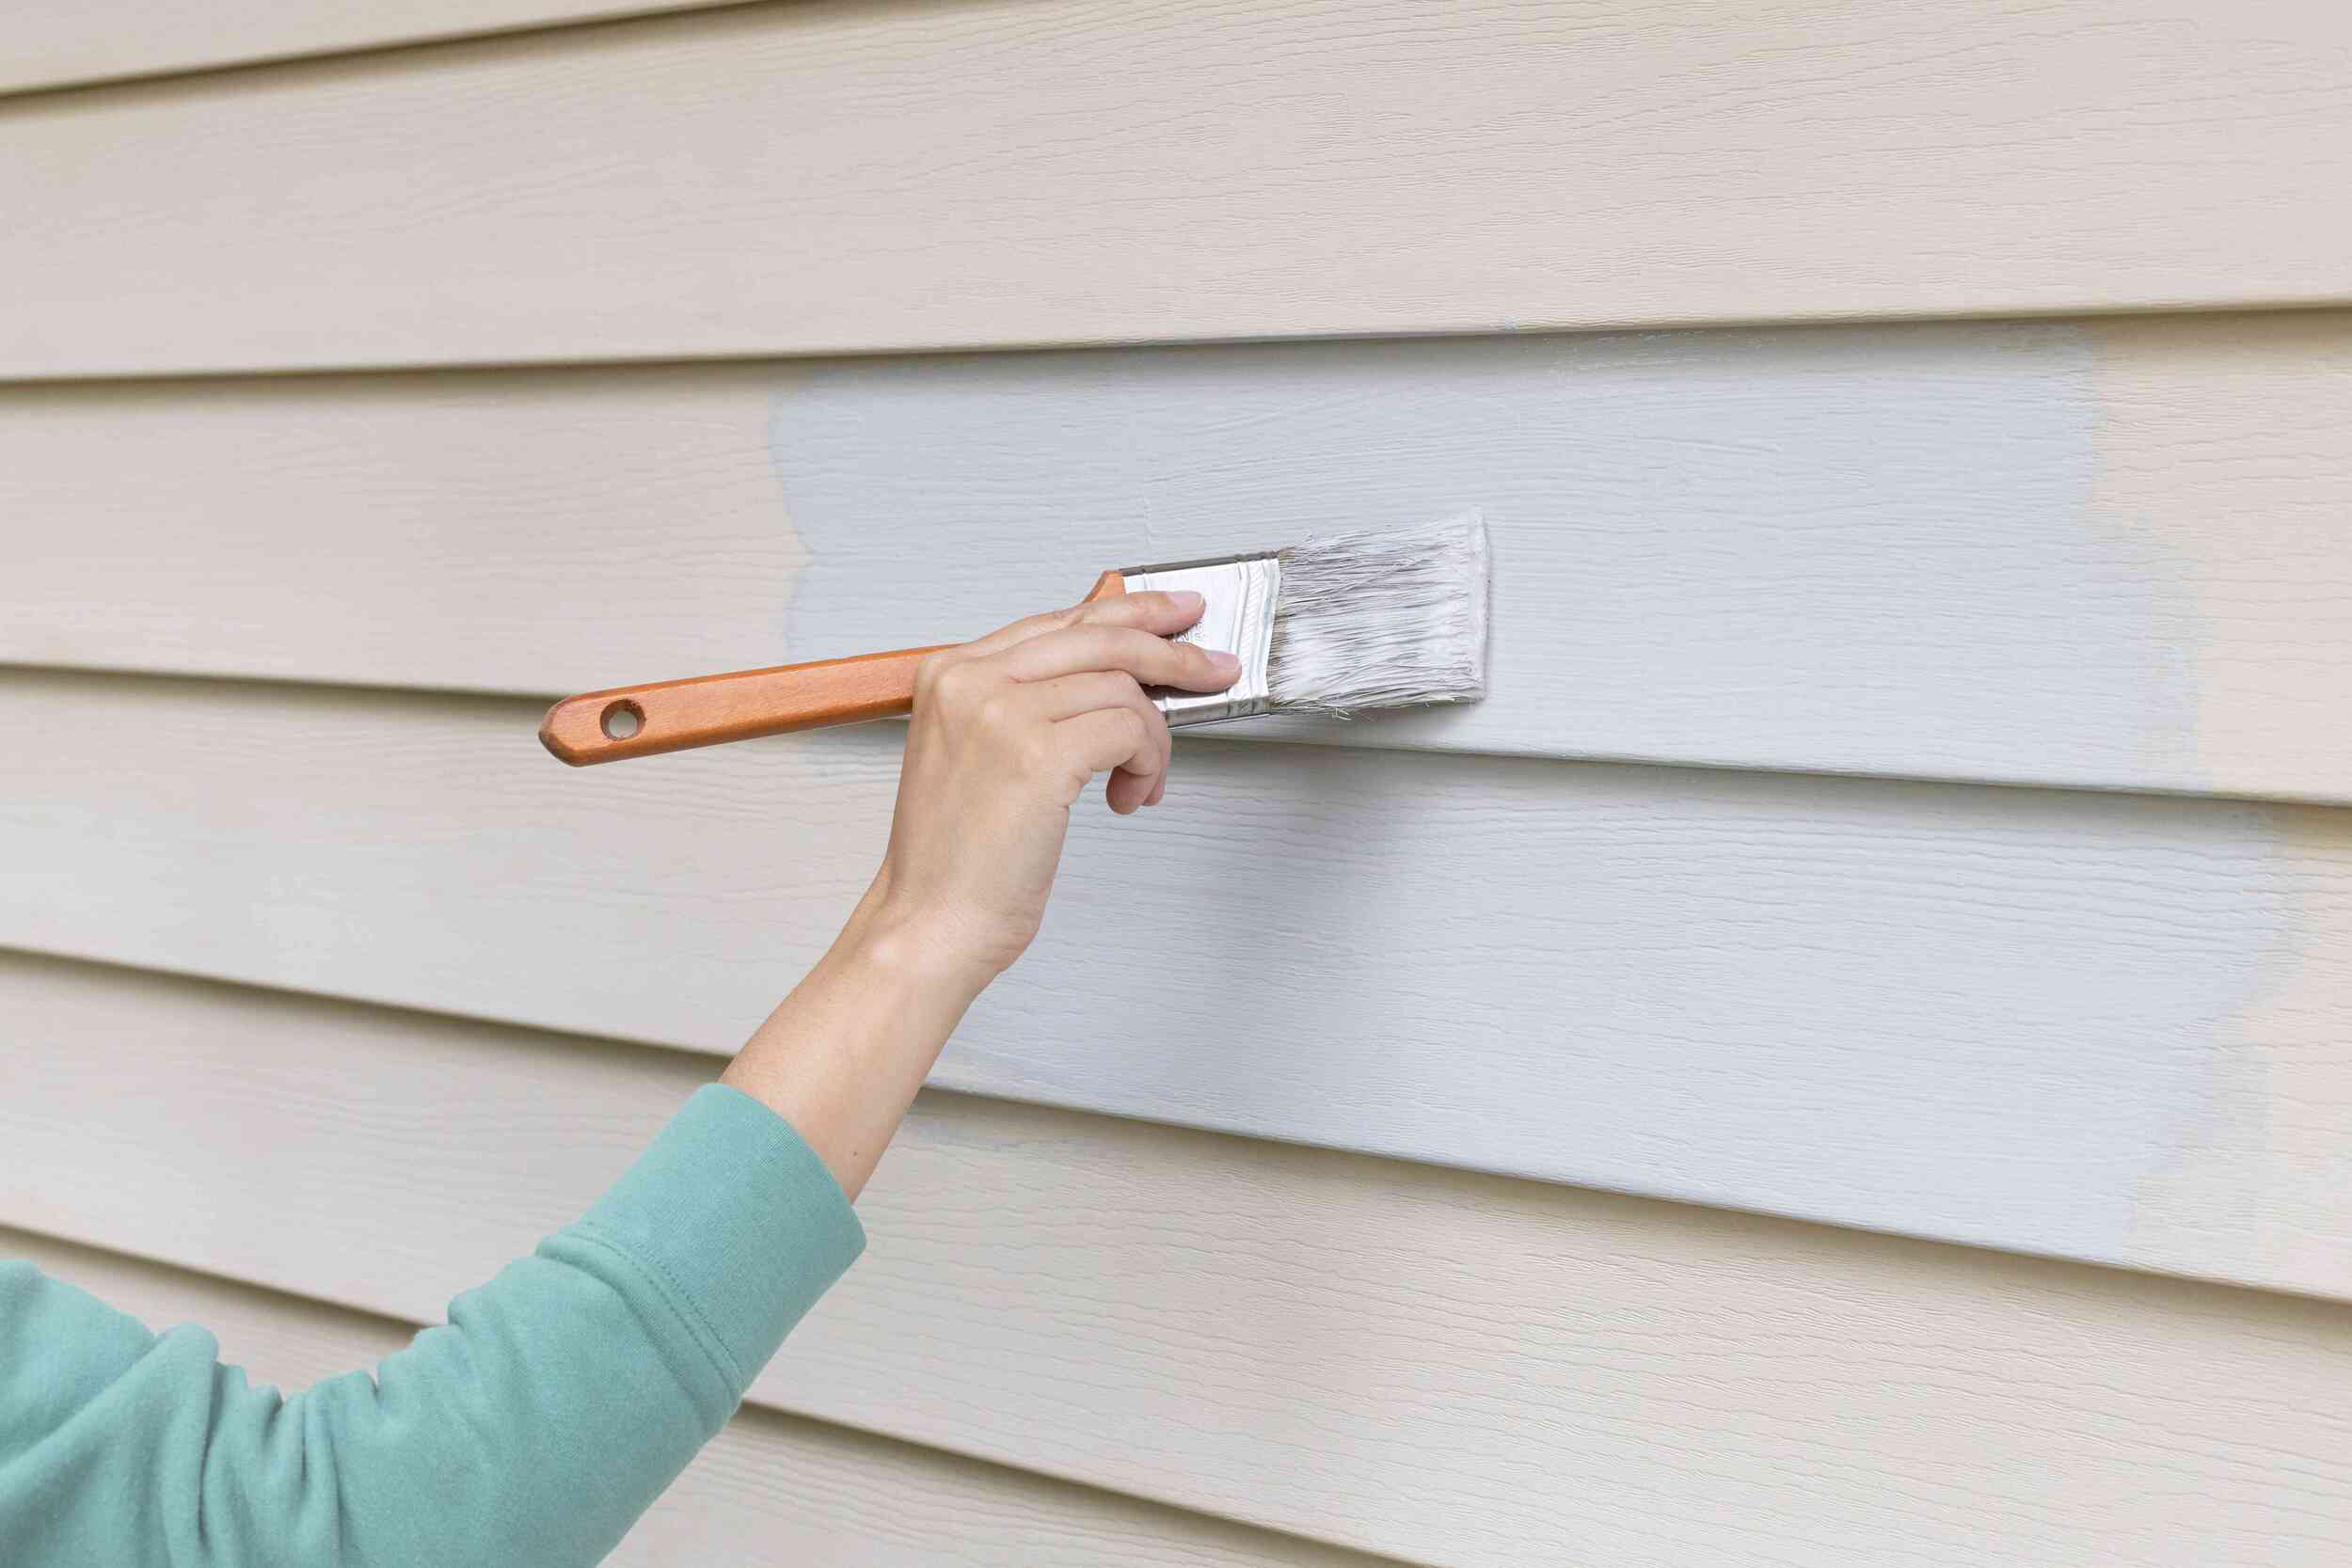
Step 7: Reinstall the siding panels
With the repairs and replacements to the exterior wall sheathing completed, it is time to reinstall the siding panels. Follow these steps to ensure a proper and secure installation:
- Starting from the corner of the wall, align the first siding panel with the top of the wall and slide it into place.
- Make sure the panel is level and plumb before securing it.
- Use nails or screws to attach the panel to the sheathing, following the manufacturer’s recommendations for spacing and placement.
- Continue installing the remaining siding panels, ensuring they overlap correctly for proper water drainage.
- Check each panel for levelness and alignment as you go along.
- If necessary, trim the last panel to fit the dimensions of the wall using a circular saw or a reciprocating saw.
- Secure the last panel in place, making sure it matches the alignment and overlap of the adjacent panels.
It is important to note that different types of siding materials may require specific installation techniques or tools. Refer to the manufacturer’s guidelines or consult with a professional if you are unsure about the proper installation method for your specific siding material.
Take your time during this step to ensure the siding panels are secure and properly aligned. Well-installed siding not only enhances the visual appeal of your home but also provides protection against the elements.
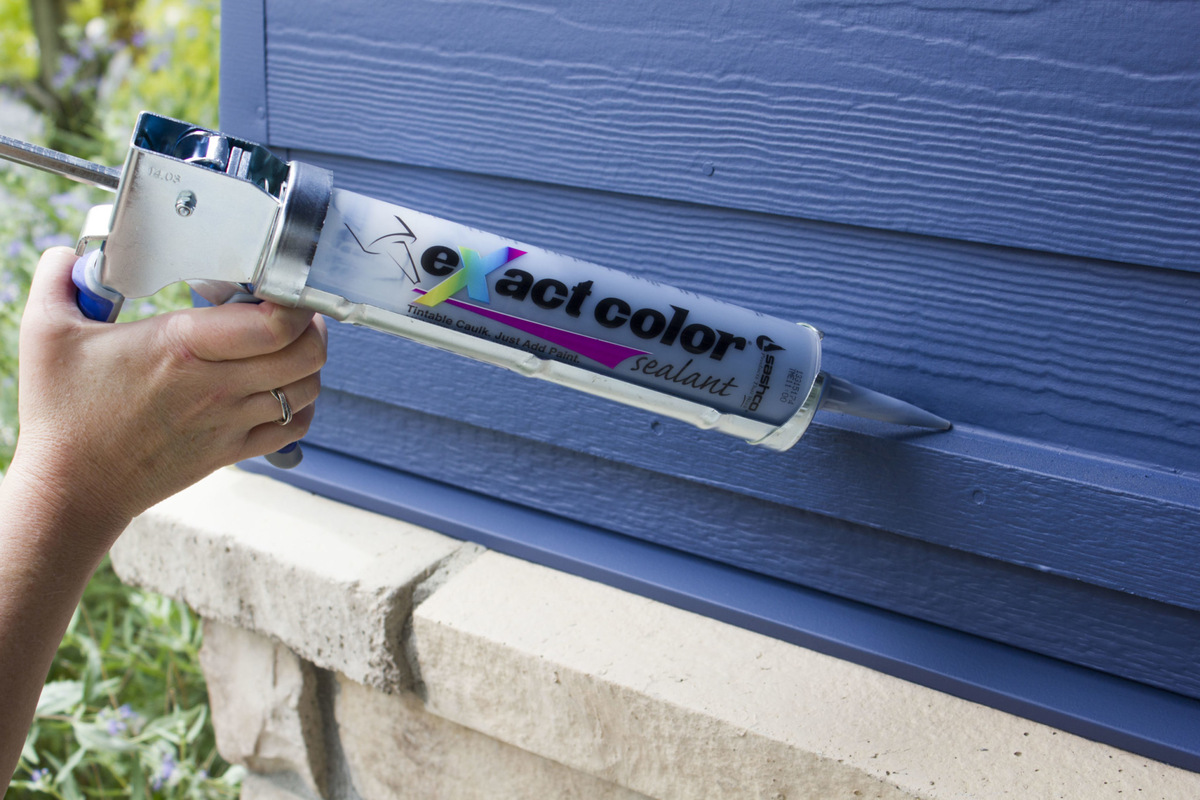
Step 8: Reattach trim and reconnect utilities
In the final step of the siding repair process, it’s time to reattach the trim and reconnect any utilities that were disconnected earlier. Follow these steps to complete the project:
- Carefully reattach the trim around the edges of the newly installed siding panels.
- Make sure the trim is aligned and securely fastened using nails or screws.
- If any trim pieces were damaged during removal, consider replacing them with new matching pieces for a seamless look.
- Next, reconnect the utilities that were previously disconnected.
- Refer to the labels and markings made earlier to ensure the proper connections.
- Follow all safety protocols and consult with a professional if you are unsure about how to reconnect any specific utility.
- Test the utilities to ensure they are functioning properly after reconnection.
Reattaching the trim and reconnecting utilities completes the siding repair process. By taking the time to properly reinstall the trim and ensure the utilities are functioning, you can restore the functionality and appearance of your home.
Inspect the entire area after completing the project to ensure everything is in working order. Address any issues or concerns promptly to avoid potential problems in the future.
Congratulations! You have successfully removed the siding, repaired the exterior wall sheathing, and reinstalled the siding panels. Your home now has a refreshed exterior and improved structural integrity.
Read more: How To Remove Mildew From Exterior Walls
Conclusion
Removing siding and repairing exterior wall sheathing can be a challenging but necessary task for homeowners. By following the step-by-step process outlined in this article, you can successfully undertake this project and restore the integrity and appearance of your home.
From gathering the necessary tools and safety equipment to inspecting and repairing the exterior wall sheathing, each step is crucial in ensuring a thorough and effective repair process. Paying attention to detail and taking the time to do the job right will result in a long-lasting and reliable repair.
Remember to exercise caution throughout the process, wearing protective gear and taking necessary safety precautions. If you encounter any difficulties or feel uncertain about any step, it is always recommended to consult a professional for guidance and assistance.
Maintaining and repairing your home’s exterior is not only essential for its longevity but also for its curb appeal and value. By taking care of your siding and exterior wall sheathing, you contribute to the overall health and aesthetics of your property.
We hope this article has provided you with valuable insights and guidance on how to remove siding and repair exterior wall sheathing. By following these steps, you can tackle this project with confidence and ensure a successful outcome.
So roll up your sleeves, gather your tools, and get ready to give your home the care it deserves!
Frequently Asked Questions about How To Remove Siding And Repair Exterior Wall Sheathing
Was this page helpful?
At Storables.com, we guarantee accurate and reliable information. Our content, validated by Expert Board Contributors, is crafted following stringent Editorial Policies. We're committed to providing you with well-researched, expert-backed insights for all your informational needs.

0 thoughts on “How To Remove Siding And Repair Exterior Wall Sheathing”