Articles
How To Remove Vinyl Tiles From Floor
Modified: December 7, 2023
Learn the step-by-step process of removing vinyl tiles from your floor with our informative articles. Get expert tips and advice to make the task easier.
(Many of the links in this article redirect to a specific reviewed product. Your purchase of these products through affiliate links helps to generate commission for Storables.com, at no extra cost. Learn more)
Introduction
Removing vinyl tiles from the floor can be a necessary task when renovating or updating your space. Whether you are replacing the tiles with a new flooring material or simply want a change, knowing how to remove vinyl tiles properly is essential to avoid any damage to the subfloor or create a messy and time-consuming process.
In this article, we will guide you through the step-by-step process of removing vinyl tiles from the floor. We will provide you with valuable tips and techniques to ensure a smooth and efficient removal process. By following these instructions, you can easily remove vinyl tiles and prepare your floor for the next steps of your renovation project.
Before we begin, please note that each floor and tile installation may have specific requirements and challenges. It is important to assess your specific situation and consult the manufacturer’s guidelines for the vinyl tiles you are removing.
Now, let’s gather the necessary tools and materials for the job!
Key Takeaways:
- Safely and efficiently remove vinyl tiles by gathering the right tools, softening the adhesive with heat, and systematically peeling back the tiles. Clean the floor thoroughly for a smooth surface ready for the next renovation step.
- Prioritize safety, patience, and attention to detail when removing vinyl tiles. Properly prepare the work area, soften the adhesive, and systematically remove the tiles to ensure a successful and damage-free process.
Read more: How To Remove Hairspray From Tile Floor
Step 1: Gather the necessary tools and materials
Before you begin the process of removing vinyl tiles from the floor, it is crucial to gather the right tools and materials. Having the proper equipment will not only make the task easier but also ensure your safety. Here are the tools and materials you will need:
- Safety equipment: It is essential to prioritize safety during the removal process. Wear protective goggles, gloves, and a dust mask to protect yourself from any potential hazards.
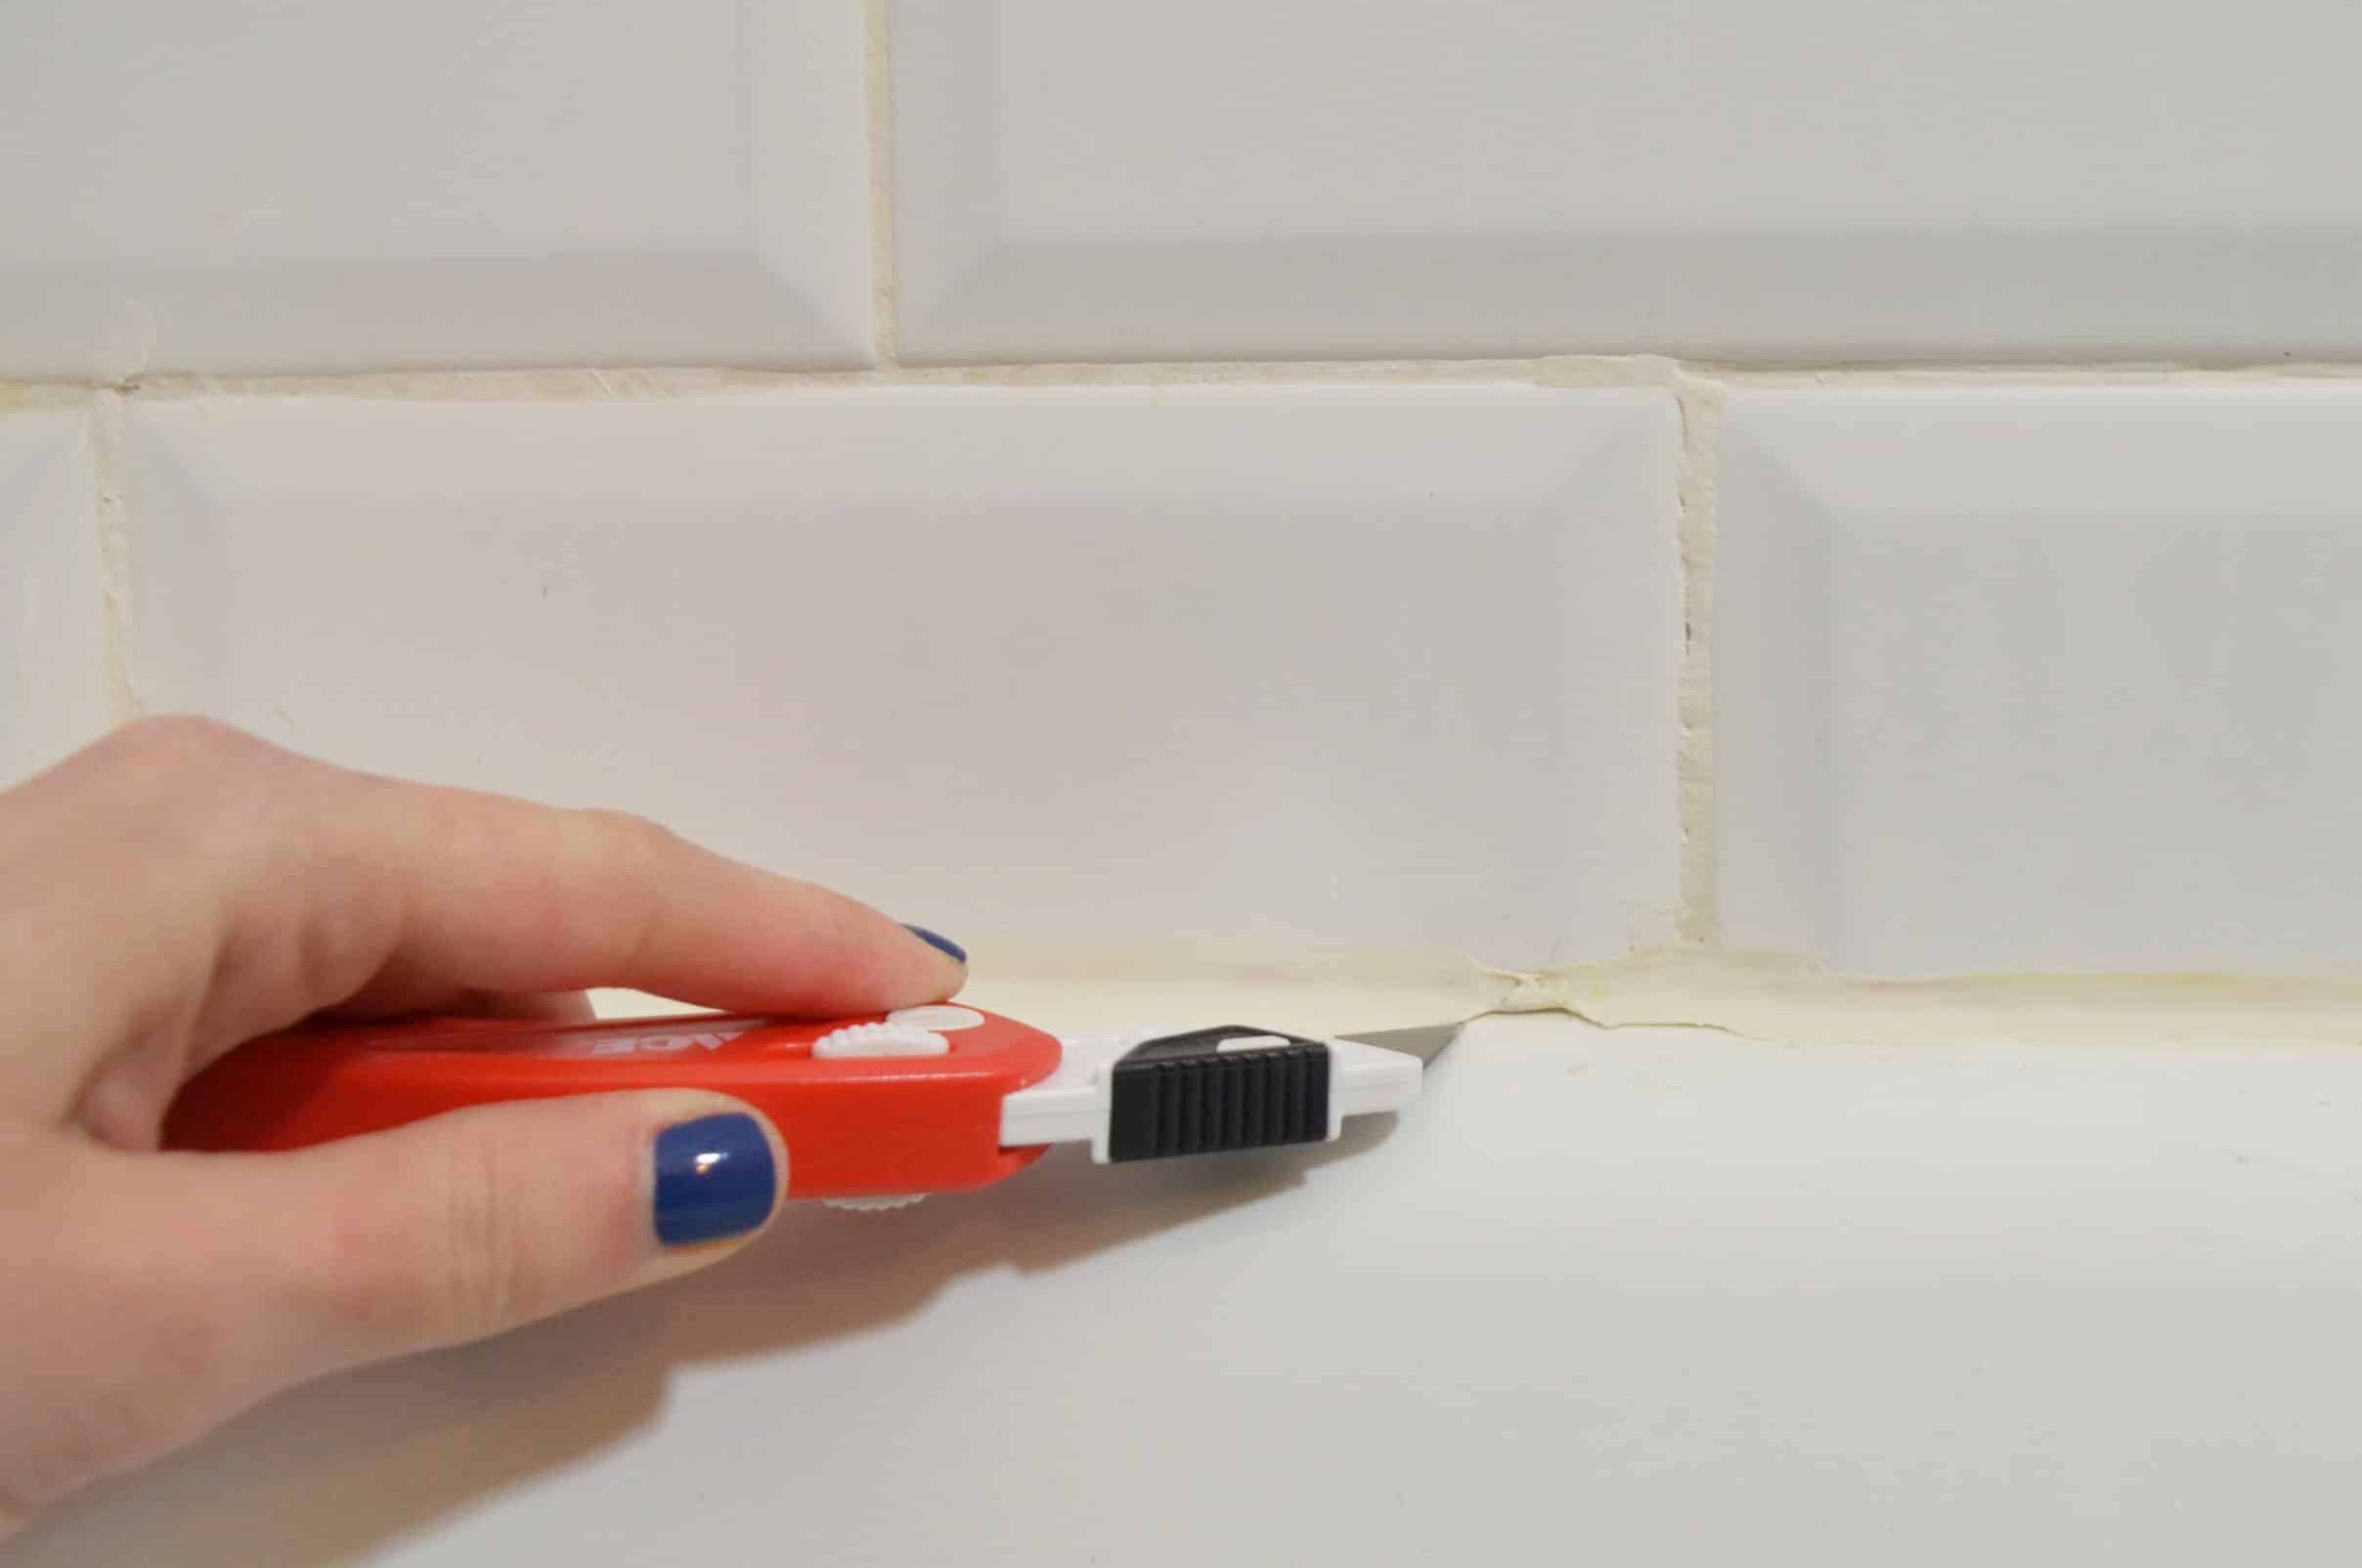
- Putty knife: A putty knife will come in handy for lifting the edges of the vinyl tiles and loosening them from the adhesive.
- Heat gun or hairdryer: Applying heat to the vinyl tiles will soften the adhesive, making it easier to remove them. Use a heat gun or a hairdryer on the highest setting to warm up the tiles.
- Adhesive remover: To dissolve the adhesive residue left behind after removing the vinyl tiles, you will need an adhesive remover. Choose a product specifically designed for removing flooring adhesives and follow the manufacturer’s instructions.
- Scraper or floor scraper: A scraper or a floor scraper will be necessary to scrape off any remaining adhesive residue from the floor surface. Opt for a scraper with a sharp edge that can efficiently remove the adhesive without causing damage to the subfloor.
Make sure you have all these tools and materials ready before you begin the tile removal process. This will save you time and ensure a more streamlined and efficient operation.
Step 2: Prepare the work area
Before you start removing the vinyl tiles, it’s important to properly prepare the work area. This will help protect your furniture and surrounding flooring, as well as create a safe and efficient environment for tile removal. Follow these steps to prepare the work area:
- Clear the room of furniture and obstacles: Remove any furniture, appliances, or other items from the room. This will give you ample space to work and prevent any damage to your belongings during the removal process. Be sure to store these items in a safe place away from the work area.
- Lay down protective covering on surrounding flooring: Vinyl tile removal can generate dust and debris, so it’s crucial to protect adjacent flooring from any potential damage. Lay down a drop cloth or heavy-duty plastic covering over the surrounding flooring. Secure it in place with masking tape or an adhesive tape to ensure it stays in place during the removal process.
By clearing the room of furniture and obstacles and protecting the surrounding flooring, you’ll create a clean and organized work area. This will not only ensure the safety of your belongings but also make it easier for you to navigate the space and carry out the tile removal process effectively.
Step 3: Soften the adhesive
Now that you have prepared the work area, it’s time to begin softening the adhesive underneath the vinyl tiles. This step will loosen the tiles and make them easier to remove. Follow these steps to soften the adhesive:
- Heat the vinyl tiles with a heat gun or hairdryer: Use a heat gun or a hairdryer on the highest setting to apply heat to the vinyl tiles. Hold the heat source a few inches above the tile and move it back and forth to evenly distribute the heat.
- Apply heat in sections and work in small areas: It’s best to work in small sections of the floor rather than attempting to heat the entire surface at once. This will allow you to focus on one area at a time and prevent the tiles from cooling down before you have a chance to remove them.
- Be cautious not to overheat the tiles: Pay close attention to the tiles as you apply heat. The goal is to soften the adhesive, not to burn or damage the vinyl. Avoid overheating the tiles by constantly monitoring the temperature and adjusting the distance between the heat source and the tiles as needed.
By heating the vinyl tiles, you will loosen the adhesive and make it easier to lift and remove them. Take your time and work patiently, ensuring that each section of tiles is adequately heated before moving on to the next step.
Use a heat gun or hairdryer to soften the adhesive underneath the vinyl tiles. Then, use a putty knife to gently pry up the tiles, working from the edges towards the center. Be careful not to damage the subfloor.
Step 4: Remove the vinyl tiles
With the adhesive softened, it’s time to start removing the vinyl tiles. Follow these steps to ensure a smooth and efficient removal process:
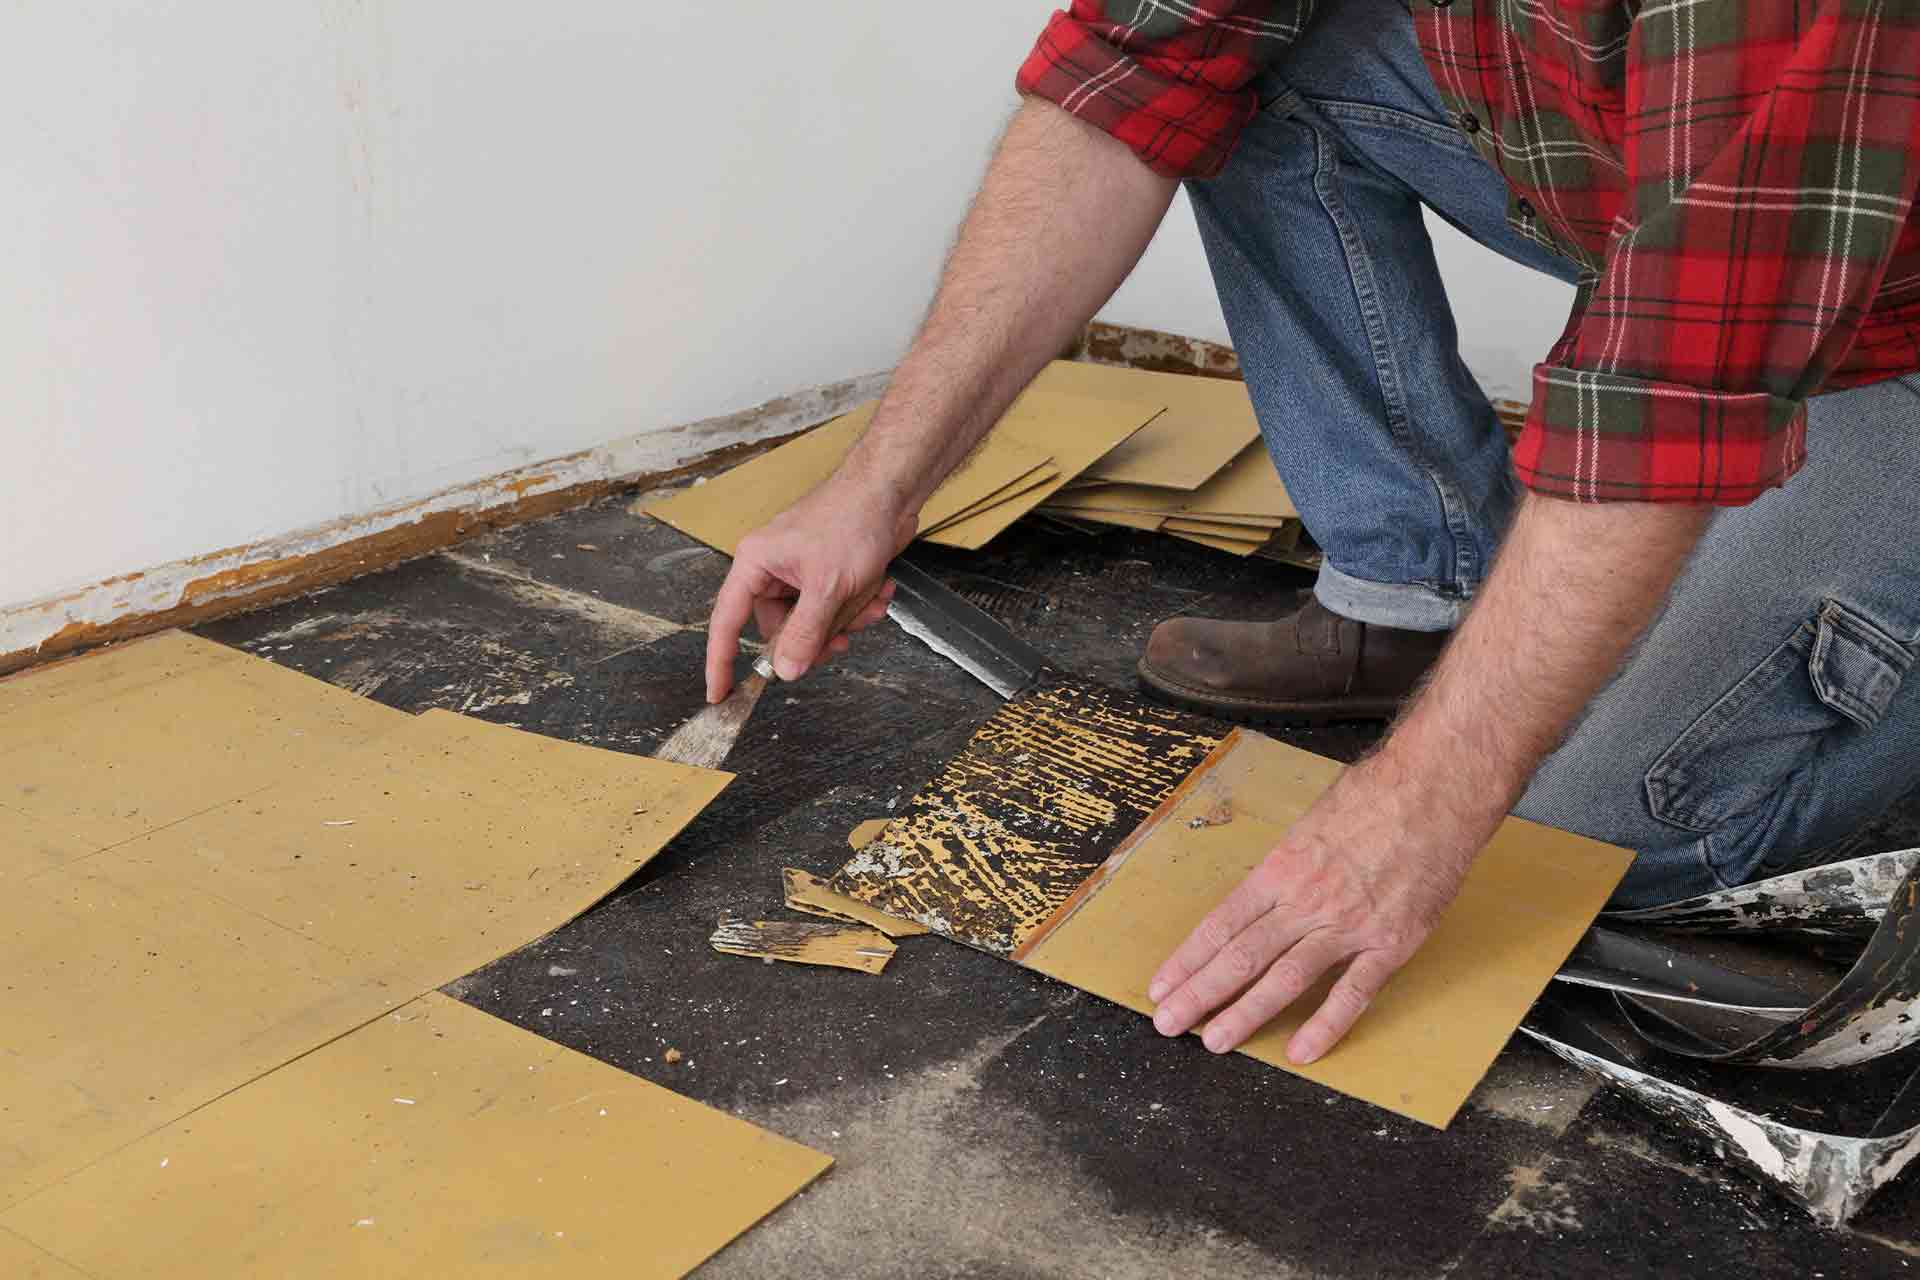
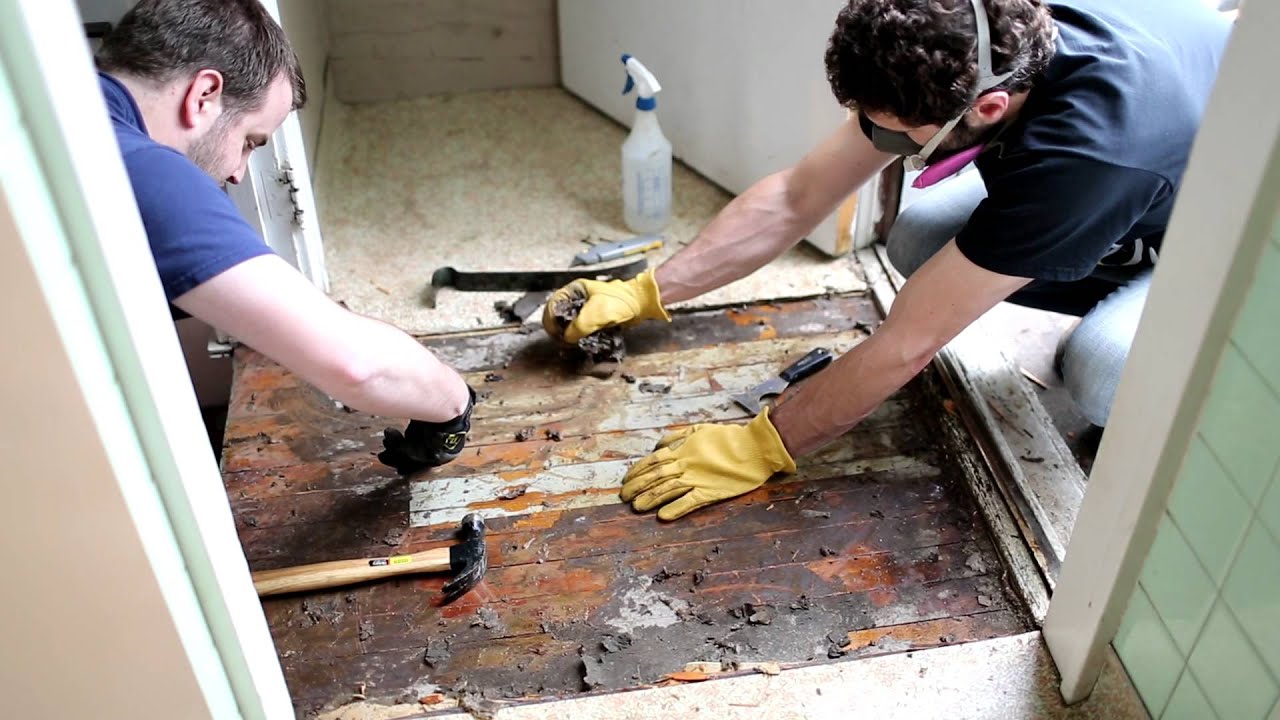
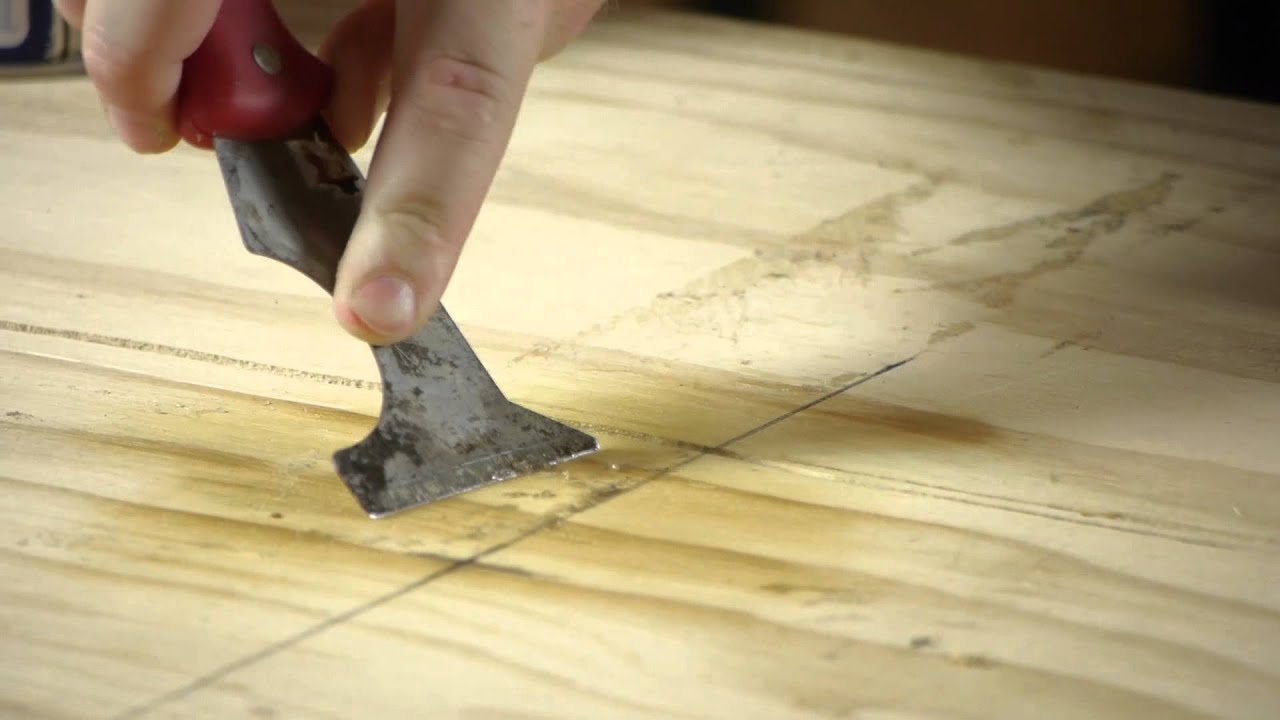
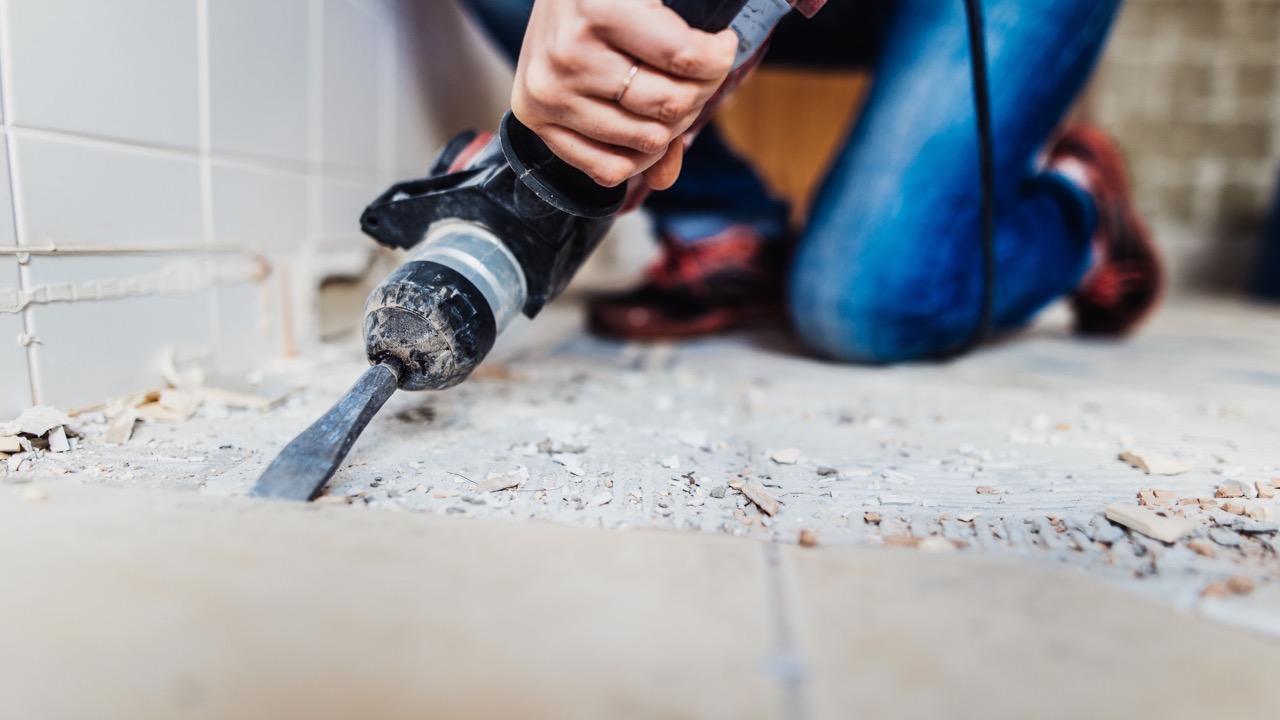
- Use a putty knife to lift the edge of a tile: Take a putty knife and carefully insert it under the edge of a vinyl tile. Gently pry up the tile, using the knife as leverage to lift it from the floor.
- Slowly peel back the tile while applying heat to the adhesive underneath: As you lift the tile, continue applying heat to the adhesive underneath using the heat gun or hairdryer. The heat will help further loosen the adhesive, making it easier to remove the tile.
- Continue removing tiles, working in a systematic pattern: Once you have successfully removed the first tile, move on to the next one. Repeat the process by lifting the edge of the tile with the putty knife, peeling it back slowly while applying heat to the adhesive. Work your way across the floor in a systematic pattern, removing one tile at a time.
It’s important to work patiently and avoid rushing the tile removal process. Take your time to ensure that each tile is fully lifted before moving on to the next one. Working in a systematic pattern will help you stay organized and prevent missed areas or uneven removal.
If you encounter stubborn tiles that are difficult to remove, you may need to apply additional heat and gently pry them up with the putty knife. Avoid using excessive force, as it can damage the subfloor underneath.
By following these steps, you will be able to remove the vinyl tiles with ease and precision, preparing the floor for the next stage of your renovation project.
Read more: How To Remove Tile From Concrete Floor
Step 5: Remove adhesive residue
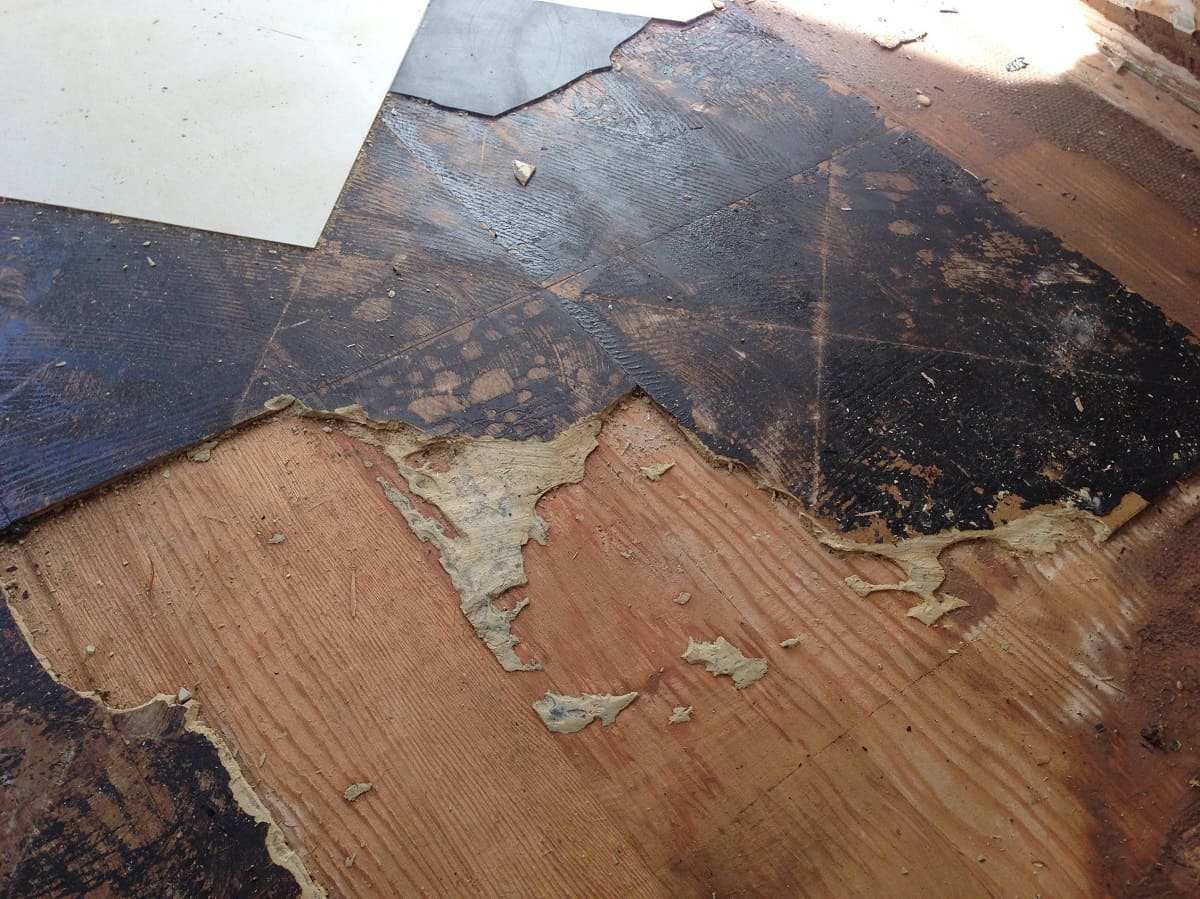
After removing the vinyl tiles, you may be left with adhesive residue on the floor. It’s important to remove this residue to ensure a clean and smooth surface for any further flooring installation. Follow these steps to remove adhesive residue effectively:
- Apply adhesive remover to any remaining adhesive: Choose an adhesive remover that is suitable for the type of adhesive used for your vinyl tiles. Apply the remover directly to the adhesive residue, ensuring that it covers the area thoroughly.
- Let the remover sit for a few minutes: Allow the adhesive remover to penetrate the residue and soften it. The amount of time will vary depending on the specific adhesive remover, so be sure to follow the manufacturer’s instructions for the recommended duration.
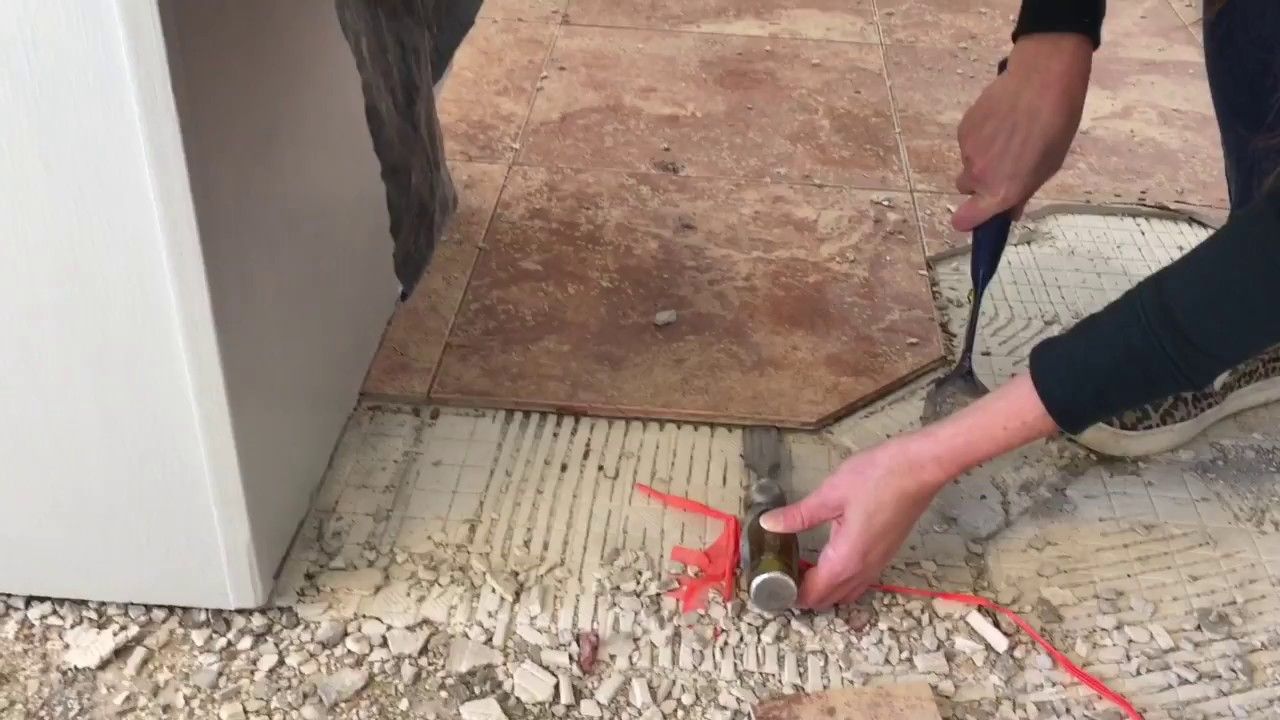
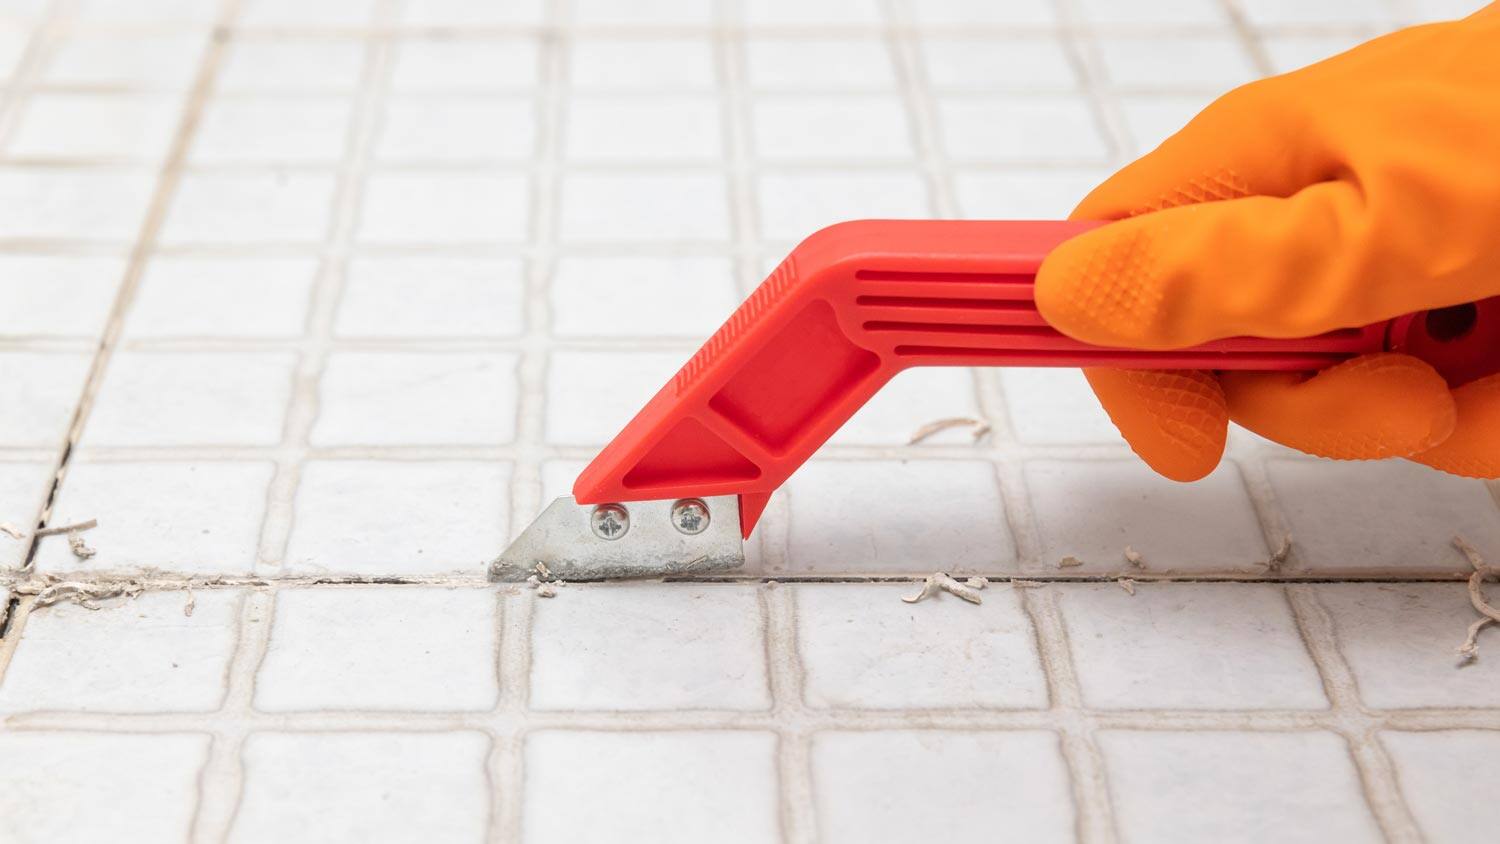
- Use a scraper to scrape off the softened residue: Once the adhesive residue has been softened by the remover, take a scraper or a floor scraper and gently scrape off the residue. Start at one edge of the residue and work your way across, applying moderate pressure to remove the softened adhesive.
Be careful not to apply excessive force while scraping, as it can damage the subfloor. Take your time and repeat the process if necessary to remove all traces of adhesive residue. If the residue is particularly stubborn, you may need to apply more adhesive remover and let it sit for a longer period before scraping again.
Remember to properly dispose of the adhesive residue in accordance with local regulations. Adhesive removers may contain chemicals that require special handling and disposal.
By following these steps, you can effectively remove the adhesive residue left behind after removing the vinyl tiles, leaving your floor clean and ready for the next steps of your renovation project.
Step 6: Clean the floor
Once you have removed the vinyl tiles and adhesive residue, it’s important to clean the floor to ensure a smooth and pristine surface. Follow these steps to clean the floor effectively:
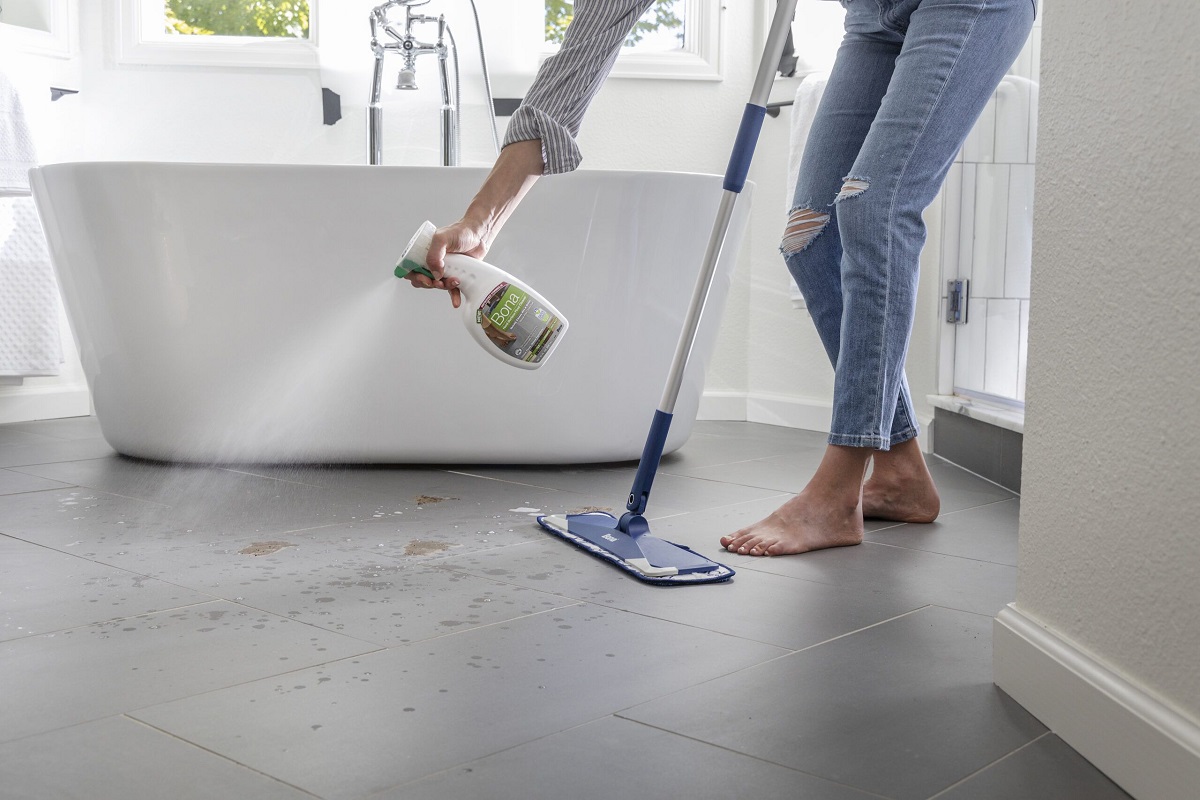
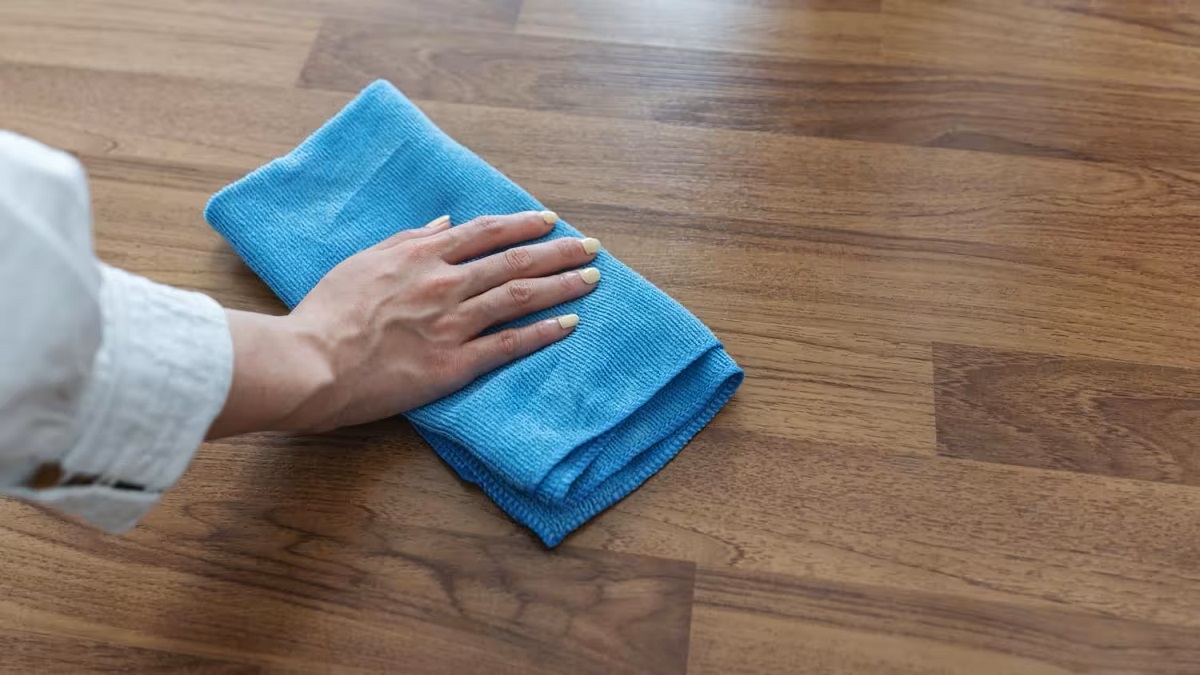
- Wipe the floor with a damp cloth or sponge: Take a damp cloth or sponge and wipe the entire floor surface. This will help remove any remaining dust, debris, or adhesive residue that may have been loosened during the removal process.
- Remove any excess adhesive remover: If you used an adhesive remover during the previous step, make sure to thoroughly remove any residue of the remover from the floor. Use a clean cloth or sponge dampened with water to wipe away any excess product.
- Allow the floor to dry completely: After cleaning, it’s essential to allow the floor to dry fully. This may take several hours, depending on the humidity level in your environment. Make sure to keep the room well-ventilated during the drying process.
By cleaning the floor, you will eliminate any remaining dirt, adhesive residue, or cleaning products, ensuring a clean and smooth surface for any future flooring installation. It’s crucial to start with a clean and dry floor to achieve optimal results.
Once the floor is completely dry, you can proceed with the next steps of your renovation project, whether it involves installing new flooring or preparing the surface for another type of treatment.
Remember to dispose of any used cleaning materials, such as cloths or sponges, properly and in accordance with local regulations.
By following these steps and thoroughly cleaning the floor, you will be ready to move forward with your flooring project and enjoy a fresh and updated space.
Conclusion
Removing vinyl tiles from the floor can be a daunting task, but by following the step-by-step process outlined in this article, you can effectively remove the tiles and prepare your floor for a new look. It’s important to remember a few key points throughout this process.
First and foremost, ensure your safety by following proper safety precautions. Wear protective goggles, gloves, and a dust mask to protect yourself from any potential hazards. Additionally, always read and adhere to the manufacturer’s instructions when using adhesive removers and heat tools. Each product may have specific guidelines and safety recommendations that you need to be aware of.
Take your time during each step of the process. Properly preparing the work area, softening the adhesive, removing the tiles, and cleaning the floor all require patience and attention to detail. Rushing through the process can lead to mistakes and potential damage to the subfloor.
By gathering the necessary tools and materials, including safety equipment, putty knife, heat gun or hairdryer, adhesive remover, and scraper, you’ll have everything you need to facilitate the tile removal process.
Remember to systematically remove the tiles, working in small sections and applying heat to soften the adhesive. Use a putty knife to lift the tiles and peel them back slowly, while continuously applying heat to the adhesive. Once the tiles are removed, use adhesive remover to dissolve any remaining residue and scrape it off with a scraper or floor scraper.
Finally, don’t forget to clean the floor after removing the tiles. Wiping with a damp cloth or sponge will remove any dust and debris, and ensure the surface is clean and ready for the next step of your renovation project. Allow the floor to dry completely before proceeding further.
In summary, by following these guidelines and adhering to safety precautions and manufacturer instructions, you can successfully remove vinyl tiles from your floor and prepare it for a new flooring installation. Good luck with your project and enjoy your updated space!
Note: It is important to follow proper safety precautions and manufacturer instructions when working with adhesive remover and heat tools. Always read and adhere to guidelines to ensure your safety and the best possible results.
Frequently Asked Questions about How To Remove Vinyl Tiles From Floor
Was this page helpful?
At Storables.com, we guarantee accurate and reliable information. Our content, validated by Expert Board Contributors, is crafted following stringent Editorial Policies. We're committed to providing you with well-researched, expert-backed insights for all your informational needs.


0 thoughts on “How To Remove Vinyl Tiles From Floor”