Articles
How To Fix A Leaking Shower Faucet
Modified: December 7, 2023
Learn how to fix a leaking shower faucet with our step-by-step articles. Prevent water wastage and save money on plumbing repairs.
(Many of the links in this article redirect to a specific reviewed product. Your purchase of these products through affiliate links helps to generate commission for Storables.com, at no extra cost. Learn more)
Introduction
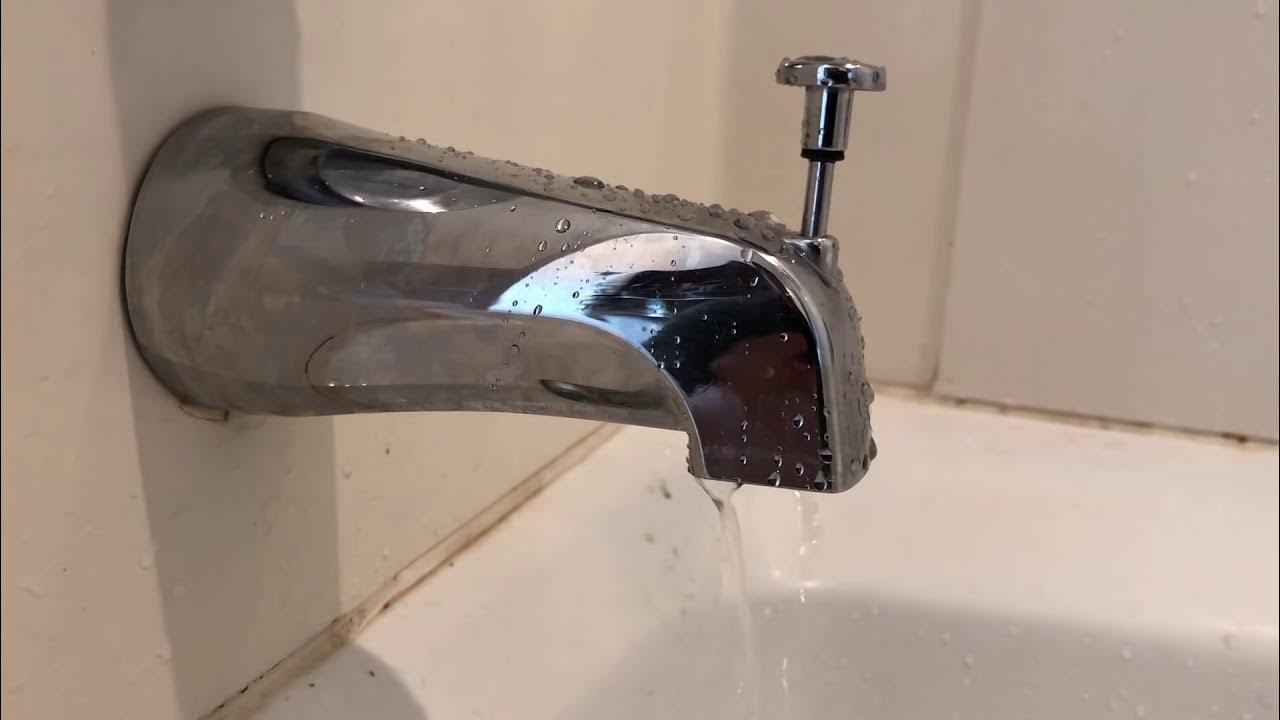
A leaking shower faucet can be a major inconvenience and a waste of water. Not only does it create a mess, but it can also drive up your water bill. Fixing a leaking shower faucet may seem daunting, but with a little knowledge and the right tools, you can easily tackle this issue on your own.
In this article, we will guide you through the step-by-step process of fixing a leaking shower faucet. We will cover everything from gathering the necessary tools and materials to testing for leaks after the repair is complete.
By following these instructions, you can save money, water, and the hassle of calling a plumber. So, let’s get started!
Key Takeaways:
- Save money and water by fixing a leaking shower faucet yourself. Gather tools, inspect, and replace faulty parts to enjoy a hassle-free, DIY repair experience.
- Ensure a thorough repair by testing for leaks and seeking professional help if needed. Enjoy a fully functional shower faucet and the satisfaction of a job well done!
Read more: Bath Faucet Leaking When Shower Is On
Step 1: Gather the necessary tools and materials
Before you begin repairing your leaking shower faucet, it’s important to gather all the necessary tools and materials. This way, you’ll have everything you need conveniently on hand during the repair process. Here’s a list of the items you’ll need:
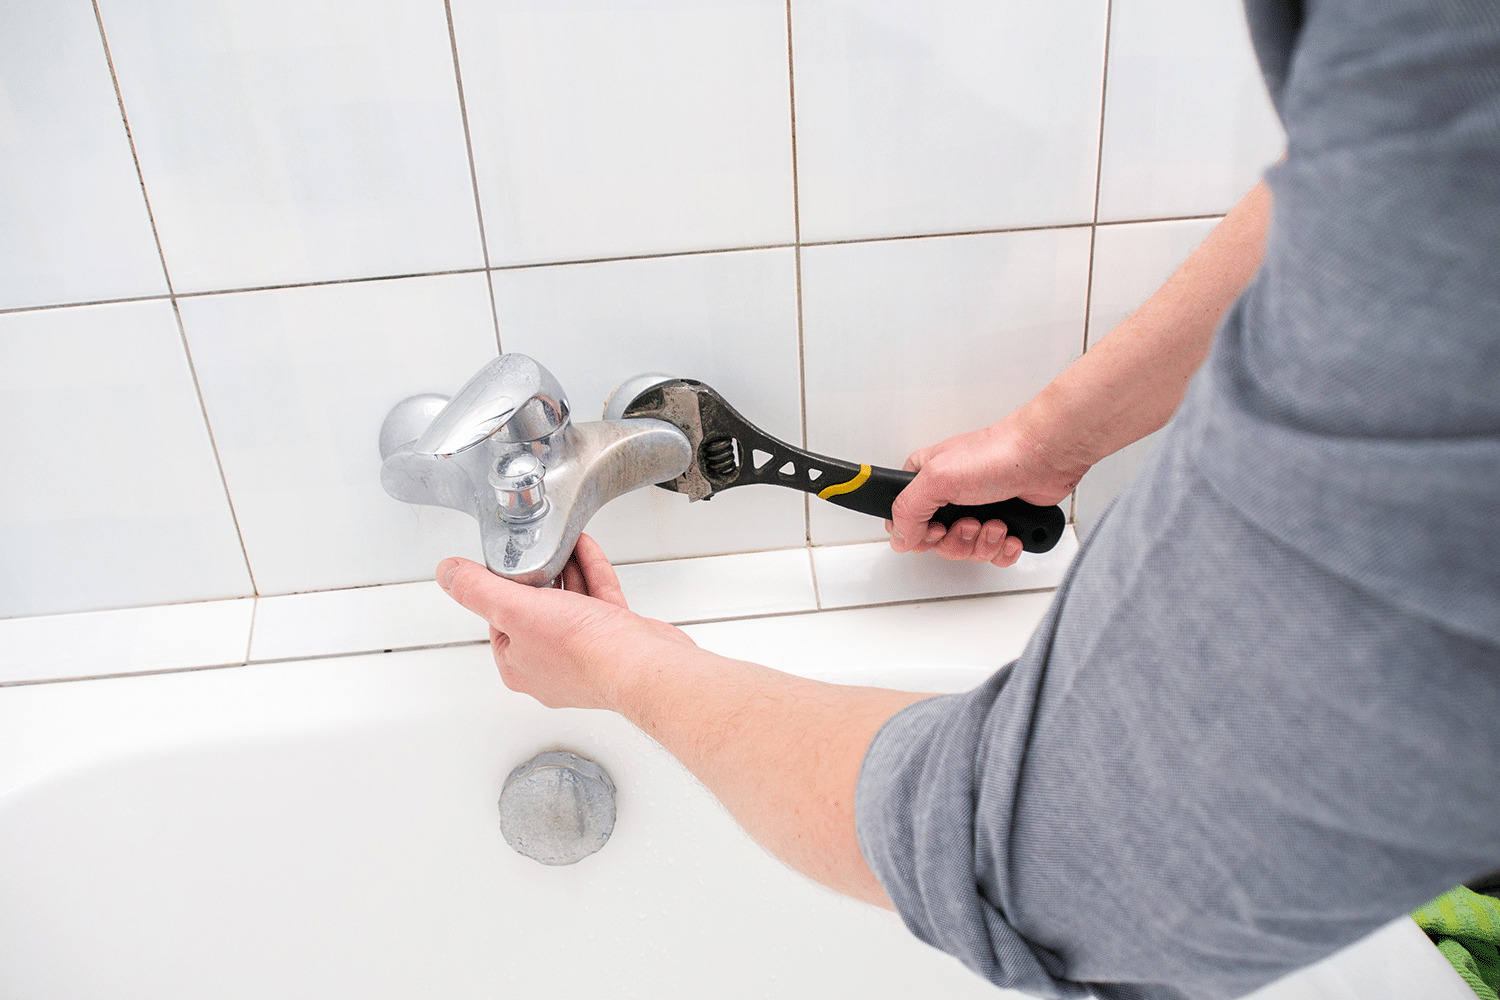
- Adjustable wrench
- Screwdriver (Phillips or flathead, depending on your faucet)
- Replacement cartridge or valve stem (specific to your shower faucet model)
- Plumber’s tape
- Towel or rag
- Bucket or container (to catch any water)
Make sure to check the manufacturer’s guide or consult a professional if you’re unsure about the exact replacement parts you’ll need. This will ensure that you get the right components for your specific shower faucet model.
Once you have gathered all the necessary tools and materials, you’re ready to move on to the next step.
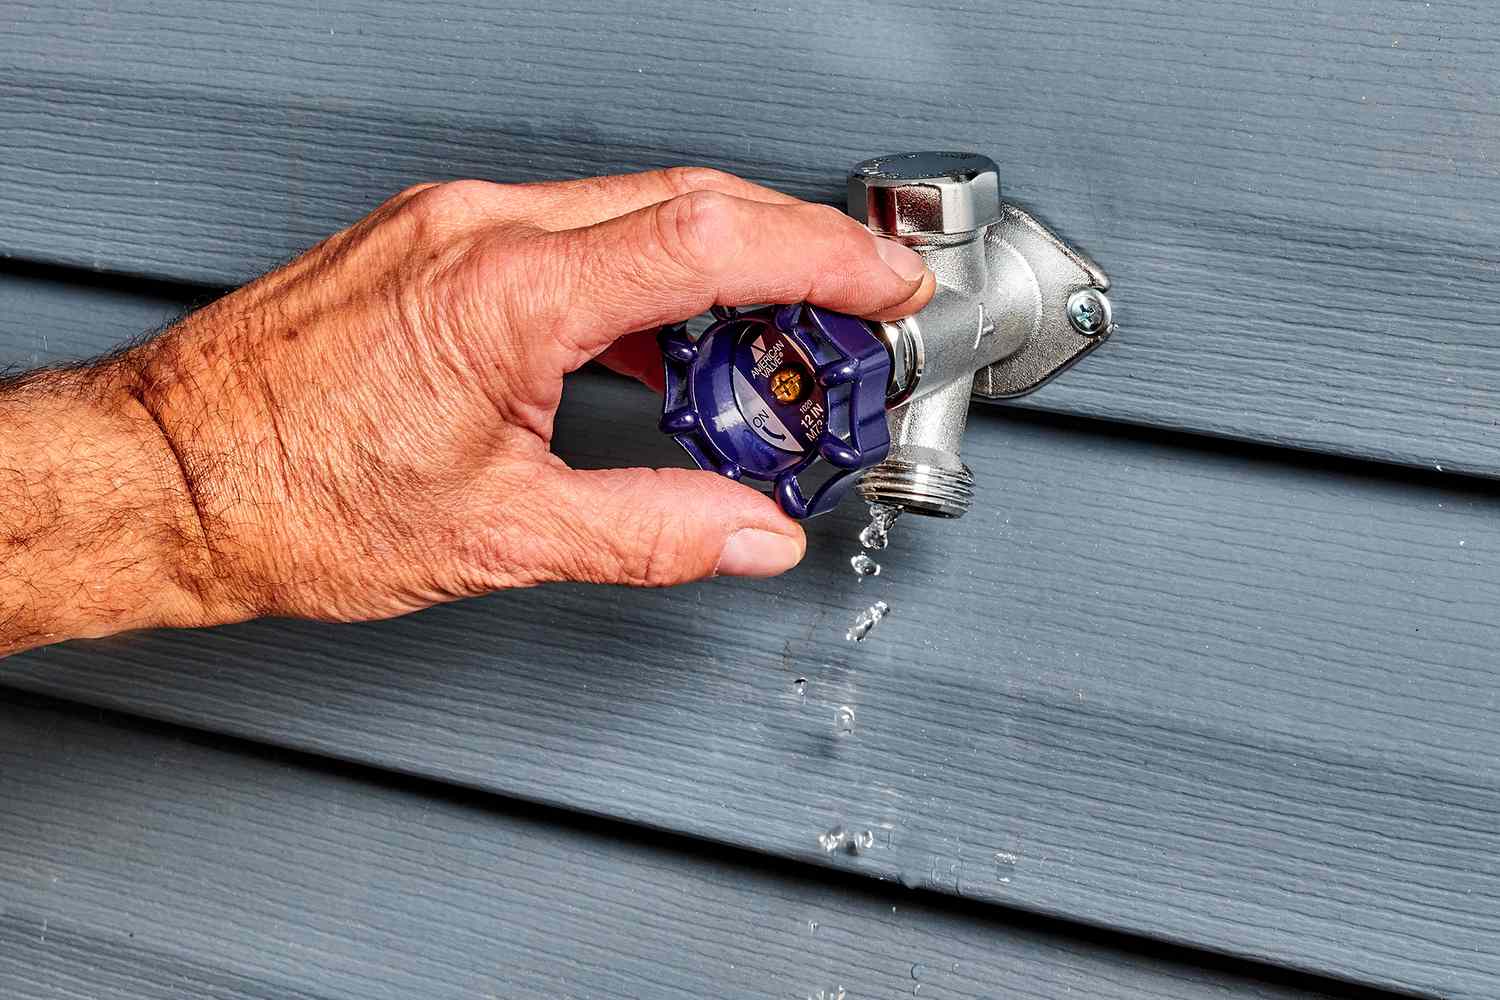
Step 2: Turn off the water supply
Before you begin disassembling your shower faucet, you need to turn off the water supply to prevent any accidents or further water damage. Follow these steps to turn off the water supply:
- Locate the main water shut-off valve for your house. This valve is usually located near the water meter or in the basement.
- Turn the valve clockwise (to the right) to shut off the water supply. You may need to use a wrench to help you turn the valve if it’s tight.
- Once the water supply is shut off, turn on a faucet in your house to release any remaining water in the pipes. This will help relieve any pressure in the system.
After turning off the water supply and releasing any remaining water, you can proceed to the next step of fixing your leaking shower faucet.
Remember, safety is important when working with plumbing. Always be cautious, and if you’re unsure about any steps or procedures, it’s best to consult a professional plumber.
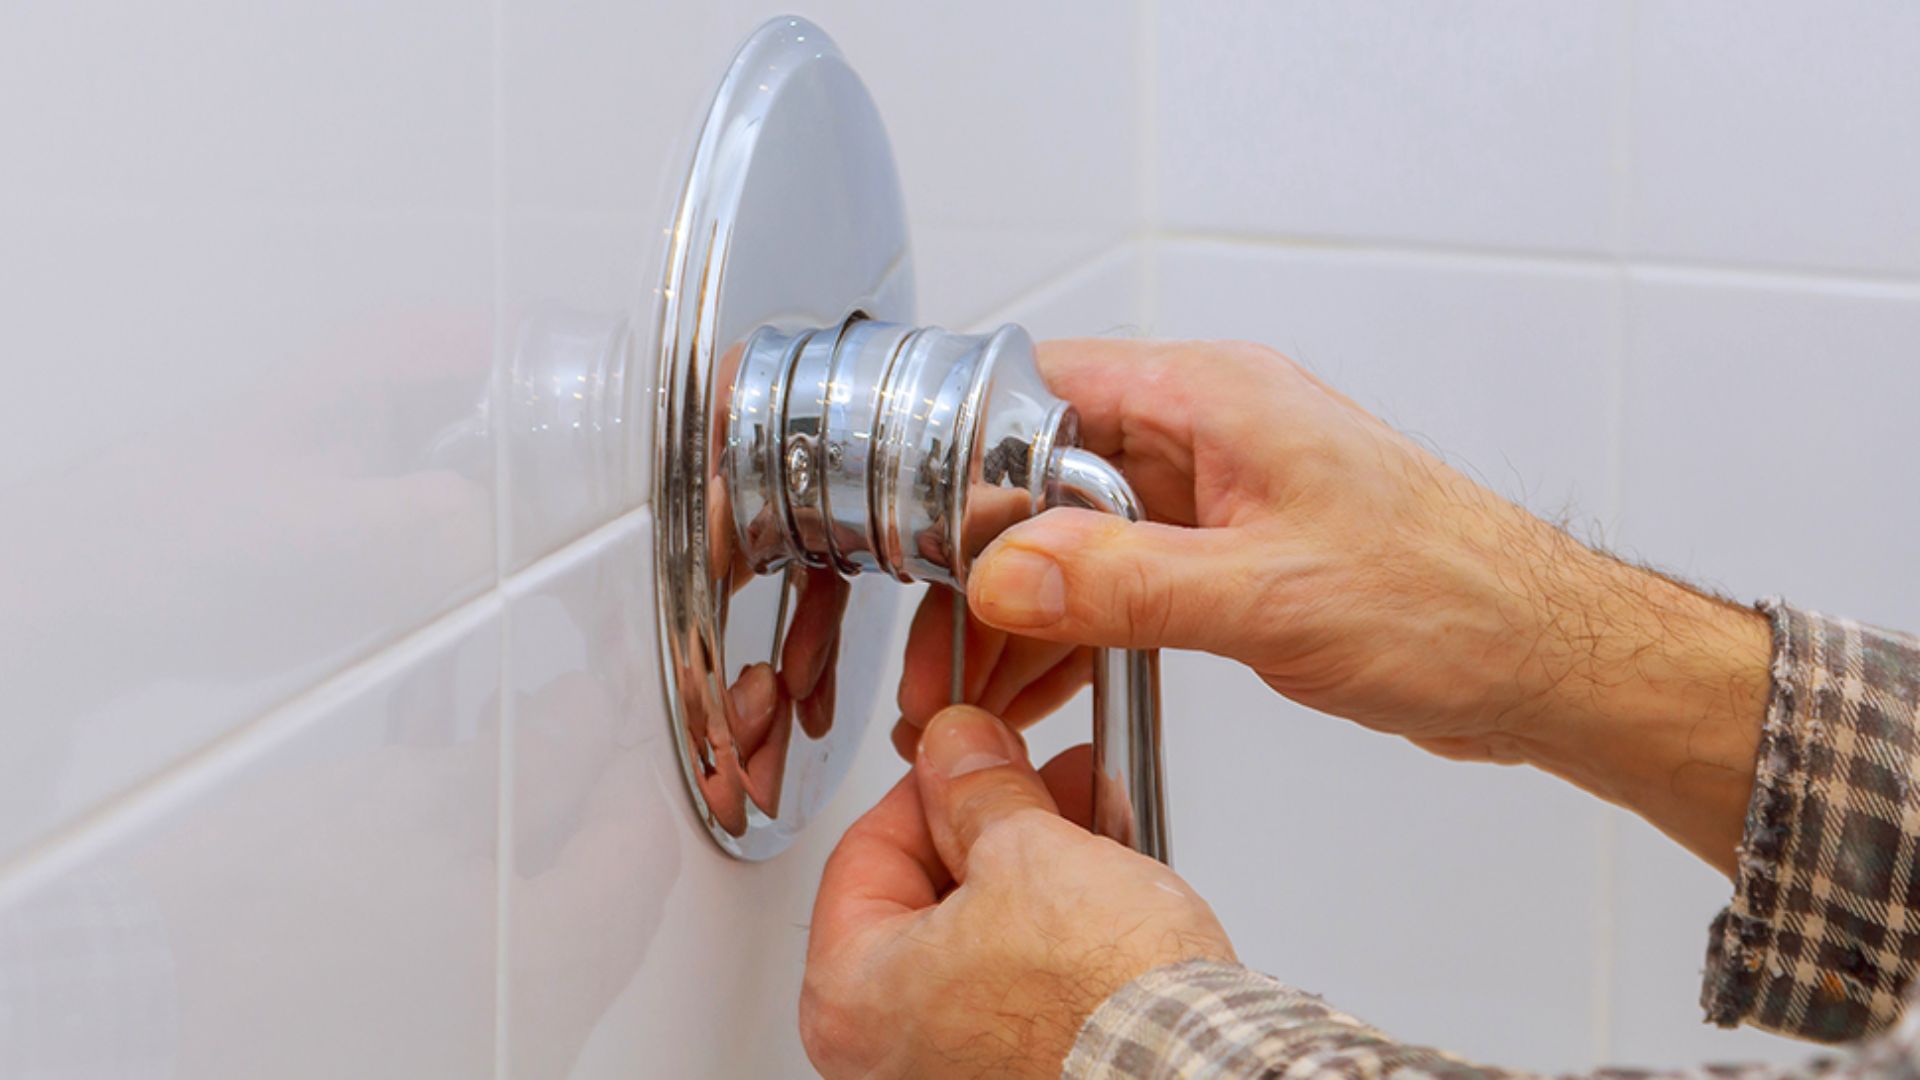
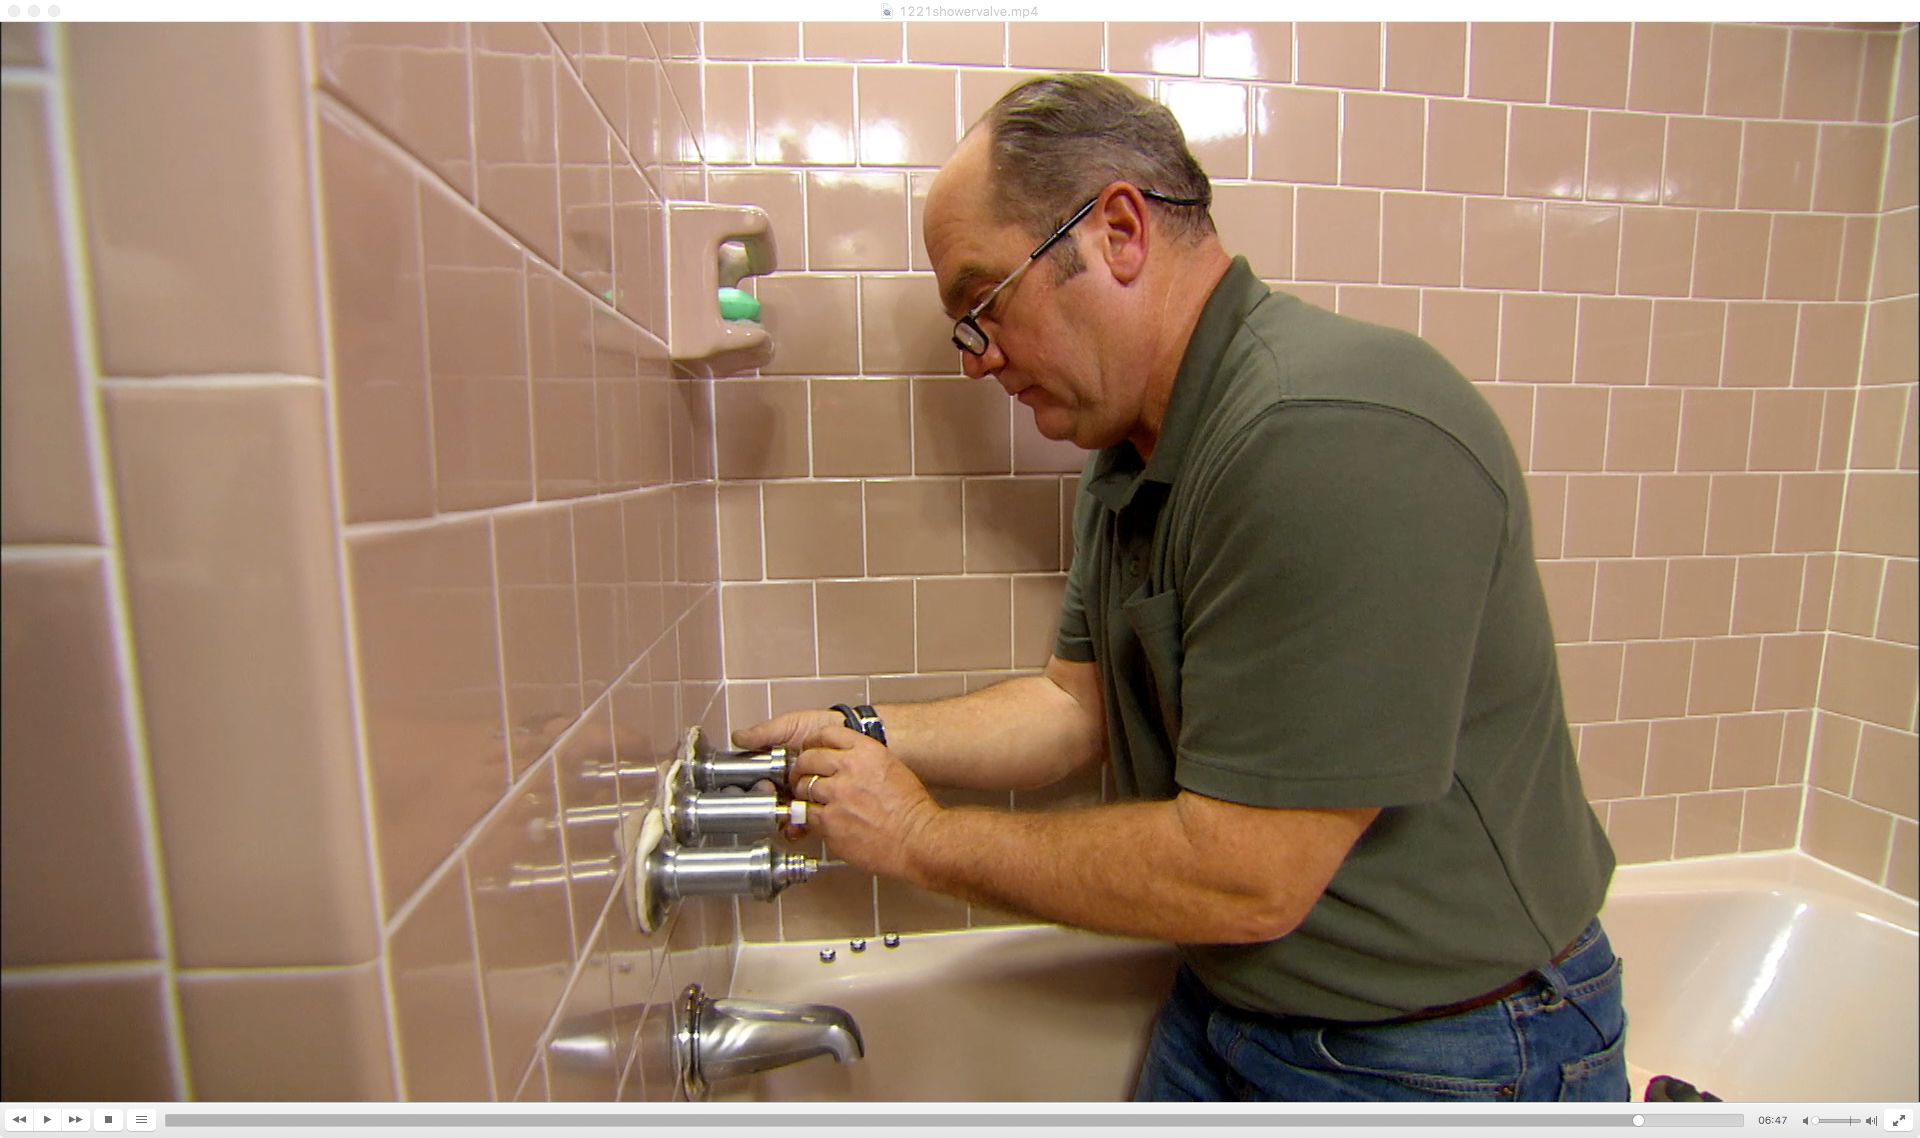
Step 3: Remove the faucet handle
With the water supply turned off, it’s time to remove the faucet handle. Follow these steps to remove the handle:
- Locate the screw that secures the faucet handle to the valve stem or cartridge. It’s usually located under a decorative cap in the center of the handle.
- Use a screwdriver (either Phillips or flathead, depending on your faucet) to remove the screw. It may be tight, so apply steady pressure while turning the screw counterclockwise (to the left) until it loosens.
- Once the screw is removed, gently pull the faucet handle away from the wall or shower wall. If the handle is stuck, you may need to use a wrench or pliers to loosen it.
- Continue removing the handle until it’s completely detached.
Be careful not to apply excessive force when removing the handle to avoid damaging it or any surrounding fixtures. If you encounter any resistance, stop and reassess the situation before proceeding.
Once the faucet handle is removed, you’re ready to move on to the next step of inspecting the cartridge or valve stem.
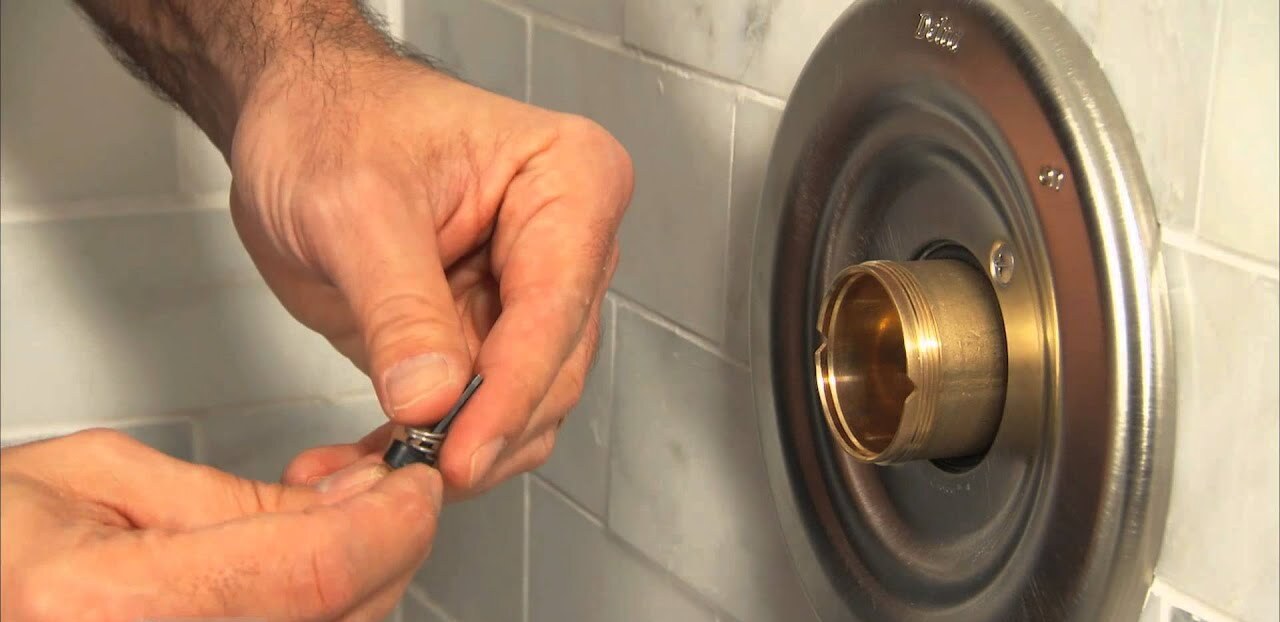
Step 4: Inspect the cartridge or valve stem
With the faucet handle removed, you can now inspect the cartridge or valve stem to identify the cause of the leak. The cartridge or valve stem is responsible for controlling the flow of water in your shower faucet.
Here’s what you need to do:
- Examine the cartridge or valve stem for any visible signs of damage, such as cracks or mineral buildup. This can cause leaks.
- Check the rubber O-rings and seals on the cartridge or valve stem. If they are worn out or damaged, they may need to be replaced.
- Inspect the cartridge or valve stem assembly for any loose or missing parts. Make sure everything is securely in place.
- Using a cloth or toothbrush, clean the cartridge or valve stem to remove any debris or mineral deposits that may be affecting its functionality.
If you notice any significant damage or worn-out components, it’s a good idea to replace the entire cartridge or valve stem assembly. This will ensure a more long-term and effective solution for your leaking shower faucet.
Now that you have inspected the cartridge or valve stem, it’s time to move on to the next step of replacing the faulty component.
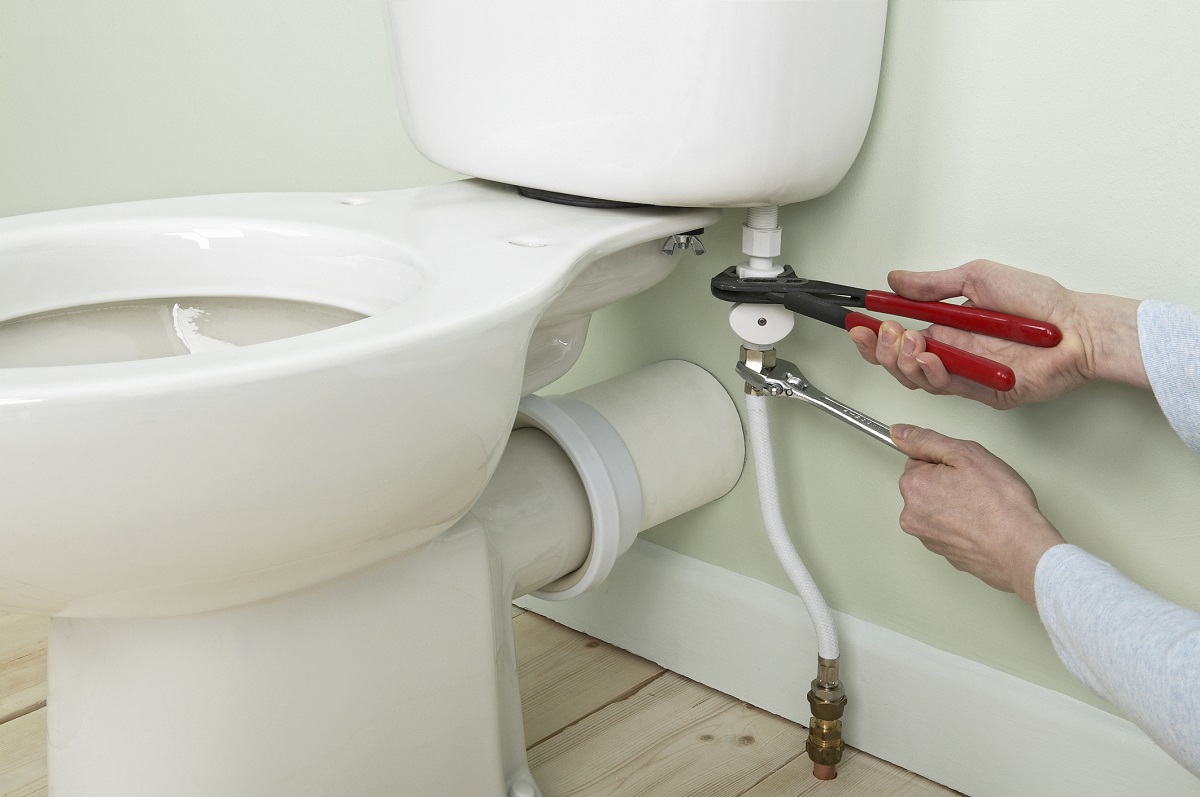
Check the rubber washers and O-rings for wear and tear. Replace them if necessary to stop the leak in your shower faucet.
Read more: How To Fix A Leaking Tub Faucet
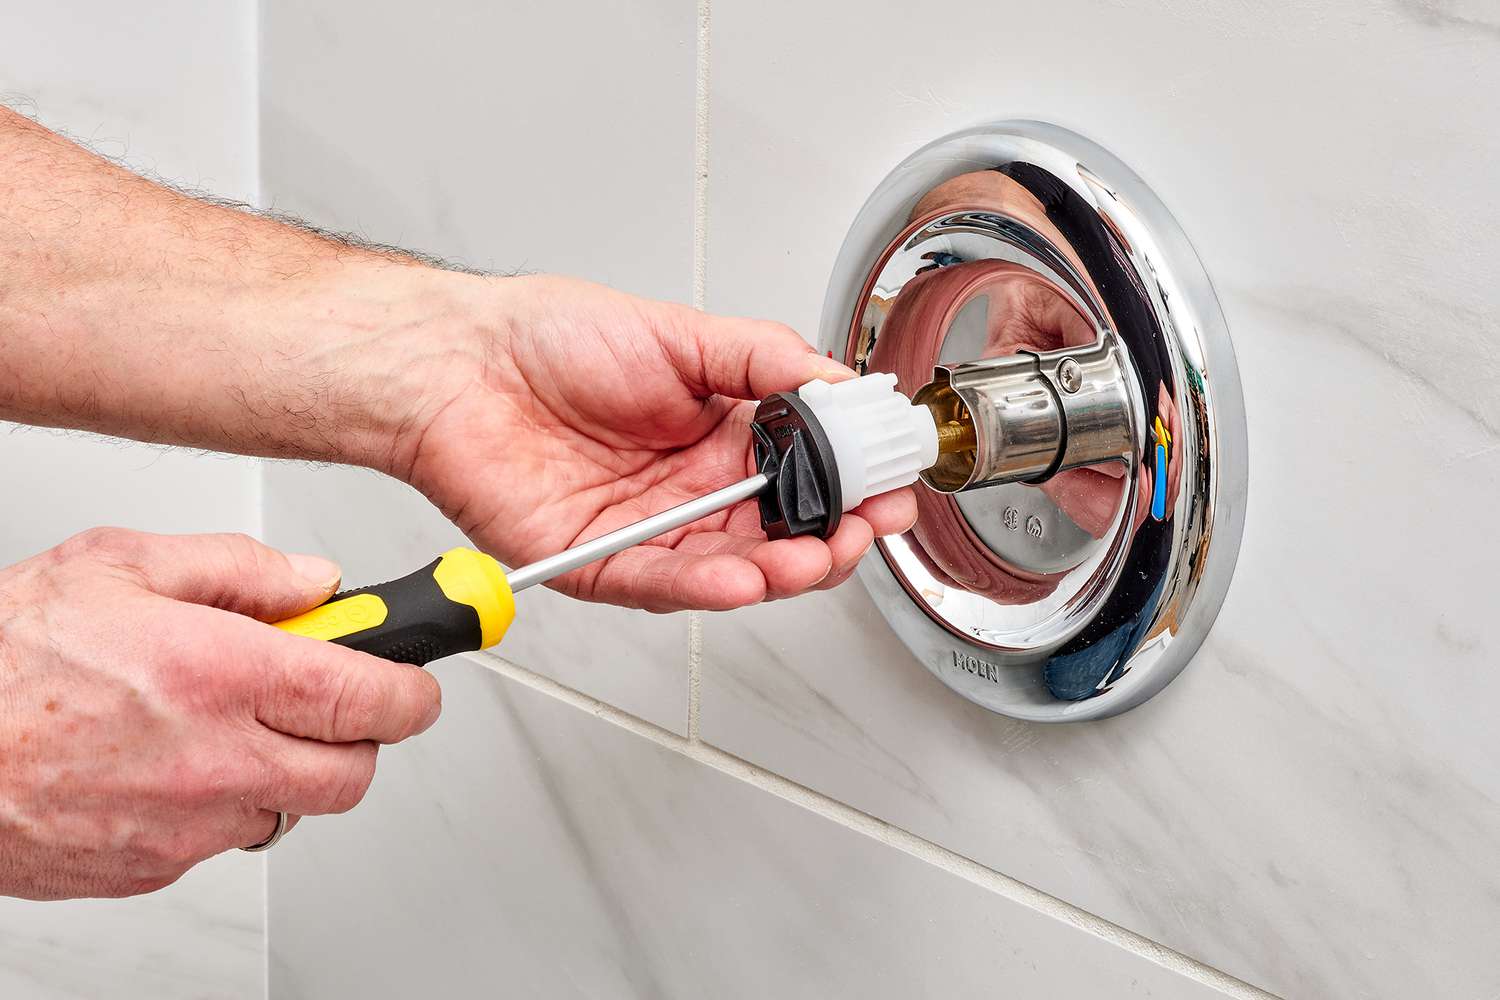
Step 5: Replace the faulty cartridge or valve stem
After inspecting the cartridge or valve stem and identifying the cause of the leak, you can proceed to replace the faulty component. Follow these steps:
- Obtain a replacement cartridge or valve stem that matches the model of your shower faucet. This ensures compatibility and proper functioning.
- Apply plumber’s tape to the threads of the new cartridge or valve stem. This helps create a watertight seal and prevents leaks.
- Insert the new cartridge or valve stem into the faucet body, aligning it properly. Make sure it fits securely and snugly.
- Tighten any screws or nuts that hold the cartridge or valve stem in place. Be careful not to overtighten and damage the component.
- If necessary, rebuild the faucet handle by reattaching any additional parts or components that were removed during the disassembly process.
- Double-check that all connections are secure and properly tightened.
Take your time during the replacement process and ensure that everything is correctly aligned. If you encounter any difficulties or uncertainties, refer to the manufacturer’s instructions or consult a professional plumber.
By replacing the faulty cartridge or valve stem, you are addressing the root cause of the leaking shower faucet and taking a significant step towards resolving the issue.
Now that the new component is in place, it’s time to proceed to the next step of reassembling the faucet handle.
Step 6: Reassemble the faucet handle
With the new cartridge or valve stem in place, it’s time to reassemble the faucet handle. Follow these steps to put everything back together:
- Hold the faucet handle in the correct position and align it with the cartridge or valve stem.
- Slide the handle back onto the stem and make sure it fits securely.
- Reinsert the screw that holds the handle in place, and use a screwdriver to tighten it until it is snug. Be careful not to overtighten and risk damaging the handle or stem.
- If applicable, replace any decorative cap or cover that goes over the screw. This adds a finished look to the faucet handle.
Make sure to test the handle after reassembly to ensure it operates smoothly and without any resistance. If you notice any issues, disassemble and reassemble the handle again, ensuring proper alignment.
With the faucet handle reassembled, you’re almost done fixing the leaking shower faucet. The next step is to turn the water supply back on and test for any leaks.
Step 7: Turn on the water supply
Now that you’ve reassembled the faucet handle, it’s time to turn on the water supply and test your repair job. Here’s what you need to do:
- Locate the main water shut-off valve for your house.
- Turn the valve counterclockwise (to the left) to gradually open the water supply.
- Once the water supply is turned on, go back to the shower and turn on the faucet.
- Let the water flow for a few seconds to flush out any air or debris in the system.
While the water is flowing, visually inspect the shower faucet for any signs of leaks. Check around the handle, the spout, and any other areas where water could potentially escape. If you notice any leaks, proceed to the next step.
If everything looks good and there are no leaks, congratulations! You have successfully fixed your leaking shower faucet. Enjoy your newly repaired faucet and the peace of mind that comes with knowing you’ve resolved the issue.
However, if you do detect leaks, don’t worry. It may be a minor issue that can be easily fixed. Move on to the next step to address any remaining leaks and ensure your repair is complete.
Step 8: Test for leaks
After turning on the water supply, it’s important to thoroughly test for any remaining leaks in your shower faucet. Follow these steps to ensure a complete and successful repair:
- Carefully observe the faucet, paying close attention to areas where leaks may occur, such as around the handle, spout, or any connections.
- Run both hot and cold water through the faucet at different pressure levels to simulate normal usage.
- Check for any signs of moisture, dripping, or water pooling around the faucet or on the shower floor. Even small leaks should not be ignored, as they can worsen over time.
- If you detect any leaks, turn off the water supply and disassemble the faucet again. Inspect the components for any damage or improper installation.
- Reassemble the faucet carefully, ensuring all parts are securely in place.
- Turn on the water supply and repeat the leak testing process.
Continue this process of disassembling, inspecting, and reassembling until you have successfully eliminated all leaks. It may take a few iterations, but with patience and attention to detail, you can achieve a leak-free shower faucet.
Once you have confirmed that there are no leaks, pat yourself on the back for your successful repair and enjoy your fully functional shower faucet.
Remember, if at any point you feel overwhelmed or unsure about the repair process, do not hesitate to seek the help of a professional plumber. They can provide expert guidance and ensure a proper and long-lasting repair.
Read more: How To Fix Leaking Faucet In Bathroom Sink
Conclusion
Fixing a leaking shower faucet can seem like a daunting task, but with the right tools and knowledge, it is a repair that you can easily tackle on your own. By following the step-by-step process outlined in this article, you can successfully address the issue and enjoy a leak-free shower.
Remember to start by gathering all the necessary tools and materials specific to your shower faucet model. Turning off the water supply is crucial to ensure your safety and prevent any further water damage. Take your time to remove the faucet handle and inspect the cartridge or valve stem for any signs of damage or wear. Replace any faulty components with new ones and reassemble the faucet handle carefully.
Once you have completed the repair, turn on the water supply and test for any leaks. Take the time to observe the faucet closely and run water at different pressures to ensure a thorough check. If you do find any leaks, don’t worry—disassemble and inspect the faucet again to identify and resolve the issue.
By successfully fixing your leaking shower faucet, you not only save money on water bills but also reduce water wastage and contribute to environmental sustainability. Remember, safety is important when working with plumbing, so if you ever feel unsure or overwhelmed, it’s best to seek the assistance of a professional plumber.
With the satisfaction of completing this DIY repair, you can now look forward to enjoying your shower without the annoyance of a leaking faucet. Congratulate yourself on a job well done!
Frequently Asked Questions about How To Fix A Leaking Shower Faucet
Was this page helpful?
At Storables.com, we guarantee accurate and reliable information. Our content, validated by Expert Board Contributors, is crafted following stringent Editorial Policies. We're committed to providing you with well-researched, expert-backed insights for all your informational needs.


0 thoughts on “How To Fix A Leaking Shower Faucet”